How to Use a Clover Pom-Pom Maker
Hi Everyone! I’m Ashley, the designer and maker behind The Loopy Lamb. I’m so excited to be invited back to the Clover blog to teach you all how to use a Clover Pom-Pom Maker.
Pom-poms are one of those fun and quick projects to make that can be used to create (or added to) a wide variety of projects. Without a pom-pom maker, pom-poms can be frustrating, tedious and hard to get consistent result. Clover Pom-Pom Makers help solve all those problems. Using Clover Pom-Pom Makers, I can get quick, easy consistent results and to be honest, they make pom-pom making, a little addicting. They come in several different sizes as well so you can make different sized pom-poms to suit your needs. At the end of this post, I’ll include some free project tutorials that use Clover Pom-Pom Makers that you can use to practice using your new Pom-Pom Makers.
Supplies You’ll Need to Follow Along With This Clover Pom-Pom Maker Tutorial:
- Clover Pom-Pom Maker (in your preferred size). I’m using the medium size here.
- Yarn of any weight and color. I’m using Lion Brand Vanna’s Choice worsted weight yarn (size 4) in Denim Mist.
- A Sharp Pair of Scissors (Clover Mini Patchwork Scissors work great for this and are what I’m using here)

Step 1: Open your selected pom-pom maker so the arms are straight.

Step 2: Hold the end of your yarn in place on one of the sets of arms and start wrapping the yarn around the set of arms. Try to do this as evenly as possible, working back and forth along the arm. When the set of arms is full (the fuller it is, the denser/fuller the pom-pom will be), have the yarn in your hand closest to the tab part of the arms that will be closest to the hinge of the second pair of arms when you close the arms wrapped in yarns.


Step 3: Close the set of arms with the yarn on it and pull the yarn through the space between the arms to the open set of arms.

Step 4: Wrap the yarn around the second set of arms as evenly as possible until the arms are full.

Step 5: Close the second set of arms and cut your yarn.

Step 6: Use your scissors to cut the yarn along each set of arms of your pom-pom maker. Take care to hold the pom-pom maker closed so that your yarn doesn’t fall out.


Step 7: Cut a matching length of yarn approximately 12 – 14” in length. Wrap the yarn around the pom-pom maker, through the gap between the two arms (now visible because you have cut your yarn). Tie a knot in your yarn, tying it as tightly to the center of the pom-pom as you can without breaking your yarn. Wrap the yarn around the pom-pom maker again and tie another knot to secure it.


Step 8: Open the arms of the pom-pom maker and pull the two halves apart to release your pom-pom.

Step 9: Using your scissors, trim any stray bits of yarn from your pom-pom to get a nice even finish on the surface of your pom-pom. Use the tails remaining from tying your knots to secure your pom-pom to your intended project (i.e. hats, scarves, bags, etc.).

Step 10: Put your pom-pom maker back together and repeat Steps 1 – 9 the next time you want to make another pom-pom.

I hope you enjoyed this tutorial and are excited to get started making pom-poms to add to your projects. I’ll be back next week with a tutorial on how to use the Clover Tassel Makers.
Projects that use Clover Pom Pom Makers:
- How to Make a Leopard Pom Pom by Nina Bella Knits
- Pom-Tassel Keyring by Paloma Textiles
- Watermelon Pom-Pom Garland by Wood You Knot
- Pom-Pom Crown by A Crafty Concept
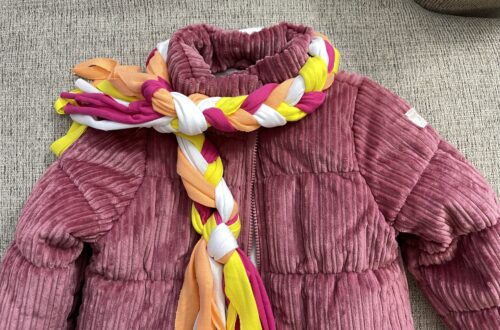
- Ode to Spring Bobble Scarf by Jen Hayes Creations
- DIY Pom-Pom Floral Arrangement by Country Peony
- Yarn Pom-Pom Wreath by Easy Crochet
- Pom-Pom Basket Crochet Pattern
- Beaded Pom Garland by Pink Plumeria Maui
- Halloween Pom Crafts
- The Pom-Pom Tree by Dora Does
- Puffball Gnomette by With Alex
- Unicorn Pom-Pom by Nicki’s Homemade Crafts
You can find more of my free crochet patterns on my Blog | YouTube | Instagram | Facebook | Pinterest
Stay connected with Clover on Facebook | Twitter | Instagram | Pinterest | YouTube | Ravelry
[mc4wp_form id=”11289″]