Floppy Summer Hat – Crochet Pattern
Here in New England, summertime can be erratic. There are times when it’s raining, very hot, and very humid. However, it is generally pleasant. It is best to be ready for any summer temperature. I’m going to share another fascinating and satisfying summer project I came up with today.

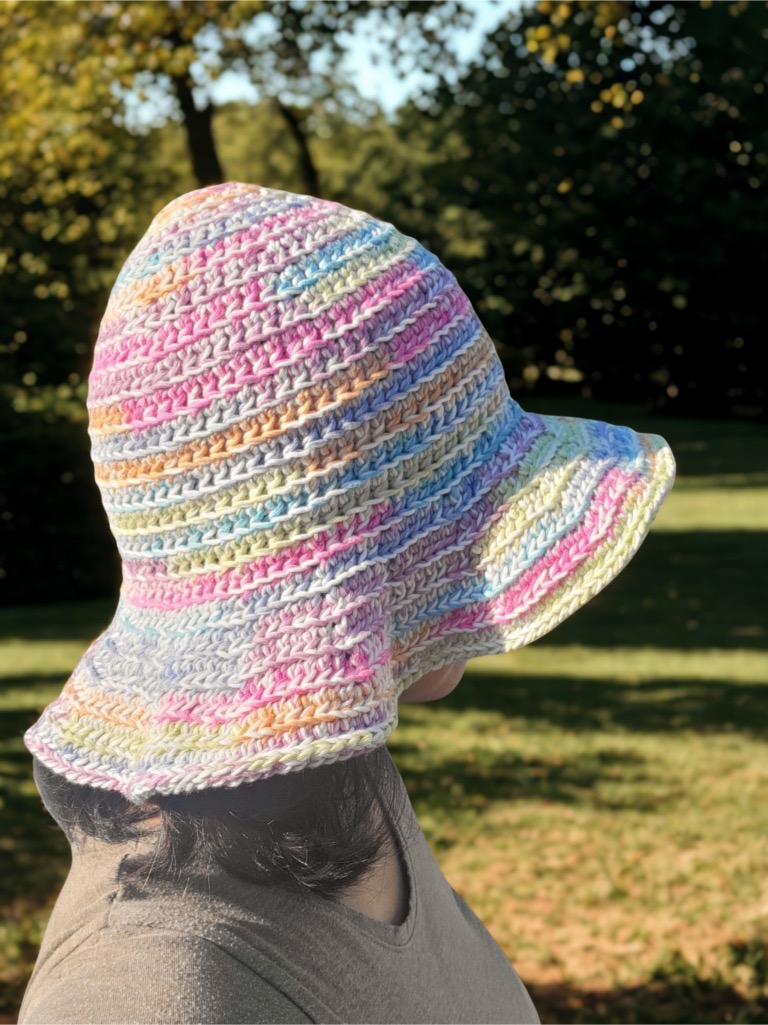
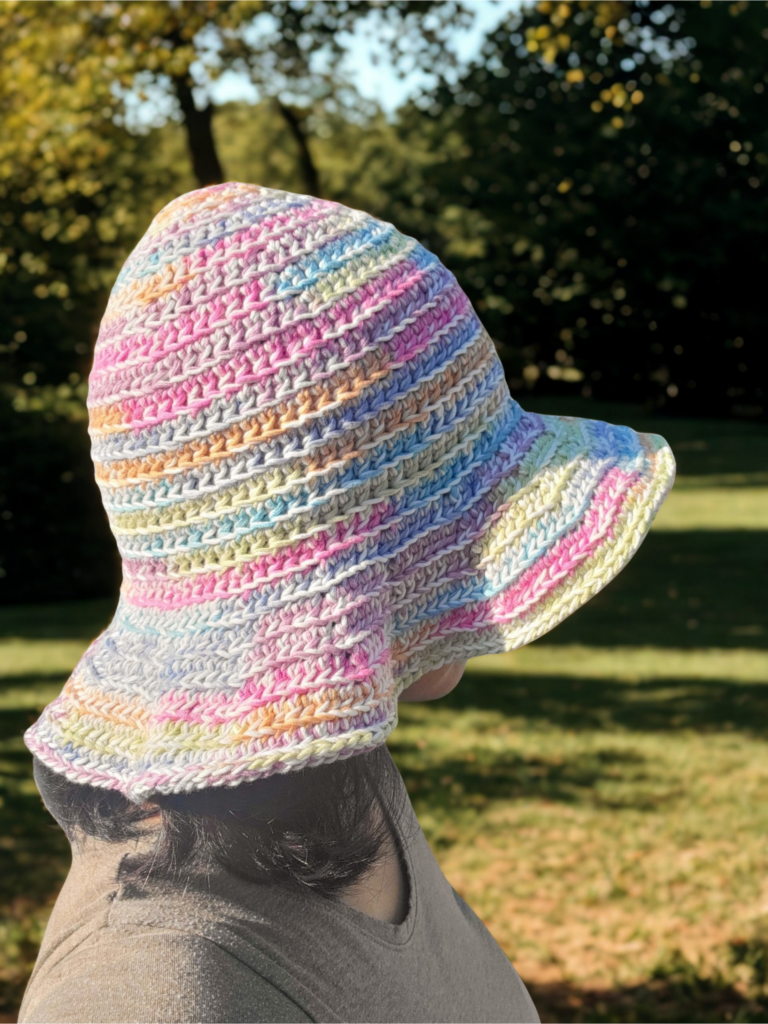
If you like summer hats, this project is perfect for you! To achieve an intriguing effect, I chose to use two strands of two different yarn weights—one in a solid contrasting color and one in a variegated color. Holding DK and sport-weight yarn together creates a combined strand that behaves like a light-worsted to heavy-worsted (Aran) weight yarn. This technique creates a dense, warm, and squishy fabric and is a great way to mix colors, utilize leftover stash yarn, or add texture. Any heavy worsted yarn weight, however, will do. The reversible textured Floppy Summer Hat features distinct designs on each side. Even better, it is packable, making it simpler to take with you wherever you go.
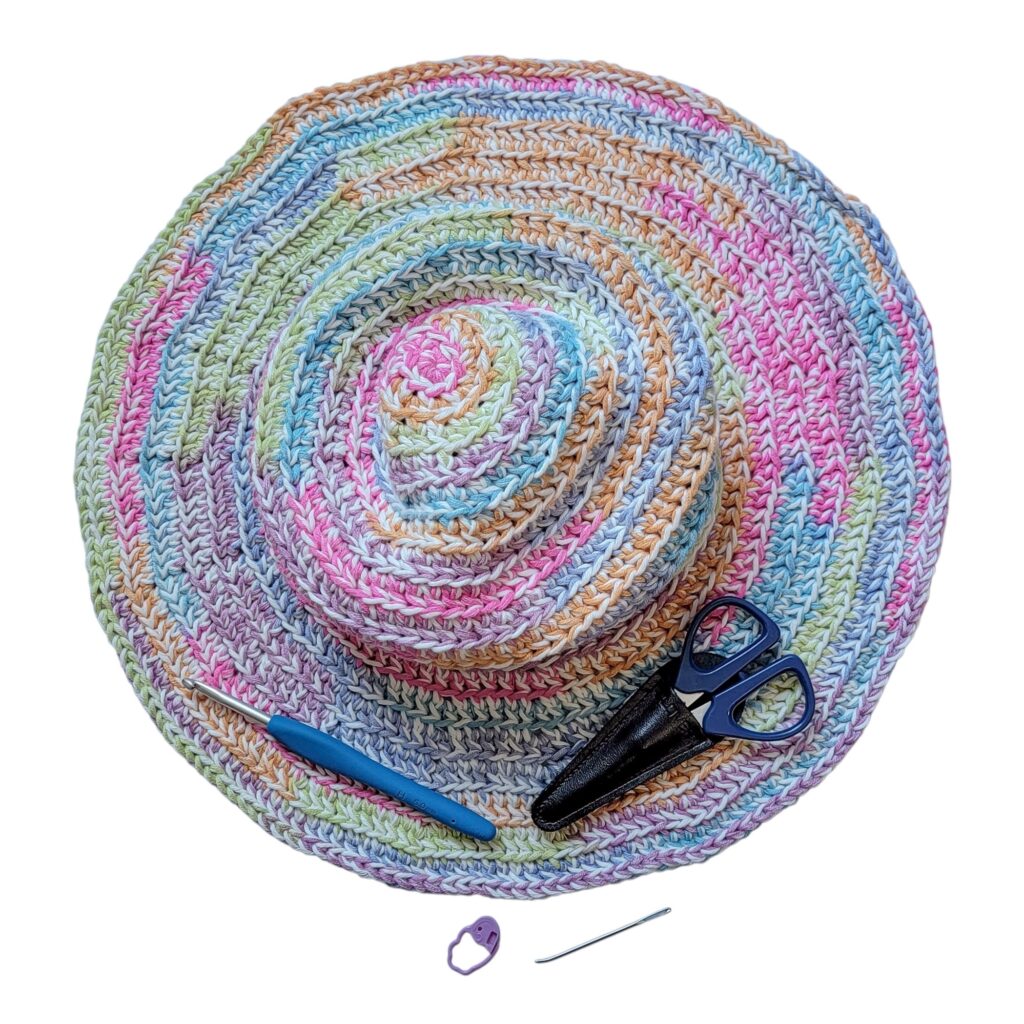
MATERIALS:
- Clover Amour Crochet Hook H (5 mm) (or size to obtain gauge)
- Clover Darning Needle (bent point)
- Clover Patchwork Mini Scissors
- Clover Quick-Locking Stitch Marker
- tape measure
- cotton yarns: sport weight (2) and DK weight (3) yarns held together—about 220 yards each
NOTES:
- Read the pattern carefully before starting.
- This pattern is a very basic design worked continuously in the round, from the top (crown) down (brim).
- * * Repeat the instructions between asterisks as many times as directed or repeat at the specified locations.
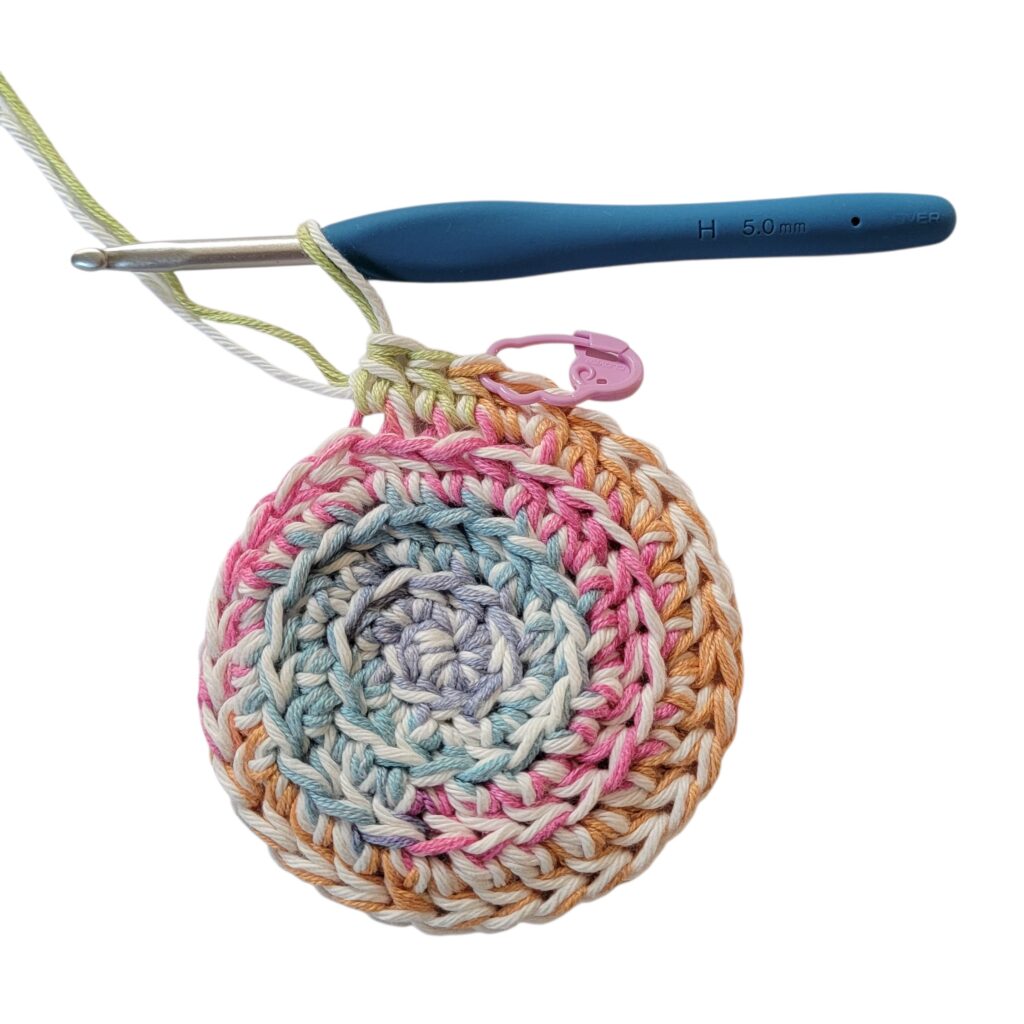
- I recommend using a stitch marker to mark the first stitch of each row so you will not miss it. Remember to move the stitch marker as you progress.
- The numbers at the end of the row indicate the number of stitches in each round.
- Gauge: Round 5 measures about 4 inches (diameter), in pattern
- Skill level: adventurous beginner to intermediate
- Finished measurement: about 17 inches (width – brim) x 11 inches (height – crown to brim). Fits most adult sizes.
ABBREVIATIONS:
- blo: back loop only
- ch(s): chain(s)
- mr: magic ring
- pm: place marker
- sc: single crochet
- slst: slip stitch
- st(s): stitch(es)
- lsc: linked single crochet—look for the horizontal bar or loop on the side of the single crochet you just made (the loop closest to your yarn-holding finger). Insert your hook into this side bar. Without yarning over first, insert your hook into the next chain space, yarn over, and pull up a loop. You should now have exactly 3 loops on your hook. Yarn over and pull through all 3 loops on your hook.
FLOPPY SUMMER HAT CROCHET PATTERN:
SHAPING THE CROWN:
Start with a mr.
- Round 1: Ch1 (does not count as a st), (1sc, 7lsc) into the ring, PM in 1st st and pull the yarn tail tightly to close the ring. Remember to move the stitch marker as you progress. Continue working in rounds. 8 sts
- Round 2: 2lsc through the blo in each st around. 16 sts
- Round 3: *1lsc through the blo in the next st, 2lsc through the blo in the next st*; rep from * to * around. 24 sts
- Round 4: *1lsc through the blo in the next 2 sts, 2lsc through the blo in the next st*; rep from * to * around. 32 sts
- Round 5: *1lsc through the blo in the next 3 sts, 2lsc through the blo in the next st*; rep from * to * around. 40 sts
- Round 6: *1lsc through the blo in the next 4 sts, 2lsc through the blo in the next st*; rep from * to * around. 48 sts
- Round 7: *1lsc through the blo in the next 5 sts, 2lsc through the blo in the next st*; rep from * to * around. 56 sts
- Round 8: *1lsc through the blo in the next 6 sts, 2lsc through the blo in the next st*; rep from * to * around. 64 sts
- Round 9: *1lsc through the blo in the next 7 sts, 2lsc through the blo in the next st*; rep from * to * around. 72 sts
BODY:
- Rounds 10 – 16: 1lsc in each st around. 72 sts
BRIM:
- Round 17: *1lsc through the blo in the next 3 sts, 2lsc through the blo in the next st*; rep from * to * around. 90 sts
- Round 18: *1lsc through the blo in the next 4 sts, 2lsc through the blo in the next st*; rep from * to * around. 108 sts
- Round 19: *1lsc through the blo in the next 5 sts, 2lsc through the blo in the next st*; rep from * to * around. 126 sts
- Round 20: *1lsc through the blo in the next 6 sts, 2lsc through the blo in the next st*; rep from * to * around. 144 sts
- Round 21: *1lsc through the blo in the next 7 sts, 2lsc through the blo in the next st*; rep from * to * around. 162 sts
- Round 22: *1lsc through the blo in the next 8 sts, 2lsc through the blo in the next st*; rep from * to * around. 180 sts
- Round 22: 1lsc through the blo in each st around. 180 sts
- Round 23: 1slst (through both loops) in each st around. Add more 1slst in the next 5 sts. Fasten off.
Below are the pictures of the right (left) and reverse side (right).
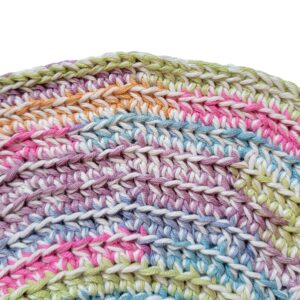
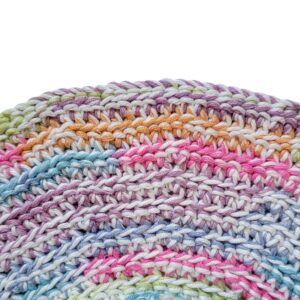
Weave in all ends. Optionally, you may block your hat or spray it with a fabric stiffener.
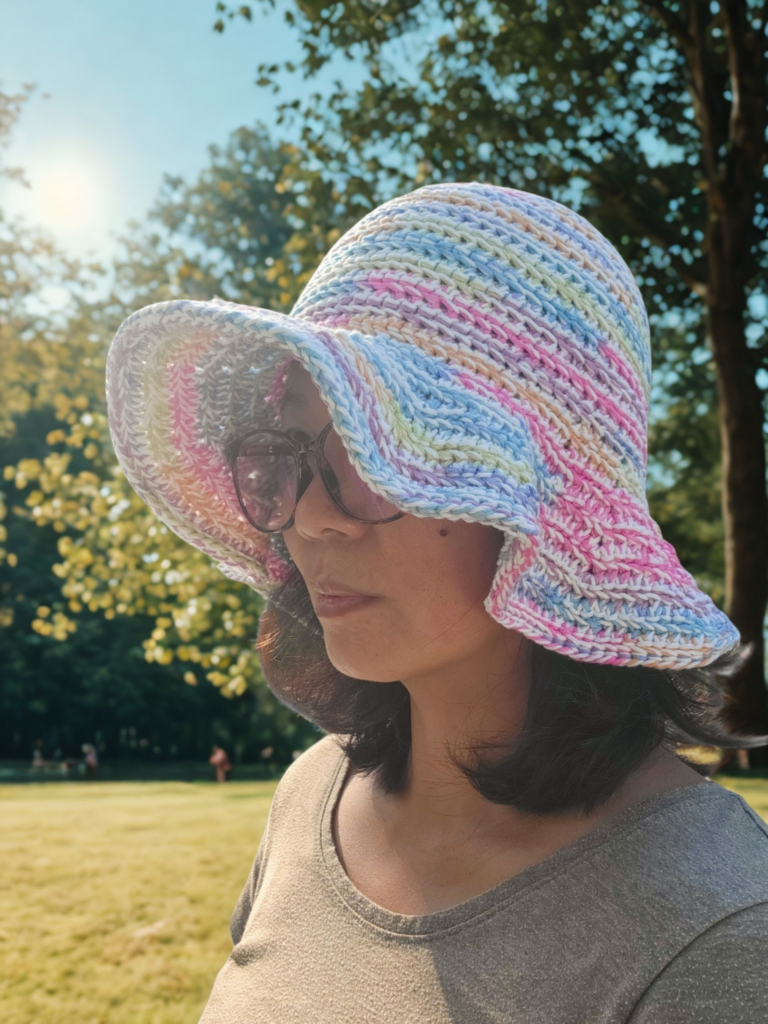
You are done! I hope you find this project enjoyable!
Please don’t hesitate to contact me with questions regarding this pattern. You may also reach out to me on Instagram (@stringsandcuddles)!
If you want to keep up with me, Elisa, on social media for other fun projects, follow me on social media: Instagram | Pinterest | Facebook | Blog | Ravelry
If you want to keep up with all things Clover, follow us on: Facebook | Twitter | Instagram | Pinterest | YouTube | Ravelry