How to Make a Leopard Pom-Pom
Leopard print pom-poms are in! Have you wondered how you can make one? Here’s a beginner friendly tutorial by Nina Bella Knits to get you familiar with the process. Once you have it down, experiment with different color combinations and patterns!
Materials
- Pom-Pom Maker-Large (Art. No 3126)
- Lion Brand Yarn Thick & Quick in 2 different colors (I used Fisherman for my base and Black as the contrasting)
- Scissors
Instructions
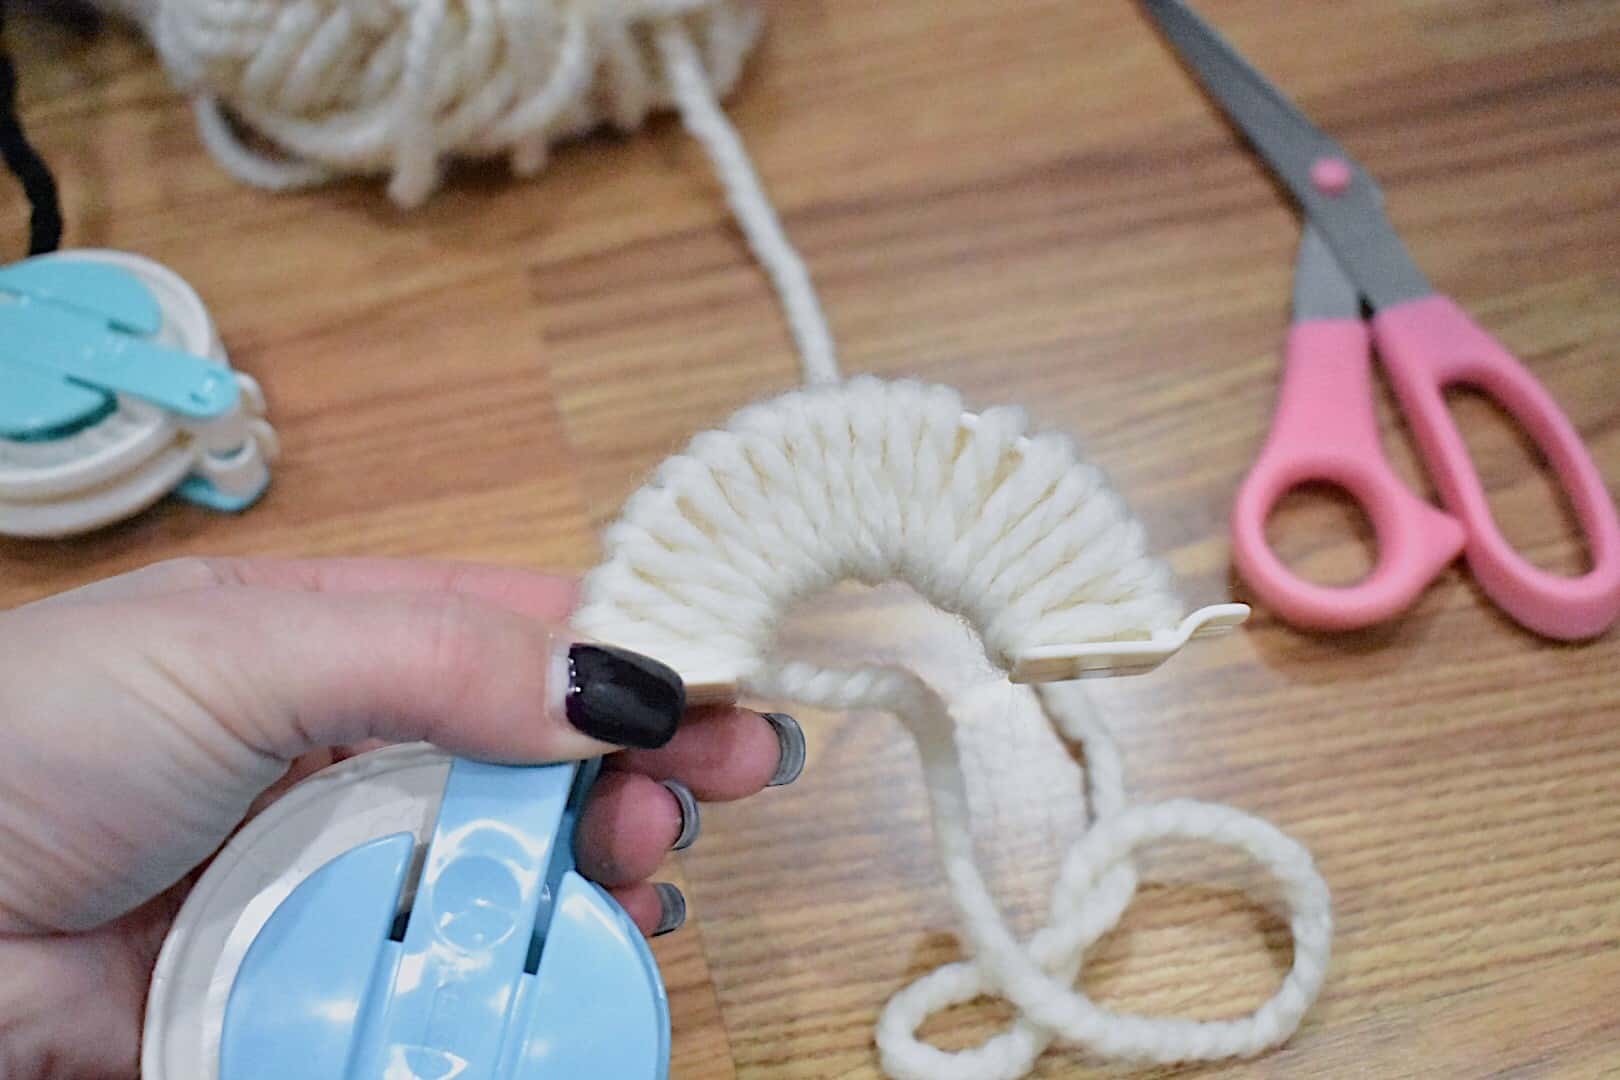
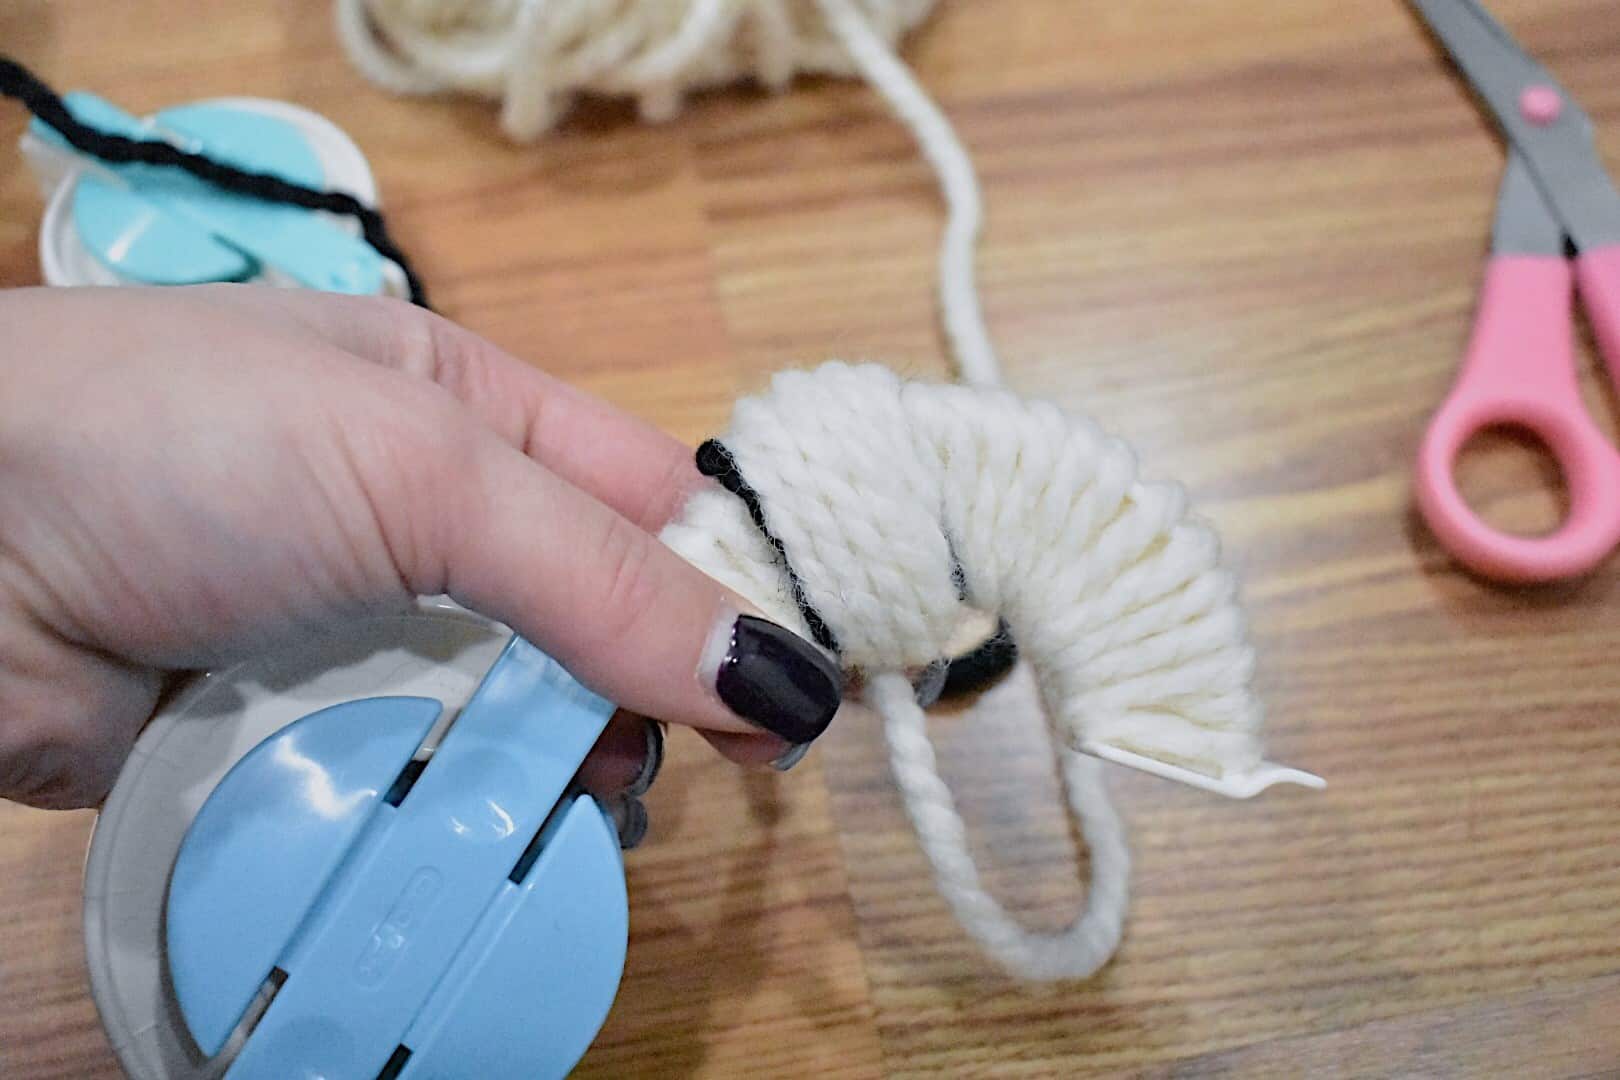
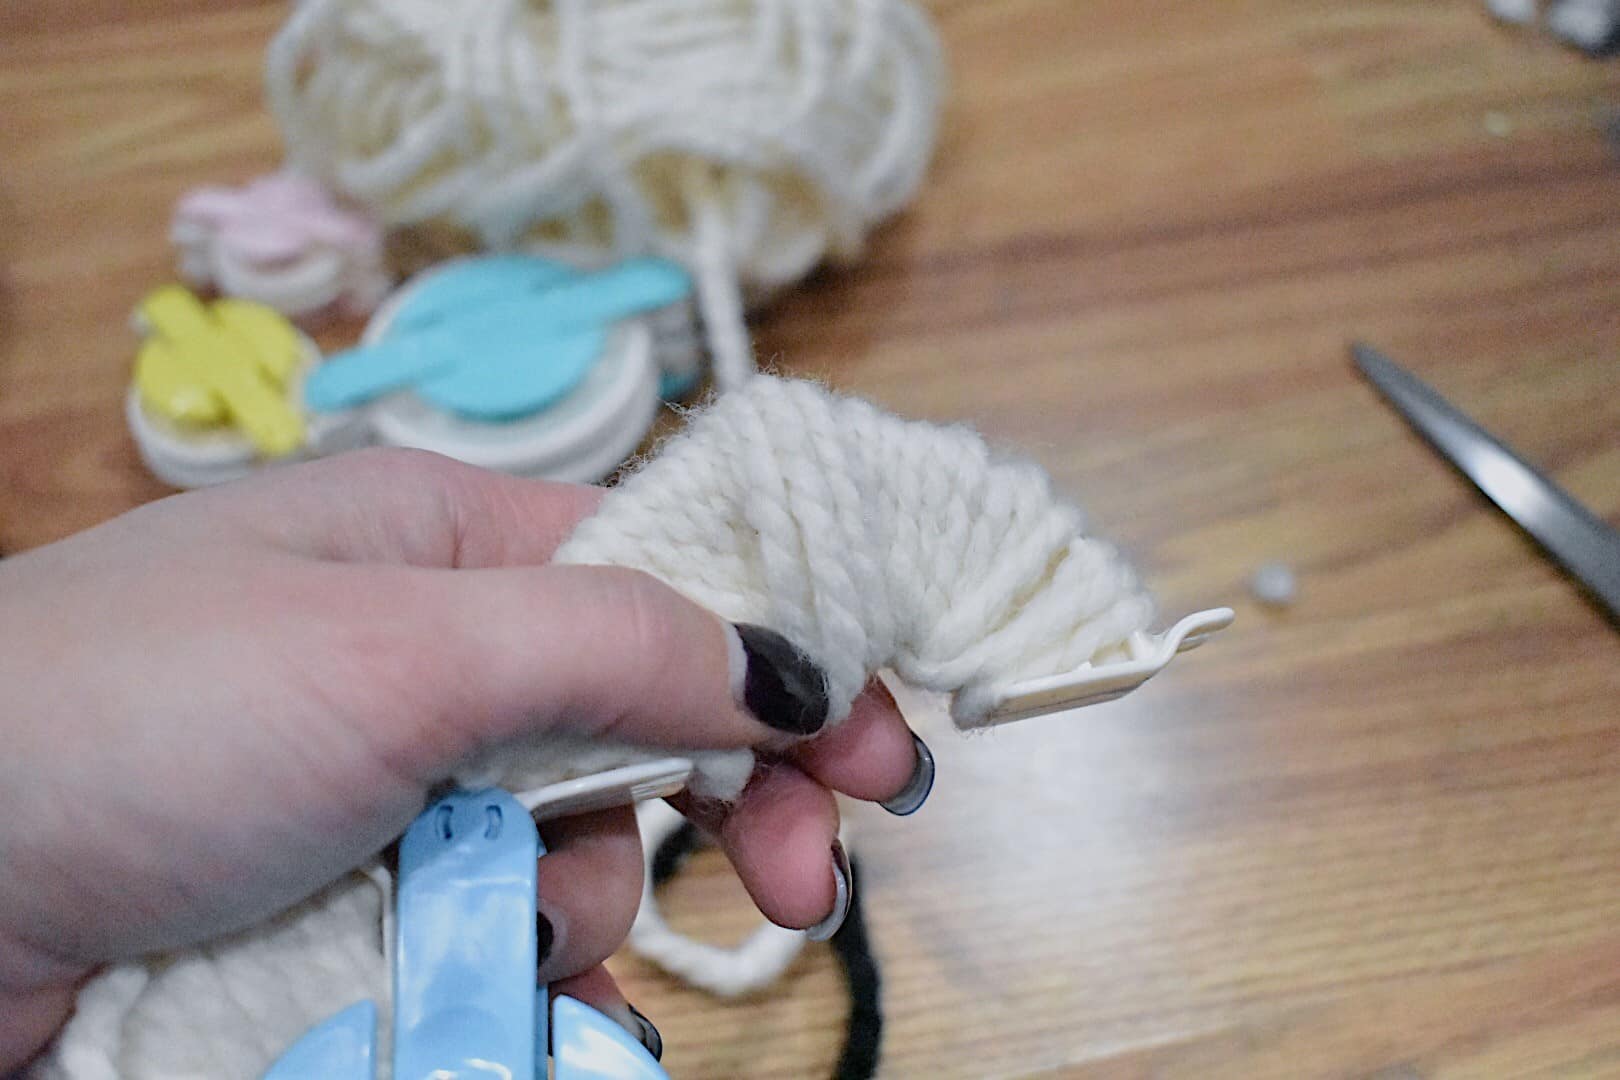
Step 1: Wrap your base color once around the first pair of arches of the Pom-Pom Maker.
Step 2: With your contrasting color, wrap your yarn 3 times around the arches.
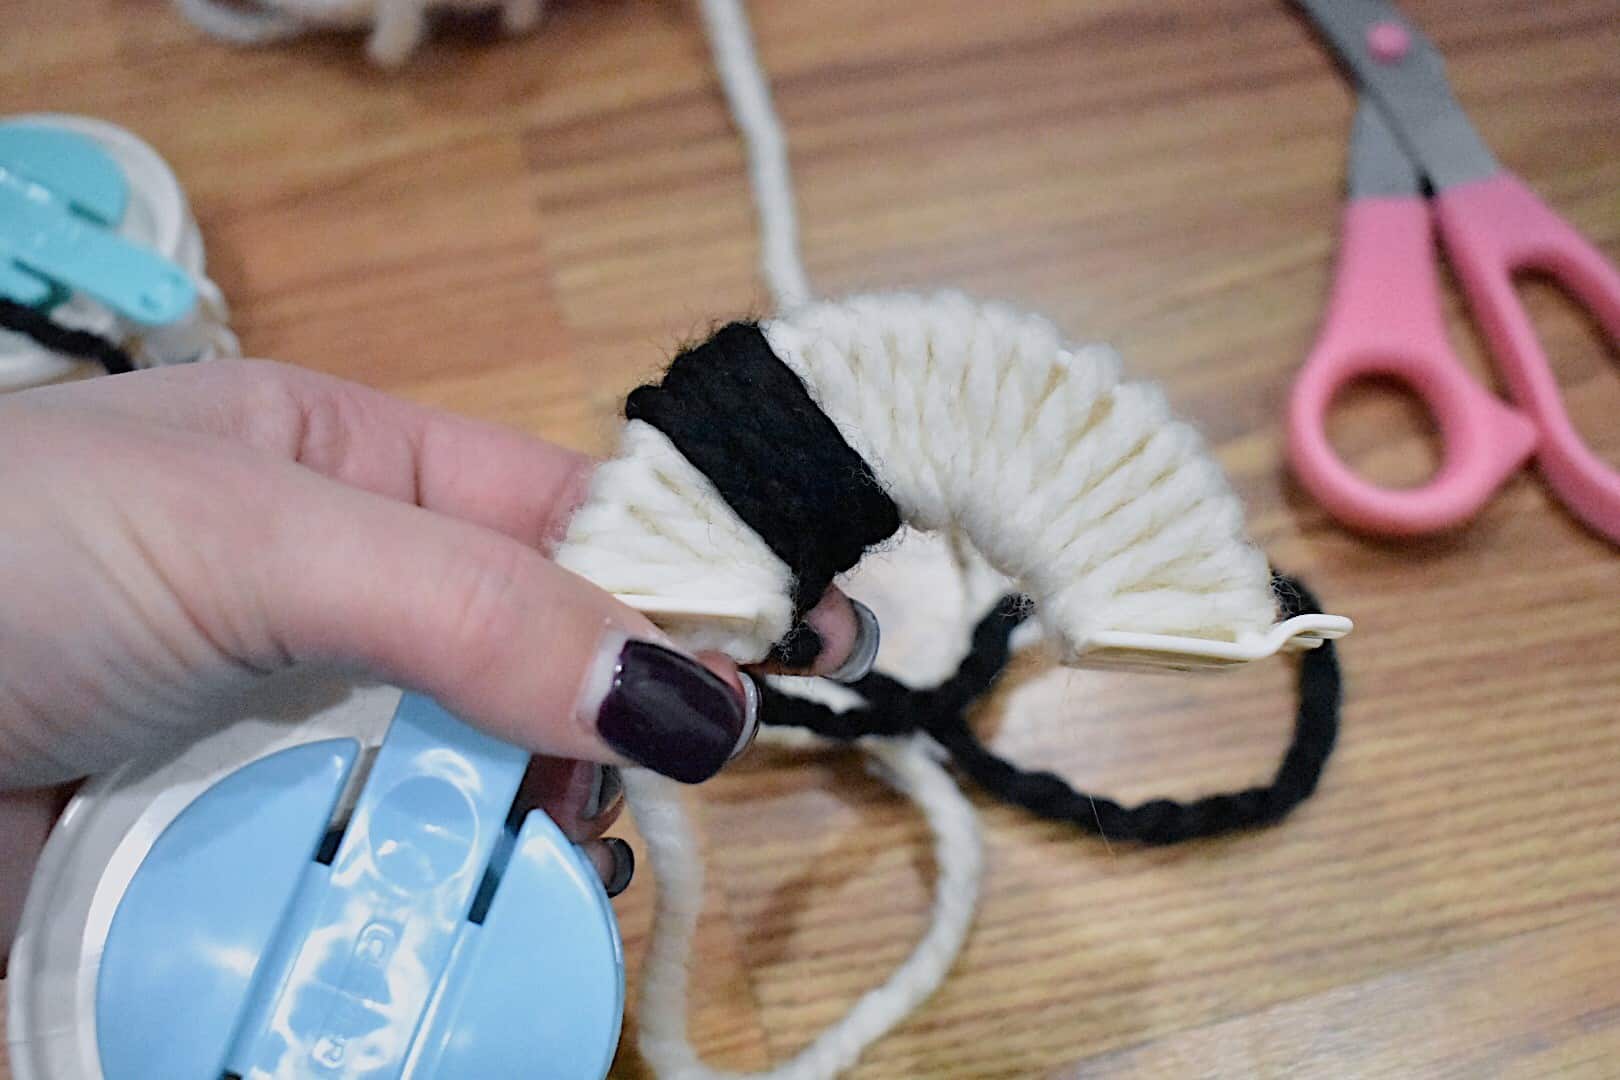
Step 3: With your base color, create a little mountain of yarn over the contrasting color (wrap 6 times)
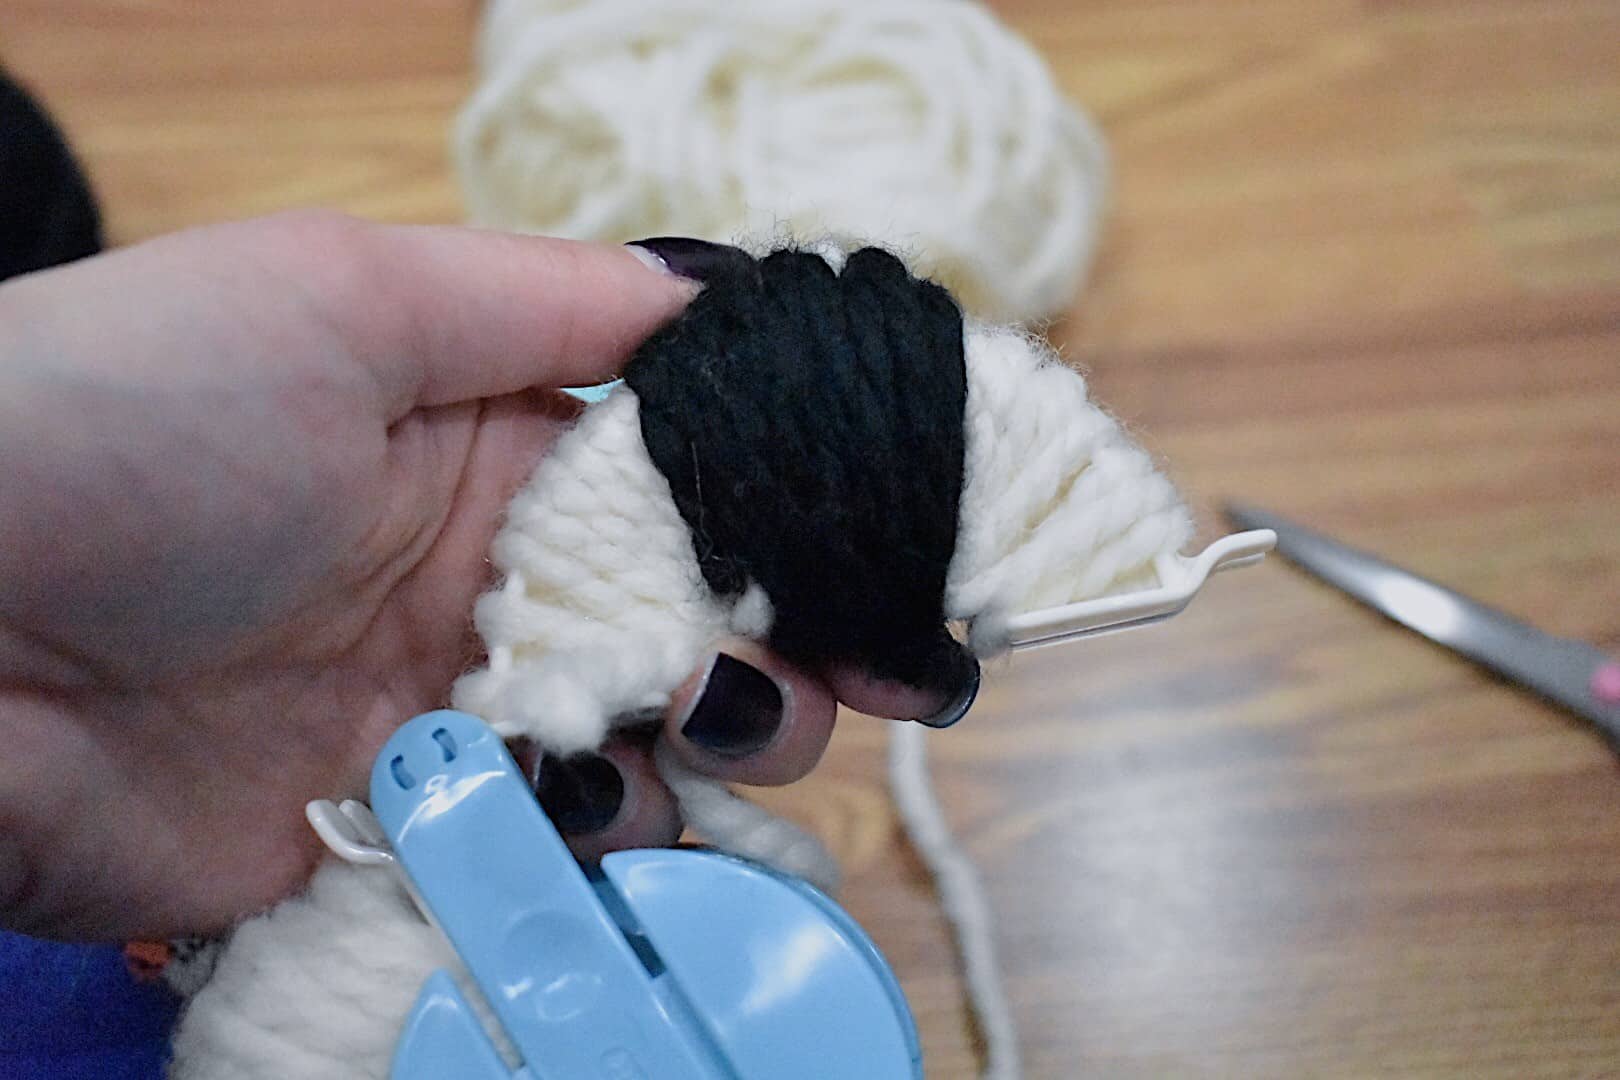
Step 4: Wrap your contrasting color on the two sides of your base color mountain.
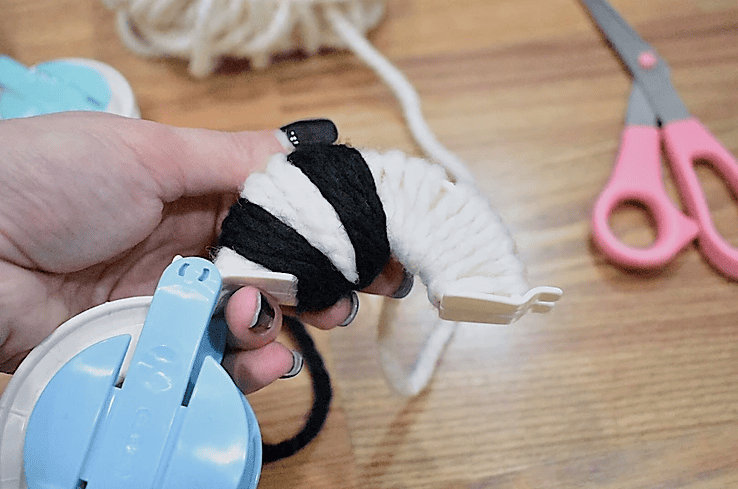
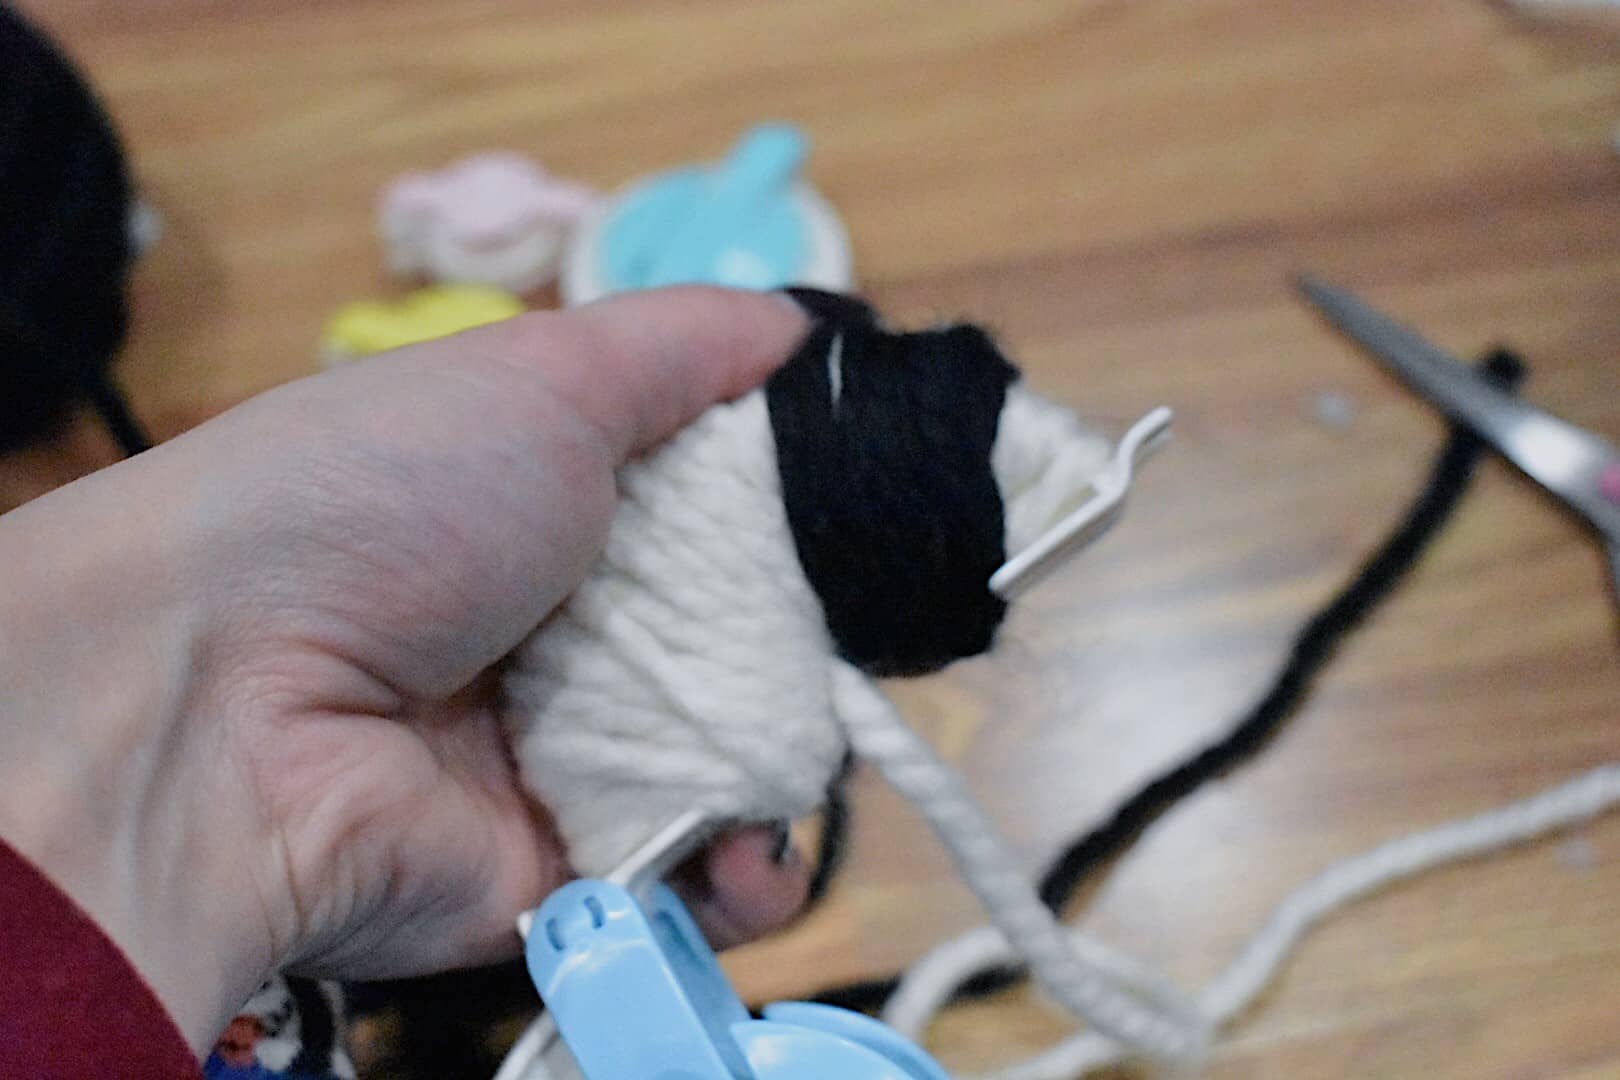
Step 5: Wrap over the entire mountain with the base color.
Step 6: Move over about an inch to make another mountain, and wrap the base color 3 times around the arch.
Step 7: Wrap your contrasting color on the two sides of your base color mountain, working your way over and to the other side.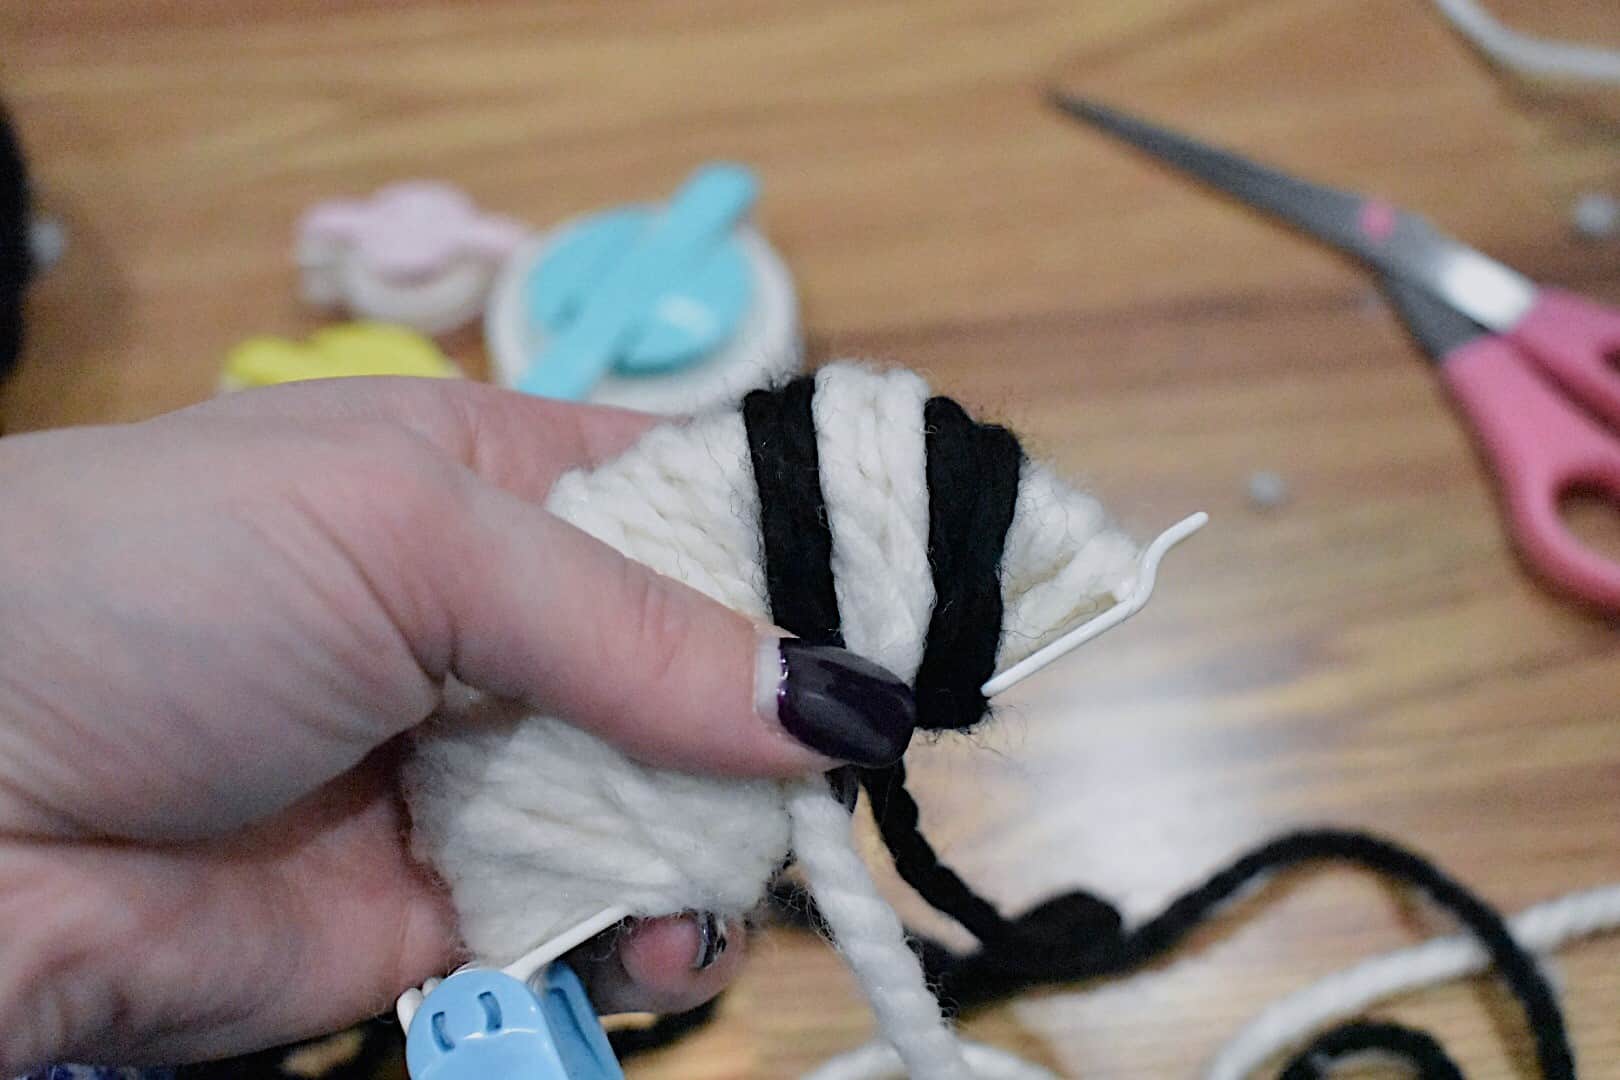
Step 8: Wrap your base color to make the entire side even, cut your yarn ends of both colors and close that side of the Pom-Pom Maker.
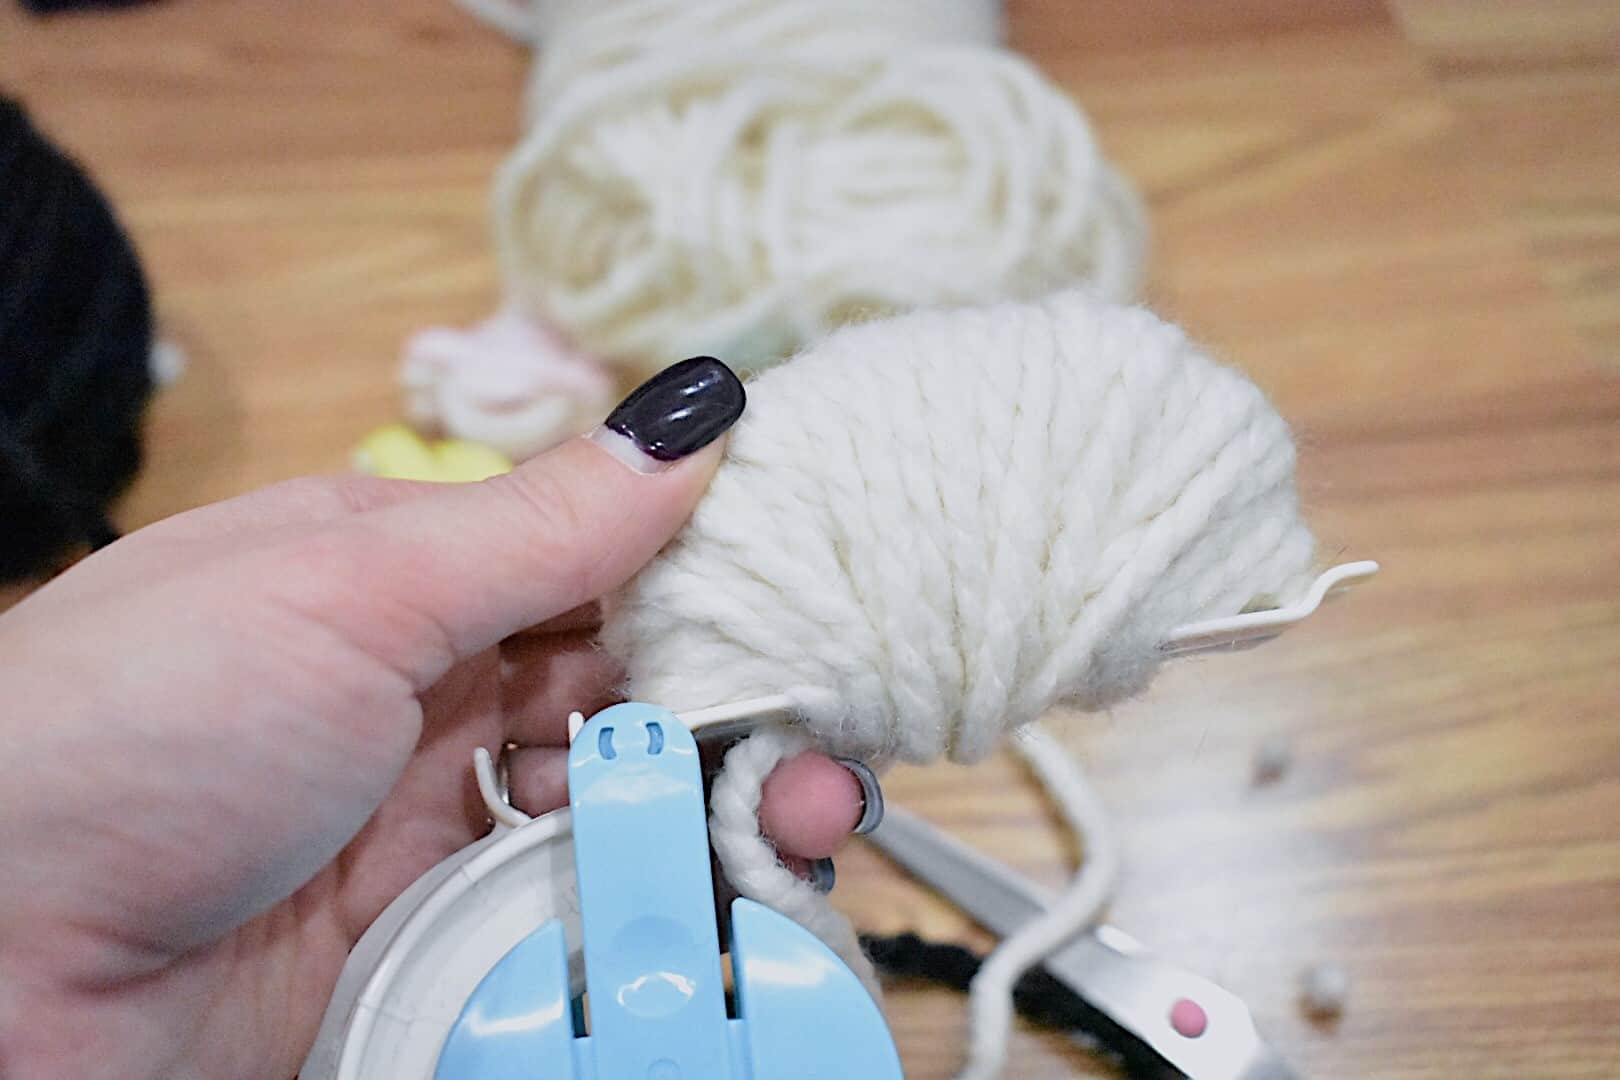
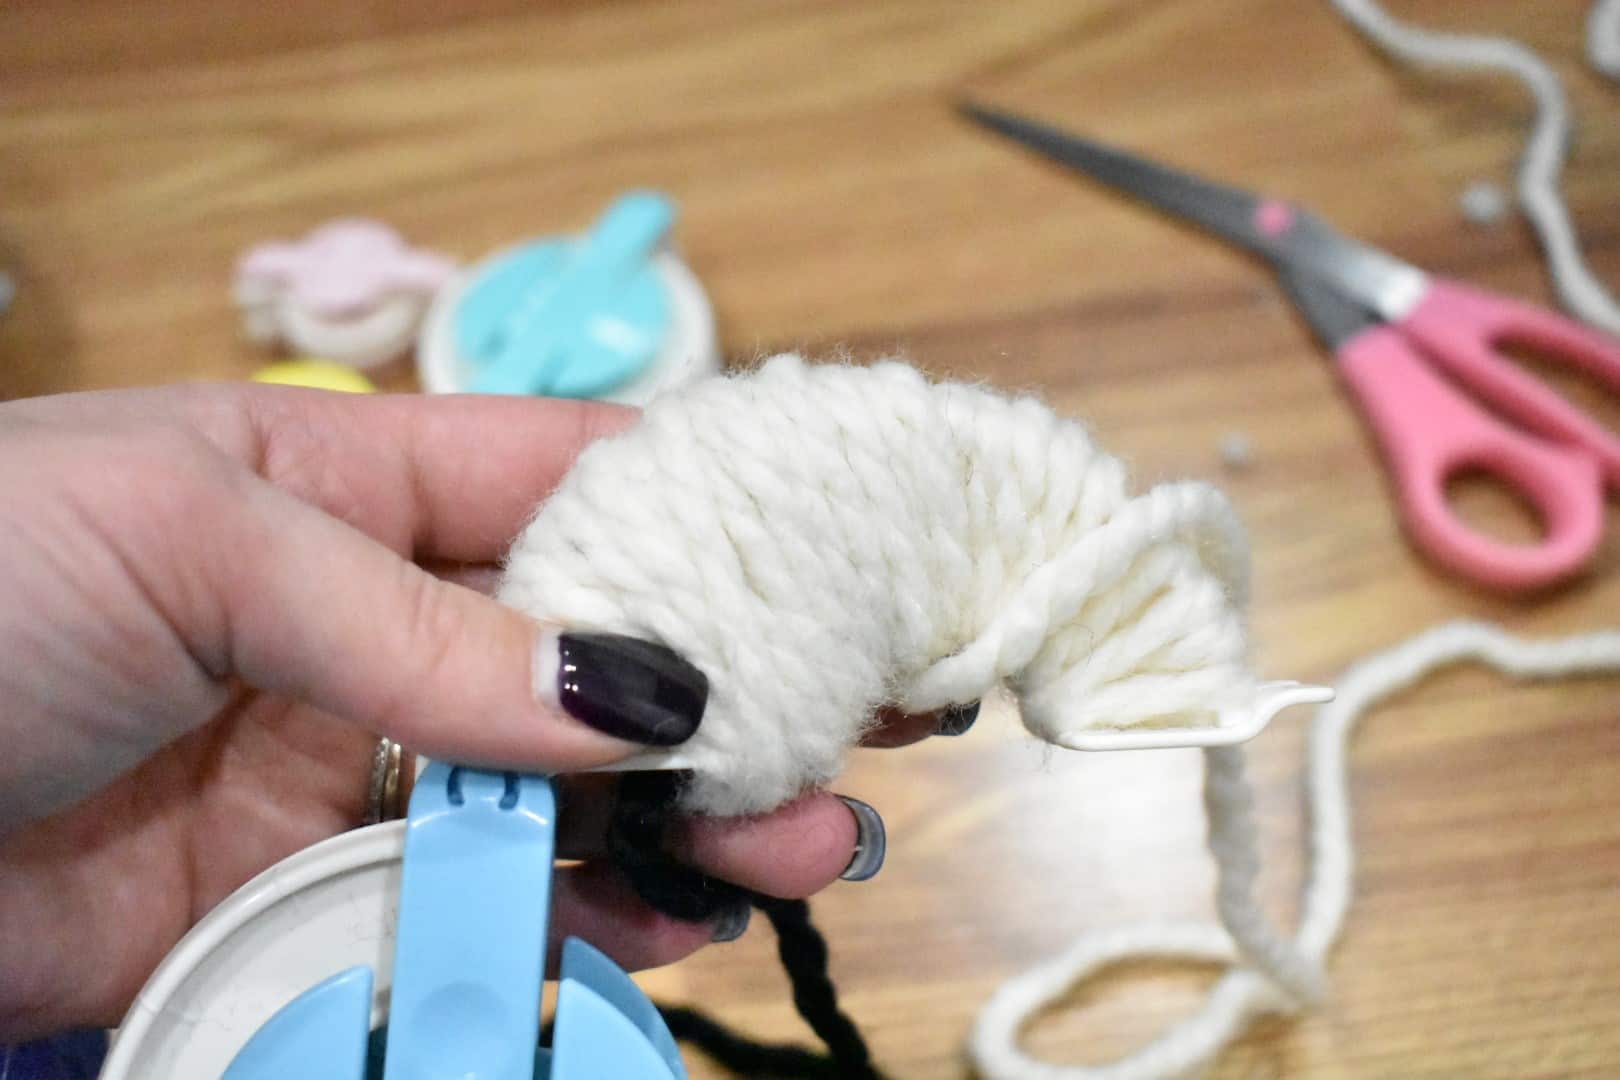
Step 9: Wrap one layer of base color on the other pair of arches of the Pom-Pom Maker.
Step 10: Wrap your base color at the center to make a little mountain (wrap 6 times)
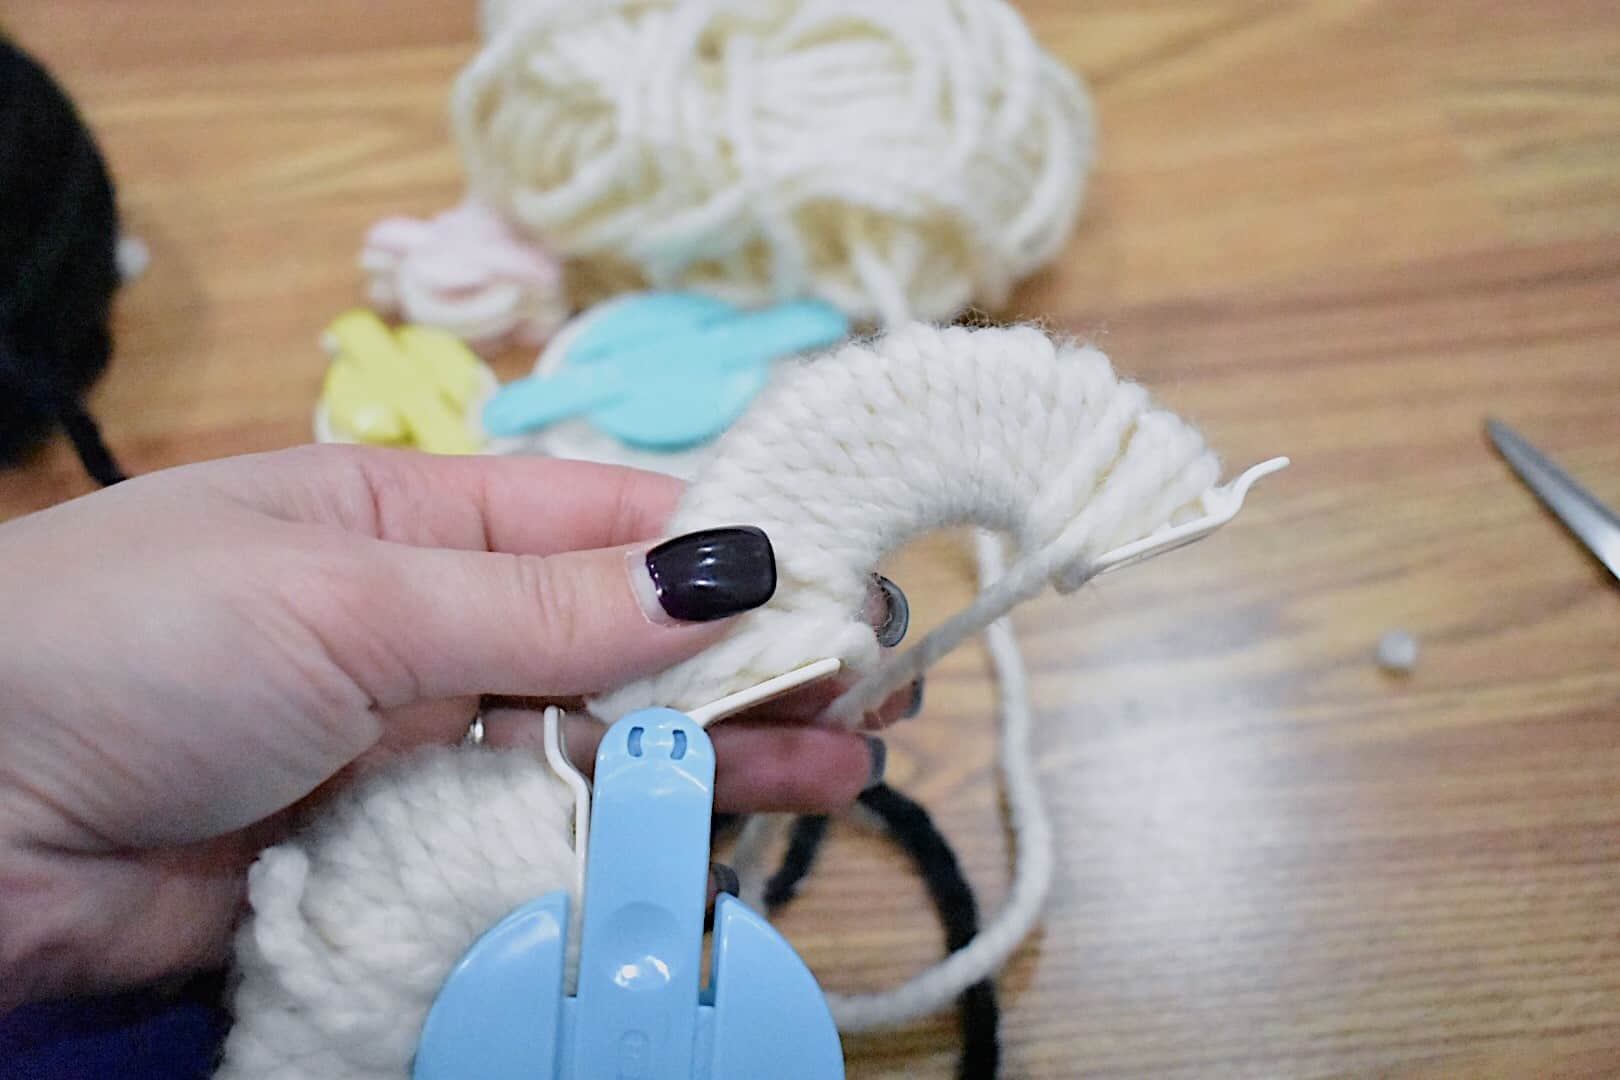
Step 11: Wrap your contrasting color on each side of the mountain and over the mountain
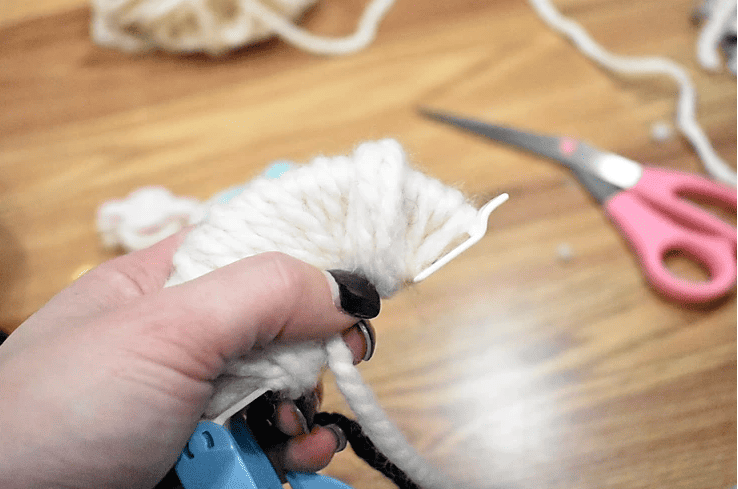
Step 12: Wrap base color until the arches are full, cut your strands and close the Pom-Pom Maker
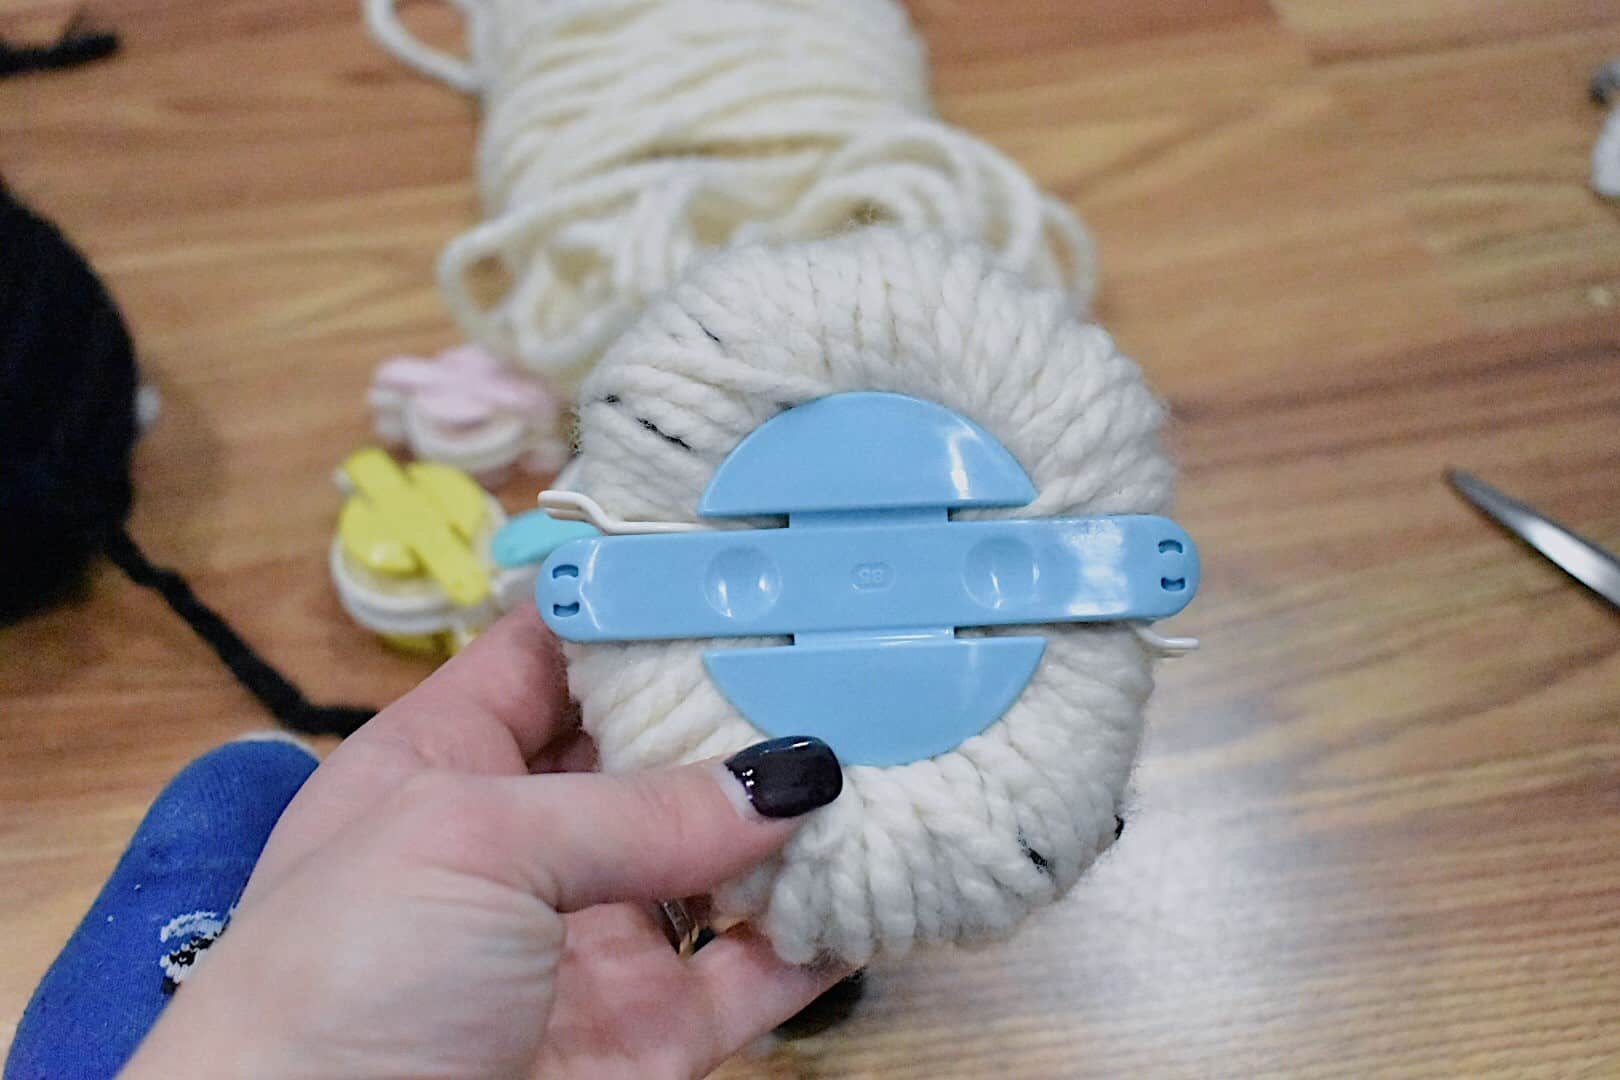
Step 13: Cut down the grove between the arches.
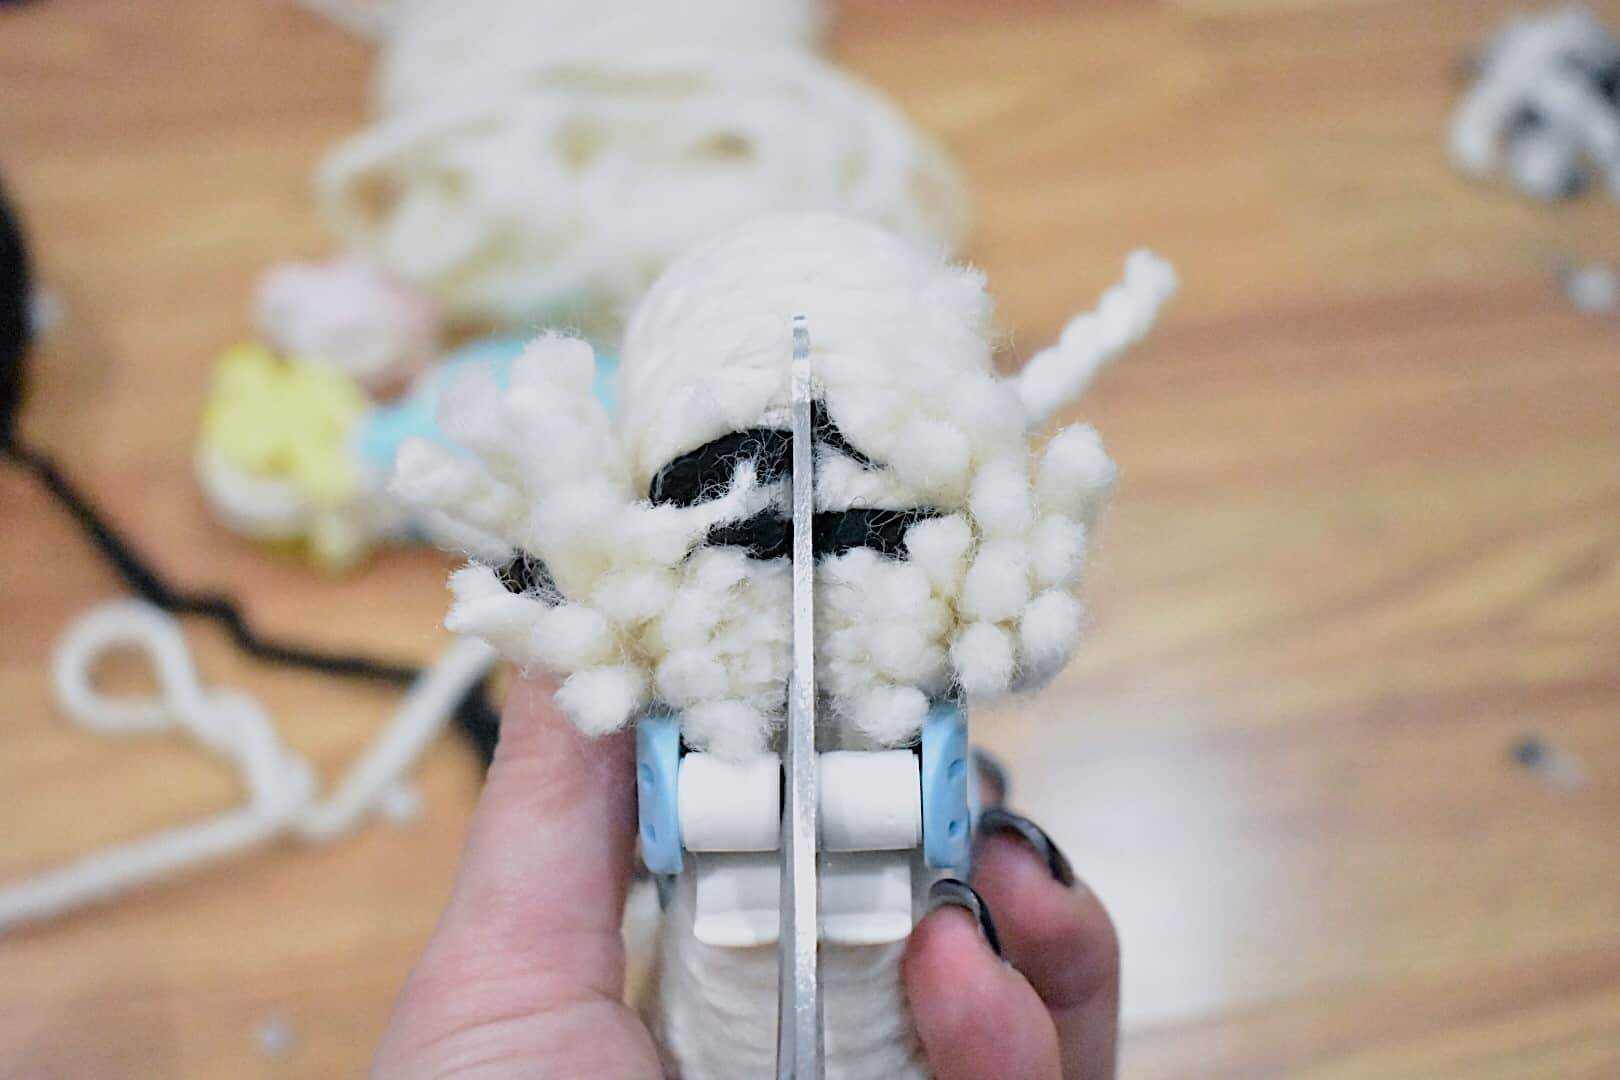
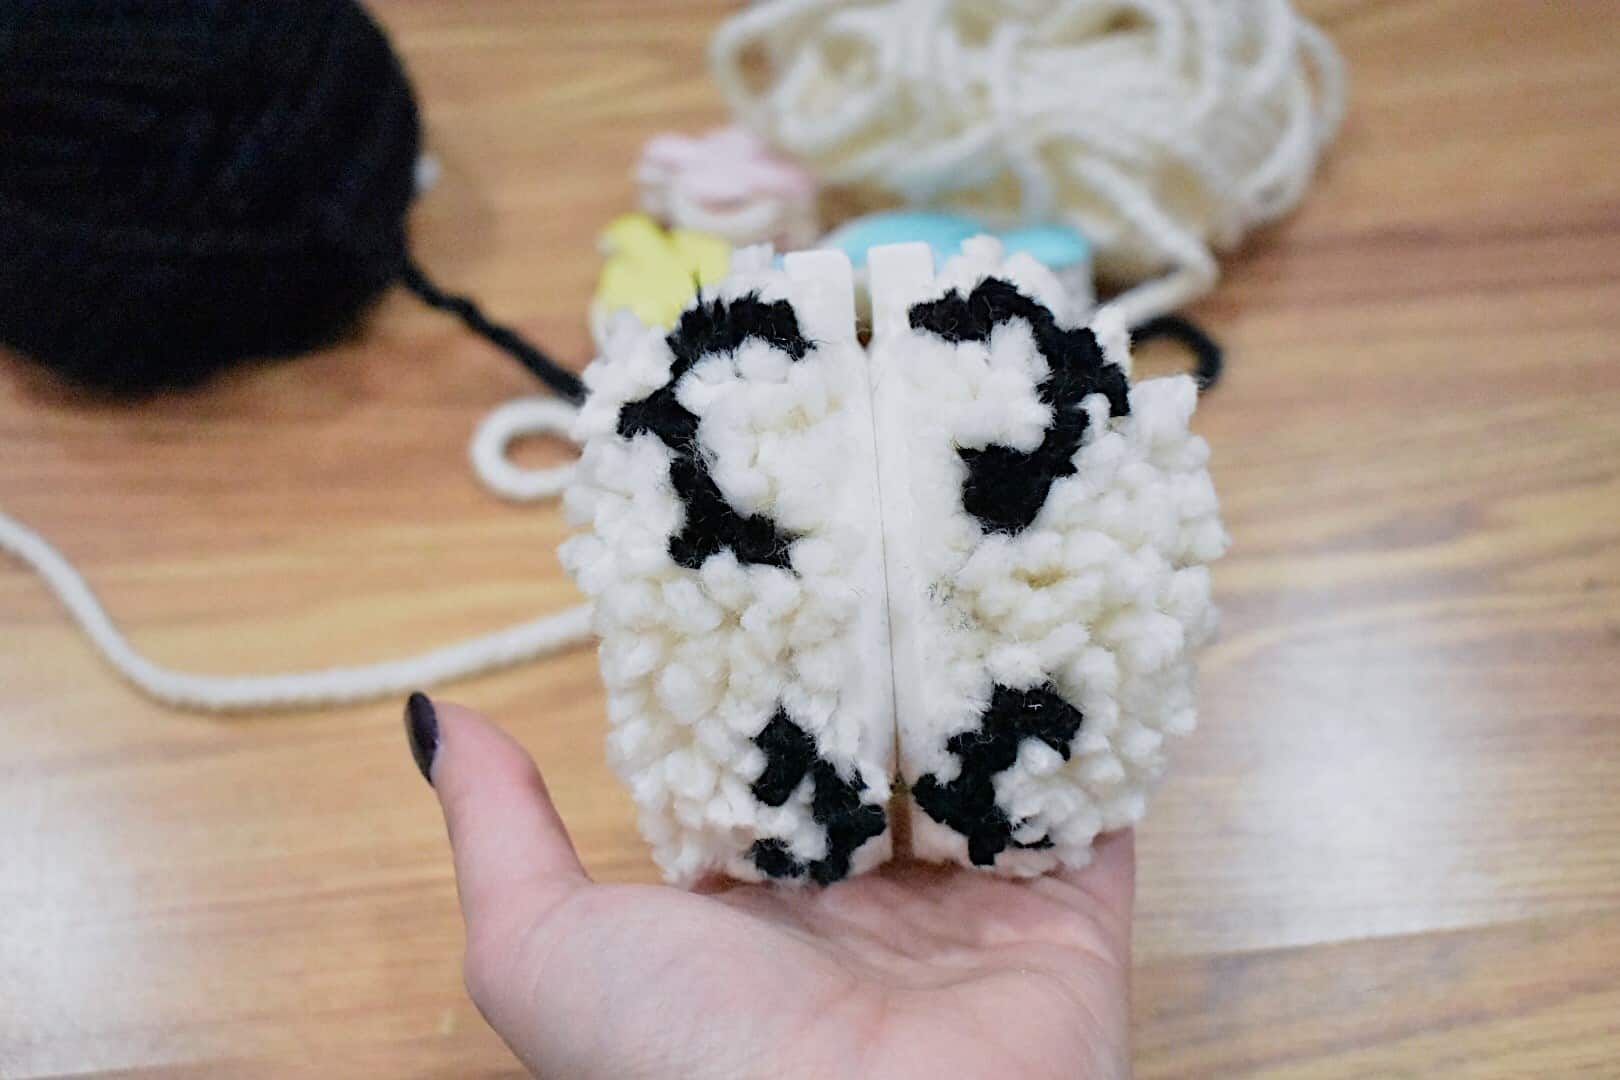
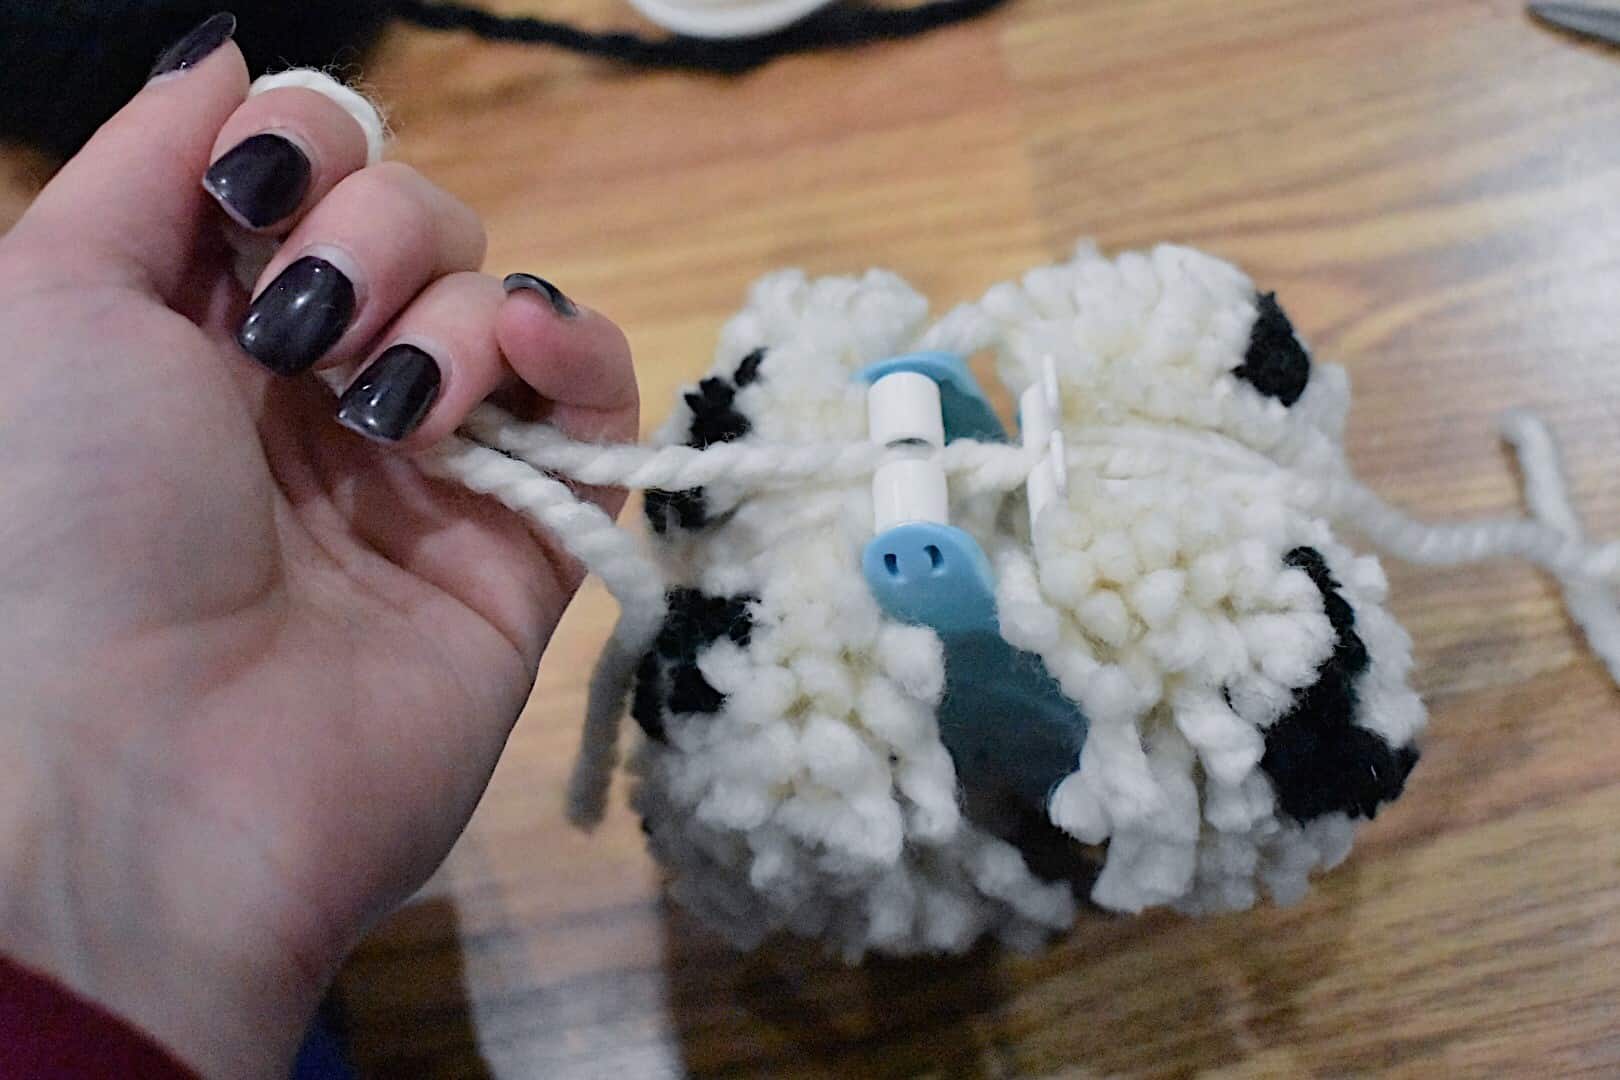
Step 14: Tie a 16″ piece of yarn down the center of your Pom-Pom Maker, where the slit is and tie a super tight knot!
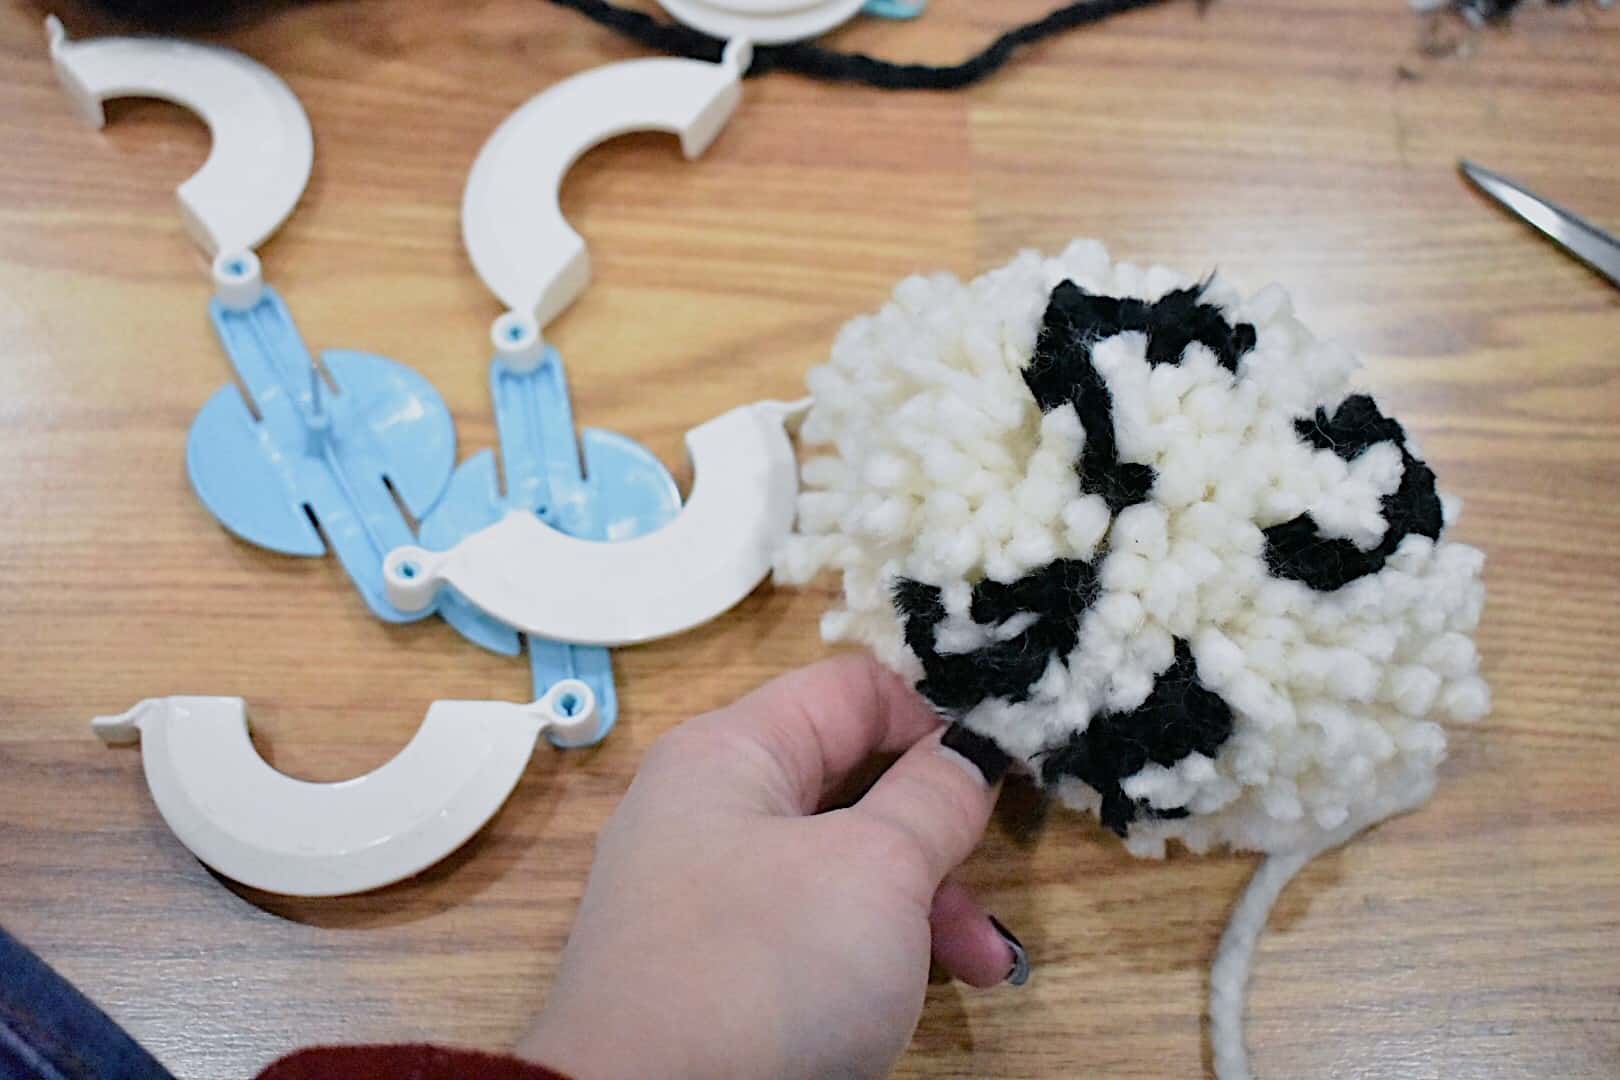
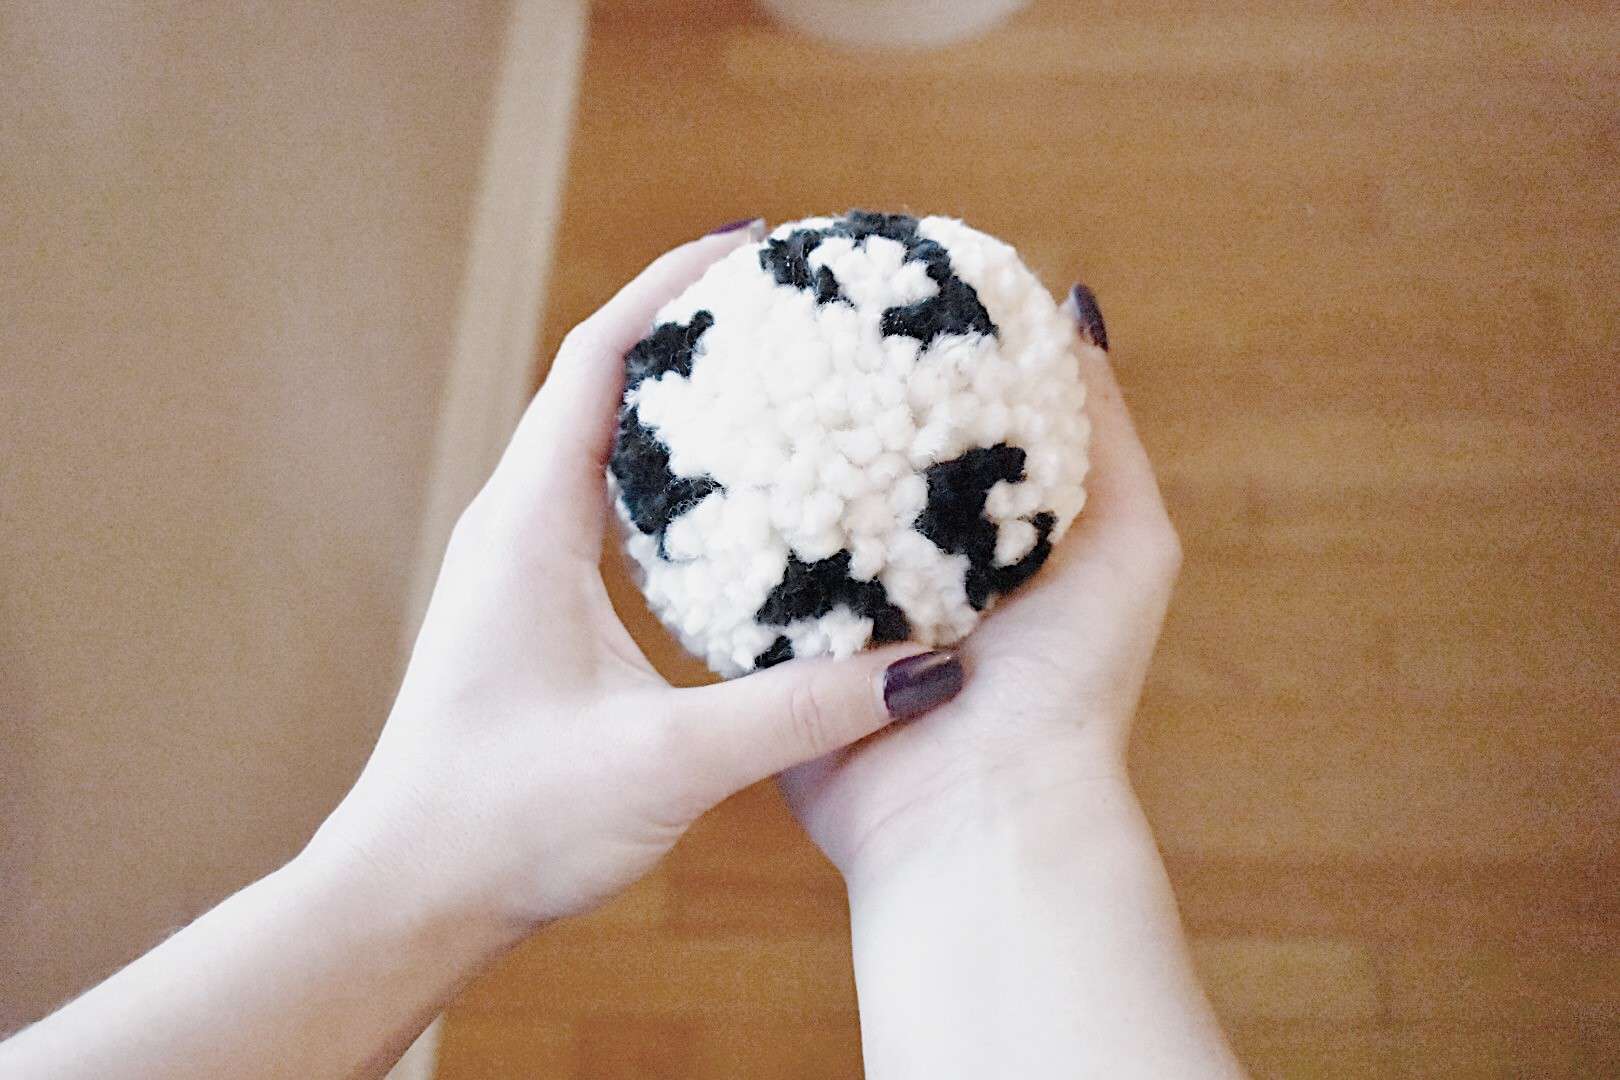
Step 15: Release your Pom-Pom Maker by opening the arches and pulling the sides apart. Give your pom-pom a little trim.
Voila! You have a leopard pom-pom!
Find Nina Bella Knits on her Blog | Facebook | Instagram | Ravelry | Etsy
Stay connected with Clover on Facebook | Twitter | Instagram | Pinterest | YouTube | Ravelry
[mc4wp_form id=”11289″]