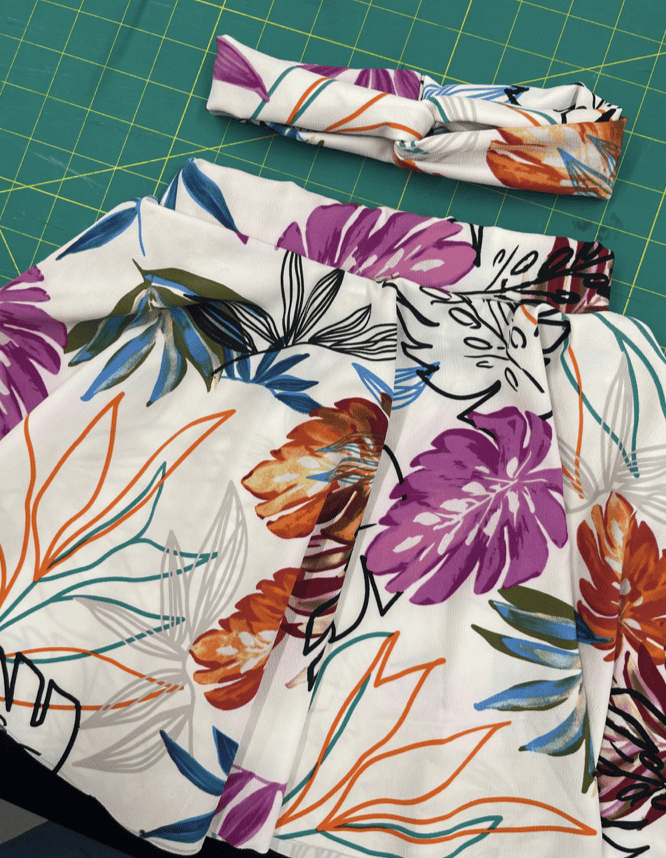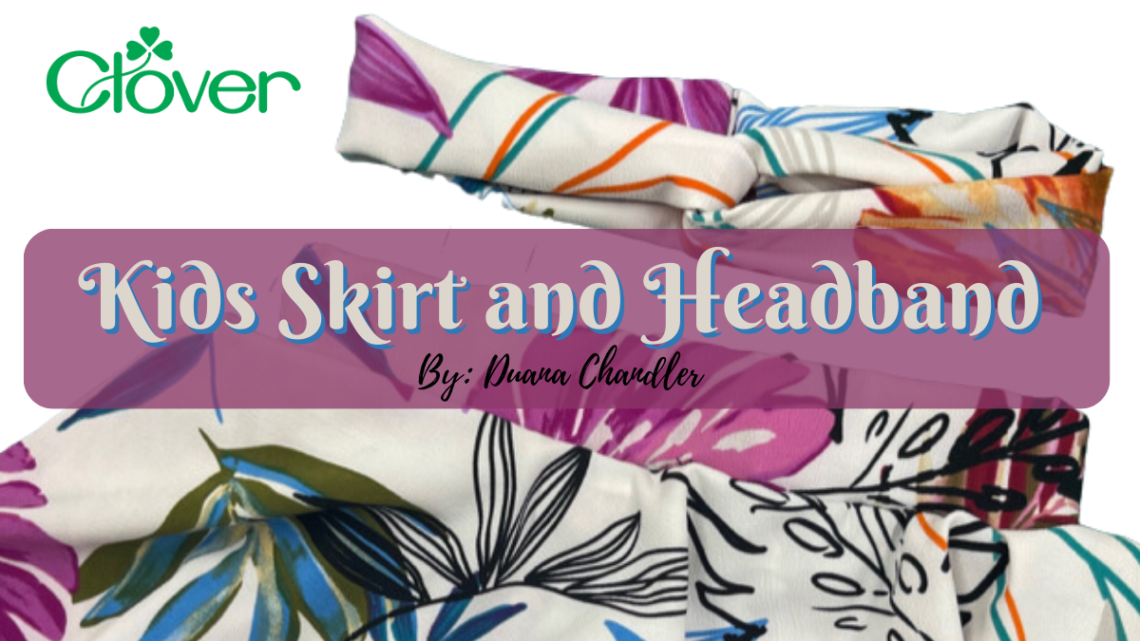
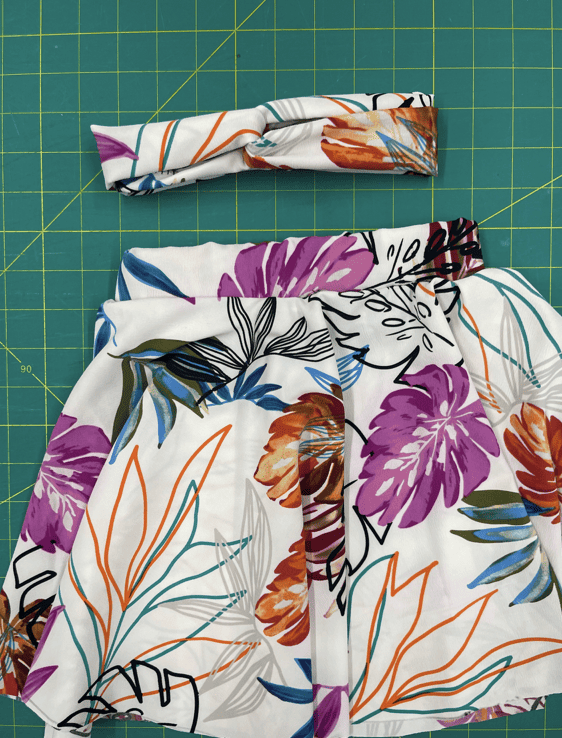
Kids Circle Skirt and Knot Headband- Sewing Tutorial
Hello! I’m Duana from Duana Studio and I’m excited to share an easy matching skirt and headband I made for my daughter. I love making my daughter clothes. She is 5 years old and is always asking for dresses and skirts. Earlier last year, I made a dress with a beautiful floral fabric and I had remnants to make her a look that she can wear alongside me this summer. So let’s get right into it!
Supplies
- Fabric (1 to 2 yards)
- 1 inch or 1.5 inch elastic
- Ruler/measuring tape
- scissors
- wonder clips- Art No. 3185
- First, I started with the skirt. To make a full circle skirt is quite easy. Fold your fabric in half two times. Wherever you have the fold, that’s the corner in which you will cut a quarter of a circle. To know how much to cut, make sure you have the circumference of the waist. I use a circle skirt calculator from Mood Fabrics, which is fantastic! These were based on my daughter’s measurements, so be sure to look up the measurements you need. For this skirt, I made it a slight big wider so that I can have it gather a little.

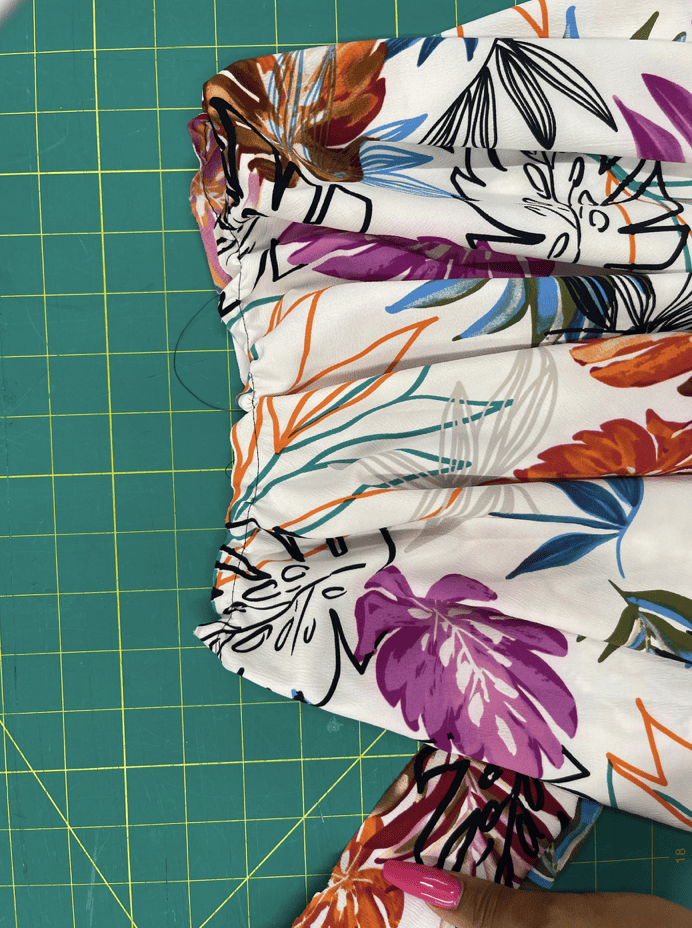
2. Next, I open up the skirt and baste around it. This step isn’t necessary if you made exact measurements.
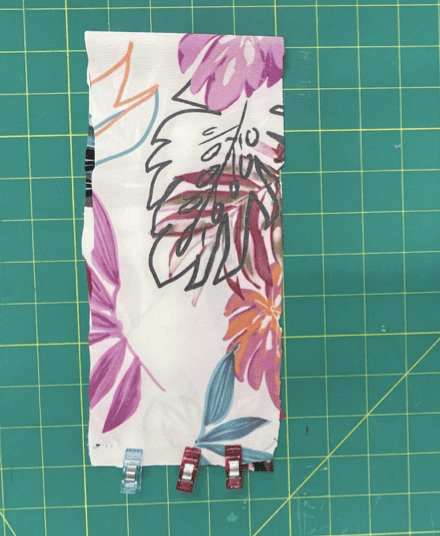
3. I then create the waist band. I like to put elastic in it, but also not required. I like that the elastic makes the waist more sturdy, so it is a good idea. I first cut a strip about 20” x 5”. Fold it in half and clip to keep it in place. Stitch together.
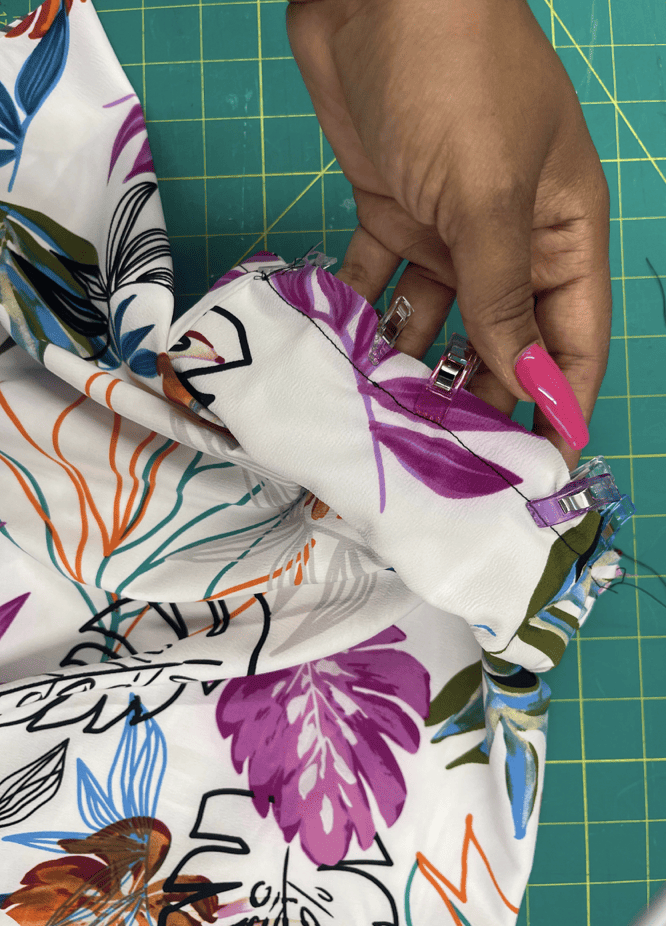
4. Fold it again so that right sides are out. This is your waist band without elastic. You can simply attach it to your circle skirt or add elastic from this point. Make sure to leave a small opening for the elastic to go through and then stitch to waistband to the skirt. Seal the area that the elastic band went through. Hem the bottom of the skirt. Let’s move on to the headband.

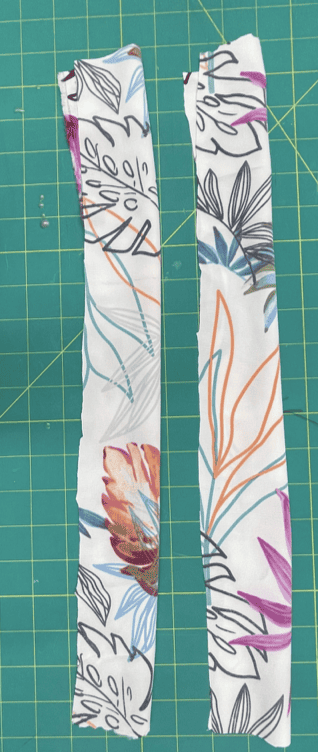
5. For the headband, I cut 2 identical pieces of fabric that I fold in half lengthwise. Stitch from one end to the other, leaving ends opened. Turn over with a loop turner or safety pin.
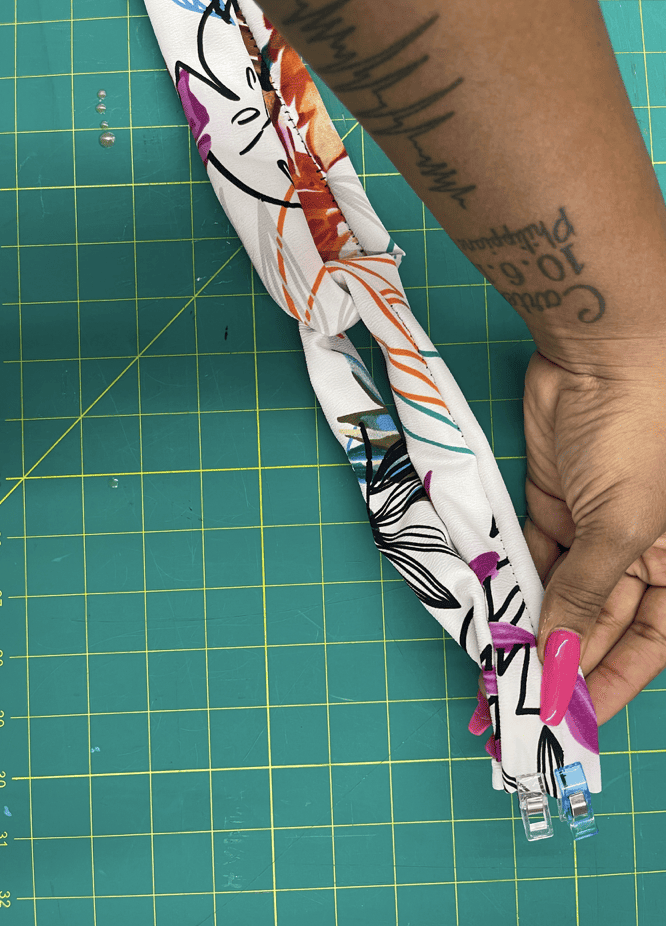
6 Like a chain, you’re going to stitch the pieces together on both sides. Finally, stitch both together at the seams to keep in place.
7. Your headband and skirt is complete! My daughter tried the skirt on and was twirling all around the house. She loved it! This is also a great beginner project for young children who are showing interest in sewing if they are looking for something to do this summer. Enjoy!