Beginner Knitting – Joining in the Round, 1×1 Ribbing and K2tog Decreases
Hi friends! Erin from CraftsEverywhere and today I’m adding to my beginner knitting series AND testing out the new PRO Takumi needles! This series shows the basics for learning how to knit and we’re covering some important things for making hats in this post.
After swatches, hats are typically what most people start with when learning to knit. We will learn how to join in the round, knit 1×1 ribbing and make a basic decrease.
I did all of this on the new needles and they are so easy to use. Smooth, flexible joins between the cable and needle, color codes and sharp (but not too sharp) tips. Scroll to check out video and photo tutorials!
I highly recommend that you check out my previous post for different cast on methods and how to work the Knit and Purl stitches before beginning if you need help with those.
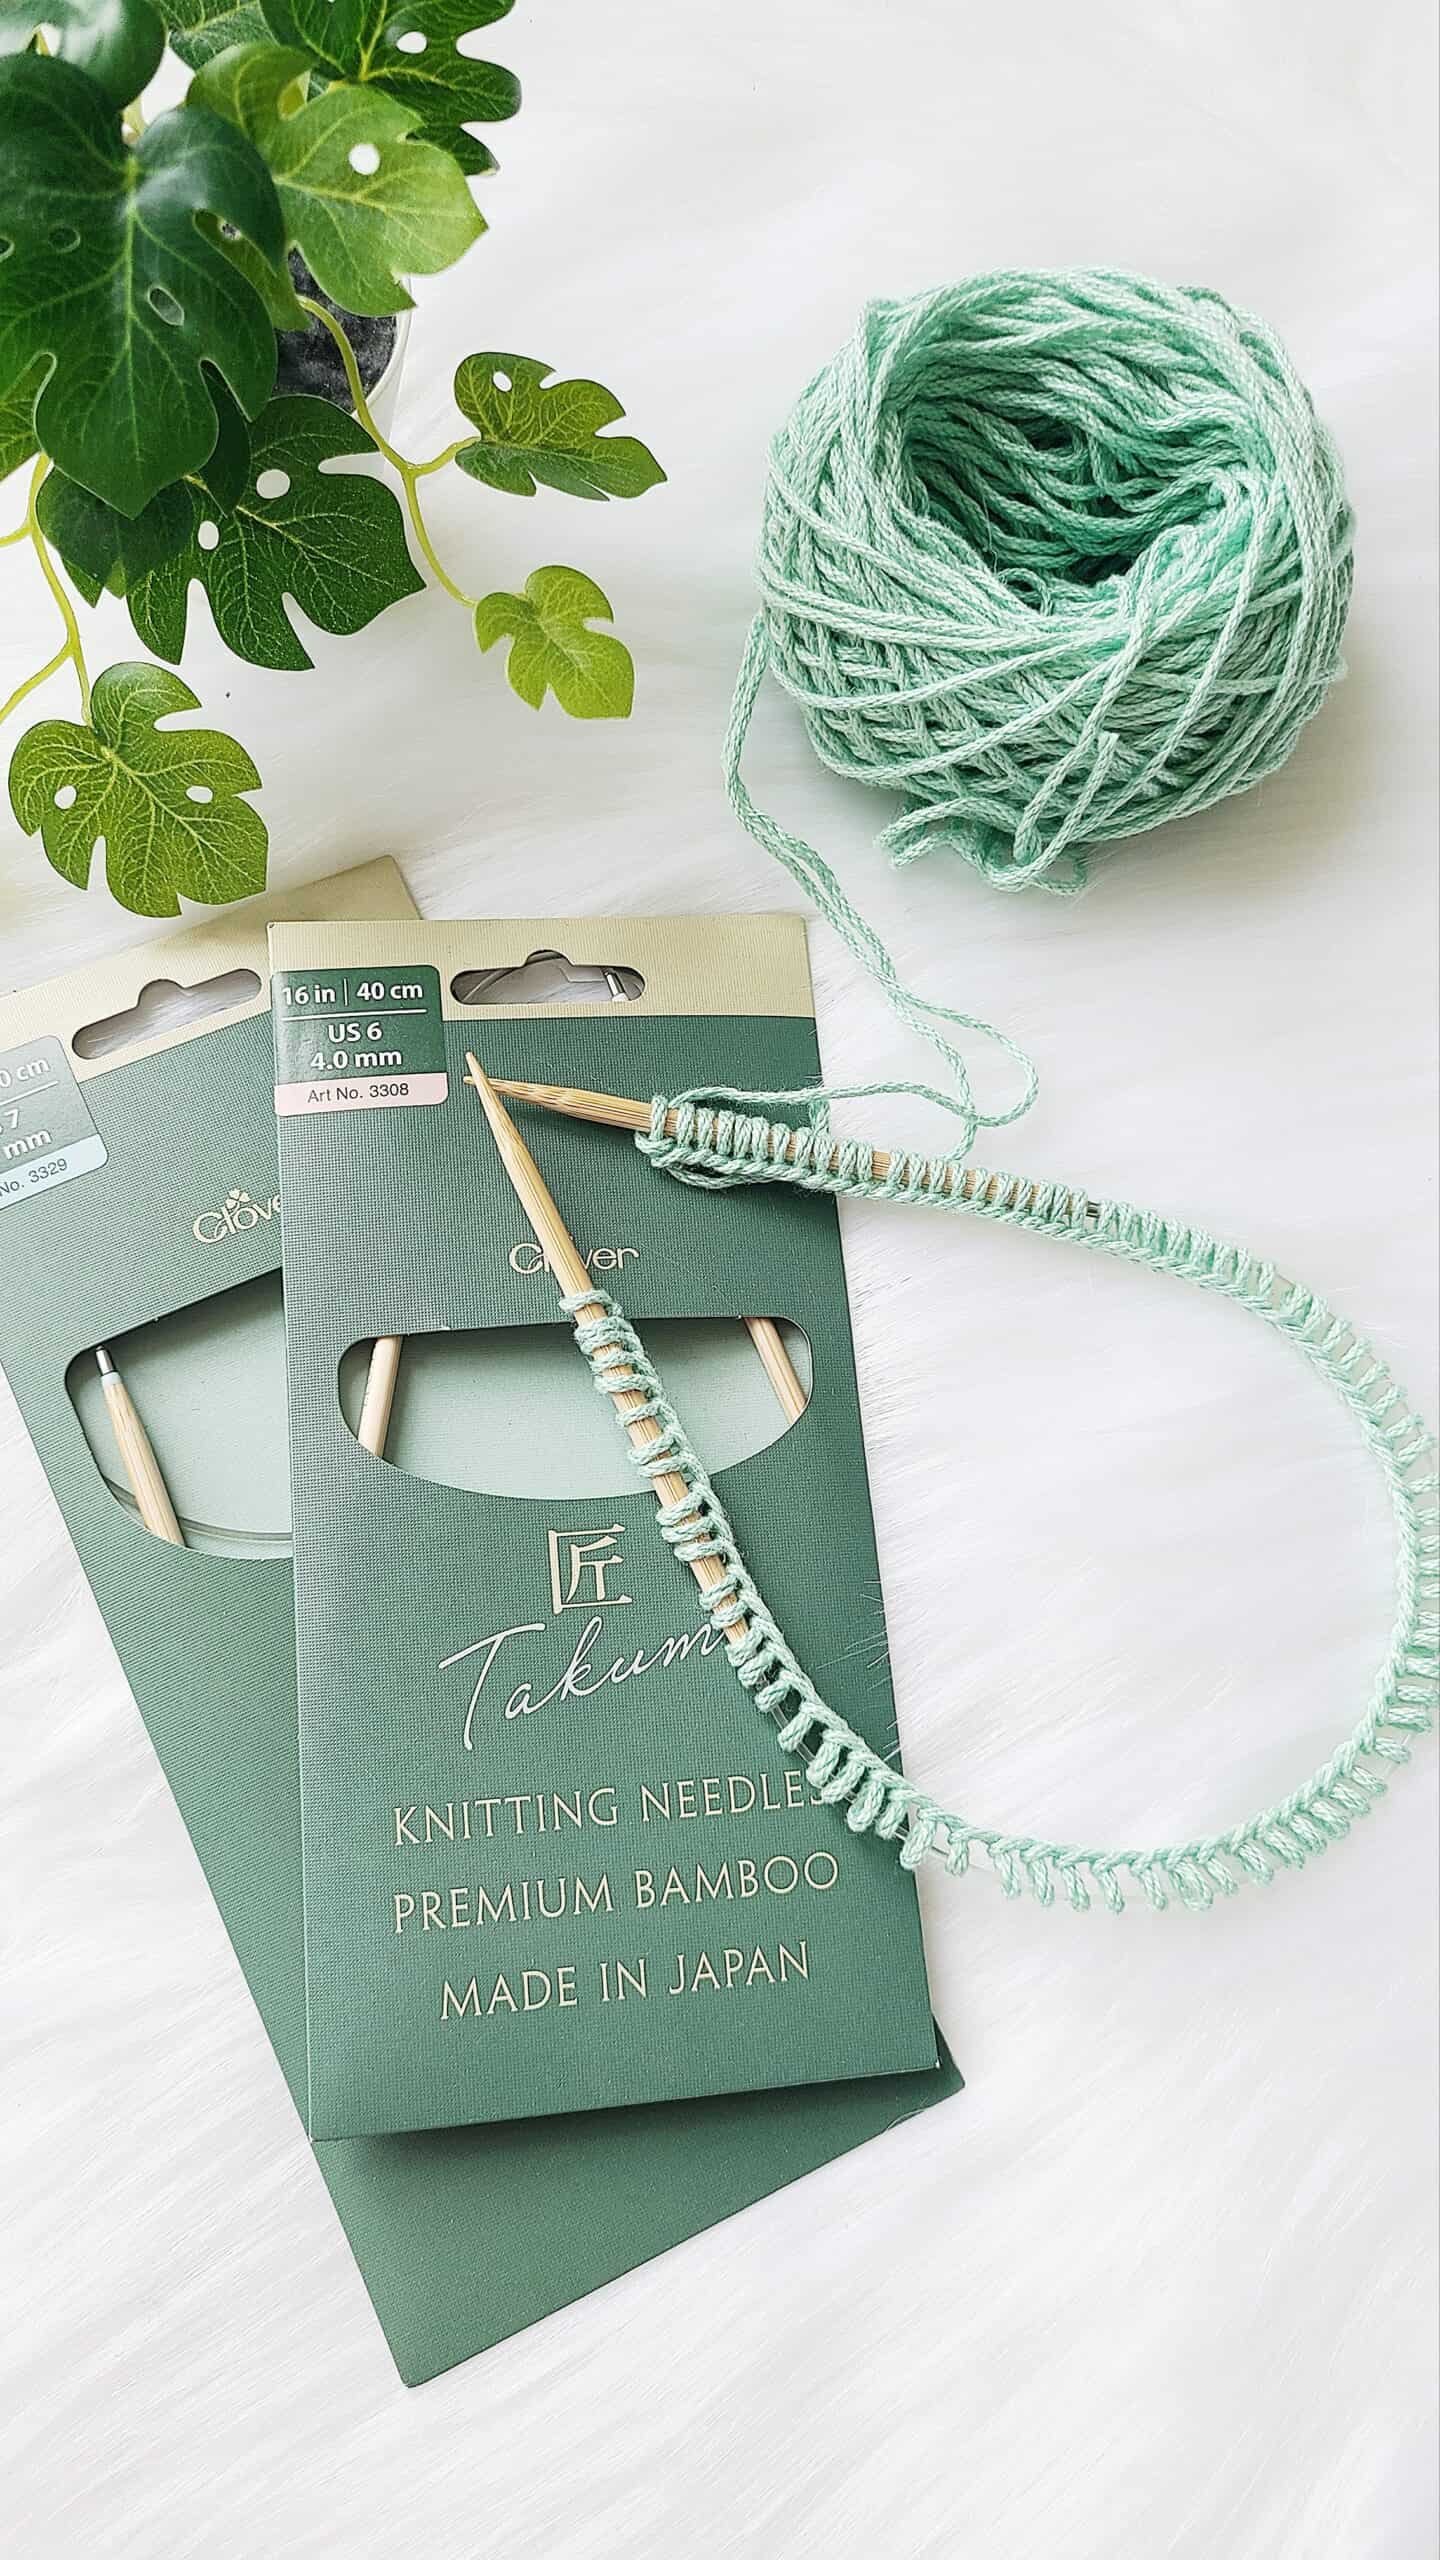
For this, you’ll need any size circular needles and appropriate yarn for those needles. I used new 4.5 mm PRO Takumi bamboo circular needles and Lion Brand 24/7 cotton. This tutorial is geared towards right-handed people and teaches the English knitting style. Let’s get started!
Skill Level
Beginner (Easy)
Materials
- PRO Takumi Bamboo Knitting Needles (4.5 mm)
- Worsted weight yarn – I used Lion Brand 24/7 Cotton
- Stitch marker
Video Link
- YouTube Video
- Joining in the Round (1:06)
- 1×1 Ribbing (2:13)
- K2tog Decrease (4:35)
Joining in the Round
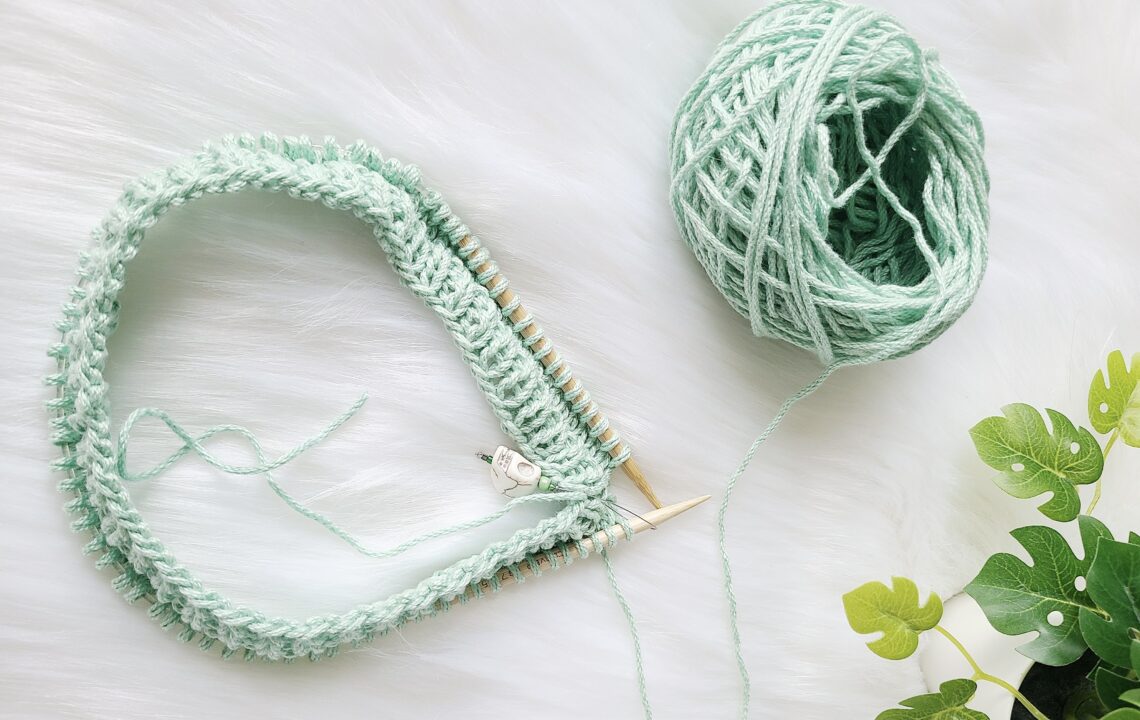
To join in the round, you will need circular needles and to cast on enough stitches to fit comfortably around the needles. I cast on 84 stitches using the long tail method for this example but you may need more or less depending on the size of needles/yarn you are using.
Step 1 – Place the knitting needles tip to tip with the working yarn in your right hand and add a stitch marker on the right hand needle to mark your end of round.
Step 2 – Insert the right hand needle from front to back through the first stitch you cast on (it will be the first stitch on the left hand needle).
Step 3 – Knit the stitch as you normally would and you have joined in the round.
1×1 Ribbing
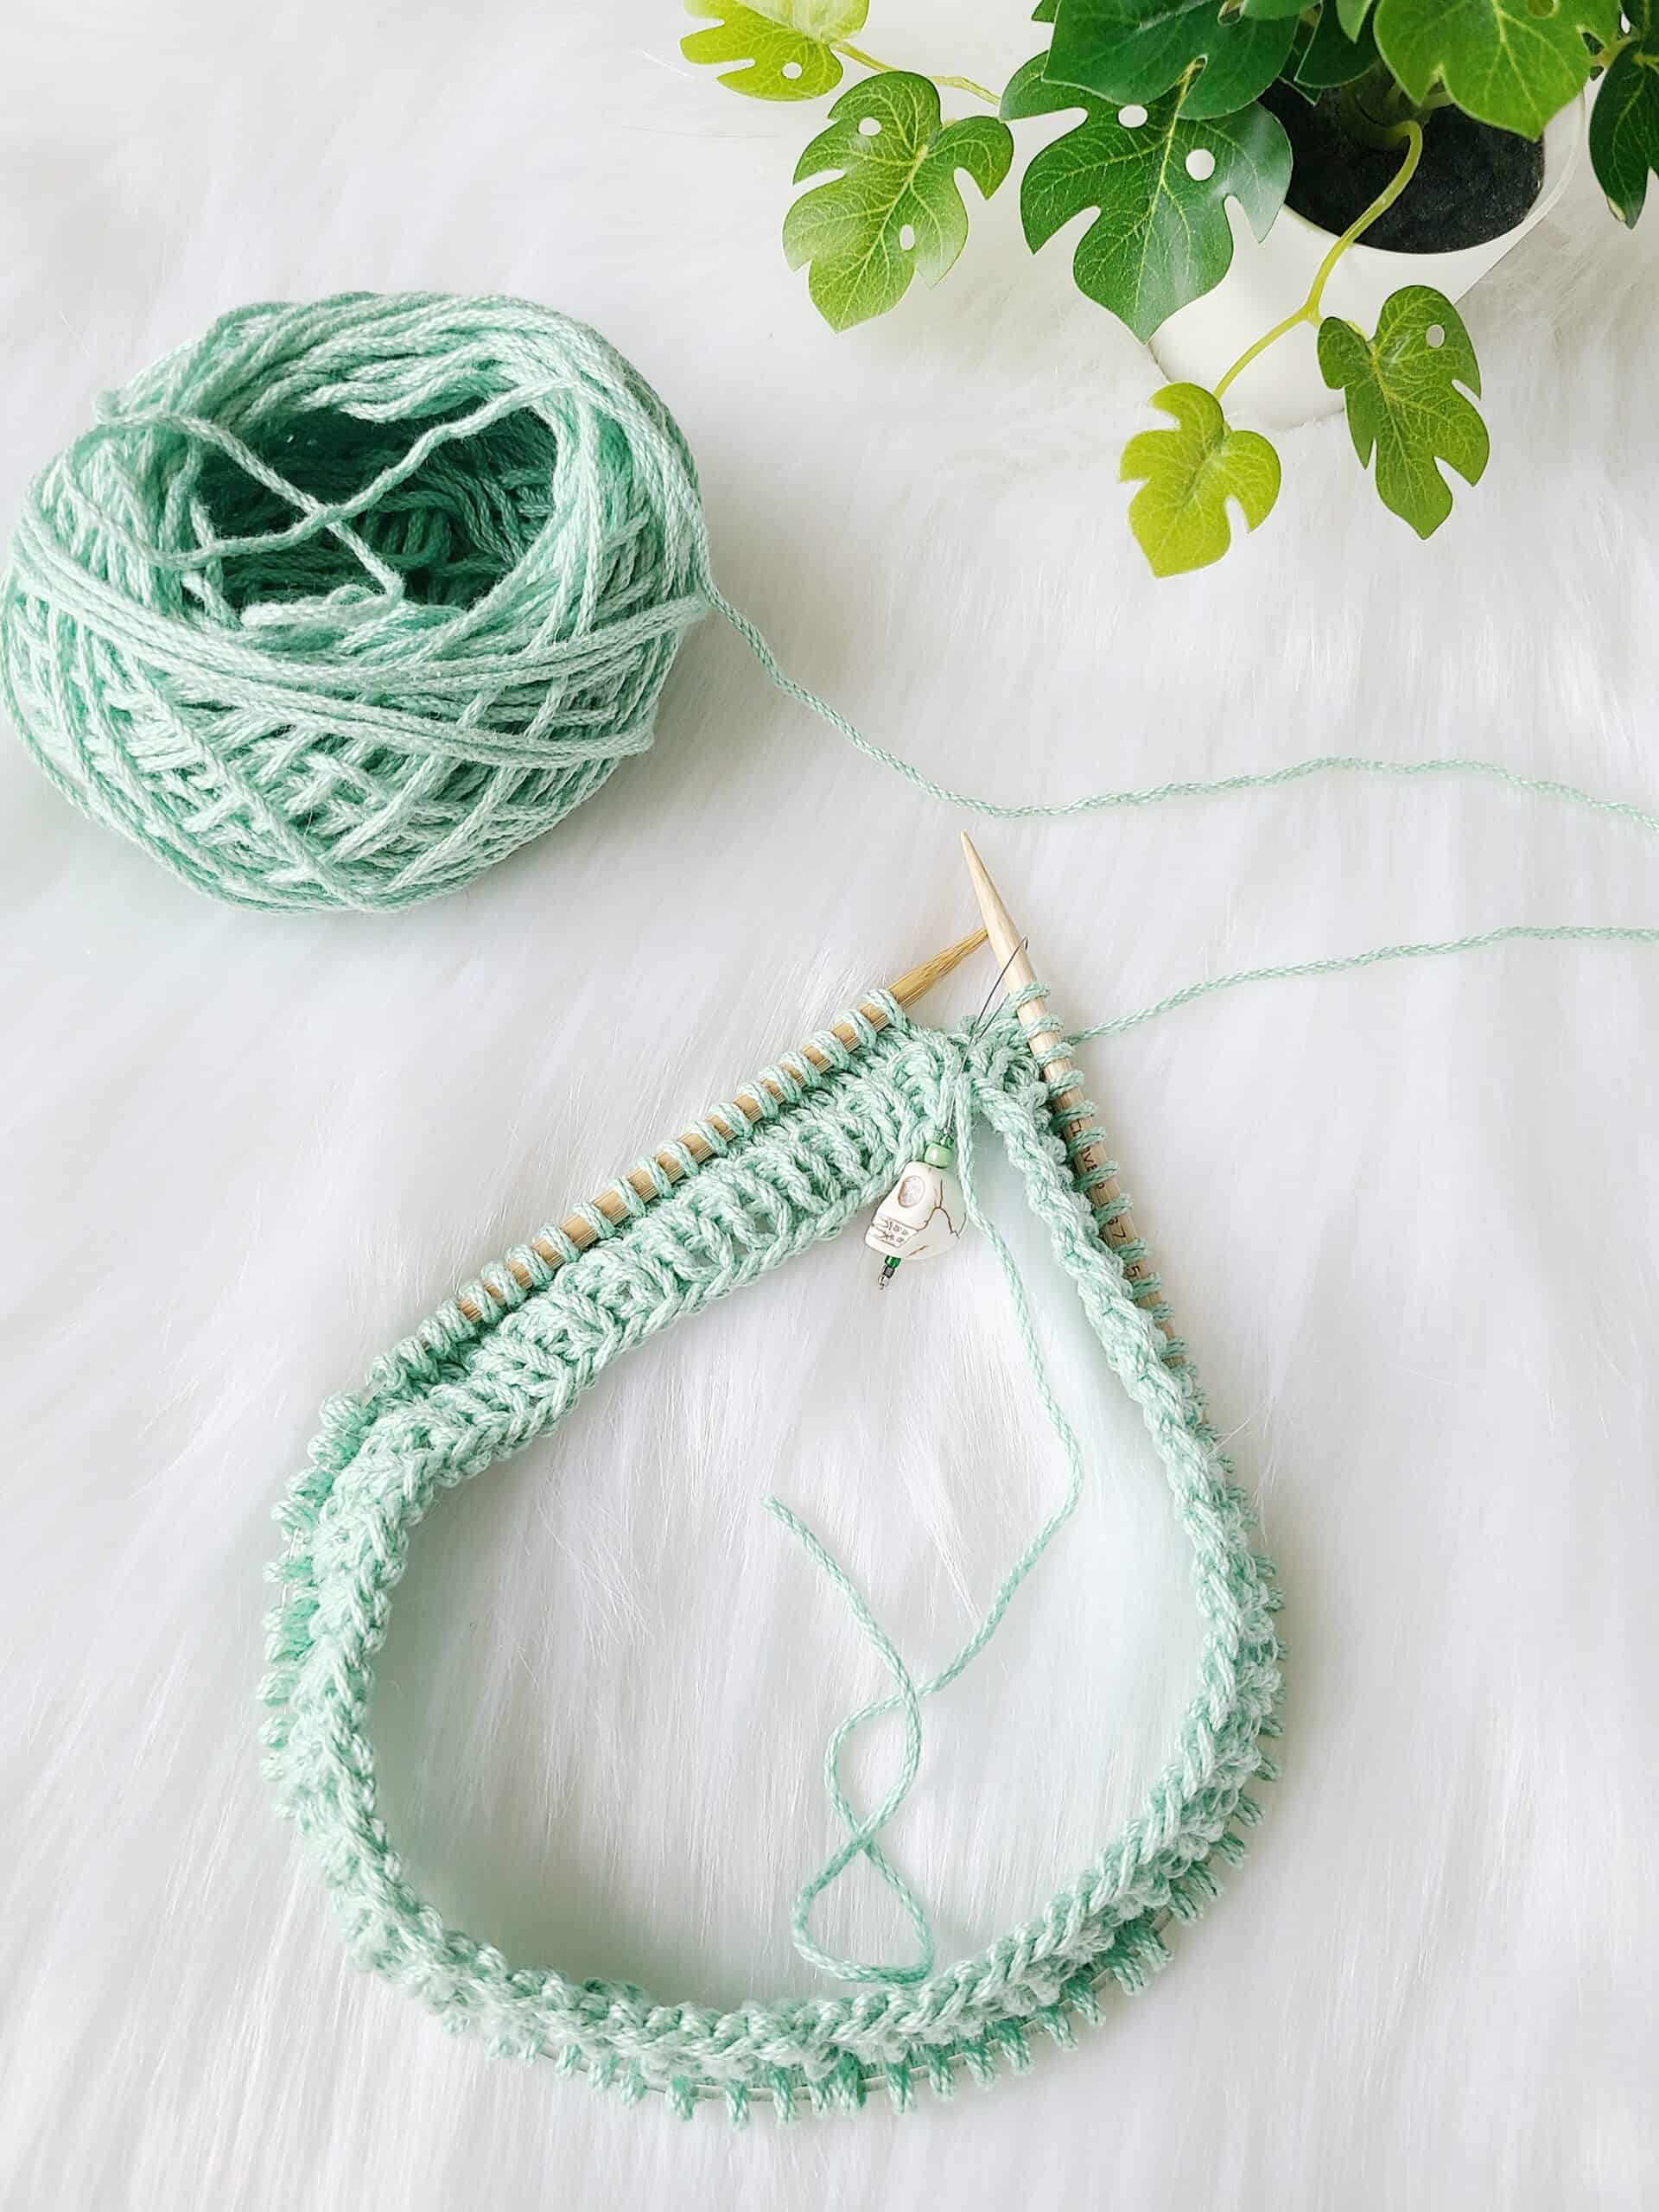
For this style of ribbing, you will need an even amount of stitches on your needles. I cast on 84 for the example.
You will work one knit stitch and then one purl stitch. Repeat those 2 stitches to the end of the round. It is often written as “K1, P1” in knitting patterns.
There are many different styles of ribbing. 1×1 is a good, easy one to get started with and is also considered the most classic ribbing style.
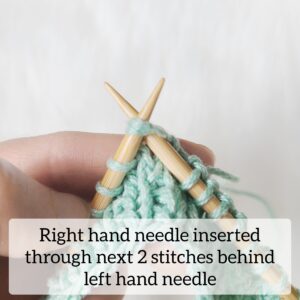
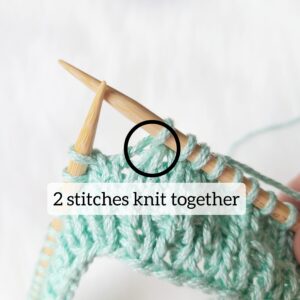
K2tog Decrease
This is a basic, right-leaning decrease used to make your knitting smaller for the tops of hats, necklines, socks, etc. Decreases are typically alternated with other stitches, especially for hat patterns, so that the decrease gets smaller gradually.
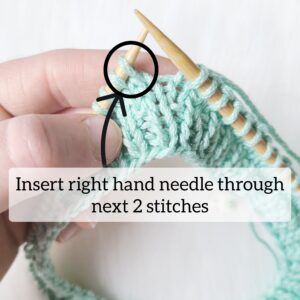
The only difference between a standard knit stitch and a K2tog decrease is that you will insert your right hand needle through 2 stitches instead of 1 when you go to knit.
Step 1 – Insert right hand needle as if to knit through the next 2 stitches from front to back.
Step 2 – Wrap yarn clock-wise around the right hand needle and pull the right needle through the two stitches on the left hand needle.
Step 3 – Drop the 2 stitches just knit off the left hand needle.
Now that you’ve learned some more basics of knitting, make sure to show it off on social media by tagging me @craftseverywhere so I can cheer with you about your new skills on Instagram or Facebook! Check out my knitting patterns on Ravelry and Etsy too.

If you have any questions regarding this tutorial, don’t hesitate to contact me at erin.oetker@gmail.com or through my messages on Etsy or Instagram.
Erin
Find CraftsEverywhere on social media! Instagram | Facebook | Ravelry | Etsy
Stay connected with Clover on Facebook | Twitter | Instagram | Pinterest | YouTube | Ravelry