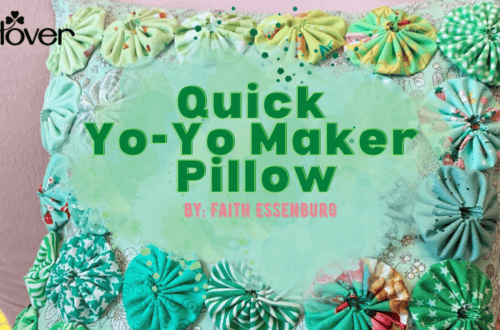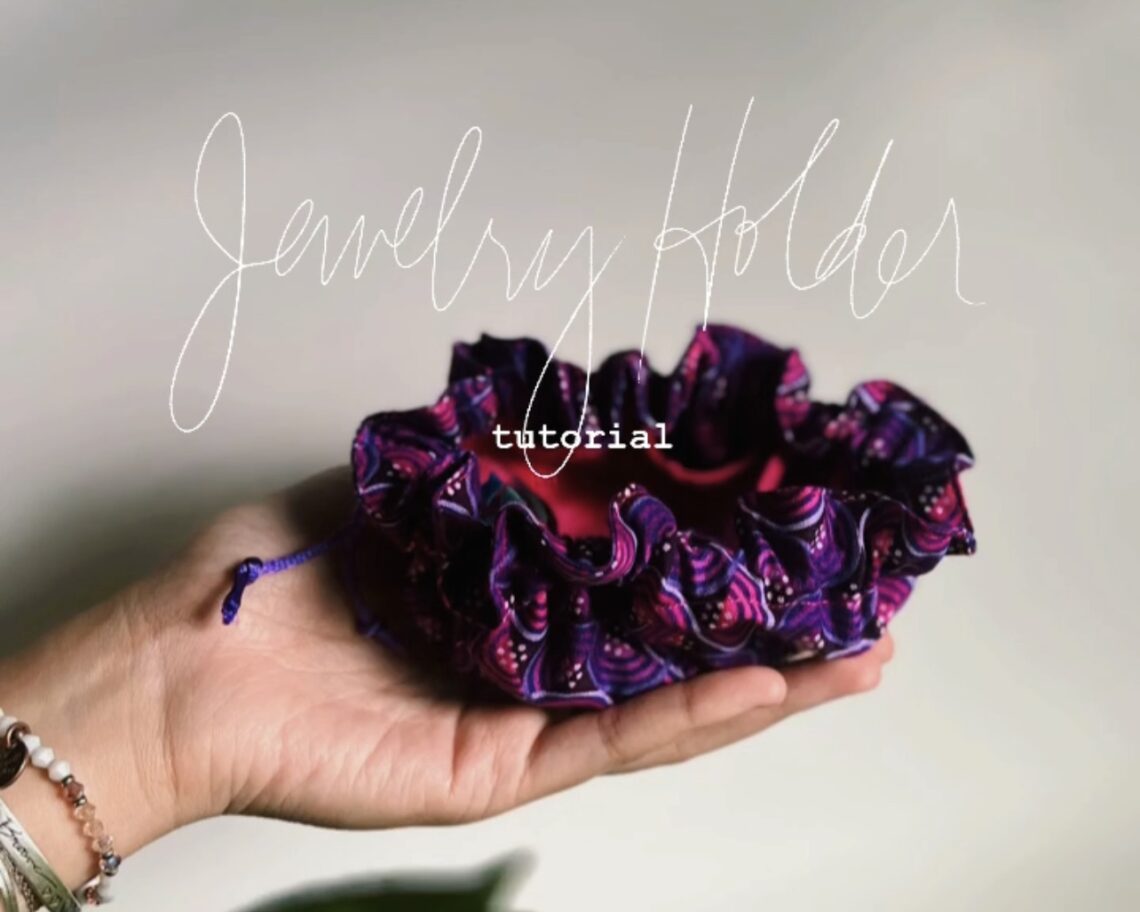
Jewelry Holder Sewing Tutorial
Hi, my name is Rumer! You can find me on IG @rumer_has_it 🙂 Now that it’s officially summer break, you might find yourself having the time and opportunity to travel. I’ve recently done some travel myself and have missed this little handmade compact jewelry holder that my grandma got for me when I was younger. It was lightweight and I could throw in my earrings, necklaces, and bracelets to take with me. There were a bunch of pockets so that each accessory could have its own little space and not get tangled..because detangling necklaces is just the worst! I decided to recreate it to the best of my ability and this is what I came up with.
What you’ll need:
- ½ yd of Main Fabric
- ¼ yd of Lining Fabric
- Matching Thread
- Lightweight Interfacing
- Water Erasable Pen https://clover-usa.com/collections/sewing-and-quilting/products/water-soluble-marker-fine
- Buttonhole Foot
- Buttonhole Cutter https://clover-usa.com/collections/sewing-and-quilting/products/button-hole-cutter
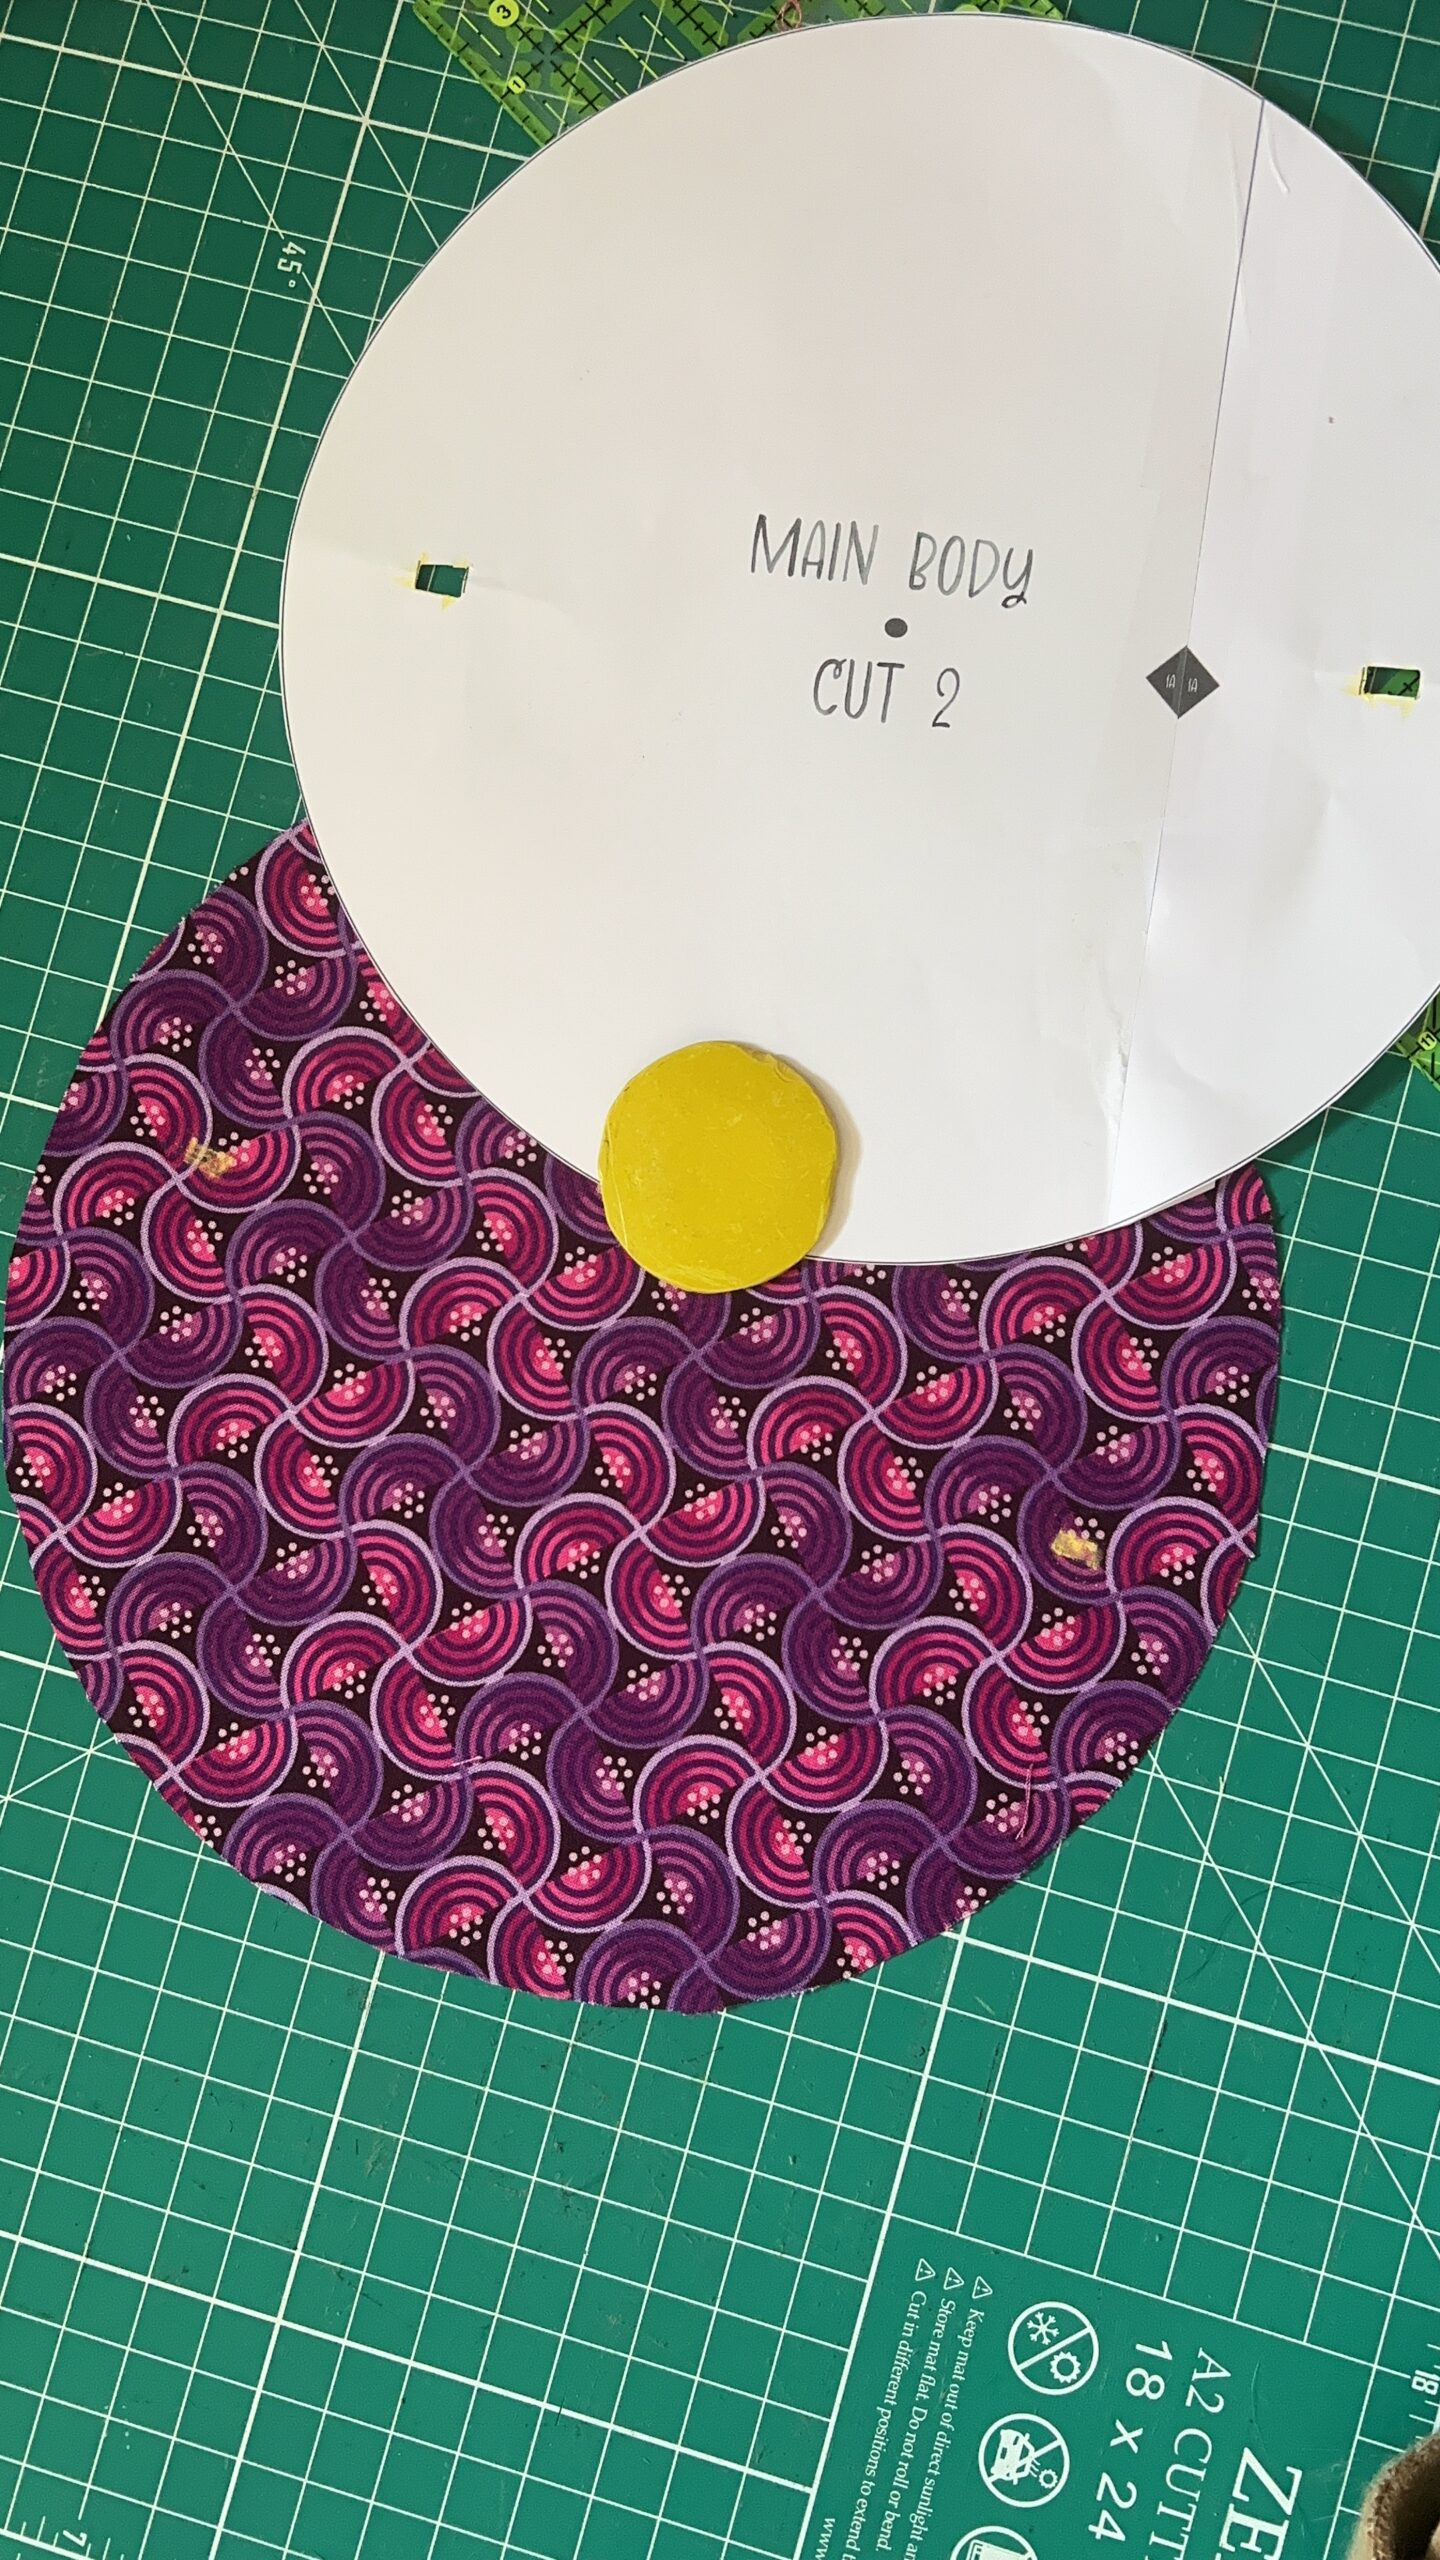
- Tailor’s Chalk https://clover-usa.com/products/triangle-tailors-chalk-yellow
- Wonderclips https://clover-usa.com/collections/sewing-and-quilting/products/wonder-clips-variety-pack
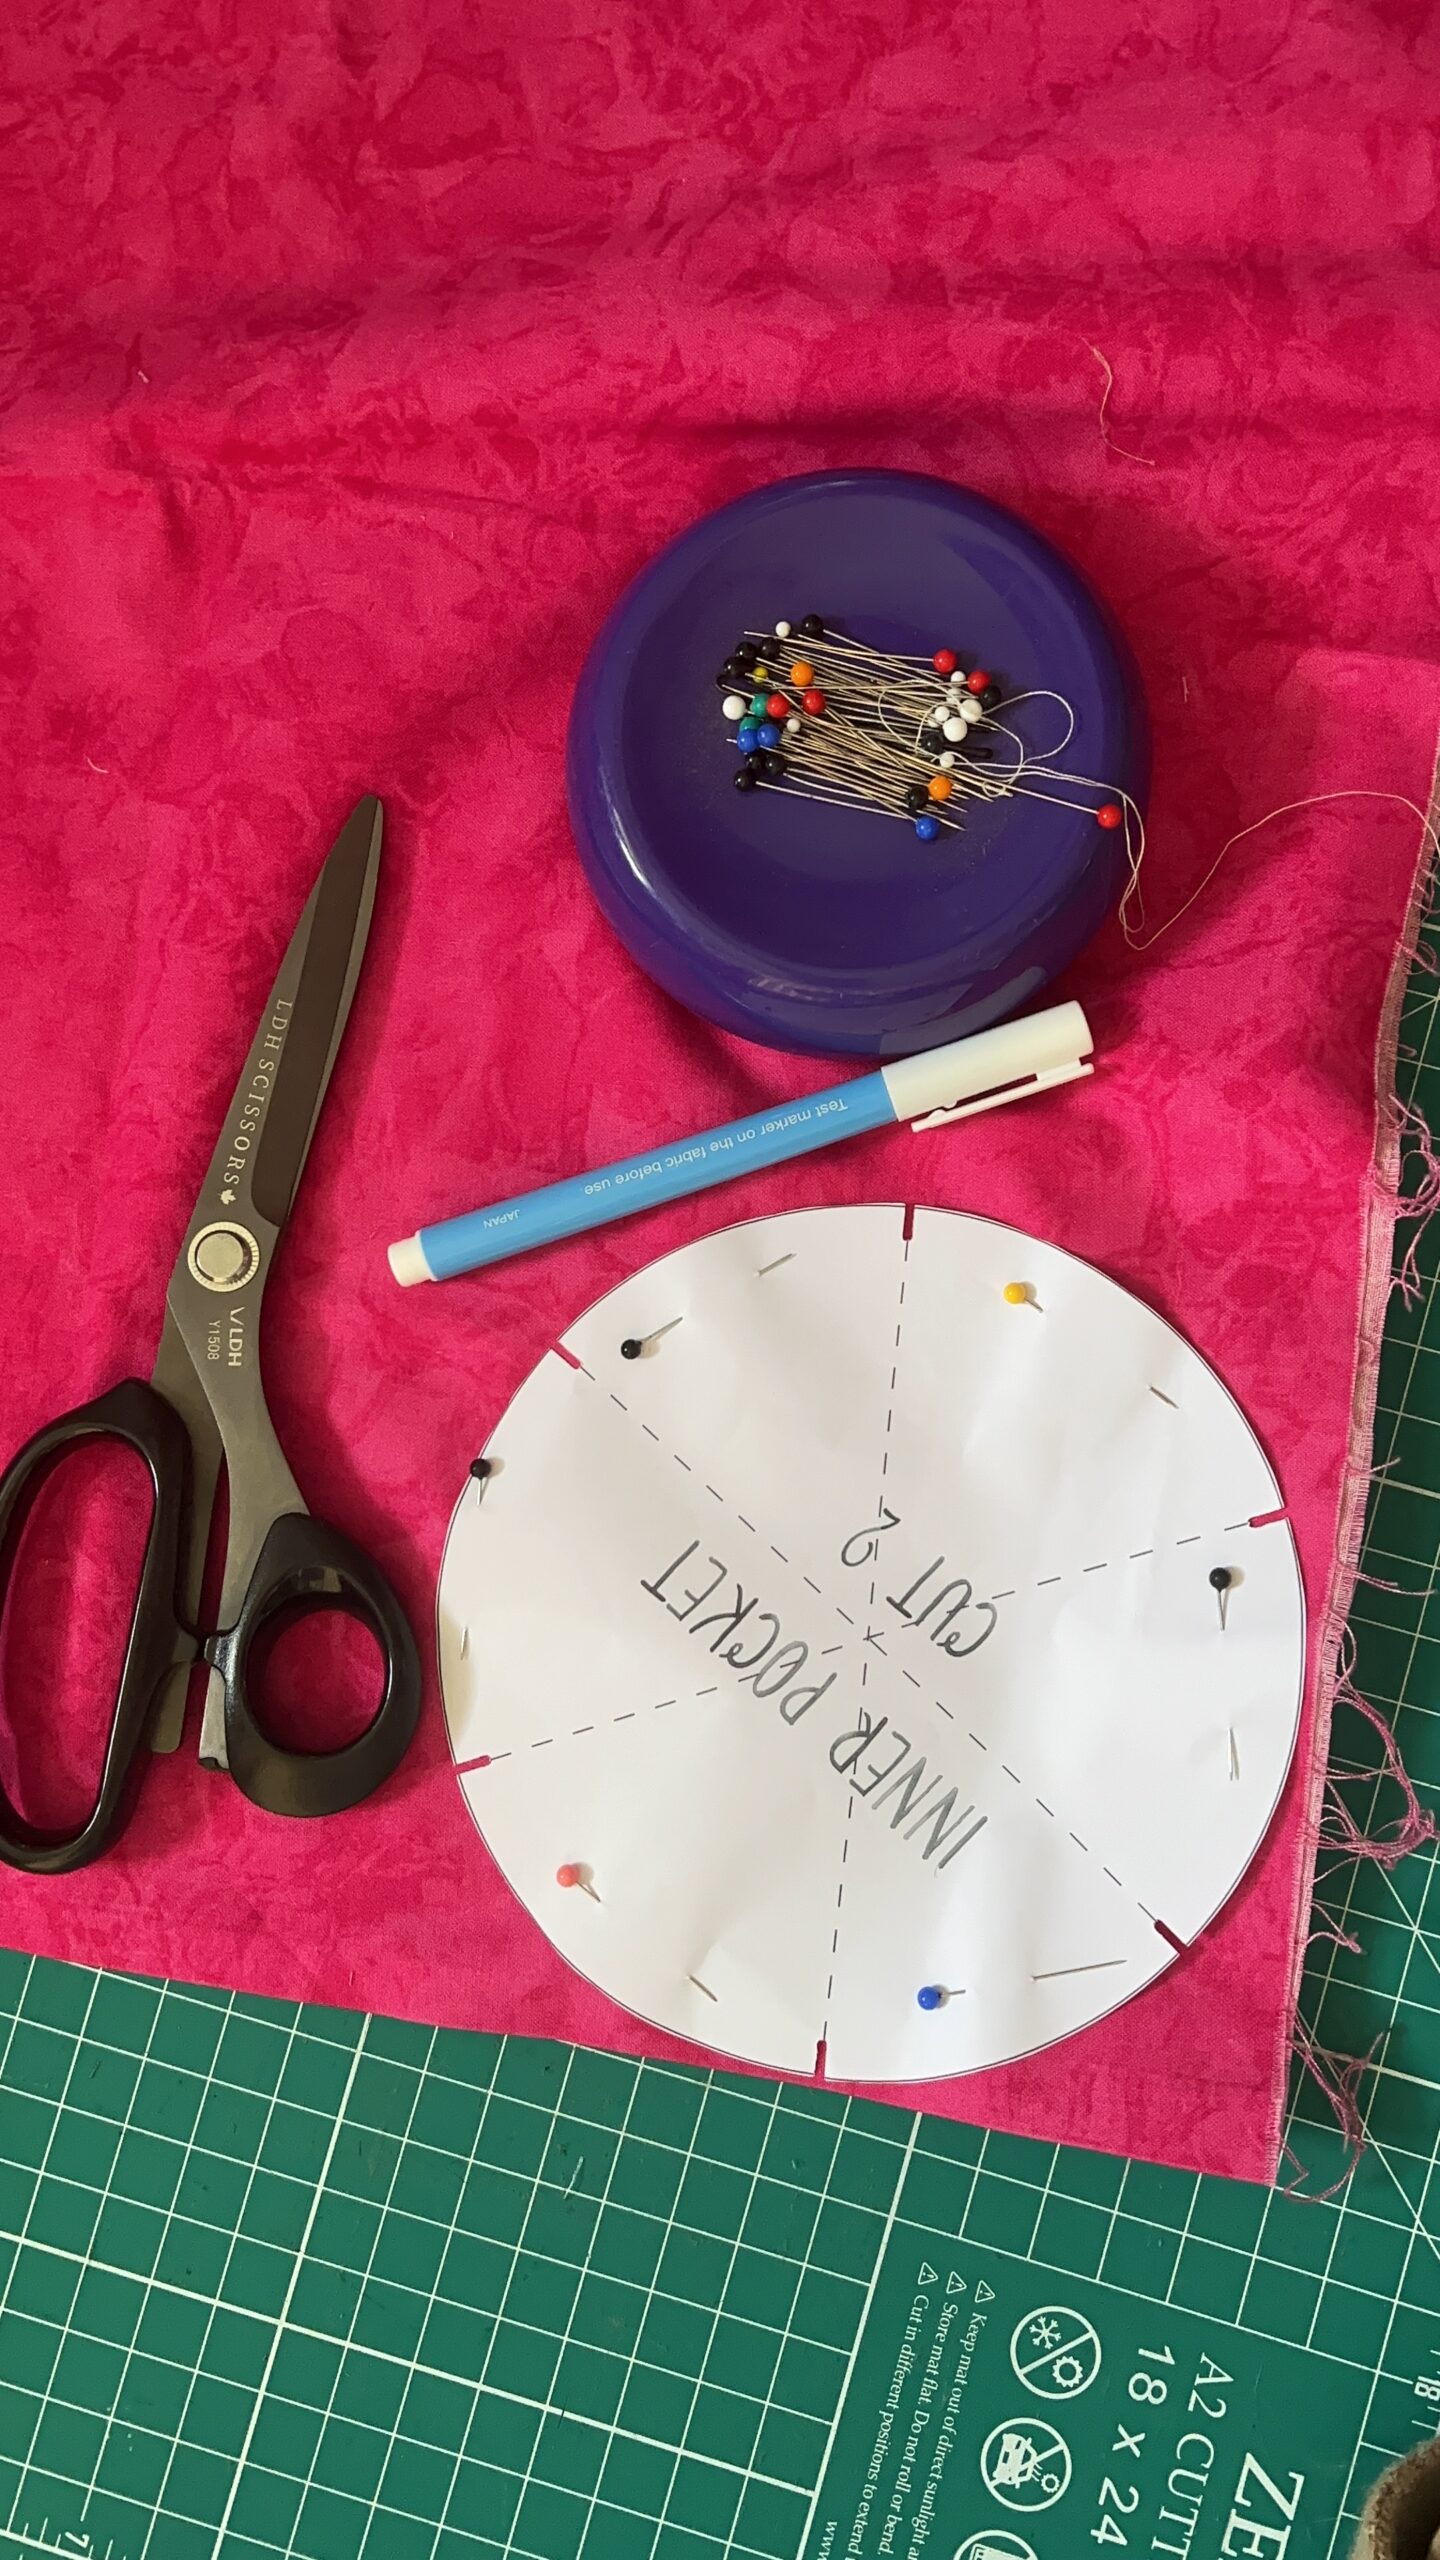
- Scissors
- Matching Thread
- Iron
- Safety Pin
- 2 strands of 50” long satin rattail cord in a coordinating color
- Cardboard
- Optional: Fray Check
- Optional: Fabric Glue
- Optional: Scotch Tape


Instructions:
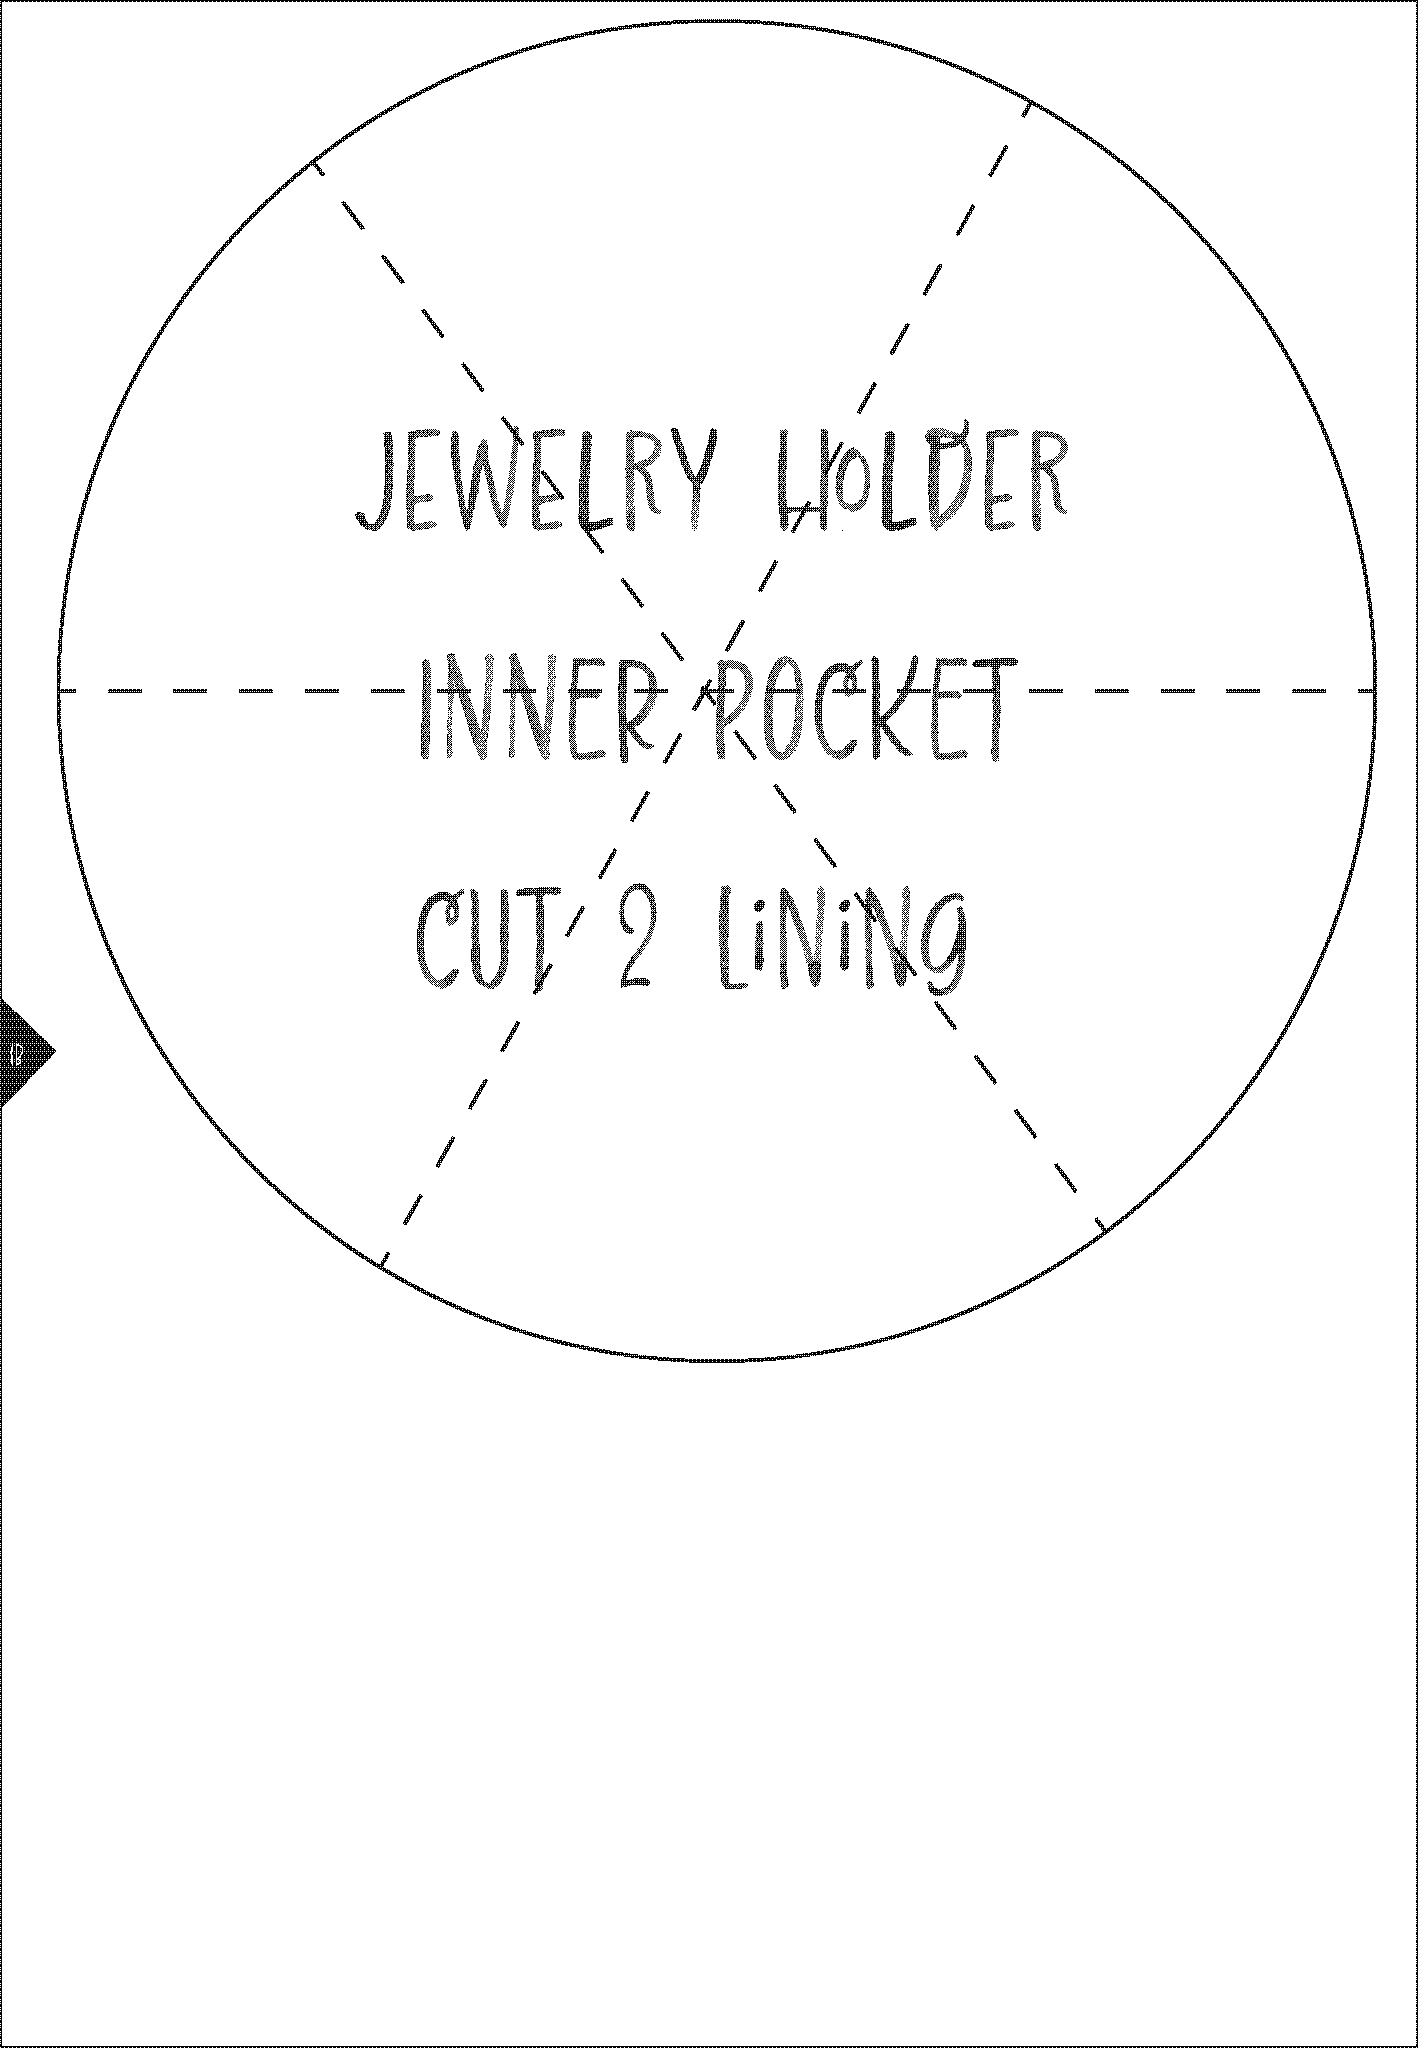
1. Print at 100% scale and cut out from paper, fabric, and cardboard the attached pattern template. Make sure to indicate notches and guidelines (especially on the inner pocket piece) using a water erasable pen or tailor’s chalk. *Note: You will only need to indicate the buttonhole notches on the right side of one of the main body pieces and the guidelines on the right side of one of the inner pocket pieces.
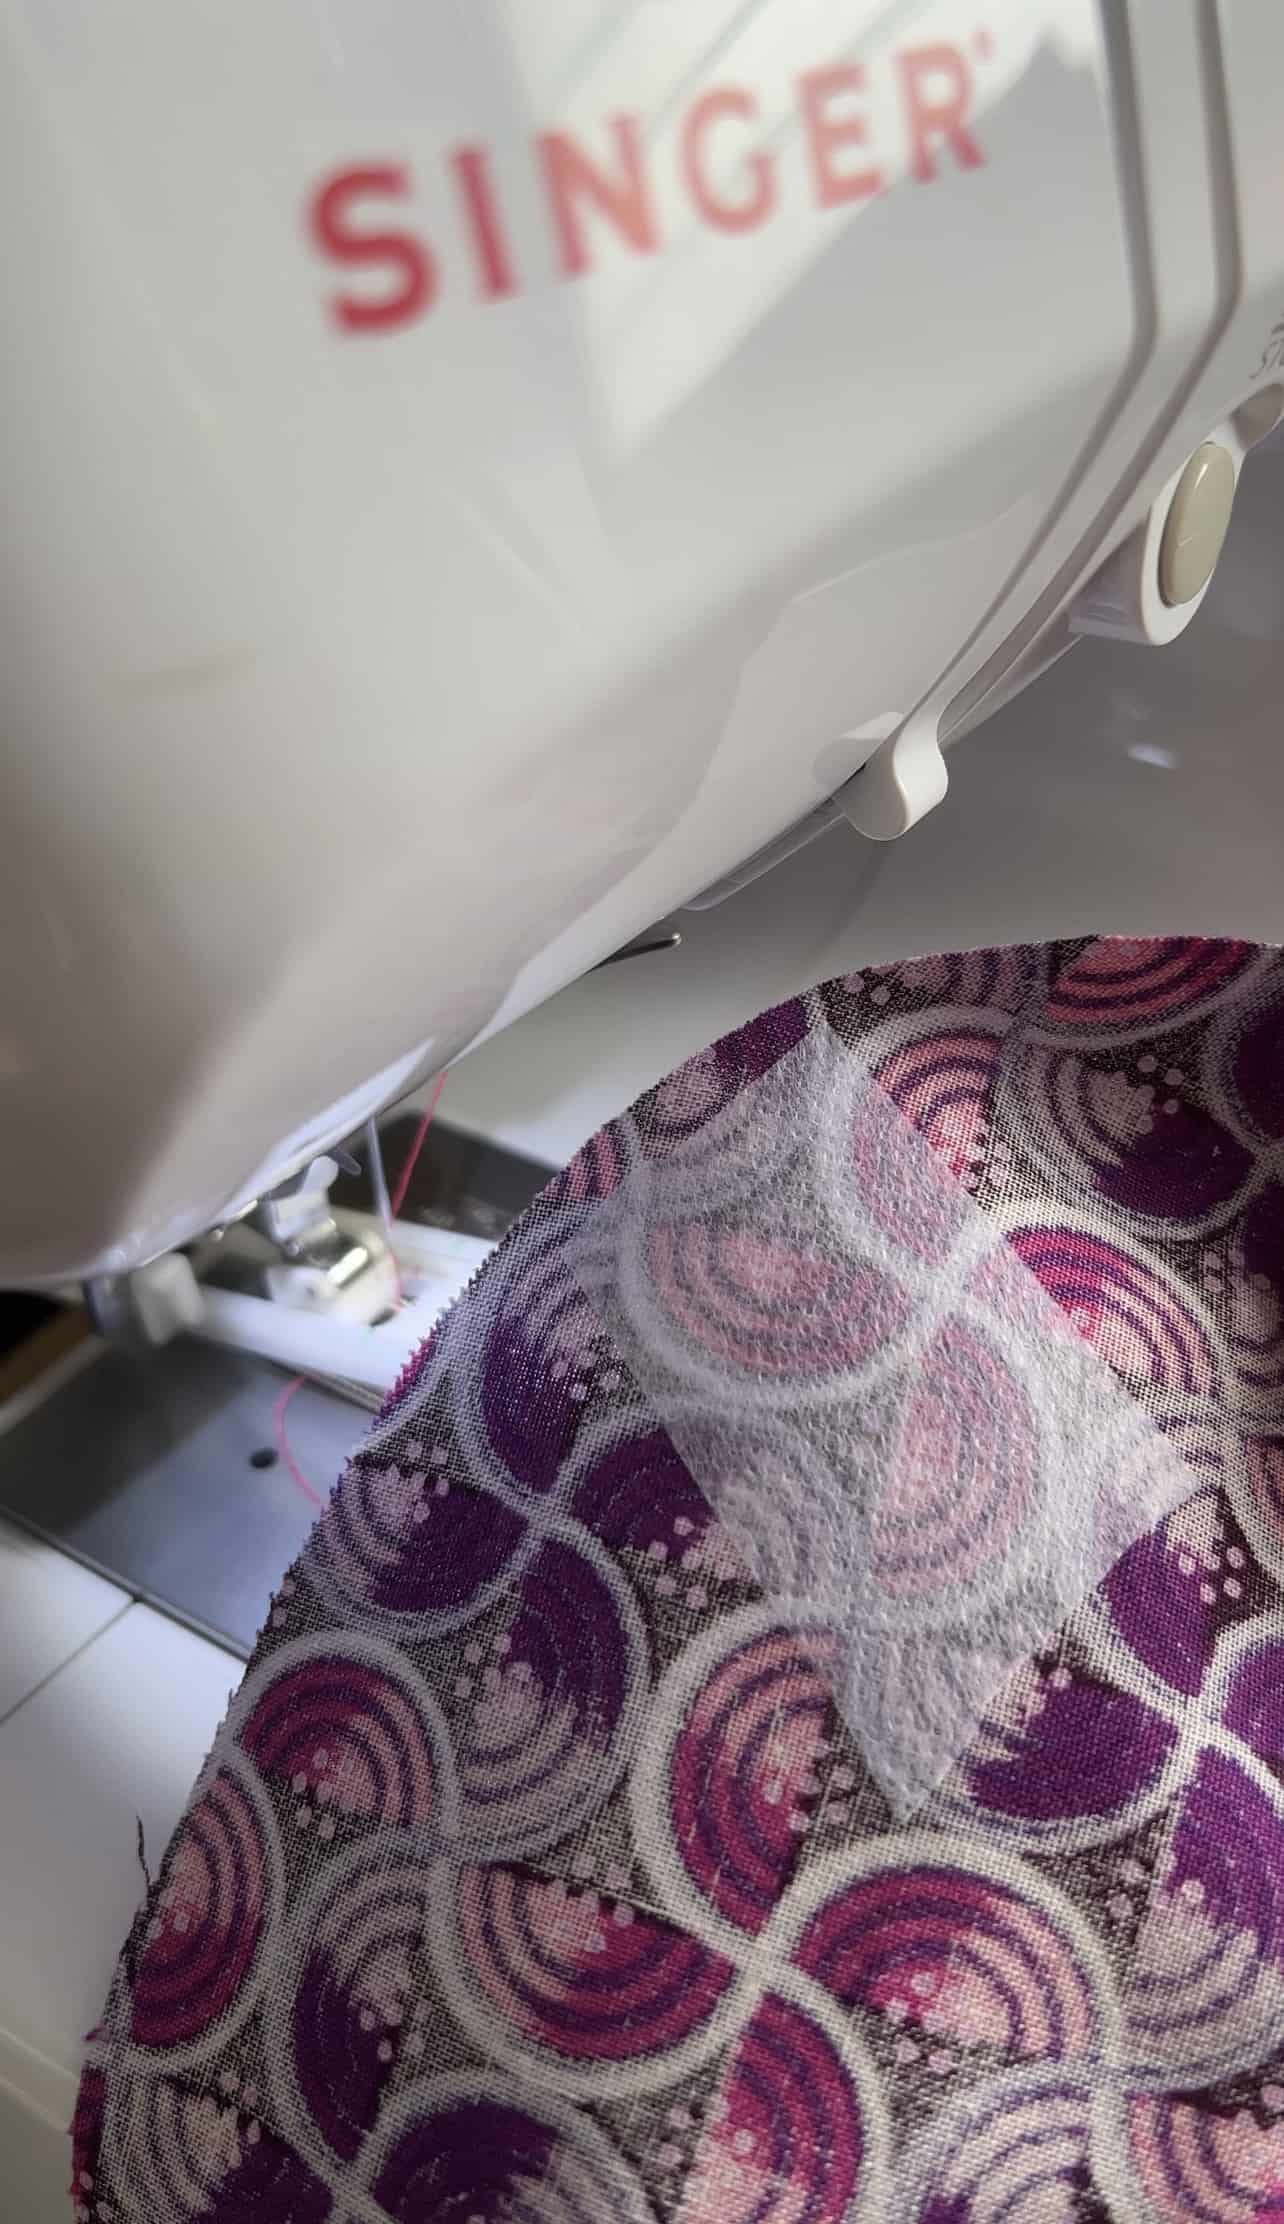
2. Use an iron to apply a small piece of interfacing to the wrong side of the main body (piece with the notches) at notch level.
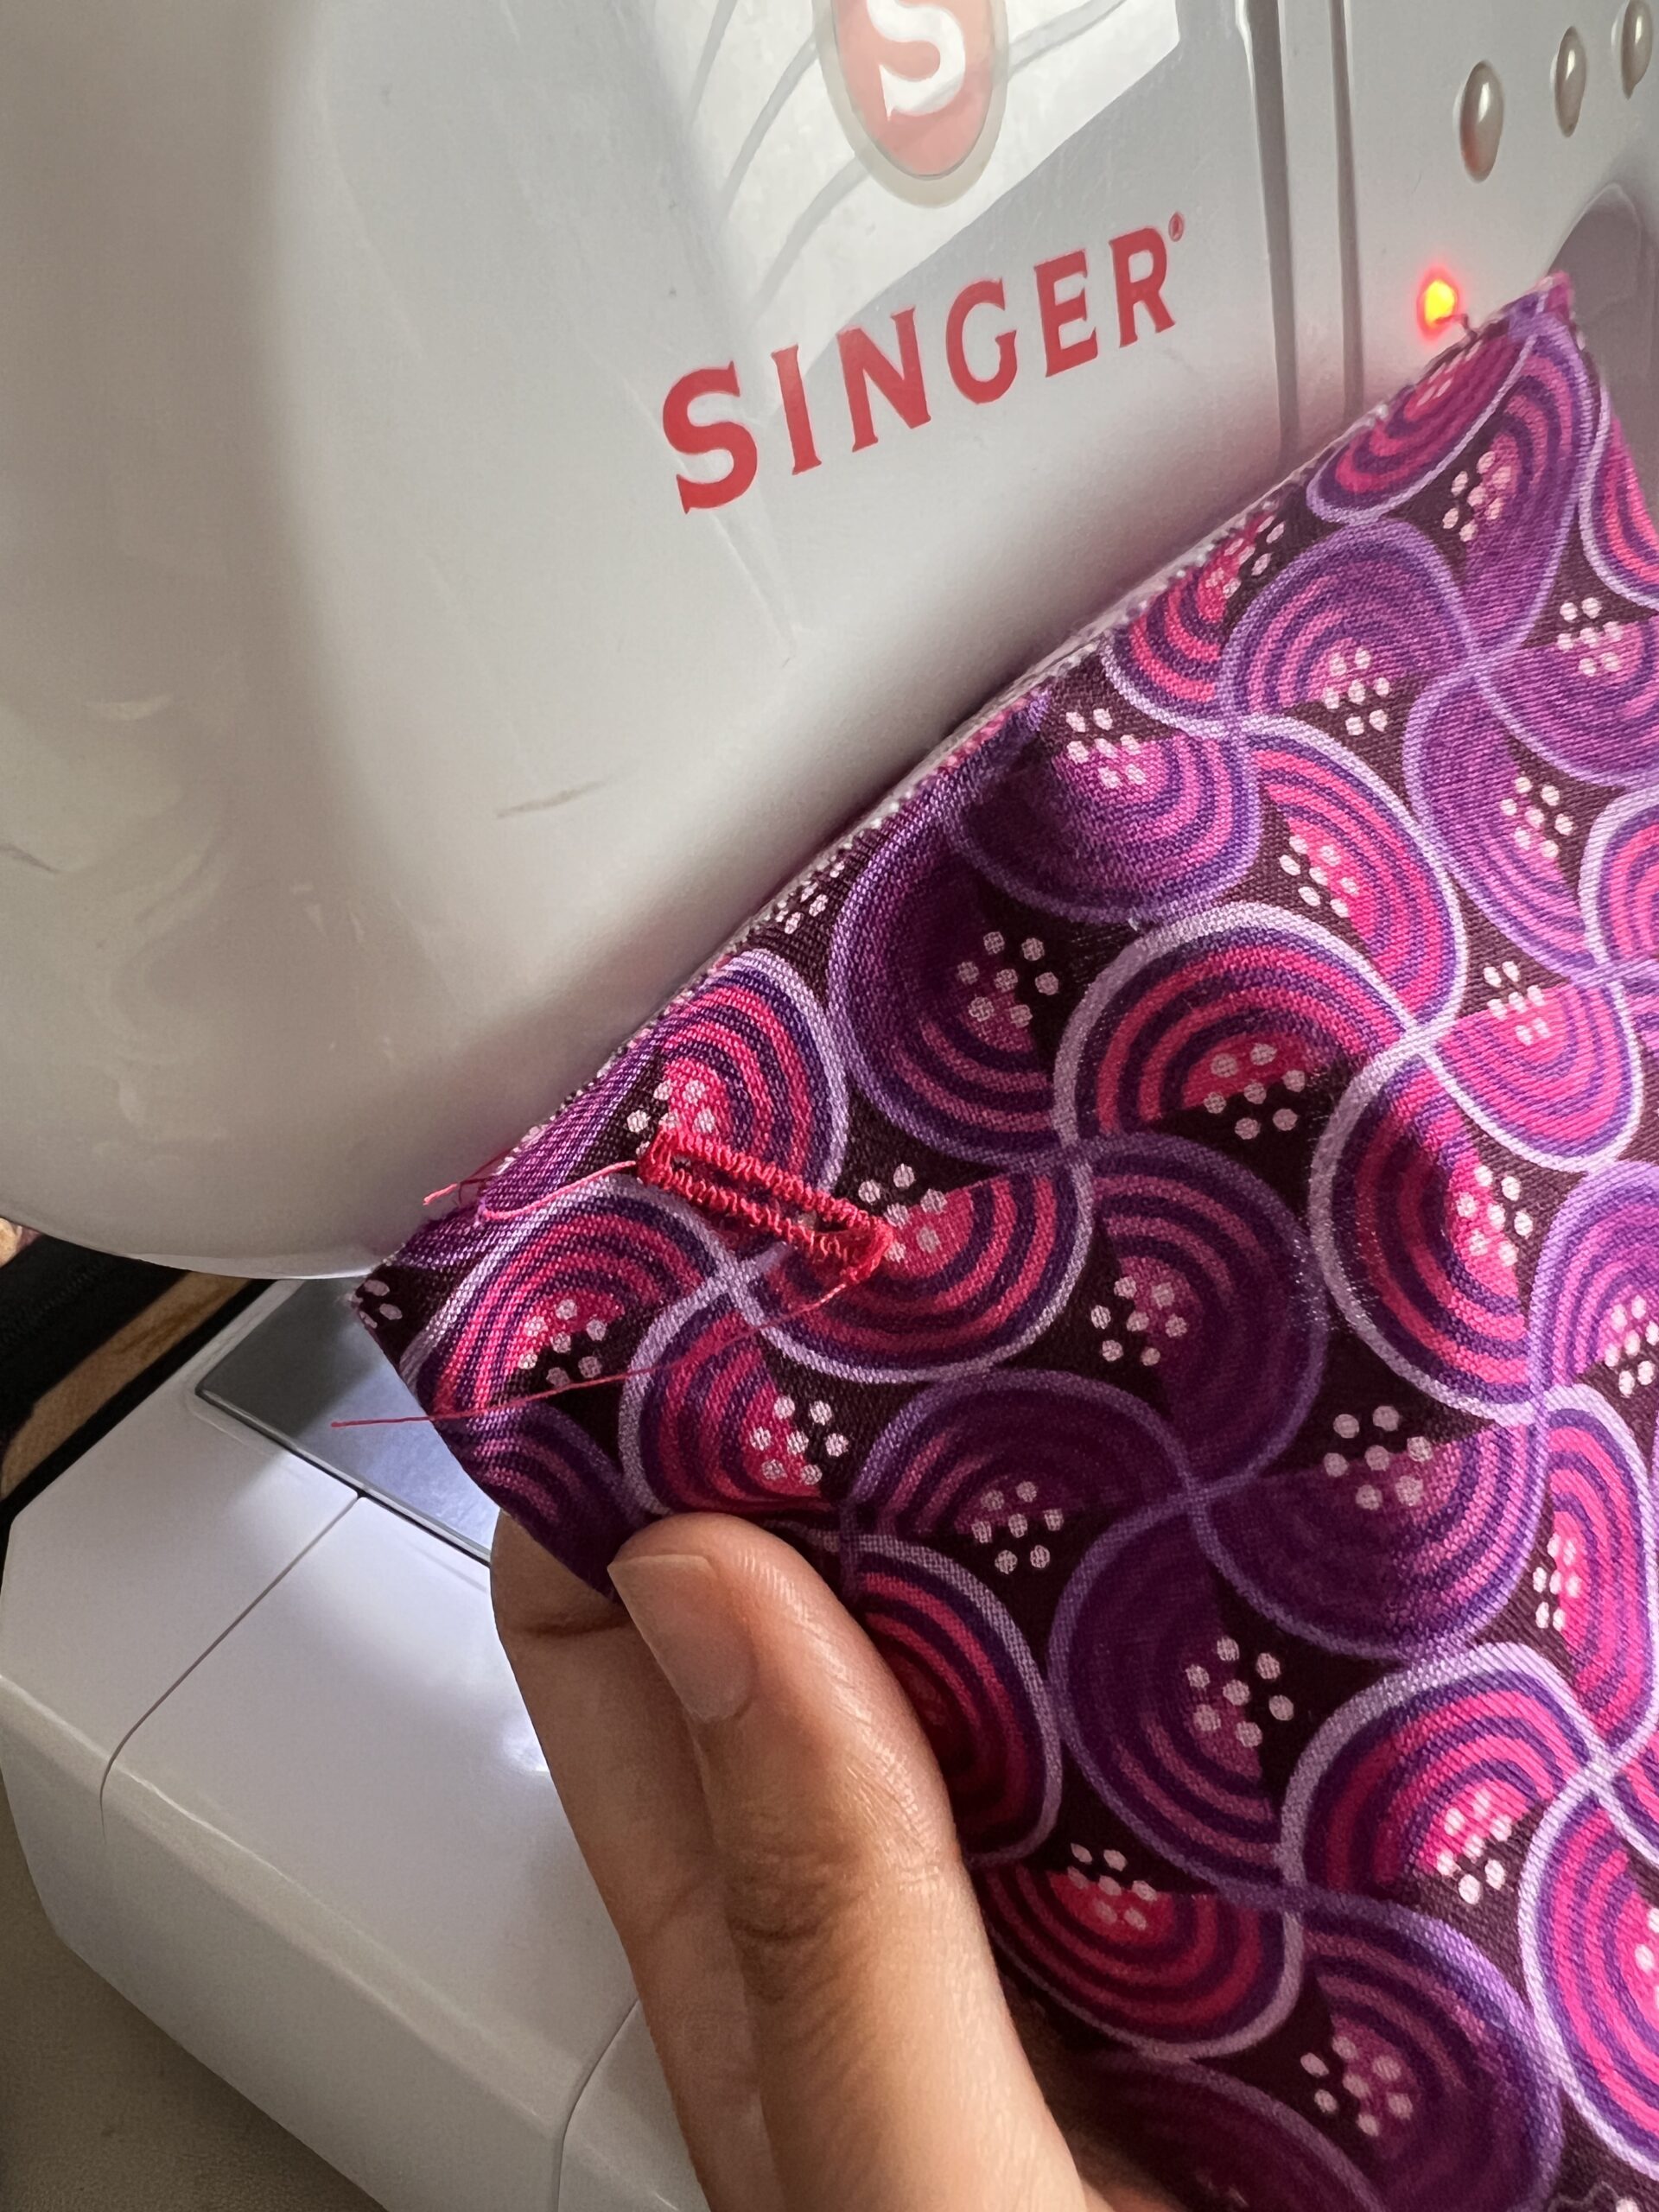
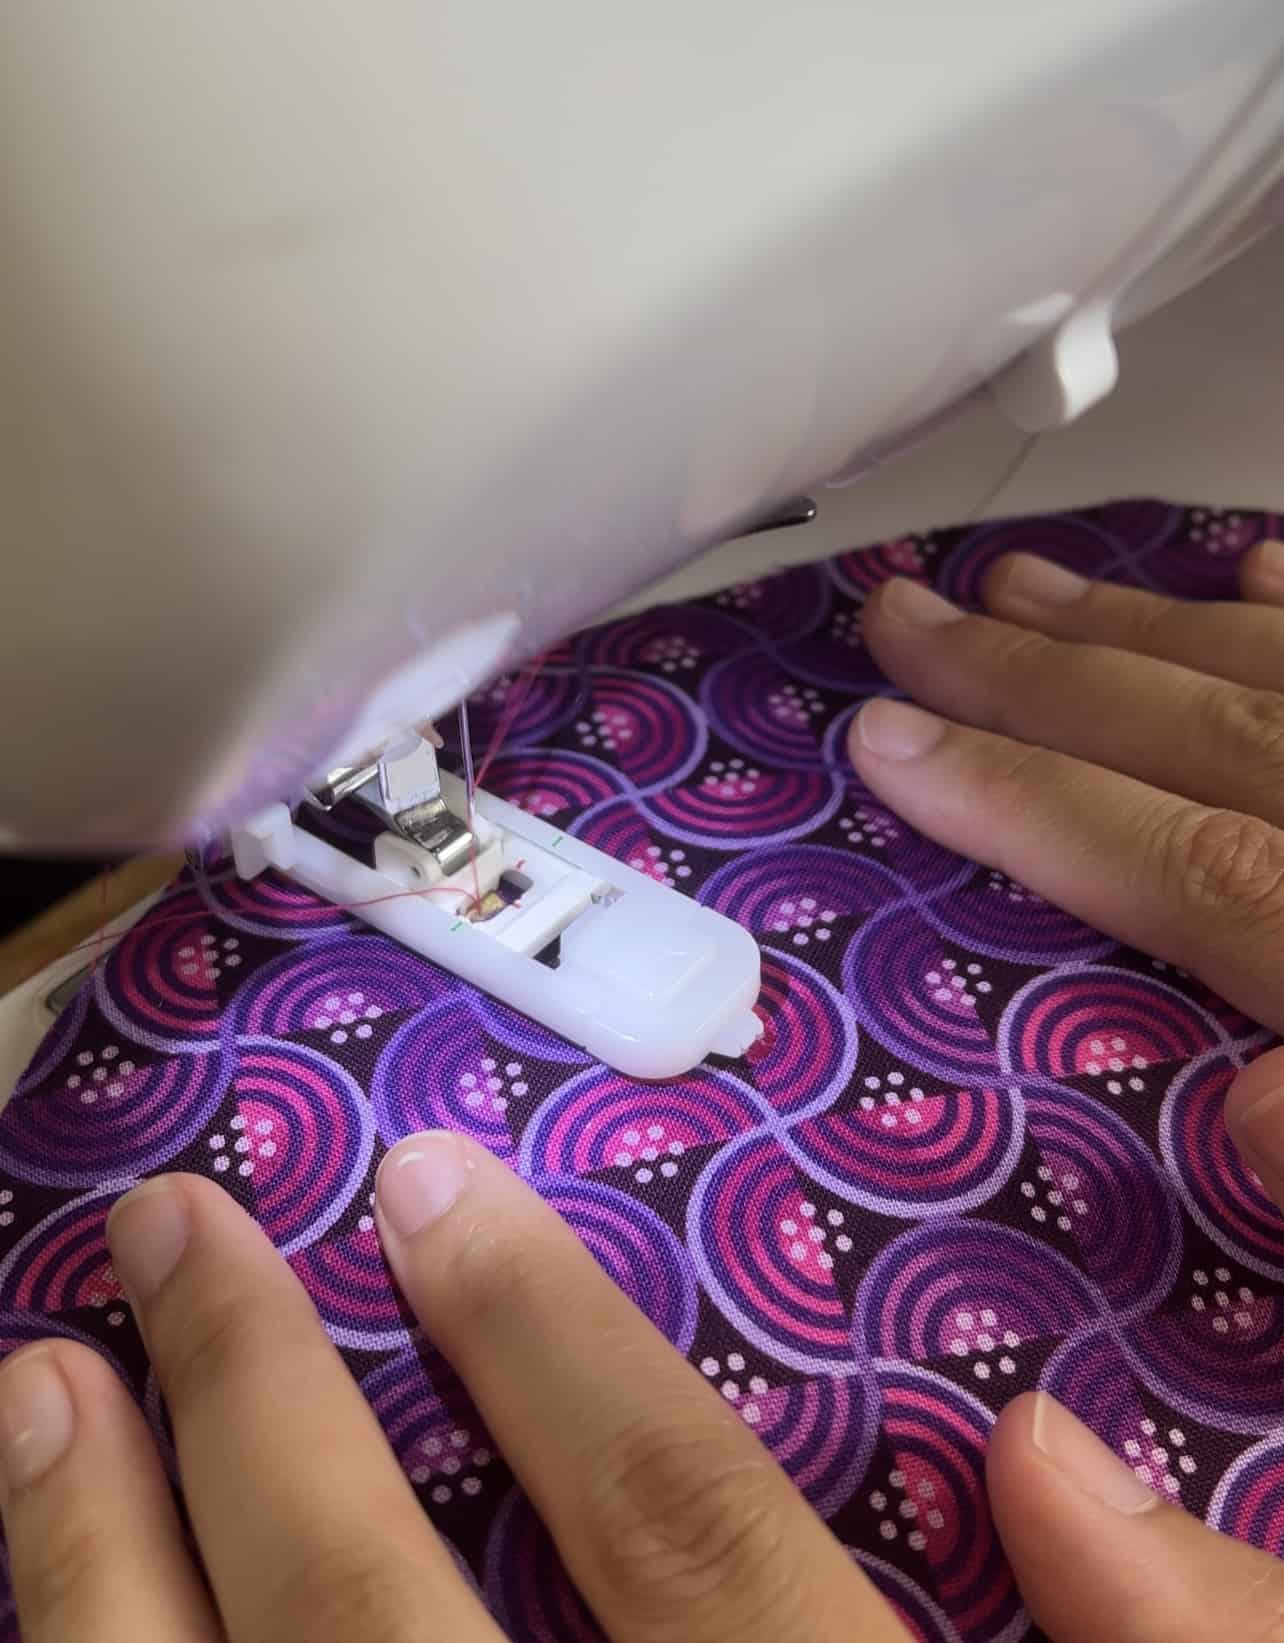
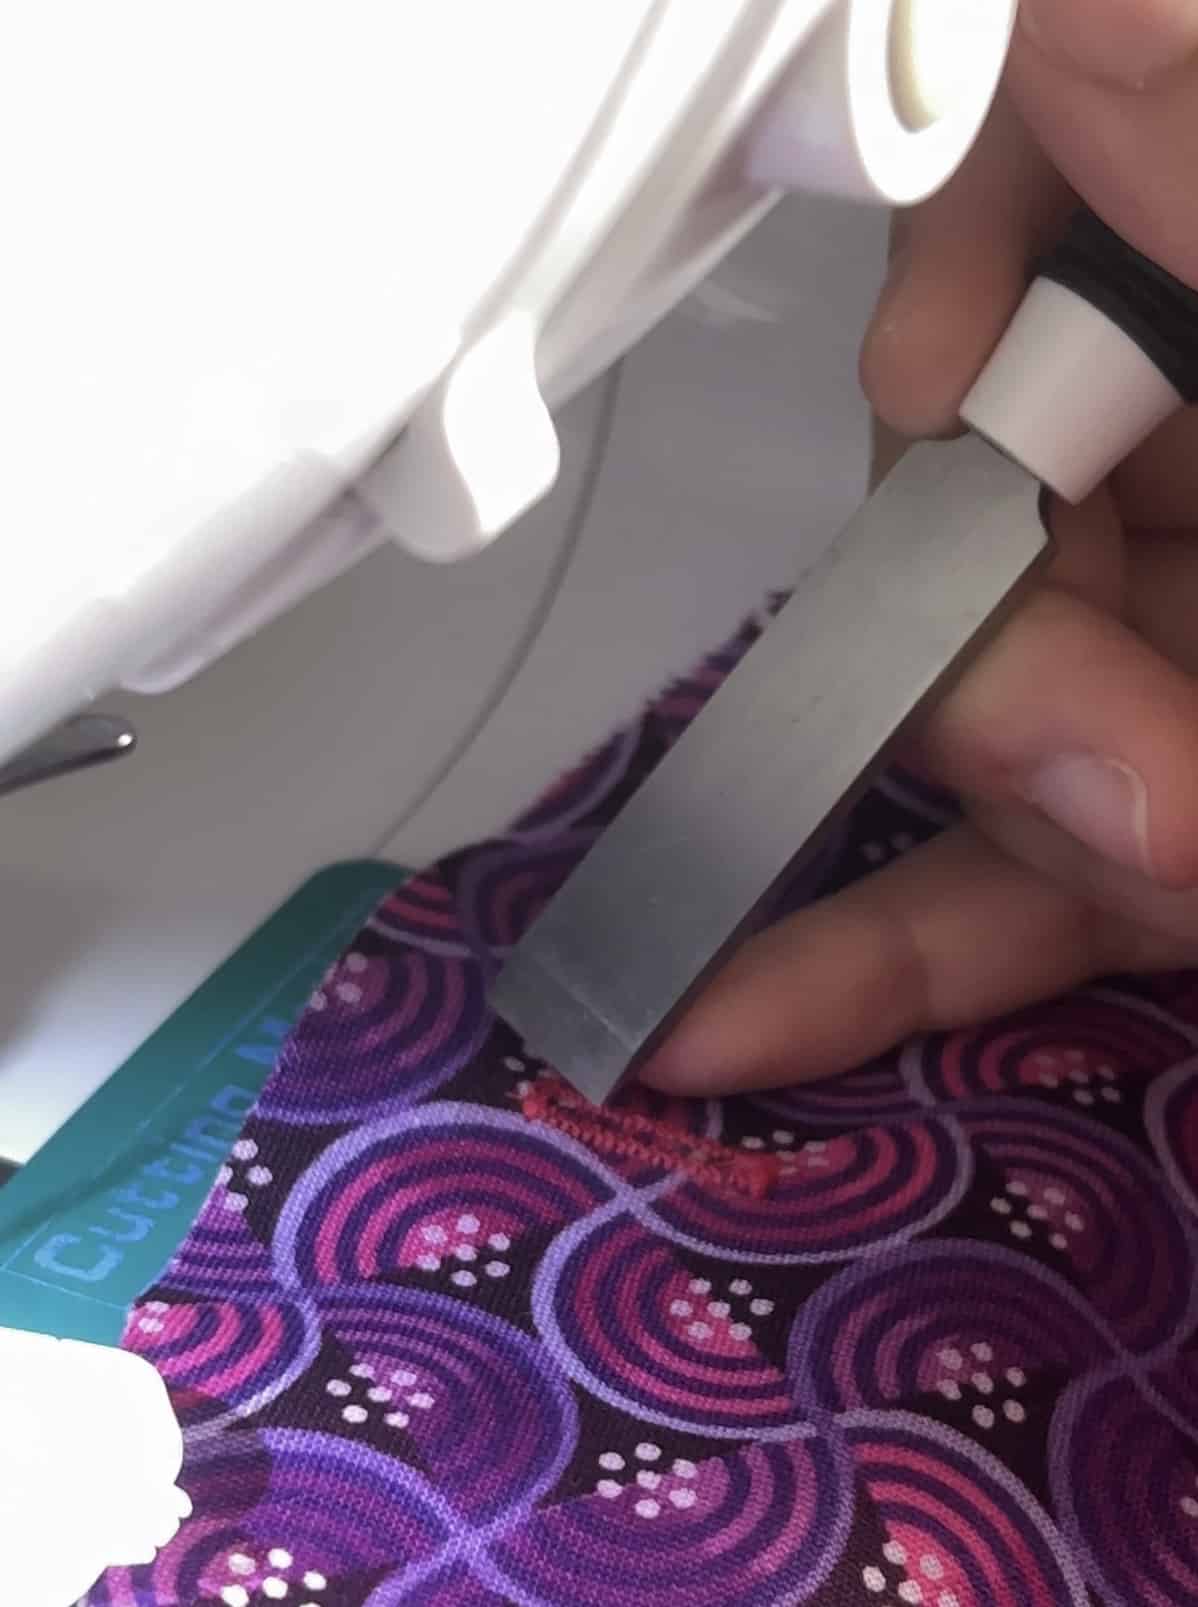
3. Use a buttonhole foot (or however your machine creates buttonholes), and create a buttonhole 2cm long at the indicated notches on one of the main body pieces. Use a buttonhole cutter to open the two buttonholes and apply Fray Check if you wish.

4. Place the main body pieces right sides together using clips and sew together with a 0.5cm seam allowance, make sure to leave a gap around 2” long so you’ll be able to turn the fabric right side out.
5. Place the inner pocket pieces right sides together using clips and sew together with a 0.5cm seam allowance, make sure to leave a gap around 1.5” long so you’ll be able to turn the fabric right side out.

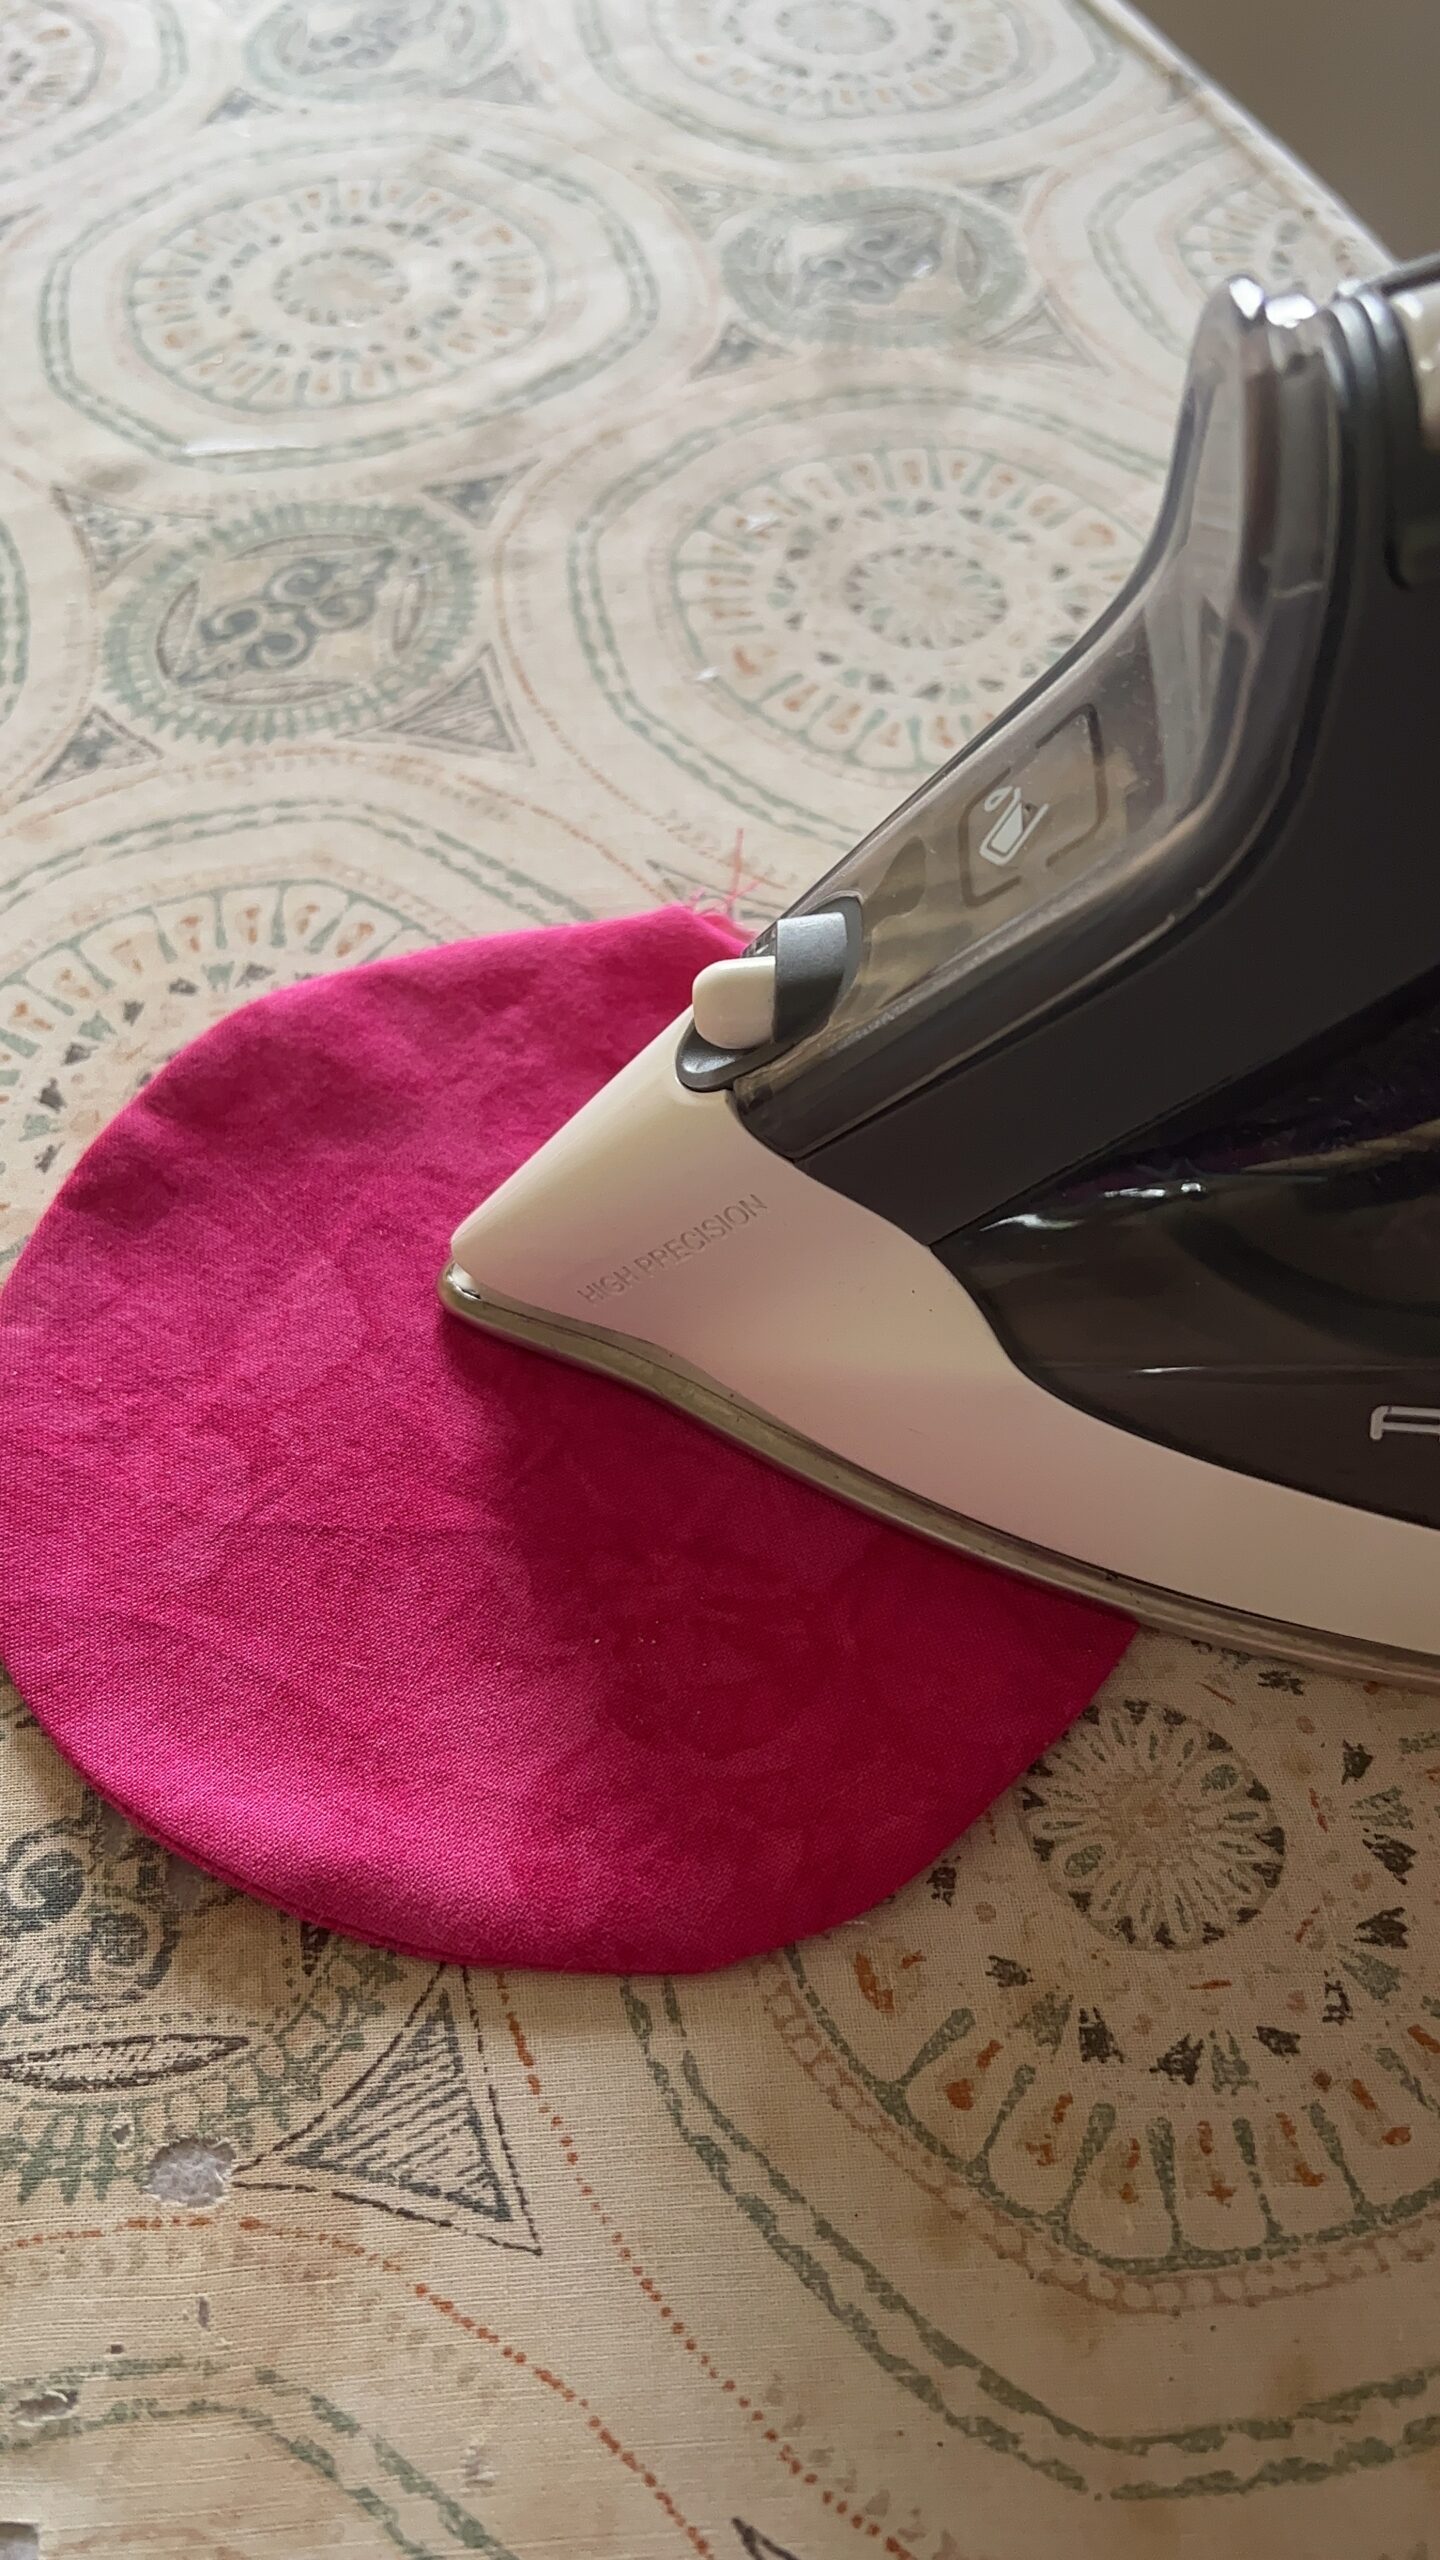
6. Once the main body and inner pocket pieces are turned right sides out, press with an iron and topstitch each piece around the edge making sure to secure the little gaps that we left in steps 4 and 5.
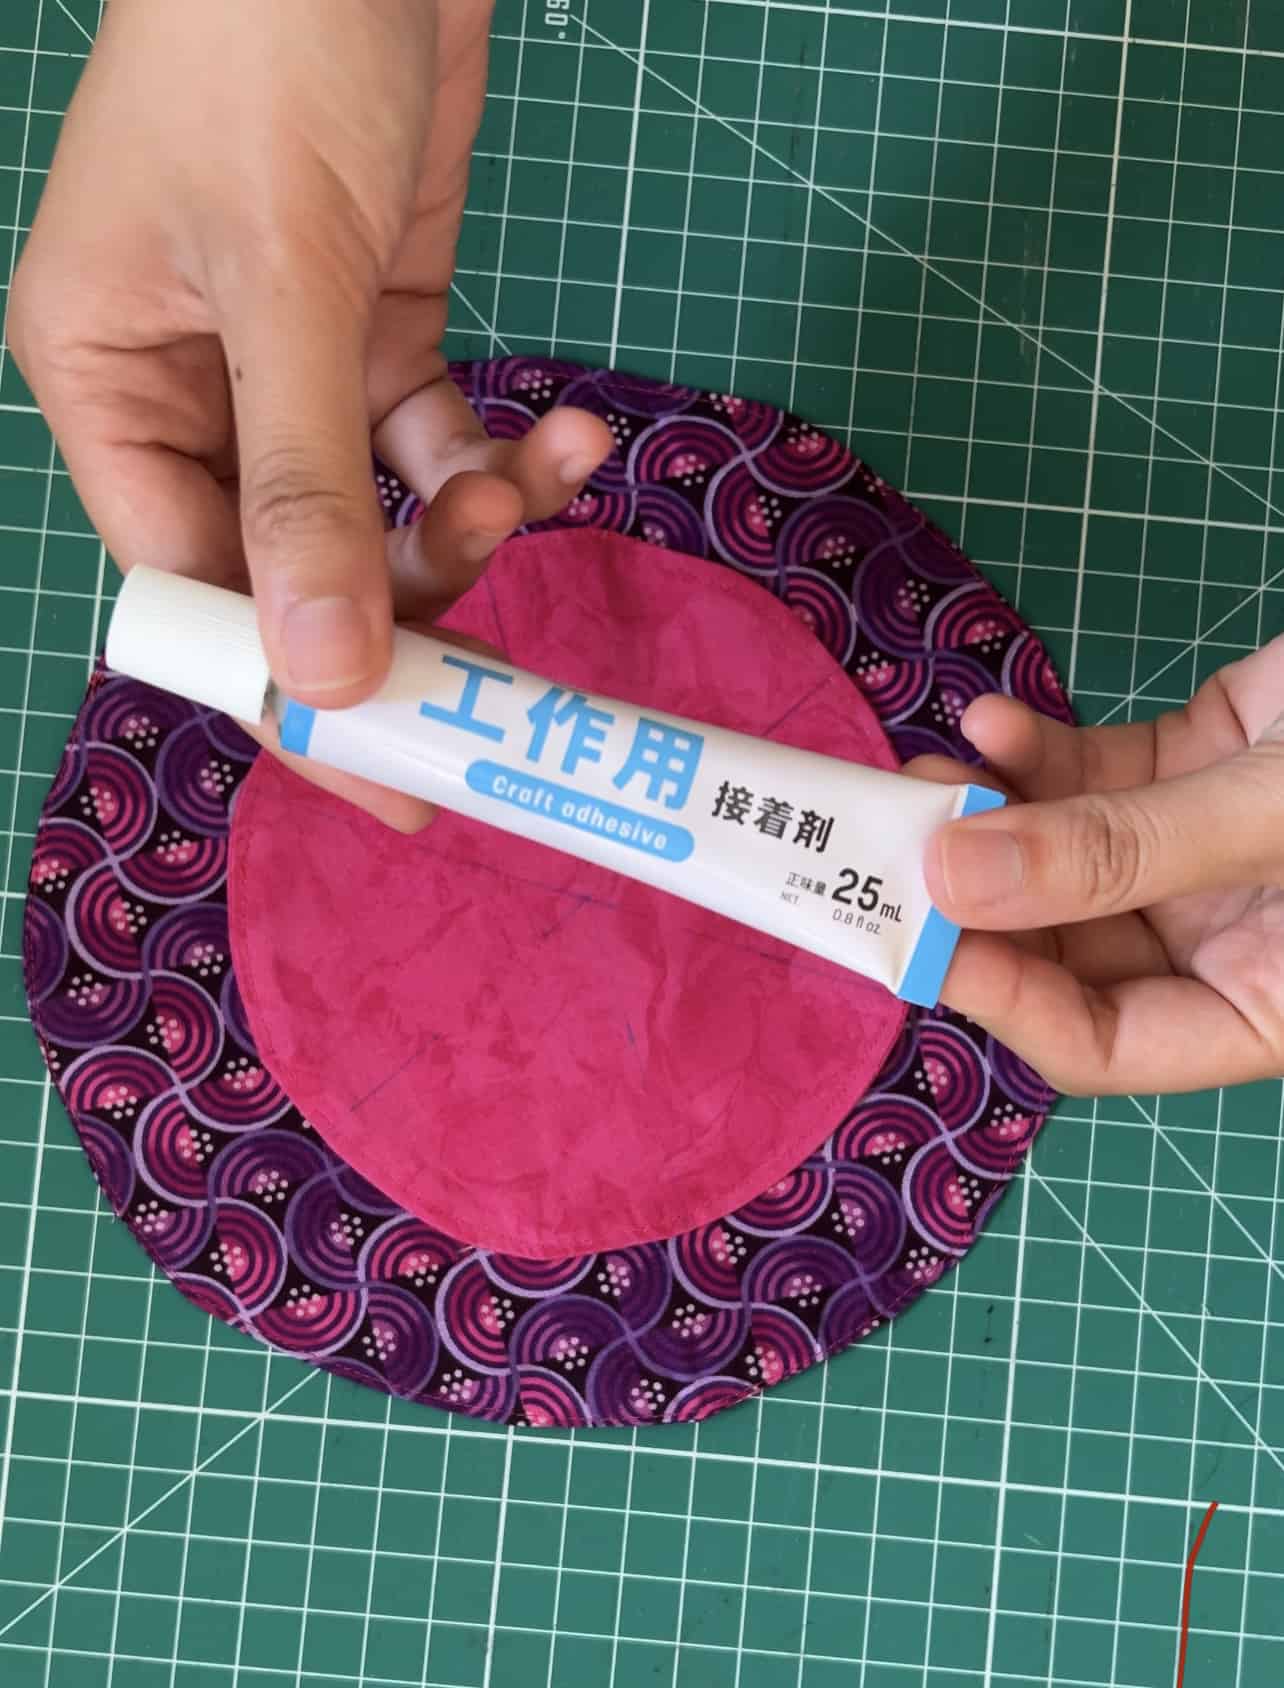
7. With the buttonhole side of the main body face down, use a light amount of fabric glue to secure the cardboard piece to the center of the main body.
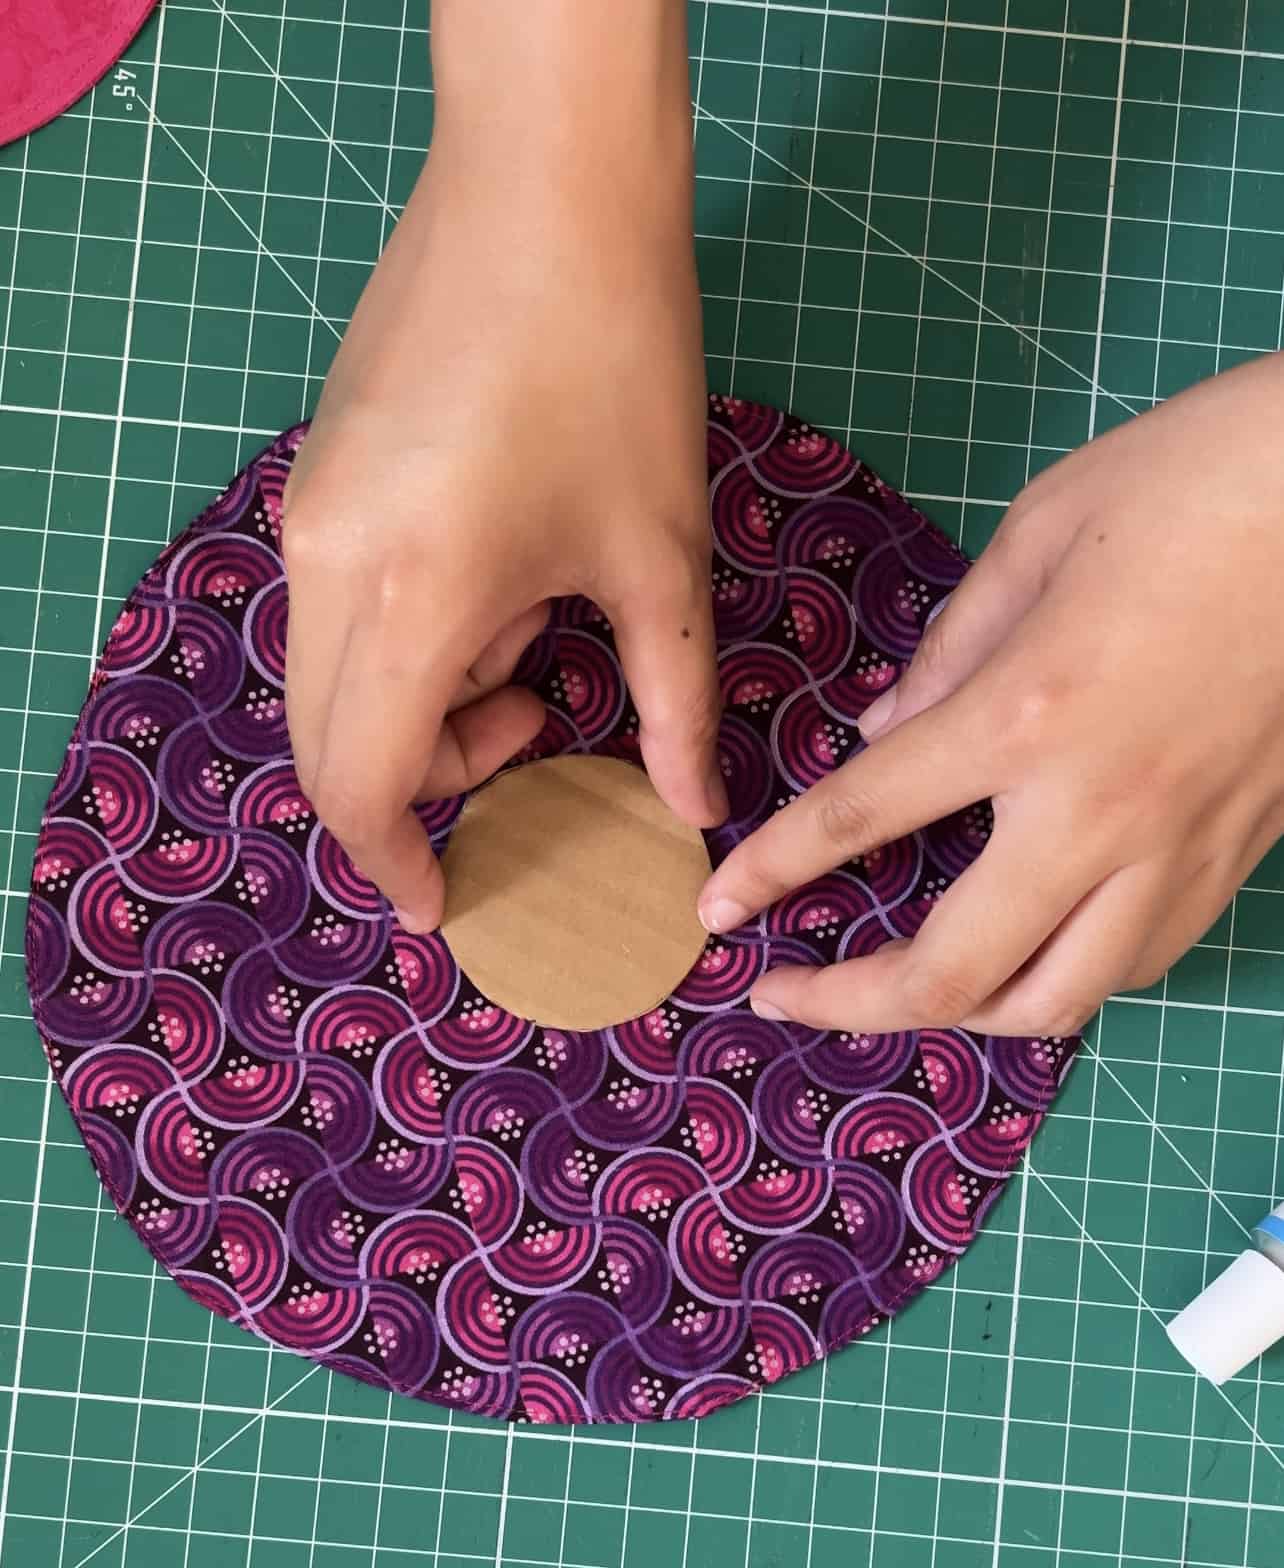
8. Then apply another light layer of glue to the other side of the cardboard and place the inner pocket piece with the guidelines facing up on top of it. Try to ensure everything is centered.
9. Place the cardboard pattern piece over the sandwiched cardboard, making sure to line them up as closely as possible and use a water erasable pen to trace the outline on the inner pocket piece. Then sew around the line you just marked to secure the cardboard base.
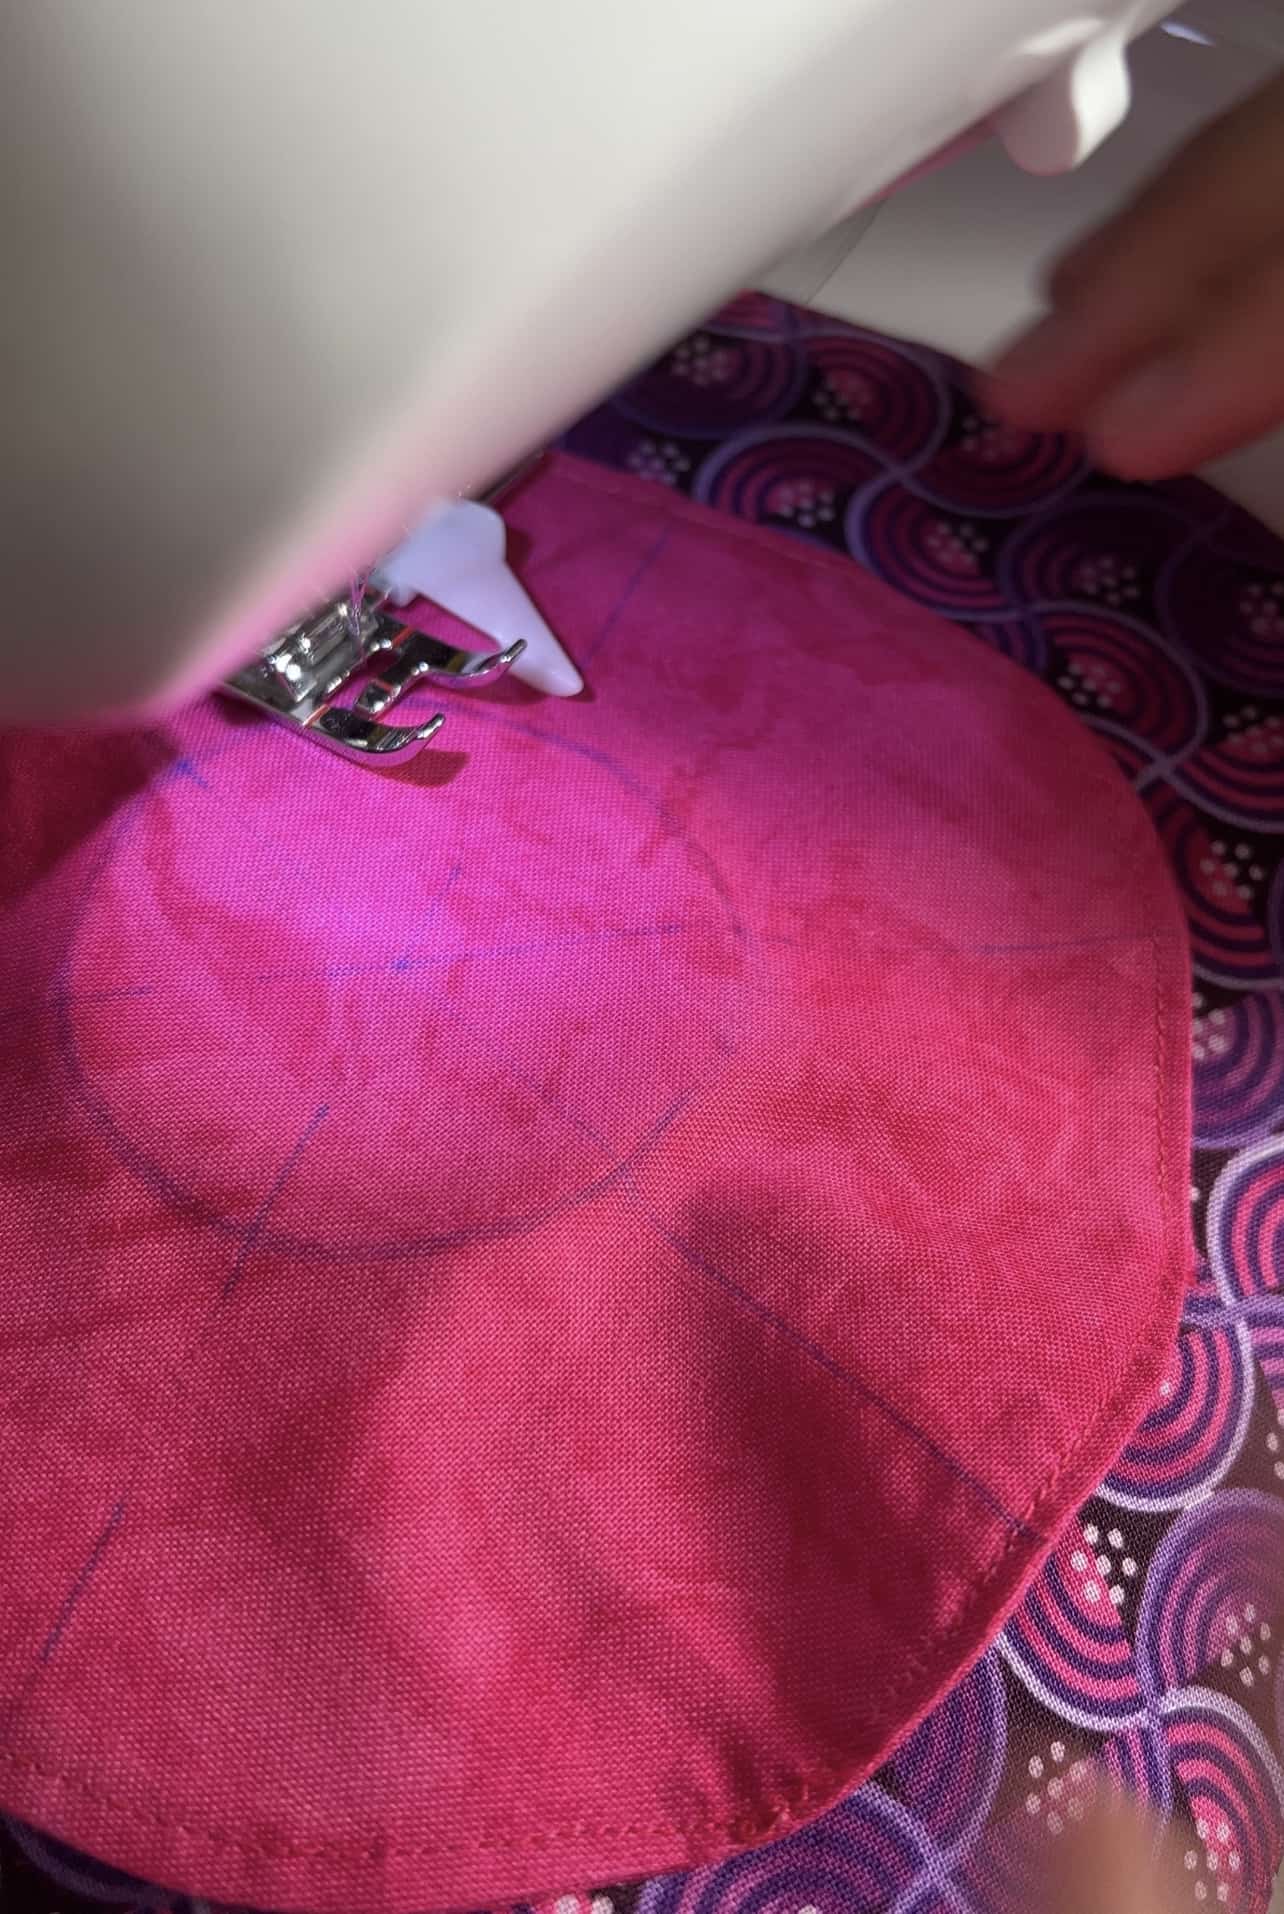
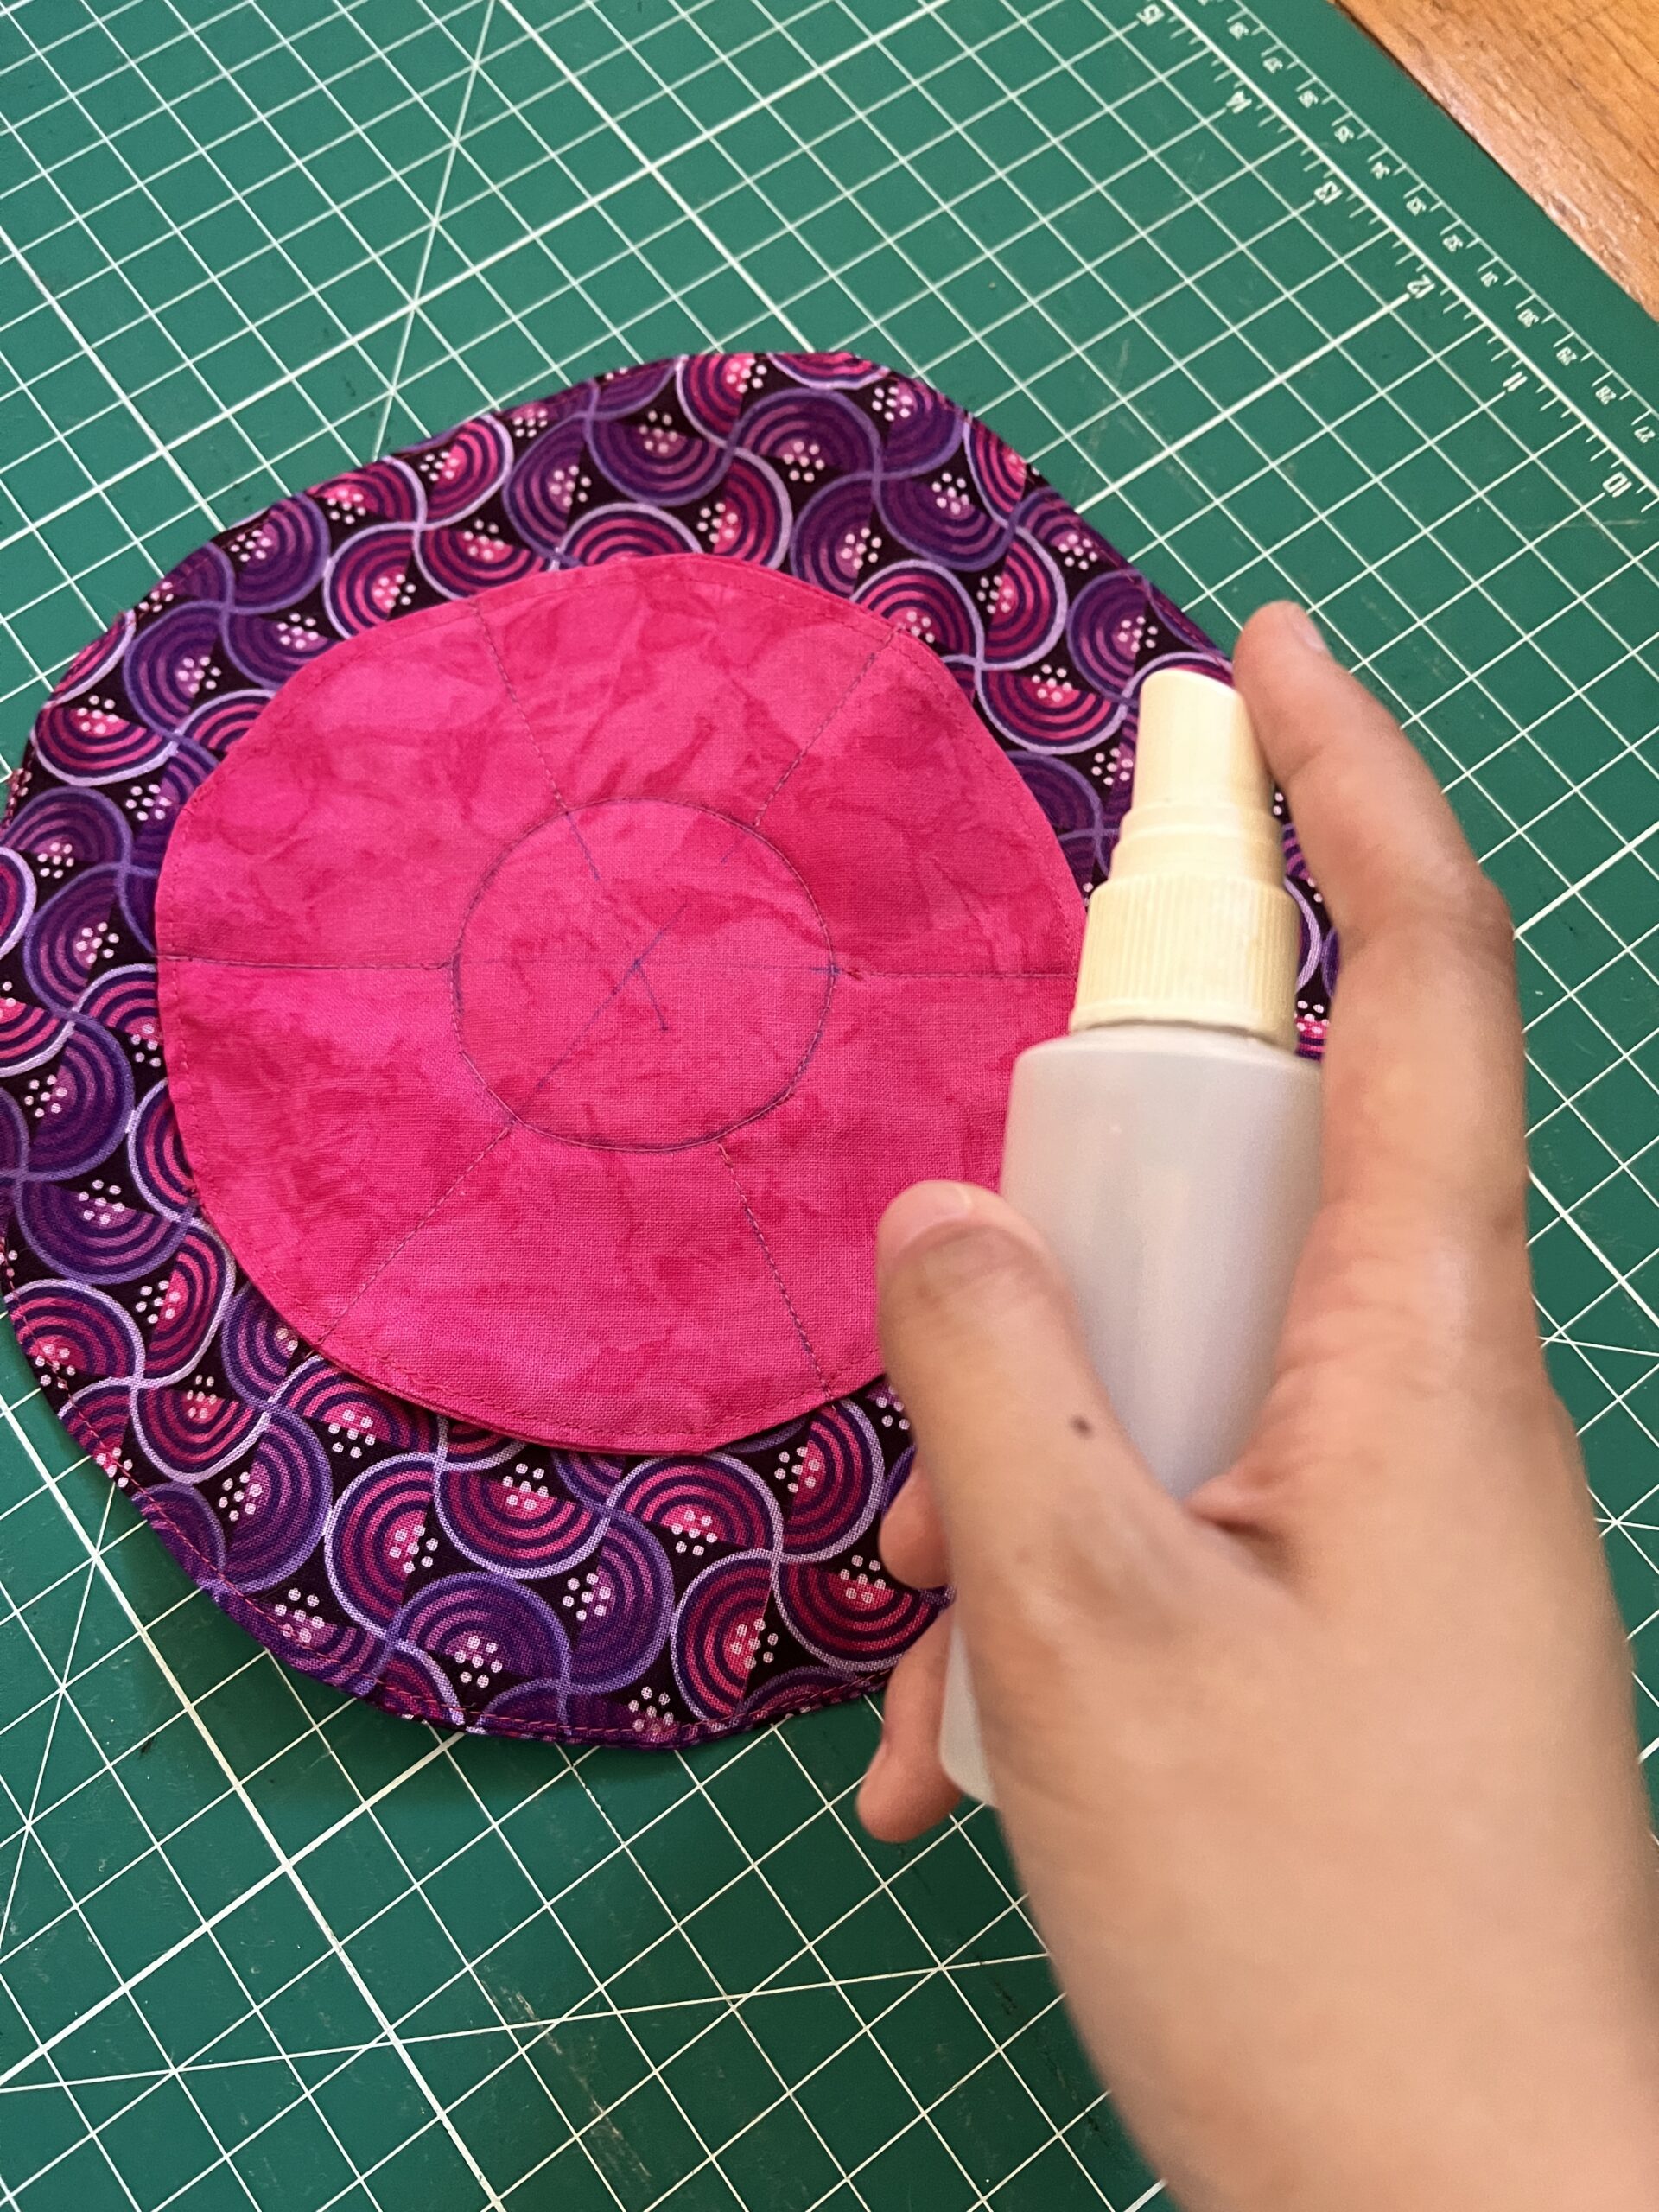
10. From the base of the cardboard circle, stitch along the 6 drawn guidelines to create the actual inner pockets of the jewelry holder. Make sure to backstitch at the beginning and end!

11. You may want to use water to get rid of the water erasable guidelines now.
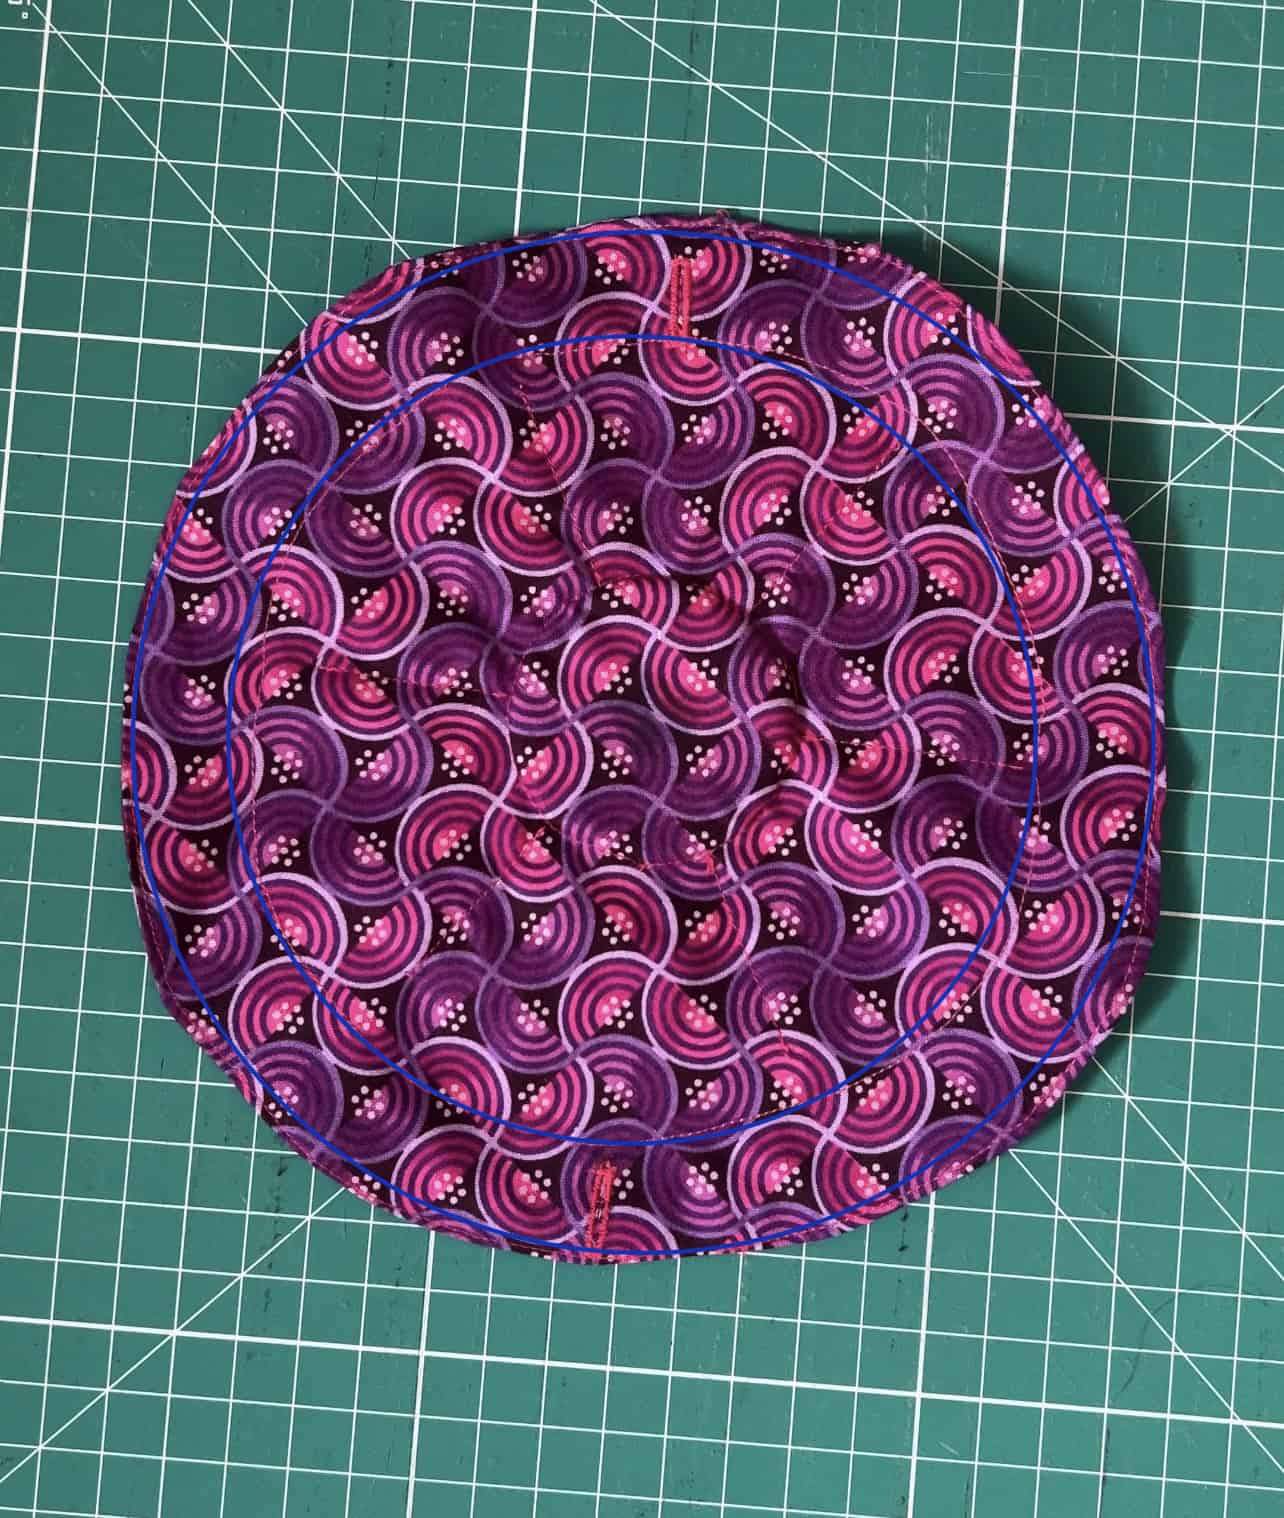
12. Create a channel for the cording by sewing two lines of stitching on each end of the buttonhole.
13. With the help of a safety pin, thread the cording through one of the buttonholes and go around the entire circle once and then continue to thread until you hit the opposite buttonhole and pull the cording through. I found it easier to wrap a small piece of tape around each cord end and to puncture the tape with t
he safety pin to avoid fraying. You can always trim the ends later. Repeat with remaining cording.

14. To ensure your cording doesn’t slip back into the depths of the channel, double knot the ends (leaving about a 1.5” tail from the double knot). Then tie another knot at the very end of the tail. Repeat for all.

There you have it! Your own packable jewelry holder with 6 pockets to hold all of your treasures. If you make your own jewelry holder, be sure to tag me on IG, @rumer_has_it so I can see how it turned out!