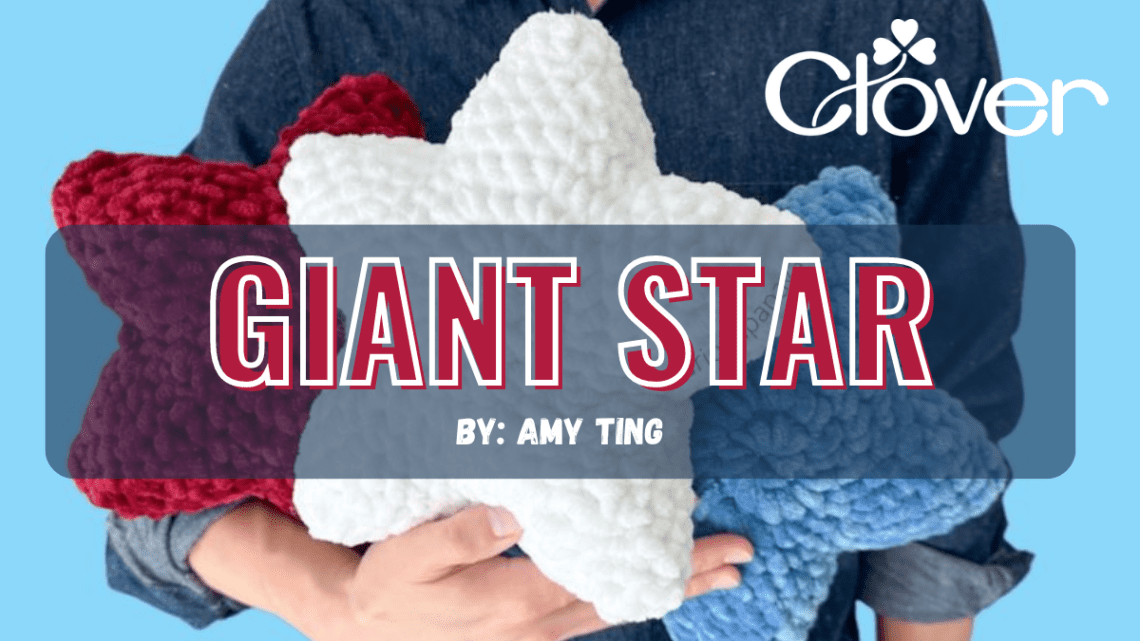
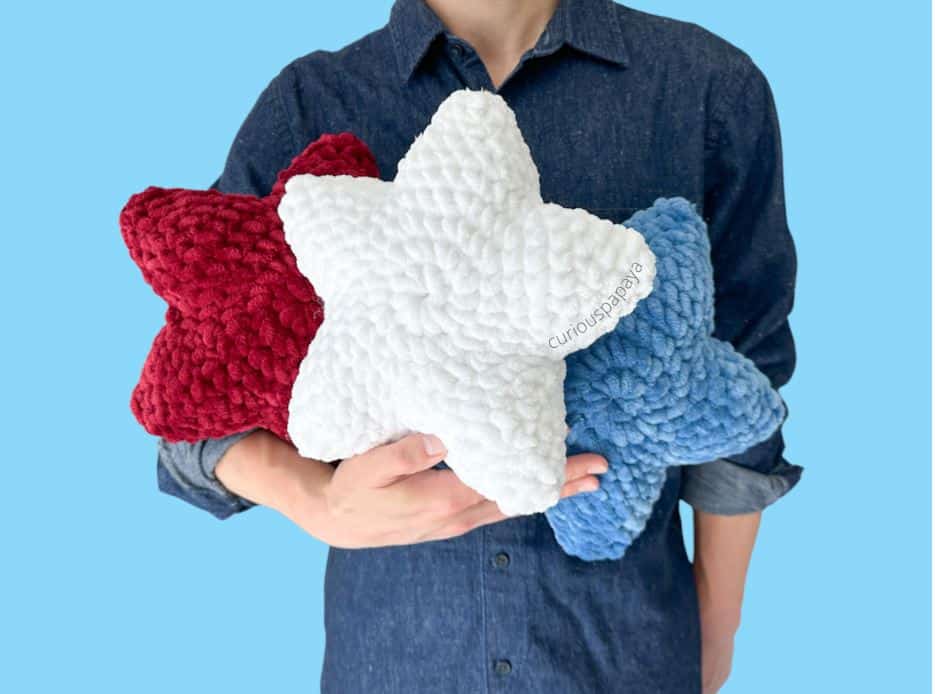
Giant Star- Crochet Pattern
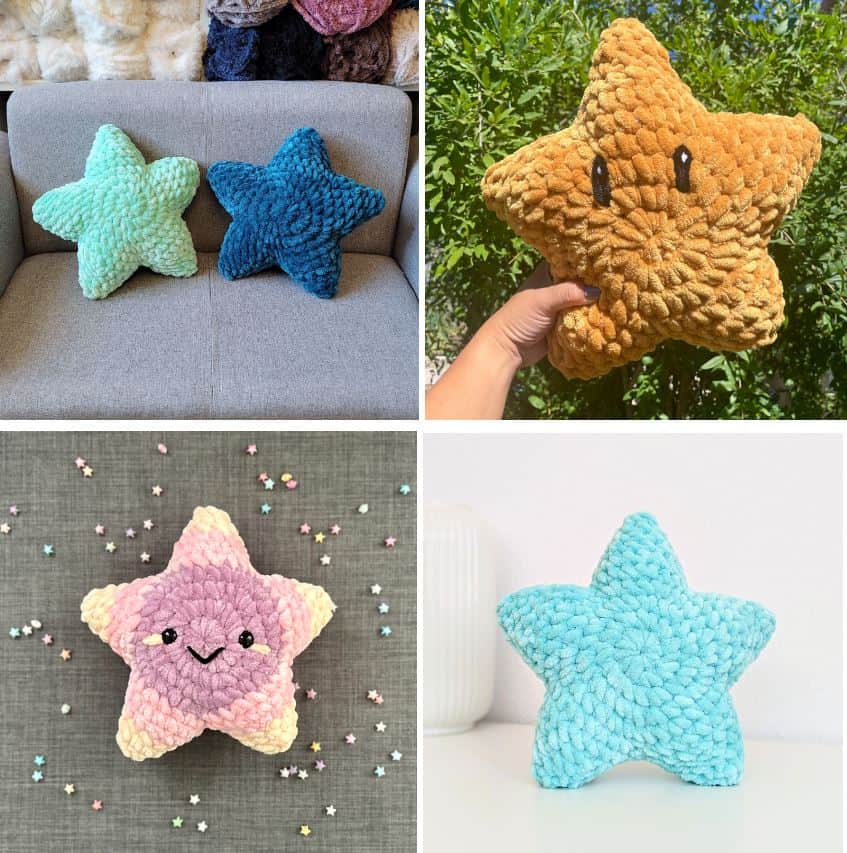
Happy 4th of July! These Giant Star statement pillows are fun and festive for the occasion.
Time: (~2 hrs)
——————–——————–——————–——————–——————–——————–——-
MATERIALS:
-
Clover Amour Crochet Hook 10.00 mm or 8.00 mm hook -rt No 1057/NP
*Note: I have been using the yarn brand below for several years and have noticed that the newer skeins of WHITE seem to be thinner. I typically use a 10.00 mm hook with this yarn brand. However, if you are noticing gaps in your work, I recommend sizing down to a size 8.00 mm hook.
- #7 super bulky jumbo chenille yarn – Sweet Snuggles
-Red
-White
- #7 super bulky jumbo chenille yarn – Chenille Home
-Peacock

*Note: Sweet Snuggles and Chenille Home have the same yarn consistency. They are marketed as having different color palettes. You will need only 1 skein of yarn – 7.2 oz (~204 g).
- Mini Patchworks Scissors
- 6 Stitch Markers
- Yarn Needle
- Polyfill stuffing – 5 oz for 1 star
TERMS:
- Ch – chain
- Flo – front loops only
- Dec – (invisible) decrease
- Inc – increase
- Sc – single crochet
- Slst – slst
- St(s) – stitch(es)
- Rnd(s) – round(s)
- [#] – stitch count
- (…) x # – repeat the instructions within the parentheses # of times
PATTERN NOTES:
*We will be working in a spiral and will be using the YUYO (yarn under, yarn over) method of crocheting.
*Please do not copy/redistribute any part of this pattern as your own. This includes reposting/translating without permission. Feel free to sell your finished products in small quantities – I only ask that you give credit to help support my work. Tag #curiouspapaya so I can feature you!
*Measurements: 11 in. x 11 in. [~28 cm x ~28 cm] if using the prescribed materials.
——————–——————–——————–——————–——————–——————–——-
If you prefer, you can find the premium printable PDF on sale for this week HERE.
Star Center
*Note: We will create the centers of the front and back first and then join yarn to create each point.
*Watch this helpful overview of how to construct the star HERE.
Rnd 1: Make a magic circle and (sc) x10 [10]
Rnd 2: (inc) x10 [20]
Rnd 3: (sc, inc) x10 [30]
Rnd 4: (sc, inc, sc) x10 [40]
Rnd 5: (3 sc, inc) x10 [50]
Fasten off on the first piece. Make the second piece but do not fasten off. Pull up a loop and set your hook to the side.
Star Point
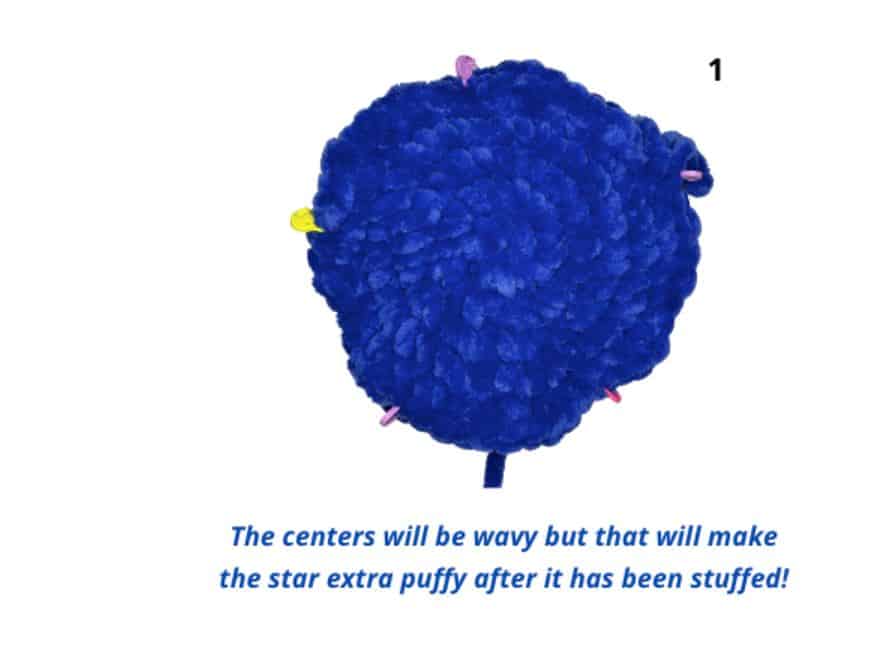
Step 1: Hold the two star centers together with the right sides facing out.
Step 2: Mark every 10th st with a stitch marker through both layers.
Step 3: Insert your hook into the loop we left off and follow the steps for each star point. [img 1]
Rnd 1: Make 10 sc. Remove the stitch marker and turn the star over to the opposite side. Make another 10 sc. [20]
*Note: We will now work each individual point in a spiral.
Rnd 2: (dec, 2 sc) x5 [15]
Rnd 3: (dec, sc) x5 [10]
Rnd 4: sc all around [10]
Rnd 5: (dec) x5 [5]
Fasten off and leave a long tail on the first point that we will use to sew up the hole as well as the gaps between each point at the very end. Fasten off and leave short tails to close up the points on the rest of the 4 points.
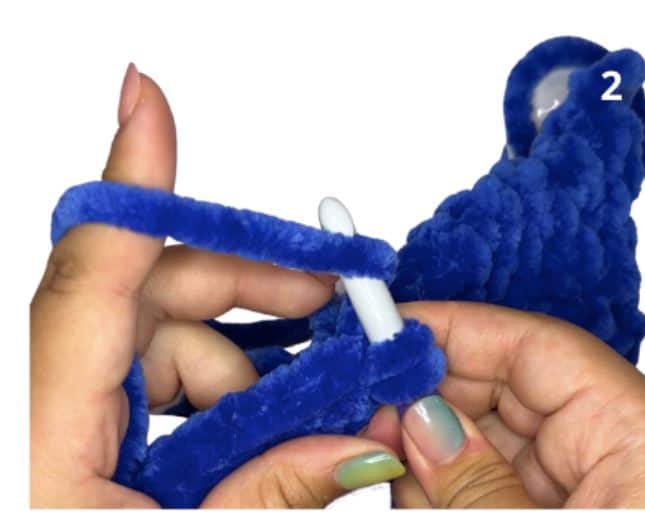
To make the next point, join new yarn and work into the next open st. Repeat rnds 1-5 for all of the points. [img 2]
*Tip: Be sure to always start on the same side of the star!
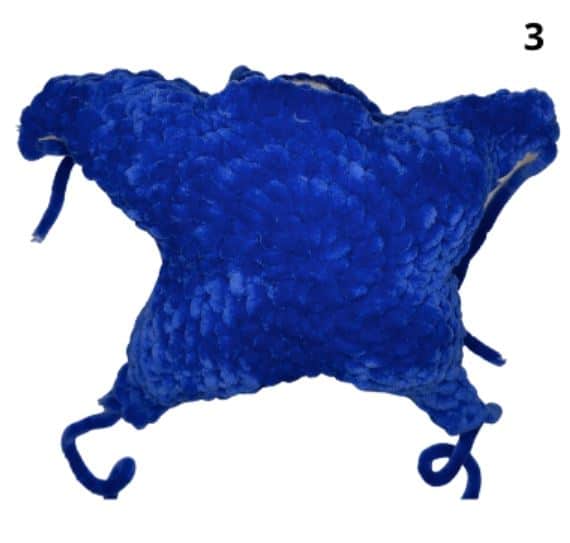
Before you start your last point, stuff the star well. [img 3]
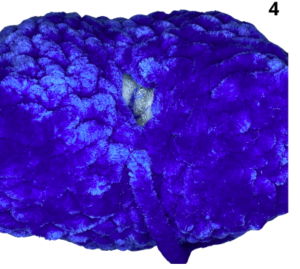
Close the holes at each point by sewing through the flo of each st and then cinching tight.
*Tip: Right before sewing all of the gaps, stuff each point a little more through them.
Using the longest yarn tail, sew the gaps between each of the points. [img 4]
And you’re finished! Thank you for making my pattern. Checkout my lovely testers’ work below and be sure to tag #cloversquad and #curiouspapaya on Instagram with your creations!
Stay connected with Clover on Facebook | Twitter | Instagram | Pinterest | YouTube | Ravelry