Soft Waves Scarf!
Hi, I’m Novella of Novella Bobo Designs! I have been a self-taught crocheter since 1983, designing unofficially from the beginning but now writing my patterns to share with you! If you would like access to my patterns as my library grows you can access them here https://www.ravelry.com/designers/novella-jewell-bobo-novella-bobo-designs. This scarf is lightweight so it’s not too bulky. The stitch pattern resembles the soft weaves of the seaside and the tassels represent the beautiful saltwater as it leaves the shore on the way back into the sea.
MATERIALS:
- Red Heart Super Saver Jumbo (100% acrylic, 744 yards / 681 meters, 14 ounces / 396 grams) worsted weight / 4ply, Color (Petal Pink) 1 skein (you may be able to get two scarves out of this one skein)
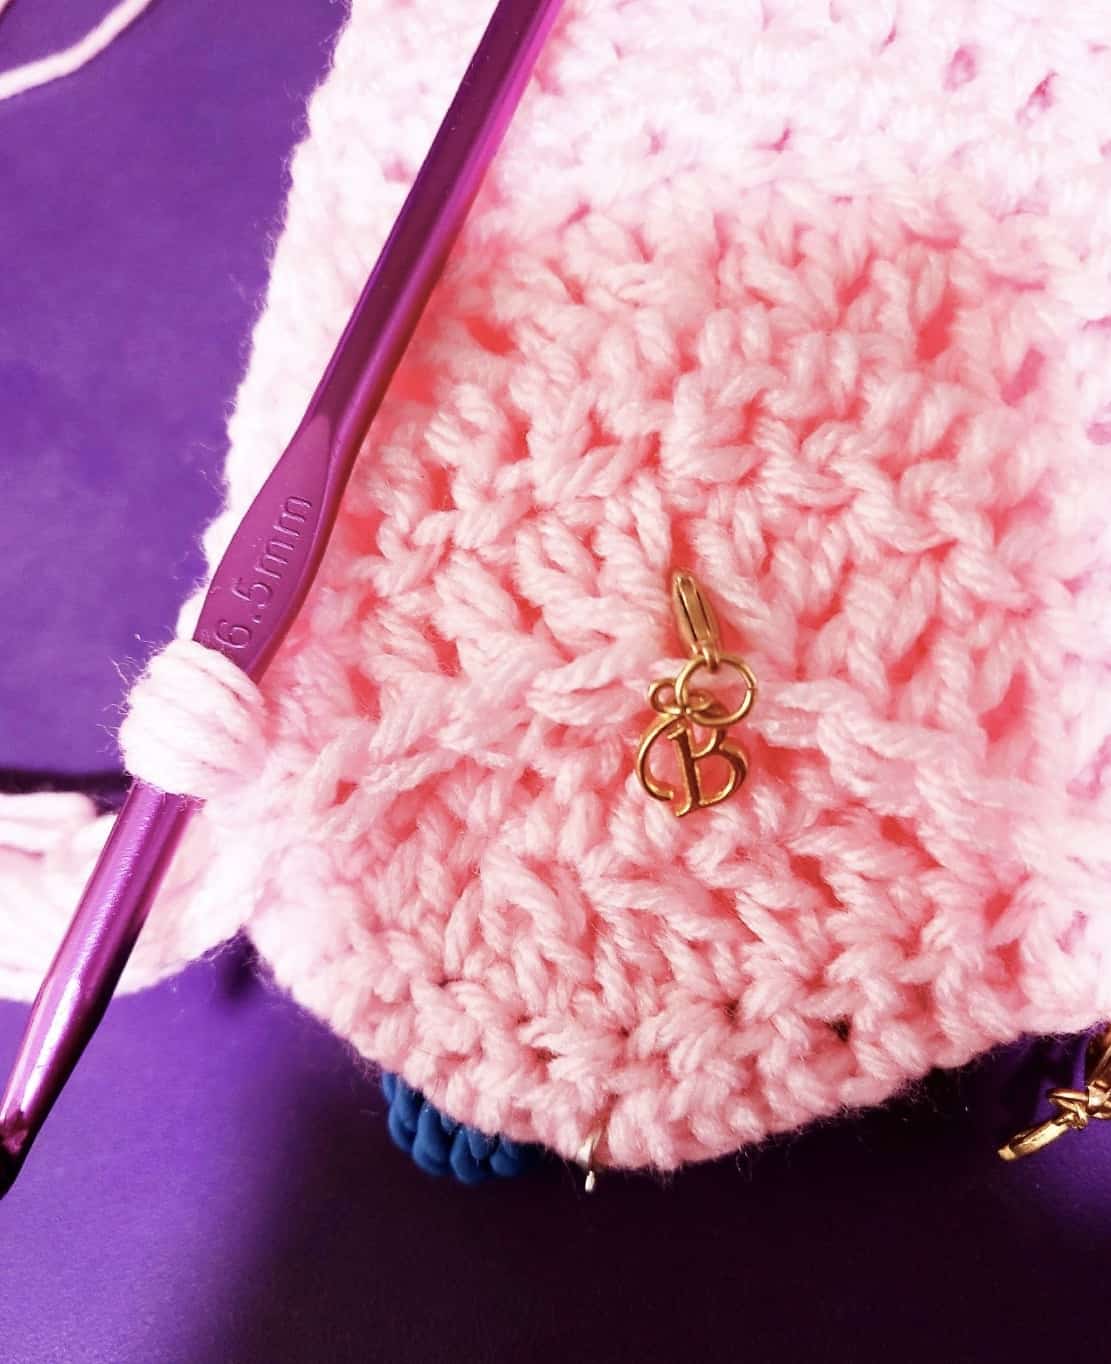
- Hook US K / 6.50 mm
- Scissors
- Measuring tape
- Yarn needle
- Row counter
GAUGE:
- 6 dc stitches = 2”, 3 rows = 2” (unblocked)
FINISHED MEASUREMENT:
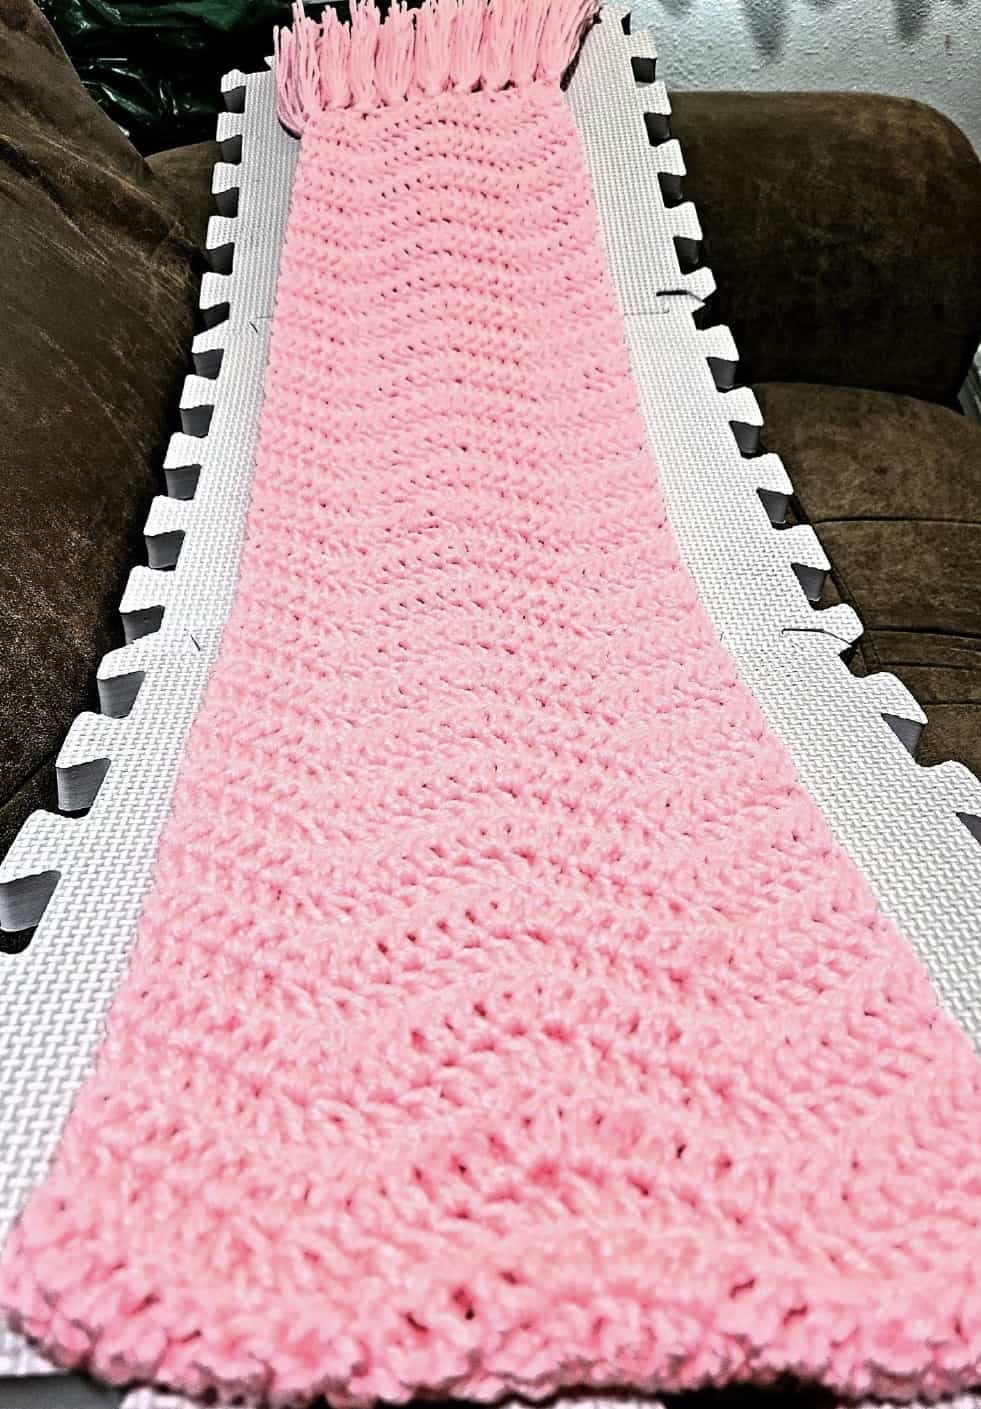
- body of the scarf, excluding tassels: 62” L x 7.5” W
PATTERN KEY:
- Ch: Chain
- Dc: Double crochet
- Dc2tog: Double crochet 2 together
- Lps: Loop(s)
SPECIAL STITCHES & TECHNIQUES:
- Dc2tog: Work the first dc until only 2 lps are on the hook, yo, place hook in next st, yo, pull through, yo, pull through 2 lps, yo, pull through 3 lps.
NOTES:
- Chain multiples of 12 + 3
- Machine wash and dry on a delicate cycle in a garment bag
- Link to find yarn online: https://www.yarnspirations.com/red-heart-super-saver-jumbo-yarn/E302C.html
- For substitutions refer to YarnSub.com
INSTRUCTIONS:
Ch 27
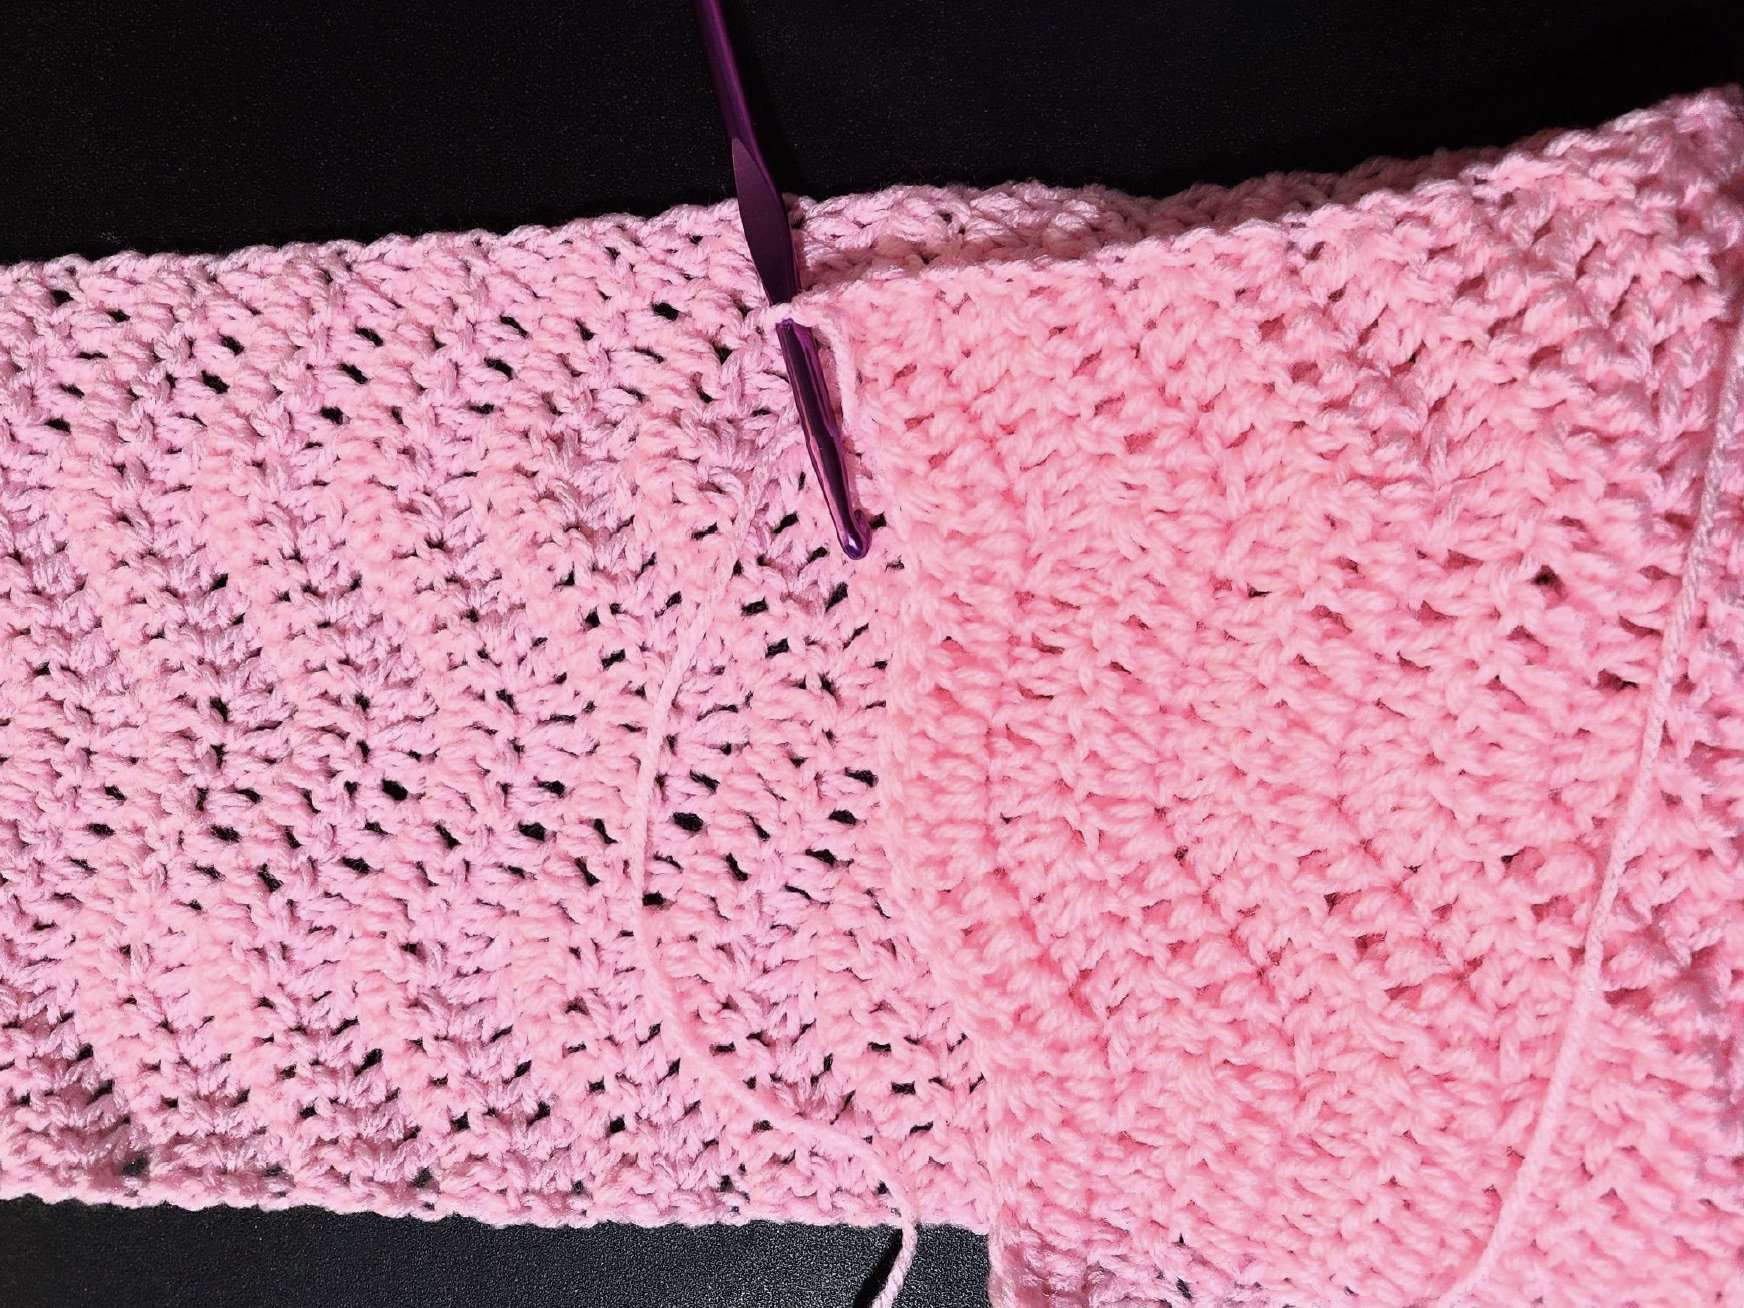
Row 1: Dc into 4th ch from hook (the 3 chs counts as a dc throughout pattern), dc into next 3 chs, (dc2tog into next 2 chs) 2x, dc into next 3 chs, (2 dc into next ch) 2x, dc into next 3 chs, (dc2tog into next 2 chs) 2x, dc into next 3 chs, (2 dc into last ch), turn (24 sts)
Row 2: Ch 3, turn, dc into 1st st, dc into next 3 sts, (dc2tog into next 2 sts) 2x, dc into next 3 sts, (2 dc into next st) 2x, dc into next 3 sts, (dc2tog into next 2 sts) 2x, dc into next 3 sts, 2 dc in top of turning ch, turn – (24 sts)
Row 3-97: Repeat Row 2, fasten off leaving at least a 3” tail to weave in.
TASSELS:
Cut 162 strands at 20” long, and separate the tassels into groups of 9 (this will give you 18 groups), the photos above will show you where I added them onto the scarf on both edges. Add 9 tassels to each end of the scarf.
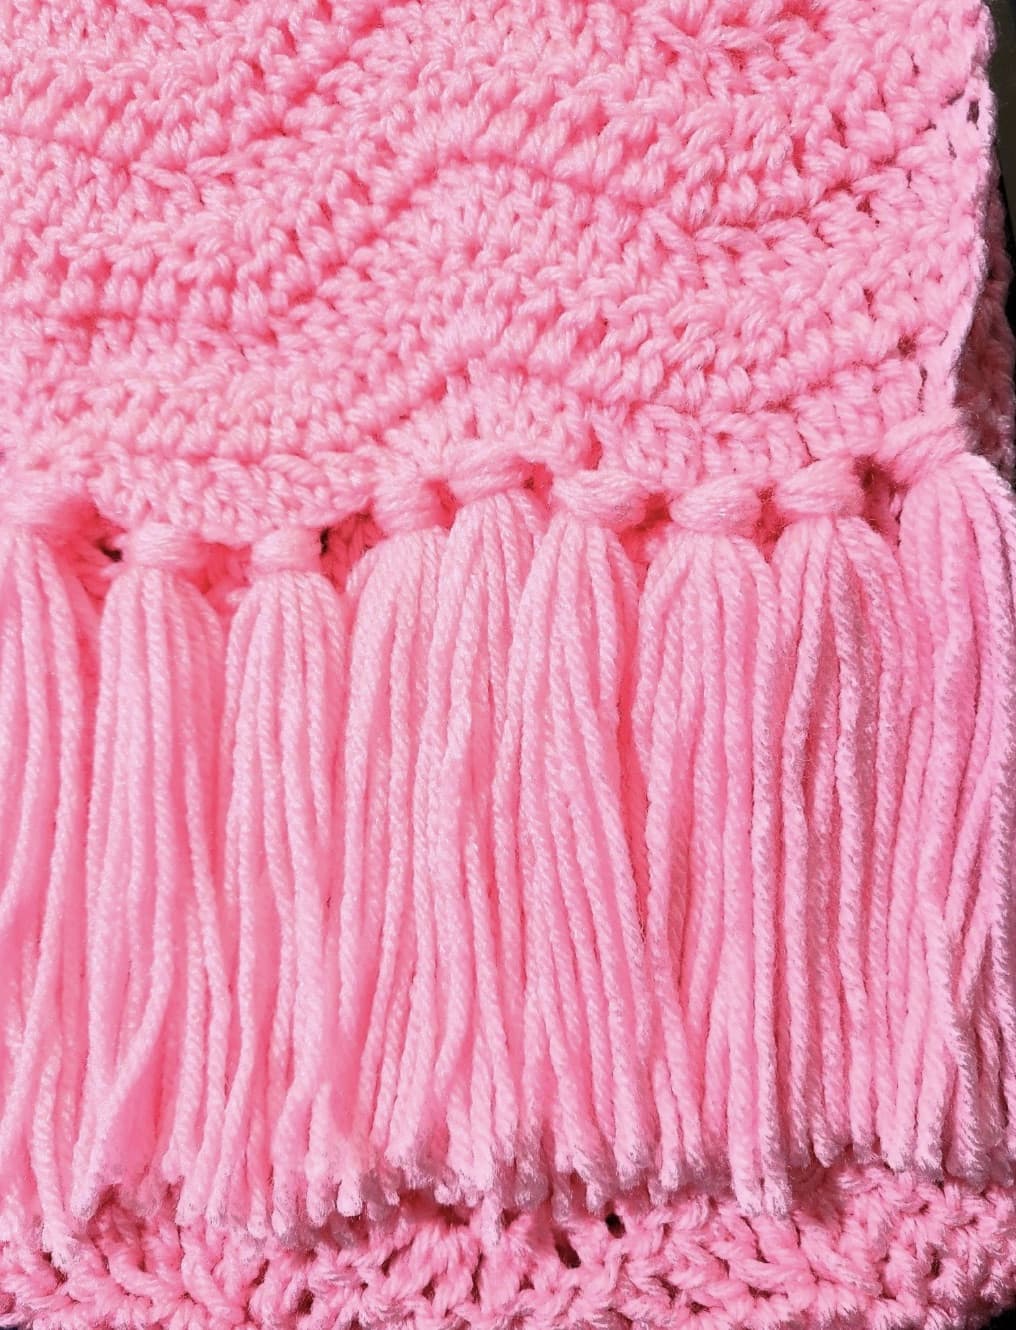
As you can see in the photo I added the tassels at the edges and each point of the stitch pattern, then in between those tassels at the mid-points. Ensure that the loops’ ends are pulled through to the wrong side so the knots end up on the right side of the scarf.
FINISHING:
I like to steam block my acrylic, but I don’t get too close to the fabric or it can “kill it” which means to melt the material because acrylic is a plastic substance. So, I try not to get closer than 6” from the piece, but I always see an improvement in the drape immediately!
 Thank you for making my Soft Waves Scarf pattern, I would love to see it when you’re finished, just tag me with your photos and feel welcome to share them on my sites below. You can also follow all the Novella Bobo Designs happenings here https://novellabobodesigns.com/. I‘m looking forward to seeing your work soon, enjoy!
Keep up with me online! See you soon <3