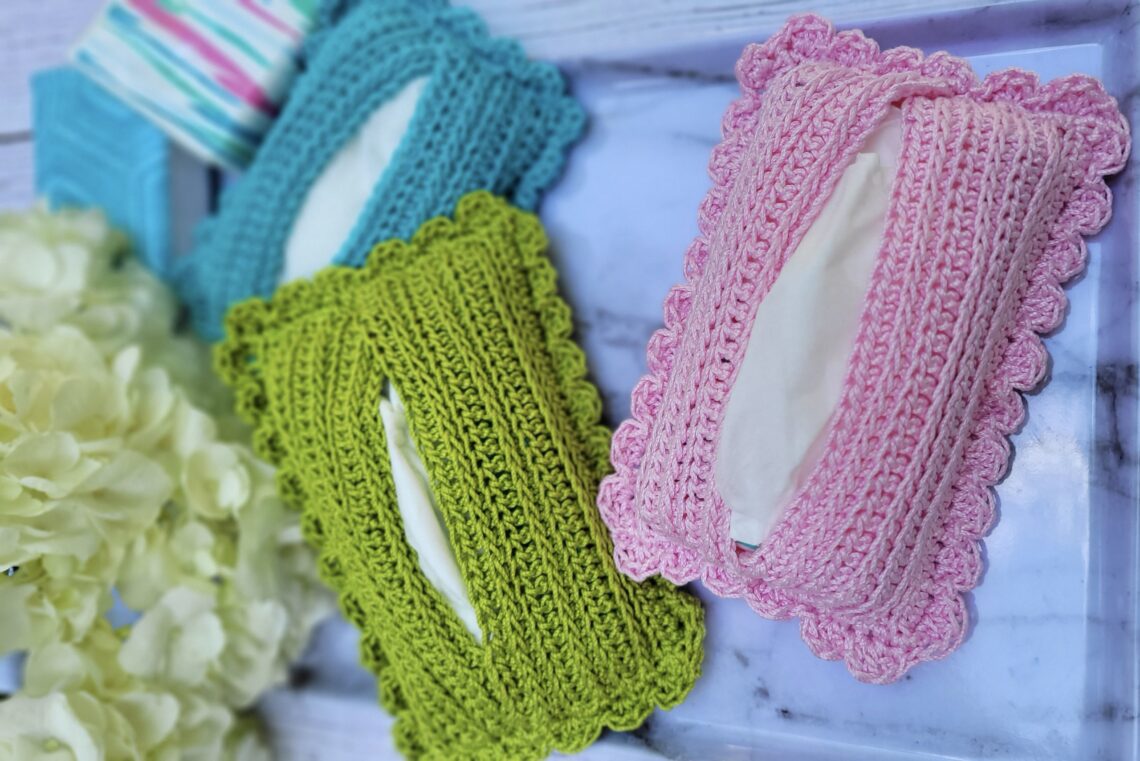
A Traveling MUST HAVE: Travel Tissue Holder
Hello! It’s Jennifer Ryan, the designer and blogger behind Celtic Knot Crochet.
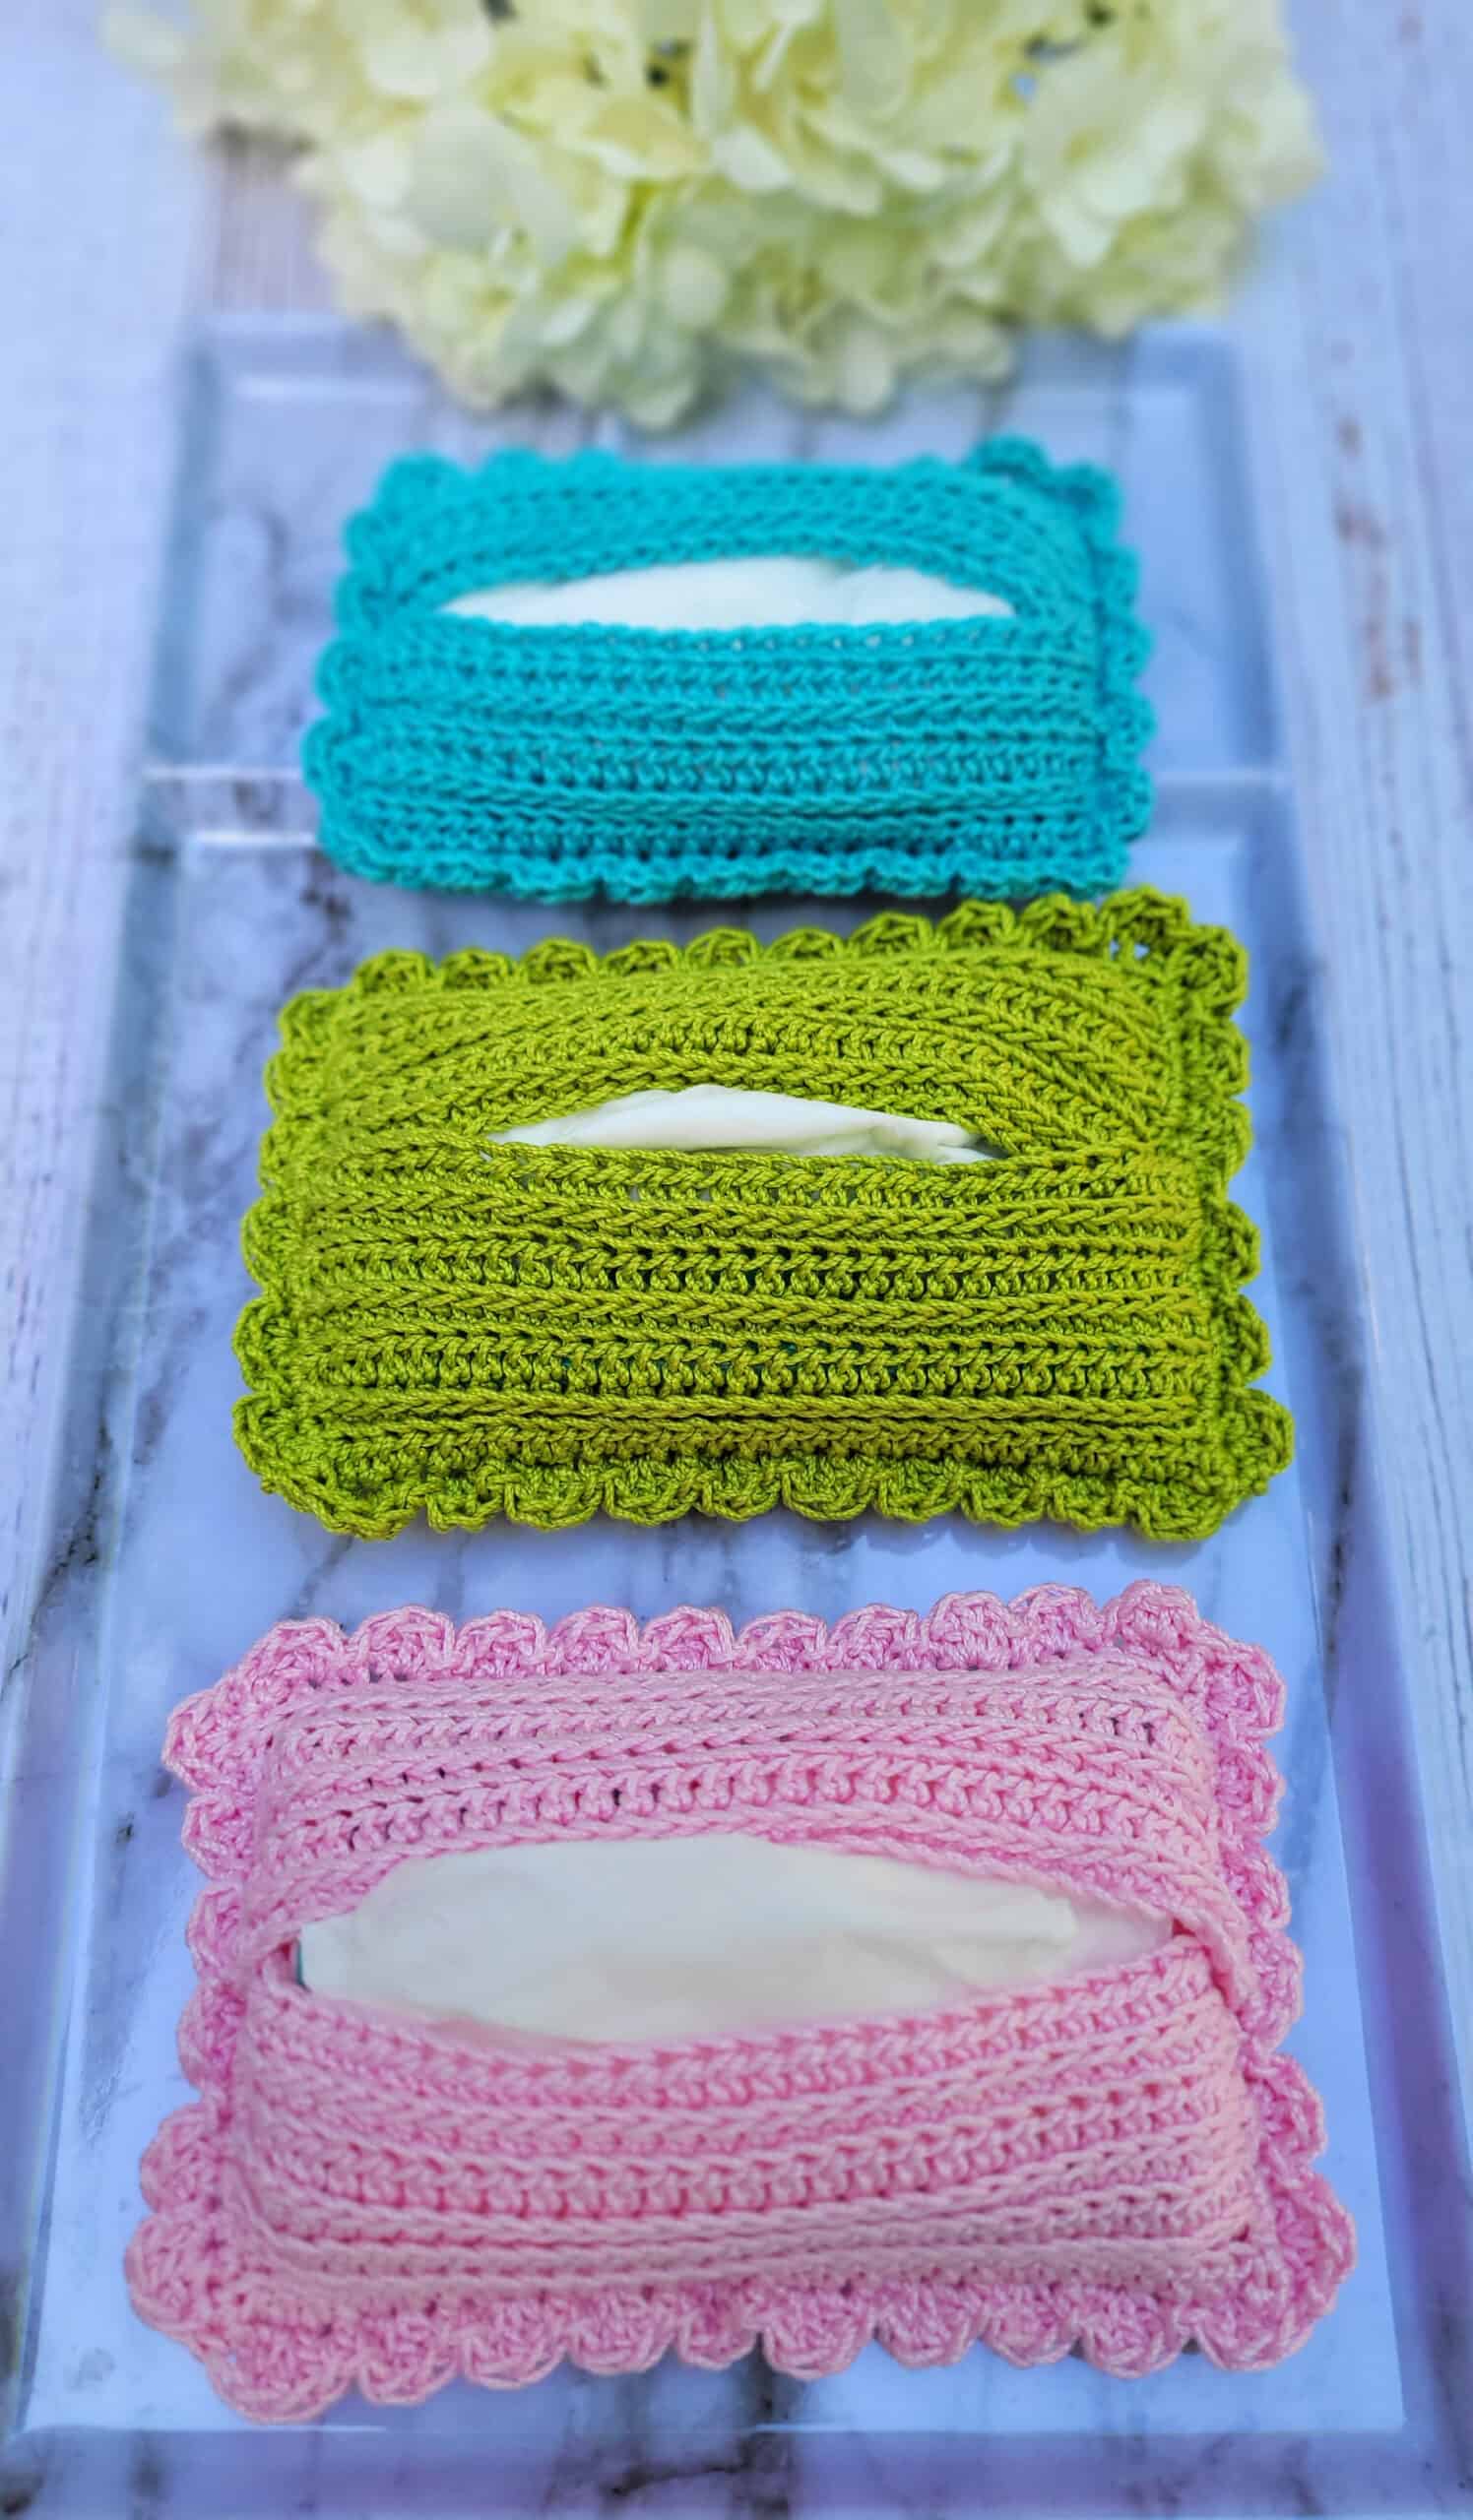
I love to crochet projects that are quick and practical! This Travel Tissue Holder fits in your purse or bag and keeps your tissues together and handy.
To make this project you’ll need to know the half double crochet stitch. By using 2 simple techniques with this basic stitch you can create great texture. And if you need some extra help with the techniques I’ve included a link to my video tutorial for this stitch pattern!
Let’s get started!
Skill Level: Easy
Supplies:
1 ball Size 3 cotton crochet thread
(I used Lizbeth yarn by Handy Hands)
2.75mm (C) crochet hook
Tapestry needle
Clover Flower Pins
Travel Pack of Tissues (4” long x 2” wide x ¾” deep)
(If your travel pack is a different size than mine, you can easily adjust the pattern to fit your pack – see more info about this below)
Link to stitch tutorial found here
Finished Measurements: 5 ½” long x 3 ½” wide
- Gauge is not necessary for this project
Abbreviations:
YO (yarn over)
Hk (hook)
Lp (loop)
Ch (chain)
St (stitch)
Sp (space)
Sl st (slip stitch)
Sc (single crochet)
Hdc (half double crochet)
Dc (double crochet)
Special Stitches:
Back Bar of the Hdc = Turn your row of hdc’s over so you are looking at the wrong side of the stitches; at the top of the stitch are the usual front and back loops; just below the back loop of the stitch you will see another loop that extends across the stitch on a slight diagonal – this is the “back bar”– insert your hook through this loop from underneath; Working in this back bar makes the top 2 loops pop-out and look like a braid on the Right Side
Back Loop Only = Insert hk only into the back lp at the top of the stitch
Click here to watch a short video tutorial of this technique
Notes:
First a rectangle is crocheted and a simple edging is added
Then the rectangle is folded to cover the tissue travel pack
All seams are joined while adding the small scallop edging
Instructions:
(All Special Stitches are in bold and italicized text and defined above)

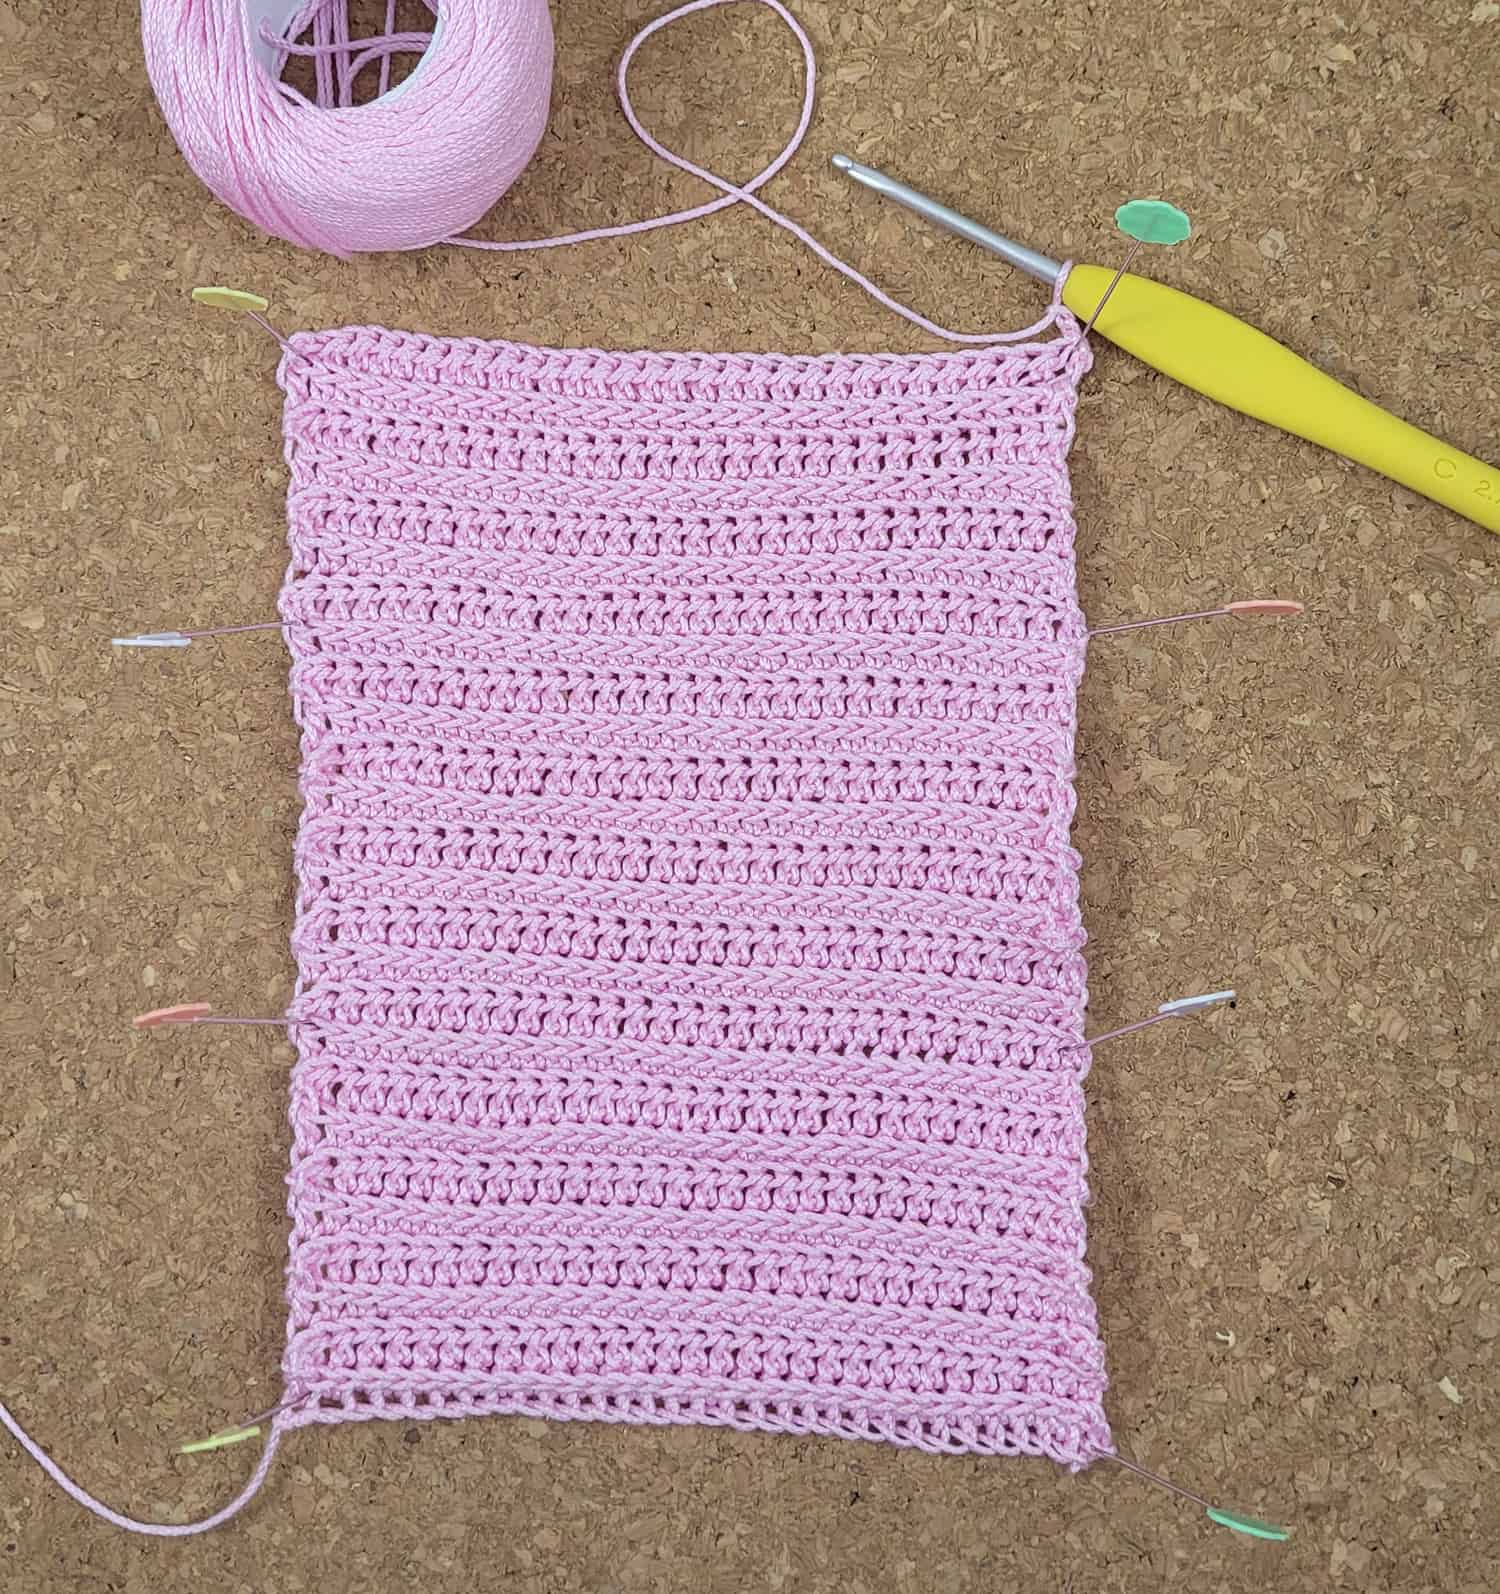
Rectangle – Measurement = Approximately 4 ¾” wide x 6” long:
Ch 32
If your Tissue Travel Pack is a different size than mine, you can easily adjust the size of this rectangle – simply chain a length that is long enough to stretch across the pack and down each side about 3/8”; Make sure this chain is a multiple of 3 plus 2
Then complete enough rows so that the rectangle can wrap around the pack and overlap by about ½” along the first and last rows
Row 1 (Right Side): Hdc in 3rd ch from hk and in each ch across. Turn. (30 hdc)
Row 2: Ch 2, working in the back bar hdc in each st across. Turn.
**If you are having a hard time understanding where this back bar of the hdc is, watch this short video tutorial here on my Youtube Channel and you’ll see it’s easy once you get the hang of it! ?**
Row 3: (Right Side) Ch 2, working in the back loop only, hdc in each st across. Turn.
Repeat Rows 2 & 3 until rectangle measures approximately 6 inches long (about 26 total rows). Fasten off.
Edging:
With Right Side facing sl st in top left corner; Work sc evenly down side of rows. Fasten off. Repeat on other side of rectangle starting at bottom right corner. Fasten off.
Finishing and Assembly:
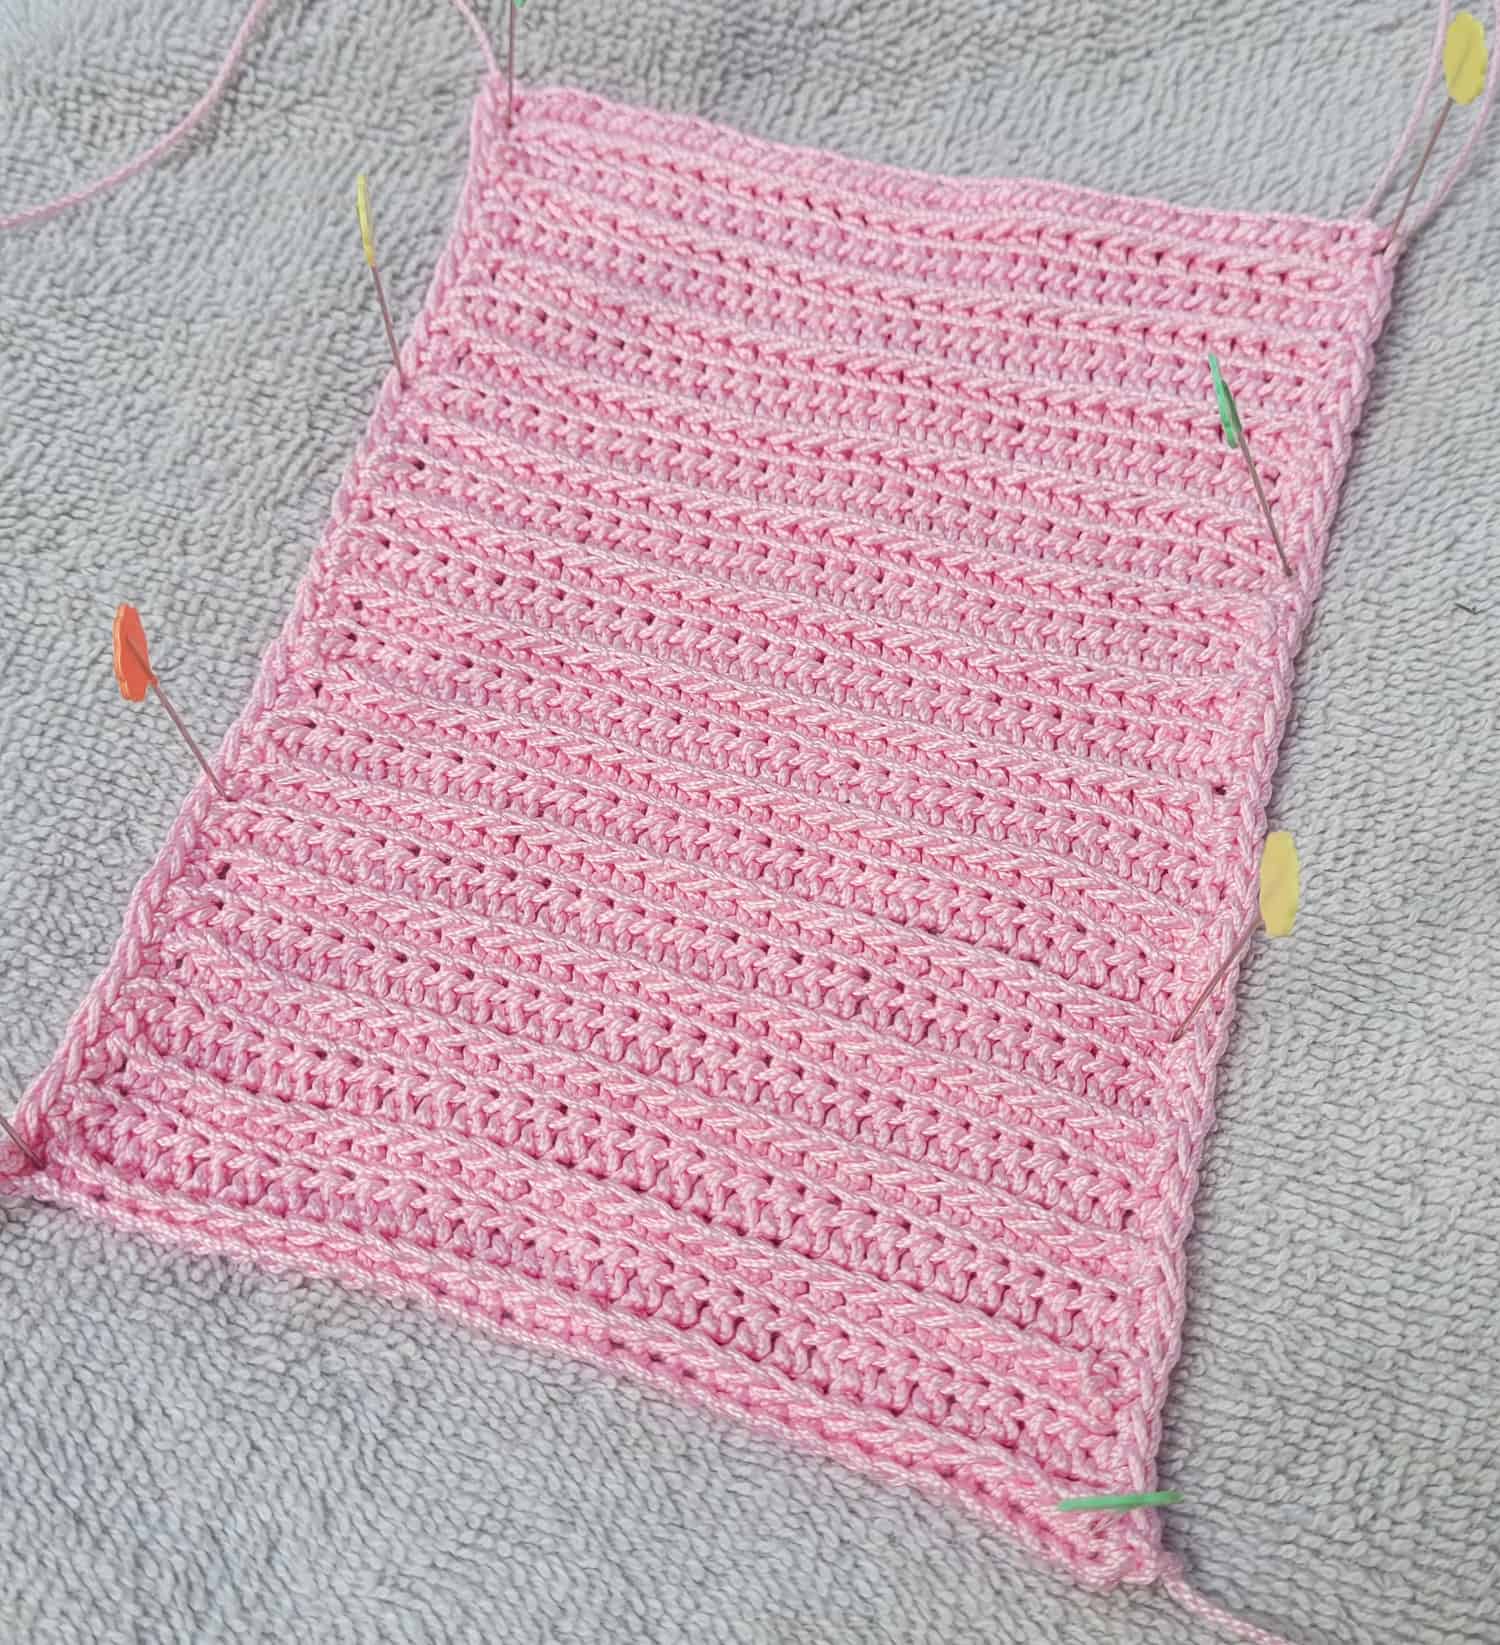
Wet block rectangle and let dry completely.
(To wet block rectangle: Immerse rectangle in cool water until soaked through; Roll rectangle in towel and press out excess water; Lay rectangle on new dry towel and pin corners and sides in place so corners are at right angles and sides are straight; Let dry overnight)
With Wrong Side facing fold Row 1 and Row 26 in toward center so edges overlap slightly
Pin overlap and test that Tissue Pack fits inside.
Pin open edges making sure to line up sides.
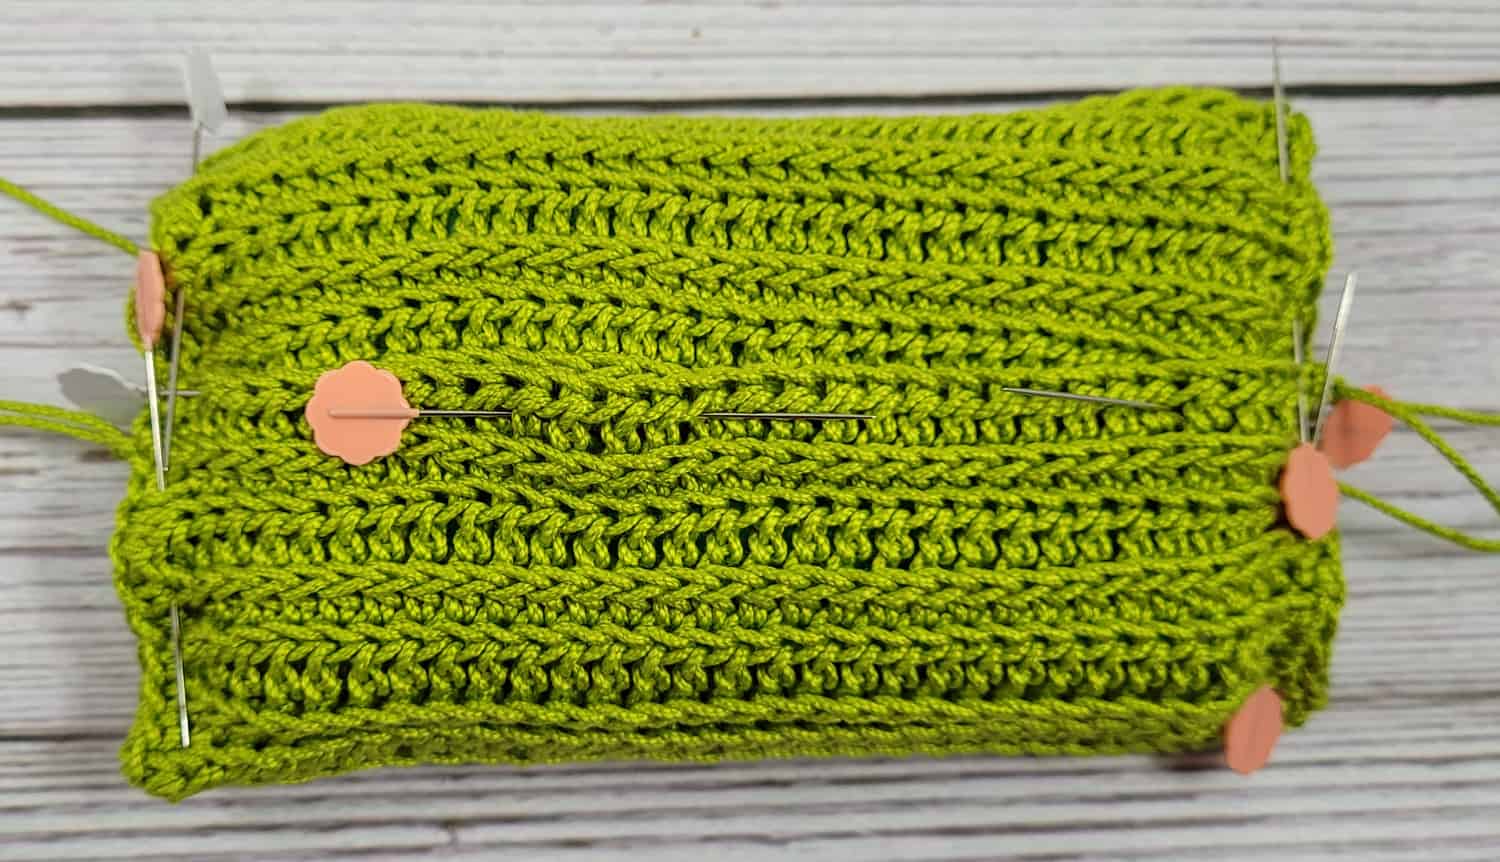
Scallop Edging:
Making sure to pass hook through all layers of folded rectangle, sl st in right corner of one of the short sides; 3 dc in next st, sl st in next st; (sl st in next st, 3 dc in next st, sl st in next st) across 5 more times;
**You may need to adjust how many sl sts you include between the scallops in order to fit all 6**
(Sl st in next st, 3 dc in next st, sl st in next st) 10 times across next side of holder working in raised sts;
Making sure to work through all layers of folded rectangle along next short side, (sl st in next st, 3 dc in next st, sl st in next st) 6 times across;
(Sl st in next st, 3 dc in next st, sl st in next st) 10 times across next side of holder working in raised sts; Fasten off.
(You should have 6 scallops along each short side and 10 scallops along each longer side)
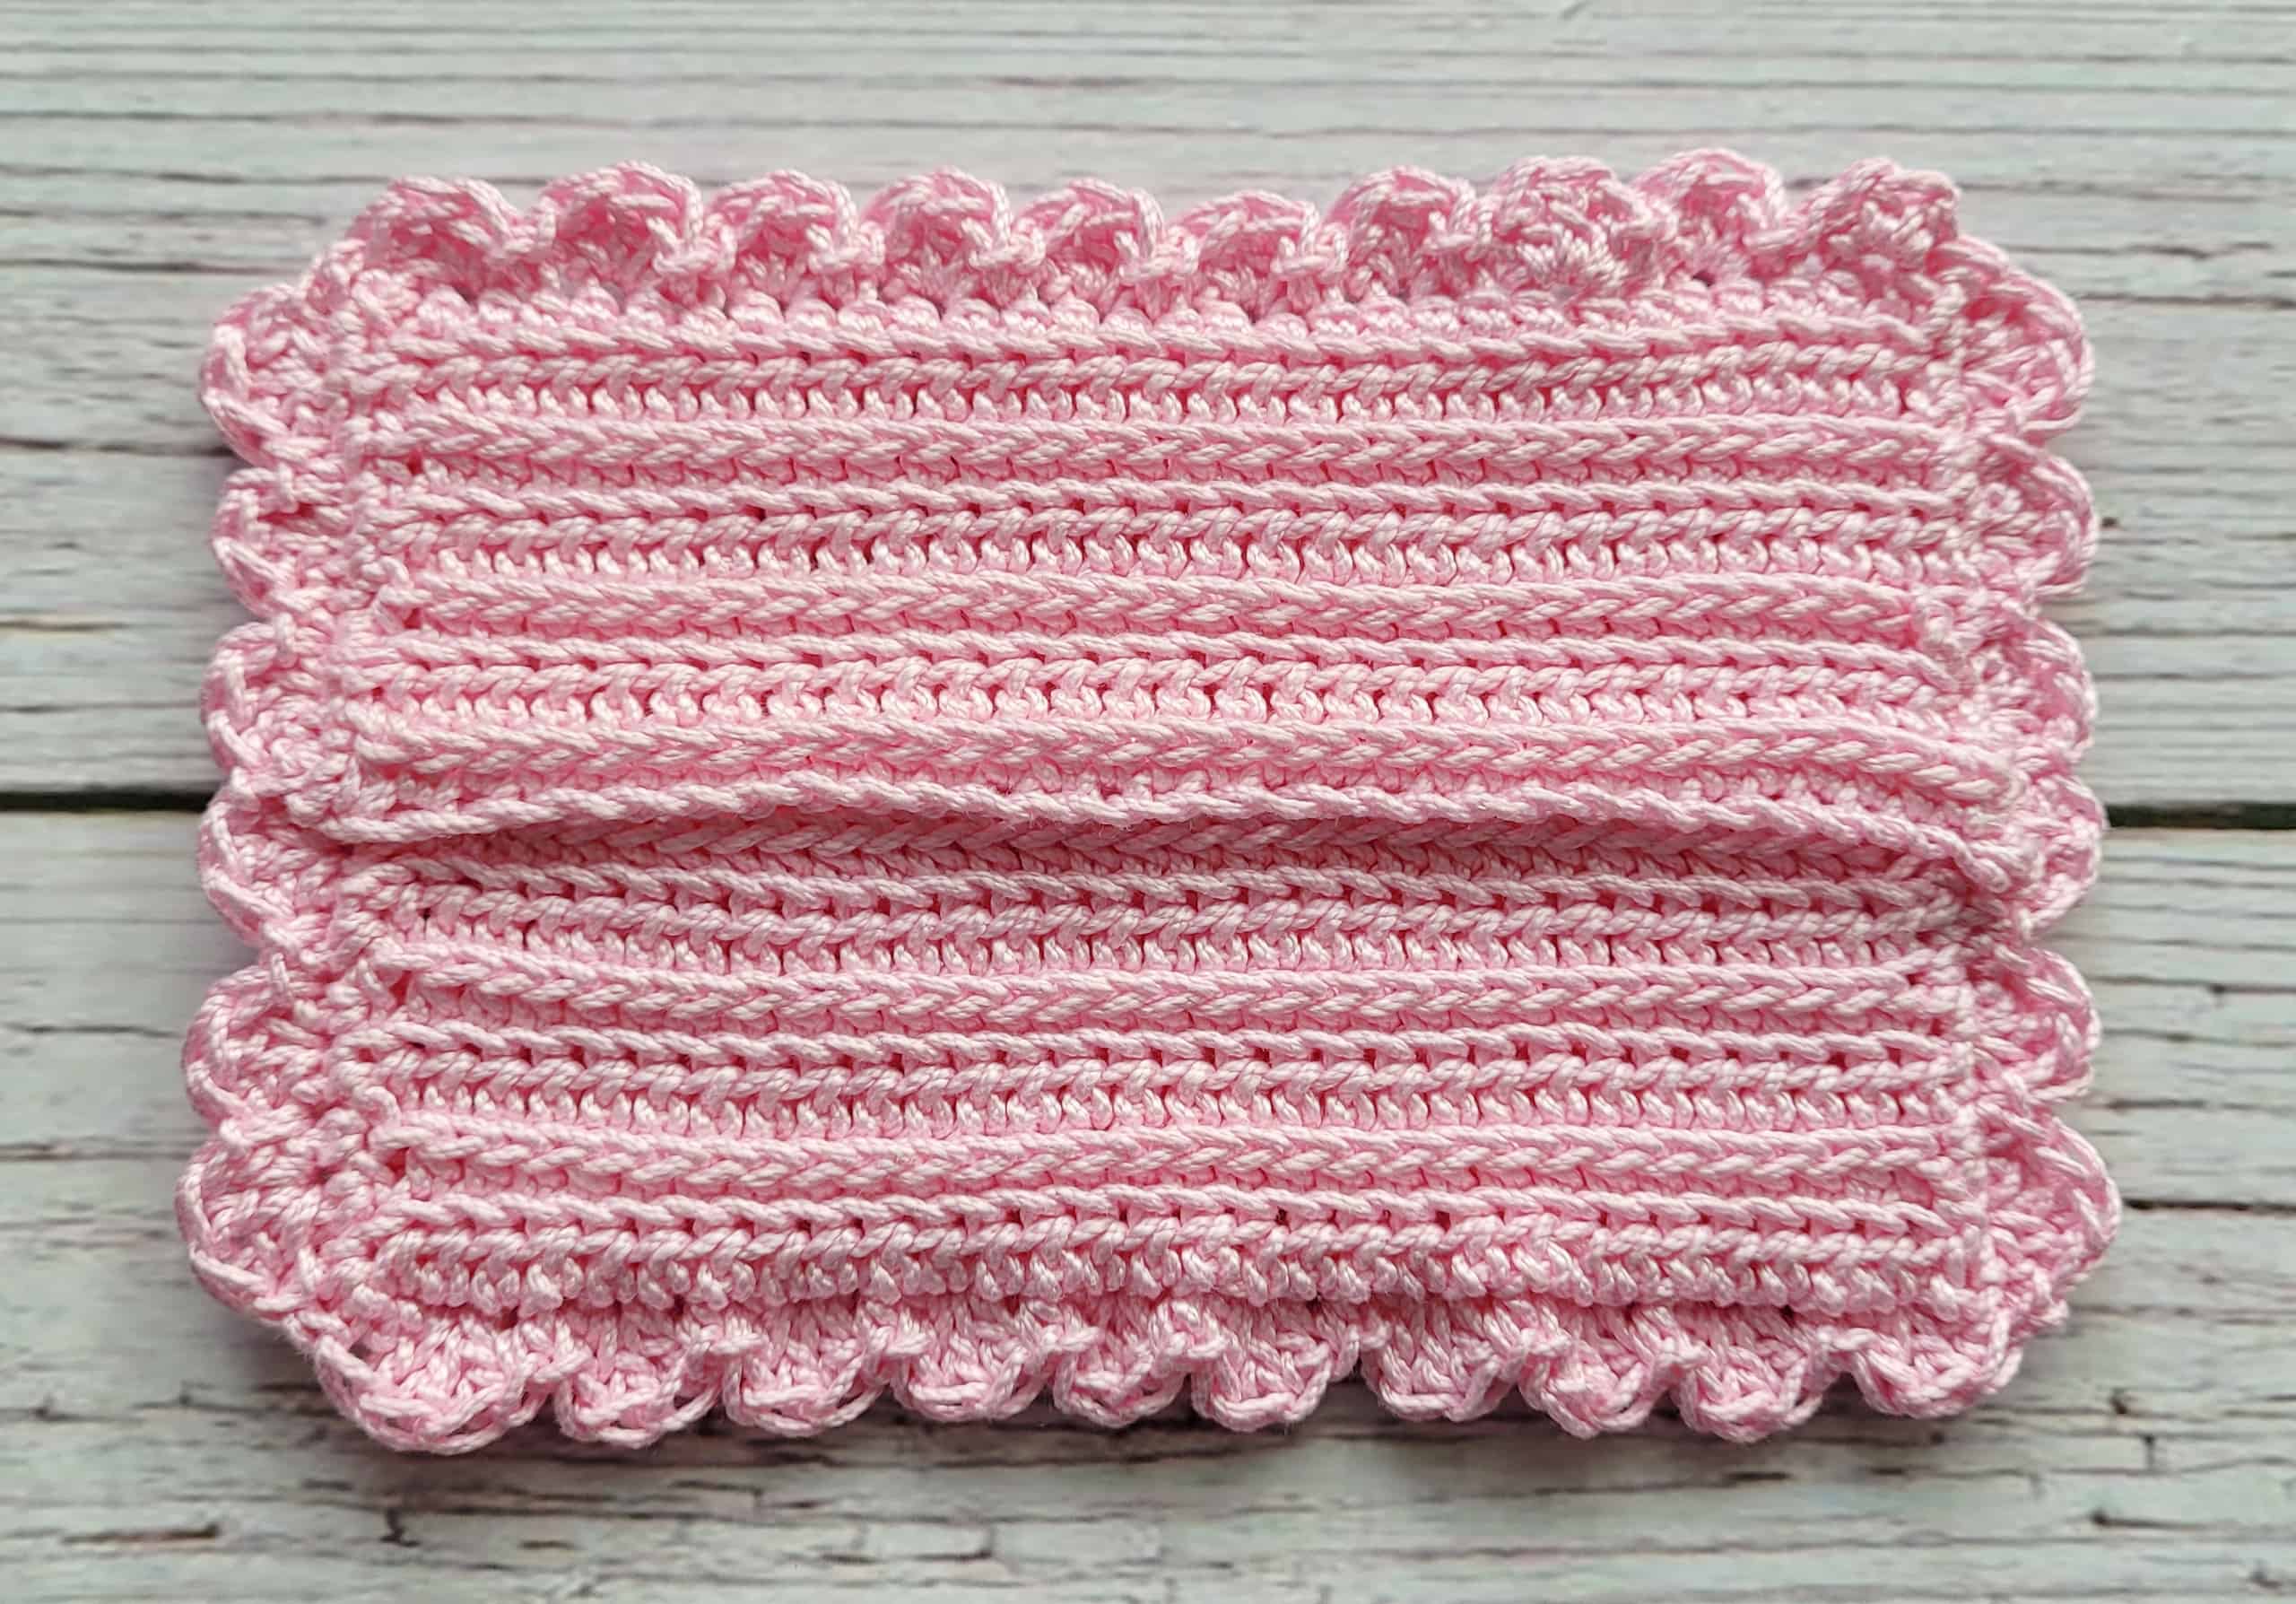
Weave in ends, then insert tissue pack.
And there you have it – your Travel Tissue Holder is complete!
You can find a large-print instant downloadable PDF of this pattern by clicking here and purchasing it in my Etsy shop.
[Etsy shop link: https://www.etsy.com/shop/CelticKnotCrochet]
Please tag me @celticknotcrochet and use the #celticknotcrochet on Instagram – I would love to see your finished project!
Find Celtic Knot Crochet online: Blog Youtube Instagram Etsy Pinterest