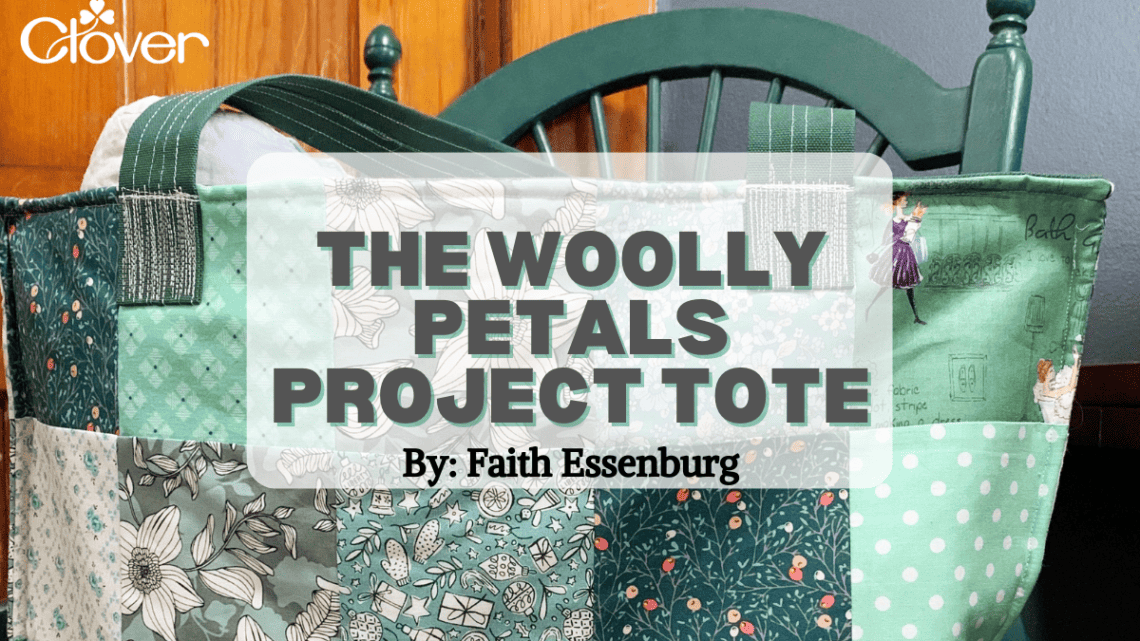
The Woolly Petals Project Tote- Sewing Tutorial
Hi and welcome to the new year! My name is Faith Essenburg, quilter, maker and mom to three boys. I contribute to Clover monthly and this month was asked to show a patchwork tote, and lucky for us my friend Kristen of @wollypetals went and made this wonderfully large tote that is just perfect. This is a free pattern with loads of instructions that can be found HERE. And if you need more inspiration for fabrics and ideas check out the #woollypetalsprojecttote, I think it’s safe to say this is the bag you’ll be using over and over this year!
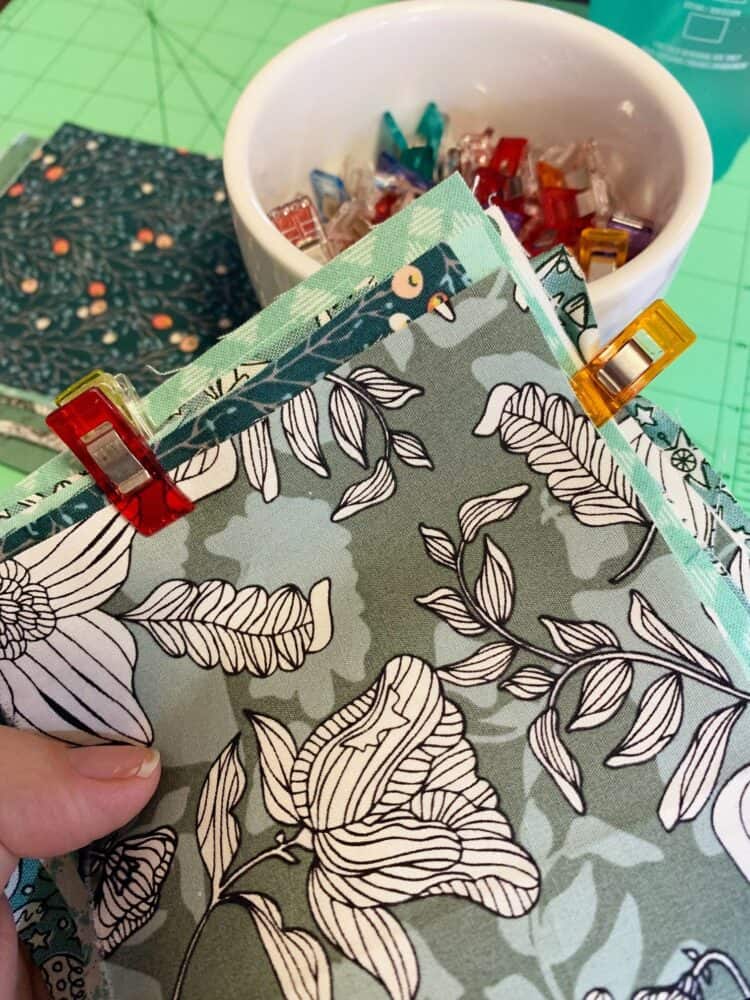
The thing that helps this bag be sturdy and hold its shape is the Duck Cloth lining, I just happened to have some leftovers from when I made a cape for myself last year, so I pulled some lovely greens to go with it. I always use Wonder Clips with my sewing rather than pins and I also use them to keep my fabrics organized between cutting, placement, and sewing.
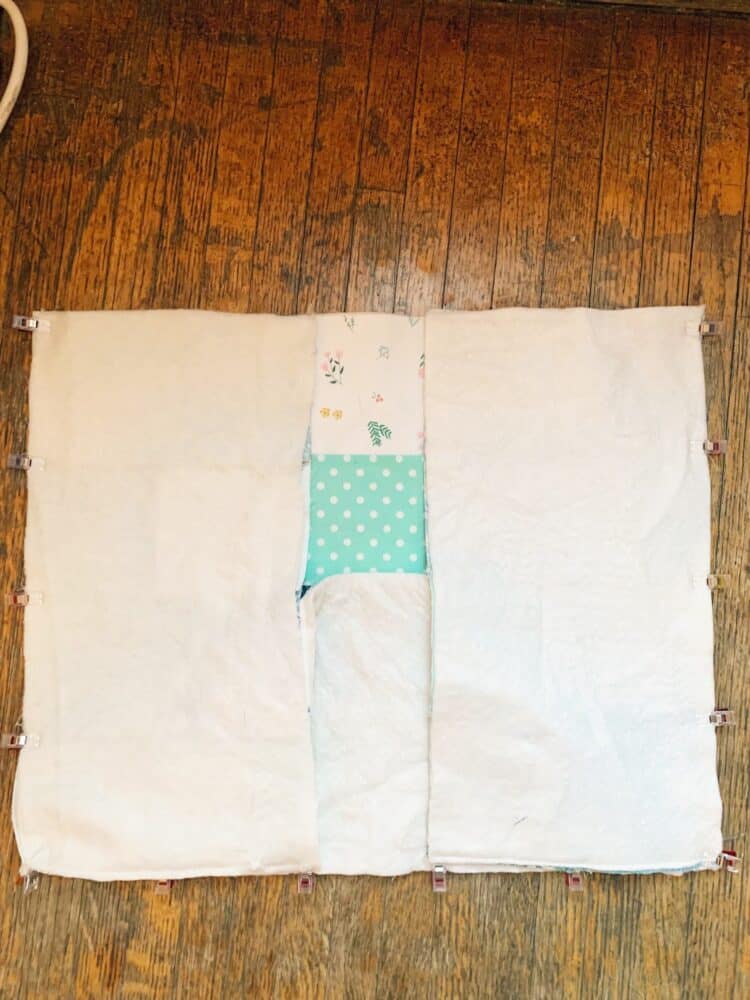
I used some leftover quilt batting instead of interfacing and that worked well. The construction of this tote is so simple and well thought out, I think making a few more of these will be called for since I love big bags!
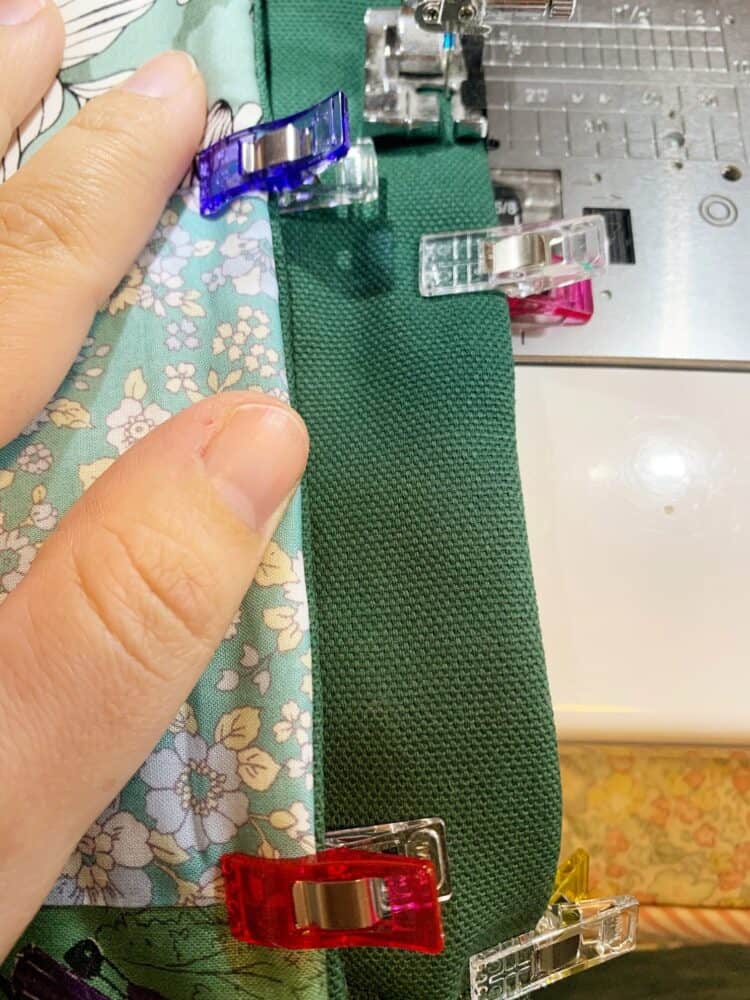
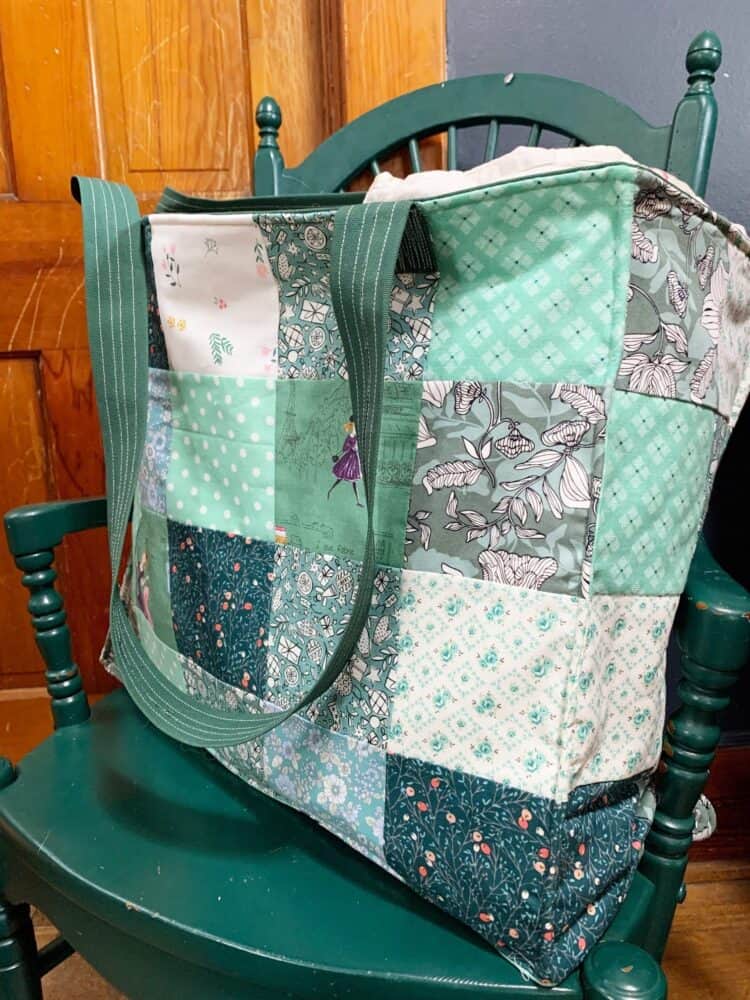
This was a great project to make in one afternoon and perfect for if you are feeling like you are missing your “sew-jo” and need a fun make to get you sewing again. I sewed the straps a little differently so I could have long ones. I cut two pieces of duck cloth 37x 3.5, folded them over on each long side by almost an inch and then stitched four rows to hold it in place and also give it stability. Fold your ends over by about an inch and a half and they are ready to stitch to the bag.
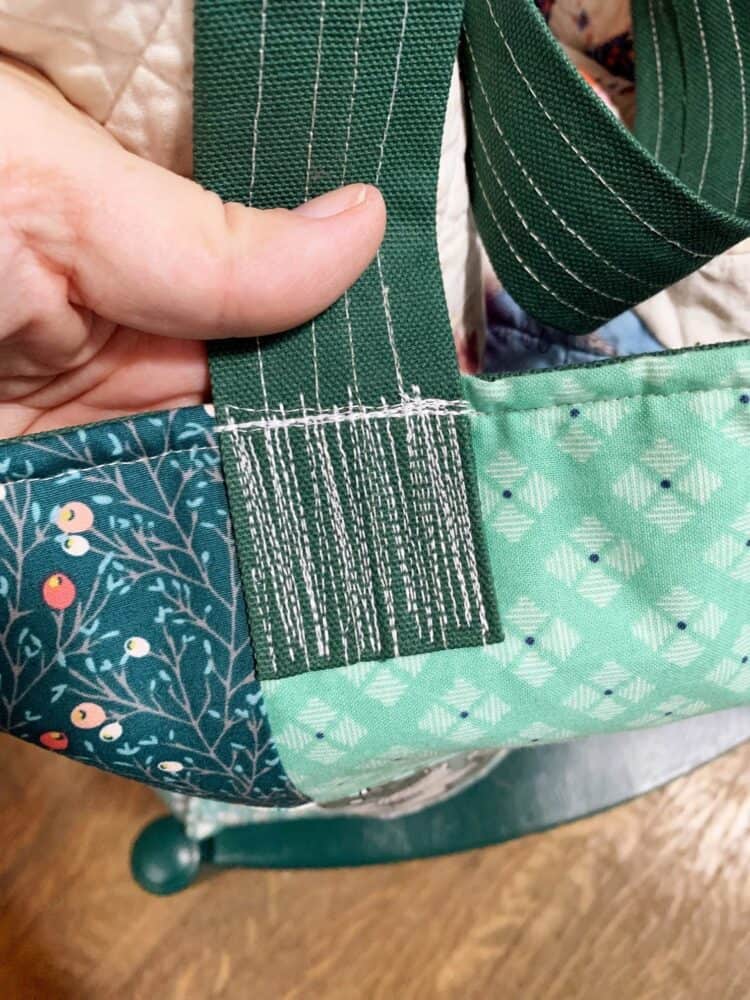
I went a little overboard on the handle stitching for good reason, we use our big bags a lot for groceries, camping, beach days, and everything else and they tend to get packed full which can put a strain on the handle stitching. I just go back and forth on each one and then again across the top where the bag and handles meet. Kristin offers other ideas and options for the handle rather than adding them to the outside as I have done.
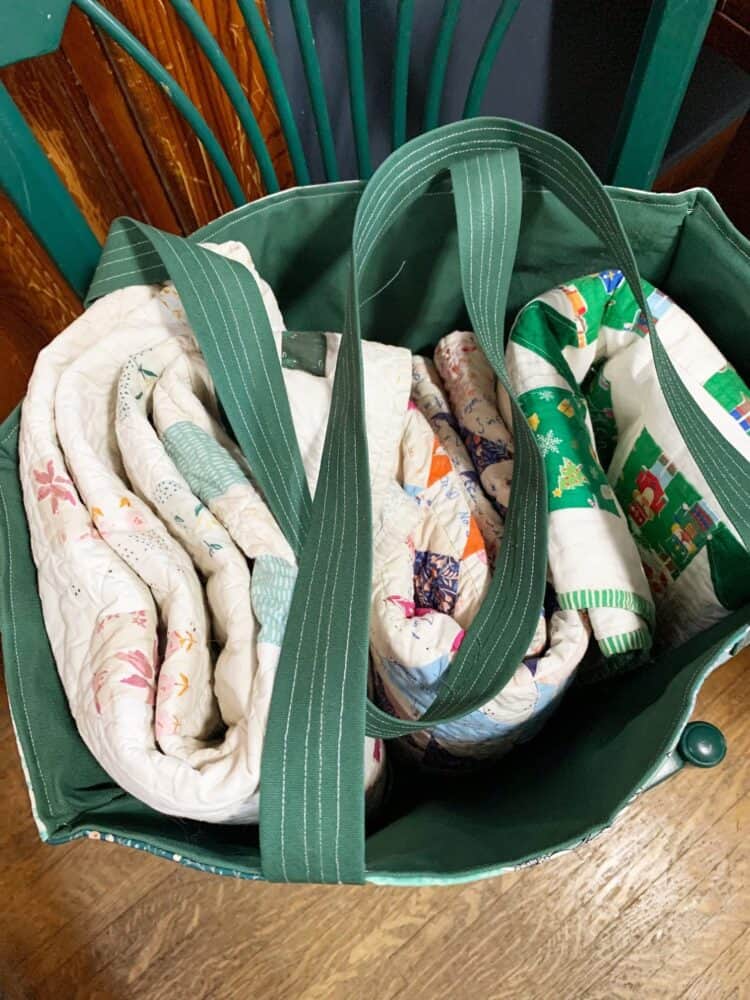
I loaded some quilts into this bag and fit three with plenty of room for more things. It will easily fit all of our beach towels and snacks and drinks for a day at the beach (which I am dreaming of in the middle of winter!).
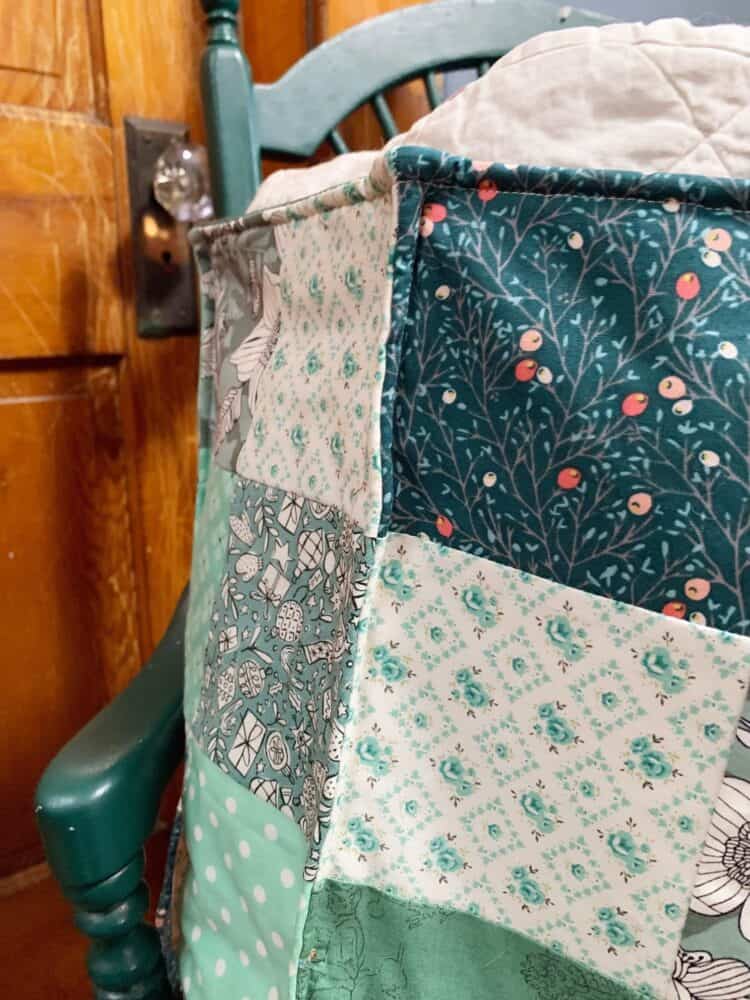
The side seams are sewn to help support the bag and stand it upright since it’s so deep, I also added a seam along the bottom of the bag just to help it stand even nicer and that worked well. Another great thing about this bag is that you can pop it in the wash and dryer as needed too!
I hope you find these tips helpful when making your own Woolly Petals Project Tote. I look forward to seeing you back here again next month with another fun make!
Stay connected with Clover on Facebook | Twitter | Instagram | Pinterest | YouTube | Ravelry