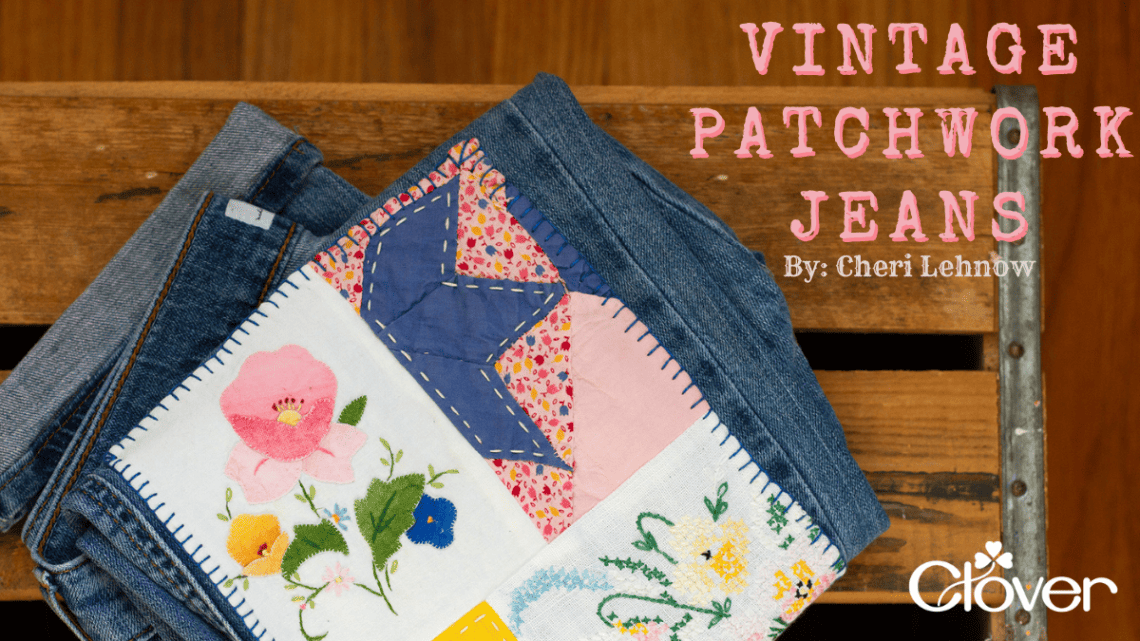
Vintage Patchwork Jeans- Sewing Tutorial
Hey everyone! This is Cheri from Tinkerellen. If you follow me on Instagram you know really well how much I enjoy thrifting AND customizing almost everything I own. It’s such a great and inexpensive way to create a completely custom wardrobe, as I’m about to show you, using some vintage linens, quilting cotton and a pair of second-hand jeans.
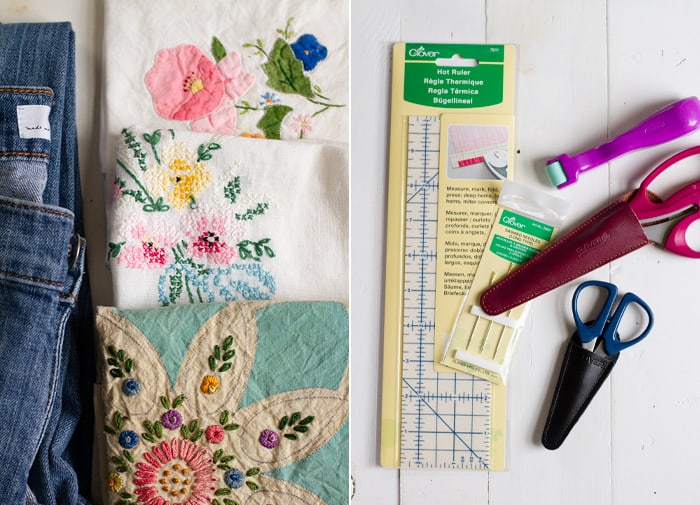
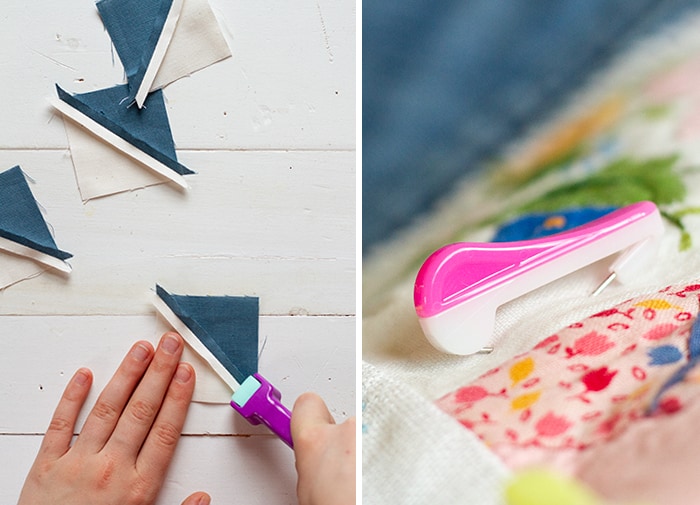
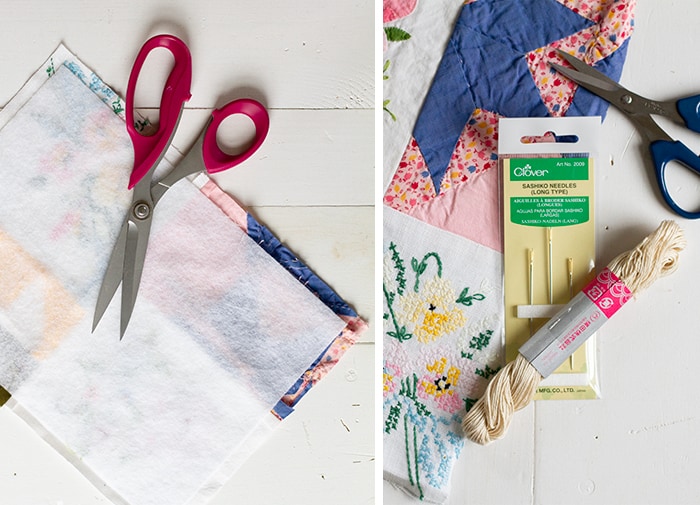
Let’s get started with some Clover supplies and any vintage items you’d like to reuse. I’ve found myself some quilt scraps along with old handiwork linens to incorporate. Several items came from my local thrift store and flea market, and I keep a box of similar items stored away for future projects. Grabbing these pieces when you spot them isn’t a bad idea, since they can inspire a new project or might not be available when you need them for a current project. A lot of people I talk to have items handed down to them and if you’d prefer to give them a second life instead of keeping them tucked away, then a project along these lines is always a fun idea. For helpful tools, I’ve grabbed my mini patchwork scissors as well as the large version, some sashico needles (I prefer these for hand quilting), and the roll and press seam roller. I also grabbed the hot ruler which I used behind the scenes to make some ironing a bit easier. I had some fusible interfacing on hand to use as my patch template, but you can use any interfacing that’s flexible and soft.
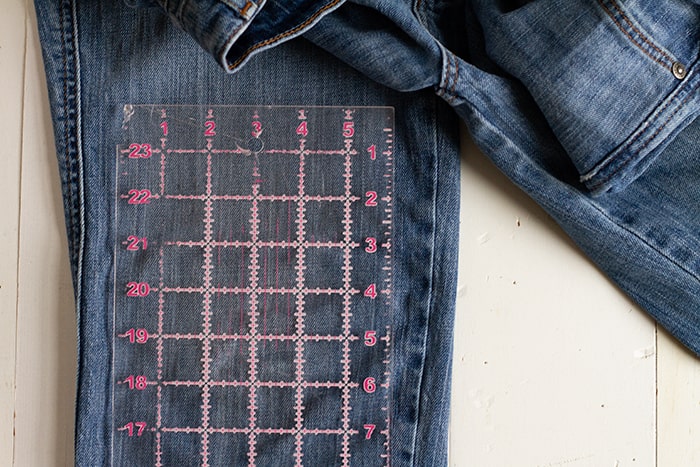
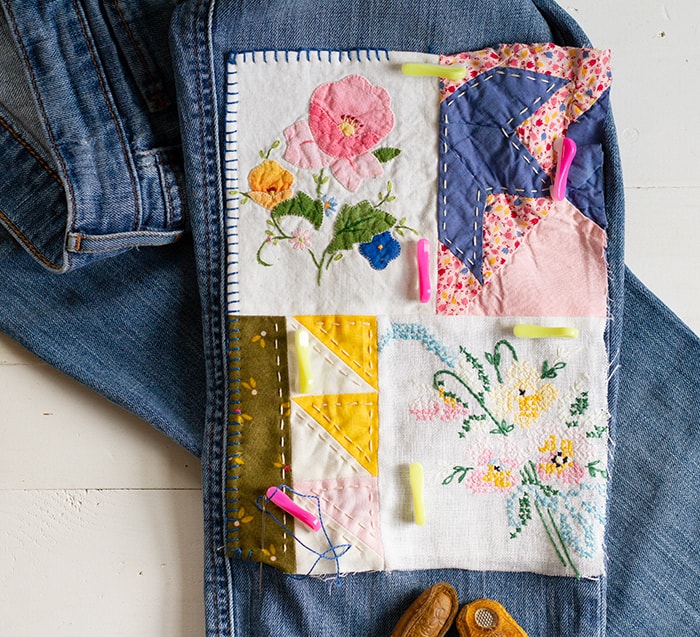
Start by measuring your pant leg, where you want the patch to be, so you can get a good idea of what size you’ll want to make your patch. Mine ended up being about 7″x10″, pretty large but I really wanted to showcase some of this needlework.
I went ahead and created a couple of quilt-style pieces to include in my final patch. This is where I used my hot ruler and seam roller. The seam roller is such a great tool if you don’t feel like pulling out the iron or don’t have a spot close to your machine to keep an iron. I simply roll out my seams, especially on small projects and then I’m ready to go. It saves me a lot of time! Another super handy tool while we’re at it is the wonder pin. You can actually use these one handed (I do it all the time) and they’re small enough to stay out of the way while also not snagging threads as I stitch around them.
This is the part where It’s really up to you what to create. My design changed as I went, which is usually how I work. Sometimes things look right and sometimes that don’t, so I keep all my pieces out until I’m sure. Then I place everything out, sew it all together, give it all a good pressing and then iron it onto the fusible interfacing. If yours isn’t fusible you could always use a basting quilt spray. Think, spray painting glue. It’s quite handy.

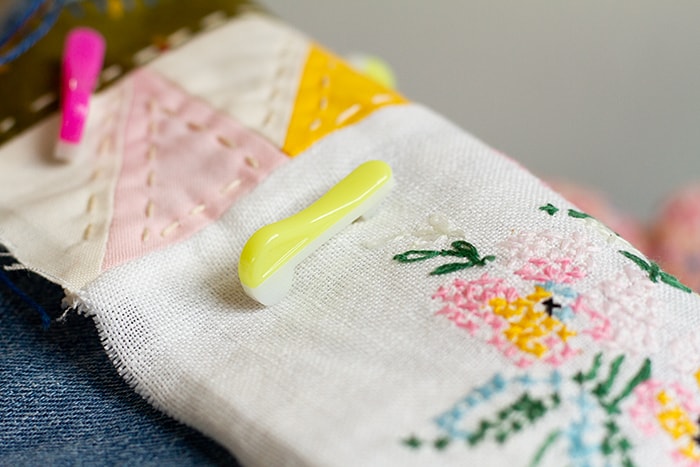
Now I trim my patch down to leave at least a quarter inch around all sides, then I’ll take my sashiko needles and some thread to do a little hand quilting on my patch before sewing it onto my jeans. You can definitely stitch the patch after it’s on the jeans but it will be a bit harder to get through all those layers.
Once I’ve finished with all the embellishing and hand quilting I wanted to do, I use my wonder pins to pin the patch in place on the jeans. Maybe try them on at this stage to make sure the patch it right where you want it. Best to make sure before you spend all that energy stitching it in place.
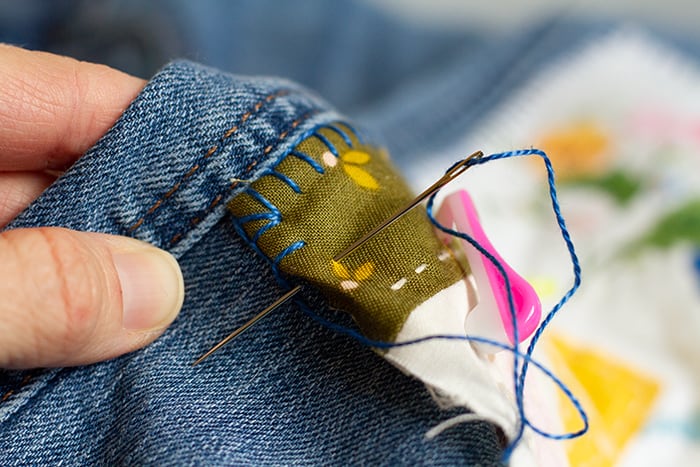
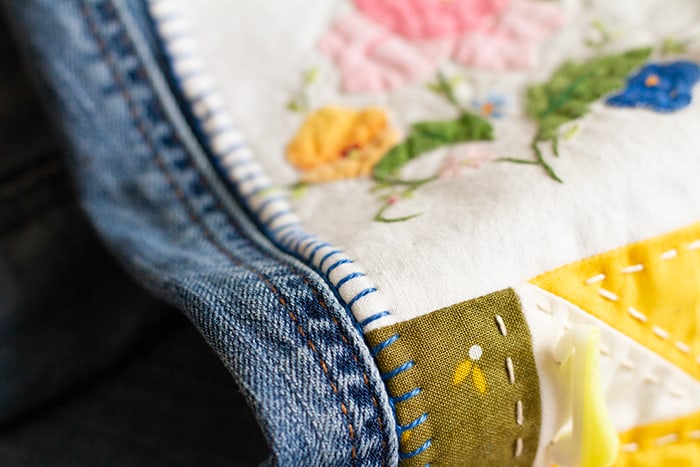
I’m securing my patch onto my jeans by keeping the edge rolled under and finishing with a blanket stitch around the edges. I’m using purl cotton thread, two clover leather thimbles (coin thimble, natural fit leather thimble) and the sashico needles.
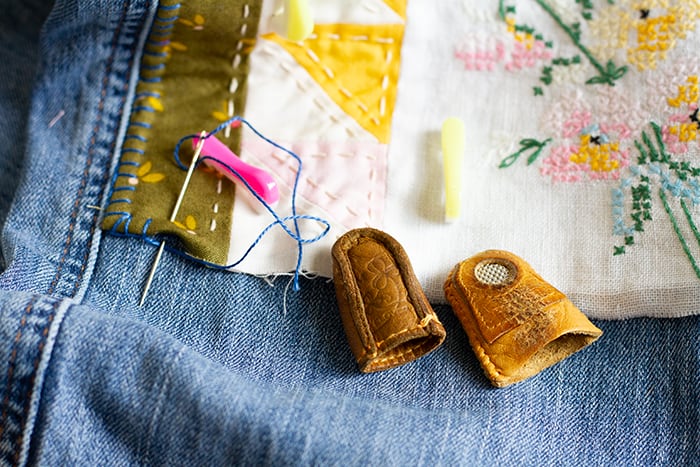
You can use any stitch you prefer to attach your patch but I love the handmade look of the blanket stitch, and with a fun bright color it really pops against the designs of the linens and fabrics.
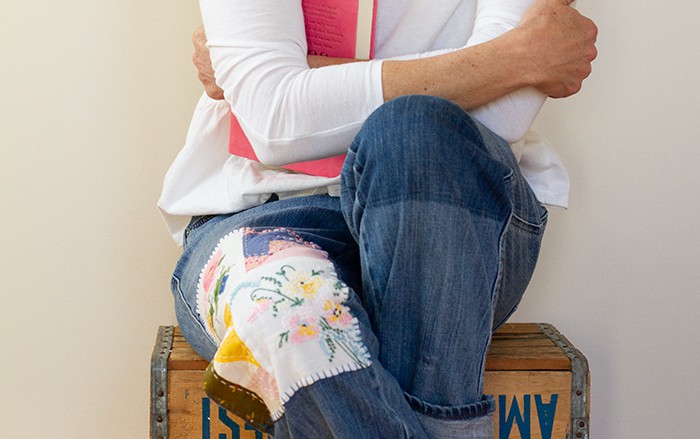
Honestly, I hope you’ll make your own custom pair of comfortable jeans (or a jacket, or even some sweatpants!). I’m in love with these jeans and can’t wait to add them to my wardrobe! Be excited about what you make, create just for you but also make sure you show it to the world! You never know who you could inspire or who needs that bit of happiness just then. I certainly hope this inspires you to give a second life to something sitting in the closet gathering dust. I’m thankful to the hands who made such beautiful things and shared them so that one day I could find them. I feel honored to be able to treasure these old handiwork pieces in my home and life.

Stay connected with Clover on Facebook | Twitter | Instagram | Pinterest | YouTube | Ravelry