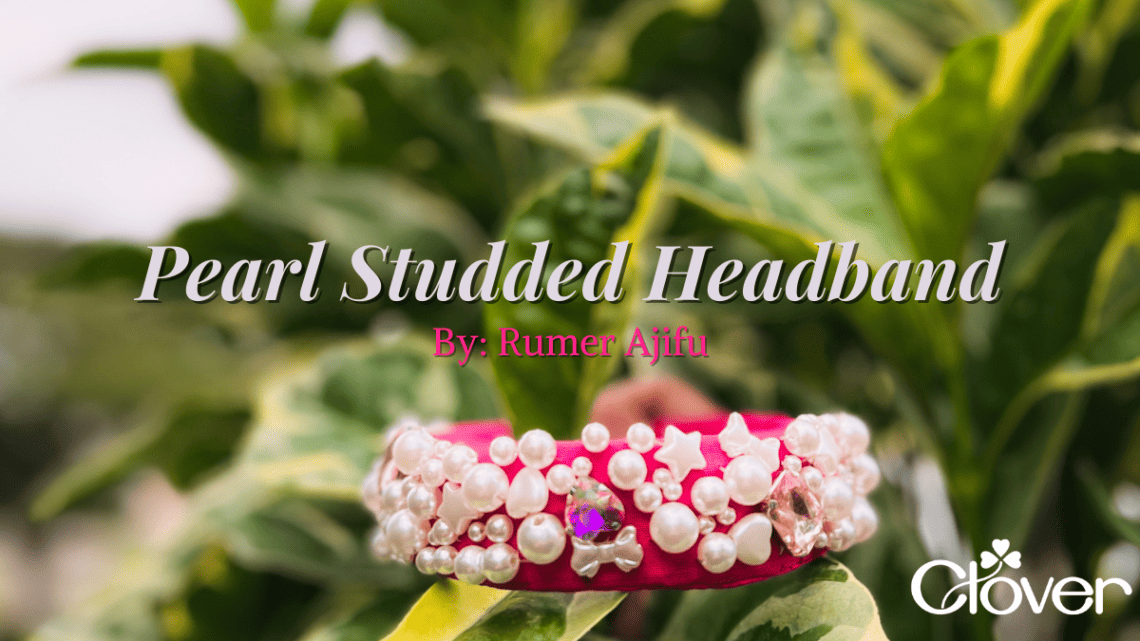
Pearl Studded Headband- Sewing Tutorial
Hi all, happy new year! As we are almost a month into 2023, some of us may have decided to set new intentions going forward. One of mine is to take things a little slower and not be so overwhelmed by projects. With respect to sewing, one way for me to slow down is by sewing by hand instead of by machine as I typically do. This project in particular was an opportunity to really practice patience and appreciate the present.
What you’ll need:
- Scrap fabric (long enough to cover the length of the headband and wide enough to cover 2x the width of the headband; ¼ yard should suffice)
- Open-Sided Thimble- Art No. 6017
- Needle
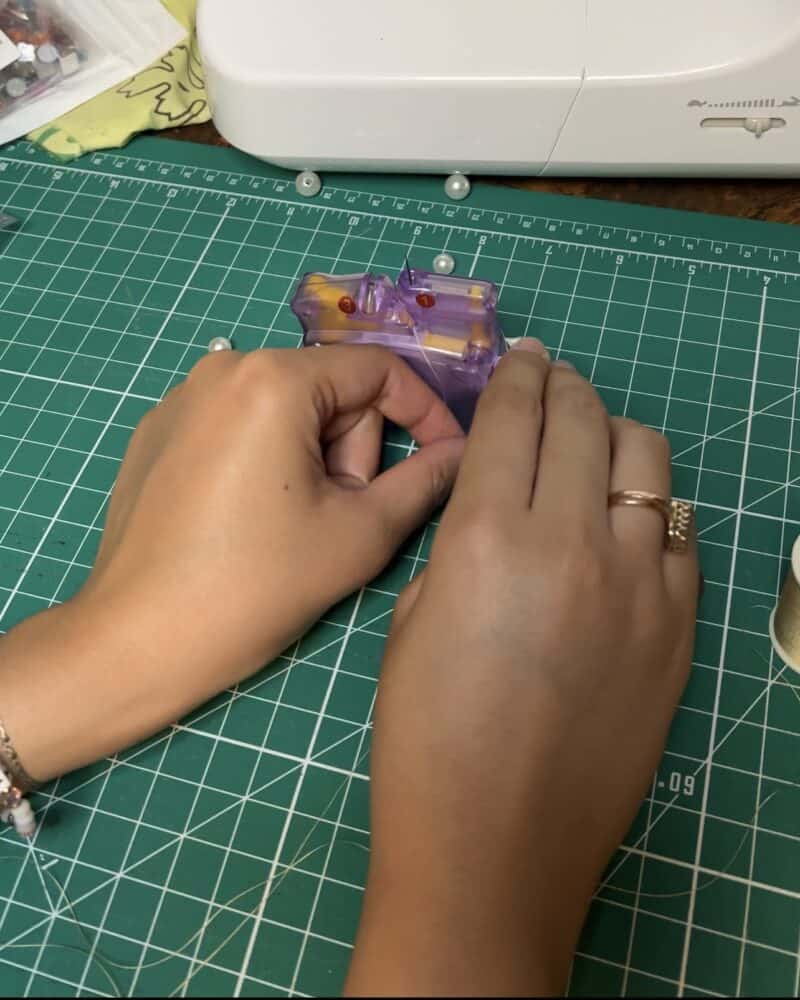
- Desk needle threader- Art No. 4073
- Thread (I used silk thread)
- Blanket/Towel
- Paper (to trace pattern)
- Pen
- Scissors
- Pinking shears
- Point turner
- Water Erasable Marker- Art. No 515
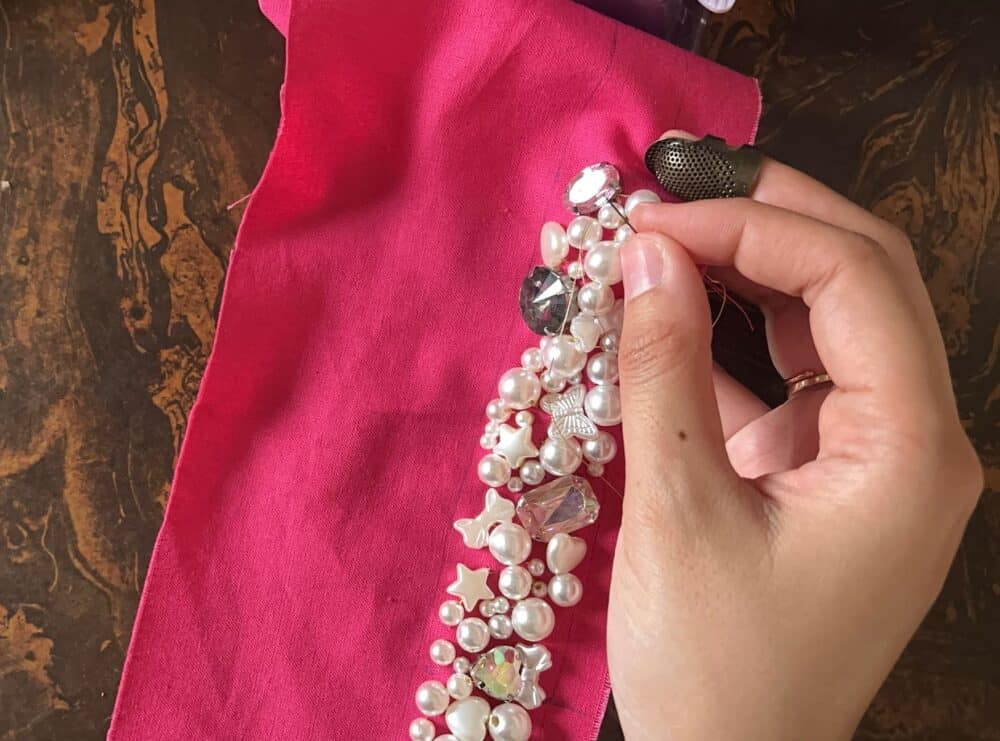
- Pearl beads
- Headband
- Wonder clips
- *Optional: Rhinestone beads
Instructions:
- To make a custom pattern to fit the size of your headband, take a blanket/towel and roll it up. Place a paper longer than the length of your headband around the rolled blanket/towel and place your headband on top of that.

- Use a pen to trace the outline of your headband and cut out the pattern using scissors.
- Fold your fabric in half horizontally (so you’ll be working with two layers) and place your pattern piece on top. Use a water erasable pen to trace the pattern onto the fabric.

- Fold your pattern piece in half and mark the center point on your fabric (this will assist in bead placement if you’re going for something symmetrical, or just so you know where things will lie centrally). Additionally, mark about 2.5” from each end of the headband (to designate no beading in these areas).
- Then unfold your fabric and from the wrong side, trace the outline of your pattern so that it aligns with what you traced on the right side of your fabric. This will come in handy later when sewing the two layers together.
- If you have a very small needle (as I have here), use a desk needle threader to assist with threading into the very tiny eye. It will save a lot of time.
- Hand sew all the pearl beads and rhinestones (if you choose) onto your headband fabric from 2.5” in from each end. You can use a thimble here as well. Have fun organically organizing the design. This is where the exercise in patience kicks in. I promise it’ll be worth it!
- Once you have finished hand sewing the beads, use your machine to sew around the curves of the headband ends with the fabric right sides facing. (It’ll be difficult to go any further due to the bulkiness of the beads.)
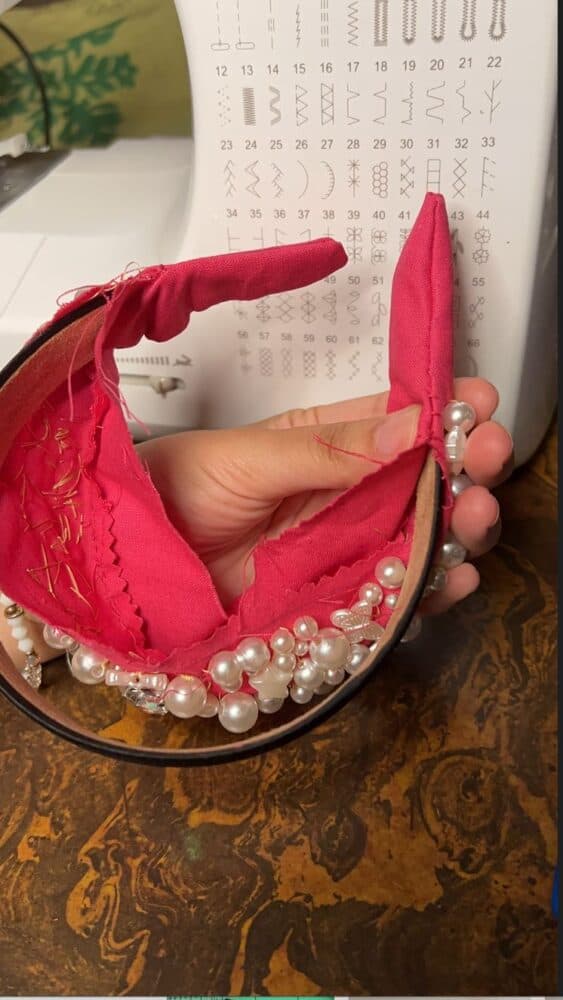
- Then hand sew one side of the headband closed with the fabric right sides facing.

- Cut off the excess fabric using pinking shears. Make sure not to cut into the section without any stitches (this will provide enough fabric to create a clean edge to secure the headband inside the fabric cover.)
- Turn your fabric right side out. Use a point turner to assist in getting the headband ends properly turned out.

- Insert your headband into the fabric cover.
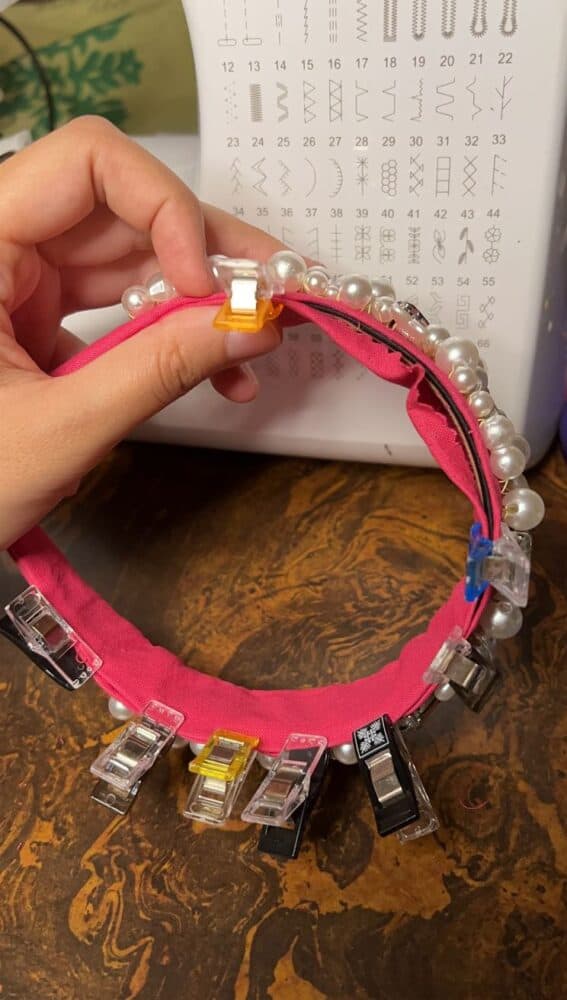
- Hand sew the opening closed using an invisible stitch. Using clips to hold the opening together will aid you in this process.
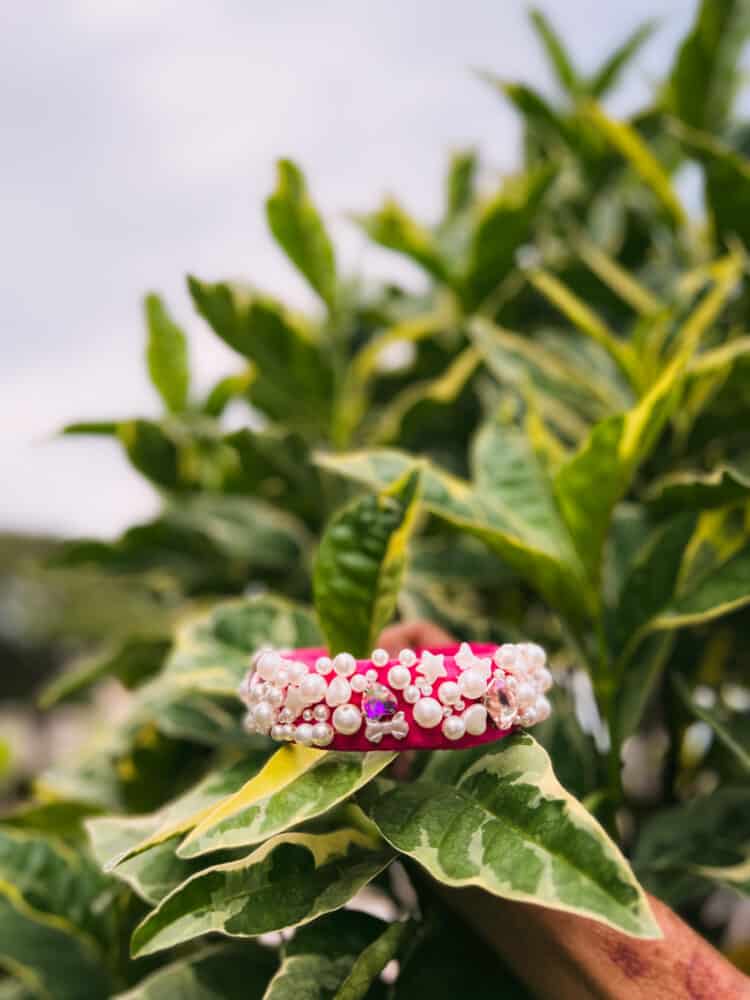
Now you have a stylish new accessory to dress up your outfits! Tag me @rumer_has_it on IG with your finished creation!

Stay connected with Clover on Facebook | Twitter | Instagram | Pinterest | YouTube | Ravelry