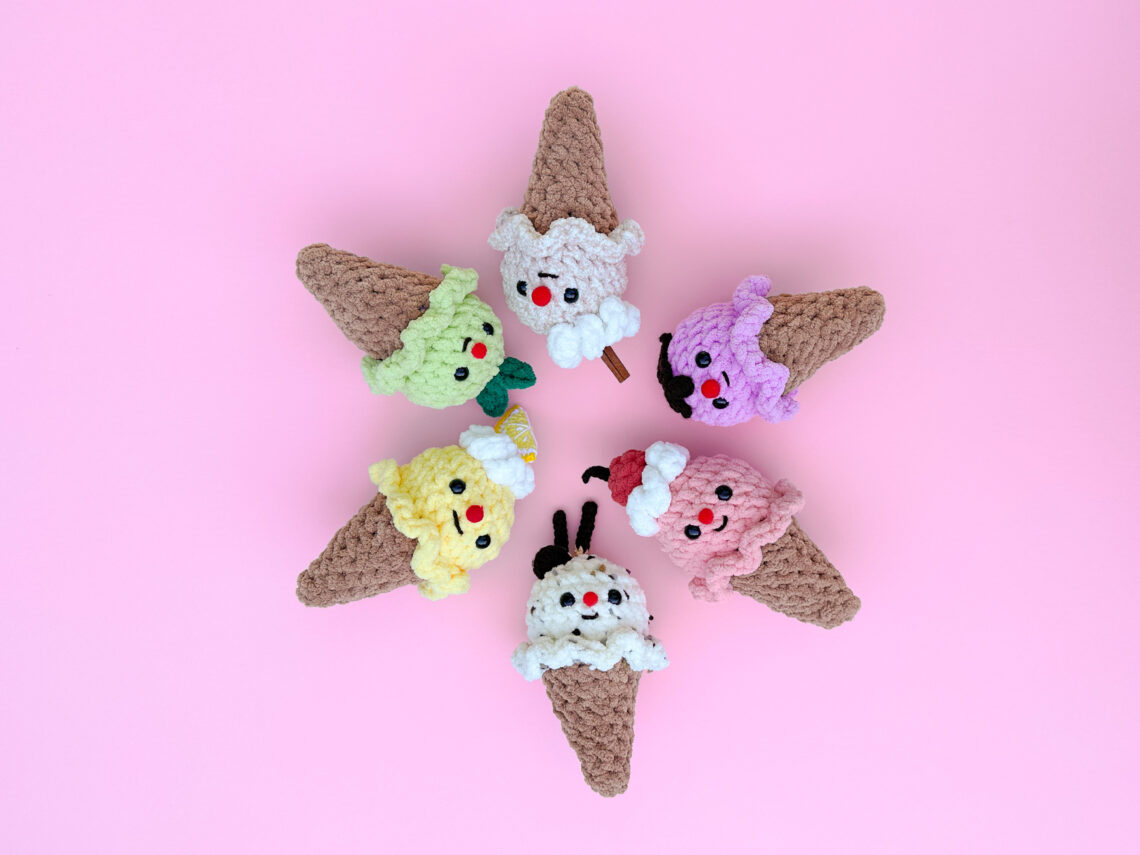
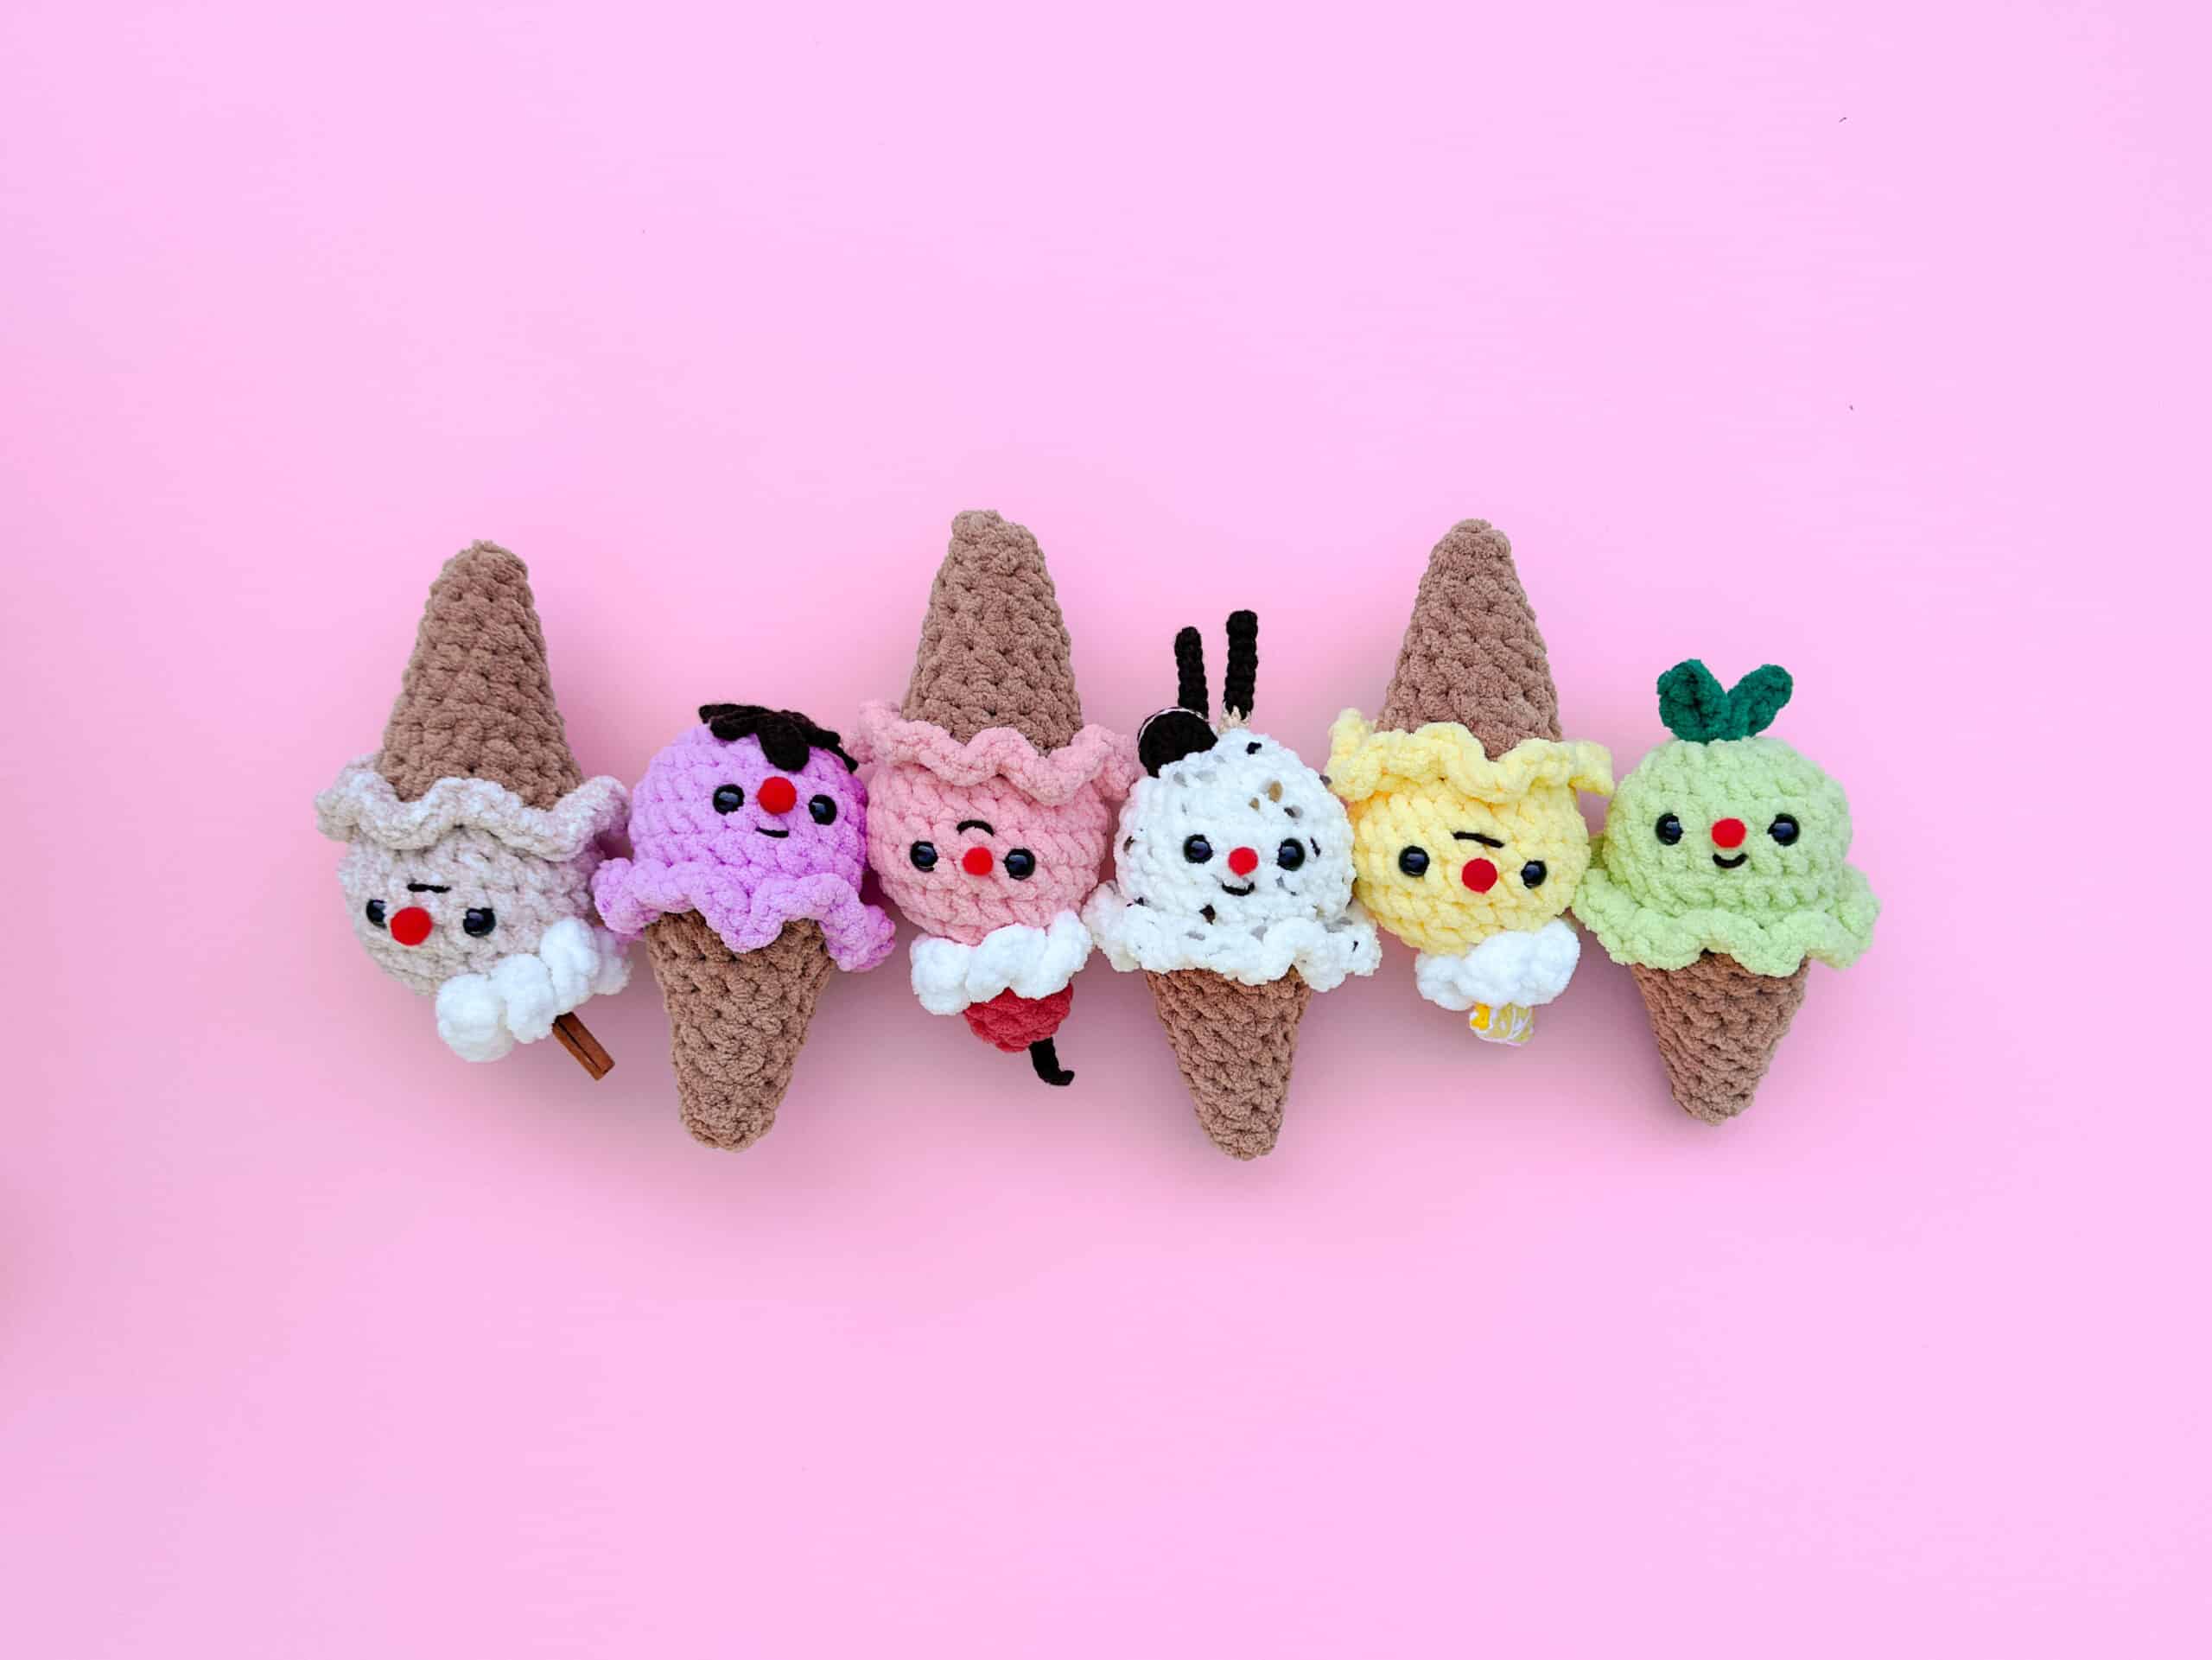
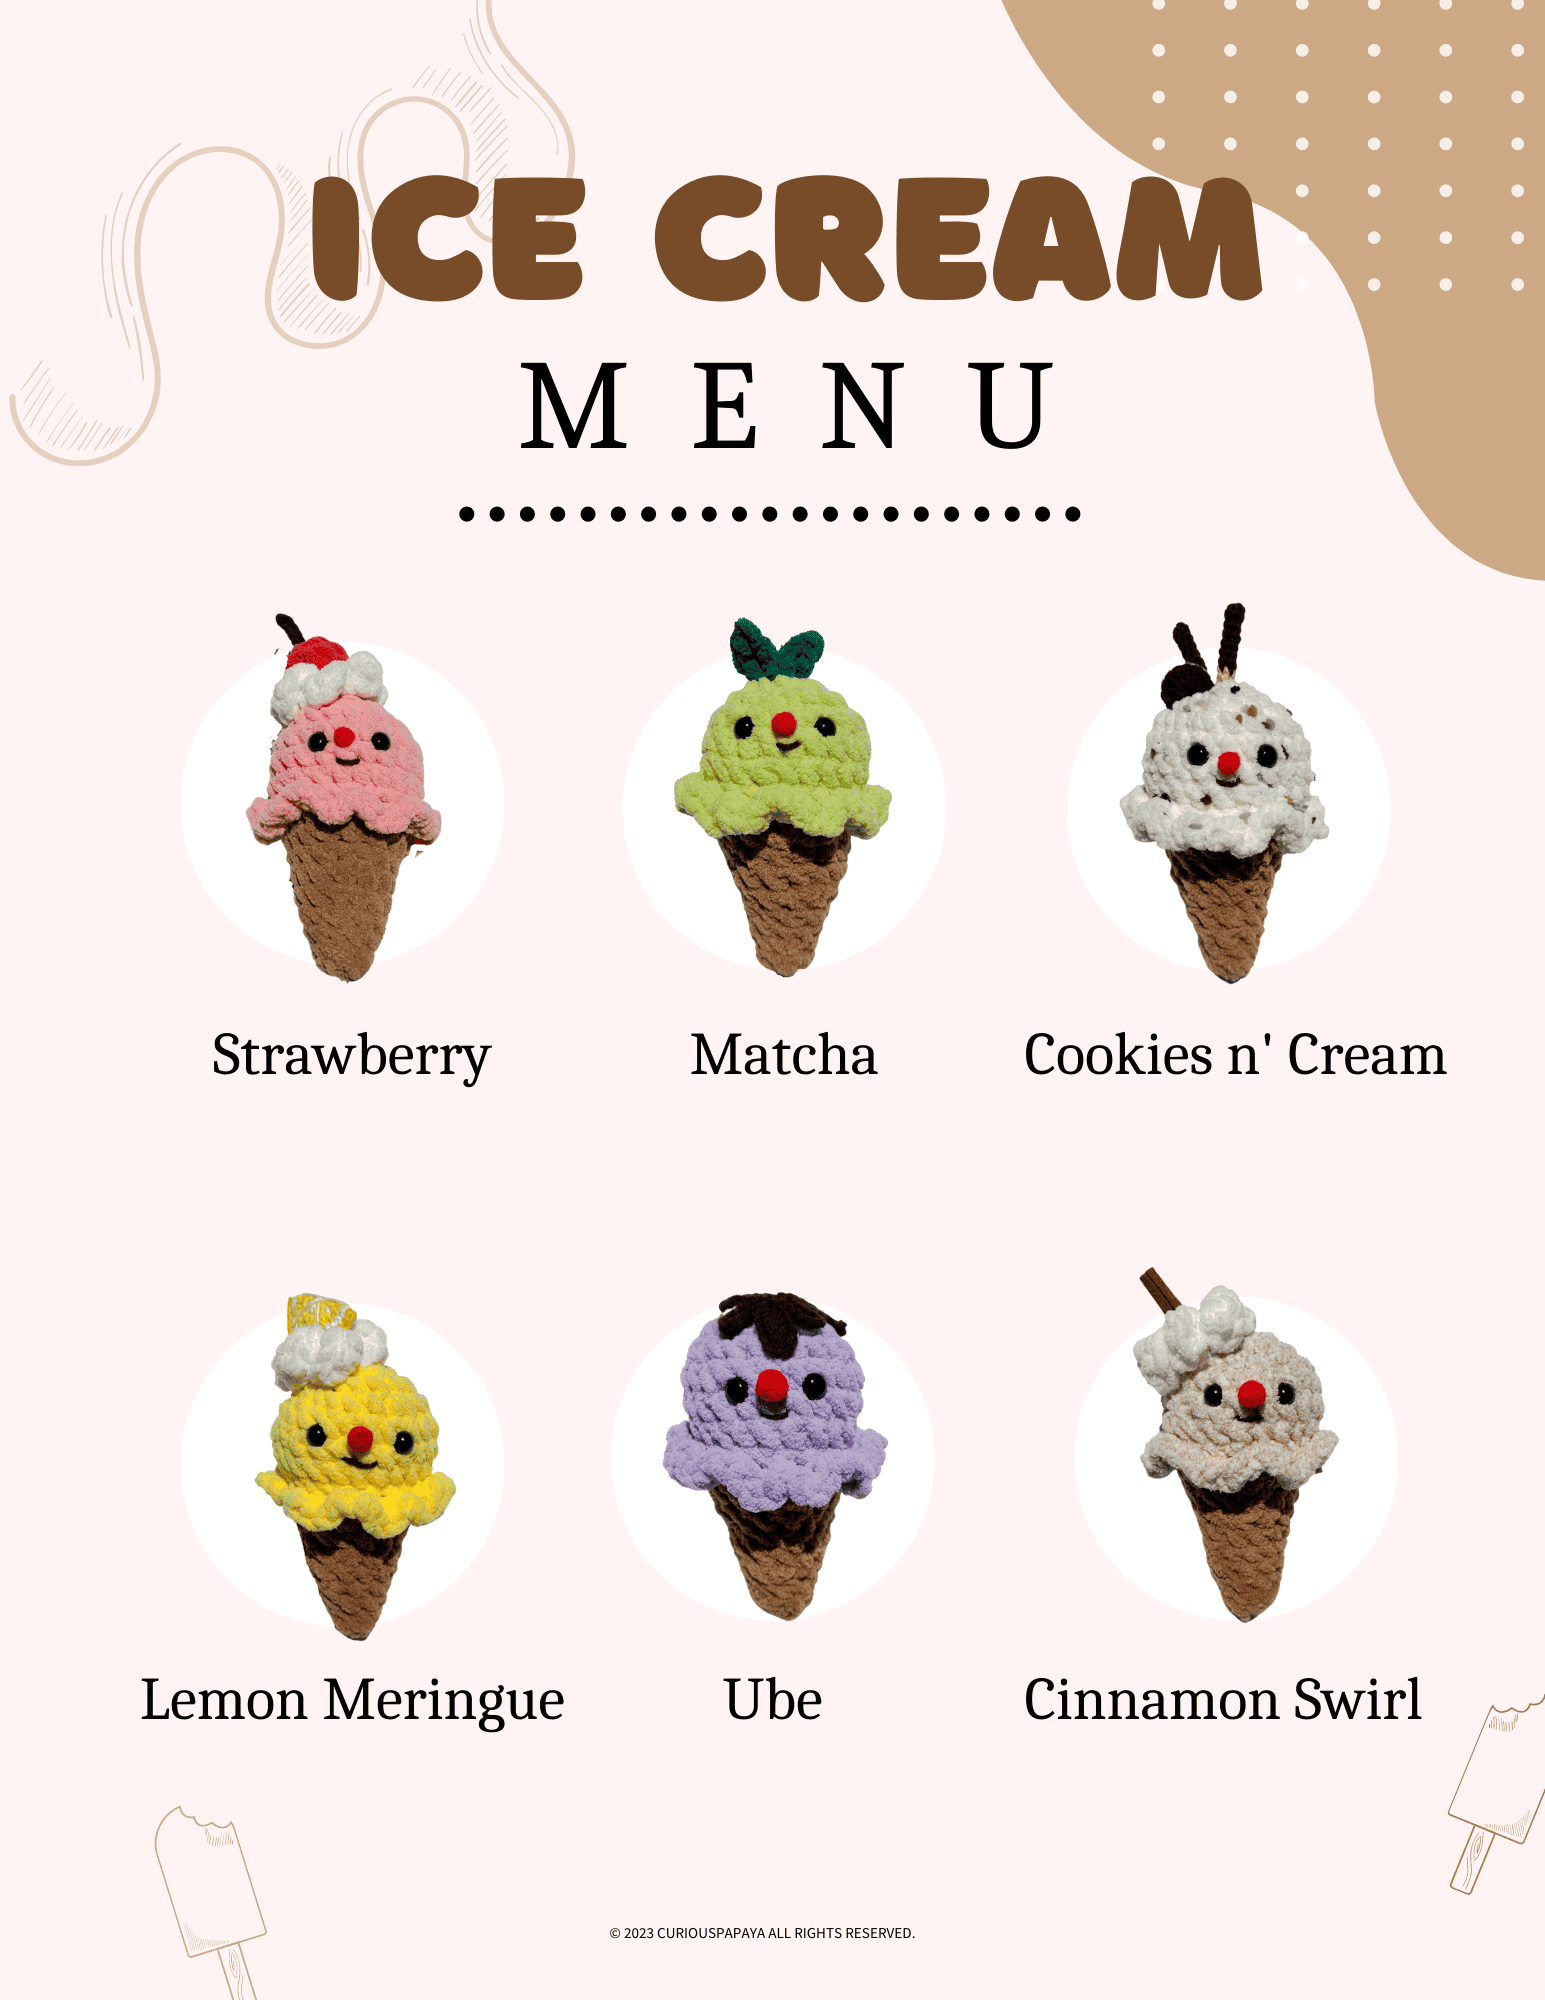
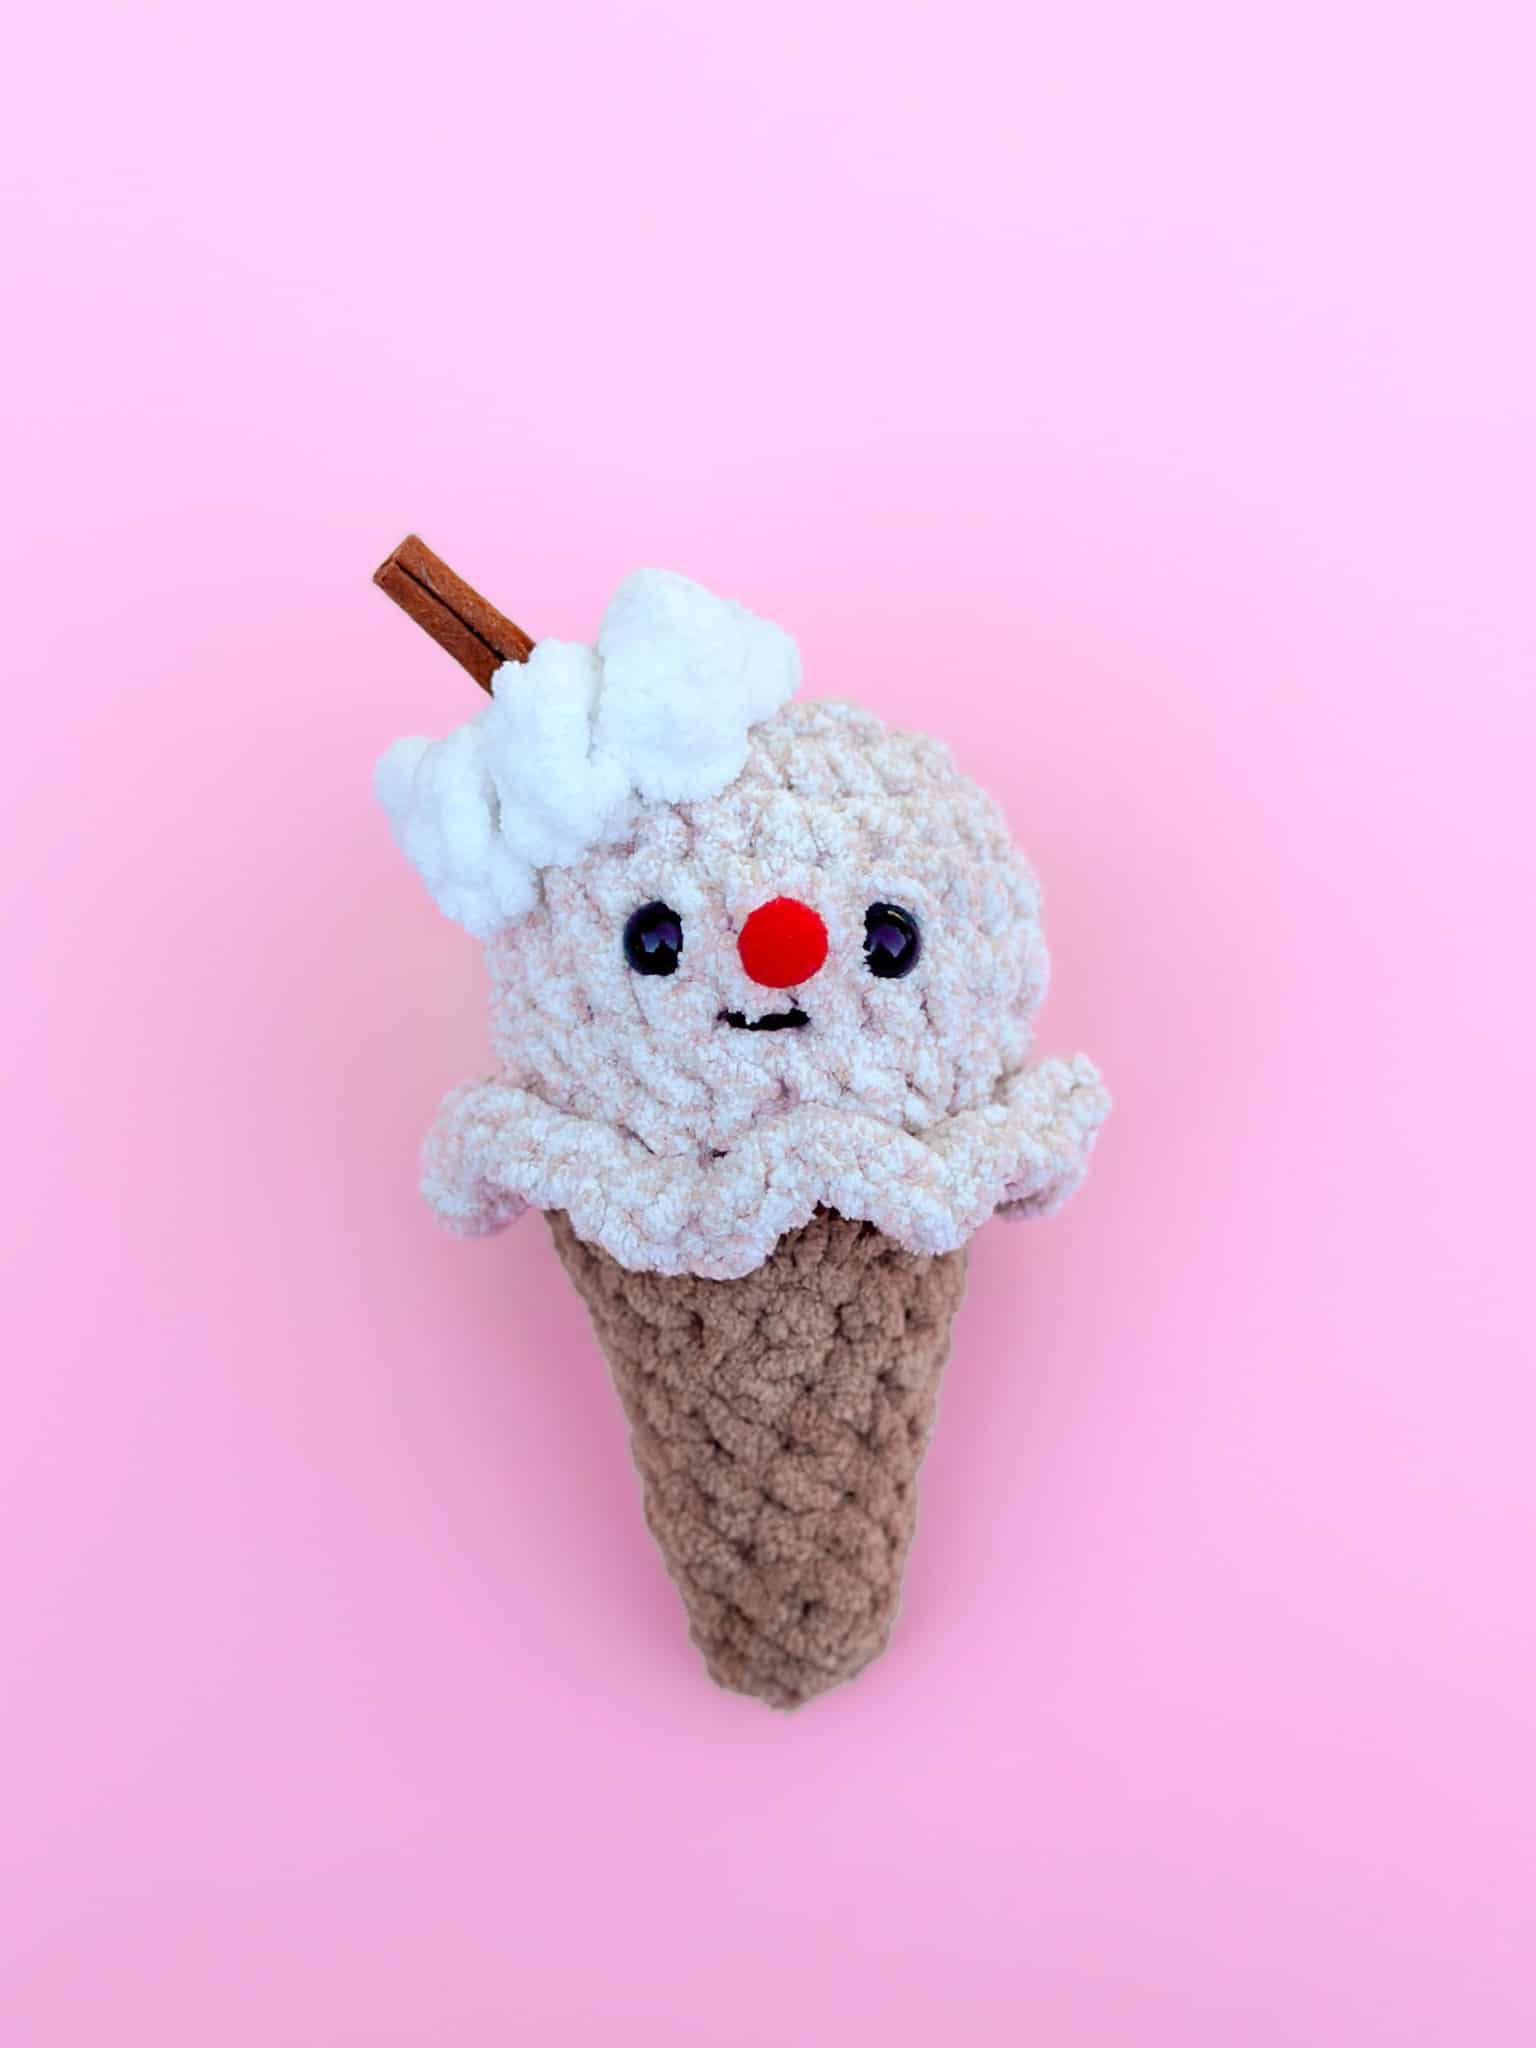
Ice Cream Cones! #yum
Hey Clover squad, it’s Amy from @curiouspapaya here! Stay cool this summer with these yummy “create your own” ice cream cones.
——————–——————–——————–——————–——————–——————–———-———-———-——-
TERMS:
- ch – chain
- flo – front loops only
- dc – double crochet
- dc inc – double crochet inc
- dec – (invisible) decrease
- hdc – half double crochet
- inc – increase
- sc – single crochet
- slst – slst
- st(s) – stitch(es)
- rnd(s) – round(s)
- [#] – stitch count
- (…) x # – repeat the instructions within the parentheses # of times
PATTERN NOTES:
*You can substitute with any yarn of your choice – just be sure to have a larger and a smaller weight for the ice cream + the toppings.
*We will be working in a spiral for the ice cream base and will be using the YUYO (yarn under, yarn over) method of crocheting. Some of the toppings will be worked in joined rounds.
*Please do not copy/redistribute any part of this pattern as your own. This includes reposting/translating without permission. Feel free to sell your finished products in small quantities – I only ask that you give credit to help support my work. Tag #curiouspapaya so I can feature you!
*Measurements: 7 in. x 3 in. [~18 cm x ~8 cm] if using the prescribed materials.
——————–——————–——————–——————–——————–——————–———-———-———-——-
If you prefer, you can find the premium printable PDF on sale for this week HERE.
ICE CREAM BASE (start in any color of your choice)
Rnd 1: Make a magic circle and (sc) x6 [6]
Rnd 2: (inc) x6 [12]
Rnd 3: (sc, inc) x6 [18]
Rnd 4: (sc, inc, sc) x6 [24]
Rnds 5-7 (3 rnds total): sc all around [24]
Rnd 8: (sc, dec, sc) x6 [18]
Rnd 9: (flo) – make 3 sc in each st [54]
Fasten off and leave a short tail for weaving in. Pause and make the facial features.
EYES: Insert the safety eyes between rnds 5 and 6, 4 sts apart.
NOSE: Glue the nose in between the eyes.
MOUTH: Cut a strand of dark brown yarn and create a small smile, 1 st wide under the nose.
Attach sand yarn to one of the back loops and continue onto the cone.
Stuff as you go!
Rnd 10: (blo) – sc all around [18]
Rnd 11: (2 sc, dec, 2 sc) x3 [15]
Rnd 12: sc all around [15]
Rnd 13: (3 sc, dec) x3 [12]
Rnd 14: sc all around [12]
Rnd 15: (sc, dec, sc) x3 [9]
Rnd 16: sc all around [9]
Rnd 17: (sc, dec) x3 [6]
Rnd 18: sc all around [6]
Fasten off and leave a tail. Thread the tail through a yarn needle and go through the flo. Then, pull tight to cinch the hole closed.
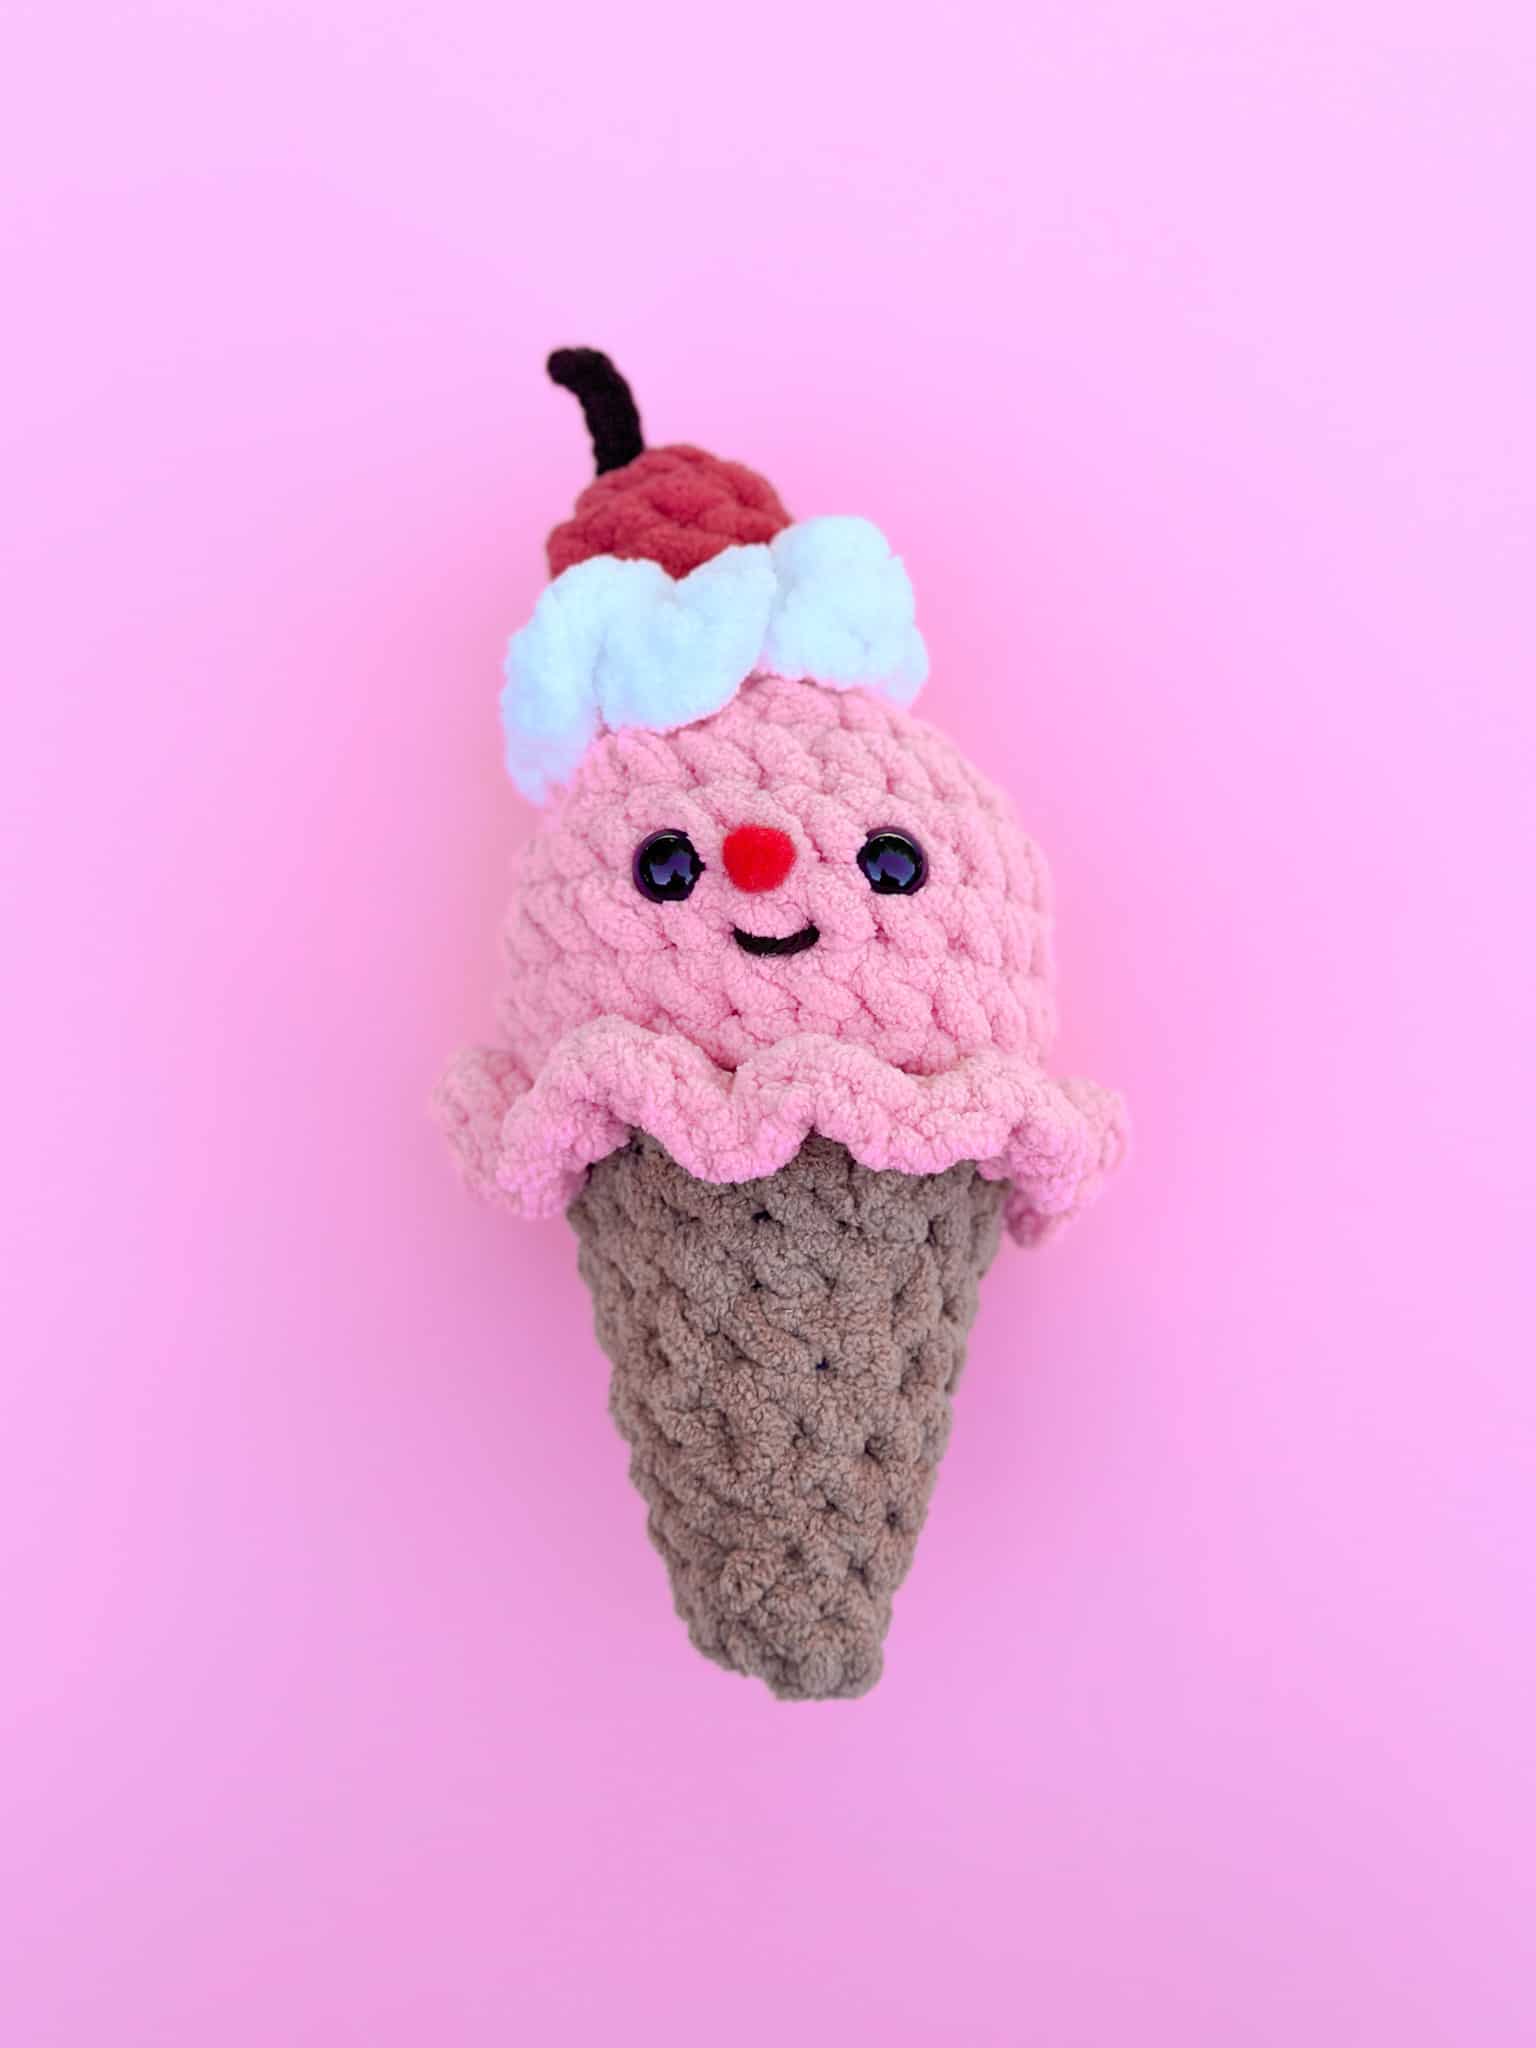
STRAWBERRY
Materials:
-
#6 bulky yarn
-
Bernat Baby Blanket – White, Orange Flamingo [pink], Tomato [red], Sand
-
- #4 medium worsted yarn
- Impeccable Solids – Dark Brown
- Clover Amour 8.00 mm and 2.75 mm hooks
- Mini Patchworks Scissors
- Stitch Markers
- Yarn Needle
- Poly-fil stuffing
- Hot glue
- Size 12 mm safety eyes
- 1 cm wide red pom pom for the nose
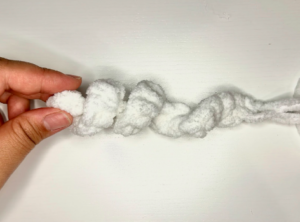
Whipped Cream (in White bulky yarn and 8 mm hook):
Step 1: Make a slipknot and ch 12. Working into the second ch from the hook, make 3 sc in each st down the ch. *It should start curling up.
Step 2: Twist the chain so it is as curled up as possible and then slst into the first ch.
Fasten off and leave a tail and sew the whipped cream to the top of the ice cream.
Cherry (in Tomato [red] bulky yarn and 8 mm hook):
Rnd 1: Make a magic circle and (sc) x6 [6]
Rnd 2: (sc, inc) x3 [9]
Rnd 3: sc all around [9]
Rnd 4: (sc, dec) x3 [6]
Stuff.
Fasten off and leave a tail. Thread the tail through a yarn needle and go through the flo. Then, pull tight to cinch the hole closed and leave the rest of the tail.
Cherry Stem (in Dark Brown medium worsted yarn and 2.75 mm hook):
Step 1: Make a slipknot and ch 8 (or adjust as needed). Working into the second ch from the hook, sc down the ch. [7]
Fasten off and leave a tail.
Sew the stem onto the top of the cherry. Then, use the remaining tail of the cherry to sew it onto the whipped cream.
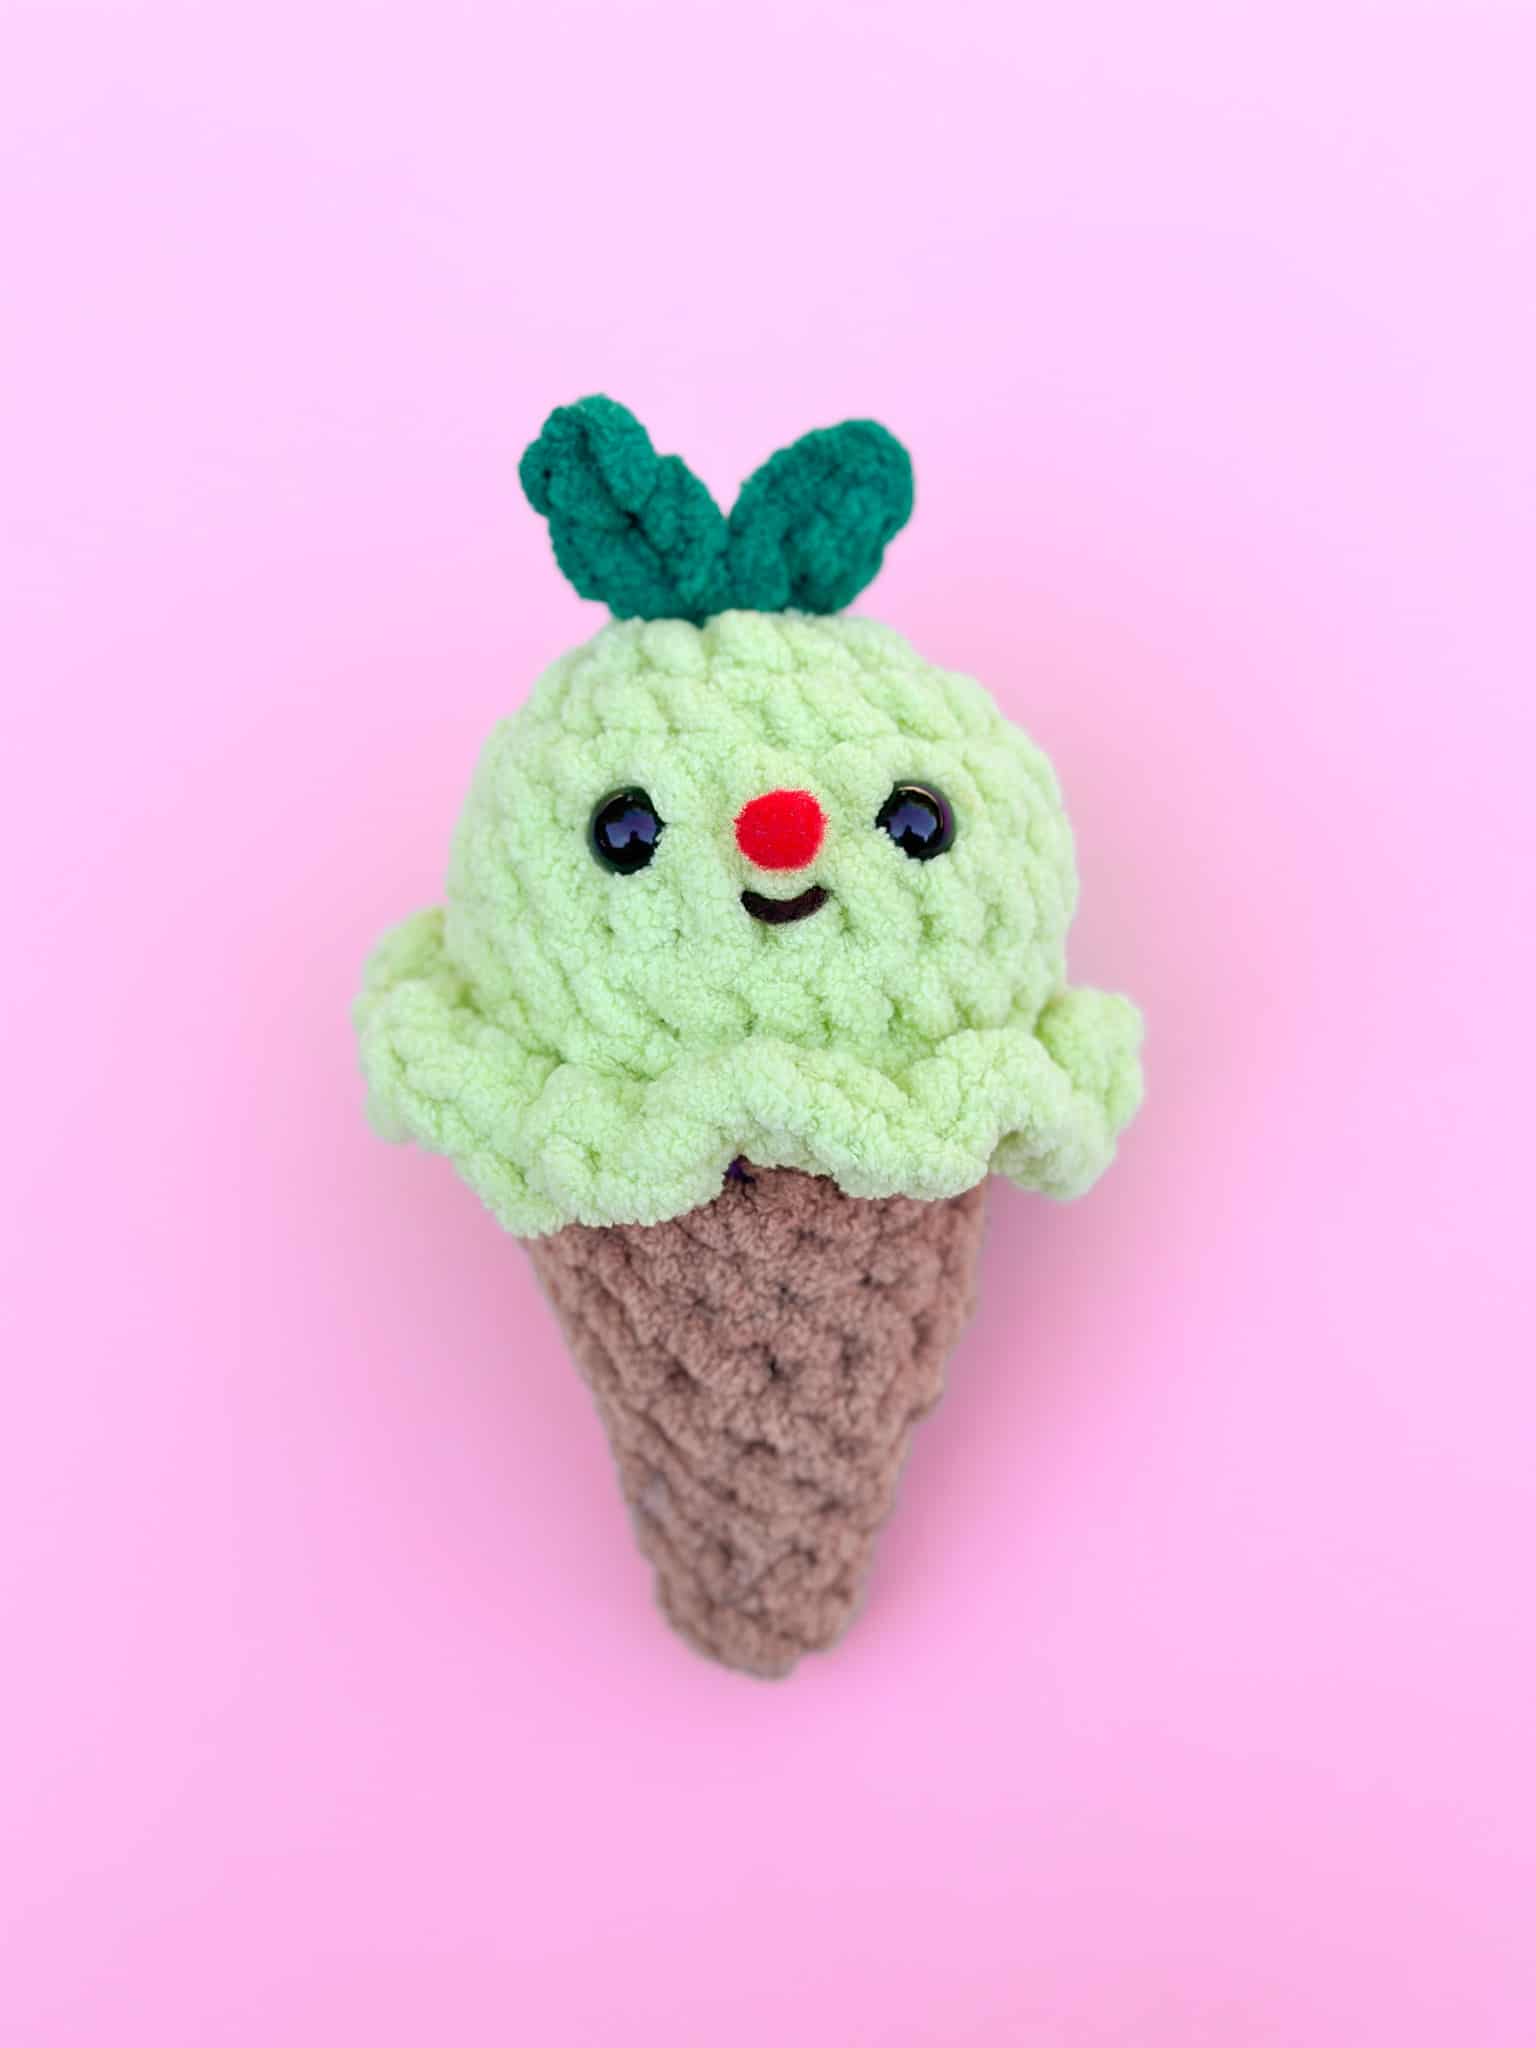
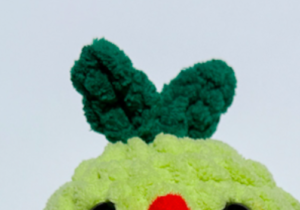
MATCHA
Materials:
- #6 bulky yarn
- Bernat Baby Blanket – Lime, Malachite [dark green], Sand
- #4 medium worsted yarn
- Impeccable Solids – Dark Brown
- Clover Amour 8.00 mm hook
- Mini Patchworks Scissors
- Stitch Markers
- Yarn Needle
- Poly-fil stuffing
- Size 12 mm safety eyes
- 1 cm wide red pom pom for the nose
Green Tea Leaves (in Malachite [dark green] bulky yarn and 8 mm hook):
Step 1: Make a magic circle and *ch 4, slst into the second st from the hook, dc, slst*.
Step 2: sc into the magic circle, then continue onto the second leaf. Repeat the instruction between the *.
Step 3: slst into the center and alternate between the short/long drips a total of 6 times.
Step 4: Pull the magic circle closed.
Fasten off and leave a tail. Sew the leaves onto the top of the ice cream.
COOKIES N’ CREAM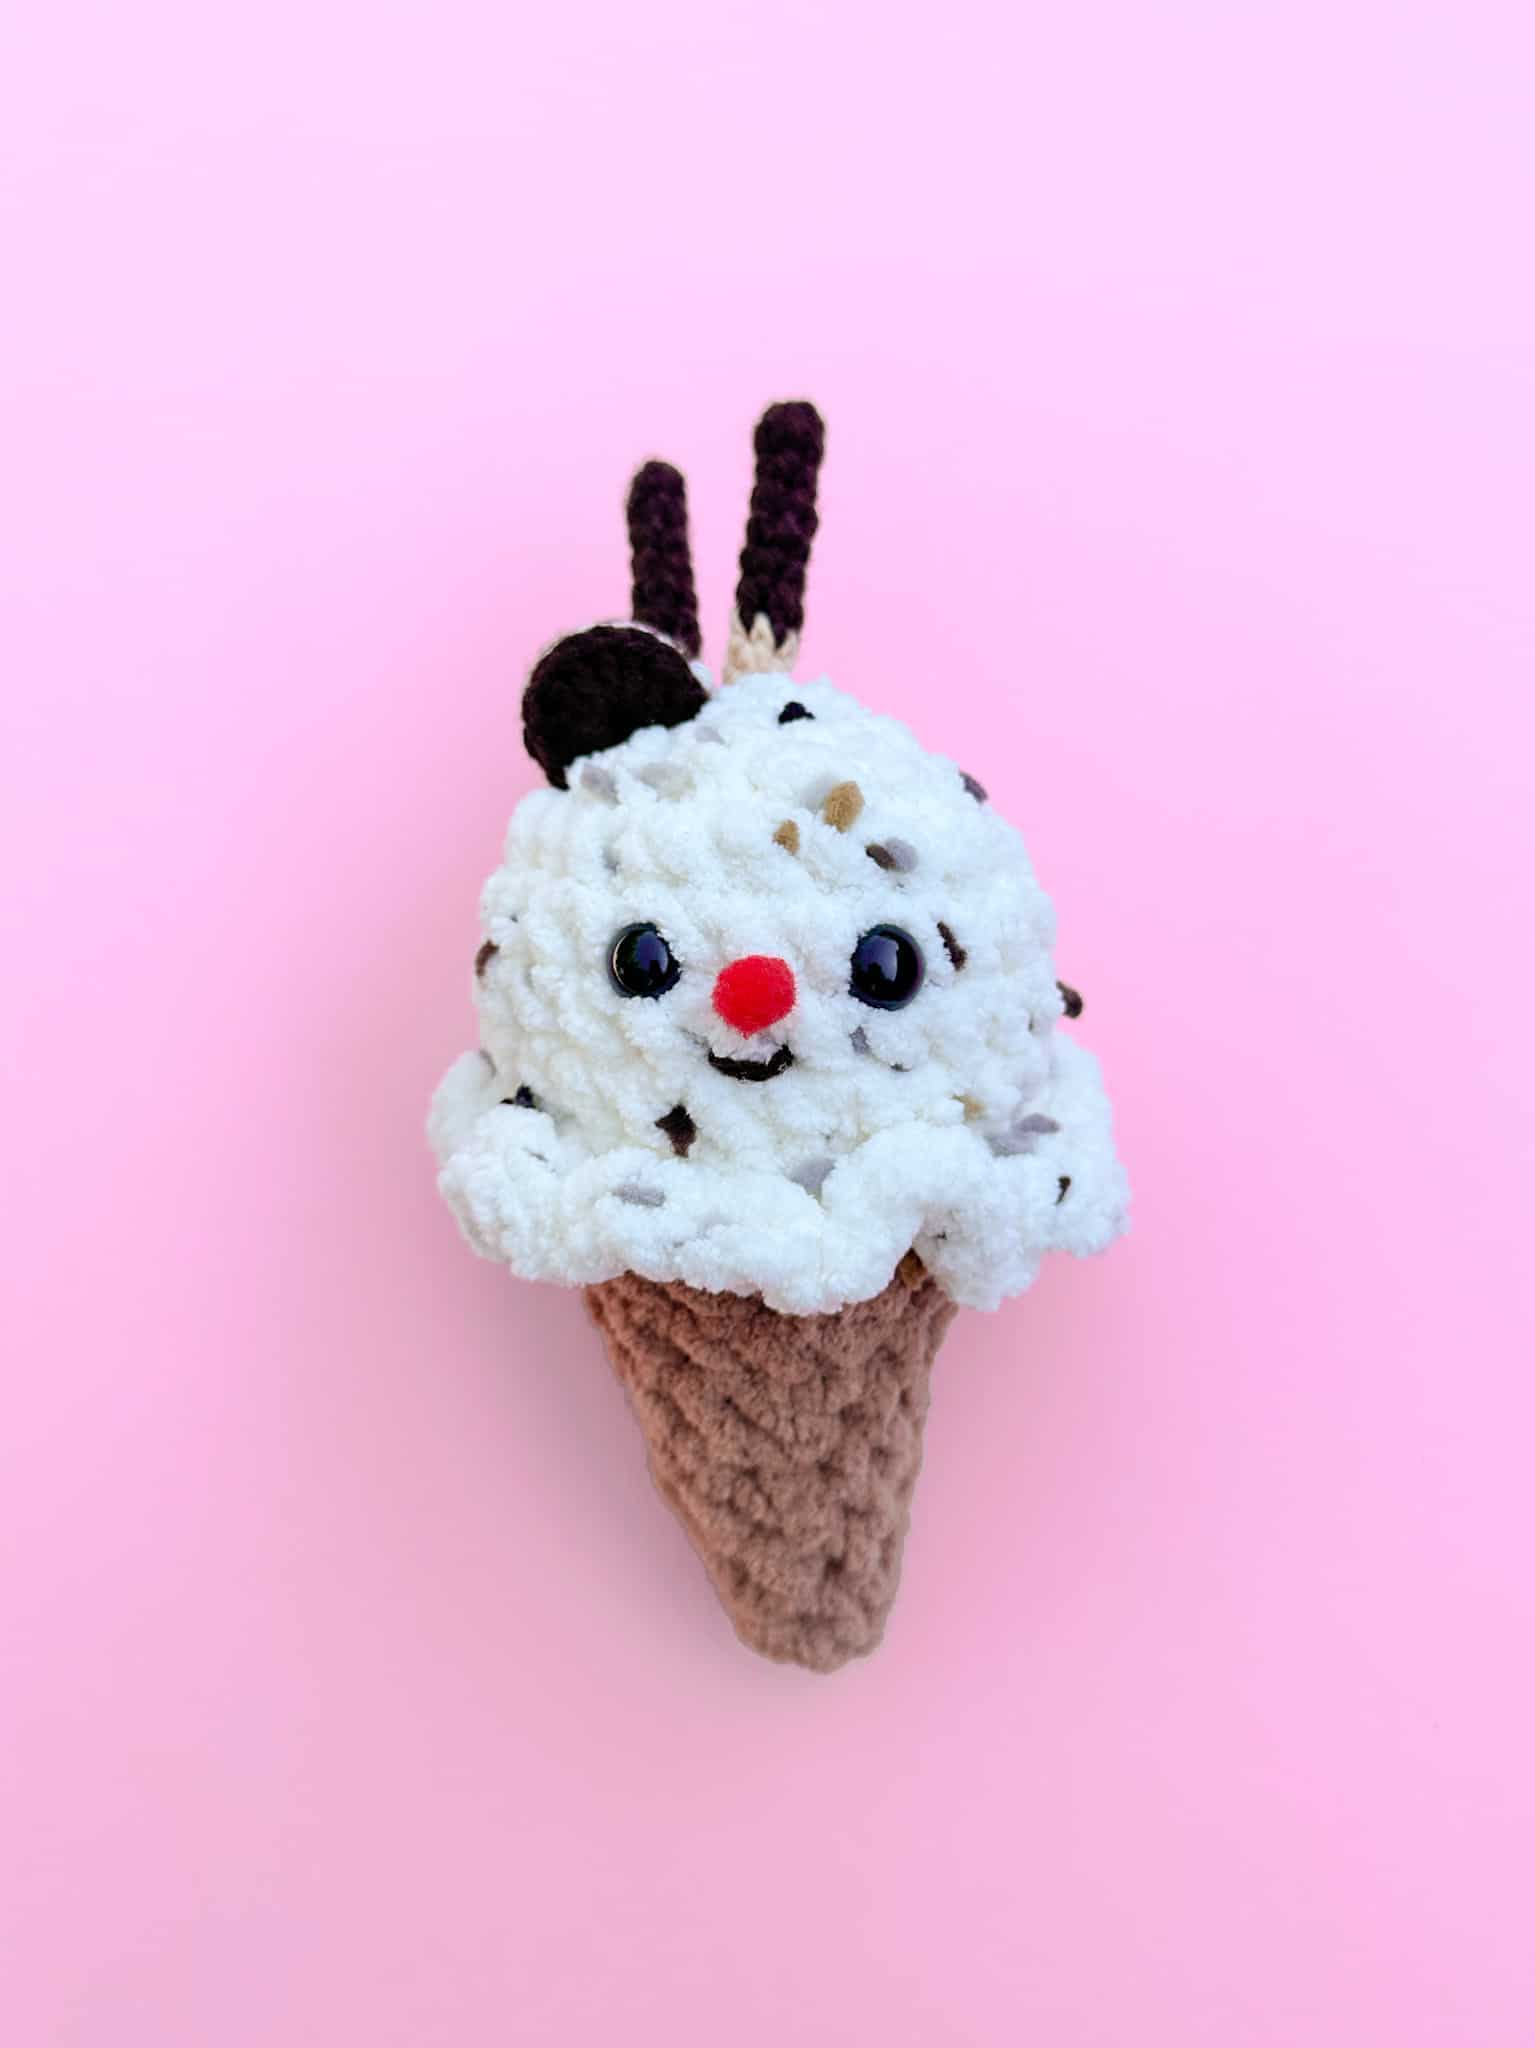
Materials:
-
#6 bulky yarn
-
Bernat Stitch n’ Win – White
-
Bernat Baby Blanket – Sand
-
- #4 medium worsted yarn
- Impeccable Solids – Dark Brown, White, Heather [light tan]
- Clover Amour 8.00 mm and 2.75 mm hooks
- Mini Patchworks Scissors
- Stitch Markers
- Yarn Needle
- Poly-fil stuffing
- Hot glue
- Size 12 mm safety eyes
- 1 cm wide red pom pom for the nose
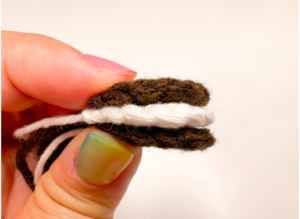
Round Cookie (make two in Dark Brown medium worsted yarn + one in White medium worsted yarn and 2.75 mm hook):
*Note: The cookie will look like a “crescent moon” to sit around the curved ice cream top.
Step 1: Make a magic circle and (dc) x10 *do not join the rnd! [10]
Fasten off and leave a long tail on only one of the outer cookies.
Step 2: Layer the white frosting in between the two cookies (with the right sides facing out).
Step 3: Secure them in place with hot glue.
Step 4: Use the yarn tail to sew the cookie onto the top of the ice cream slightly off-centered.
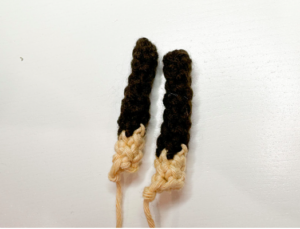
Cookie sticks (make two, start in Dark Brown medium worsted yarn and 2.75 mm hook):
Rnd 1: Make a magic circle and (sc) x5 [5]
Rnds 2-7 (6 rnds total): sc all around [5]
Change to Heather (tan-ish) colored yarn and cut off the Dark Brown yarn. Stuff the cookie with the yarn tails.
Rnds 8-11 (4 rnds total): sc all around [5]
Fasten off and leave a tail for sewing. Stagger the cookie sticks behind the round cookie and sew them onto the top of the ice cream.

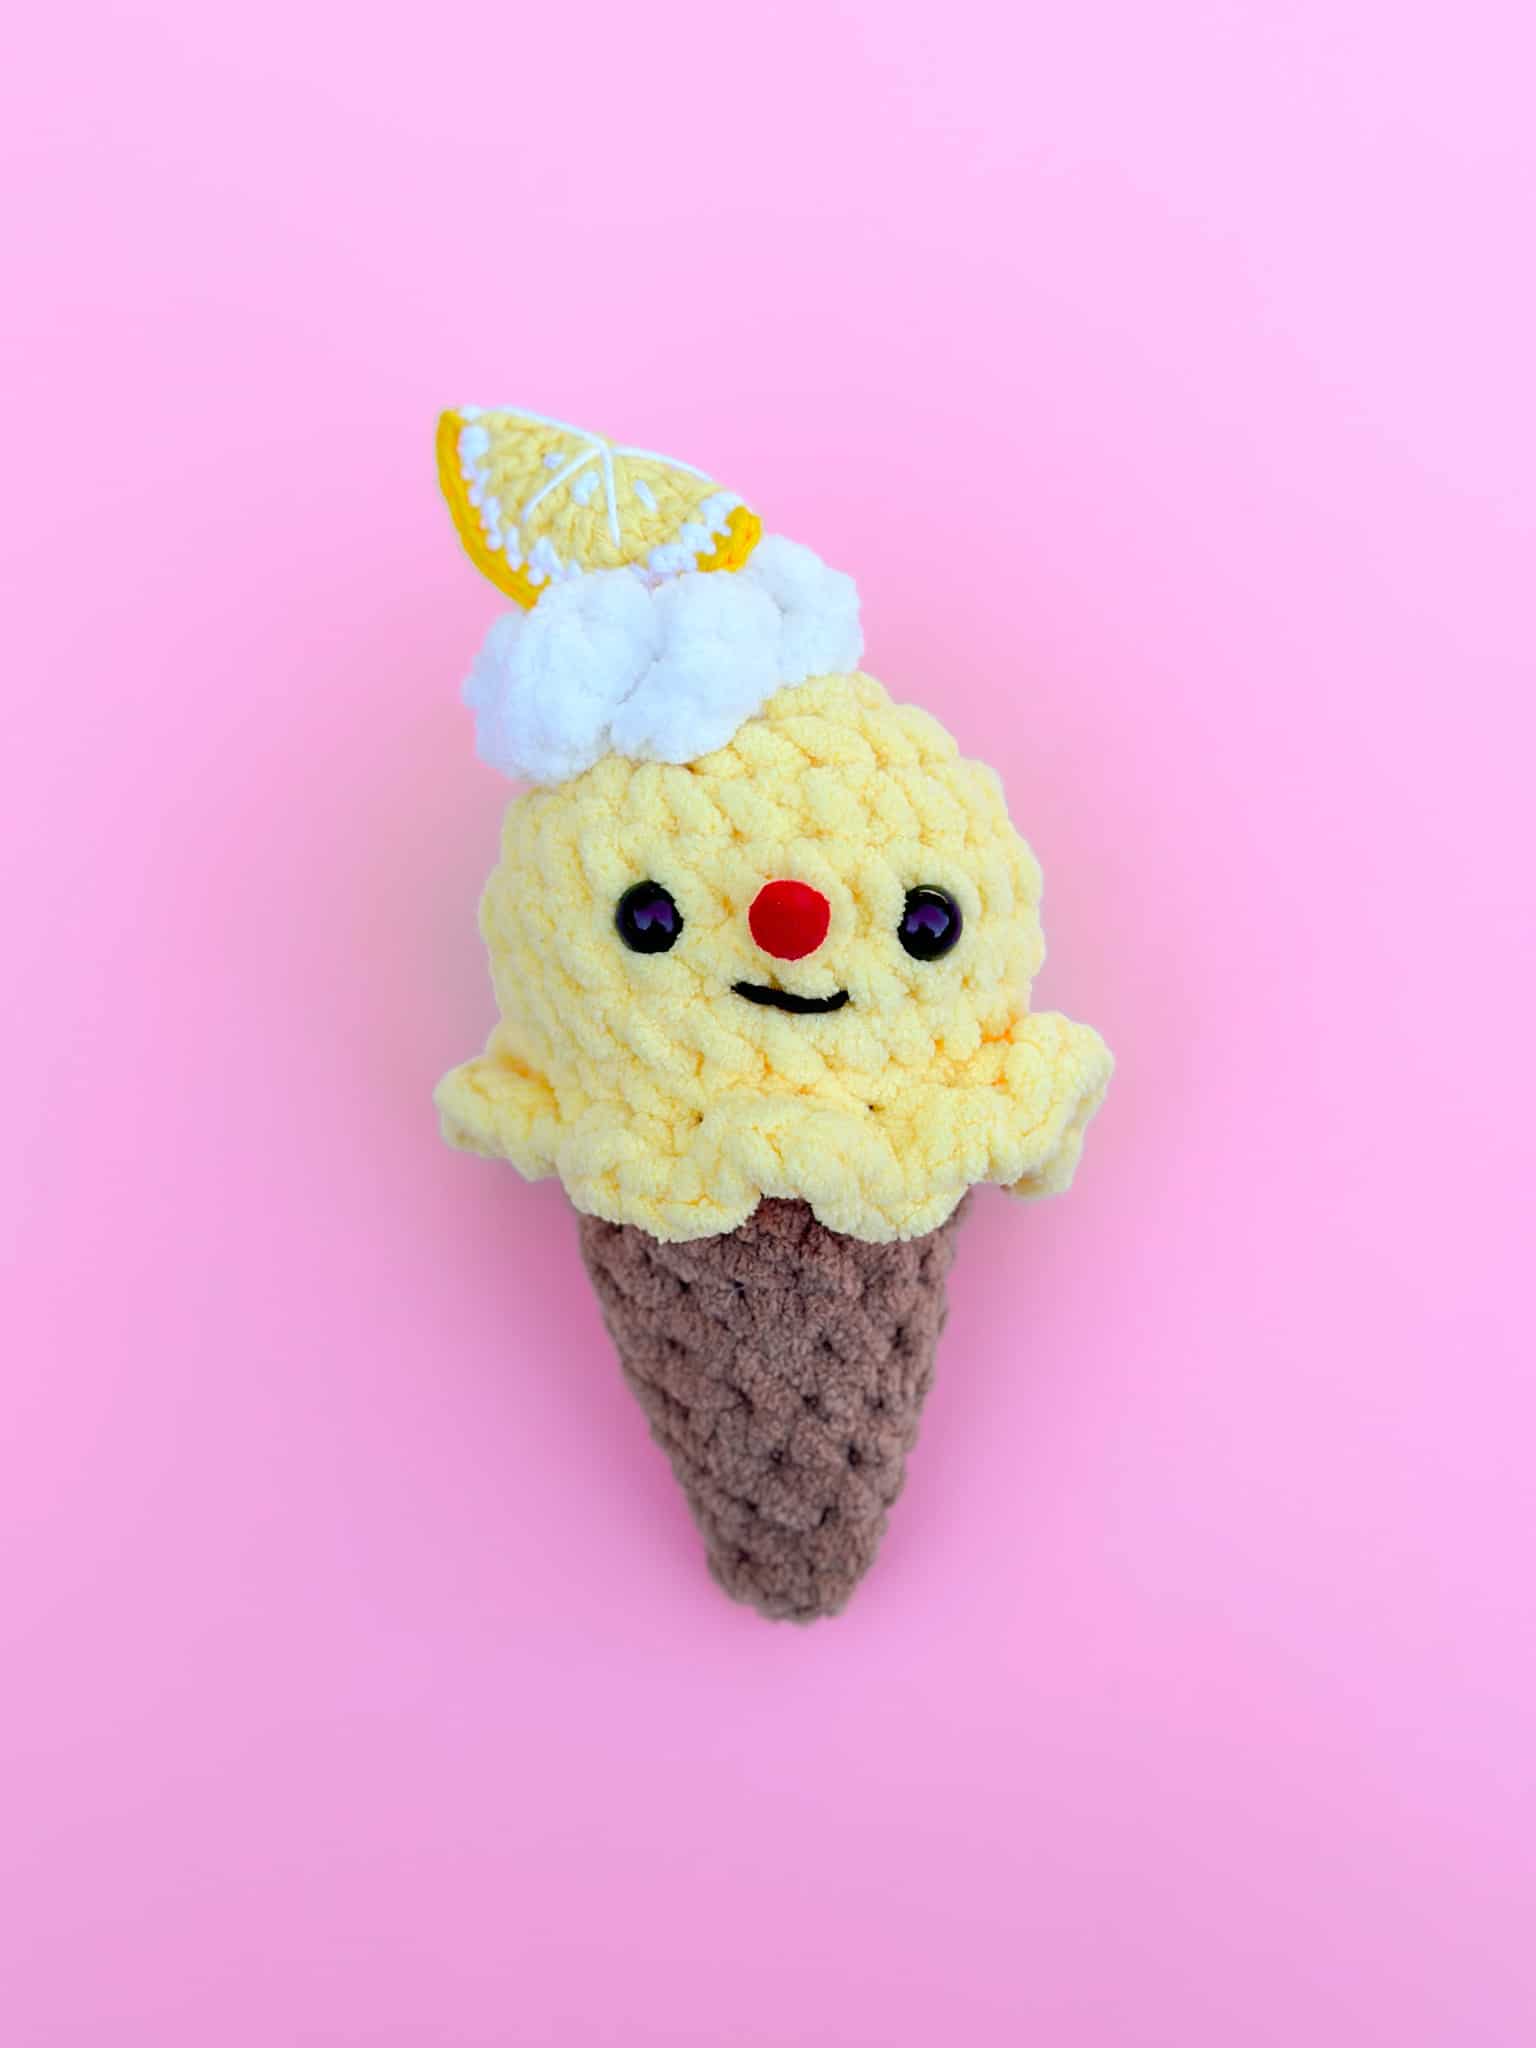
LEMON MERINGUE
Materials:
-
#6 bulky yarn
-
Bernat Baby Blanket – White, Sand
-
Blanket Yarn Brights – School Bus Yellow
-
- #4 medium worsted yarn
- Impeccable Solids – Dark Brown, Butterscotch [light yellow], Sunny Day [regular yellow]
- Embroidery thread in White
- Clover Amour 8.00 mm and 2.75 mm hooks
- Mini Patchworks Scissors
- Stitch Markers
- Yarn Needle
- Poly-fil stuffing
- Hot glue
- Size 12 mm safety eyes
- 1 cm wide red pom pom for the nose
Whipped Cream (in White bulky yarn and 8 mm hook):
Step 1: Make a slipknot and ch 12. Working into the second ch from the hook, make 3 sc down the ch. *It should start curling up.
Step 2: Twist the chain so it is as curled up as possible and then slst into the first ch.
Fasten off and leave a tail and sew the whipped cream to the top of the ice cream.
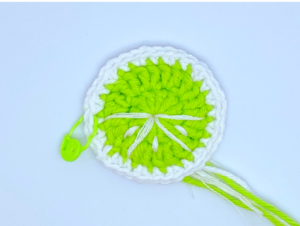
Lemon (start in Butterscotch [light yellow] medium worsted yarn and 2.75 mm hook):
Rnd 1: Make a magic circle and ch 2. This will count as your first st. Make 11 dc. slst into the first st to join the rnd. [12]
Rnd 2: ch 2, dc into the same st. (dc inc) x11. slst into the first st. [24]
*Note: this is a “double crochet increase”!
Rnd 3: In white yarn, ch 1. sc into the same st. sc into the next. (sc inc, sc) x11. slst into the first st in Sunny Day [regular yellow] yarn for the color change. [36]
Rnd 4: ch 1.
Insert a stitch marker to hold your place and remove your hook as we work on the seeds.
Fasten off the main color and the white and leave short tails – we will bury them once we sc the fruit slice closed.
Seeds:
Step 1: Cut a long strand of white embroidery thread. Position your fruit slice so that the last worked st with the stitch marker is facing the left.
Step 2: Using your yarn needle, weave four long white lines along the bottom half of the circle.
Step 3: Sew 3 seeds between the slices. Go through the seeds twice to make them more prominent. Secure the tails in a knot on the wrong side of the work.
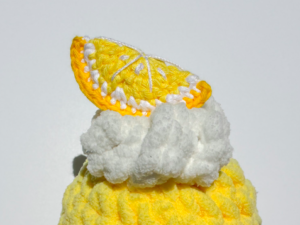
Rnd 4 (cont.): Fold the circle in half. Going through both edges, sc the lemon slice closed into a semi-circle shape. Tuck the yarn tails in as you work.
Fasten off and leave a short tail to bury into the fruit slice.
Secure the lemon slice on top of the whipped cream with hot glue.
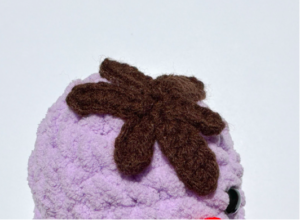
UBE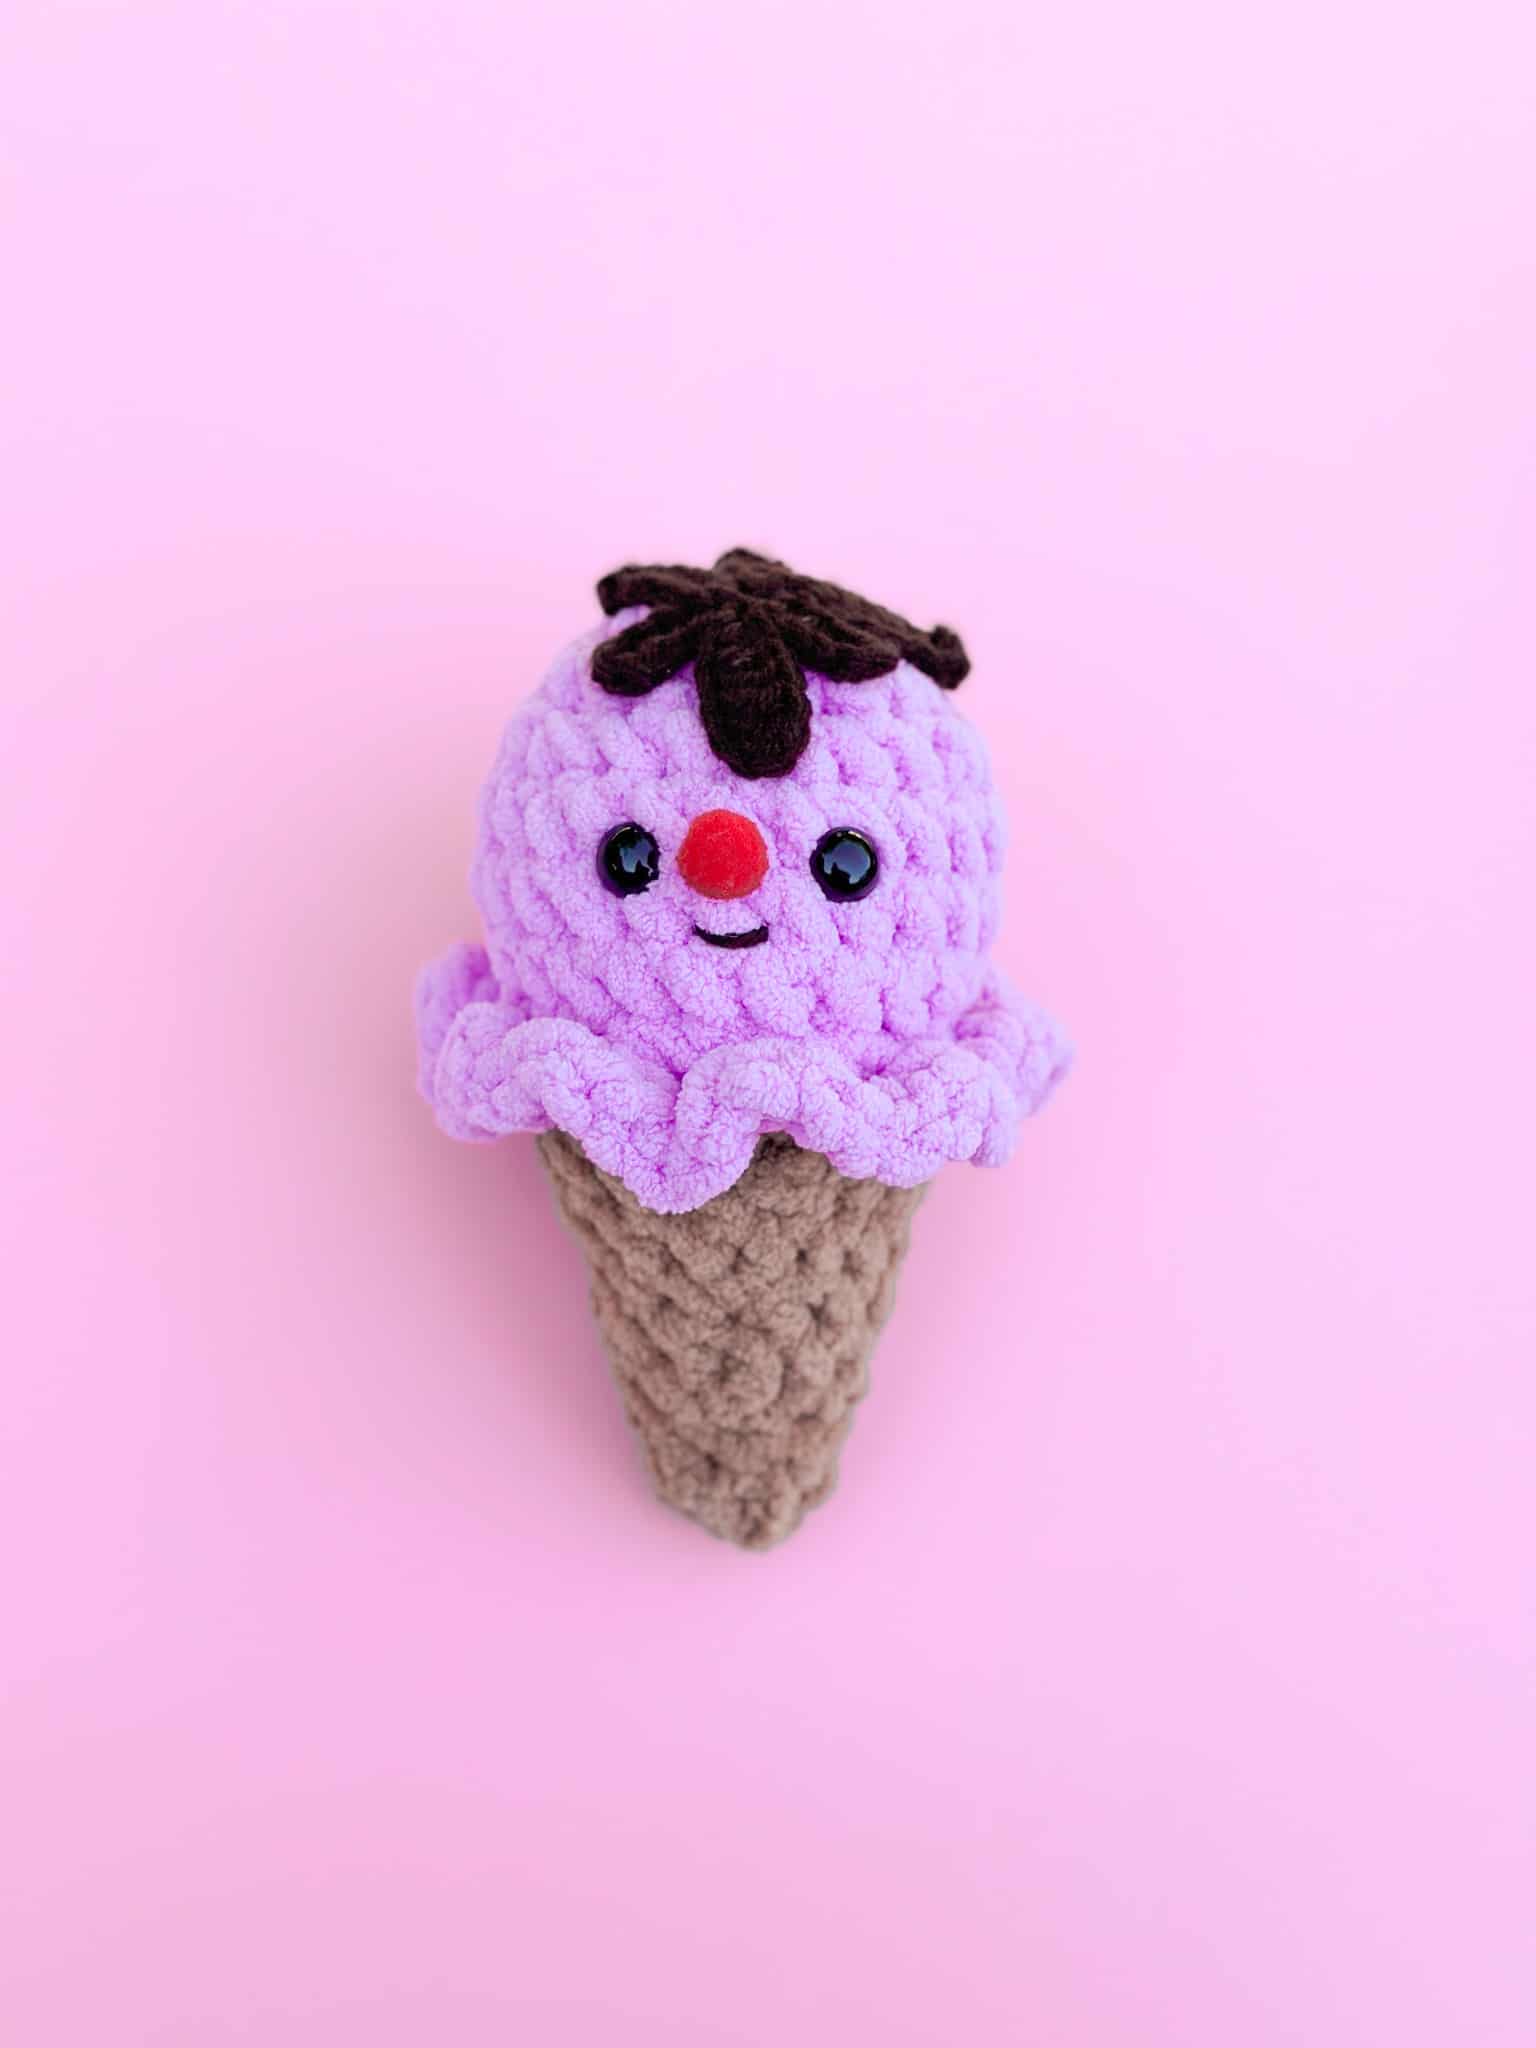 *Note: Ube is a popular dessert flavor in many parts of Asia. Originally from the Phillippines, this purple yam has a distinct nutty, vanilla-like flavor.
Materials:
-
#6 bulky yarn
-
Bernat Baby Blanket – Lilac, Sand
-
- #4 medium worsted yarn
- Impeccable Solids – Dark Brown
- Clover Amour 8.00 mm and 2.75 mm hooks
- Mini Patchworks Scissors
- Stitch Markers
- Yarn Needle
- Poly-fil stuffing
- Hot glue
- Size 12 mm safety eyes
- 1 cm wide red pom pom for the nose
Chocolate drizzle (in Dark Brown medium worsted yarn and 2.75 mm hook):
Step 1: Make a magic circle and ch 8, work into the third ch from the hook and dc all the way down [6]
Step 2: ch 6, work into the second ch from the hook and hdc all the way down [5]
Step 3: Alternate steps 1 and 2 for a total of 6 “drips”
Step 4: Pull the magic circle closed
Fasten off and leave a tail. Sew the chocolate drizzle onto the top of the ice cream.
CINNAMON SWIRL
Materials:
-
#6 bulky yarn
-
Bernat Baby Blanket Speckled – Cream
-
Bernat Baby Blanket – Sand, White
-
- #4 medium worsted yarn
- Impeccable Solids – Dark Brown
- 2 in. x 2 in. [~5 cm x ~5 cm] square of brown felt
- Clover Amour 8.00 mm hook
- Mini Patchworks Scissors
- Stitch Markers
- Yarn Needle
- Poly-fil stuffing
- Hot glue
- Size 12 mm safety eyes
- 1 cm wide red pom pom for the nose
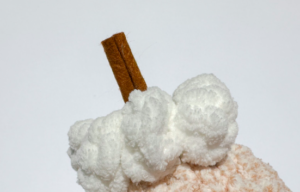
Whipped Cream (in white yarn and 8 mm hook):
Step 1: Make a slipknot and ch 12. Working into the second ch from the hook, make 3 sc in each st down the ch.
*Note: It should start curling up.
Step 2: Twist the chain so it is as curled up as possible and then slst into the first ch.
Fasten off and leave a tail and sew the whipped cream to the top of the ice cream.
Cinnamon Stick (in brown felt):
Step 1: Cut a square of brown felt, 2 in. x 2 in [~5 cm x ~5 cm]
Step 2: Roll both edges towards the middle and secure it with hot glue.
Step 3: Secure down the whipped cream first and then glue the cinnamon stick into the center.
*Tip: I like to insert the tip of the gun into the stitches and apply glue there so that the glue is not visible from the outside, though the whipped cream will also cover it.
Thank you for making these fun ice cream cones! Be sure to tag #cloversquad and #curiouspapaya with your makes 🙂