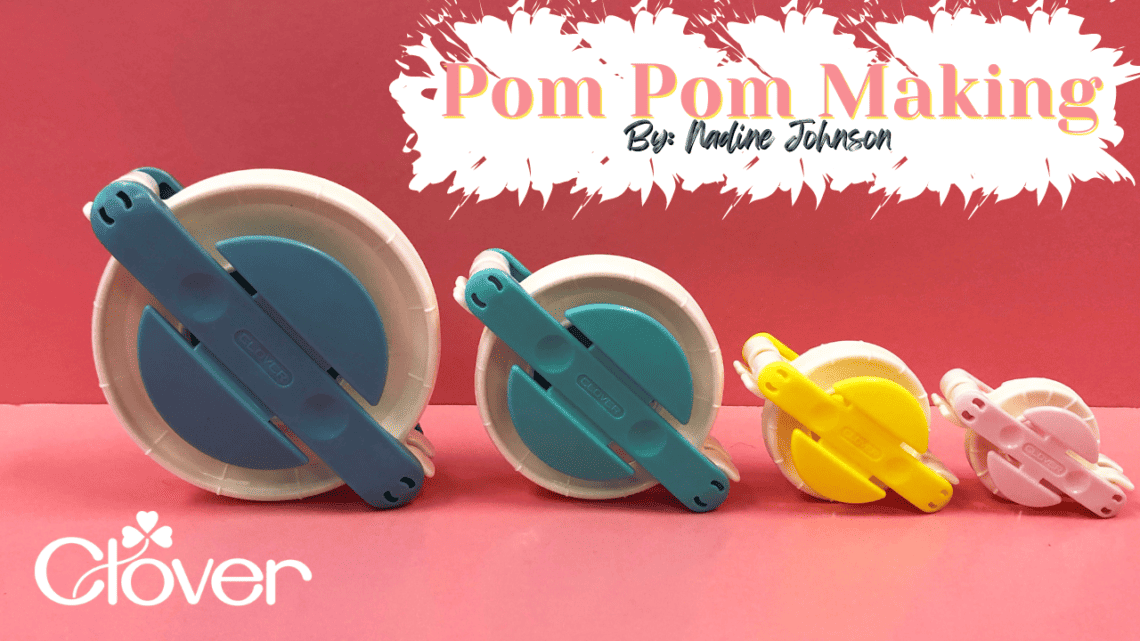
Pom Pom Making- DIY Craft
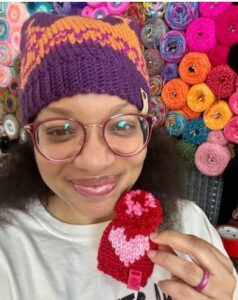
Hi everyone! I’m Nadine, the maker behind all things BuddyLuvsCrochet! I am a wife, stay-at-home mama bear, blogger, and small business owner. I hope this post finds you well. My love of crochet started at the age of 8 at an afterschool program with my bestie. A young lady came in with yarn and some shiny hooks and asked us if we wanted to learn how to crochet? We saw these goodies in her hand and screamed out yesss! It was from that day on I wanted to make beanies which would eventually lead to pom pom making. I’m often asked how I make my fluffy pom poms, how I get them so round, and also how I secure them so well. So, I teamed up with Clover to create a tutorial for you! I love making pom poms using my clover pom pom maker. It’s so easy to use and they come out perfect every time.
When it comes to my crochet notions my favorites to go to are Clover products. I had been a fan of their crochet hooks for years and then I discovered that they had pom pom makers too and I had to get my hands on one. Making pom poms is a fun project for all ages. It’s quick and easy and perfect for scrap yarns that you have. You can make so many things with your finished pom poms like crowns, garlands, wreaths, party decor, ends of scarves, keychains, and of course to top of your favorite beanie! I’m excited to show you how, so let’s get started!
Let’s get some supplies:
Difficult level:
Easy
What you’ll need:
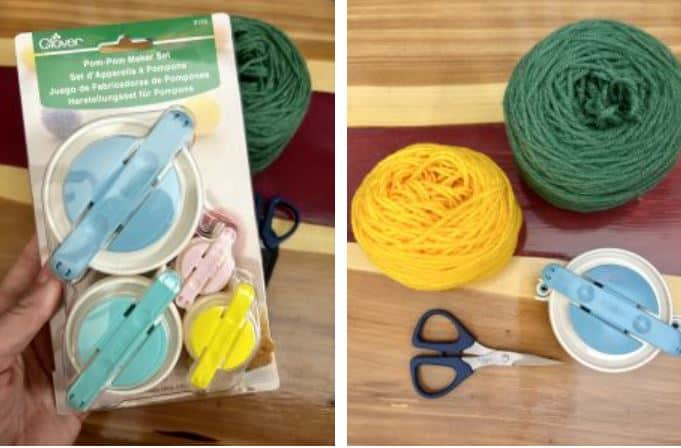
- yarn of any weight of your choosing
- Clover Pom Pom Maker- Art No. 3126
- a sharp pair of scissors (my fav Clover Patchwork 4-1/2-Inch Mini Scissors)- Art No. 493/cw
Here’s a full video on my YouTube channel
How To Make a Pom Pom Tutorial
Tutorial
Now let’s begin!
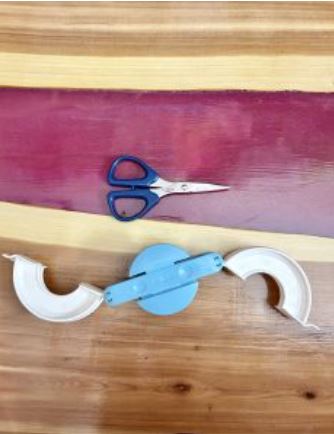
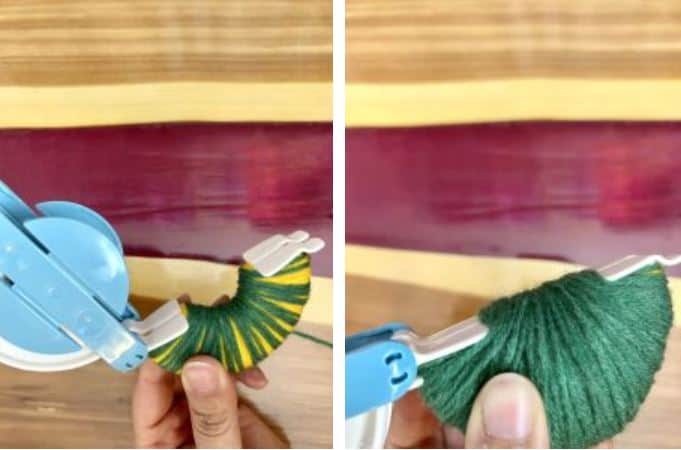
- First, you will open up the arcs of your pom pom maker.
- While holding your pom pom maker, take your yarn and start to wind it around a pair of arcs. Make sure to wind your yarn evenly around the arcs.

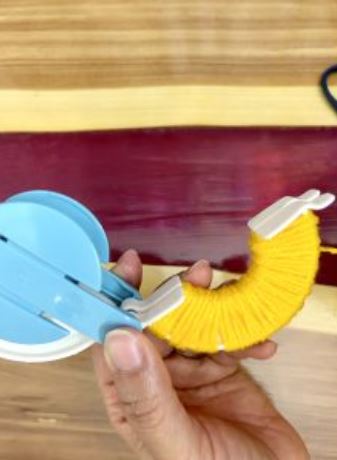
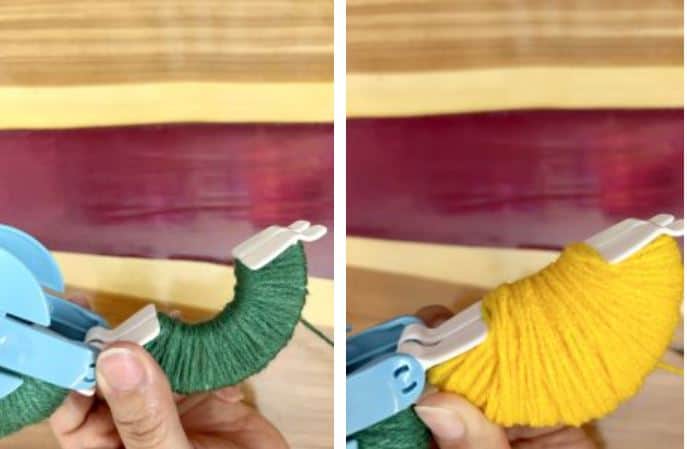
- Your pom pom thickness is determined by how much yarn you wind up. I’m using two colors so you want to continue filling the arc until it’s flush on the top or even.
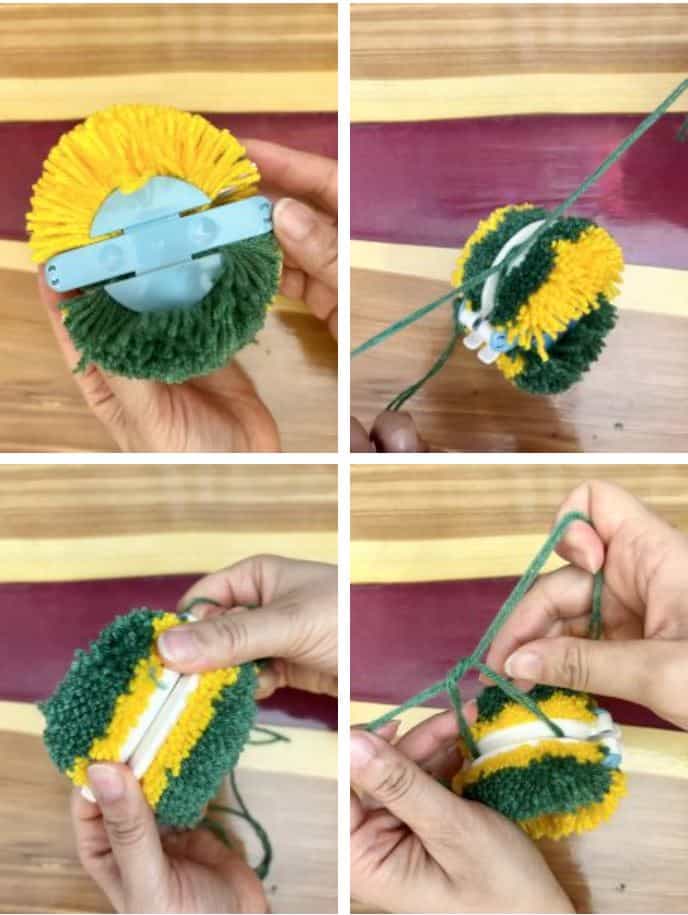
- When you’re done close it & then repeat on the other set of arcs of your maker.
- Push both of your arches together & cut up the center of the arches of your pom pom maker. Do this on both sides.
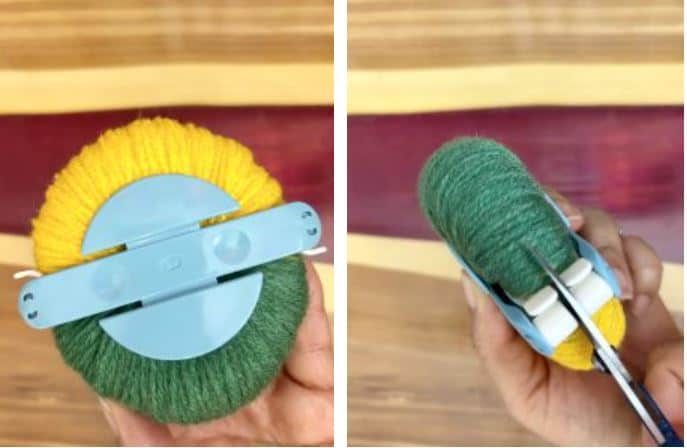
- Cut 14 inches of yarn and tie up the center of the arches and tightly secure it with a knot. Be careful not to pull too hard or your yarn will break. I repeat this back & forth until I feel it’s secure enough to tie it in one last knot. (Leave a long tail if your pom pom is for topping your beanie.)
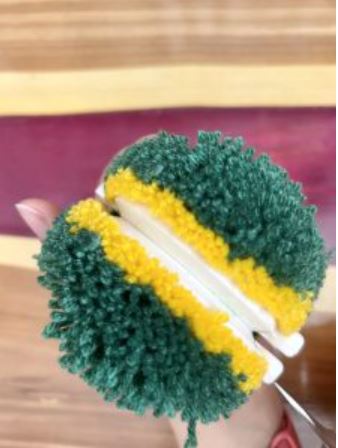
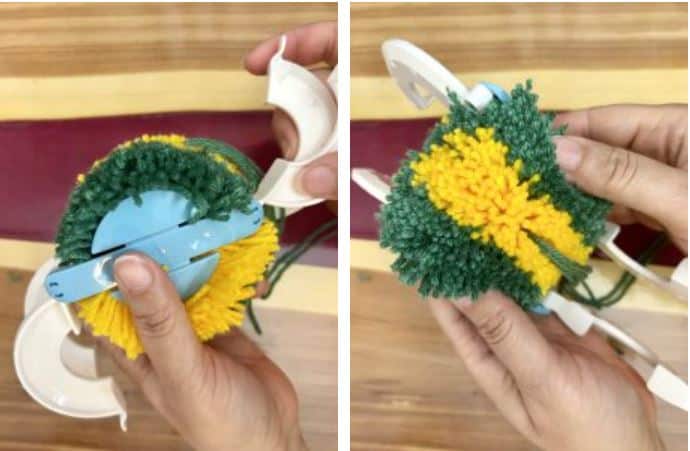
- Now it’s time to open up the arcs of your pom pom maker and reveal your pom pom! Give it a shake and fluff it up a bit.
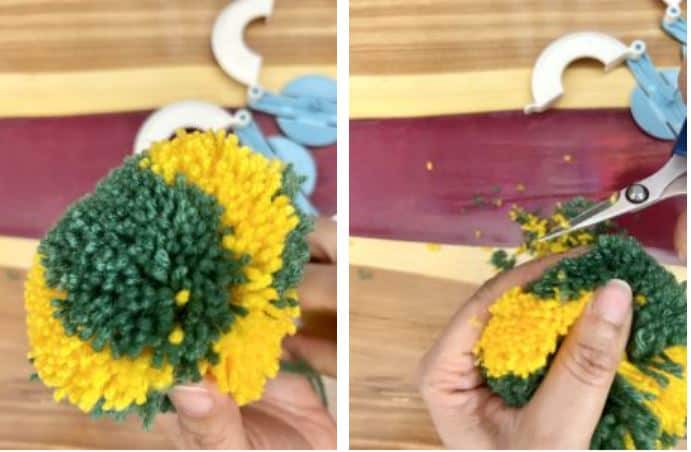
- Last but not least, it’s time for my favorite part! Trimming! It’s time to give your new pom pom a bit of a haircut. I warn you this part can be a bit addictive but pace yourself so that you don’t chop off too much!
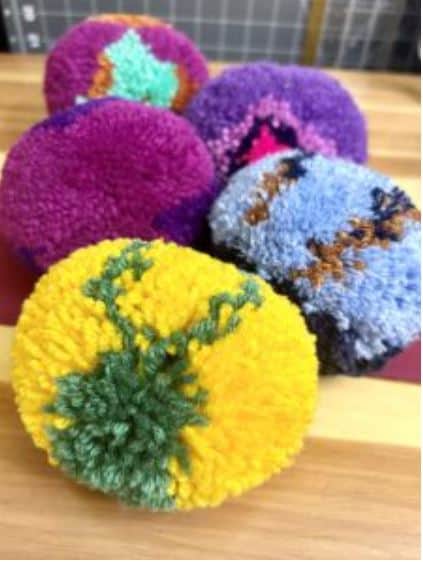
Voila!! Here it is, your pom pom is ready for whatever project you are creating. These colors match my daughter’s school mascot so she’s getting a keychain. Happy pom pom making!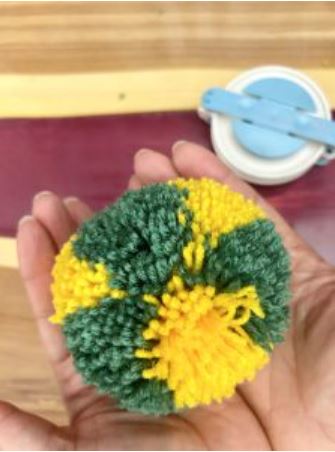
Visit Nadine on Instagram | Ravelry | Facebook | Website | Pinterest | YouTube
Stay connected with Clover on Facebook | Twitter | Instagram | Pinterest | YouTube | Ravelry