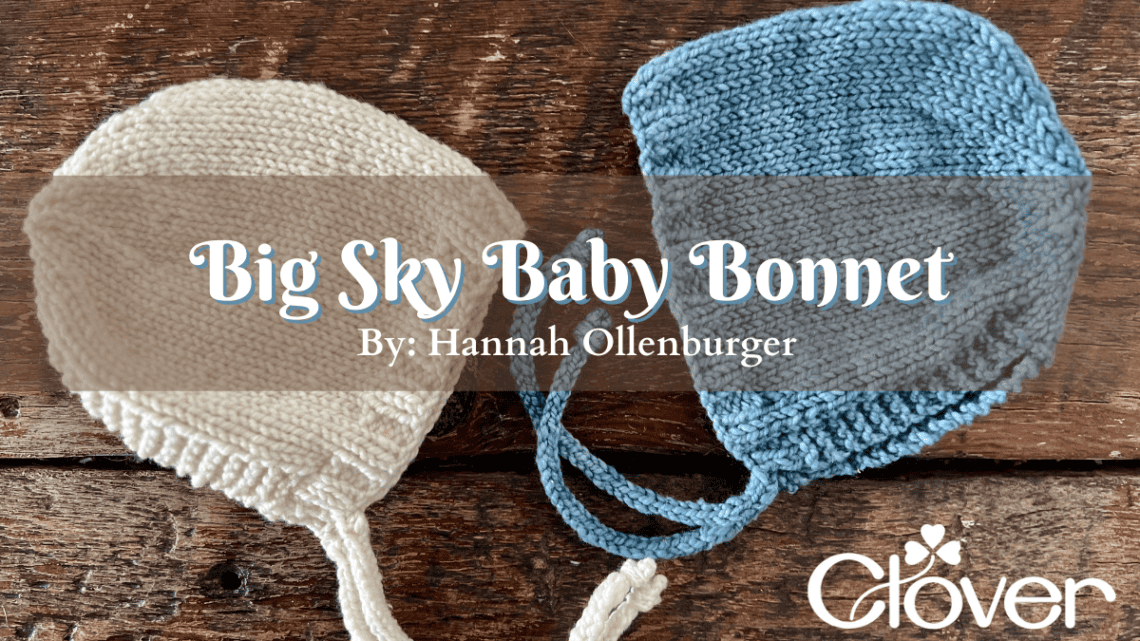
Big Sky Baby Bonnet- Knitting Pattern
Happy Spring knitters! Hannah here, the knitwear designer, blogger, and maker behind Bears Den Essentials (@bearsdenessentials) with a lovely little baby bonnet pattern that’s perfect for the chillier days of spring and knits up quickly. I have a few friends and family who are expecting babies soon, which inspired me to design a cute baby bonnet that would be warm and cozy on sensitive skin. This baby bonnet makes a lovely gift for baby showers, christenings, or any joyful celebration to welcome a new little one to the family.
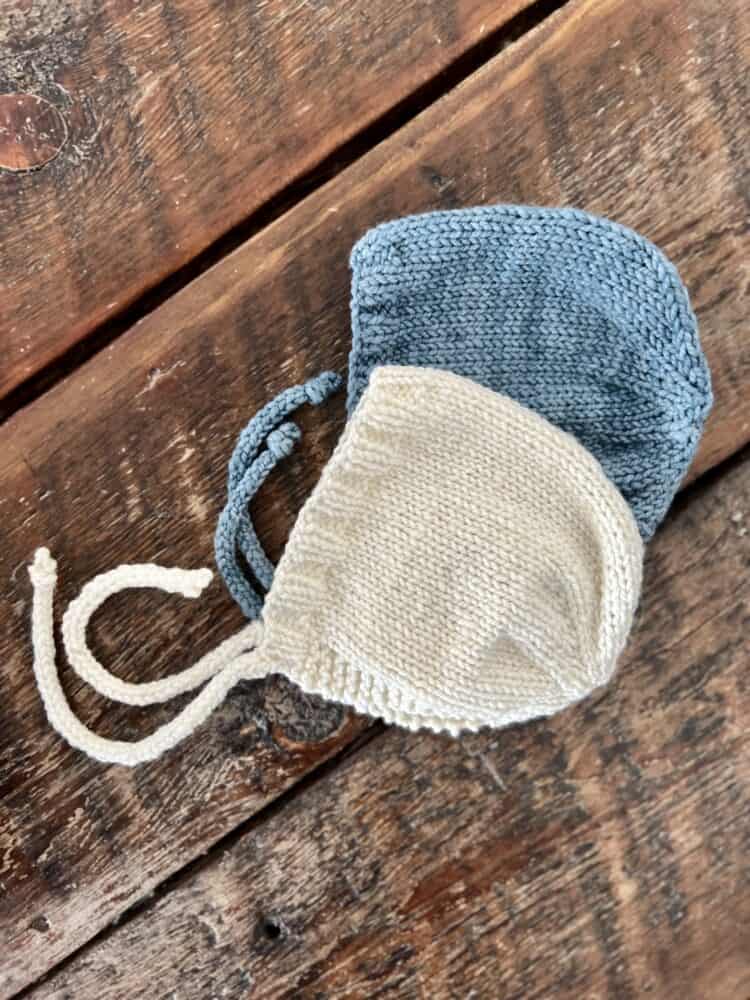
I decided to call this pattern the Big Sky Bonnet because it’s knitted with my favorite Tobacco Root Valley Yarn from Kami at Ranching Tradition Fiber. Kami is a treasured “neighbor” up the road from me, and her yarn is made with her own 100% Homegrown wool. The wool for this yarn comes from her Targhee Rambouillet Sheep raised in the Tobacco Root Valley and is processed nearby at a local mill. Kami does all the dyeing, so this is true Montana yarn that’s grown, spun, and dyed in Big Sky country.
I couldn’t resist making a few of these bonnets, so I knitted up this pattern in my favorite colors: Madison Blue and Natural White. I wrote the pattern for a number of sizes, so you can customize your bonnet to fit head sizes Newborn – Toddler.
This pattern is a great beginner knitting pattern. It’s slightly more advanced than a pattern knit in basic garter stitch, giving you a nice challenge and opportunity to learn purl stitch, practice seaming stitches together, and create ribbed edges. We will be releasing accompanying “how to” videos for this pattern on our YouTube channel, which will help you with each step, so be sure to Subscribe!
This darling bonnet will make the lucky recipient feel warm and loved, and I hope you enjoy knitting it up!
Difficulty Level: Advanced Beginner
Skills Required/Techniques Used:
-Knit & Purl
-Casting On/Casting Off
-Mattress Stitch
-Working Flat
-Working with Double-Pointed Needles
-I-Cord
MATERIALS
Yarn: Tobacco Root Valley Yarn by Ranching Tradition Fiber. Tobacco Root Valley Yarn is 100% Targhee wool and is locally processed at The Montana Wool Barn. It has wonderful bounce.
250 Yards (229 meters) | 100 grams | DK Weight (Category 3) | Number of skeins needed per bonnet: 1
Knitting Needles:
–US Size No. 7 (4.50mm) Clover Takumi Bamboo Single Pointed Knitting Needles 9”
–US Size 7 (4.5mm) Clover Takumi Bamboo Knitting Needles Double Pointed (7″)
Notions:
–Clover Knitting Needle Point Protectors
GAUGE: Approx. 20 sts = 4 inches in stockinette stitch (after blocking) using 4.5mm/US 7 needles
SIZE INFORMATION:
This pattern is designed to be worn with ~2-5” of negative ease. The yarn has a nice stretch to it. If you’re unsure of what size to knit, it’s best to size up so that the recipient can grow into the bonnet (rather than outgrow it in a single season!).
Size Guide & Finished Measurements:
| Head Circumference | Finished Hat Depth | Finished Length (Before Seaming) | |
| Newborn | Up to 14”
(Up to 35 cm) |
5.5”
(14 cm) |
11”
(28 cm) |
| 0-3 Months | 14-15”
(35-38 cm) |
6”
(15 cm) |
12”
(30 cm) |
| 3-6 Months | 15-17”
(38-43 cm) |
6.5”
(17 cm) |
13”
(33 cm) |
| 6-12 Months | 17-19”
(43-48.5 cm) |
7”
(18 cm) |
14”
(35 cm) |
| Toddler
(1-3 Years) |
19-20”
(48.5-51 cm) |
7.5”
(19 cm) |
15”
(38 cm) |
Sizing:
The sizes of the bonnet– Newborn, [0-3 Months], 3-6 Months, 6-12 Months, Toddler – correspond sequentially to the numbers provided within the pattern.
ABBREVIATIONS AND STITCH GLOSSARY:
- Approx: Approximately
- CO: Cast on
- COFF: Cast off
- DPN(s): Double-pointed needle(s)
- K: Knit
- K2TOG: Knit two stitches together to make one stitch
- P: Purl
- Rem: Remain
- St(s): Stitch(es)
- WS/ RS: Wrong side of the work / Right side of the work
- ” / cm(s): Inch(es) / Centimeter(s)
PATTERN:
CONSTRUCTION OVERVIEW:
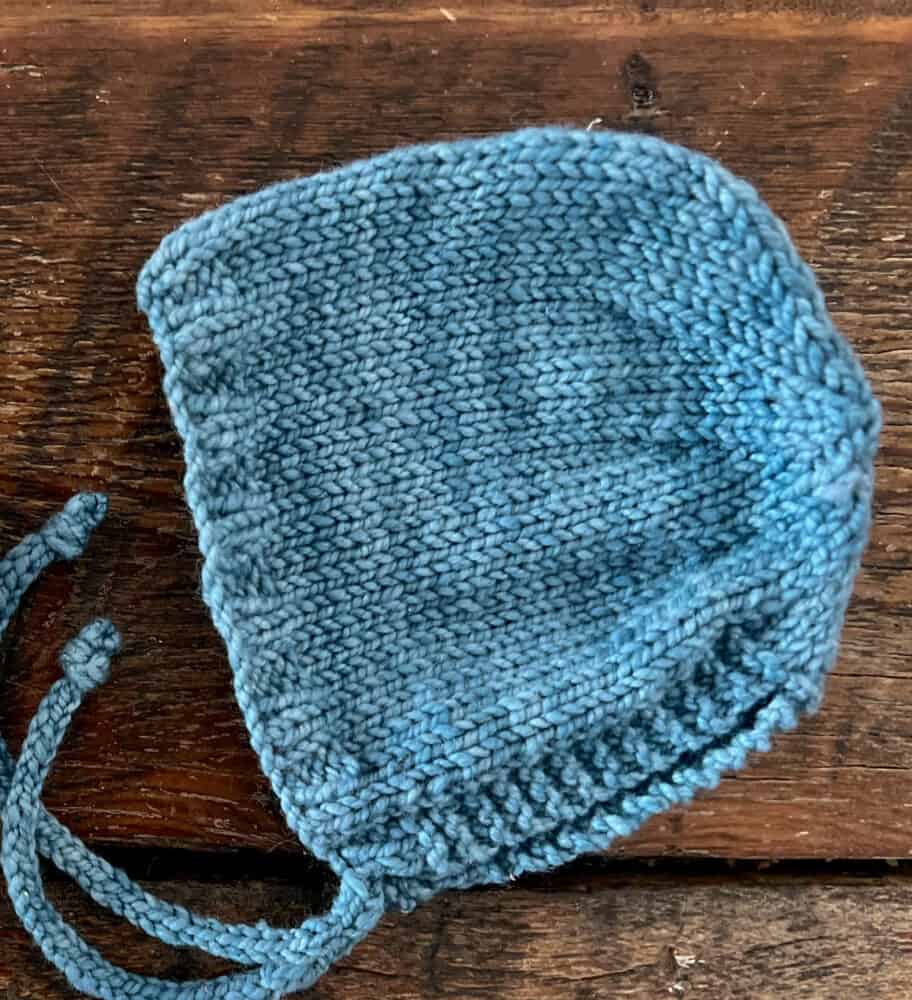
This bonnet is knit flat and then the back of the bonnet is sewn together to finish shaping the crown. An 8” I-cord is added on each corner to create the ties.
CASTING ON:
With size US 7 (4.5 mm) 24” circular needles and MC yarn, CO 54, [60], 66, 72, 78 sts.
RIBBING:
Sizes 0-3 Months, 6-12 Months:
Rows 1-5: K2, P2 to end of row.
Sizes Newborn, 3-6 Months, Toddler:
Row 1: K2, P2 to end of row.
Row 2: P2, K2 to end of row.
Row 3: K2, P2 to end of row.
Row 4: P2, K2 to end of row.
Row 5: K2, P2 to end of row.
BODY:
For All Sizes: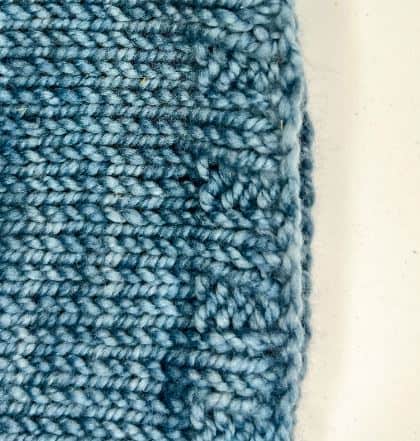
Row 1: K to end of row.
Row 2: K5, P to last five sts, K5.
Repeat rows 1-2 to continue in pattern until piece measures 4” (10 cm), [4.5” (12 cm)], 5” (13 cm), 5.5” (14 cm), 6” (15 cm) from CO edge.
Beginner’s Note: For troubleshooting common challenges, such as dropped stitches, knitting too tightly, or too loosely, check out this video on how to knit and troubleshoot.
CROWN SHAPING:
For All Sizes:
Row 1: K4, K2Tog to end of row. (45, [50], 55, 60, 65 sts rem)
Row 2: P to end of row.
Row 3: K3, K2Tog to end of row. (36, [40], 44, 48, 52 sts rem)
Row 4: P to end of row.
Row 5: K2, K2Tog to end of row. (27, [30], 33, 36, 39 sts rem)
Row 6: P to end of row.
Row 7: K1, K2Tog to end of row. (18, [20], 22, 24, 26 sts rem) 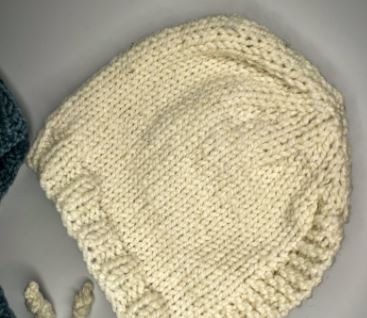
Row 8: P to end of row.
Row 9: K2Tog to end of row. (9, [10], 11, 12, 13 sts rem)
Row 10: P to end of row
Sizes 0-3 Months, 6-12 Months:
Row 11: K2Tog to end of row. ([5], 6 sts rem)
Sizes Newborn, 3-6 Months, Toddler:
Row 11: K2Tog to last st, K1. (5, 6, 7 sts rem)
Cut yarn leaving roughly 20” (50 cm), thread yarn through rem st, pull tightly.
SEAMING THE BONNET:
With the RS facing you, fold the bonnet in half. Make sure the two edges to be sewn together are evenly lined up. Using the mattress stitch, seam together the bonnet until you reach the bottom of the crown shaping (where the garter edge starts). Weave in your ends.
Tips for The Mattress Stitch:
- Pull your yarn to tighten after a few stitches. This will close the seam.
- Do not pull the seam too tight–it should match the knitted fabric’s tension. If you accidentally pull too tight, hold the top and bottom of your work and pull apart a little to loosen the seam.
You can also use your own preferred seaming method– if you are not using the mattress stitch, I recommend you turn the bonnet so that the WS faces you. Work as above until you’ve reached the bottom of the crown shaping. Weave in your ends.
I-CORD:
An i-cord is used to create the ties for holding your bonnet together.
Using dpns and with the RS of the bonnet facing you, pick up three stitches at one of the bottom corners of your bonnet, along the edge of the 2×2 ribbing.
Row 1: K to end of row.
Row 2: Turn your needle and slide the sts to the other end of the dpn. Bring yarn behind the work to the right-hand side of the left needle and pull tightly on the working yarn. Insert your right needle into the next st and k to end of row as you would normally.
Repeat row 2 until your i-cord measures 8” (20 cm). Thread yarn through rem sts, pull tightly. Weave in your ends.
Tie each i-cord in a small knot at the end as shown in the picture.
If you do not have dpns, you can still create an i-cord tie as follows:
Pick up 3 sts as above.
Row 1: K to end of row.
Row 2: Slip each stitch from right needle onto left needle. Bring yarn behind the work to the right-hand side of the left needle and pull tightly on the working yarn. Insert your right needle into the next st and k to end of row as you would normally.
Repeat row 2 until your i-cord measures 8” (20 cm). Thread yarn through rem sts, pull tightly. Weave in your ends.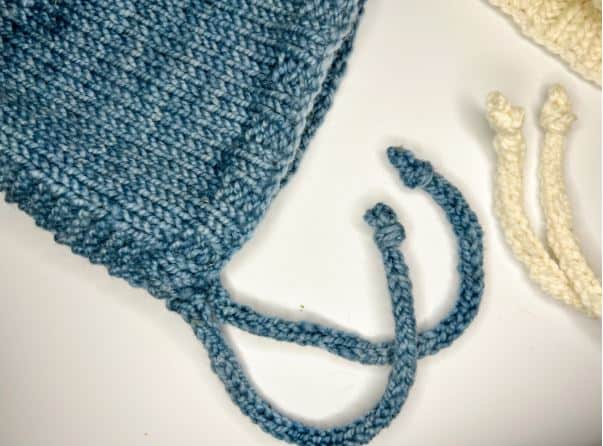
Tie each i-cord in a small knot at the end as shown in the picture.
FINISHING:
Wash with your favorite wool wash, block, and enjoy!
Have a wonderful time knitting up this sweet pattern as spring continues to unfold. Be sure to share pics of your finished knits with us on Instagram!
For beginners, head to our YouTube Page (@bearsdenessentials) to get the full series of knitting tutorials we offer! For questions about this pattern and extra tips, email us at bearsdenessentials@gmail.com.
Find Bears Den Essentials on Instagram | Pinterest | Etsy | Ravelry | Facebook | Youtube
Stay connected with Clover on Facebook | Twitter | Instagram | Pinterest | YouTube | Ravelry