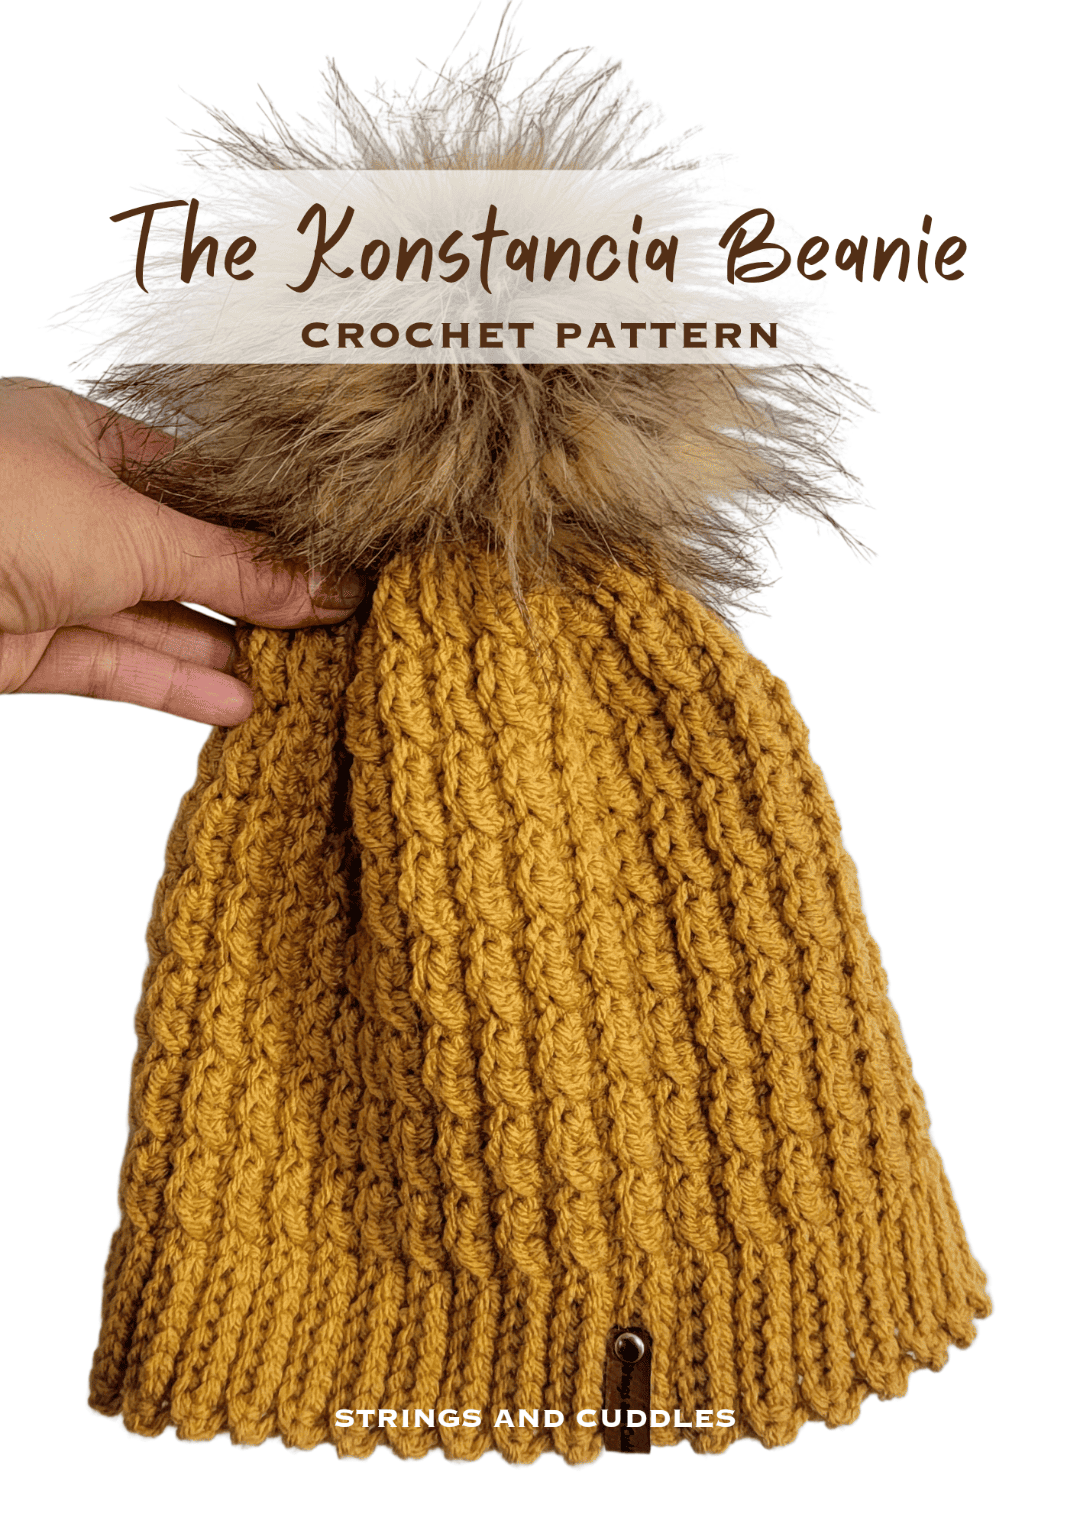
The Konstancia Beanie Crochet Pattern
Hi! My name is Elisa from @stringsandcuddles on IG! The cold weather is here again, and what’s a great and easy project to make to add some coziness to our daily outfits? Beanies! I am here to share my newest beanie crochet pattern, which I hope you will love! If you know me, you know that I am into designing easy-to-make and remembered patterns with great texture. The Konstancia Beanie is an amazing design with a 2-row repetition that is easy to memorize. Although it is written for adult size, it can easily be modified to your size preferences. Without any further delay, let’s get started!
SKILL LEVEL:
-
Advanced Beginner to Intermediate
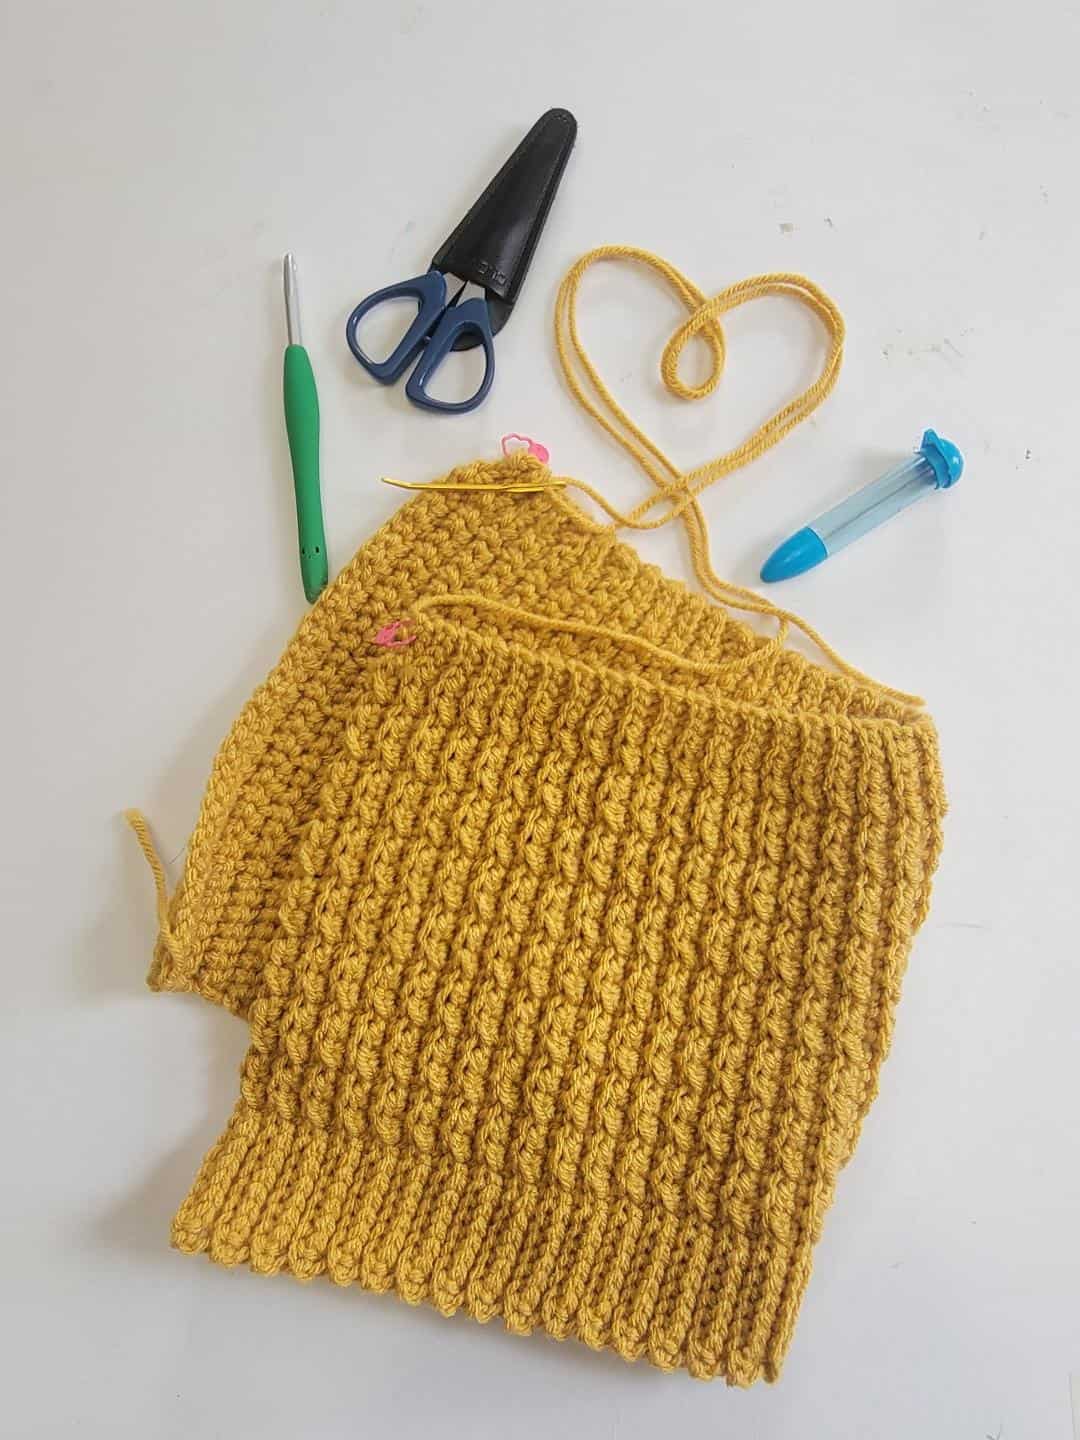
MATERIALS:
- worsted weight (#4) yarn
- approximately 200-220 yards (I used Hobby Lobby’s Soft & Sleek yarn)
- Clover Amour 5.5mm Crochet Hook
- Clover Mini Patchwork Scissors
- Tape Measurer
- Chibi with Bent Tapestry Needle
- Clover Quick-Locking Stitch Markers
ABBREVIATIONS:
- ch(s): chain(s)
- blo: back loop only
- fpsc: front post single crochet
- hdc: half double crochet
- rep: repeat
- pm: place marker
- sc: single crochet
- sc2tog: single crochet 2 together (decrease)
- slst(s): slip stitch(es)
- st(s): stitch(es)
- rs: right side
- ws: wrong side
FINISHED MEASUREMENT:
- 9” (height) x 19” (circumference – unstretched)
INSTRUCTIONS:
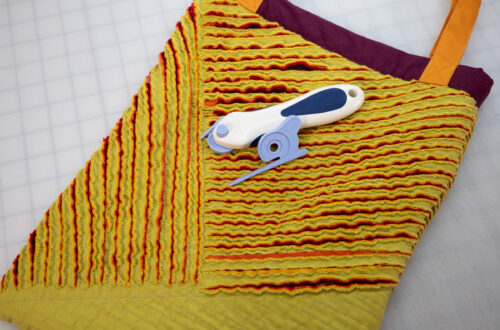
GAUGE: 14 sts x 16 rows = 4 inches (see pattern gauge) GAUGE PATTERN
Row 1: Ch 20, SC in the back bump of 2nd ch from the hook, and in each ch across. Turn. 19 sts
Row 2: Ch 1, slst in the 1st st, HDC in the next 2 sts, *slst in the next st, HDC in the next 2 sts*; Rep from * to * to last st, slst in the last st. Turn. 19 sts
Row 3: Ch 1, SC – BLO in each st across. Turn. 19 sts
Row 4 – 16: Rep Rows 2 and 3, ending with Row 2.
NOTES:
- Read the pattern carefully before starting.
- This pattern is worked sideways and then seamed together at the end, from the top down.
- The beginning ch 1 does NOT count as a stitch.
- repeat instructions between asterisks as many times as directed or repeat at specified locations.
- When you see a st – BLO, this means to work that specified st in the Back Loop Only.
- I recommend using stitch markers to mark some sts. Remember to move stitch markers as you progress, unless otherwise stated.
- Not all heads conform to sizes by age; please measure for a more accurate fit. If you want to adjust the size of your beanie, you may add/subtract 2 rows and end with Row 2. If you want your beanie to be longer or slouchy, add a few more chains to the foundation chain. Note that the main pattern repeat is a multiple of 3 stitches.
BEANIE PATTERN:
Ch 35
Row 1 (rs): Slst in the back bump of the 2nd ch from the hook, PM in the 1st st (DO NOT move this marker, as this will help in aligning the stitches when seaming your beanie), slst in the next 2 chs, PM in the last st just made, SC in the back bump of each ch across. Turn. 34 sts
Row 2 (ws): Ch 1, SC in the 1st st, FPSC in the next 6 sts, PM in the 7th st just made, *slst in the next st, hdc in the next 2 sts*; Rep from * to * to the last 3 sts, slst in the last 3 sts. Turn. 34 sts
Row 3: Ch 1, slst in the 1st 3 sts, SC – BLO to the last st, SC in the last st. Turn. 34 sts
Rows 4 – 76: Rep Rows 2 and 3, ending with Row 2.
- Once you have finished the last row, pm in the last st and do not cut yarn. You will be working on the top of the beanie.
- With ws still facing out, ch 1, SC2tog along the top row edges of the beanie. 38 sts
- Leaving a long tail (approximately 24”) and with your tapestry needle, thread through the sts to close the top. Thread through around the sts for the second time. Pull tight to cinch closed. Do not cut yarn.
- Now, with rs facing out, bring the 1st and last rows together and seam to close using a mattress or whip stitch.
- Weave in all ends.
- Add a pompom of your choice, and it’s done!
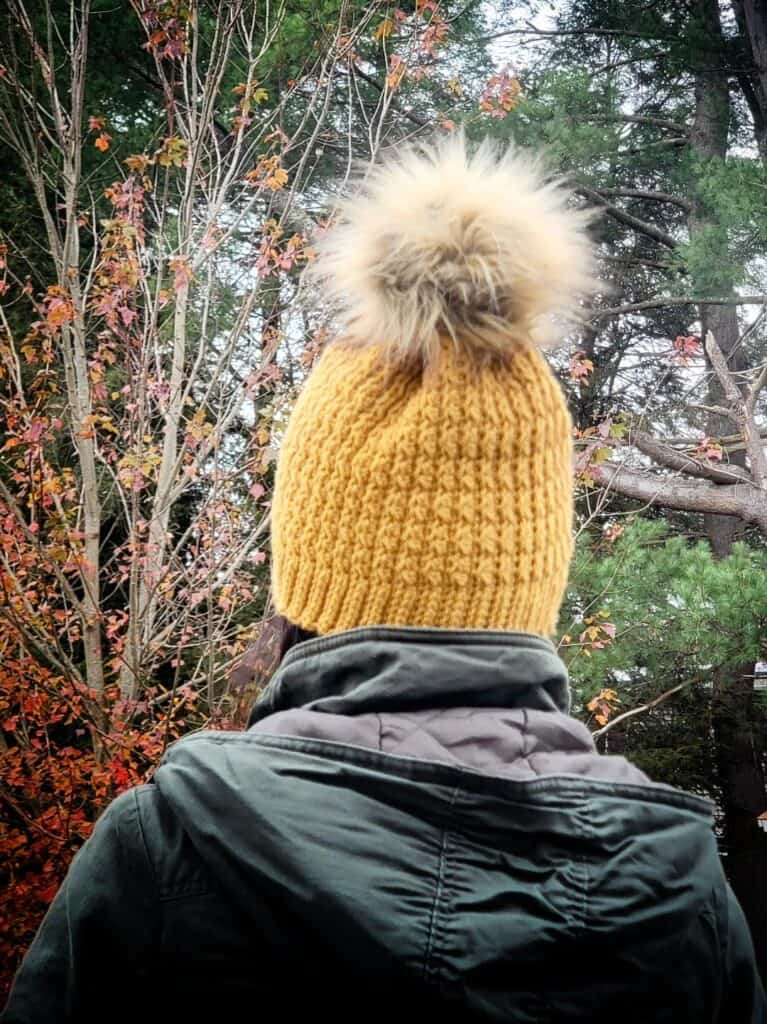
I do hope that you like and enjoy this pattern! I would love to see your Konstancia Beanie, so please tag me @stringsandcuddles and use these hashtags to share: #stringsandcuddles, #stringsandcuddlesdesigns, #TheKonstanciaBeanie, #TheKonstanciaEarWarmer
To download the PDF copy of The Konstancia Beanie or any of my other patterns, please visit my Ravelry shop! Please don’t hesitate to reach out with questions regarding this pattern or any of my other ones. Happy crocheting! 🙂
XOXO, Elisa De Sena