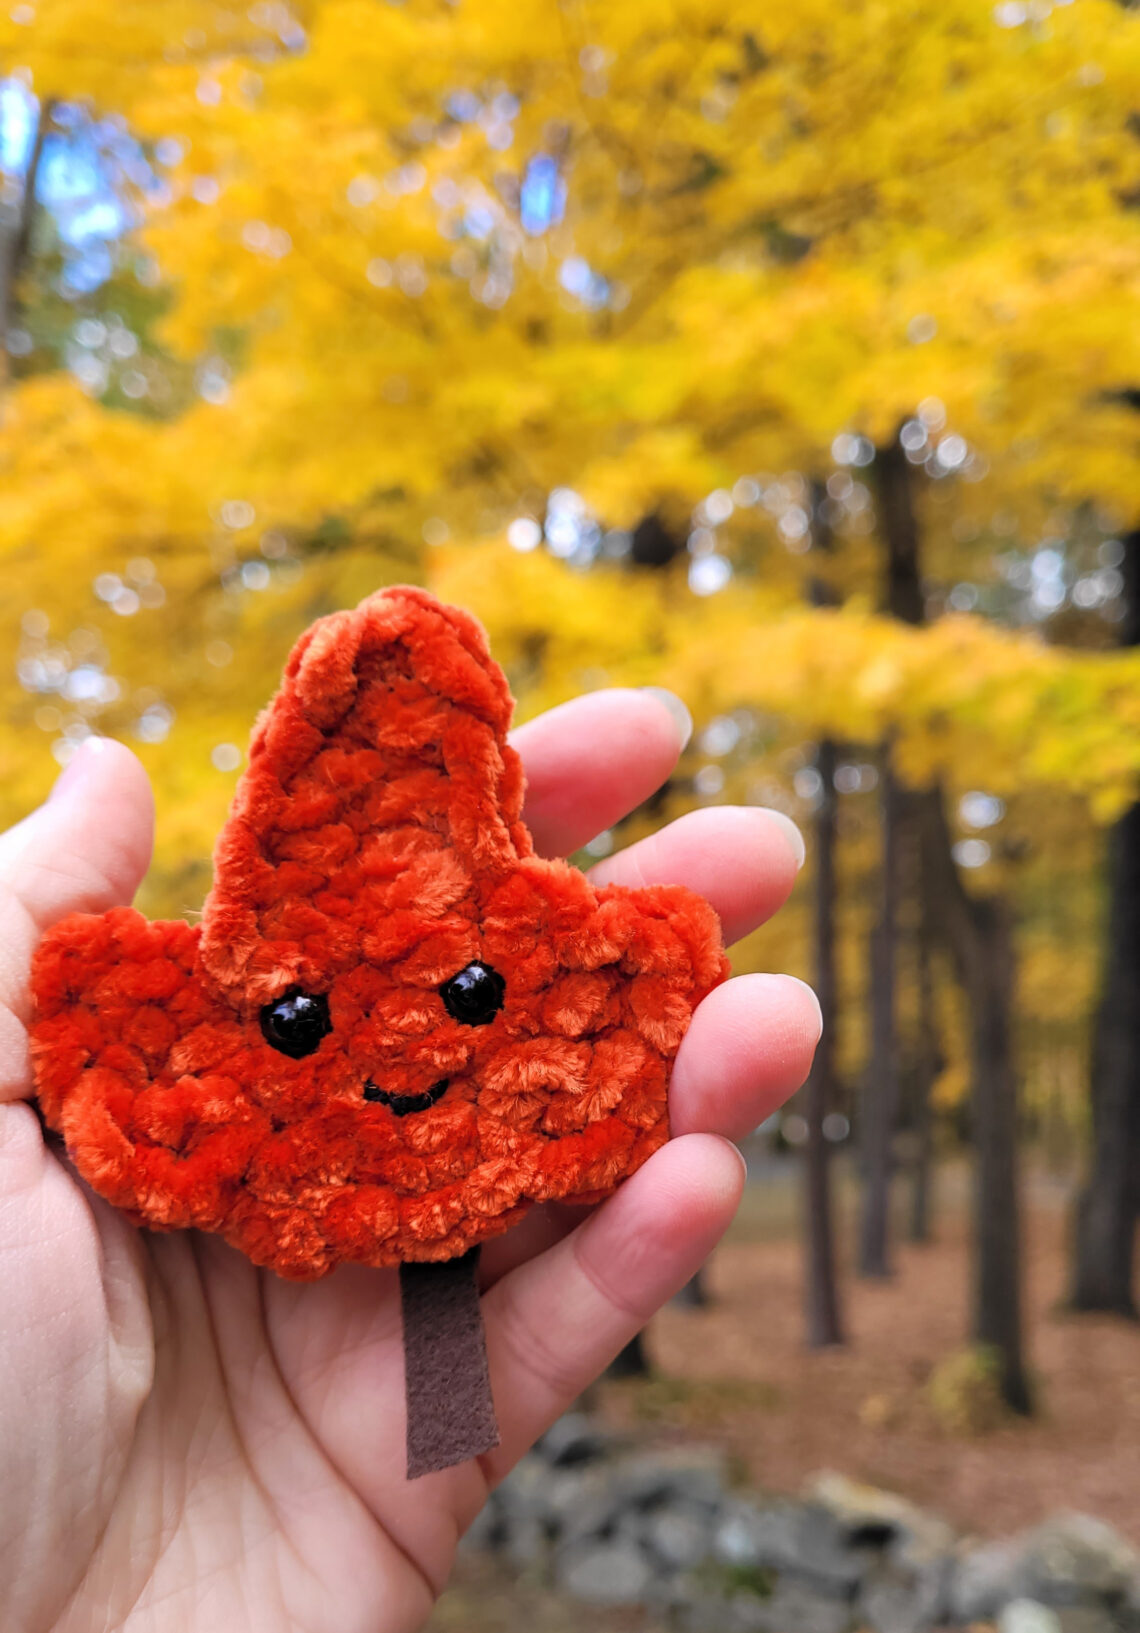
World Kindness Day: The Kindness Leaf <3
Hello! It’s Jennifer Ryan, the designer and blogger behind Celtic Knot Crochet. I love to crochet cute and quick projects that can be given away as gifts. This Kindness Leaf is just that and more! In addition to being a fun fall decoration, this leaf can be given in honor of World Kindness Day (November 13th!!!), or you can choose to attach a sweet message and leave it somewhere in your community for a passerby to find. It is sure to brighten someone’s day and make them smile! To create this project you’ll need to know basic crochet stitches and you’ll want to have a few craft supplies on hand. And if you need a little extra help, you can find a step-by-step video tutorial here on my Youtube Channel ? Let’s get started!
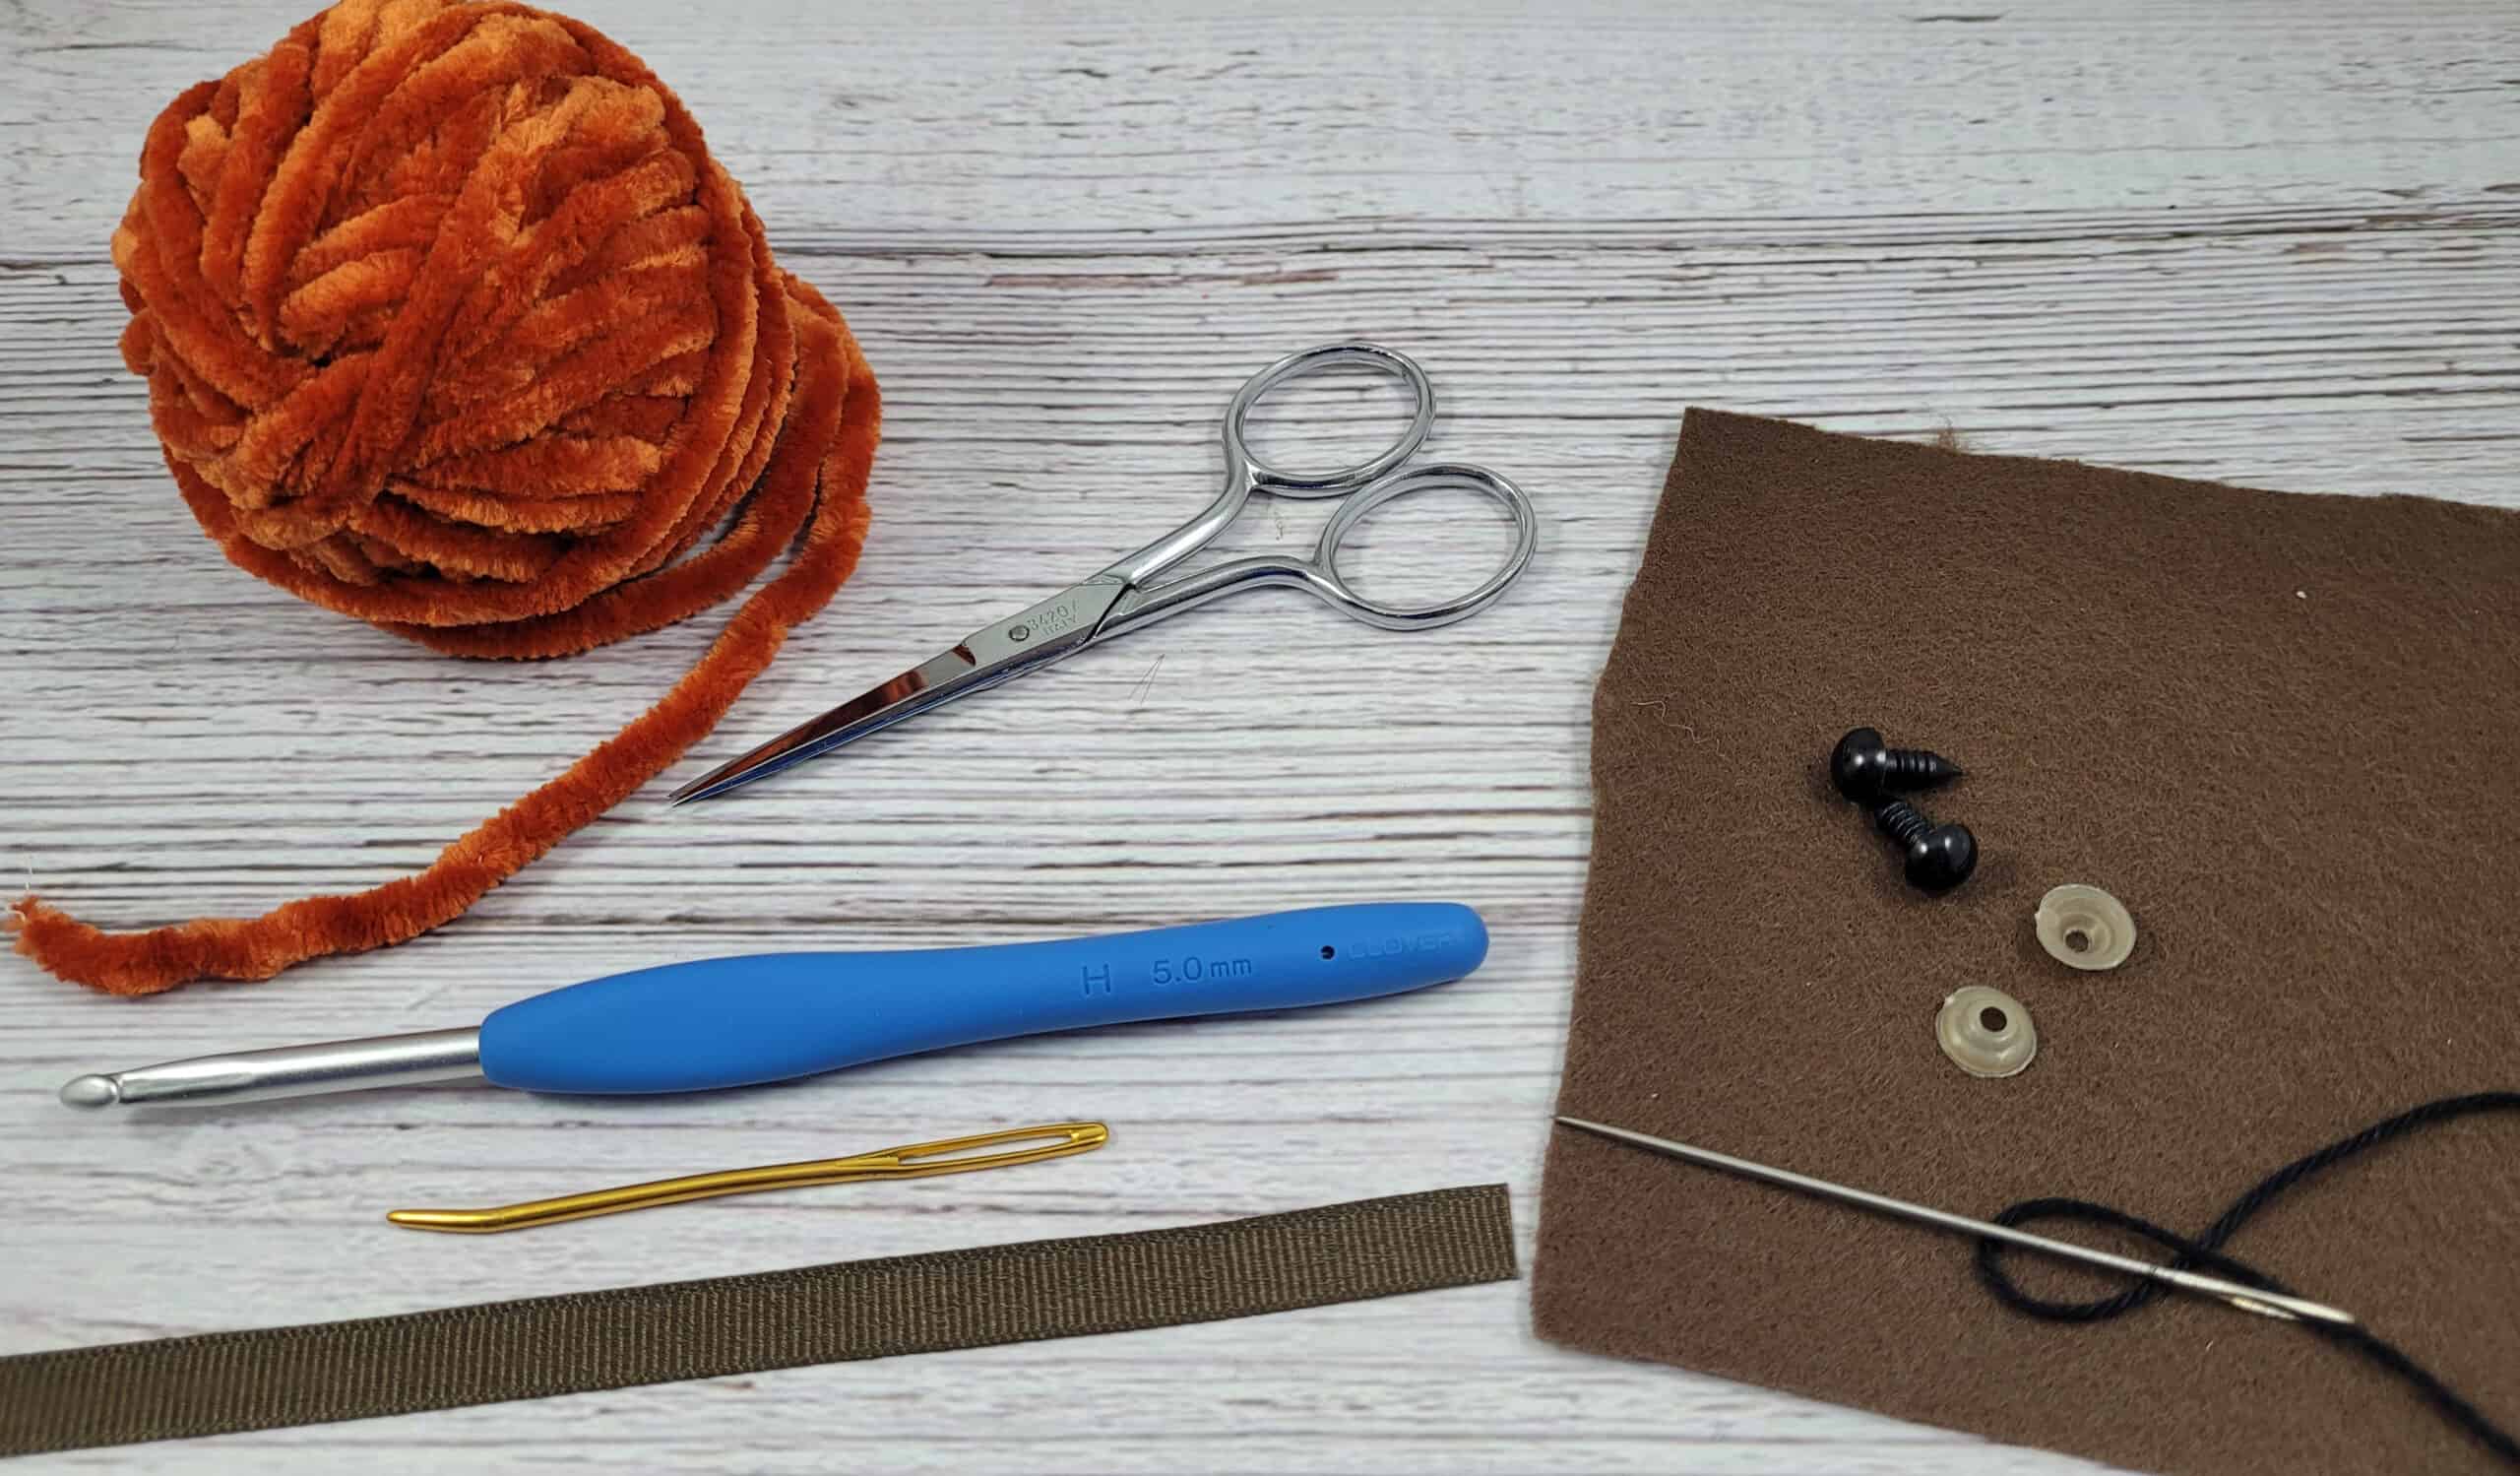
MATERIALS:
- small amount of velvet yarn
- Clover Amour 5mm Crochet Hook
- Jumbo Tapestry Needle (with a bent point)
- 6-8 mm safety eyes (2)
- small amount of black Size 3 cotton crochet thread and embroidery needle
- small amount of dark brown felt (5” x 5” square)
- fabric glue OR hot glue gun + glue sticks
- optional: cardstock and a small length of matching ribbon for World Kindness Day message!
ABBREVIATIONS:
- yo: yarn over
- hk: hook
- lp: loop
- ch: chain
- st: stitch
- sp: space
- sl st: slip stitch
- sc: single crochet
- hdc: half double crochet
- dc: double crochet
NOTES:
- Skill Level: easy
- Finished Measurements: 3 in x 3 in
- gauge is not necessary for this project
- project is first worked in the round along both sides of the starting chain, then sides are added along with the facial details and felt backing/stem
- you can purchase an instant downloadable PDF of the project here in my Etsy shop!
INSTRUCTIONS:
Ch 9
Round 1: Hdc in 3rd ch from hk and in each of next 3 chs; sc in each of next 2 chs; sl st in last ch, ch 1;
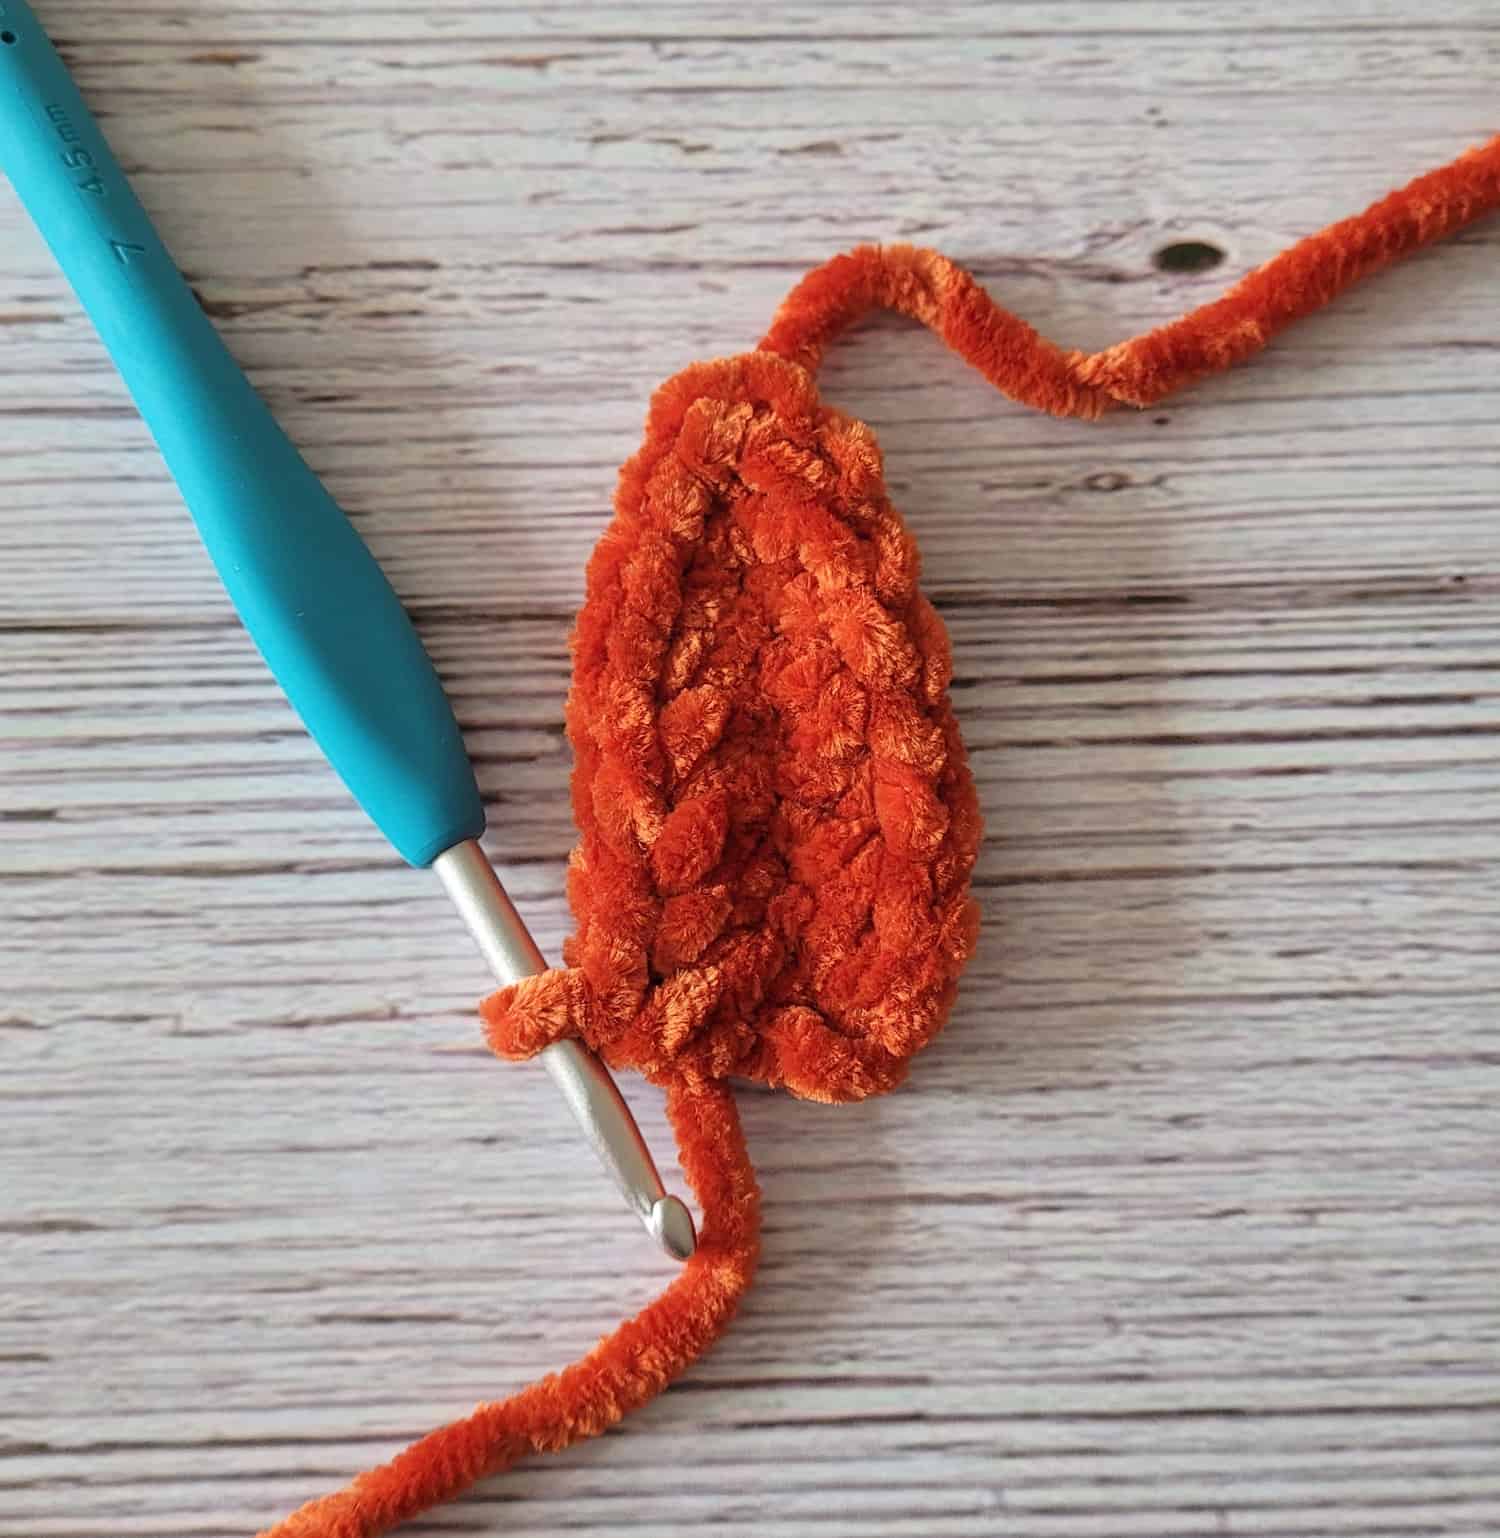
Now working on other side of ch, sl st in 1st ch, sc in each of the next 2 chs, hdc in each of the next 5 chs.
Round 2 (first side section): Ch 1, sl st along bottom of leaf (2-3 times); sl st in 1st st (of Round 1);* ch 1, dc in same st, dc in next st, ch 1; sl st in top side of dc just made and in bottom side of same dc, sl st in next st. Fasten off.*
Other Side Section: Turn leaf over so Wrong Side facing; sl st in 1st st on bottom of leaf (on this other side); Repeat * to * of First Side Section
- Note: Because the Velvet yarn has a lot of texture, you won’t be able to tell that one side section has the front of the stitches showing and the other side section has the back of the stitches showing – doing it this way helps the leaf look its best ?
FINISHING/ASSEMBLY:
- Weave in all ends on “wrong side” of leaf.
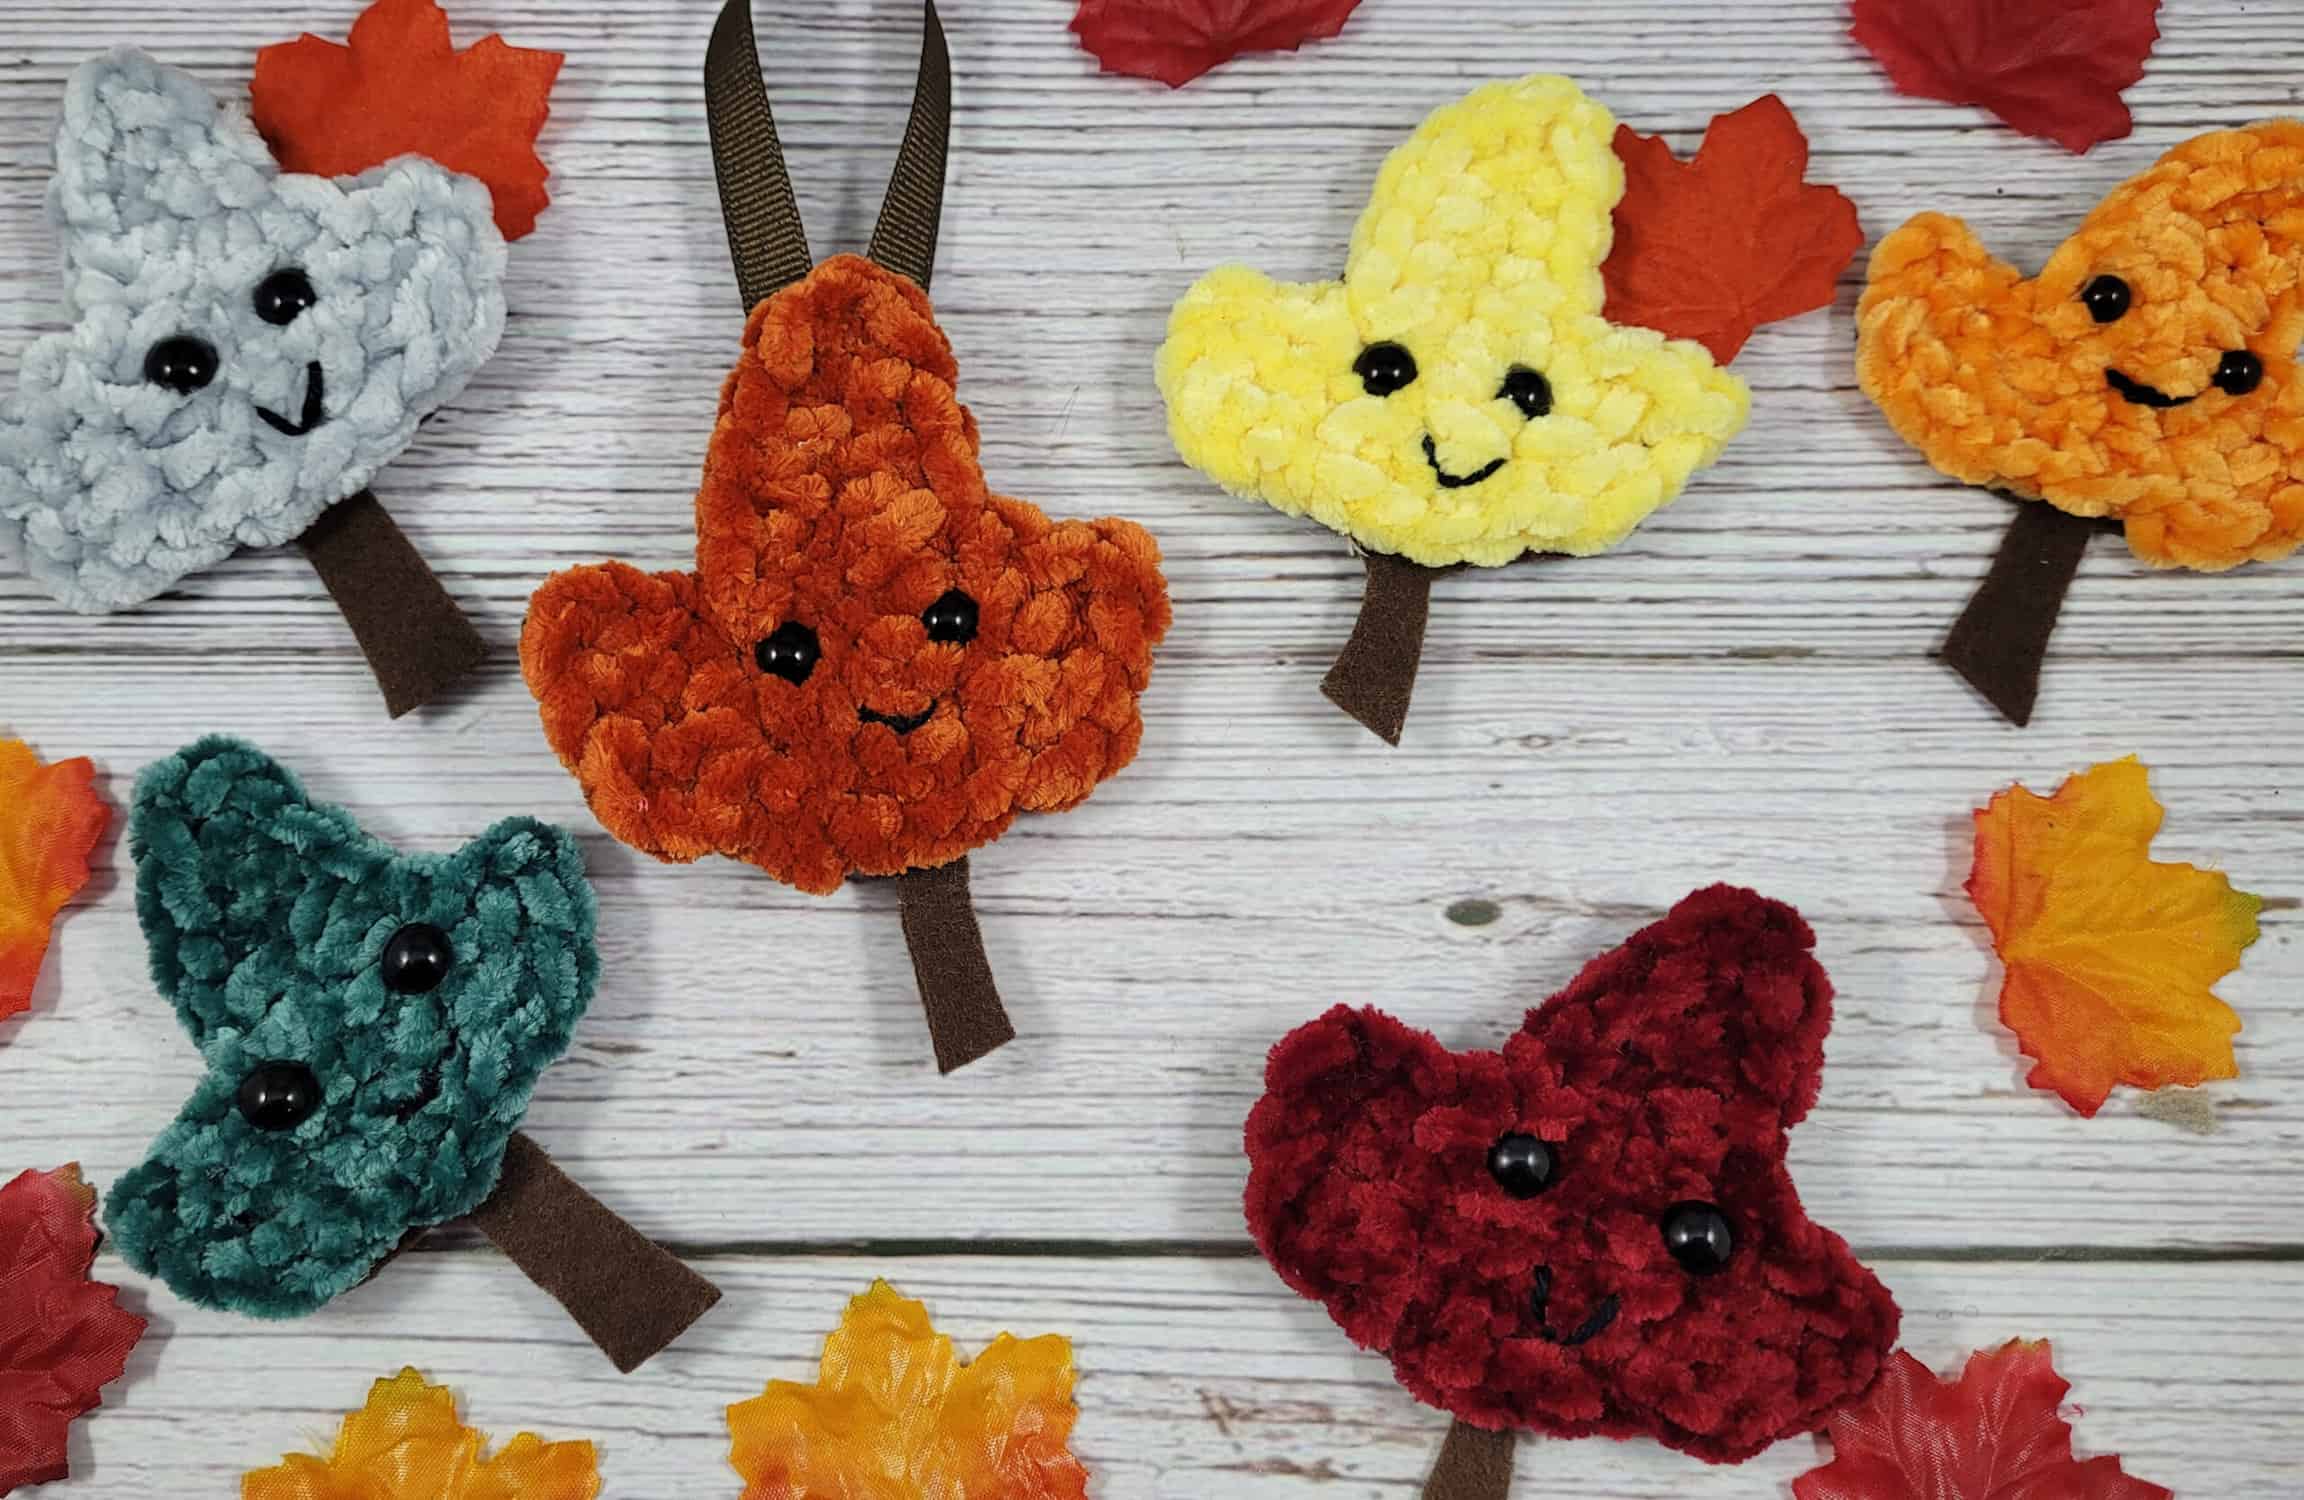
- For face details placement, use the photo below as a guide!
- Add safety eyes.
- Watch this short video tutorial here to see how to use felt with your safety eyes to make them super secure!
- Using black thread and needle, add the mouth.
- Using finished leaf shape as a template, cut out felt slightly smaller but adding a stem length.
- Glue felt to back of leaf.
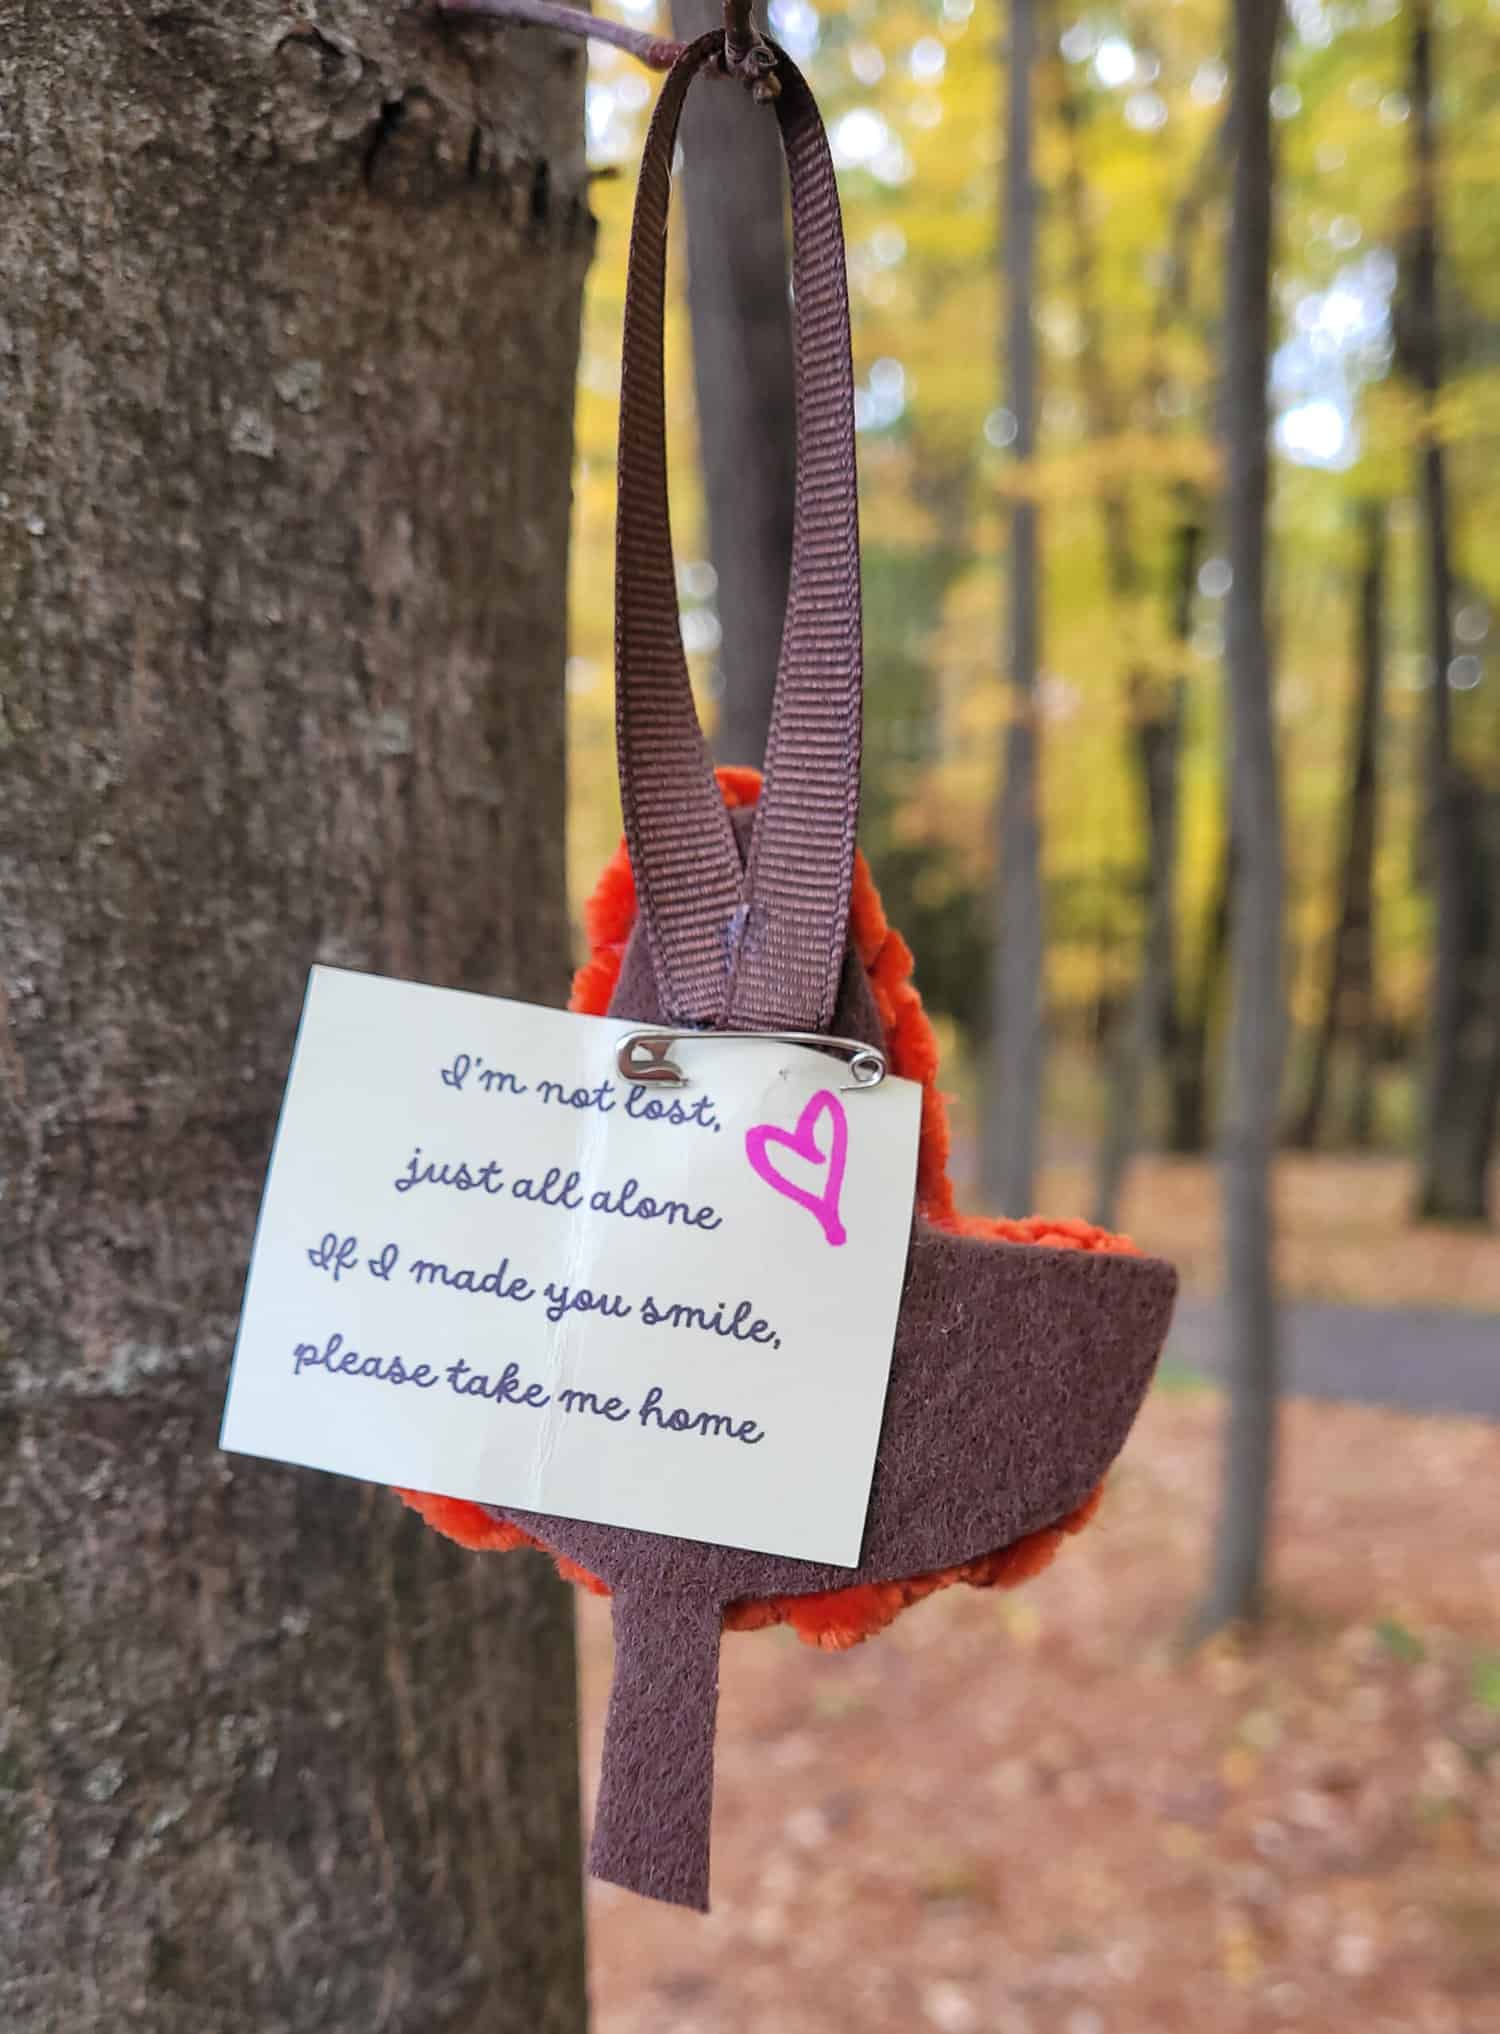
- Optional hanger and message:
- Fold ribbon in half and glue to back of leaf.
- Write out a short message onto cardstock paper and pin (or glue) to back of leaf – fold message in half so hidden from front view.
And there you have it – your Kindness Leaf is complete! 🙂 Please tag me @celticknotcrochet and use the hashtag #celticknotcrochet on Instagram – I would love to see your finished project!
If you want to keep up with me, Jennifer, on social media for other fun projects, follow me: Blog Youtube Instagram
If you want to keep up with all things Clover, follow us on:
Facebook | Twitter | Instagram | Pinterest | YouTube | Ravelry