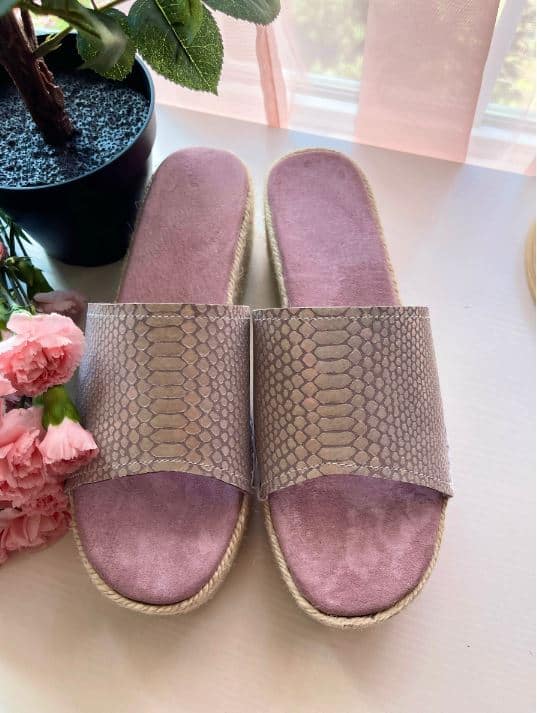
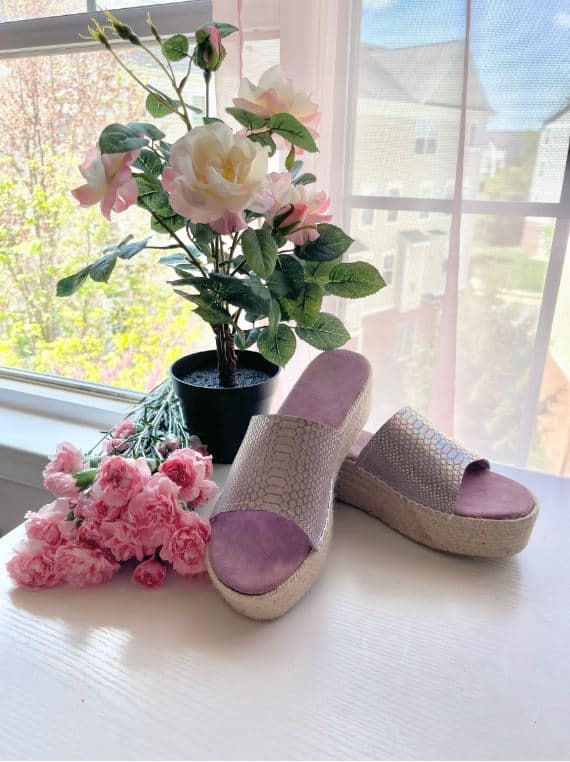
Espadrille Sandals ( Gift Idea) – DIY Craft
Hello! I’m Duana from Duana Studio and I’m excited to share these beautiful handmade sandals. I have recently developed an interest in shoemaking, so I decided to start with a pair of espadrilles. These were easy to make and they can be everyday wear for you or someone else you care about. And with Mother’s Day right around the corner, why not surprise Mom with a pair? It will definitely wow her and these sandals only take a few hours to make. So let’s get right into it!
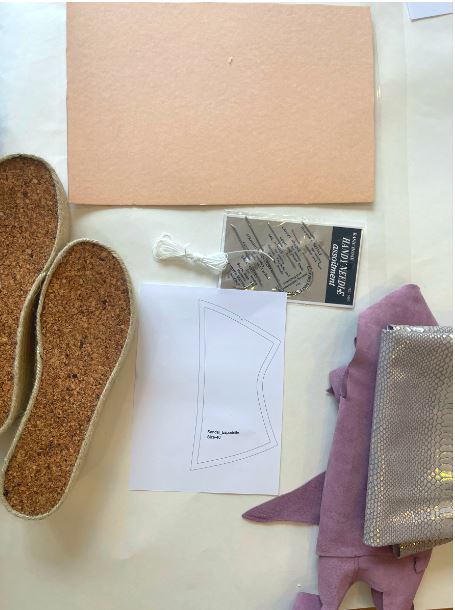
Supplies
- Espadrille Soles supplied by SewCreate by Jaimie
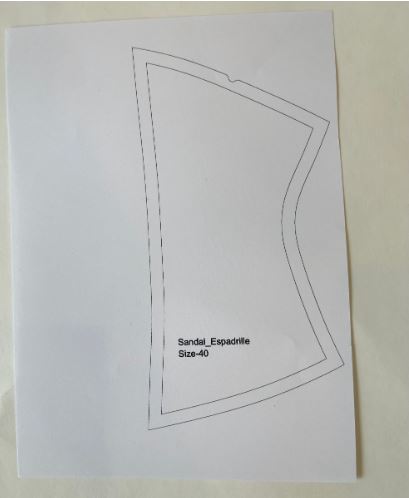
- Espadrille Sandal Pattern by SewCreate by Jaimie
- Leather and suede fabric (scraps and remnants are okay)
- Needle & Yarn
- Texon board
- Craft foam
- Barge cement or strong shoe glue
- Tailor’s Awl- Art No. 485/W
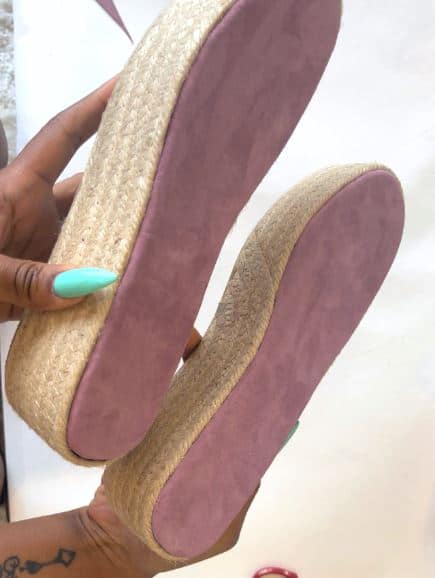
- First, create the insole by placing masking tape over the platform sole and trace. Peel it off carefully and cut around it.
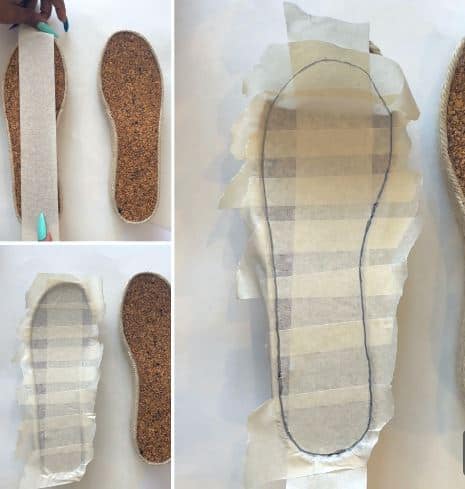
- Trace the masking tape insole onto the Texon Board and Craft foam to create two identical pieces of the insole.
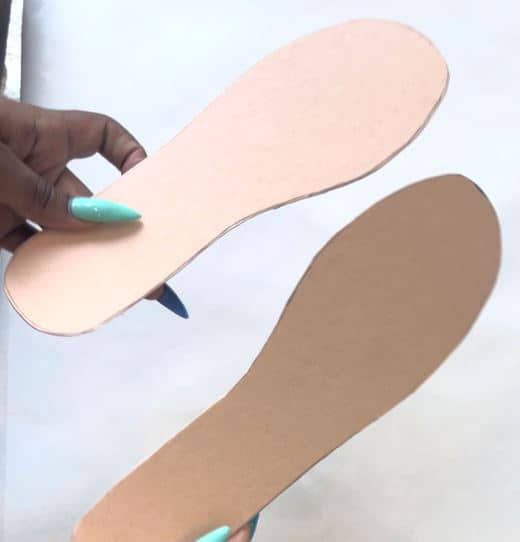
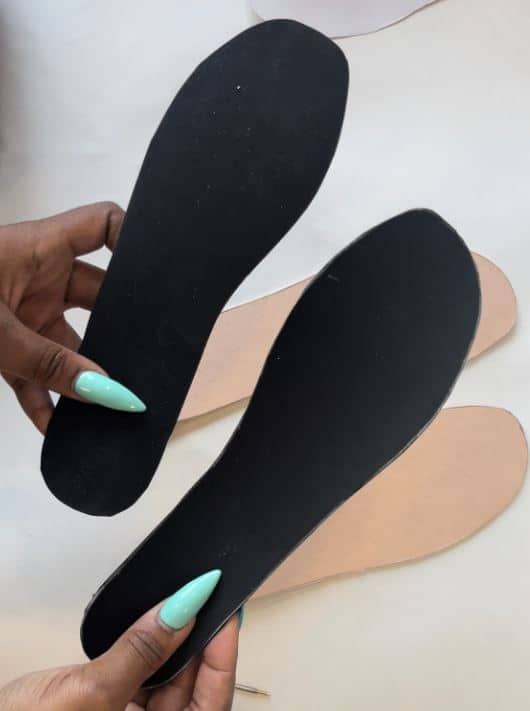
- Place the insole made from craft foam on top of the insole made from the Texon board and glue together using a strong glue such as Barge cement. Let it dry.
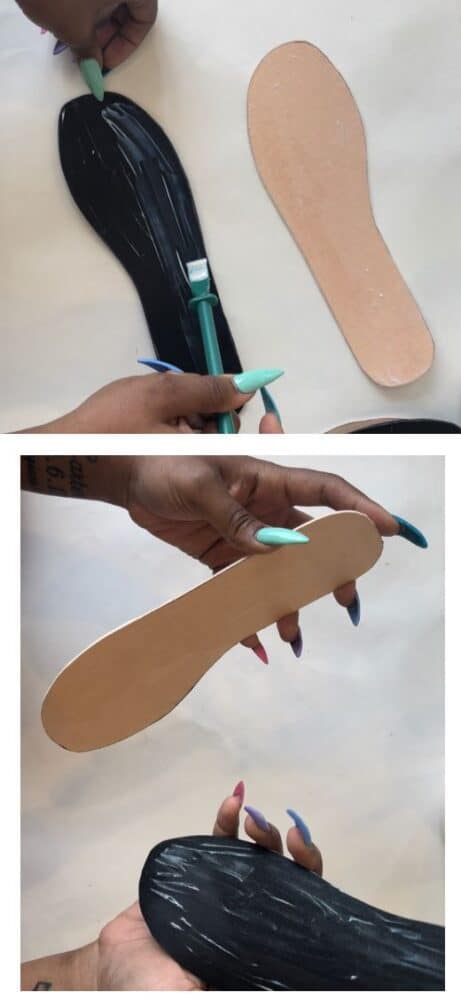
- Trace the fabric that you would like for the insole, then, add about a 1/2” seam allowance around it. Add glue on top of the WRONG side of the insole fabric.
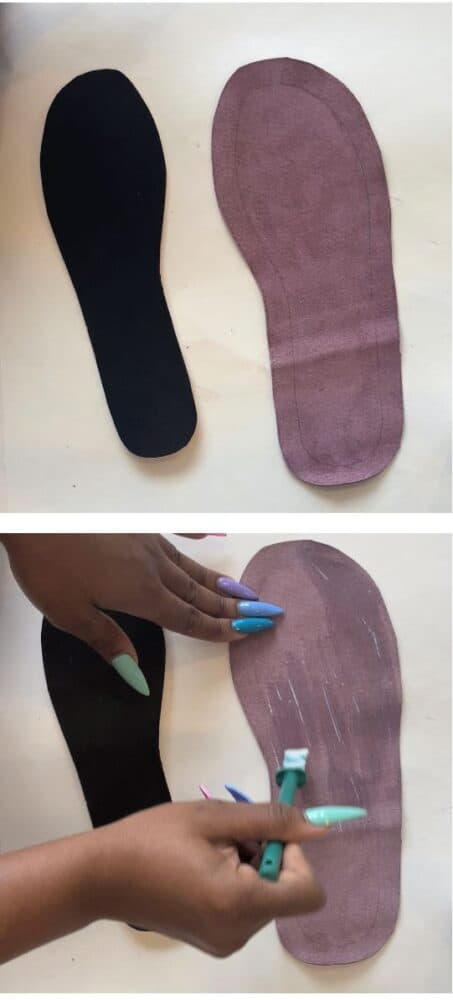
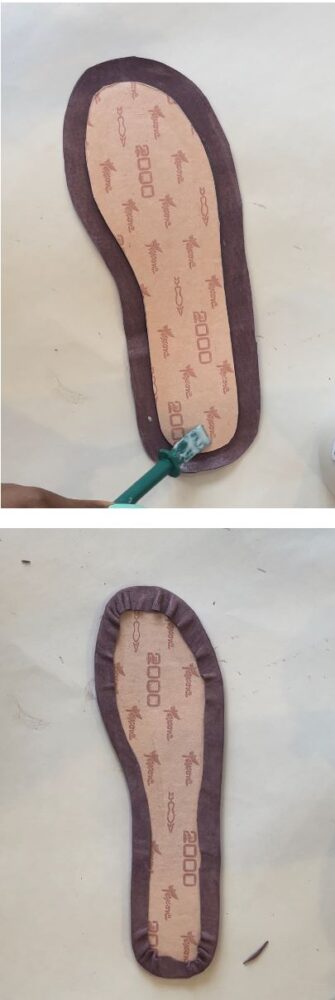
- Add some glue around the edges of the bottom of the insole. Place the fabric over the insole, pleating around the edges to make sure that the fabric doesn’t leave any ridges around the insole. It should be as smooth as possible. You can trim off the pleats at the bottom so that it lays flat.
- Place the insole on top of the platform sole using the cement. Let it dry for about 15-20 minutes.
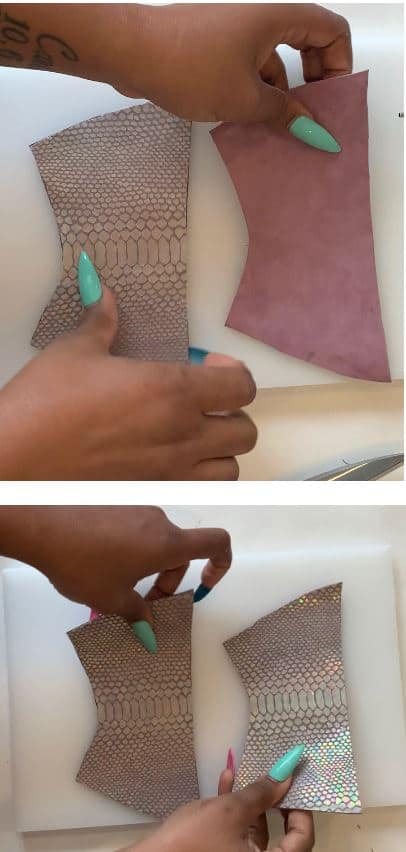
- Grab the pattern and cut out the main fabric & lining fabric. The same fabric can be used for both. The side of the pattern with the notch represents the inside of the shoe. The smaller part of the pattern is where your toes are passing through.
- Using the cement glue, glue both the outside fabric and lining fabric together with the wrong sides facing. You should have two pieces. Make sure there’s one for the left sandal and one for the right sandal.
- Stitch around the fabric 1/4” from the raw edges. Make sure to backstitch.
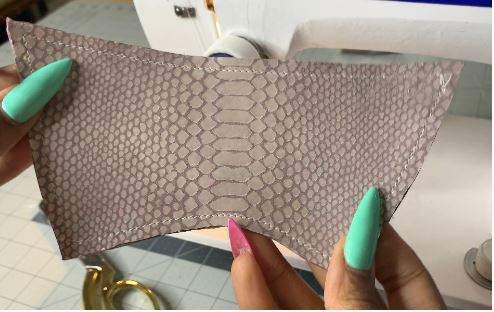
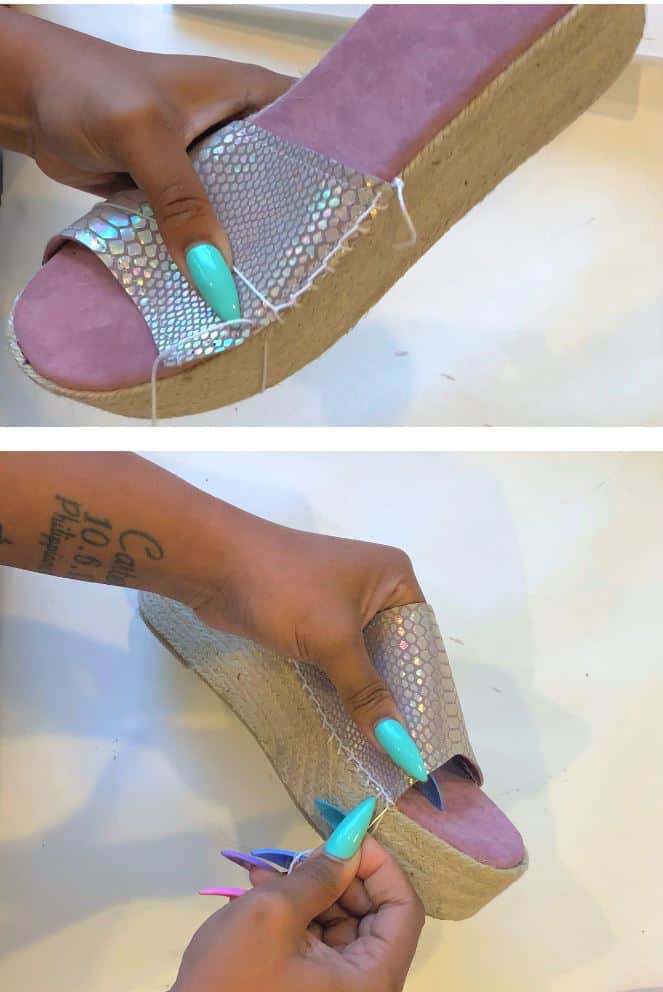
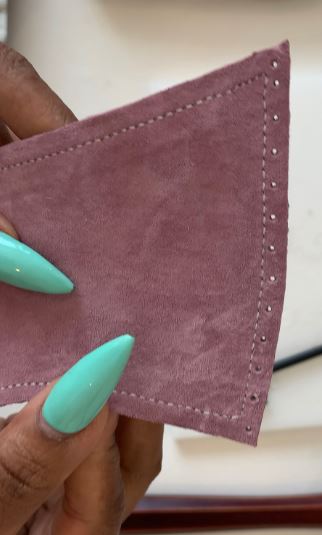
- Create tiny holes on the sides of the fabric. This makes it easier to pass yarn through. You can do this with an awl. Make sure the holes are about 1/4” apart.
- Last, but not least, using the needle, pass the yarn through the holes of the fabric and about 1/4” from the top of the espadrille soles. Make sure to pull on the yarn as you pass the needle and yarn through to keep the stitch tight and secure. Do this to both sides and be sure to secure the final stitch with a few knots.