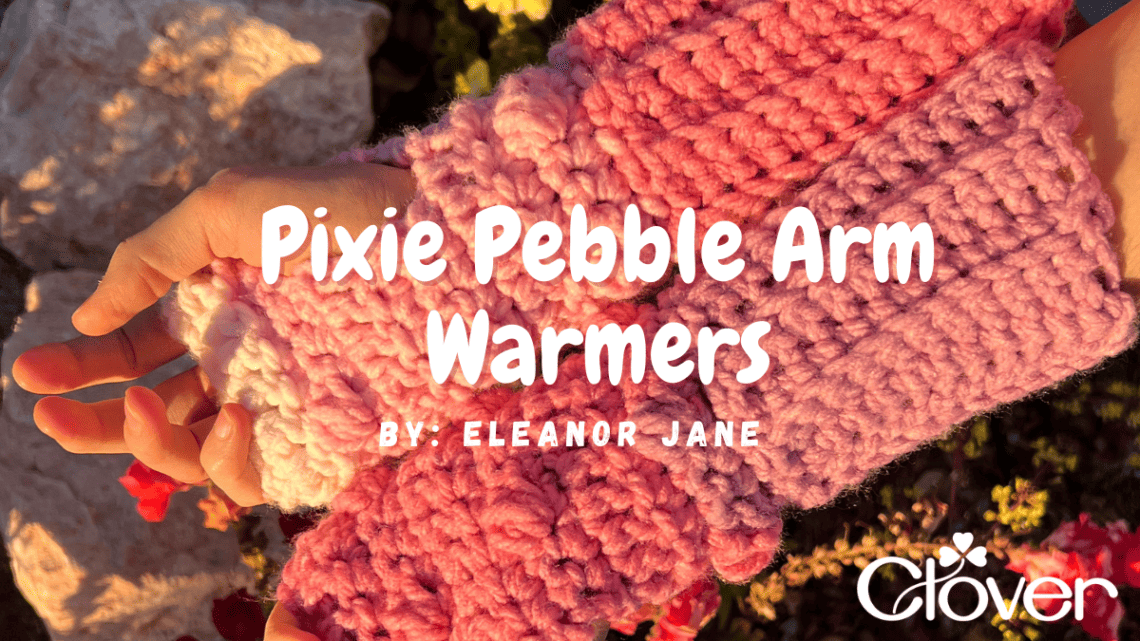
Pixie Pebble Arm Warmers- Crochet Pattern
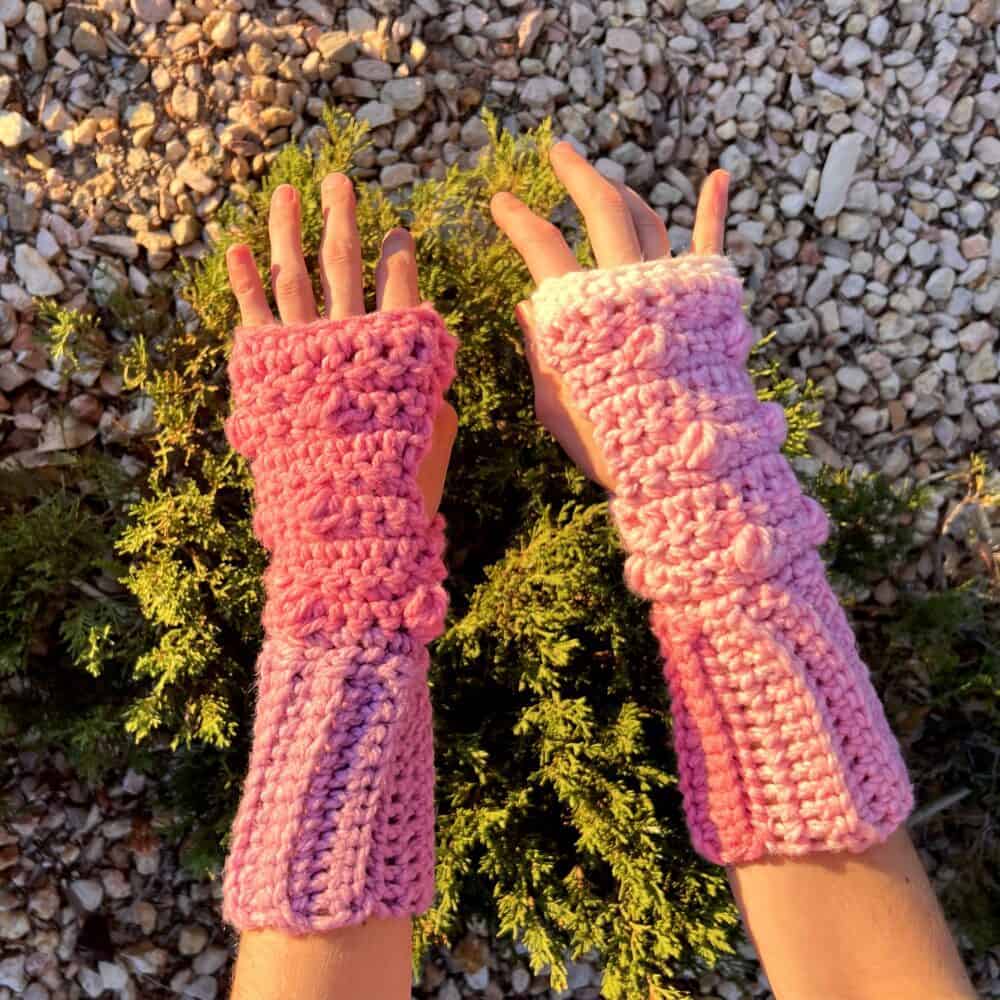
Greetings fellow fae <3 It’s Eleanor, The Crochet Faerie, here with another Pixie Pebble Pattern. These arm warmers are a playful nod to the world of pixies, blended with the colorful and fun aesthetic of the early 2000s.
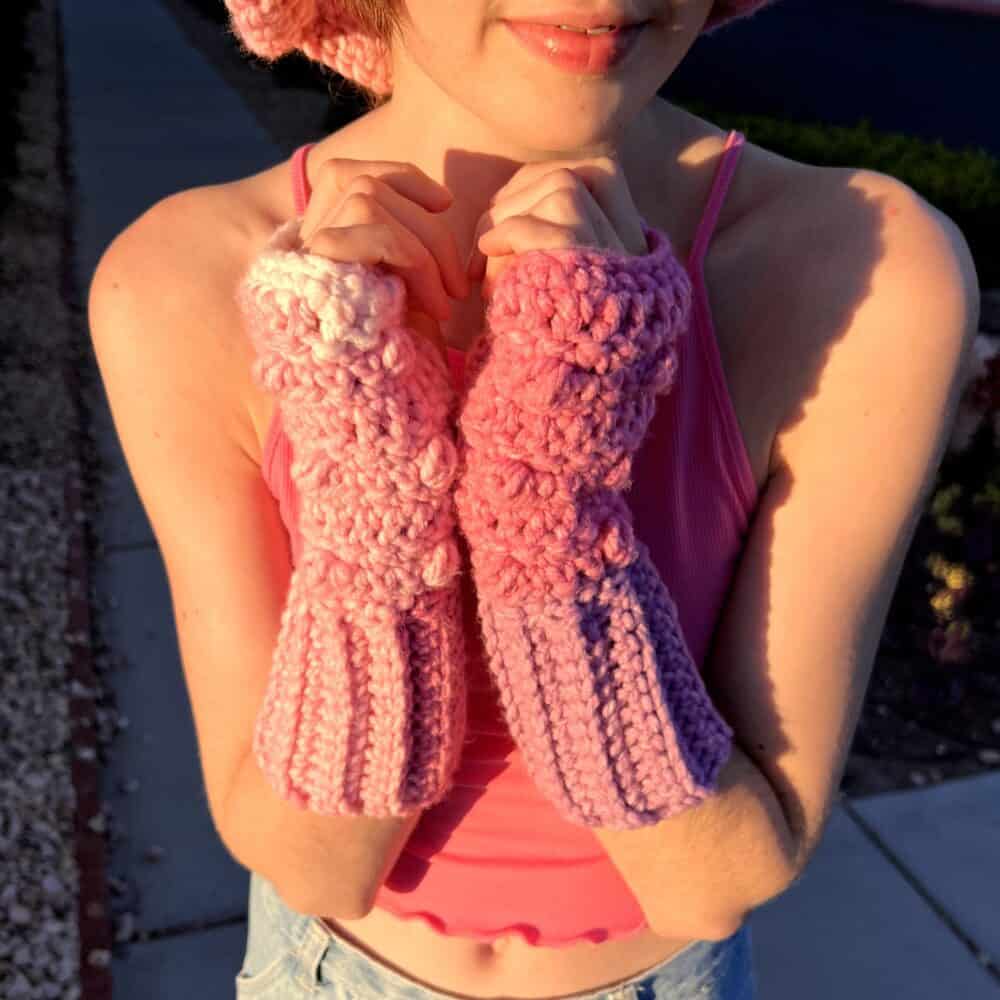
I wanted to create a design that captures the spirit of the season, while still being practical and fashionable. These arm warmers will keep you cozy on cooler Spring days while adding a touch of fairy charm to your outfit. The fusion of the Y2K aesthetic and the gentle warmth of spring make this pattern the perfect accessory for any faerie lover.
Below is solely the written pattern for this design. If you would like a more immersive version with photo guidelines or would like to check out my other patterns, visit my shop:
As always, my designs are not just about the end product, but also about the journey of creating something unique and personal. So let your imagination run wild, embrace the whimsy of the Y2K era, and crochet this piece in whatever color makes your heart happy!

Materials:
Yarn: Weight 6 (I use Caron Chunky Cakes)
Hook: Amour Crochet Hook L 8mm US- Art No.1055/L
Materials: Yarn, hook, scissors, darning needle, measuring tape
Gauge: 8DC x 2 rows = 4” wide x 2” tall
Size: Made to Measure
Abbreviations:
Chain – Ch
Stitch – St
Slip Stitch – Sl St
Single Crochet – SC
Double Crochet – DC
Back Loop Only SC – BloSC
Pebble Stitch – PBS
Right Side – RS
Yarn over – YO
Instructions:
Turn work after each row
When working the body of your project, the RS should always be a SC row
Read Pebble Stitch (PBS) instructions & Completing Circular Rows before starting
IMPORTANT: When working a circular row, end that row by slip stitching into the 1st stitch of that row. Do NOT slip stitch into the Ch 1 or Ch 2.
Process: Arm warmers are created by working in circular rows until reaching the required length for each portion (knuckles, thumb hole, wrist). Lastly, ribbing is added all around the border.
Knuckles:
*Turn work after each row*
Row 1: Ch a multiple of 4 equal to your palm circumference, Sl St into the 1st Ch to make a circle, Ch 1, turn work
Row 2: SC in each St across, Sl St in 1st SC from beginning of row, Ch 2, turn work
Row 3: DC in each St across, Sl St in 1st DC from beginning of row, Ch 1, turn work
Row 4: SC in each St across, Sl St in 1st SC from beginning of row, Ch 1, turn work
At this point, the circle should cover from the center of your palm up to your knuckles – if you are using a thinner yarn, repeat Rows 3 – 4 until you reach enough length to cover from the center of your palm up to your knuckles
Thumb Hole:
*For this portion, we will NOT be doing a Sl St at the end of each row*
Row 5: *SC in next 3 Sts, PBS in next St** repeat from * to ** across, do NOT PBS in final St, Ch 1, turn work
Row 6: SC in each St across, Ch 2 (counts as DC), turn work
Row 7: DC in each St across, Ch 1, turn work
Row 8: SC in each St across, Ch 1, turn work
Row 9: SC in next 3 Sts, *PBS in next St, SC in next 3 Sts,** repeat from * to ** across, Ch 1, turn work
At this point, the Thumb Hole portion should be long enough pass your thumb – if not, repeat Rows 6 – 9 until you reach enough length, as pictured
Wrist:
Row 10: SC in each St across, Ch 1 (counts as a SC), Sl St in 1st SC from beginning of row, turn work
Row 11: Ch 2, DC in each St across, Sl St in 1st DC from beginning of row, Ch 1, turn work
Row 12: SC in each St across, Sl St in 1st SC from beginning of row, Ch 1, turn work
Row 13: *PBS in next St, SC in next 3 Sts ** repeat from * to ** across, Sl St in 1st PBS from beginning of row, Ch 1, turn work
Row 14: SC in each St across, Sl St in 1st SC from beginning of row, turn work
At this point, the Wrist portion should cover your entire wrist plus an extra inch or two – if not, repeat Rows 11 – 14 until you reach enough length, as pictured
Ribbing:
Step 1: Ch 13, SC in each Ch (12 stitches total), Sl St into the next 2 stitches of the base of your arm warmer, do NOT Ch 1, turn work
Step 2: Skip the 2 Sl Sts from the previous row, BloSC across the SC Sts from previous row (12 Sts total), Ch 1, turn work
Step 3: BloSC in each St across the ribbing (12 BloSC total), Sl St in next 2 SC of border, do NOT Ch 1, turn work
Repeat steps 2 – 3 until you’ve worked around the entire border and have reached your initial row from Step 1.
Finish your arm warmer by sewing both ends of the ribbing together and weaving in any loose ends. Repeat the entire pattern to create a matching pair <3
I really hope this pattern was easy to follow along, but if you need instructional photographs, you can find a more detailed, step-by-step, beginner-friendly version of this pattern (and all of my other designs) in my shop TheCrochetFaerie.com
Until our next artistic adventure 🙂
Love,
Eleanor Jane <3
Stay connected with Clover on Facebook | Twitter | Instagram | Pinterest | YouTube | Ravelry