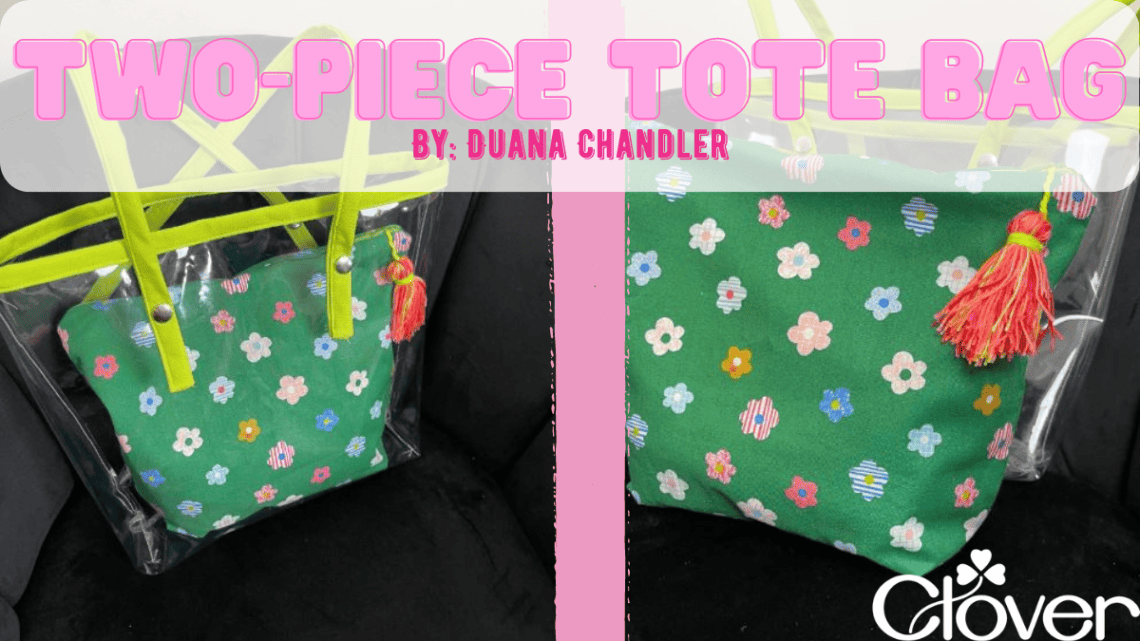
Two-Piece Tote Bag- Sewing Tutorial
Hello, my name is Duana Chandler from Duana Studio and I’m a pattern designer. I specialize in sewing clothing, but I LOVE any opportunity I get to make bags. I have made a few bags and I use them when I go out, but I wanted to make this cute bag for my 4-year-old daughter, who requested a bag to carry her dolls and books when we go out. Now that the weather is getting warmer, I wanted to give this bag a beautiful spring theme with this fabric she chose on one of our most recent trips to Joann’s fabrics.
When I make patterns, I love providing multiple views because I love options. For this bag, I decided to do something similar and make removable snap straps that can be replaced with different straps later on. For example, a fun print, faux leather, or even longer straps. You can also move the strap handles around so that they can cross or go on opposite sides. You can remove the inside bag if you want more space. You can add a different bag later on to match an outfit. As you can see, it is definitely a very versatile bag and that’s my favorite thing about it.
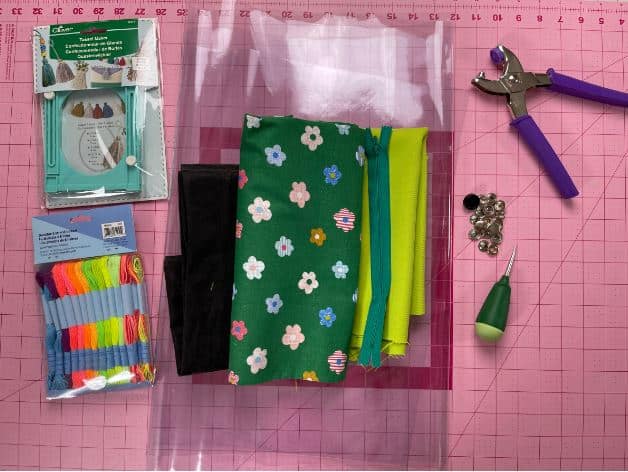
Here’s what you’ll need:
- ½ yard of clear vinyl
- ½ yard of external fabric for the inside bag
- ½ yard of lining fabric for inside bag and bag trim
- ¼ yard of fusible interfacing
- 14” zipper
- Measuring tape or ruler
- 4 sets of heavy-duty snaps
- Snap pliers
- Fabric scissors
- Matching thread
- Marking pen
- Iron
- Clover Tassel Maker- Art No. 9941
- Wonder Clips- Art No. 3185
- Embroidery thread
- Awl (to punch holes through vinyl
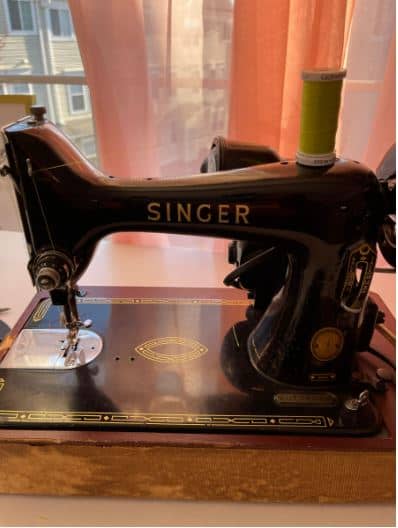
Fun fact: When sewing bags or having the need to sew heavy-duty fabrics, I use a vintage sewing machine. To put this bag together, I used my Singer 99K. I only use this sewing machine to make bags because it sews through leather or vinyl like nothing. I like to keep my modern sewing machine for my everyday clothes.
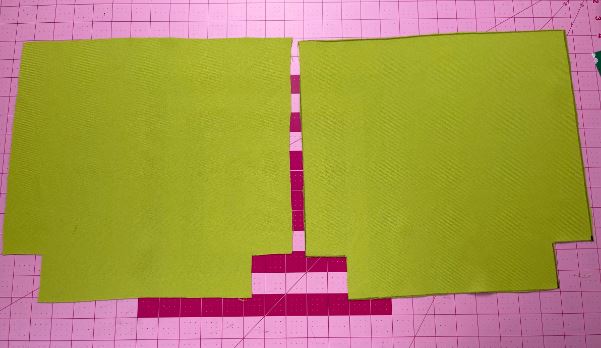
First, cut your fabric pieces for the outer and inner bag. To cut the fabric for the outer bag, cut the clear vinyl 15” x 17” with the longest side having a cut out of 2” x 2” on the bottom. You need two pieces.

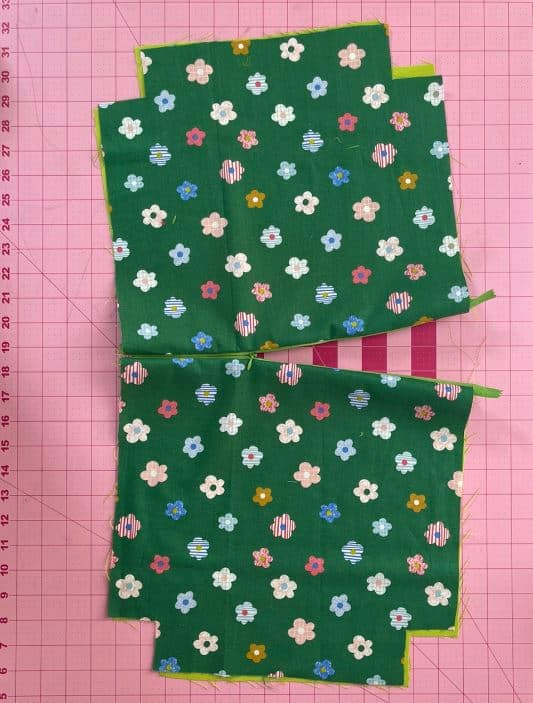
Then, for the external and lining fabric for the inside bag, cut the fabric 13” x 14” with the longest side having a cut out of 2” x 2” on the bottom. You need two pieces of each. You want this to fit comfortably inside the vinyl tote, so it will need to be smaller. You can also add a stabilizer with the same dimensions. I chose not to add the stabilizer.
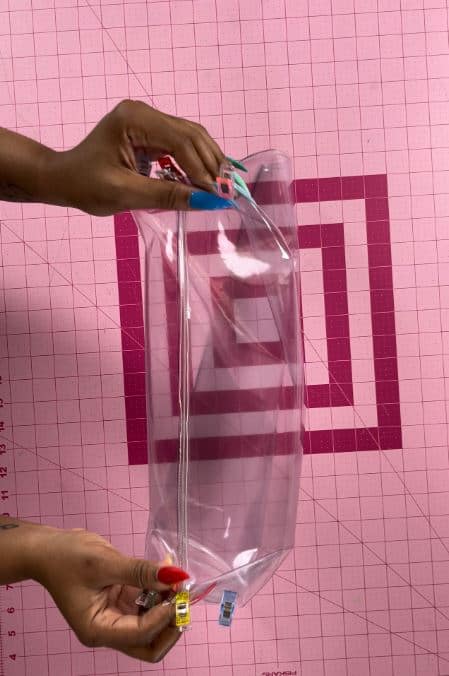
Take the vinyl, and stitch it at the bottom center right sides facing. I know! Both sides look the same, but if you decide to use a fabric other than vinyl, make sure it’s right sides facing. After stitching the bottom center, I stitch both sides of the seam down to keep the base of the bag flat.
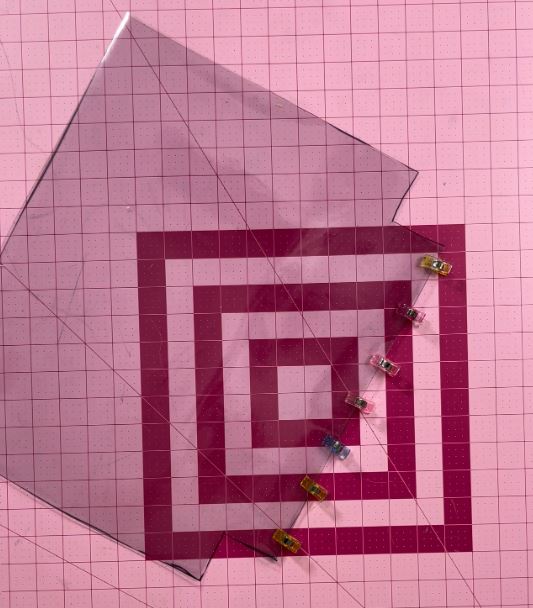
Then, stitch the sides leaving the 2”x 2” cutouts open for now.

Now, take the cutouts and meet the seam lines, right sides facing, and stitch from one end to the other.
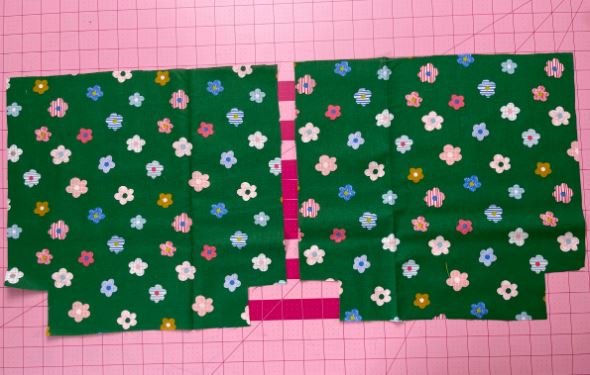
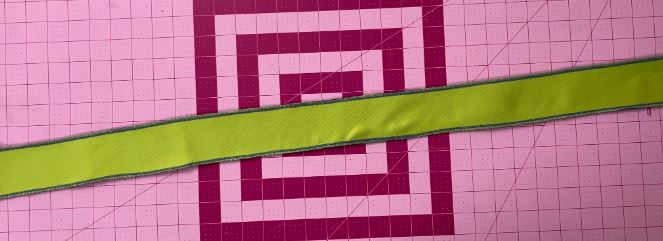
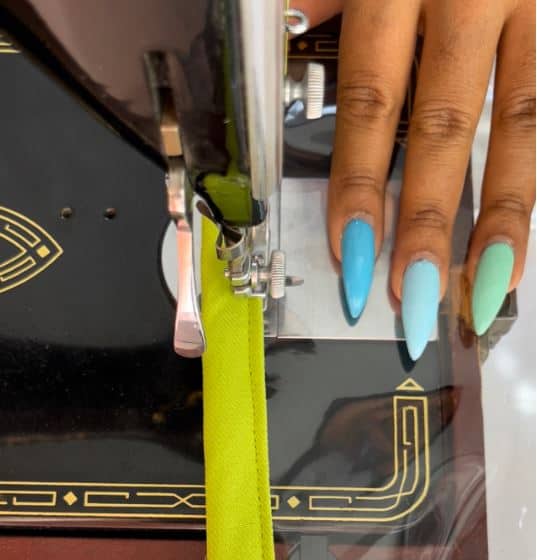
?Cut a 2.5” x 36” strip of fabric. I interfaced it with fusible interfacing because I did not want it to stretch, but it is not necessary if your fabric is not stretchy at all. For this one, I used the green fabric that I am also using as the lining fabric. It doesn’t need to be a thick fabric, especially if you interface it. I also serged around the fabric because the fabric frays a bit. It is not a requirement, but is helpful.
With right sides of the strip facing the outside of the vinyl, pin it around the top of the bag and stitch about 1/2” away from the raw edge. You will have extra piece left and you can trim that off. It is better to have extra than no extra. When you reach the end, with the extra pieces, stitch both ends together and trim off any excess.
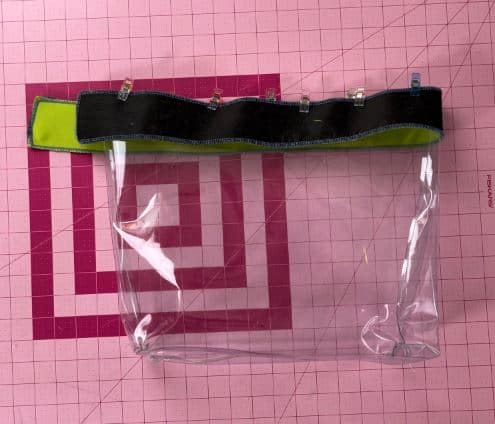
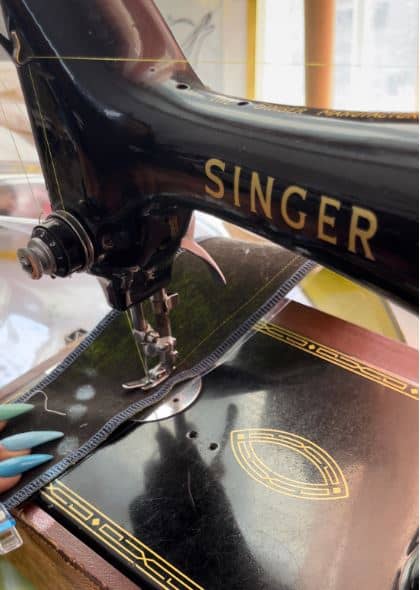
Fold over the strip twice and hold in place with sewing clips. Stitch together. I sometimes find it difficult to make sure that I can stitch through

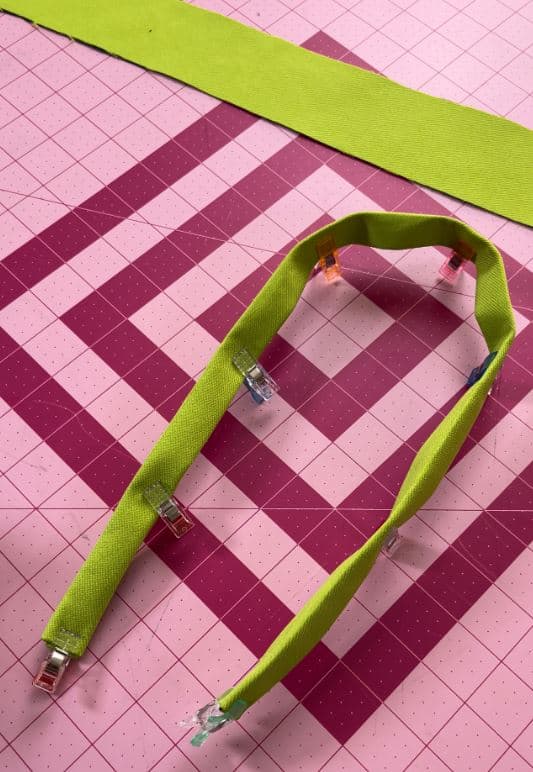
To make the straps, cut two strips 2.5” x 26”. I interfaced these straps because the fabric was a little stretchy, but it is not required. Fold in the ends 1/2” and fold in the sides twice until fold ends meet at the center. Stitch
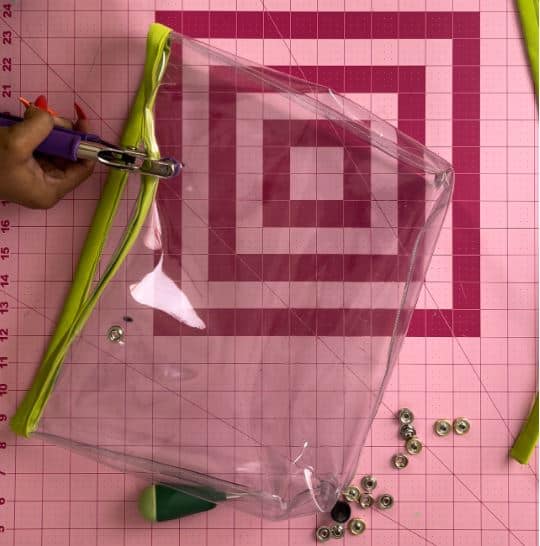
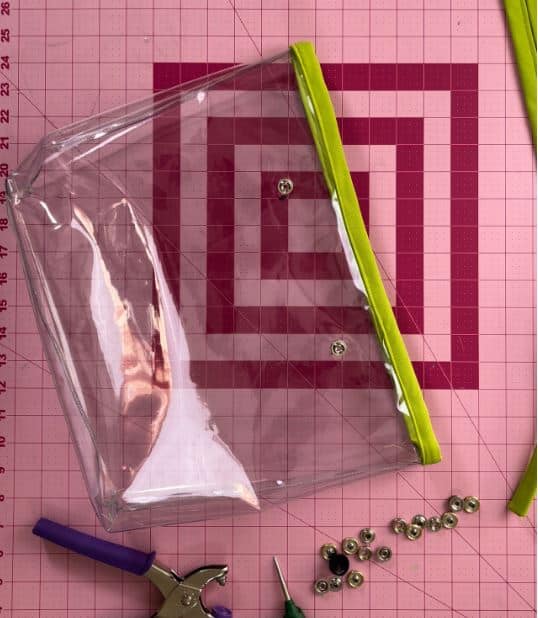
Using snap pliers, attach snaps to the vinyl bag. I measure about 4” away from both ends of the bag, but you can adjust that to your fit.
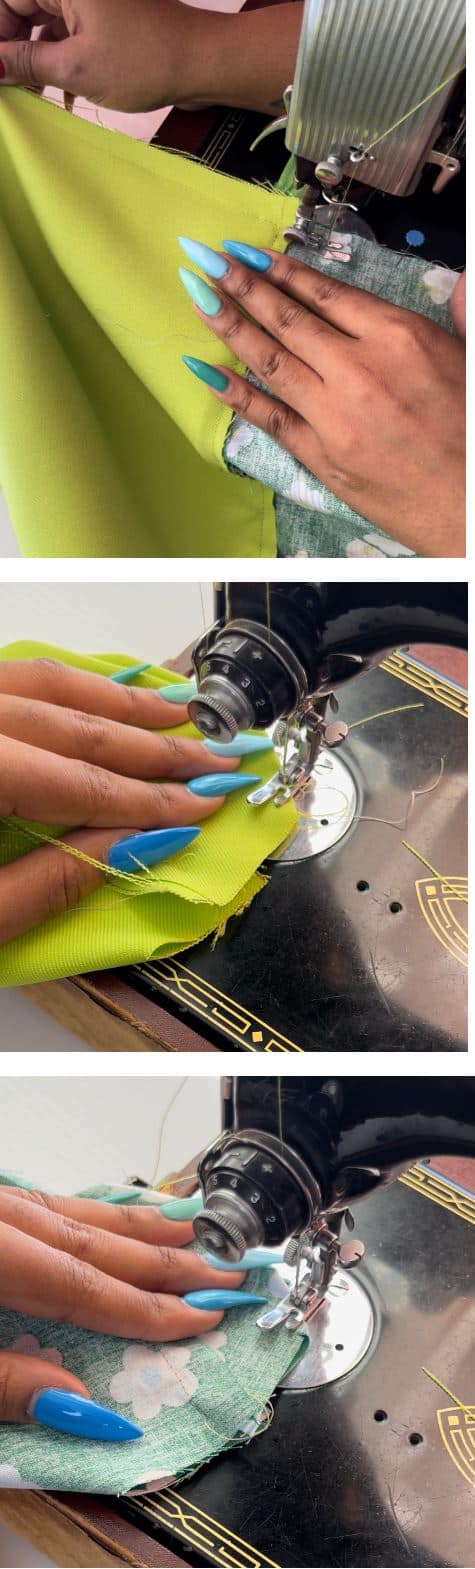
To make the inside bag, take the external fabrics and attach to the 14” zipper. I used a 14” zipper, but if you use a longer zipper, that should work. You’ll be able to trim it off later. Add lining to the zipper as well. You can add the external and lining fabric at the same time. They will just sandwich the zipper. Either way works.
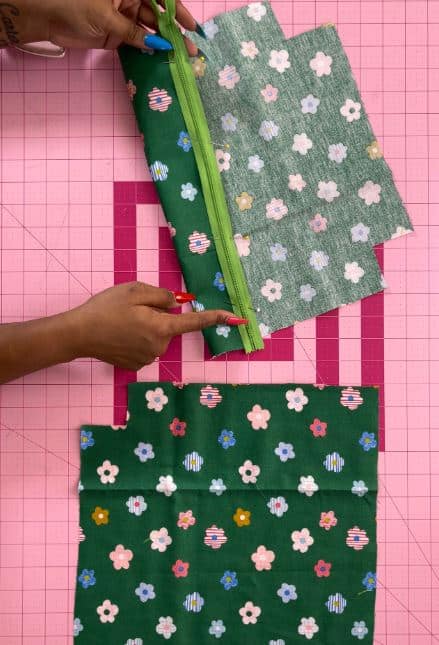
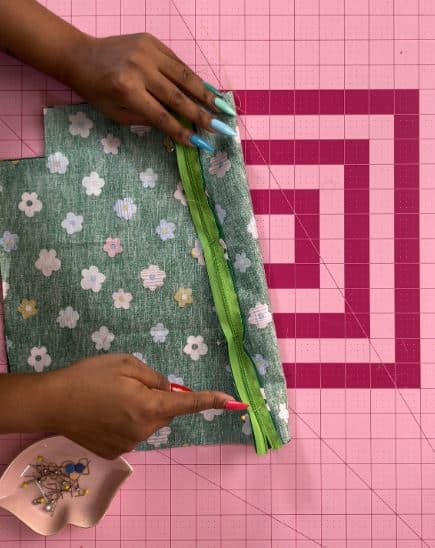
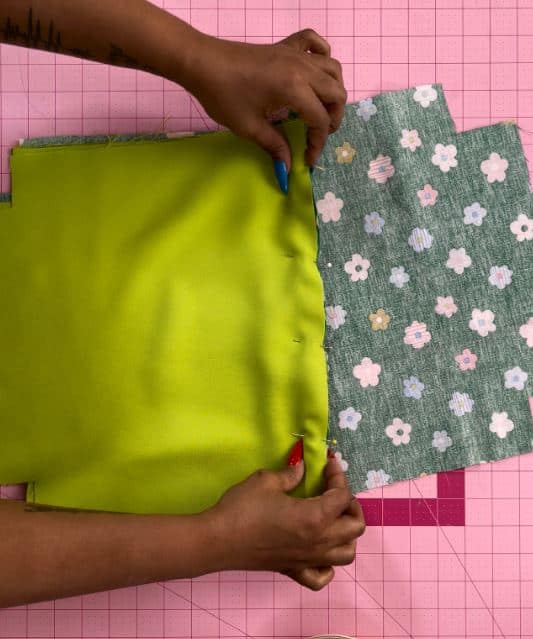
Before stitching those pieces together, make sure that you open the zipper about halfway. This is important! Then, taking the external fabric, pin those right sides facing, and do the same with the lining.
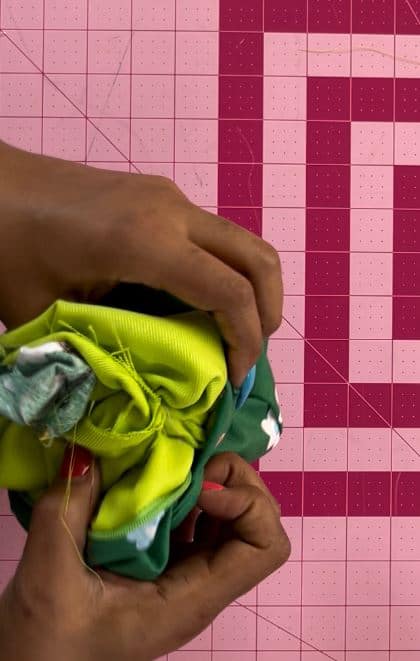
When stitching the external fabric and lining fabric together, make sure to leave a small opening in the lining to turn the bag right sides out. Stitch the cut-out openings of the lining and external fabric of the bag.
Turn the bag right sides out through the opening of the lining. You can stitch the lining closed from the inside or slip-stitch it. Make sure to poke out all corners and trim ends. Your inside bag is complete!
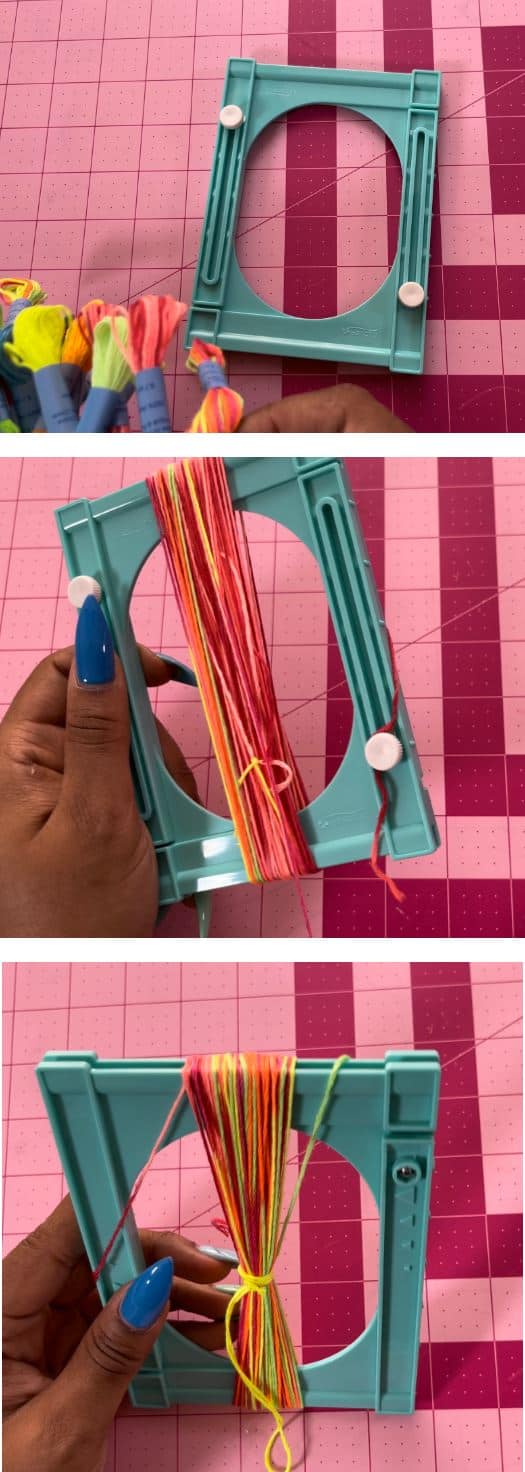
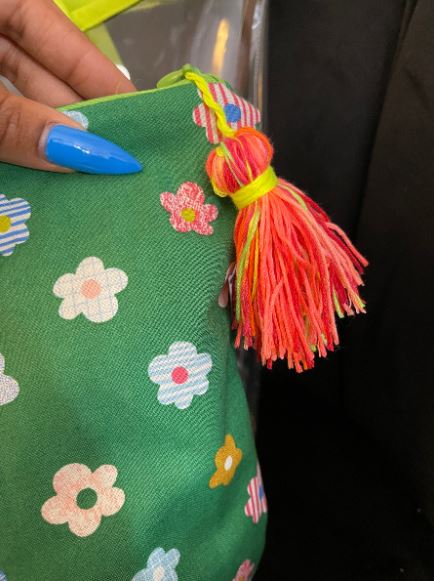
?Last, but not least, I wanted to add a little pizzazz to my daughter’s bag, so I added a cute little tassel using the large tassel maker from Clover. It was pretty simple to make. I wrapped the embroidery thread around the tassel maker about 25x. I tied it at the center with a cord made from the embroidery thread. Then, I cut off the top of each side to form the tassels. Then wrapped it around with more embroidery thread. I added the tassels to the end of the zipper for a nice touch.
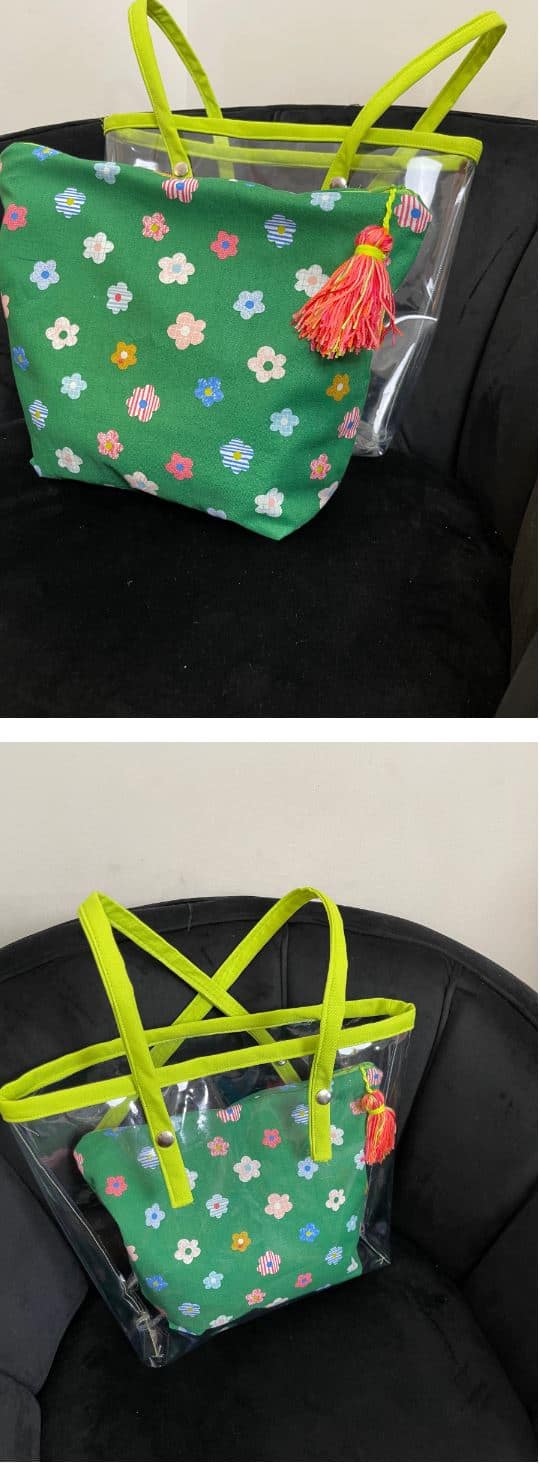
At last, my daughter’s two-piece vinyl tote bag is complete. She loves it and is excited about taking it out on our next outing. This bag is also great for an overnight stay at Grandma’s. The inside bag can be used to carry her basic necessities and overnight clothes. This bag can also be used for a beach trip. If you want the inside bag to be leakproof, using vinyl as the inside lining can help.
Enjoy and Happy Spring!
Stay connected with Clover on Facebook | Twitter | Instagram | Pinterest | YouTube | Ravelry