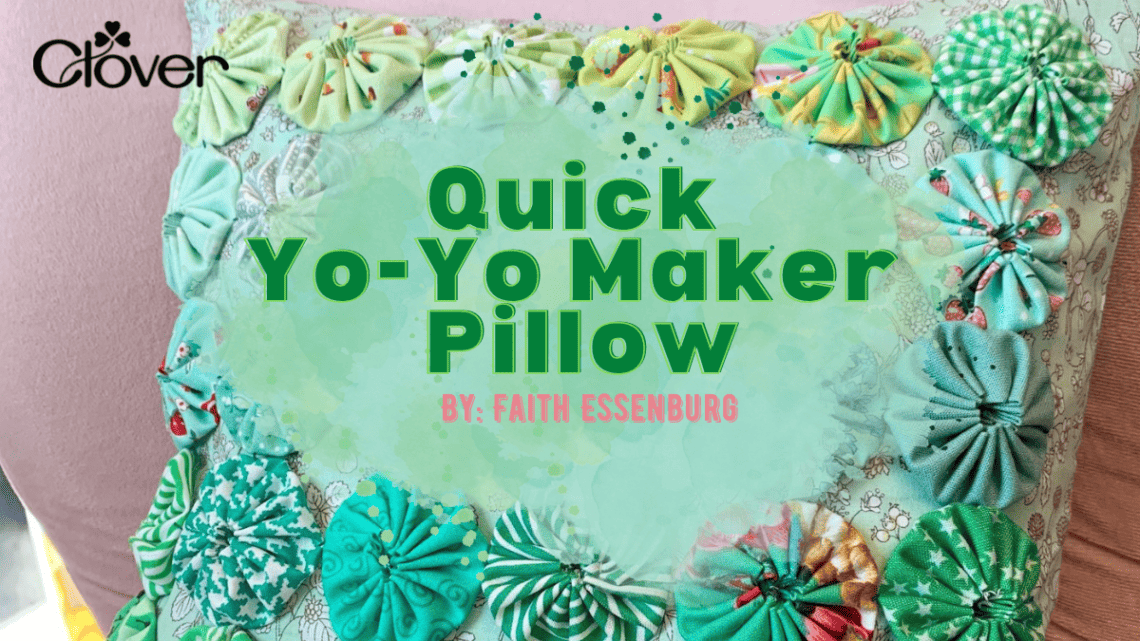
Green Yo-Yo Pillow- Sewing Tutorial
Hi Friends! I’m back this month with a fun and easy make! I made this in two evenings of sewing and I am so happy with how it turned out. If you don’t already know me, my name is Faith Essenburg and I make pretty things and am a social media manager between sewing, my three boys and two huskies. This month Clover asked for a project with yo-yo’s and green for St. Patrick’s Day, this one is so pretty I’ll be leaving it out all year. I love the look of those hand-pieced yo-yo coverlets but at this stage in life I don’t have the time or patience to make one of those and they are always out of my price range at antique stores. So this is a fun way to get the vintage yo-yo feel in a shorter time and it still has all the yo-yo charm to add something extra to any room!
Let’s get started!
Things you will need:
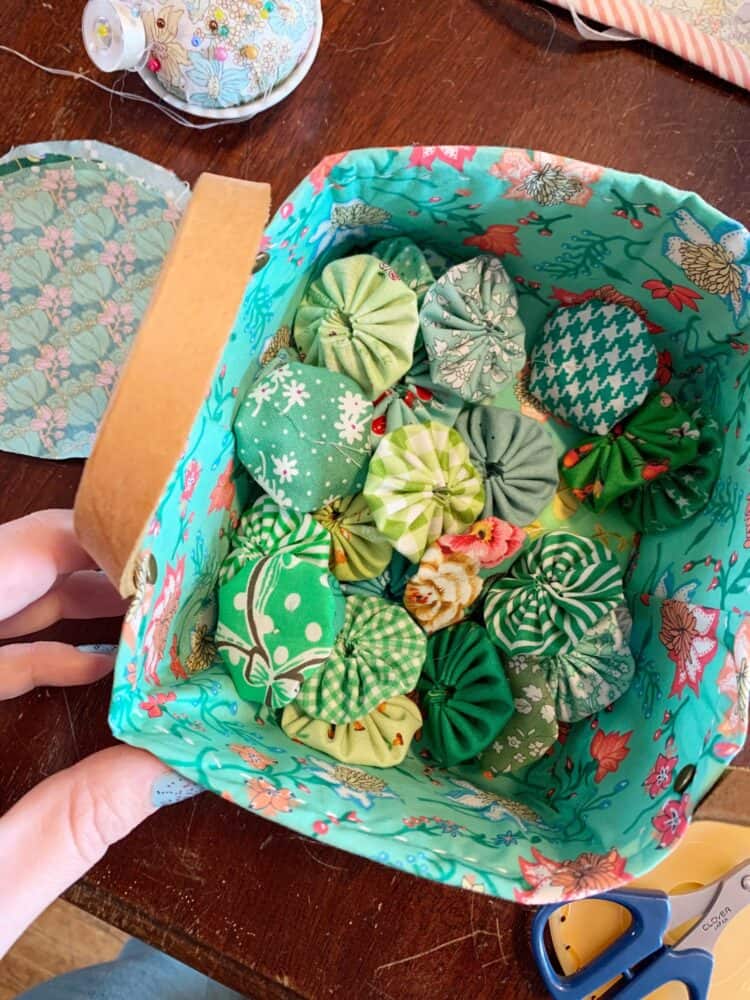
- 36 fabric scraps 4×4 inches to make the yo-yo’s
- Pillow fabric cut into three pieces: pillow front 12.5×12.5, and two back pieces 12.5×8 each.
- 12 weight thread or floss to sew the yo-yo’s down
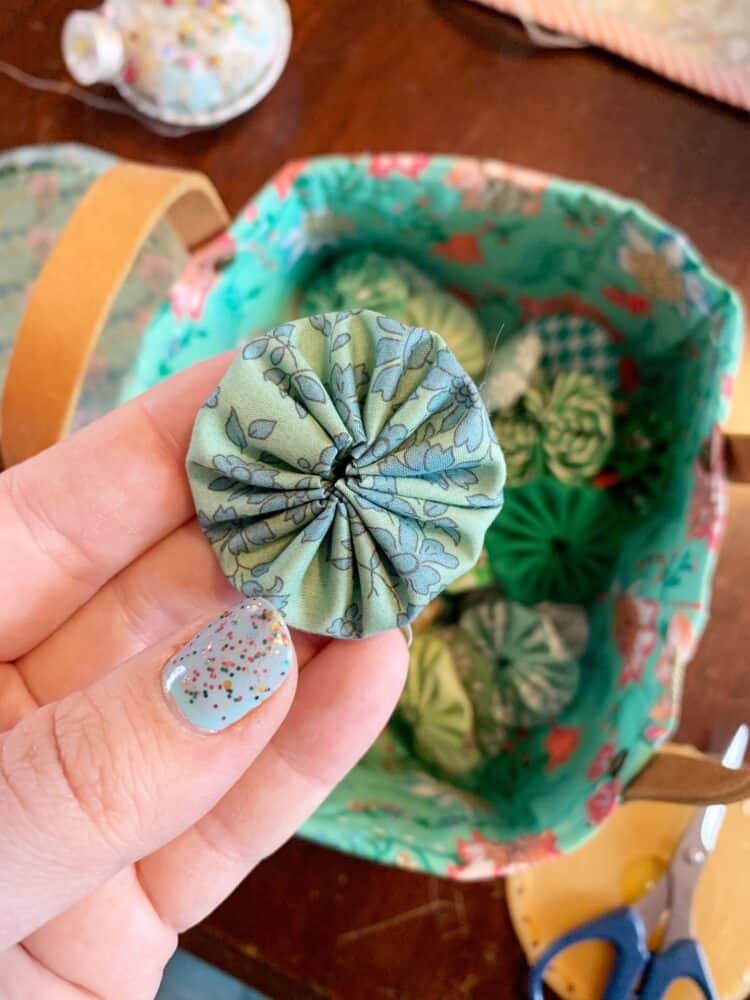
- Clover Quick Yo-Yo maker size 45mm- Art No. 8701
- Fork pins- Art No. 240
- Wonder Clips- Art No. 3185
- A 12×12 pillow insert
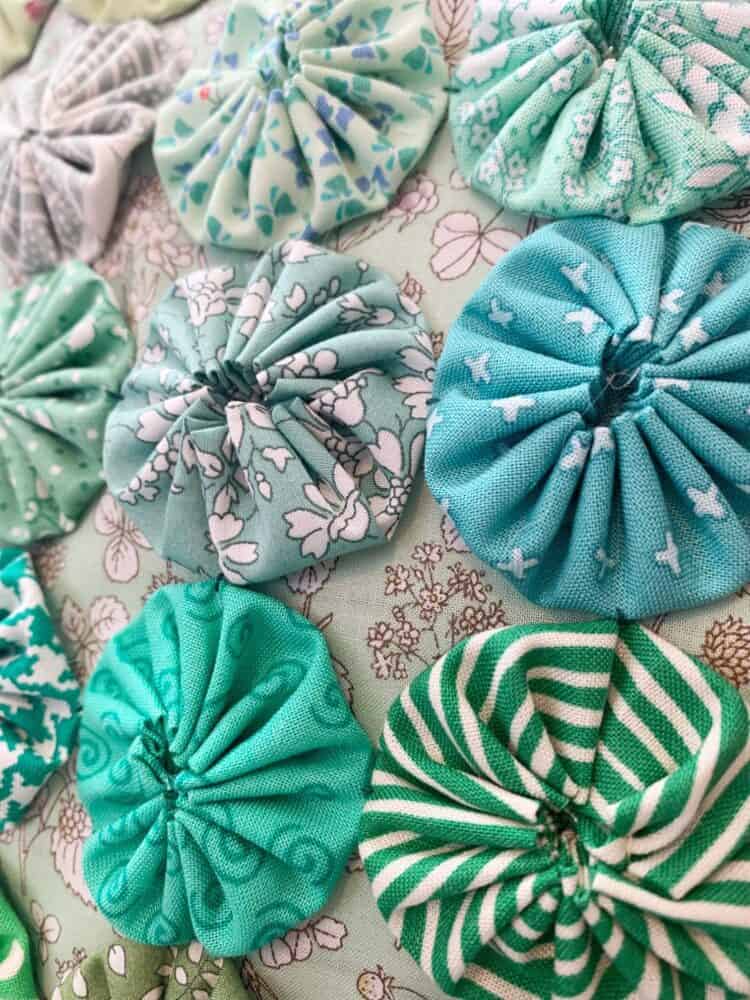
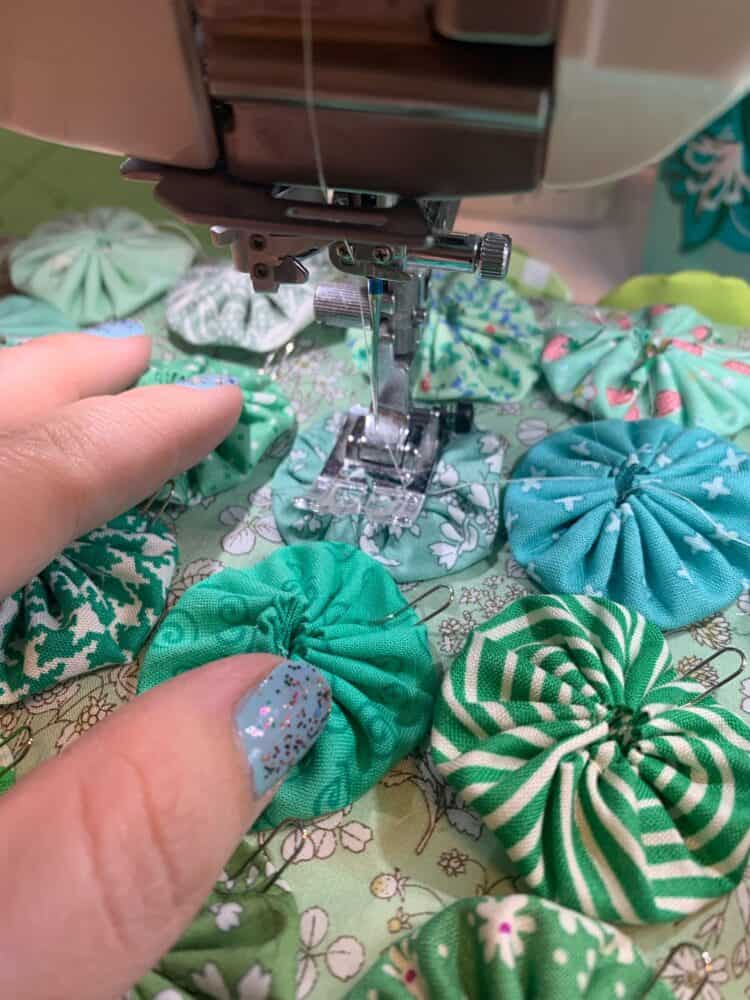
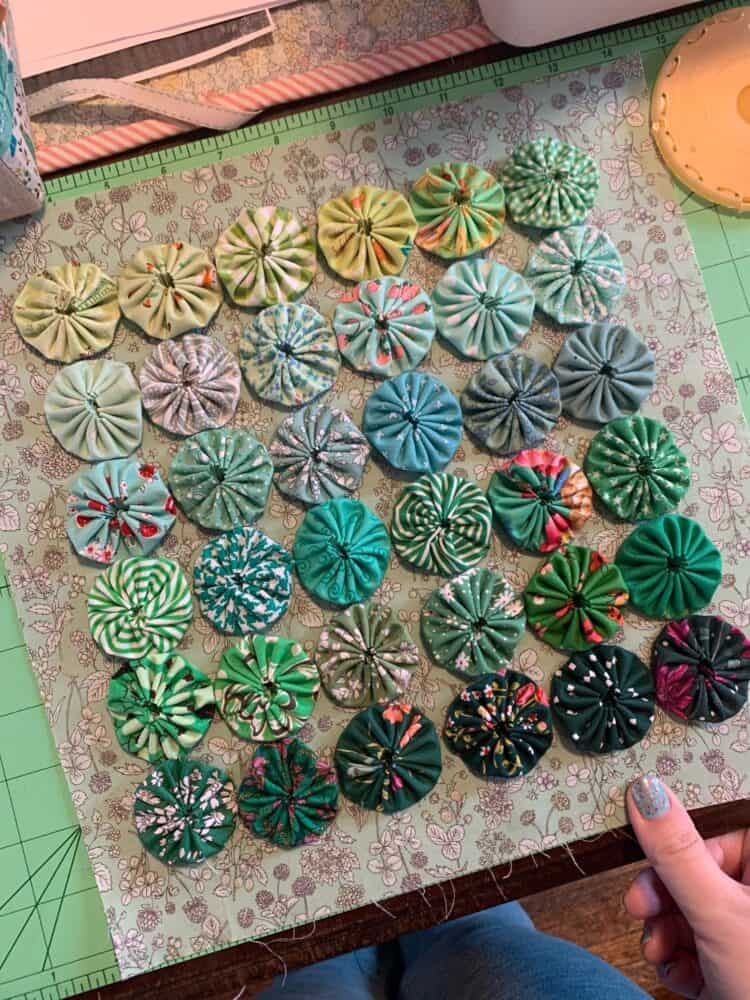
Cut 36 circles out of the scrap fabrics using the yo-yo maker as a template. Follow the directions on the pack to make the yo-yo’s. I find yo-yo making to be so relaxing and a very enjoyable project to do while watching a show. I even brought a bunch to do while waiting in an airport last month.
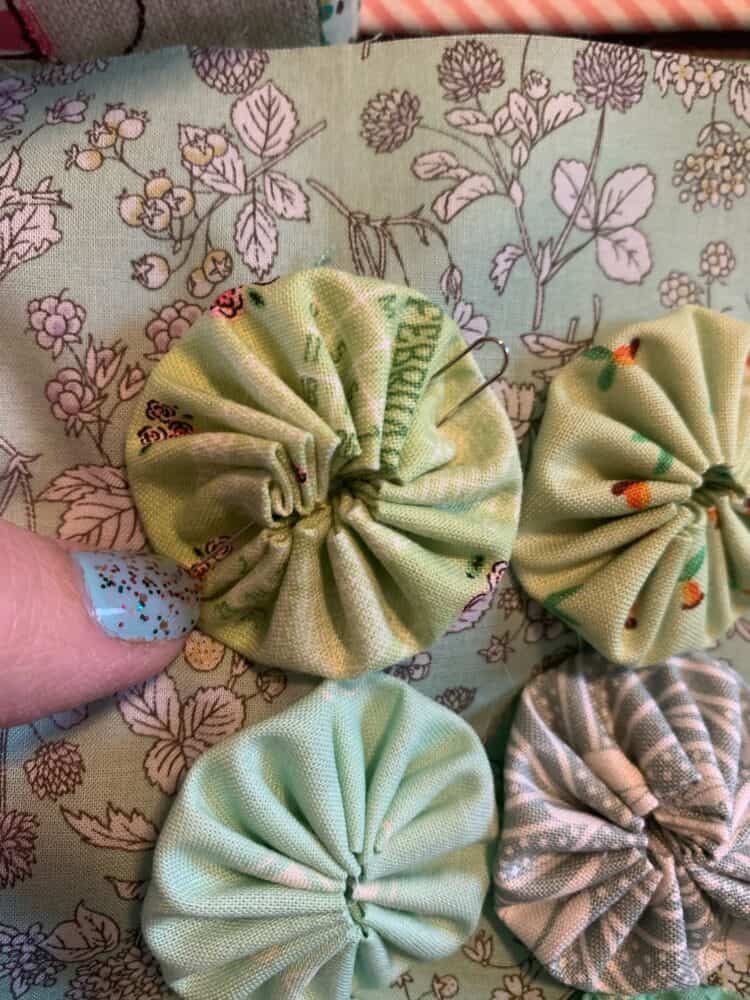
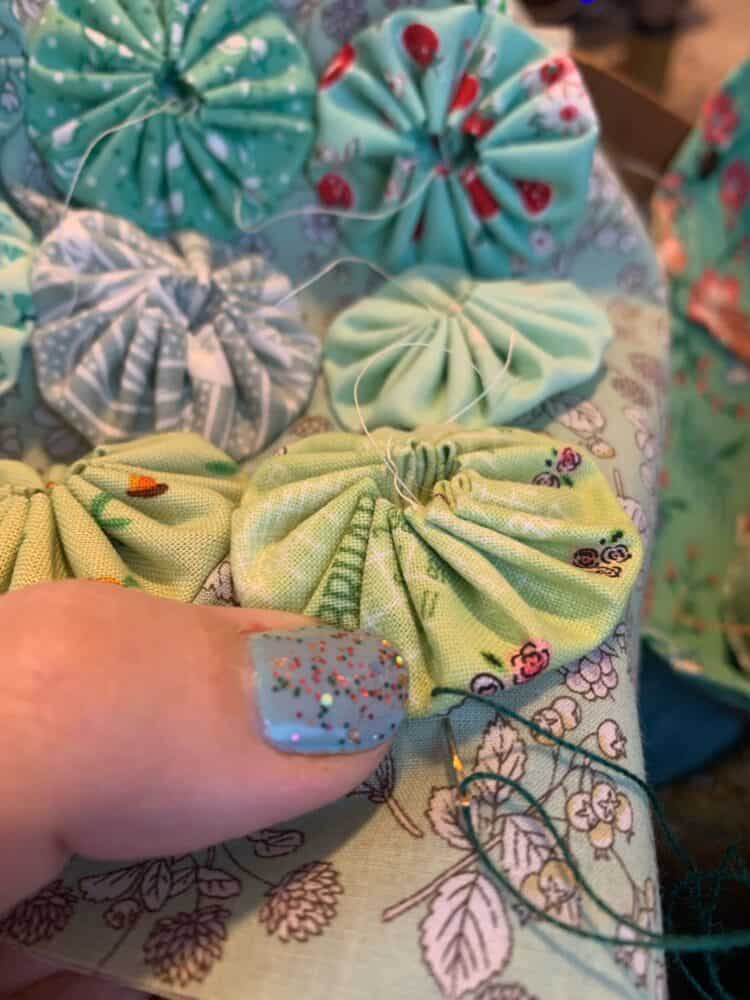
Cut your pillow front and back and arrange the yo-yo’s centered on the pillow front in rows of 6×6. I used Fork Pins to hold each yo-yo in place while I stitched each side of the yo-yo’s down to the pillow front using a dark green 12 weight thread.
Once yo-yo’s are attached, make the edges of the pillow back. Fold a long edge over by 1/4 inch and fold over again, press and sew to make your pillow edge. Repeat with second back panel.
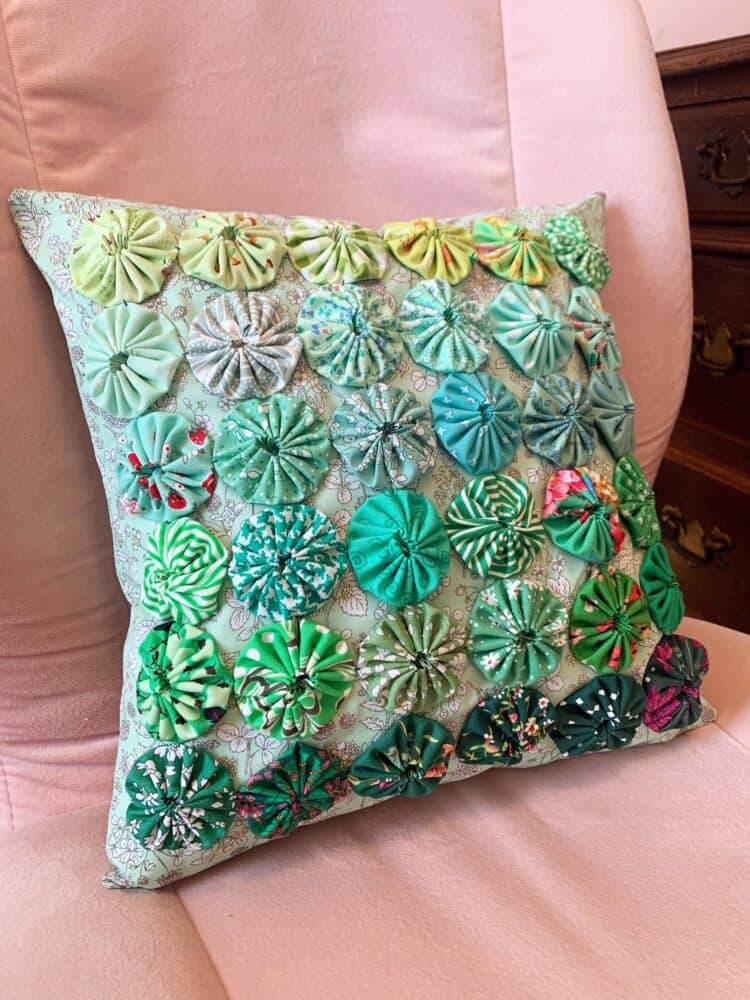
Lay pillow front facing up and place back pieces facing down on top. Use Wonder Clips around the pillow top to hold in place while you sew a 1/4 seam around the edges. Sew over the place where the pillow back pieces meet for added stability. Turn right side out, insert your pillow form and you are all set!
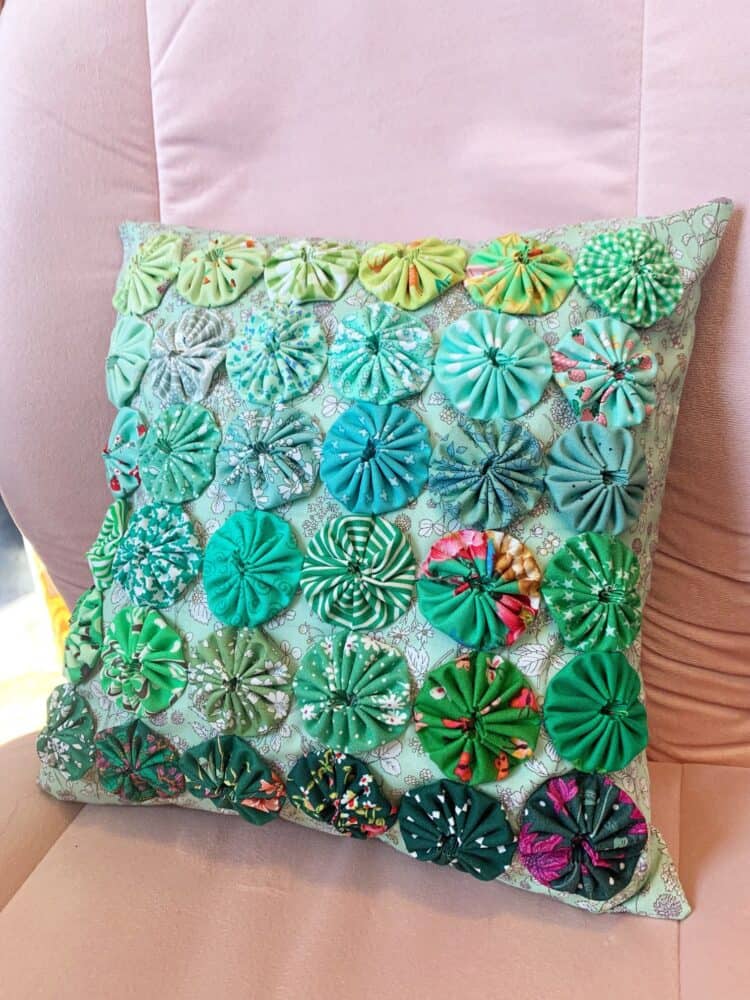
This pattern could be made scrappy, in a rainbow of yo-yo’s, in pinks and reds for Valentines Day, or in any other color combination for another holiday. It would also be great to make one in each color and line them up on the back of a sofa.
Save this post for when you have a little down time to stitch something pretty and relaxing, or for when you need a sweet handmade gift. I would love to see what you make, tag me over on Instagram @faithessenburg
I will see you back here next month for another fun make.
Stay connected with Clover on Facebook | Twitter | Instagram | Pinterest | YouTube | Ravelry