Jeans for JEANuary!
Hello, it’s Duana with Duana Studio (@duana_m_chandler & @duanastudio) and it’s JEANuary and there’s no better way to celebrate it than sewing your own pair of jeans. I have had this Simplicity x MiMi G pattern in my pattern stash for about a year now and I thought it was time to finally make this pattern. It was a really easy pattern and it’s a great pattern for beginner sewists that want to try something new and level up their skills. Rather than sharing the detailed instructions for each step, I’ll share a few tips and you’ll have a perfect pair of jeans in no time. So, let’s dive right into it!
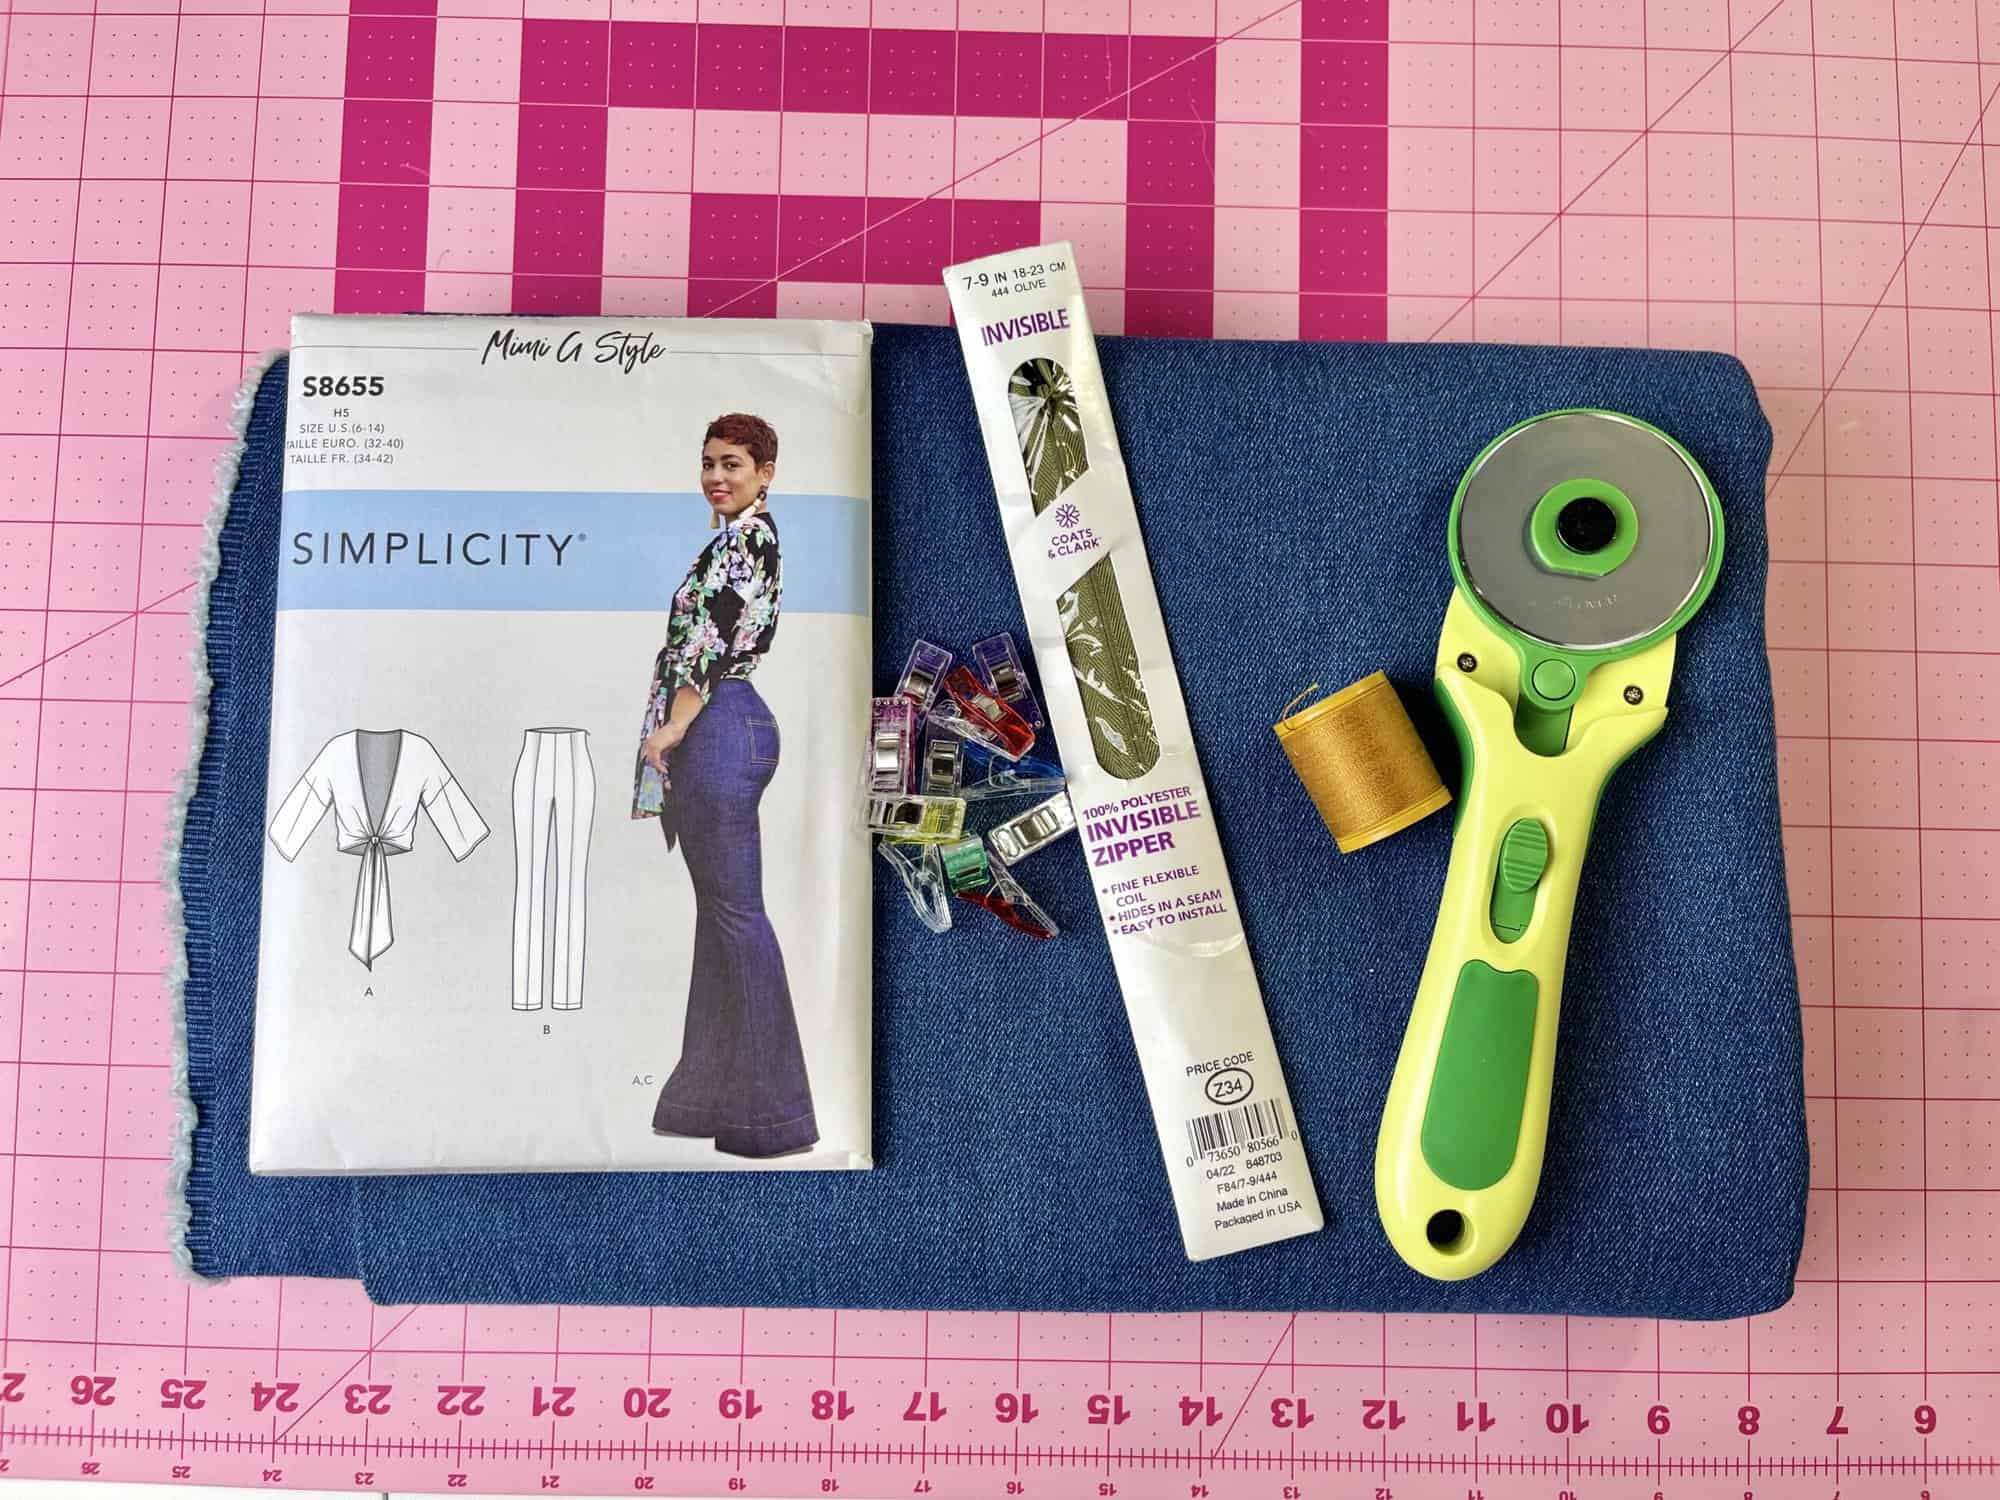
MATERIALS:
- Jeans pattern
- 2-3 yards of denim fabric
- Rotary Scissors
- Wonder Clips
- interfacing
- regular thread
- topstitch thread
- 9” invisible zipper
PATTERN:
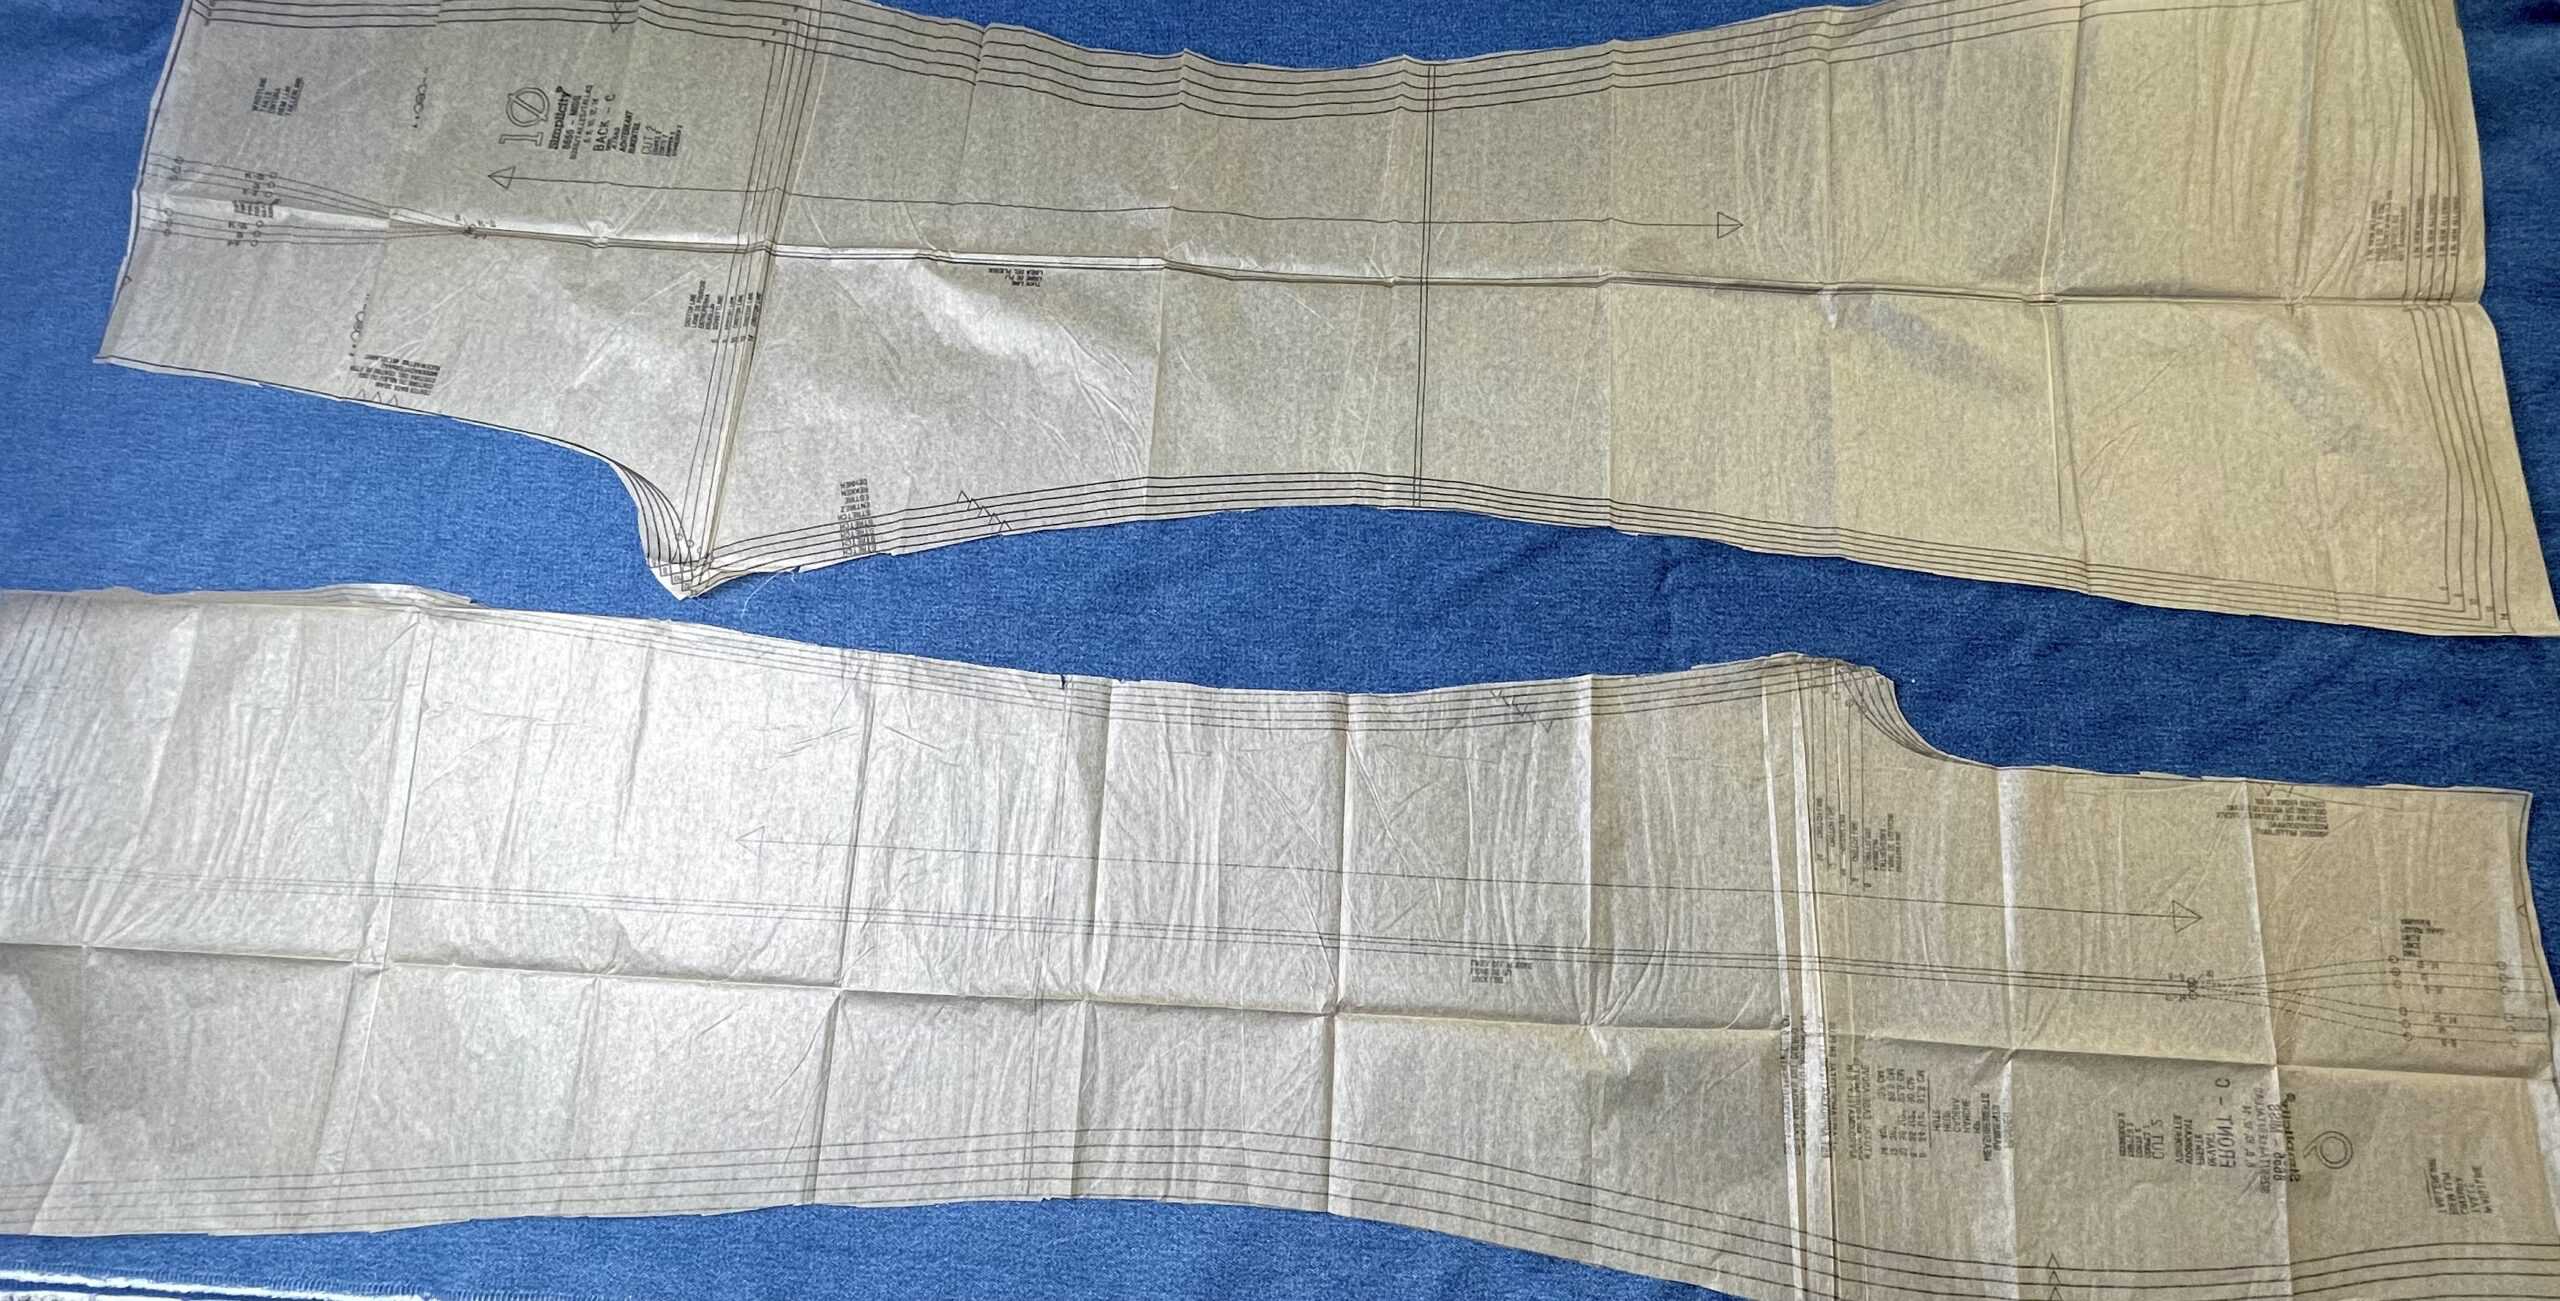
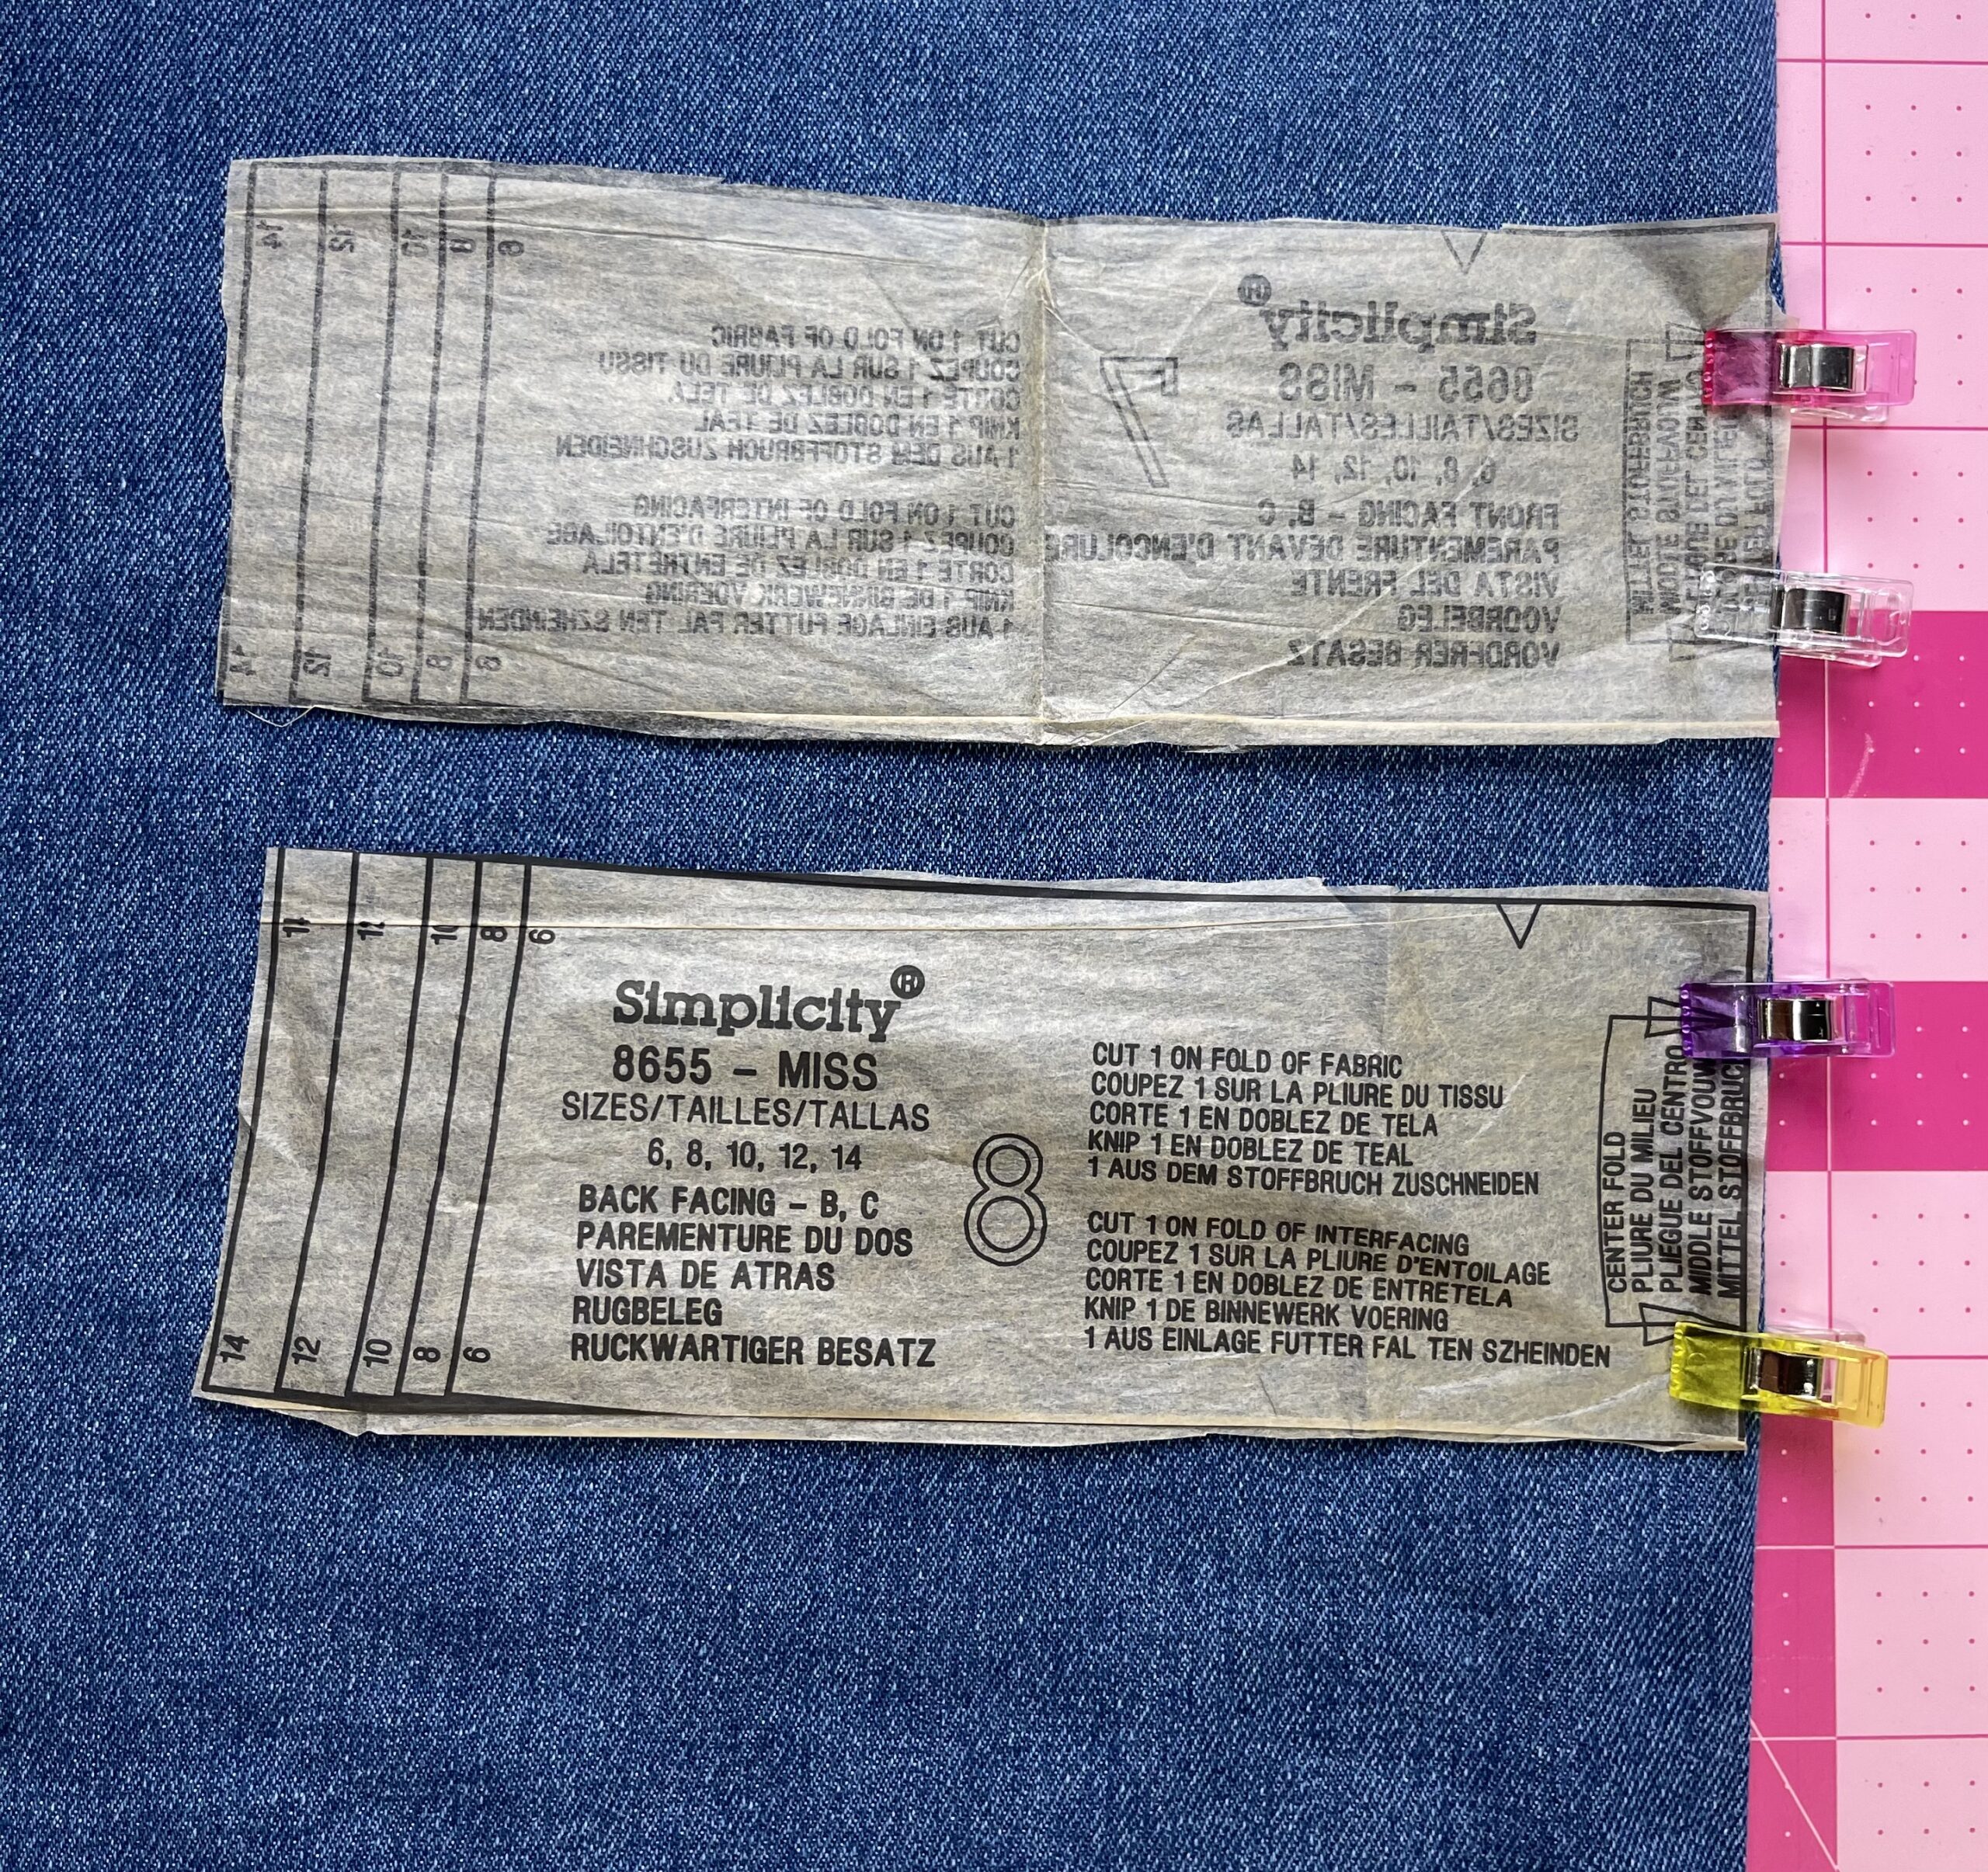
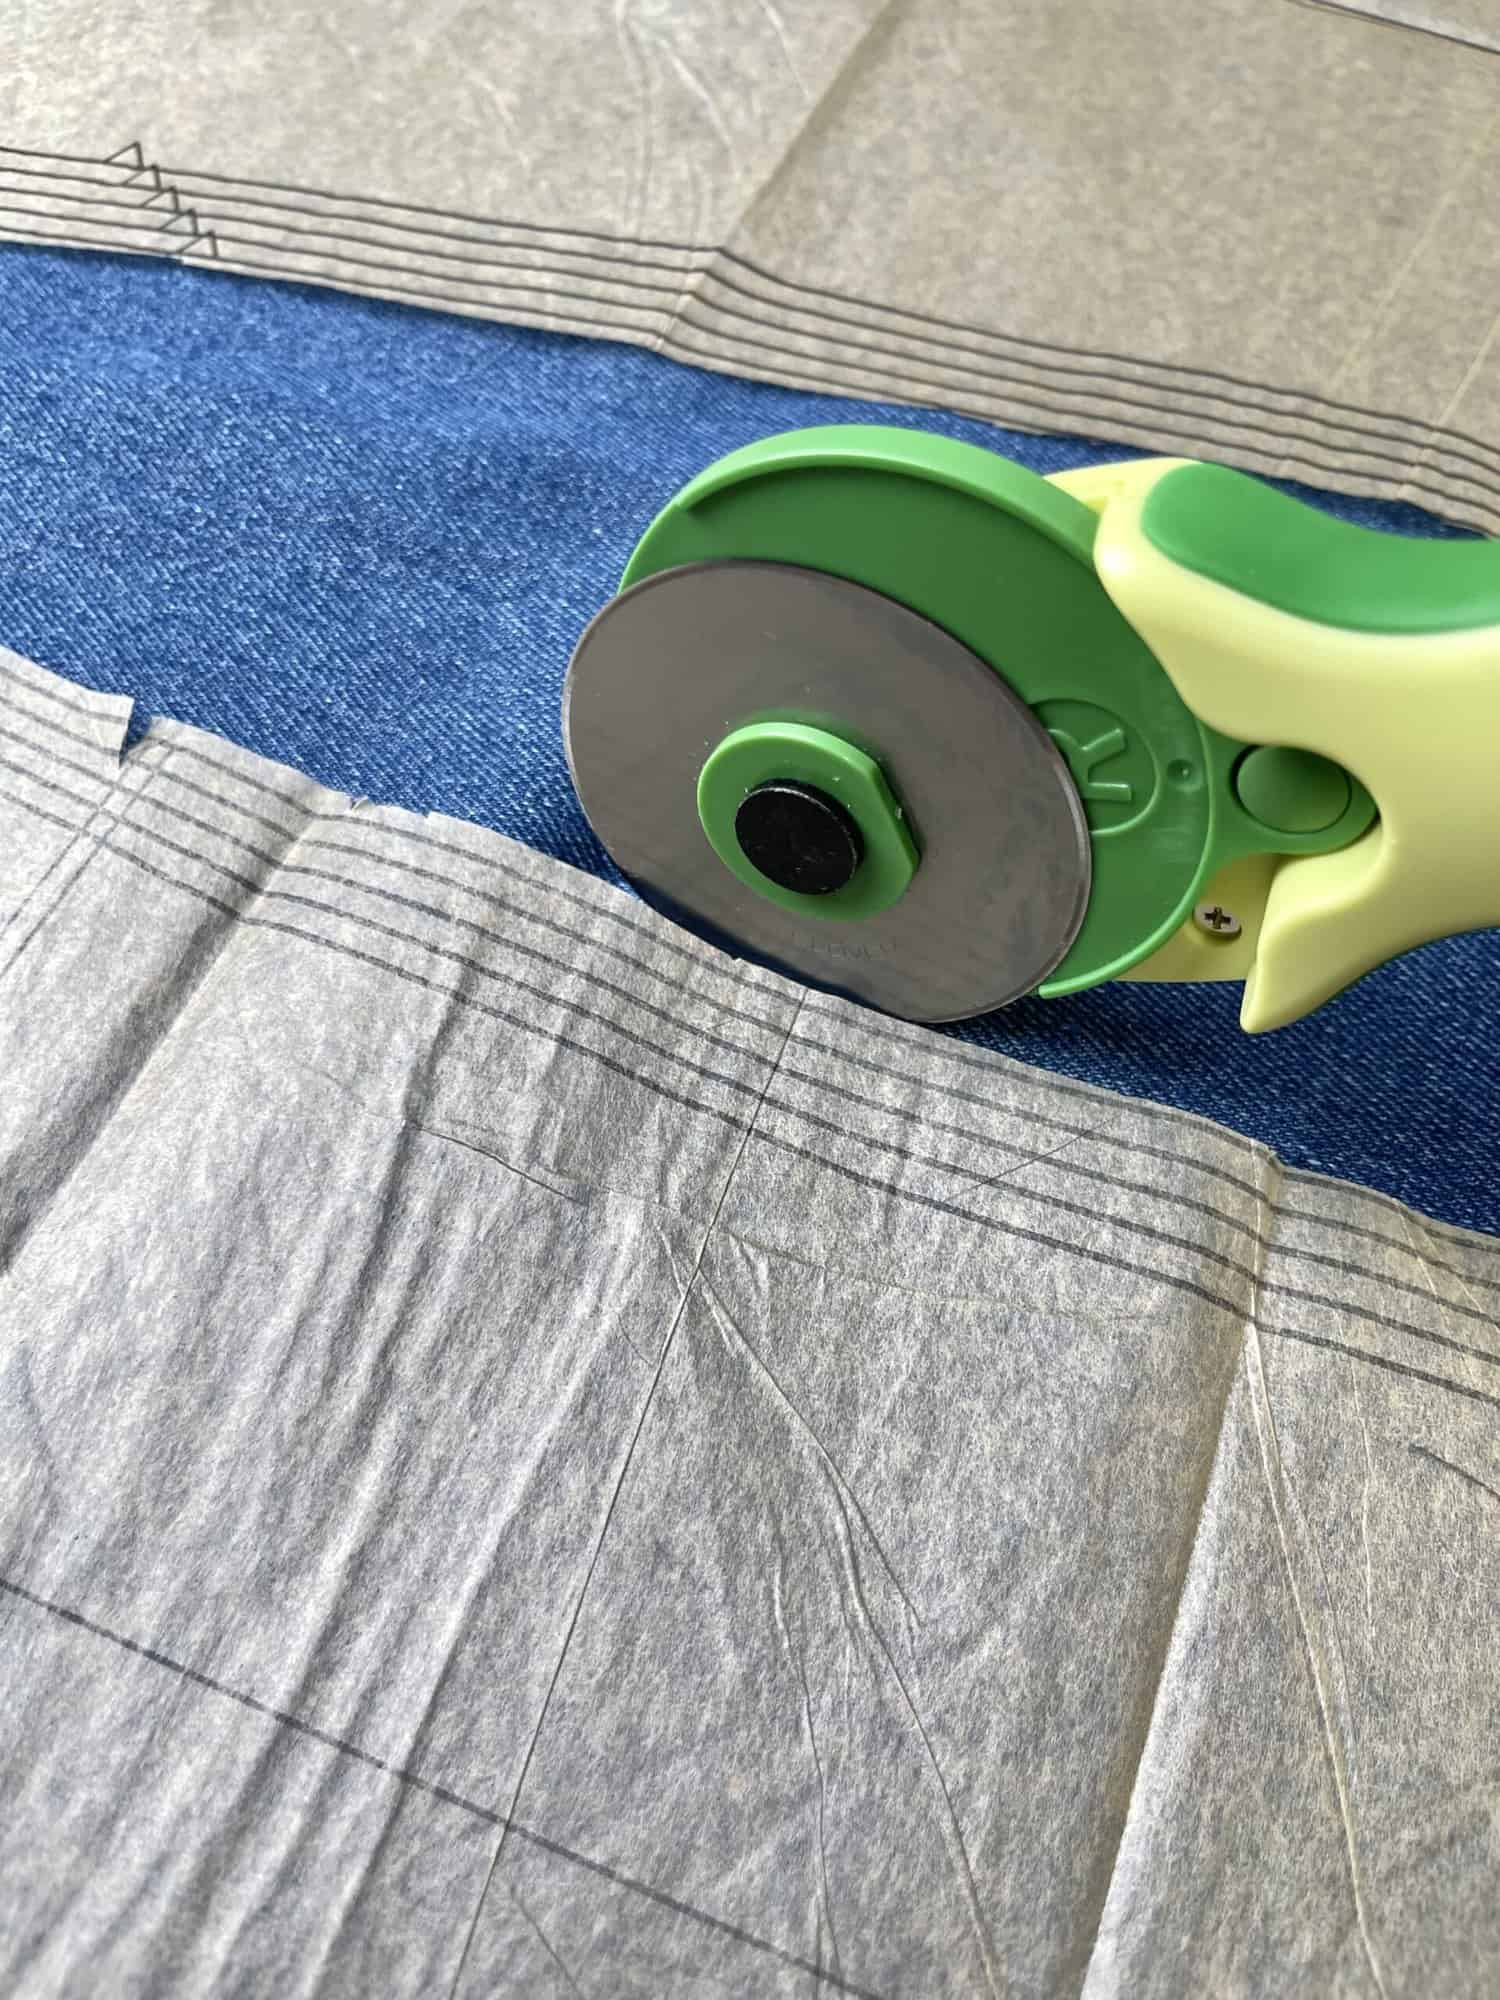
1. Before cutting pattern pieces out, check the finished garment measurements to see which size fits. Then, cut the pattern pieces out. Cut the pattern pieces onto the fabric. You will need interfacing for the facing pattern pieces. Make sure to mark any notches and dots, it will make your life so much easier. I also loved using Clover’s rotary cutter to cut my denim fabric. The cuts were clean and it was able to cut through 2 layers of denim fabric with no problem.
2. Stitch the darts and do the pin tuck. A pin tuck is a decorative sewing technique that involves folding fabric and sewing it in place to create a raised ridge or “tuck” in the material.
3. Then, stitch in your pockets. Here’s where it gets fun. You can use a topstitch thread and needle to stitch the decorative back of the jeans. It’s not necessary to use a topstitch needle and thread, but it gives your jeans a more professional look. It’s best to use a topstitch needle if you are using topstitch thread since it is pretty thick compared to normal thread.
4. I decided to also stitch my Duana Studio logo to one of the back pockets first by tracing with chalk and then stitching over it. After doing one, I thought I should have done both, but it still looks great!
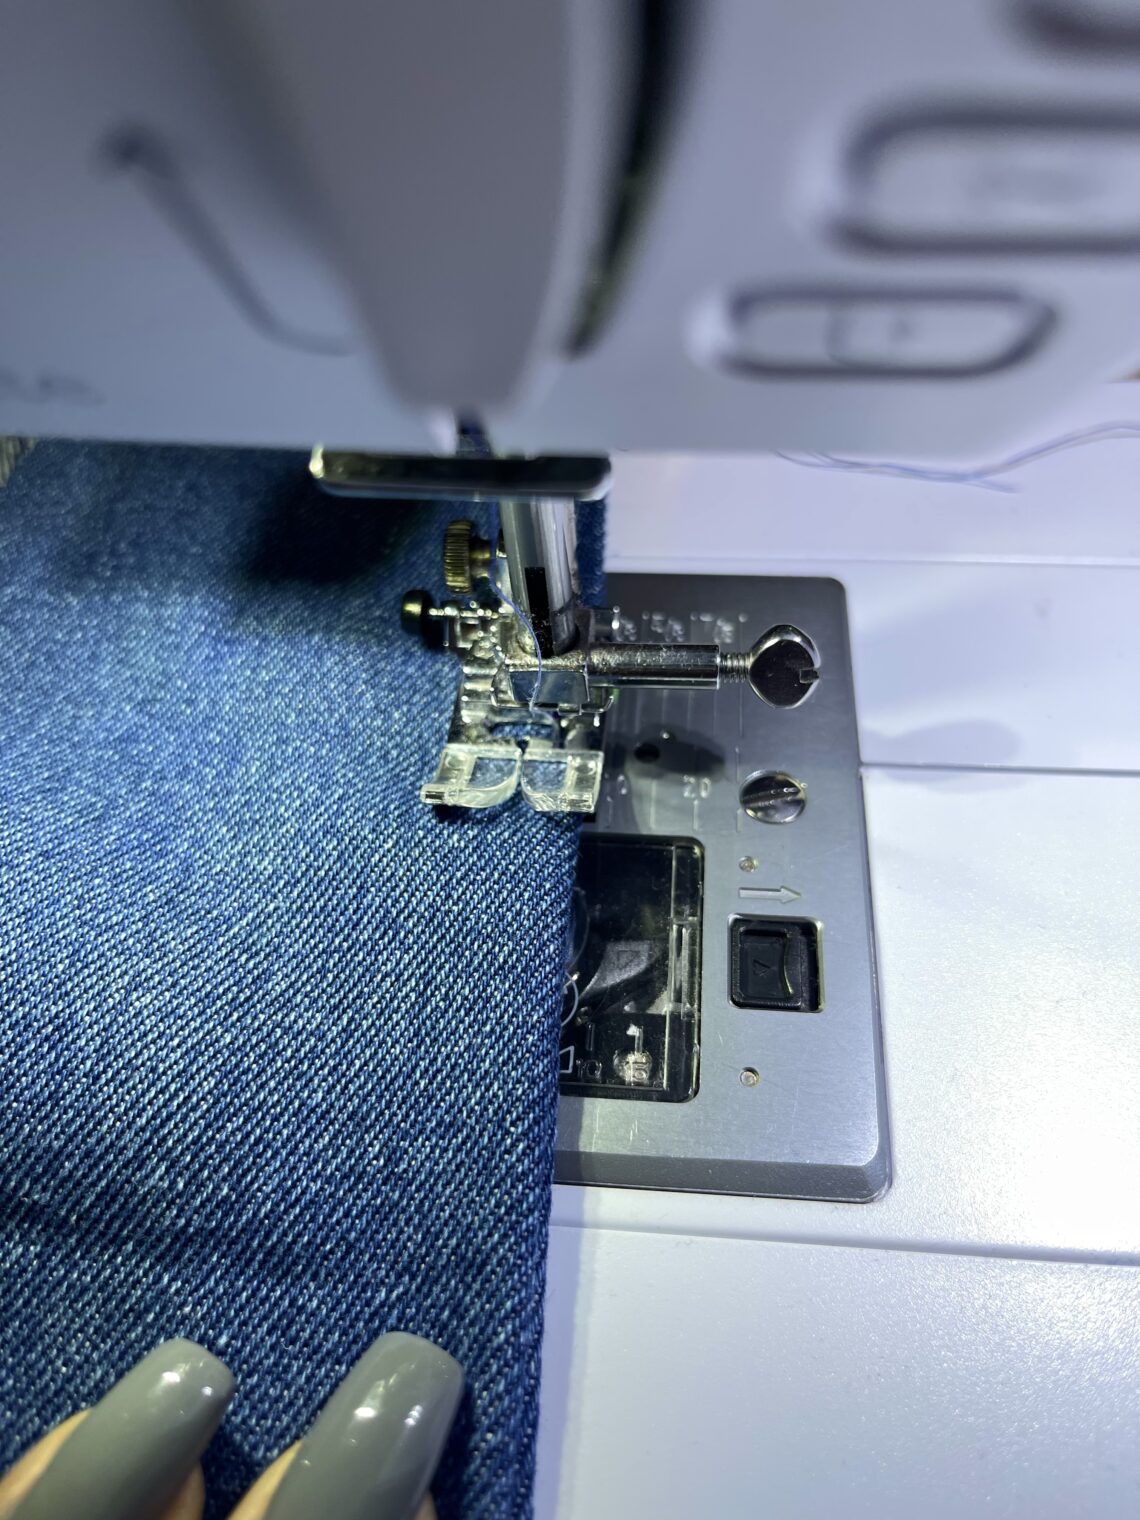
5. After you’ve done any decorative stitches to your pockets, you can now stitch it onto the back of the pants. Stitch the front and back pant pieces together and then stitch at the center seam. I love using Clover’s Wonder Clips because they are strong and when using heavier fabrics like denim, they come in handy.
6. Add the invisible zipper at the side and stitch together. Once the zipper is attached, you can add your facings.
7. Hem the bottom of the pants and you’re all done.
Thank you for making these with me for JEANuary! Tag me on IG if you end up making these yourself 🙂
If you want to keep up with me, Duana, on social media for other fun projects, follow me on social media: Instagram
If you want to keep up with all things Clover, follow us on: Facebook | Twitter | Instagram | Pinterest | YouTube | Ravelry