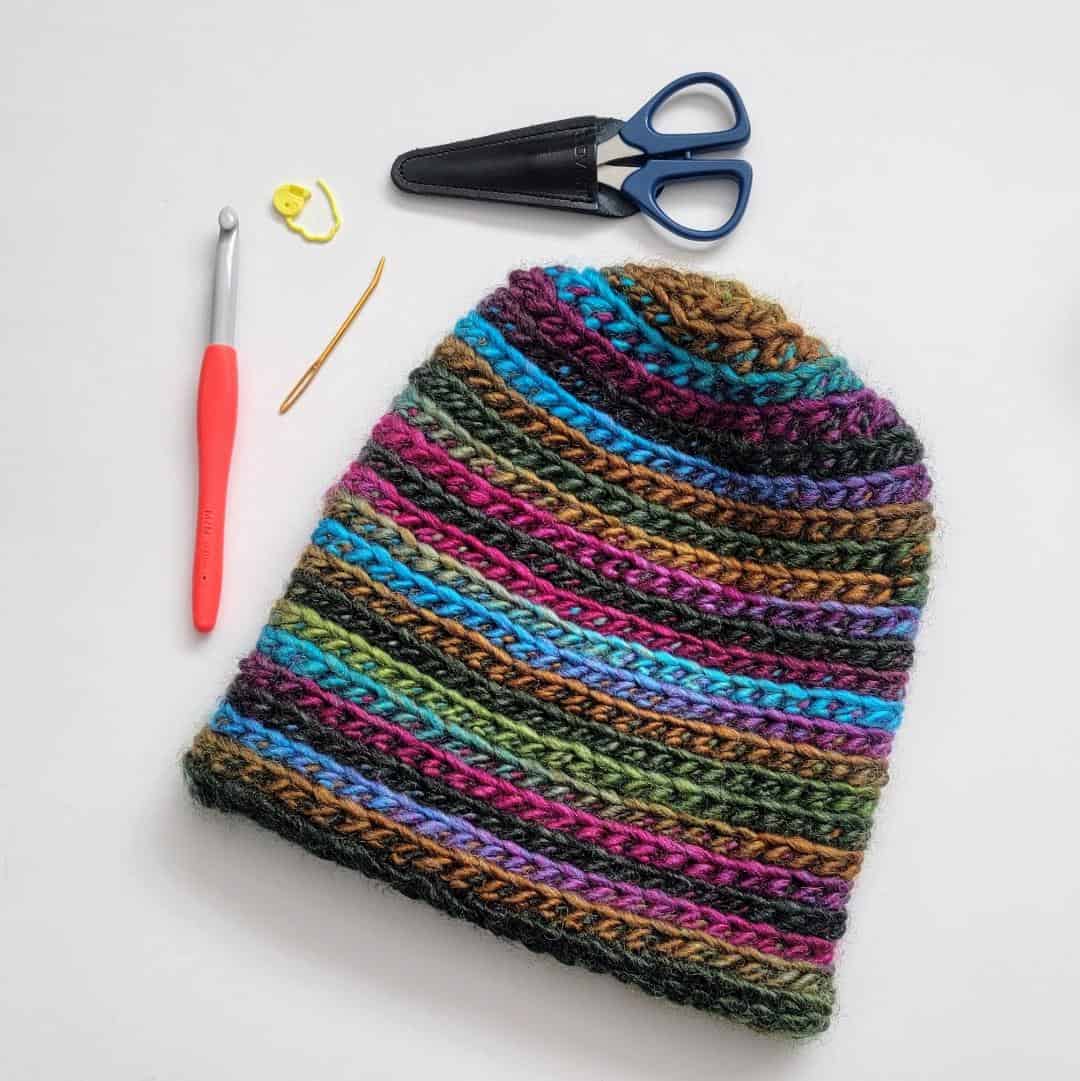
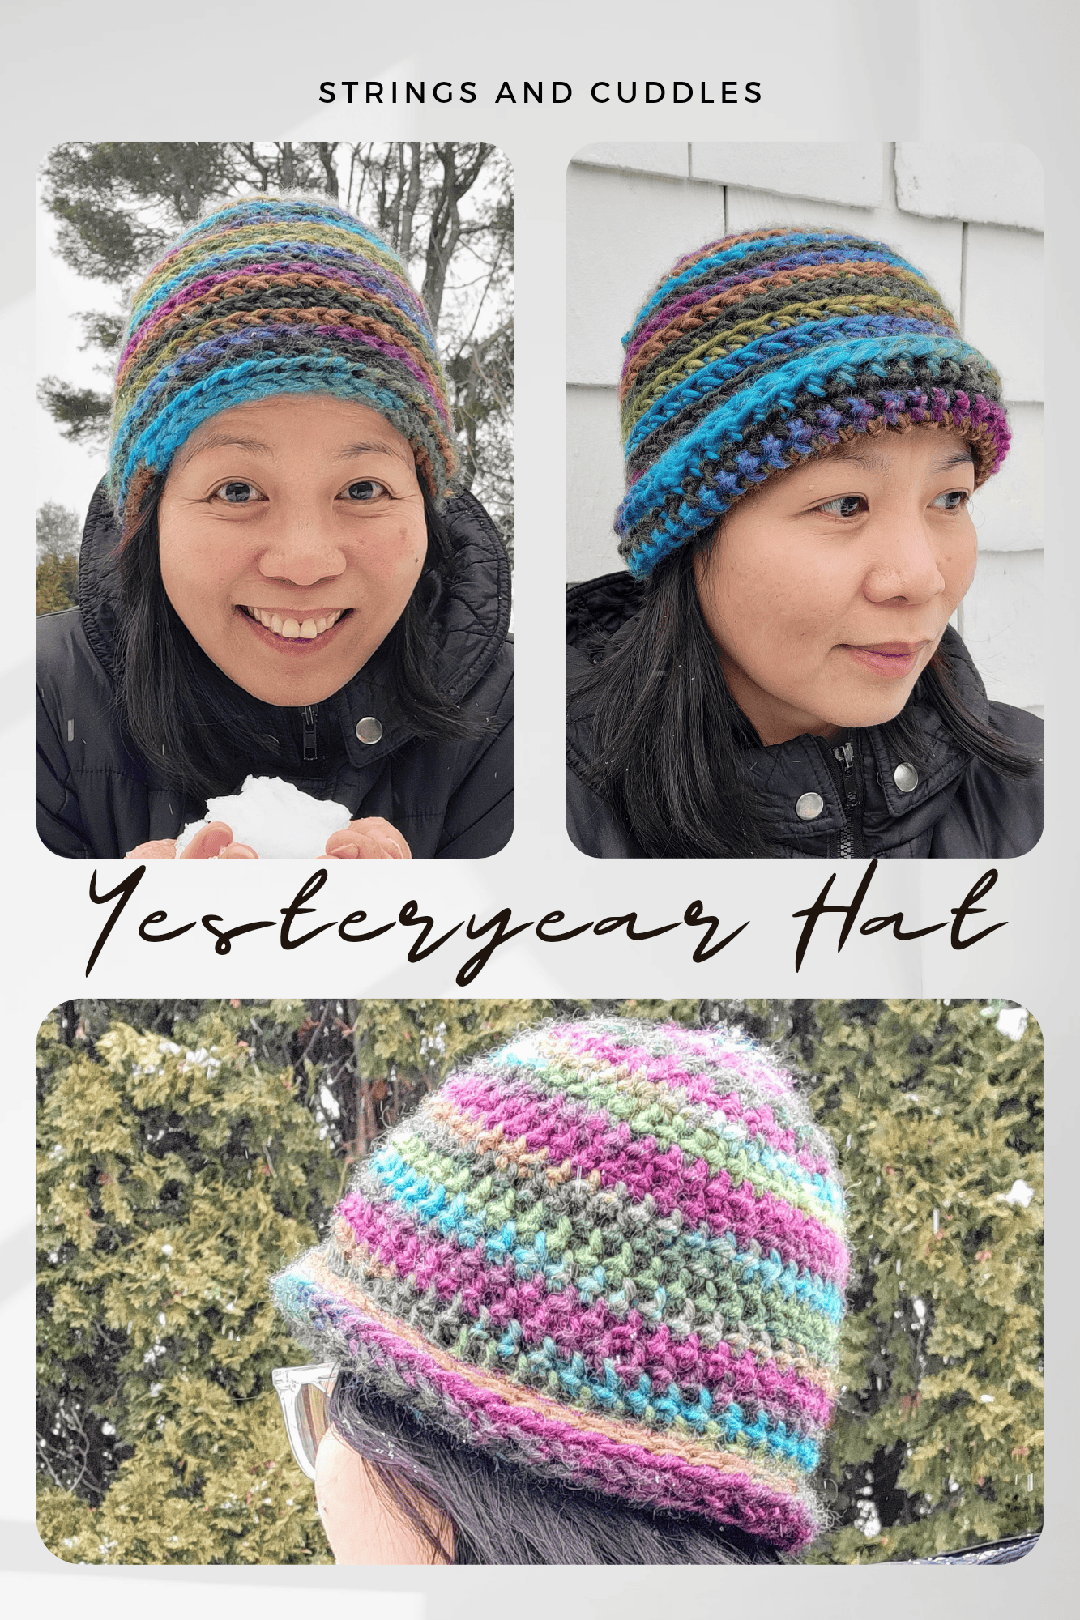
“Yesteryear” Retro Beanie Pattern
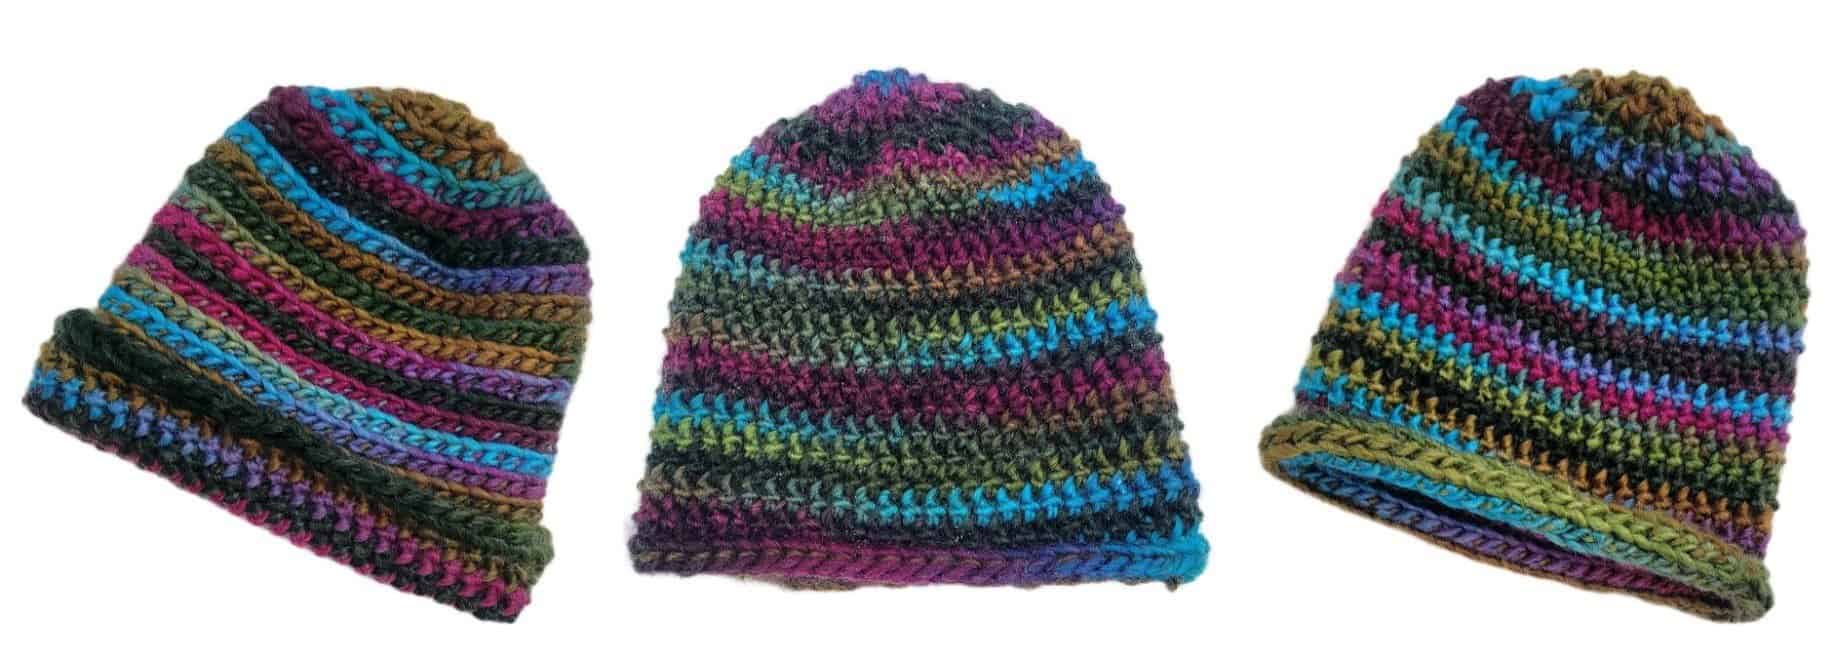
Hi friends! Elisa here from Strings and Cuddles. I am so excited to be back again to share my new crochet pattern with you! It’s perfect for the frigid weather we’re having right now! Today’s pattern is called the Yesteryear Hat! This pattern has retro written all over it, from the design to the yarn colors. I usually have difficulty naming my patterns, but this one was different. I googled the synonym of retro, and one of the results was “of yesteryear,” which means last year or the recent past, especially as nostalgically recalled. So, BINGO! Yesteryear, it is! The Yesteryear Hat is reversible! You can roll the brim on one side and fold it on the other! You can style it any way you want, whether that be with a rolled brim, folded brim, or slouchy hat, the choice is yours! A three-in-one hat style is amazing, isn’t it? This hat is a quick project to tackle. With the use of a super bulky weight yarn, you can finish it in just a couple hours, depending on your crochet skills and speed. Are you excited as I am to start the pattern? Let’s go, peeps!
GAUGE:
- 10 sts x 9 rounds = 4 inches (see pattern notes on how to crochet gauge in the round)
FINISHED MEASUREMENT:
- Approximately10” (height) x 19” (diameter – unstretched)
ABBREVIATIONS:
- ch(s): Chain(s)
- flo: Front Loop Only
- fsc: Foundation Single Crochet
- pm: Place Marker
- rep: Repeat
- slst(s): Slip Stitch(es)
- st(s): Stitch(es)
SPECIAL STITCHES:
- HSlst: Half Double Crochet Slip Stitch – Yarn over, insert hook into the next st, yarn over, and pull through the stitch and the 2 loops on the hook.
- HSlst2Tog: Half Double Crochet Slip Stitch 2 Together – Yarn over, insert hook into the next st, pull up a loop, yarn over, insert hook into next st, pull up a loop, and pull through the stitch and the 4 loops on the hook.
MATERIALS:
- Amour Crochet Hook D (3.25mm)
- Patchwork Scissors
- Quick Locking Stitch Markers (Large)
- Jumbo Darning Needle Set
- Multiple colors of bulky weighted yarn!
NOTES:
- This pattern is worked from the bottom up, in continuous rounds (spiral).
- I recommend using a stitch marker to mark the 1st stitch of each round. Remember to move stitch markers as you progress.
- The asterisk * indicates pattern repeats. You will need to repeat all the instructions from the asterisks.
- This pattern can be easily modified to your preferred size. I suggest that when modifying the size of your beanie, increase or decrease your foundation sts by 4. This is just so your decreases (crown of the beanie) will have even numbers of sts. If you want your beanie to be more fitted or slouchier, add/subtract a few rounds to the body of the beanie before continuing with the decreases or shaping of the crown.
- Helpful YouTube video tutorial by Yarnique on “How to Crochet Gauge in the Round” click here to watch.

PATTERN:
FOUNDATION ROUND:
- FSC 48 (approximately 19 inches.) Slst into 1st st to form a loop. PM in the 1st st. 48 sts
BODY OF THE HAT:
- Round 1: Ch 1, HSlst – FLO in every st around. DO NOT ch 1. 48 sts
- Rounds 2 – 18: HSlst – FLO in every st around. 48 sts
CROWN OF THE HAT (decreases):
Round 19: *HSlst2Tog – FLO in the next 2 sts; Rep from * around. 24 sts
Round 20: HSlst – FLO in every st around. 24 sts
Round 21: *HSlst2Tog – FLO in the next 2 sts; Rep from * around. 12 sts
Round 22: HSlst – FLO in every st around.12 sts
FINISHING:
- Fasten off leaving a long tail (approximately 12 inches) for closing the top of the beanie. With the long tail yarn and tapestry needle, thread through the sts around to close the top. Fasten off and weave in all ends.
I would love to see your Yesteryear Hat version! Please tag me @stringsandcuddles and use these hashtags to share: #stringsandcuddles, #stringsandcuddlesdesigns, #YesteryearHat
Please don’t hesitate to reach out with questions regarding this pattern! 🙂
If you want to keep up with me, Elisa, on social media for other fun projects, follow me on social media: Instagram | Pinterest | Facebook | Blog | Ravelry
If you want to keep up with all things Clover, follow us on: Facebook | Twitter | Instagram | Pinterest | YouTube | Ravelry