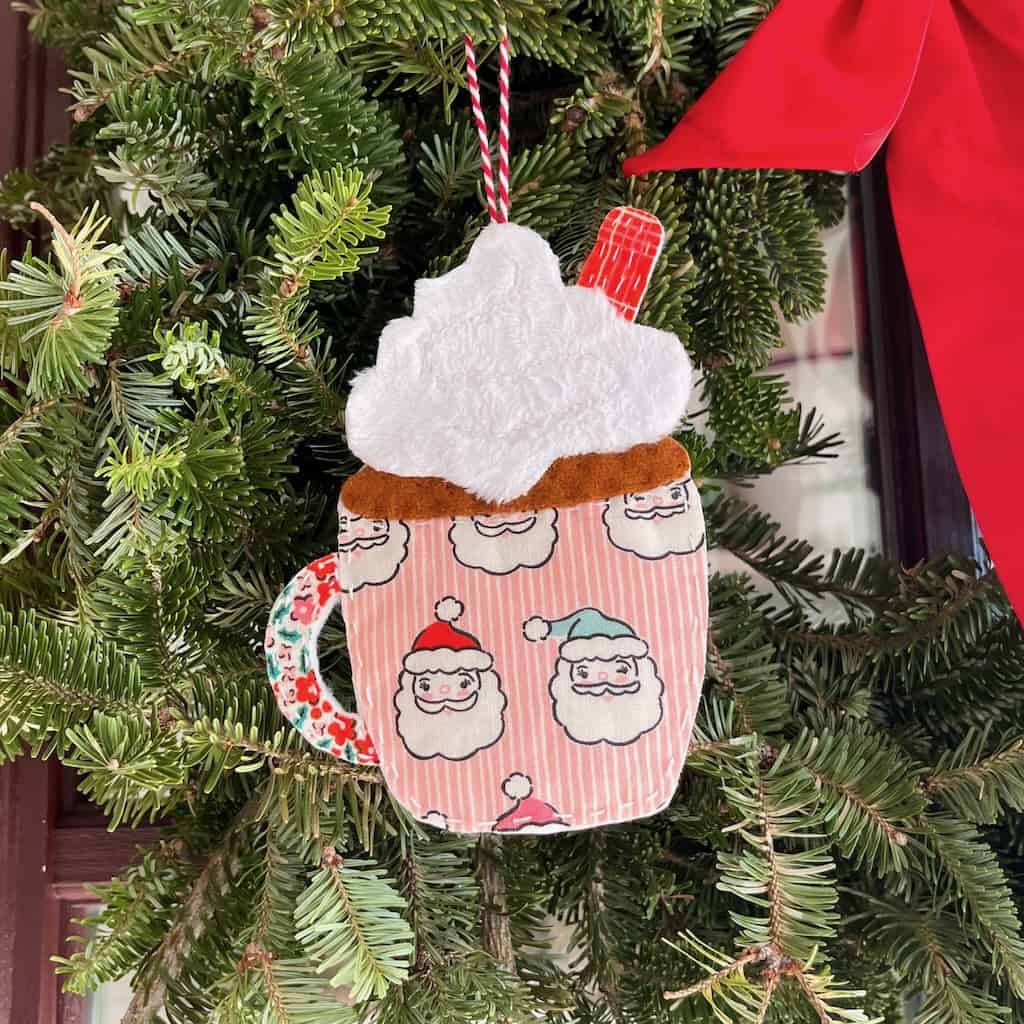
Hot Cocoa Ornament *sewing tutorial*
Hi everybody! I am extremely excited for the weather to start getting colder, because that means it’s the perfect hot cocoa weather. I love hot cocoa so I am excited to share a really fun and easy Hot Cocoa Ornament with you today! This project is a free pattern by Elea Lutz, who is a fabric designer and amazingly creative friend. This is such a great beginner friendly project and most of the supplies are things you would have on hand! We are going to use Elea’s pattern but I’ll step you through the process as well. The first thing to do to get started is to download Elea’s pattern and print it up to follow along! You can find it by clicking here: Cookie Mug Ornament Pattern by Elea Lutz.
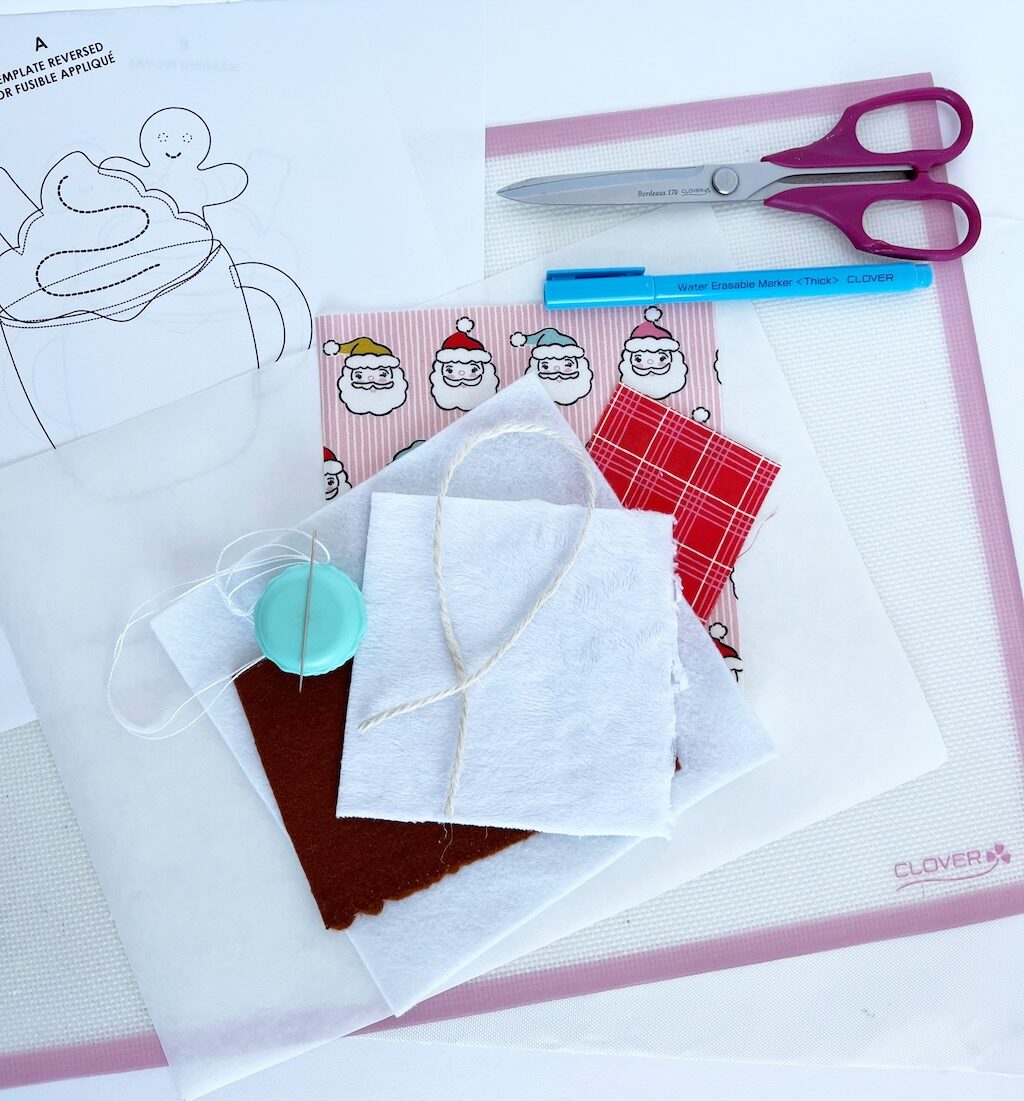
MATERIALS:
- Clover Scissors
- Clover Water Erasable Marker
- Clover Wonder Fuse
- Clover Design Pro Applique Mat
- Printed pattern with instructions and layout
- Felt scraps and fabric pieces (according to pattern instructions)
- Needle and thread
NOTE:
- I chose not to add the Gingerbread Man to my cocoa ornament.
- I made the hot cocoa layer a little larger than the pattern as I wanted it to show up more!
PATTERN:
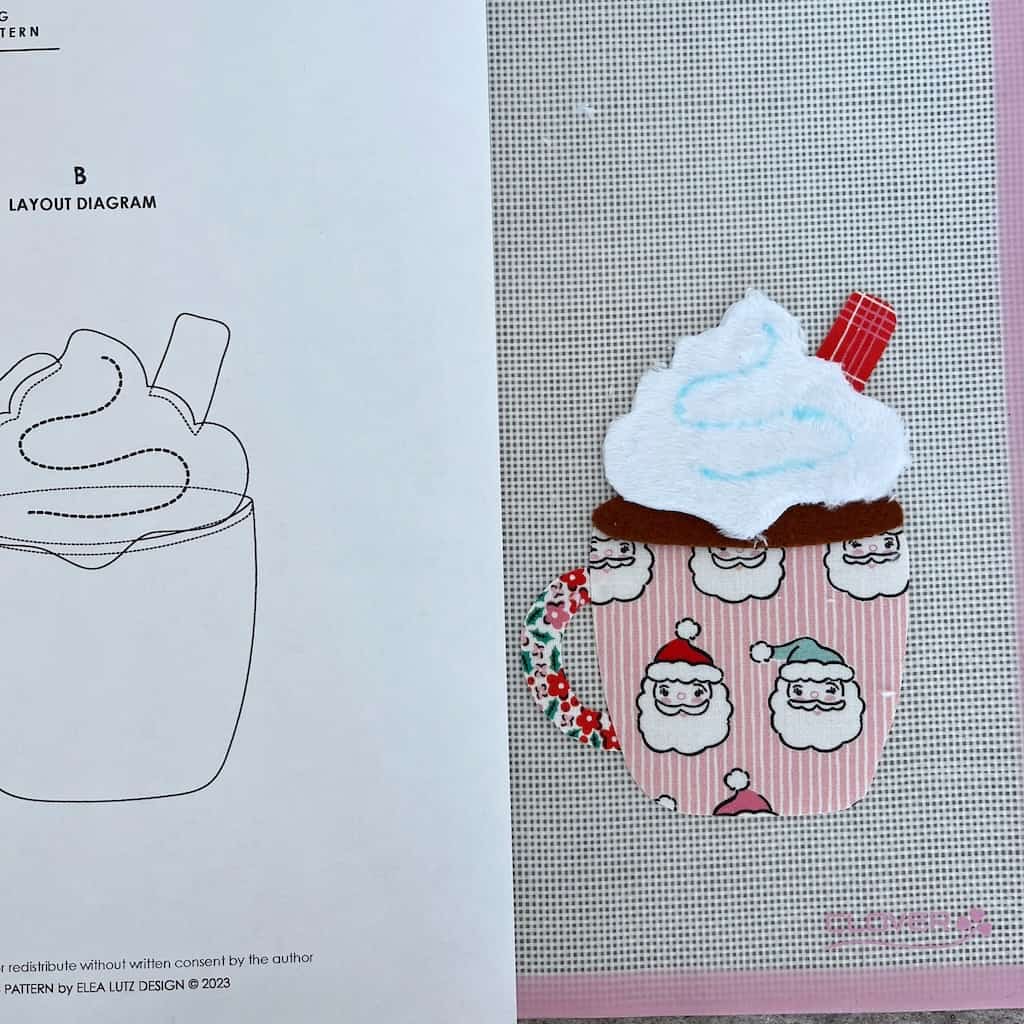
Below are photos that I took of my steps through the pattern. I have labeled them according to the instructions in the pattern.
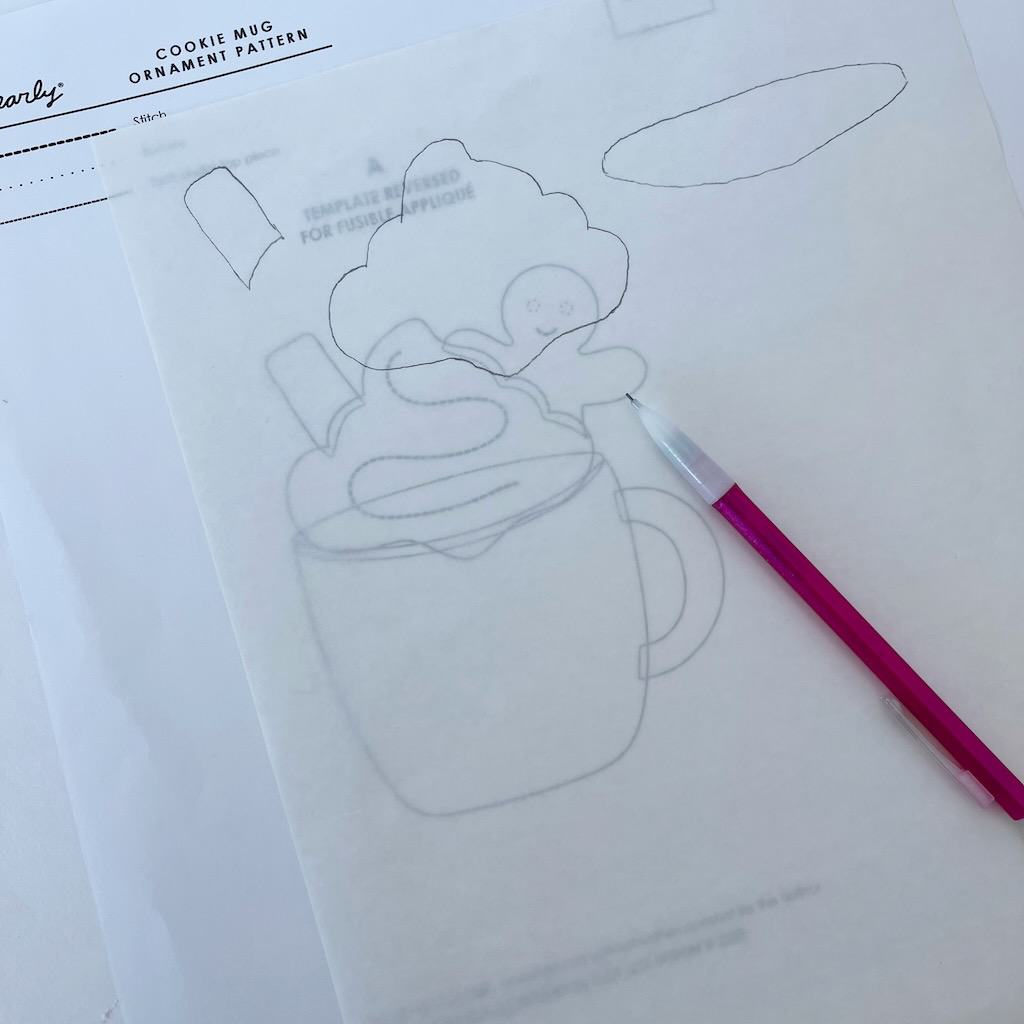
Steps 1 & 2: Wonder Fuse placed over template and shapes traced onto the paper back of the Wonder Fuse.
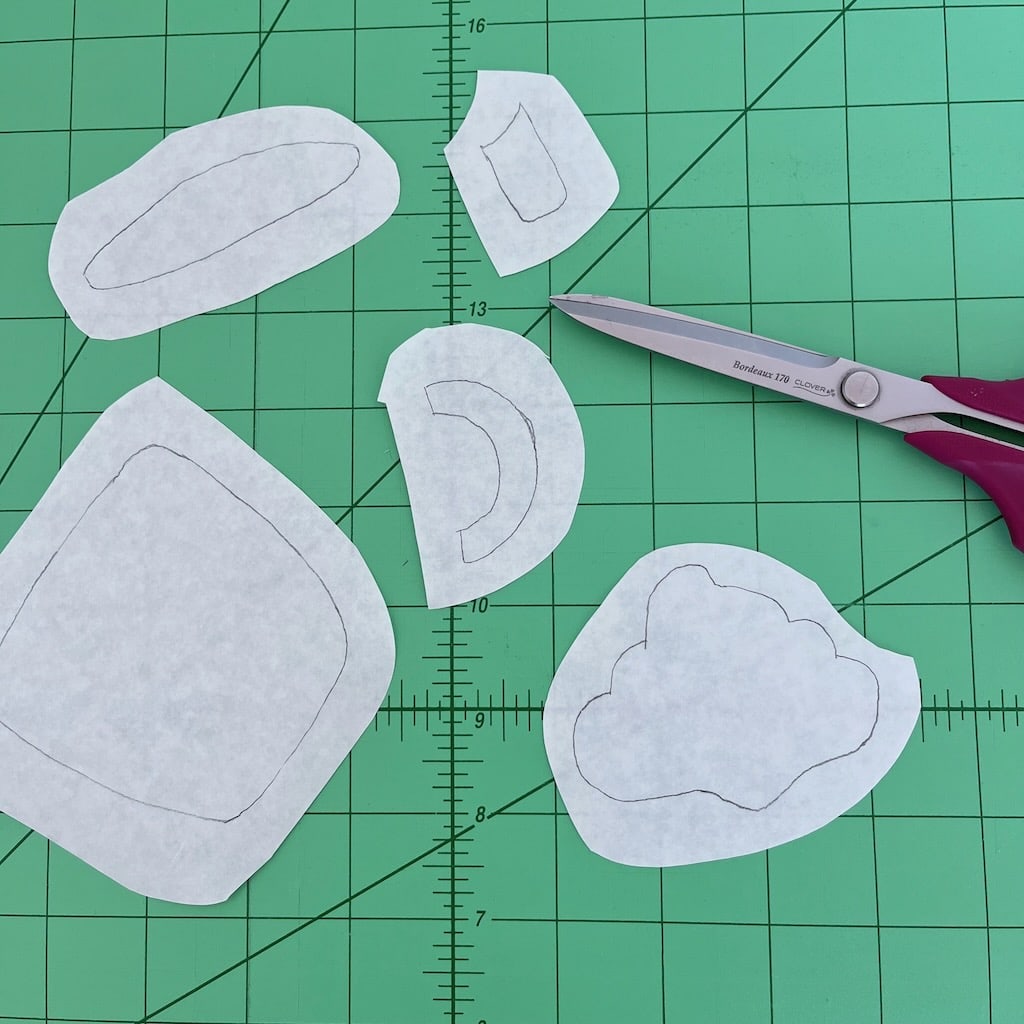
Step 3: Cut out each shape.
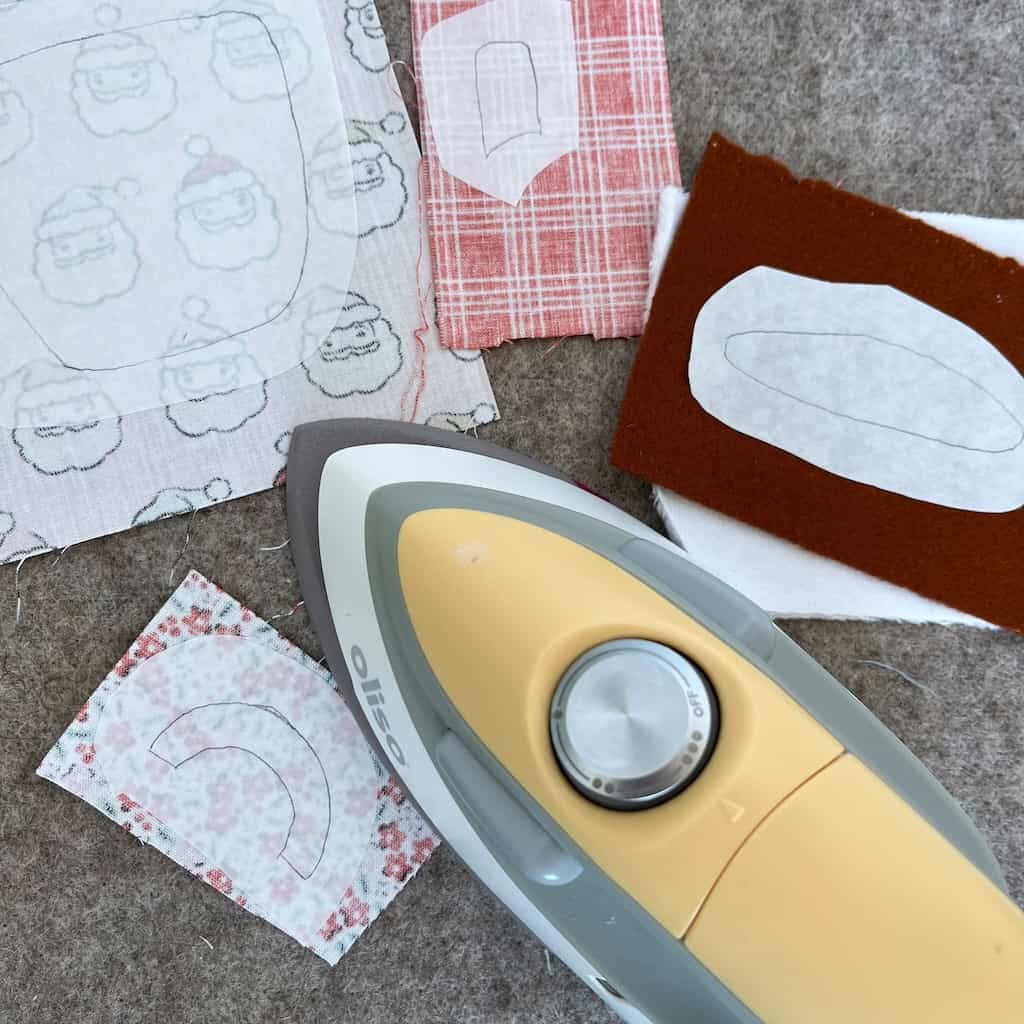
Step 4: Fuse shape to wrong side of fabric.
Step 5: Cut each shape along the traced line.

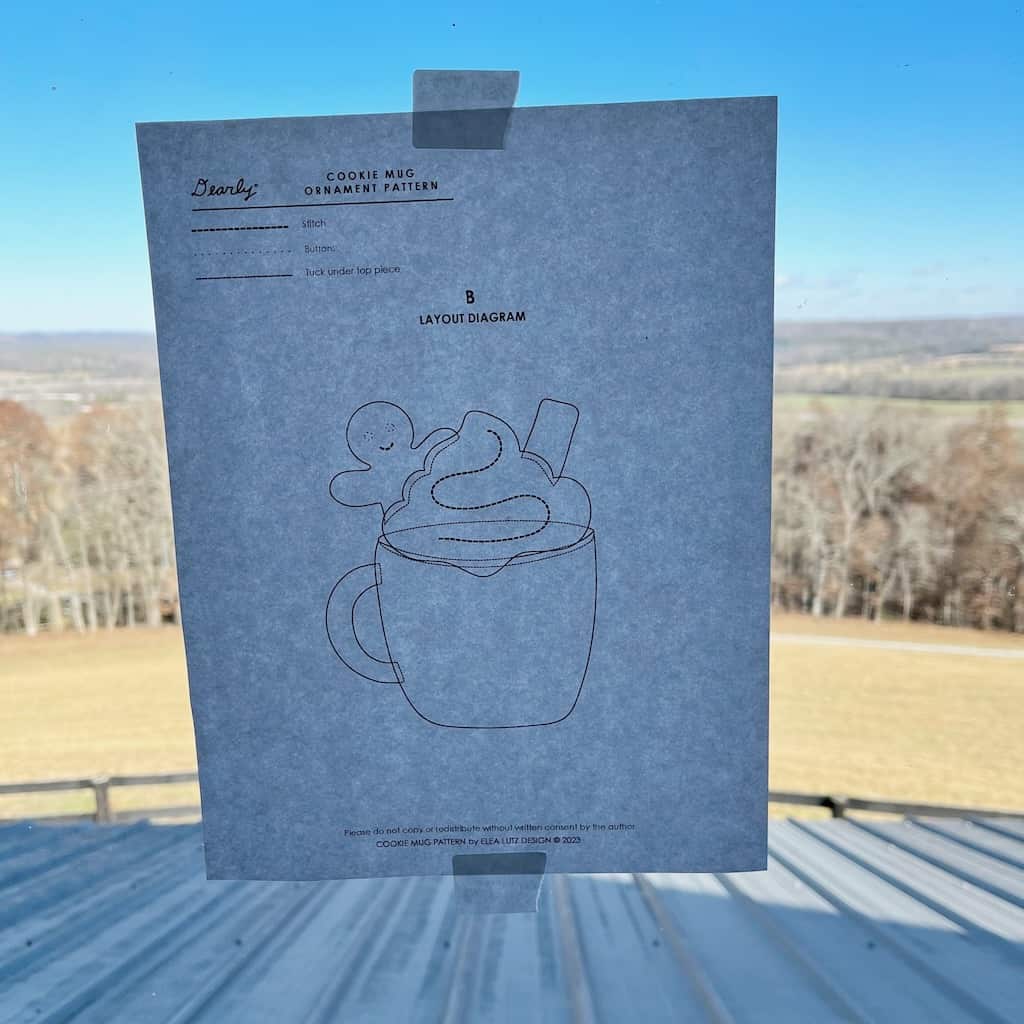
Step 6: Hold layout piece B to a window and trace the sewing lines on the whip cream (and gingerbread man if you are making one). Use the Clover Water Soluble Pen!

Step 7, 8 & 9: Remove paper backing from each piece and arrange pieces together (according to the pattern layout) on the Clover Fusing Mat. Place the pressing sheet over the objects on the mat and carefully press.

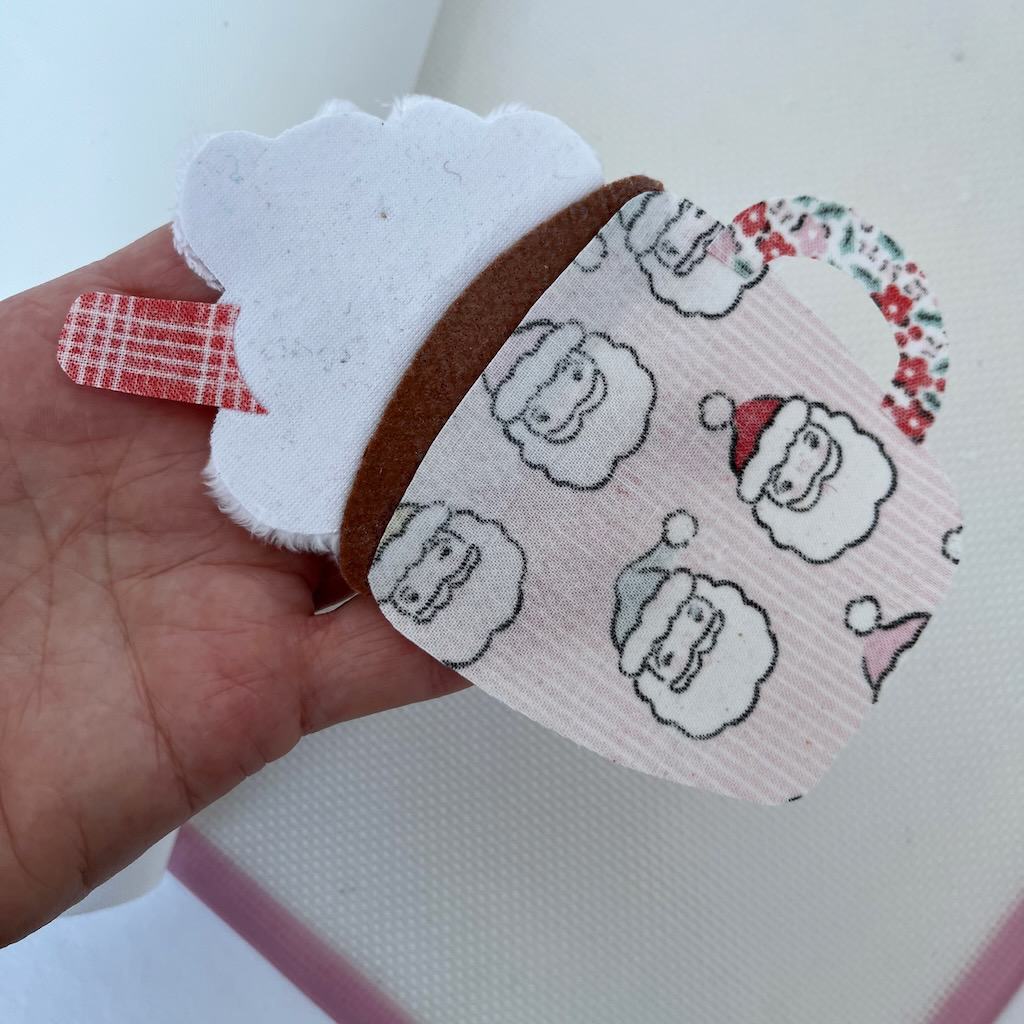
Step 10: Remove the fused shapes from the mat. (They should all be adhered to form one piece now. If not, be sure to put them back on the mat and iron again.)
Step 11, 12 & 13: Stitch details on whip cream. I chose to do this by hand, but you could use your sewing machine.

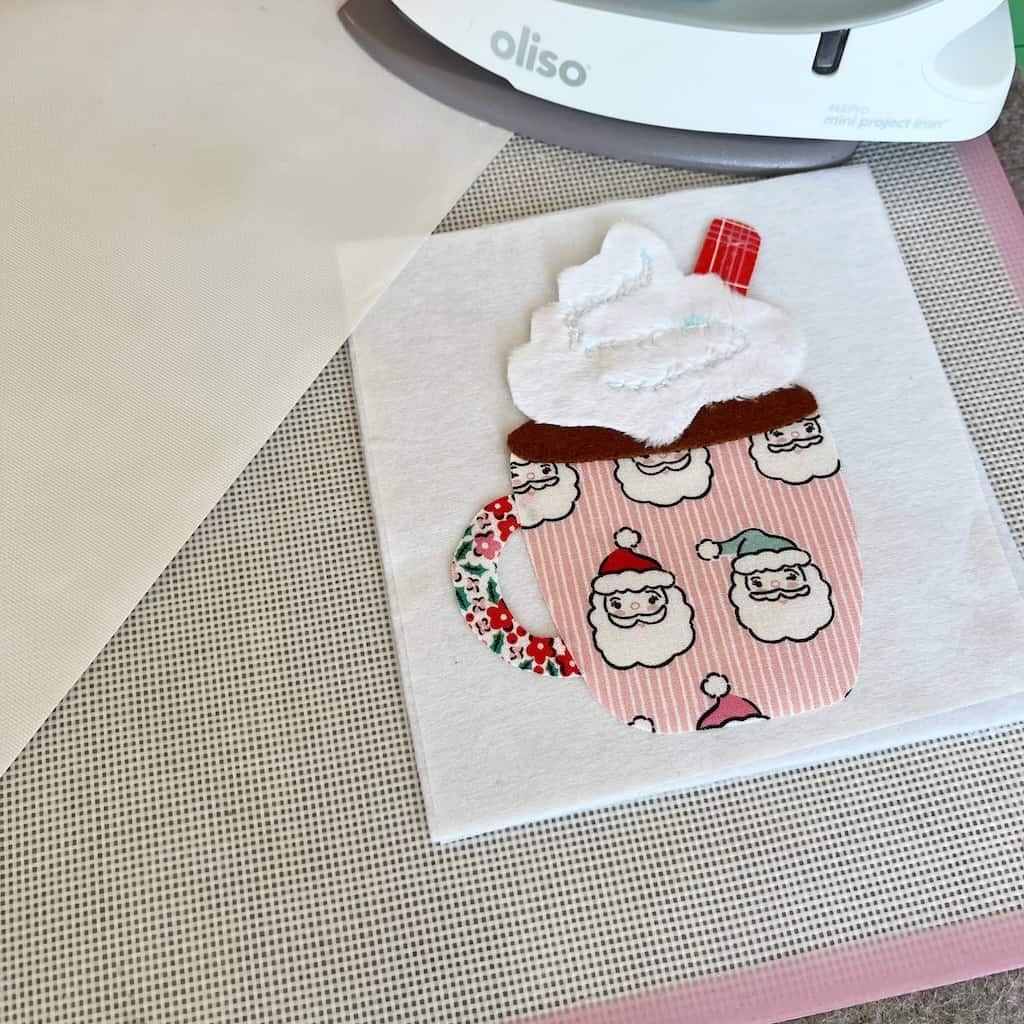
Step 14: Iron ornament to square of fleece backing. Use the mat and pressing sheet to keep iron from sticking to any of the felt.
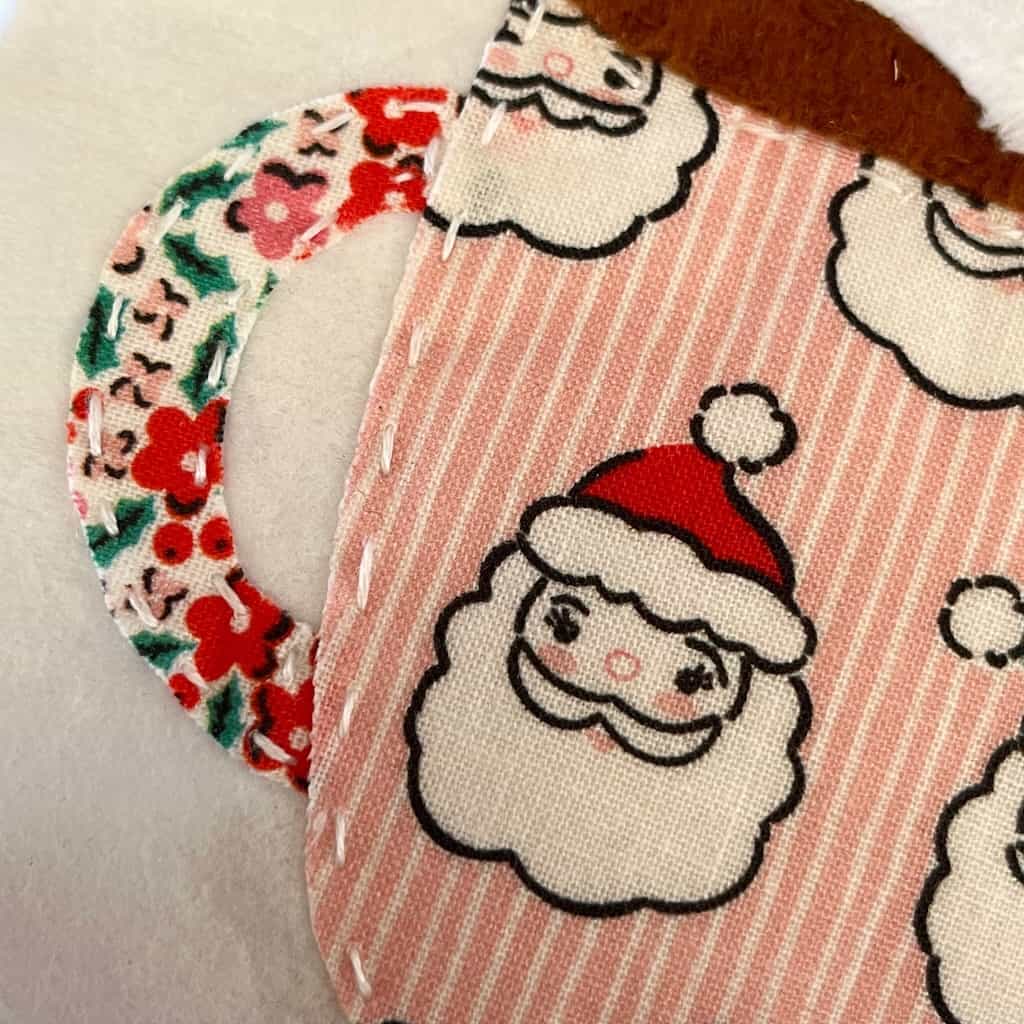
Step 15: Stitch around the perimeter of the ornament. I chose to stitch by hand, you can use your sewing machine. Carefully trim around all the edges to remove the felt backing overhang.
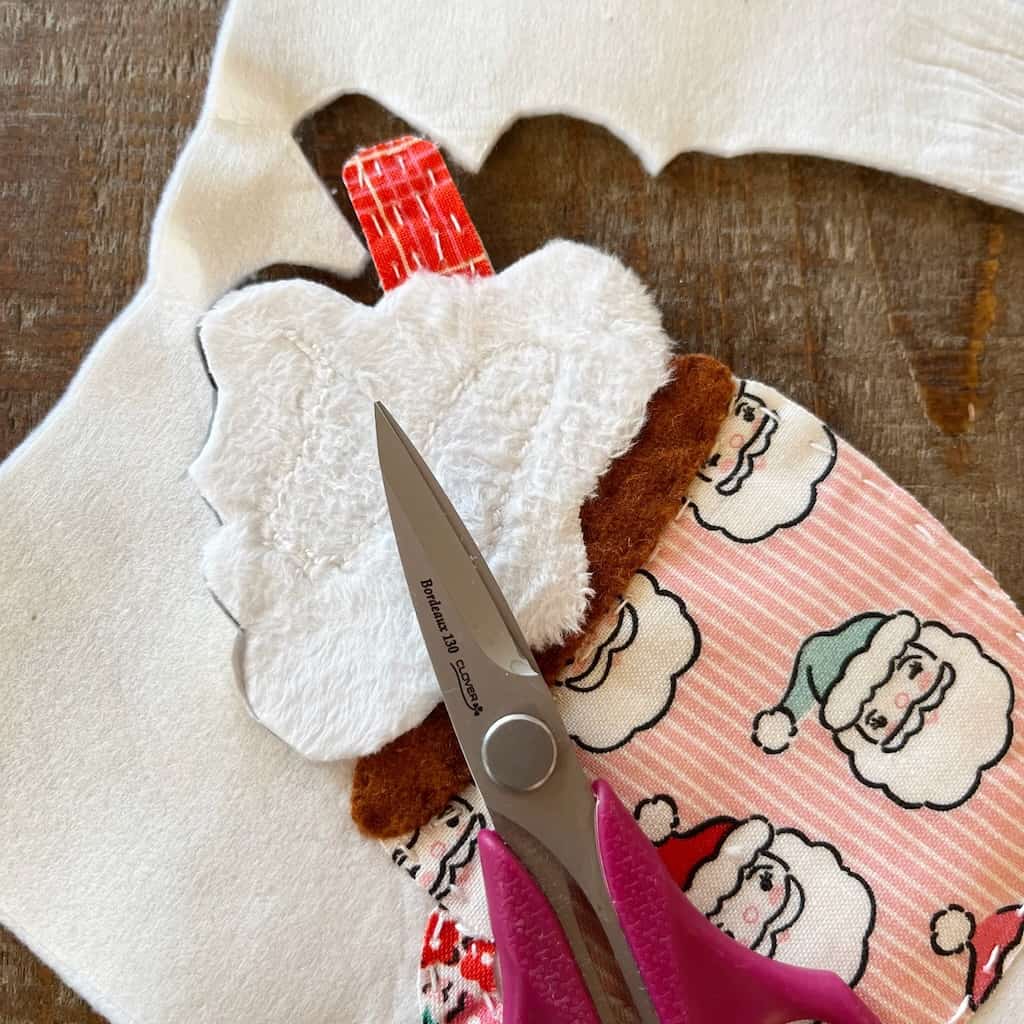
Step 16: Attach ornament loop to the back of the ornament. You can either glue or hand sew it in place. And now your adorable little Hot Cocoa Ornament is complete and ready to hang!!!
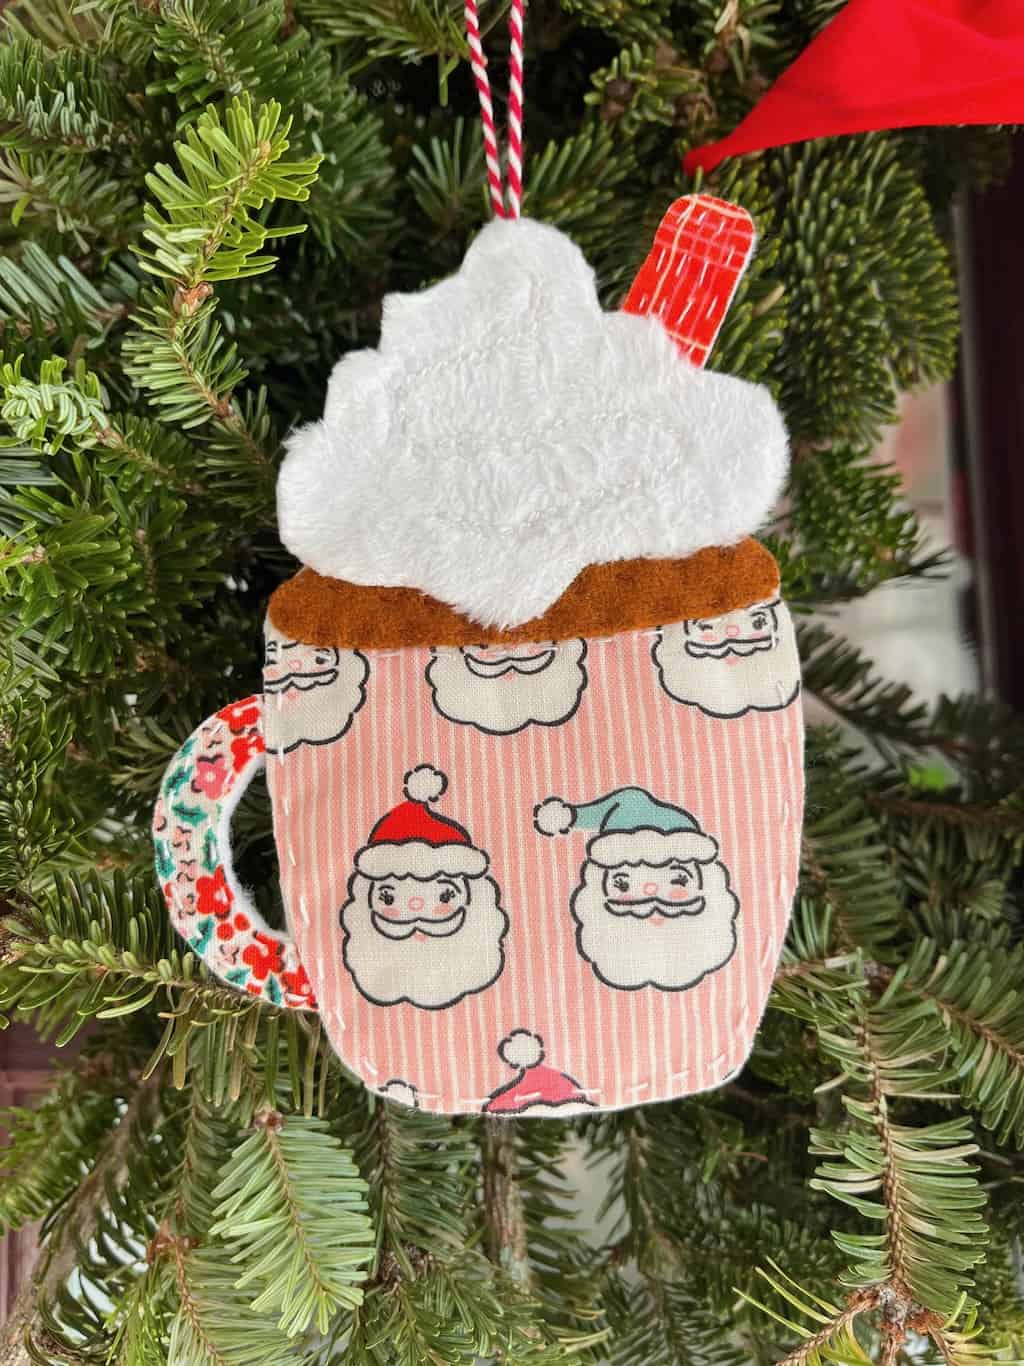
Happy holidays and as always, happy sewing!
If you want to keep up with me, Dori, on social media for other fun projects, follow me on social media: Instagram
If you want to keep up with all things Clover, follow us on: Facebook | Twitter | Instagram | Pinterest | YouTube | Ravelry