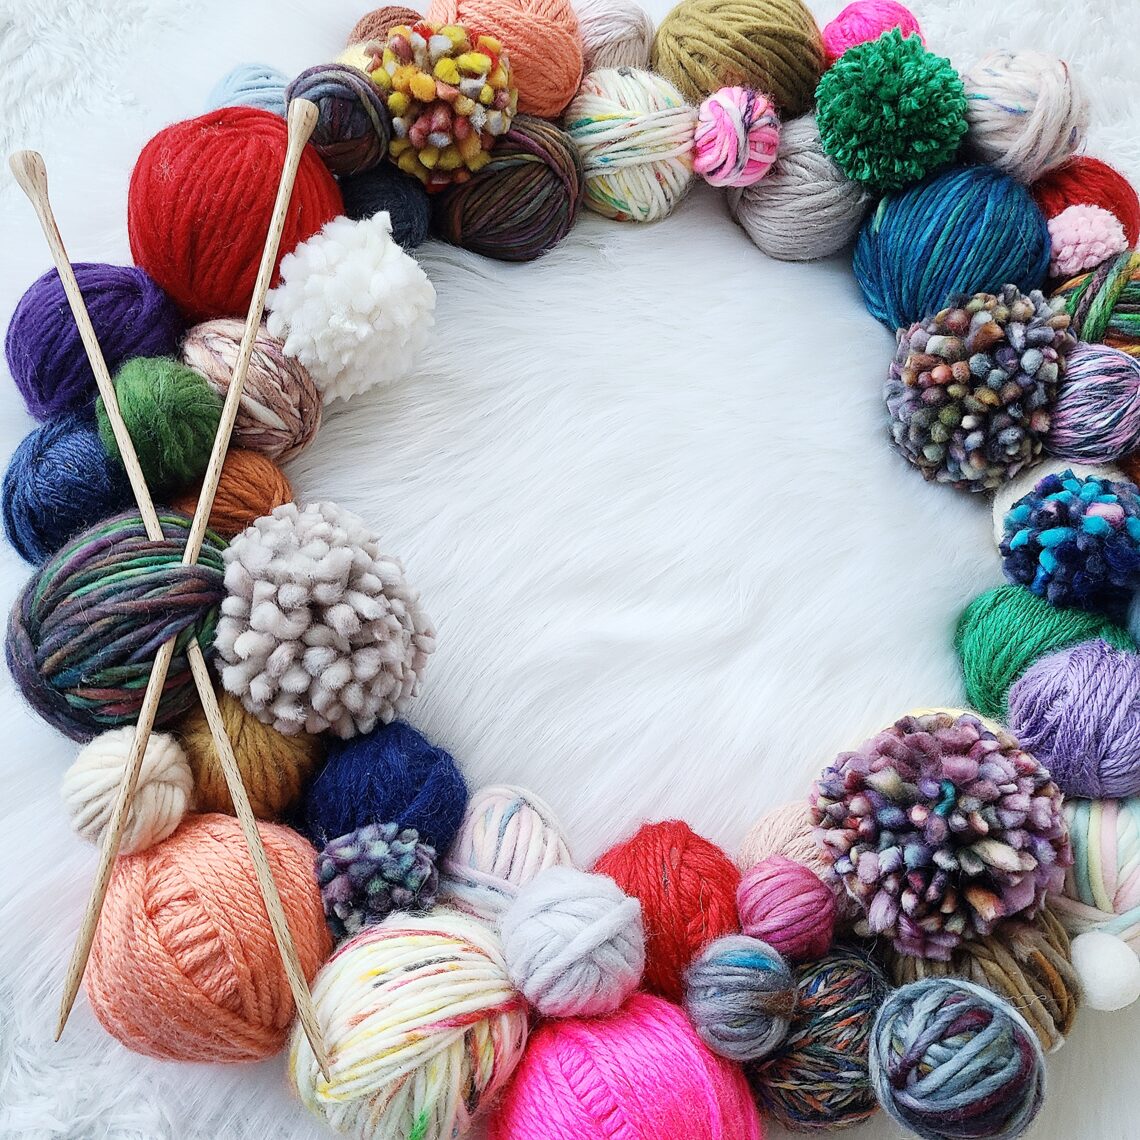
Yarn Ball Wreath *perfect for craft rooms!*
Hi there, Erin from CraftsEverywhere here! Today I’m bringing you a tutorial for this fabulous yarn ball wreath. I’ve been eyeballing projects like this for years (maybe more like decades) and finally made the time to put my own spin on it. These wreaths really are a perfect decor addition to your craft room (or any room), whether you toss everything into a space or have a super organized, themed craft room! I fall somewhere in the middle since I share my main work space with the kids’ art projects and supplies. I’m pretty organized and I have my materials in specific spots but the kids are….not. The room lands somewhere between a gallery for art, a supply area for all my materials, and a dumping ground for all their in-progress projects.
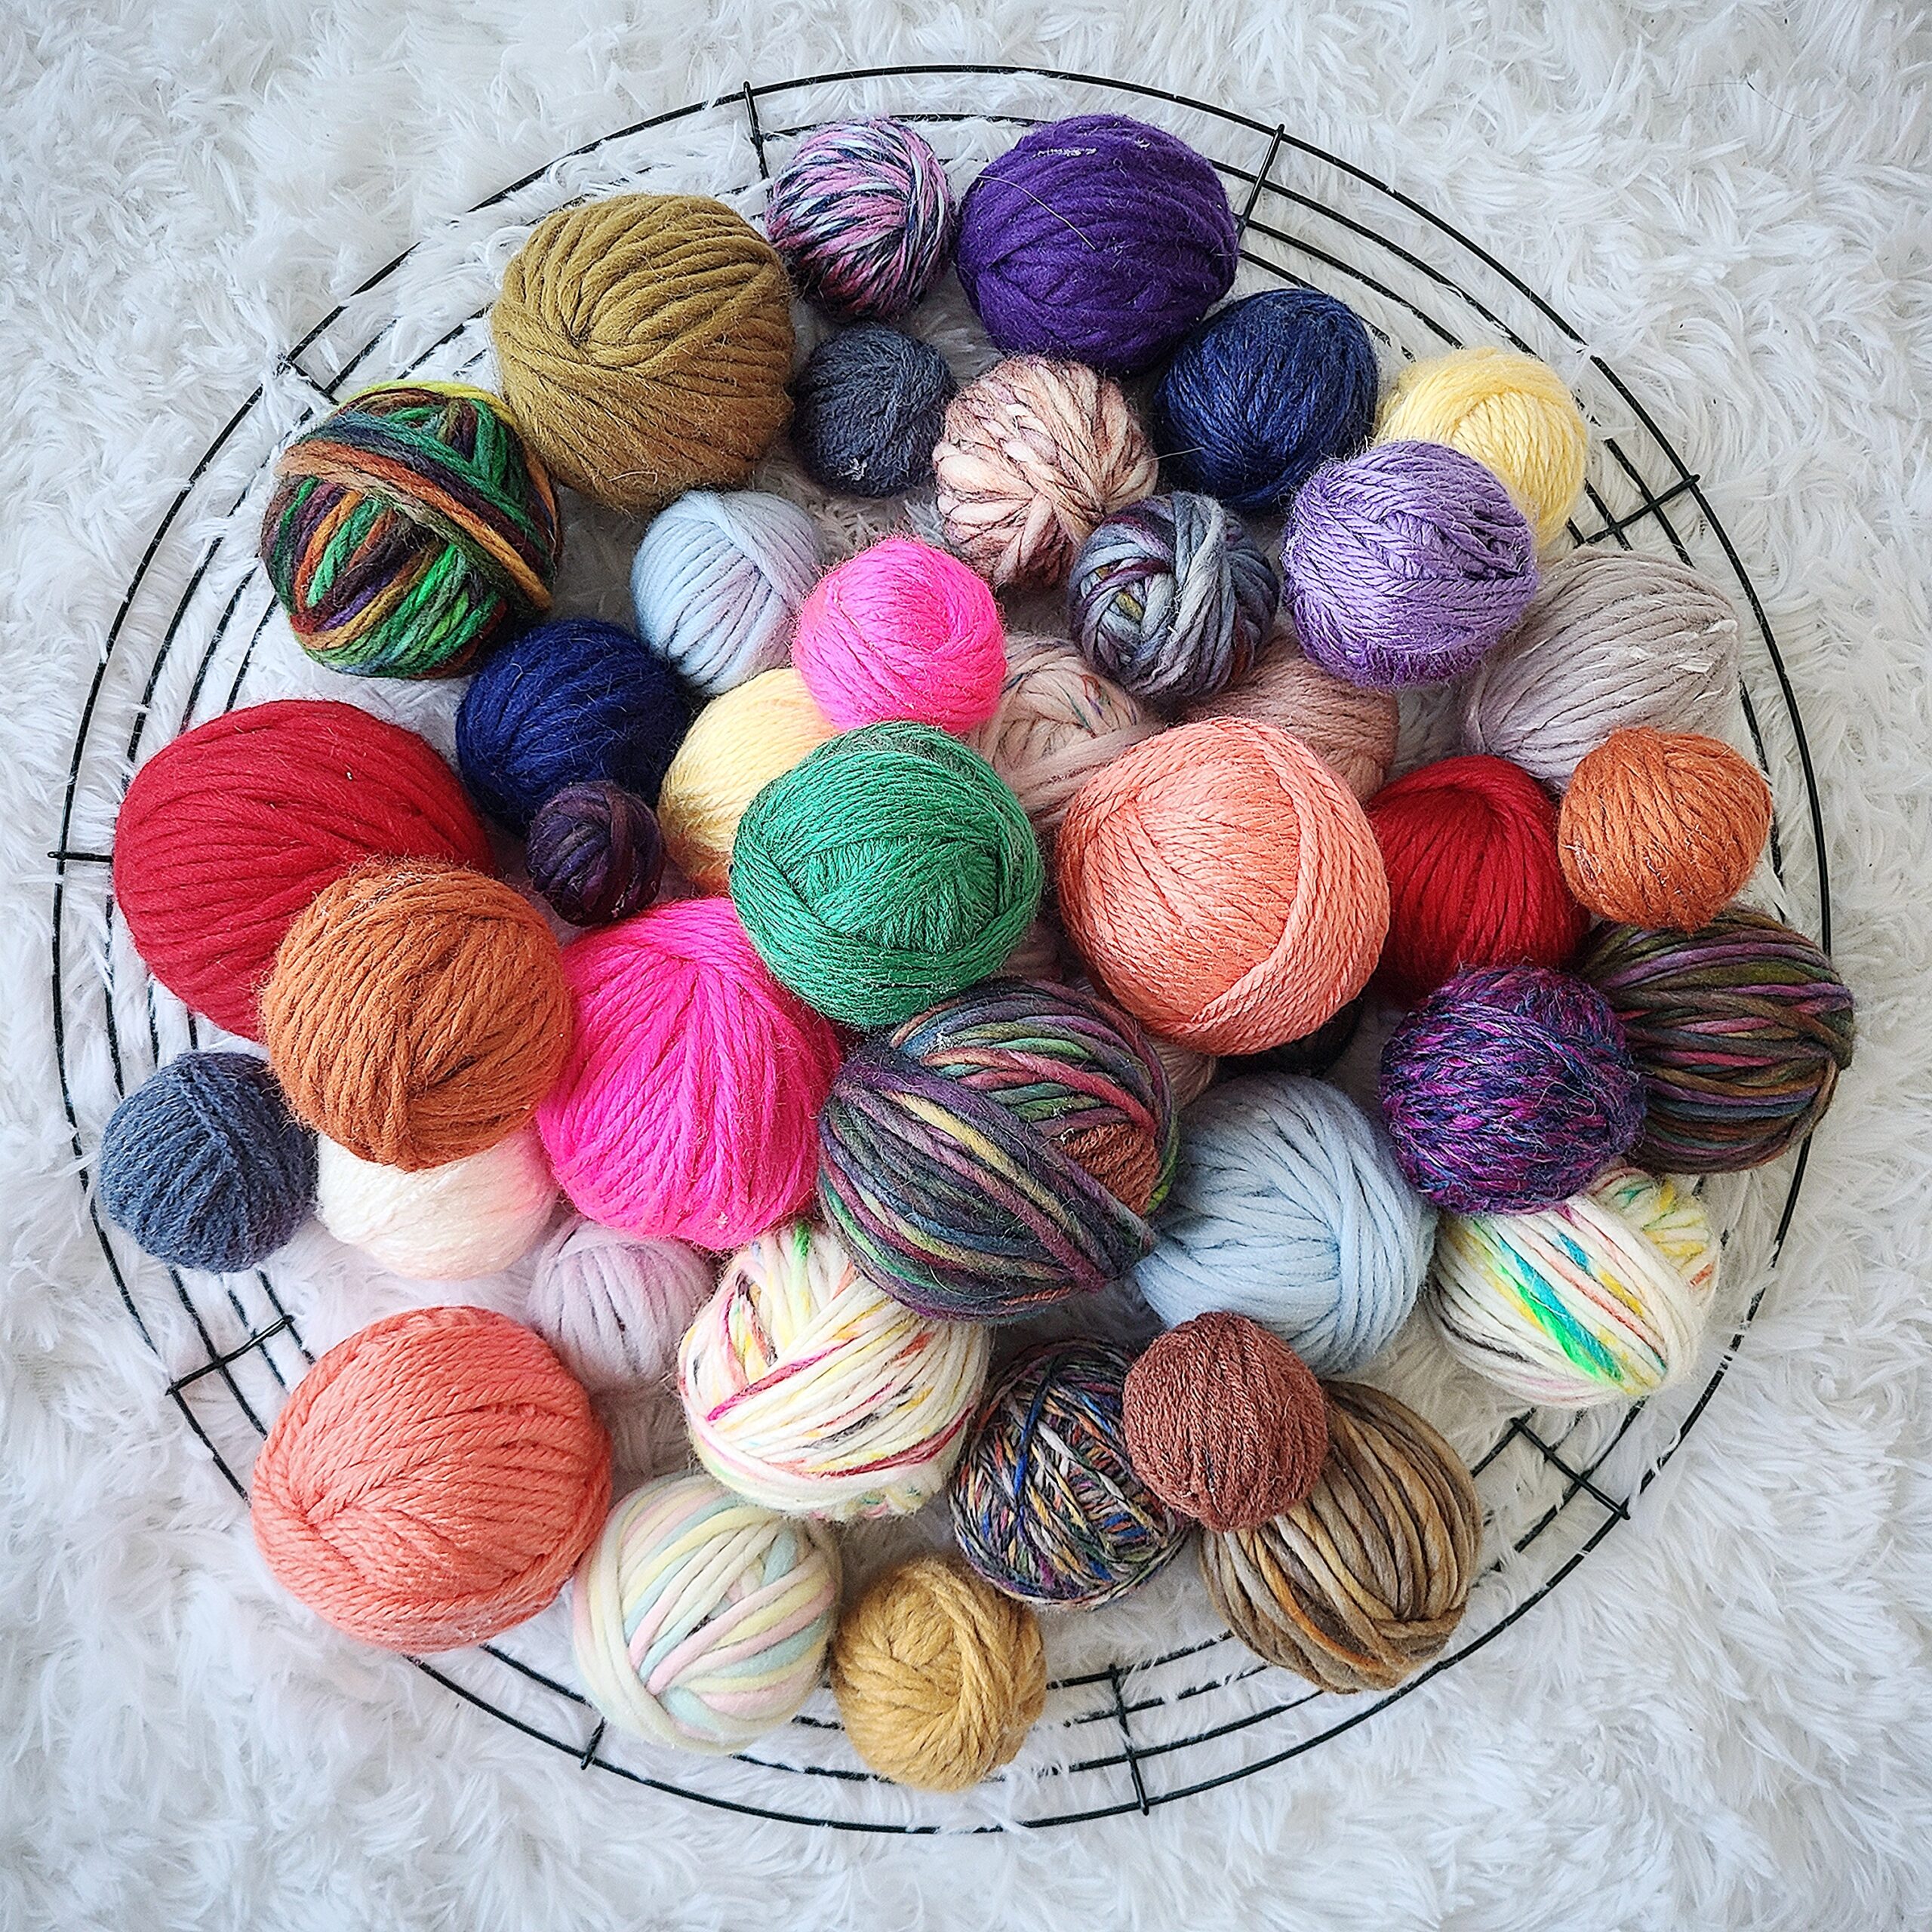
I found this project to be really relaxing during this stressful time of year. Being an artist during the lead-up to Christmas can get crazy stressful so it was nice that I could allow myself to sit for hours and just make yarn balls. Winding the yarn, hot gluing (possibly burning myself), and assembling the wreath was time-consuming but SO worth it. I got to make a project I’ve been thinking of doing forever and use a ton of my scrap yarn to put this beauty together. It will hang in a place of honor above my desk. I made a 20″ wreath, which is pretty big, as I wanted this to be a centerpiece in my craft room. This tutorial can be applied to any sized wire wreath frame. Mini wreaths would be adorable too, and also far less time-consuming than that large one! It took me several days of working on this project for multiple hours to complete so this one is a slow and steady kind of project.
MATERIALS:
- Clover Pom-Pom Makers
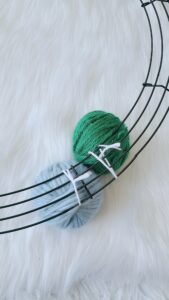
- Scrap yarn in many colors
- Clover Patchwork Scissors
- Hot glue gun
- Clover Darning Needle
- Wire wreath frame
- I used 20″ in the photos, but any size will work and can be found in craft stores and sometimes the dollar store
- Something round for the centers of your yarn balls
- Wool balls
- Foam balls (I used most of this pack for the 20″ wreath)
- Optional:
- Knitting needles or crochet hooks as decoration
- Felting mat
- Felting pen
NOTES:
- Skill Level: Beginner
INSTRUCTIONS FOR YARN BALLS:
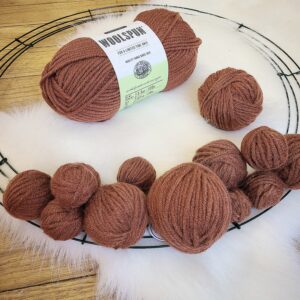
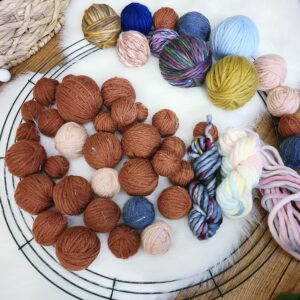
- For the yarn balls, I began the center with a mix of foam and wool balls and then used some reddish orange scrap yarn I had a lot of to make the first layer of yarn. After all of those were made, I added a second layer of yarn from my multi-colored scraps to finish all the yarn balls.
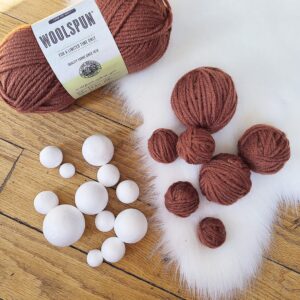
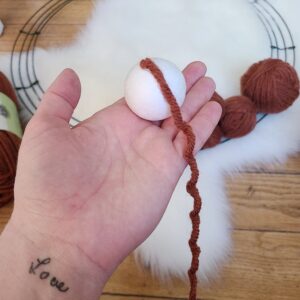

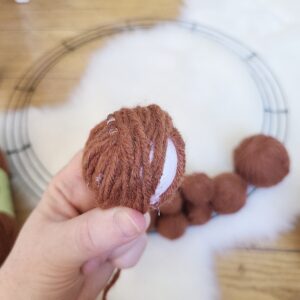
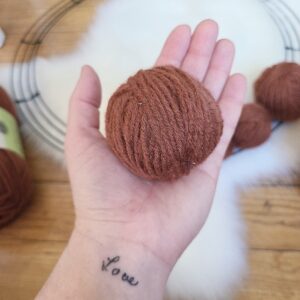

- Here’s how too make the foam center yarn balls (shown in reddish orange yarn):
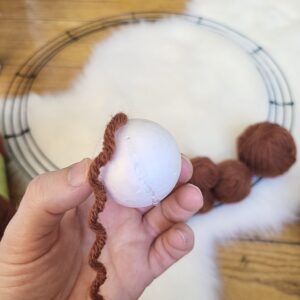
- With your yarn and the center you chose, hot glue the end of the yarn to the ball and then hot glue around the entire center of the ball in a straight line, attaching the yarn as you glue. Continue wrapping the yarn and gluing around the ball until you have covered most of the ball. Then you can glue less frequently and wrap the yarn until the ball is the size you want. Hot glue the end down.
- I repeated the instructions above with a second kind of yarn for almost every one of the yarn balls I made using my higher end (prettier) yarn scraps. This allows you to make more use out of smaller scraps and use up yarn for the centers that you don’t want or use. The below video shows how I did the second layer of yarn.
-
- For some of the smaller yarn balls I added after I had completed most of the wreath, I used a wool center and my felting pen and mat. The video below shows how I make them. You don’t need hot glue for these since you will just be felting the yarn onto the wool center. Just don’t poke yourself; I totally did.
-
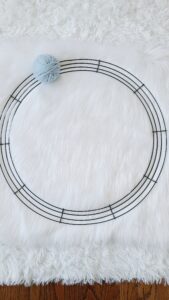
- The third type of pom that I used were some scrap yarn poms that I made from the Malabrigo Rasta scraps I had. They turned out so pretty and are probably my favorite part of the wreath. You can use Clover pom makers for these or with a lot of scraps, I find it easier to assemble them as I show in the video below.
INSTRUCTIONS FOR WREATH ASSEMBLY:
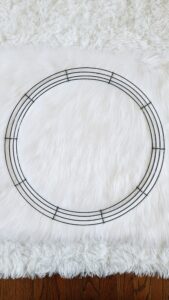
- Start with an empty wire wreath form. I laid all of my yarn balls out on the wreath and took a photo before beginning. It gave me a good idea of the placement I wanted and then I could consult the photo as I placed more of the yarn balls on the wreath.
- I began with various sizes of the foam center yarn balls. These make up the main part of my wreath. I added the smaller wool center yarn balls and scrap yarn poms after most of the wreath was assembled to help fill in gaps.
- To add the ties to each yarn ball, take a long, sharp needle and thread it with an 8-10″ piece of yarn or string. Stick the needle through one side of the yarn ball and out the other at an angle, enough that it’s close to the center of the ball and won’t pull out. See how I did it in the video below.
- Once you start placing all of the yarn balls, it is easiest to tie several together and loop the yarn ties through and around the wire. This will give the entire wreath more security.
- I didn’t want to use any hot glue to put the wreath together because that method usually has some pieces falling off of other wreaths I’ve made after a few years.
- Tweak things as needed until you get the look you want, adding or moving around the yarn balls. Add crochet hooks or needles if desired. I had this long pair of wooden straight needles that I will never use for actual knitting so they get to go on the wreath instead. Get yourself a heavy duty hook, hang in a place of honor and admire that baby for years to come.
Now that you’ve finished your yarn ball wreath, make sure to show it off on social media by tagging me using @craftseverywhere on Instagram or Facebook!
If you have any questions regarding the tutorial, don’t hesitate to contact me at erin.oetker@gmail.com or through my messages on my Etsy or Instagram.
If you want to keep up with me, Erin, on social media for other fun projects, follow me on social media: Instagram | Facebook | Ravelry | Etsy
If you want to keep up with all things Clover, follow us on: Facebook | Twitter | Instagram | Pinterest | YouTube | Ravelry