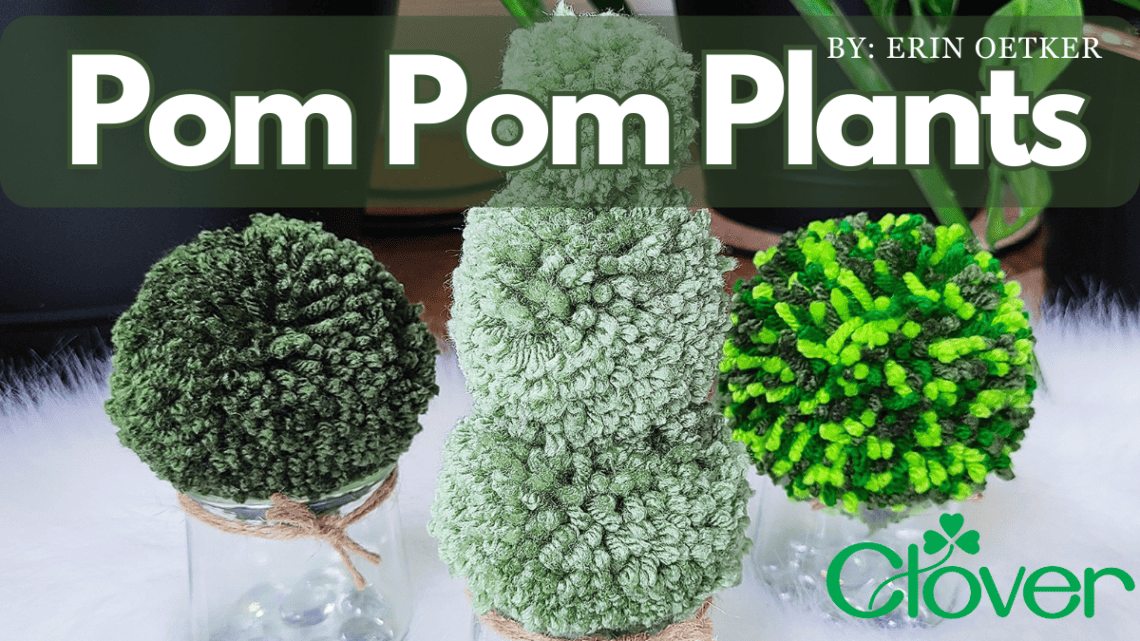
Pom Pom Plants
Hi there, Erin from CraftsEverywhere here! Today I’m bringing you a tutorial for these adorable pom pom “plants”. They’re perfect to make with the kids for Mother’s Day, for anyone that has black thumbs or wants no-maintenance plants. You can make them many different ways so they are a fun, easy craft project for any age.
Now that it’s spring, I like pretty, colorful things on the windowsills and these are a perfect addition. Make them in green or rainbow or any color combo you can think of. Gather up the materials for the next rainy day and make away!
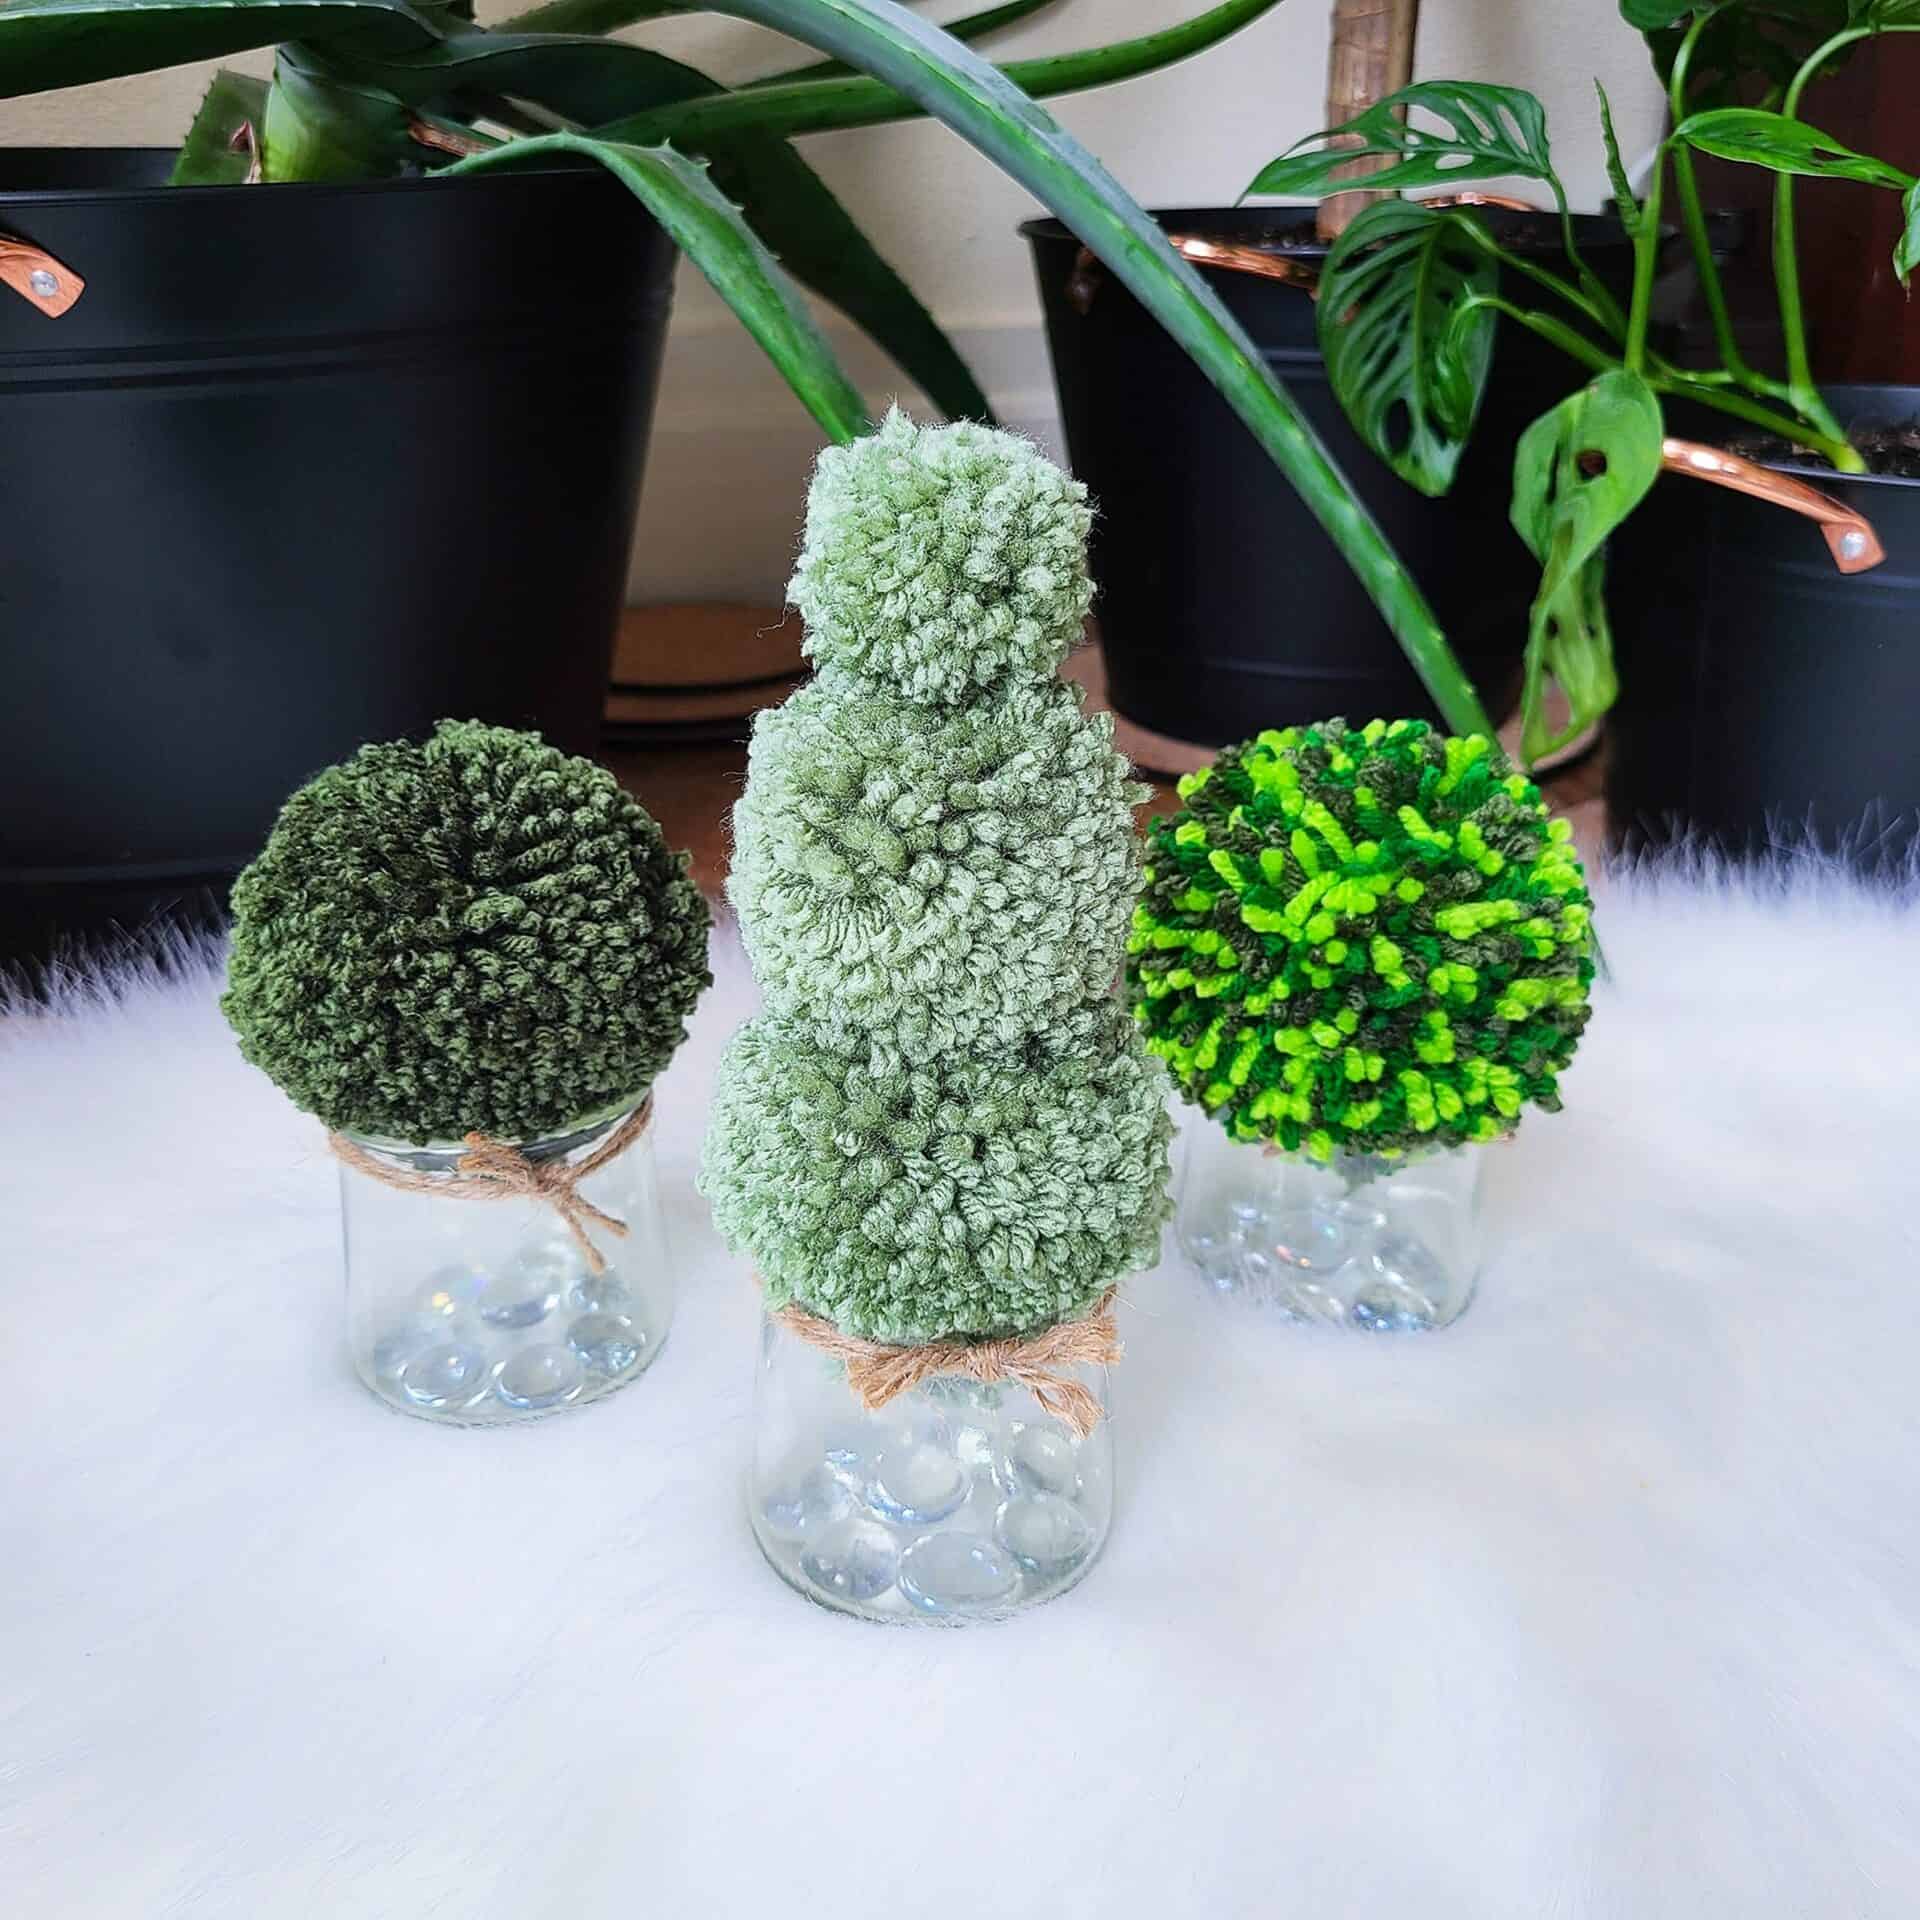
I used all different sizes of Clover Pom Makers to make the pom pom plants that are shown in the photos. You can stack the poms, make singles or make a little topiary tree. Read on for lots of pictures, examples and the tutorials.
Skill Level
Beginner
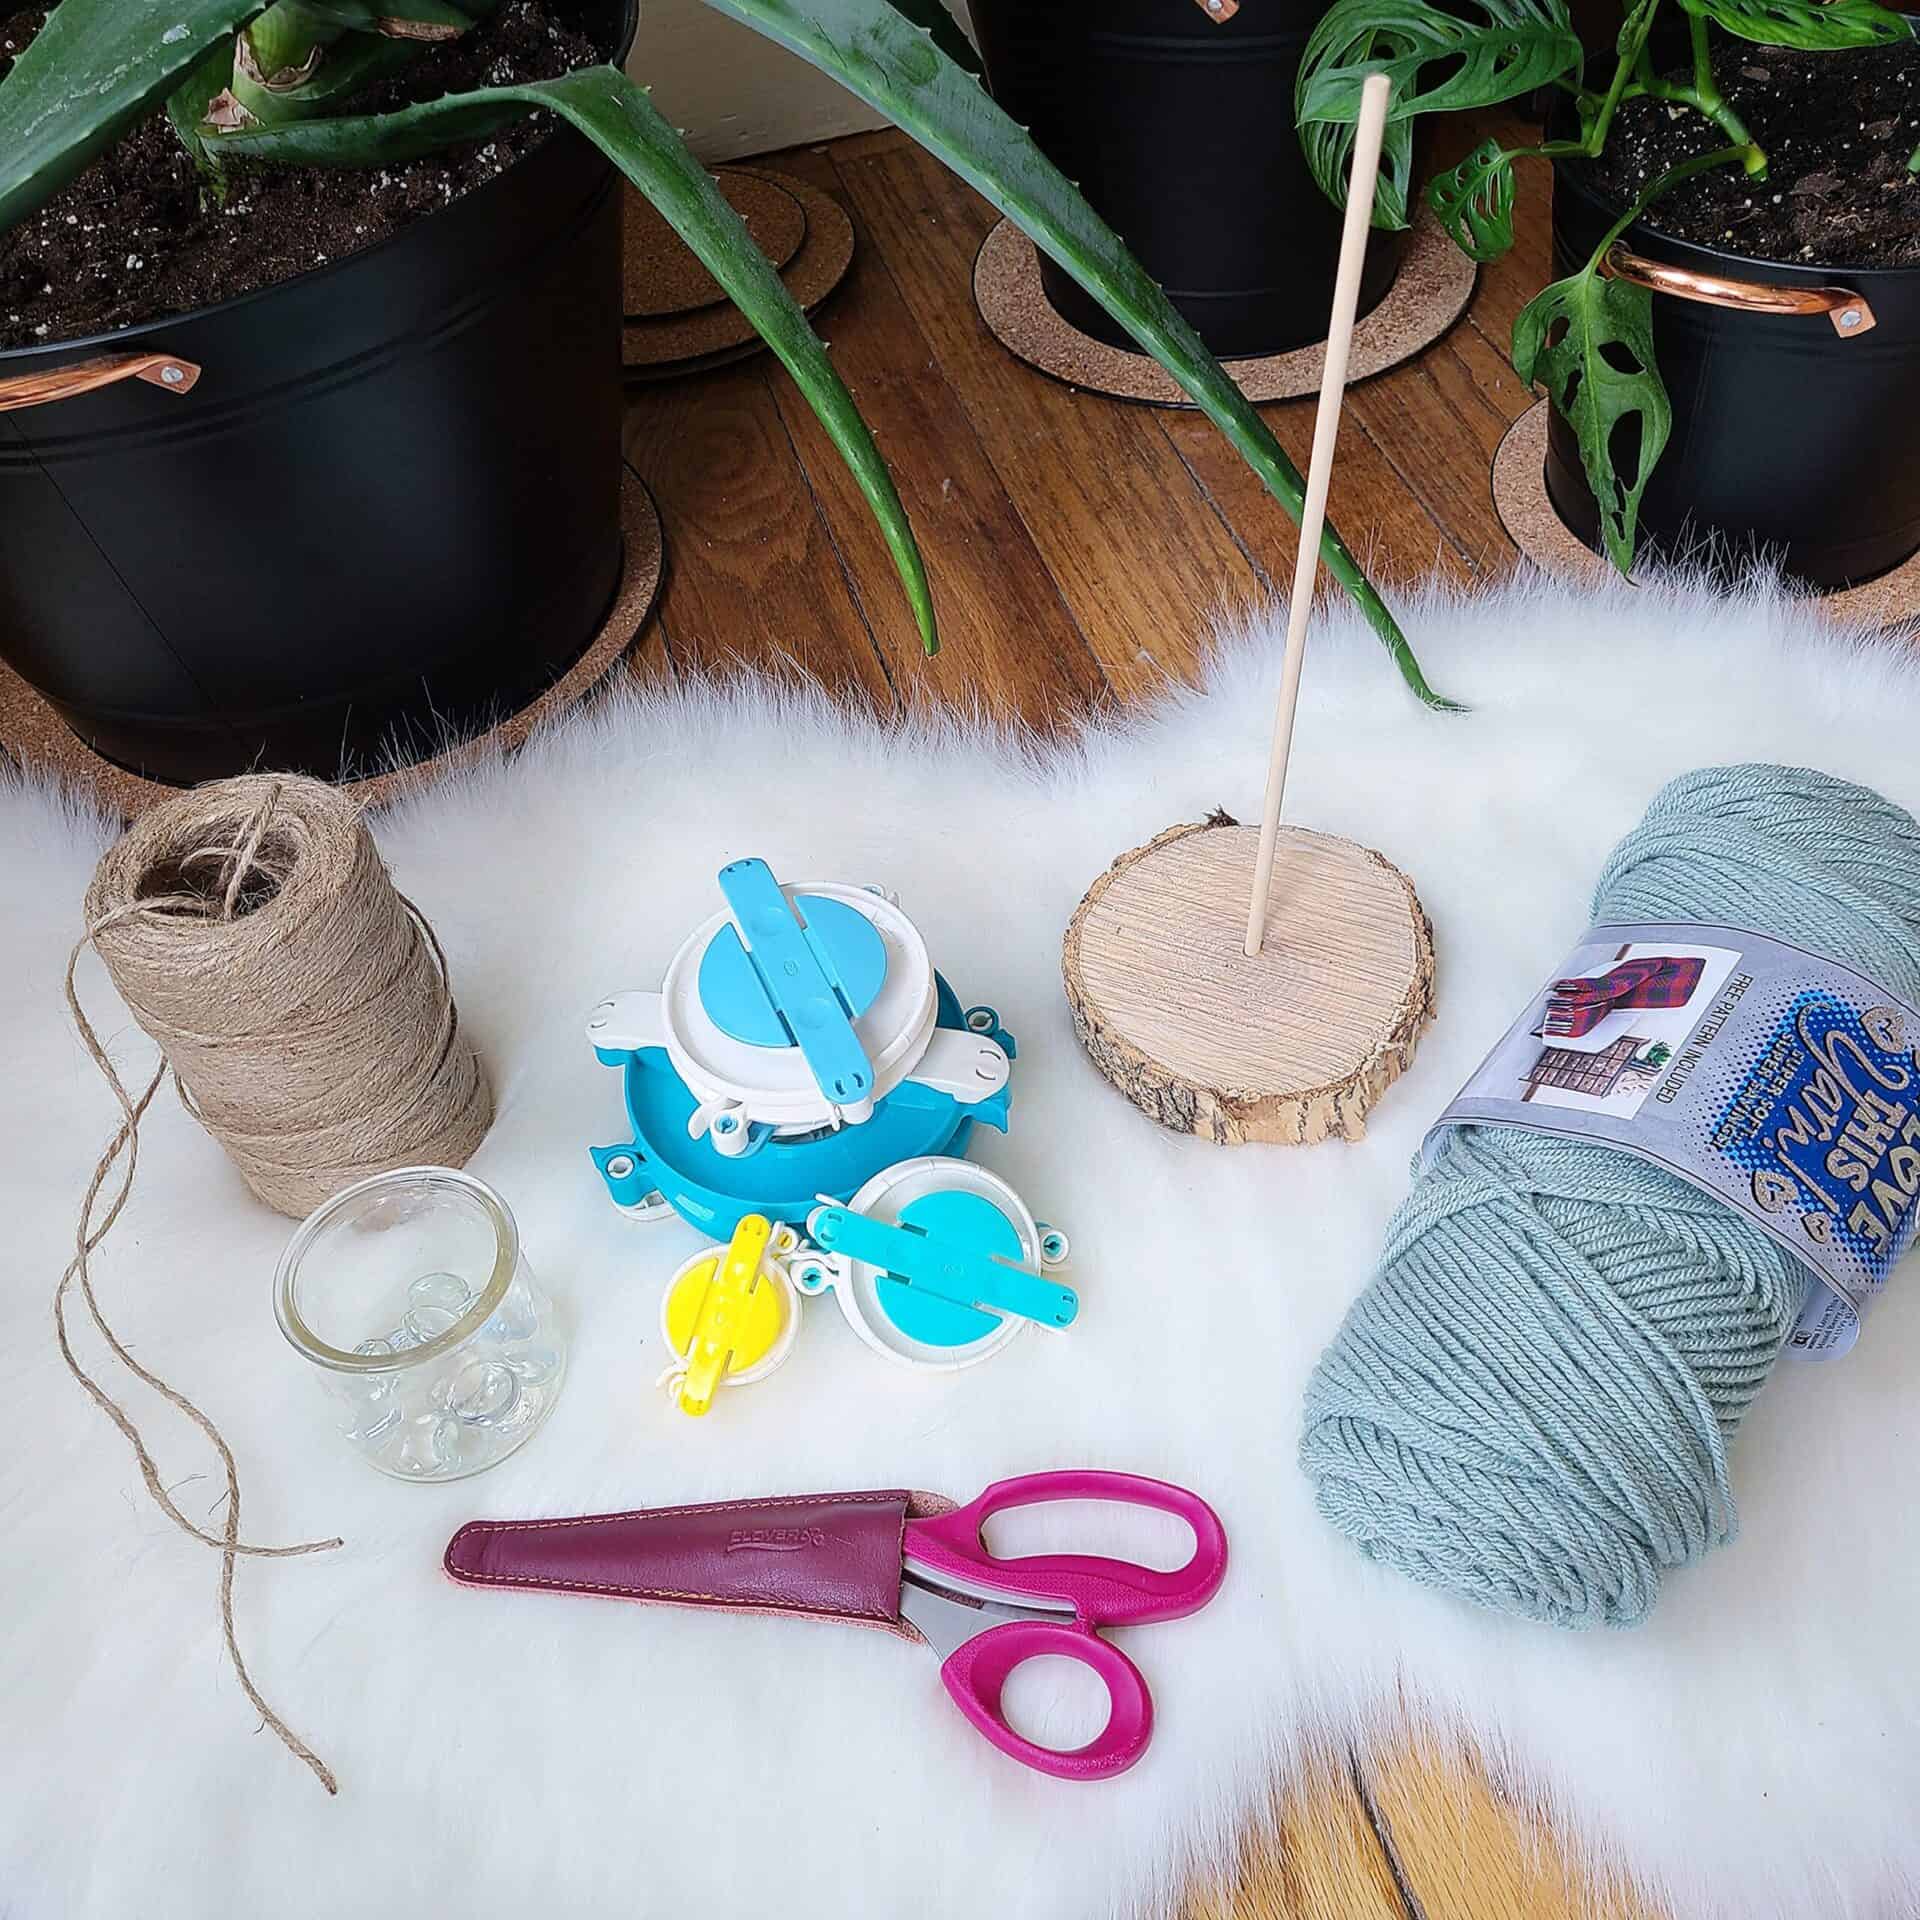
Materials
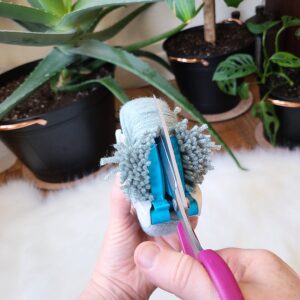
- Clover Pom Makers – (Art No. 3129, Art No. 3128)
- Yarn in at least one color
- Patchwork Scissors – (Art No. 493)
- Hot glue gun
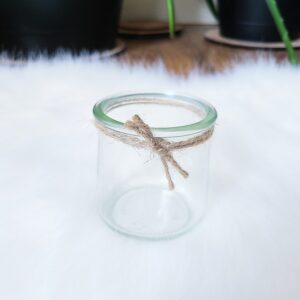
- Glass jar (I used an empty Oui yogurt container but small mason jars or similar will also work perfectly)
- Optional:
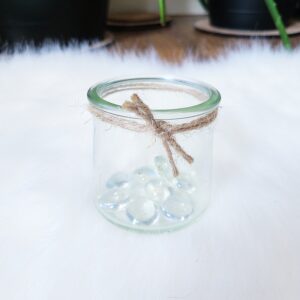
- Glass Beads
- Yarn, twine or string to tie around jar
- Wooden dowel and wood round for topiary style (You can get these or similar at Hobby Lobby or other craft stores)
Basic Version Instructions
To make the basic version with one pom:
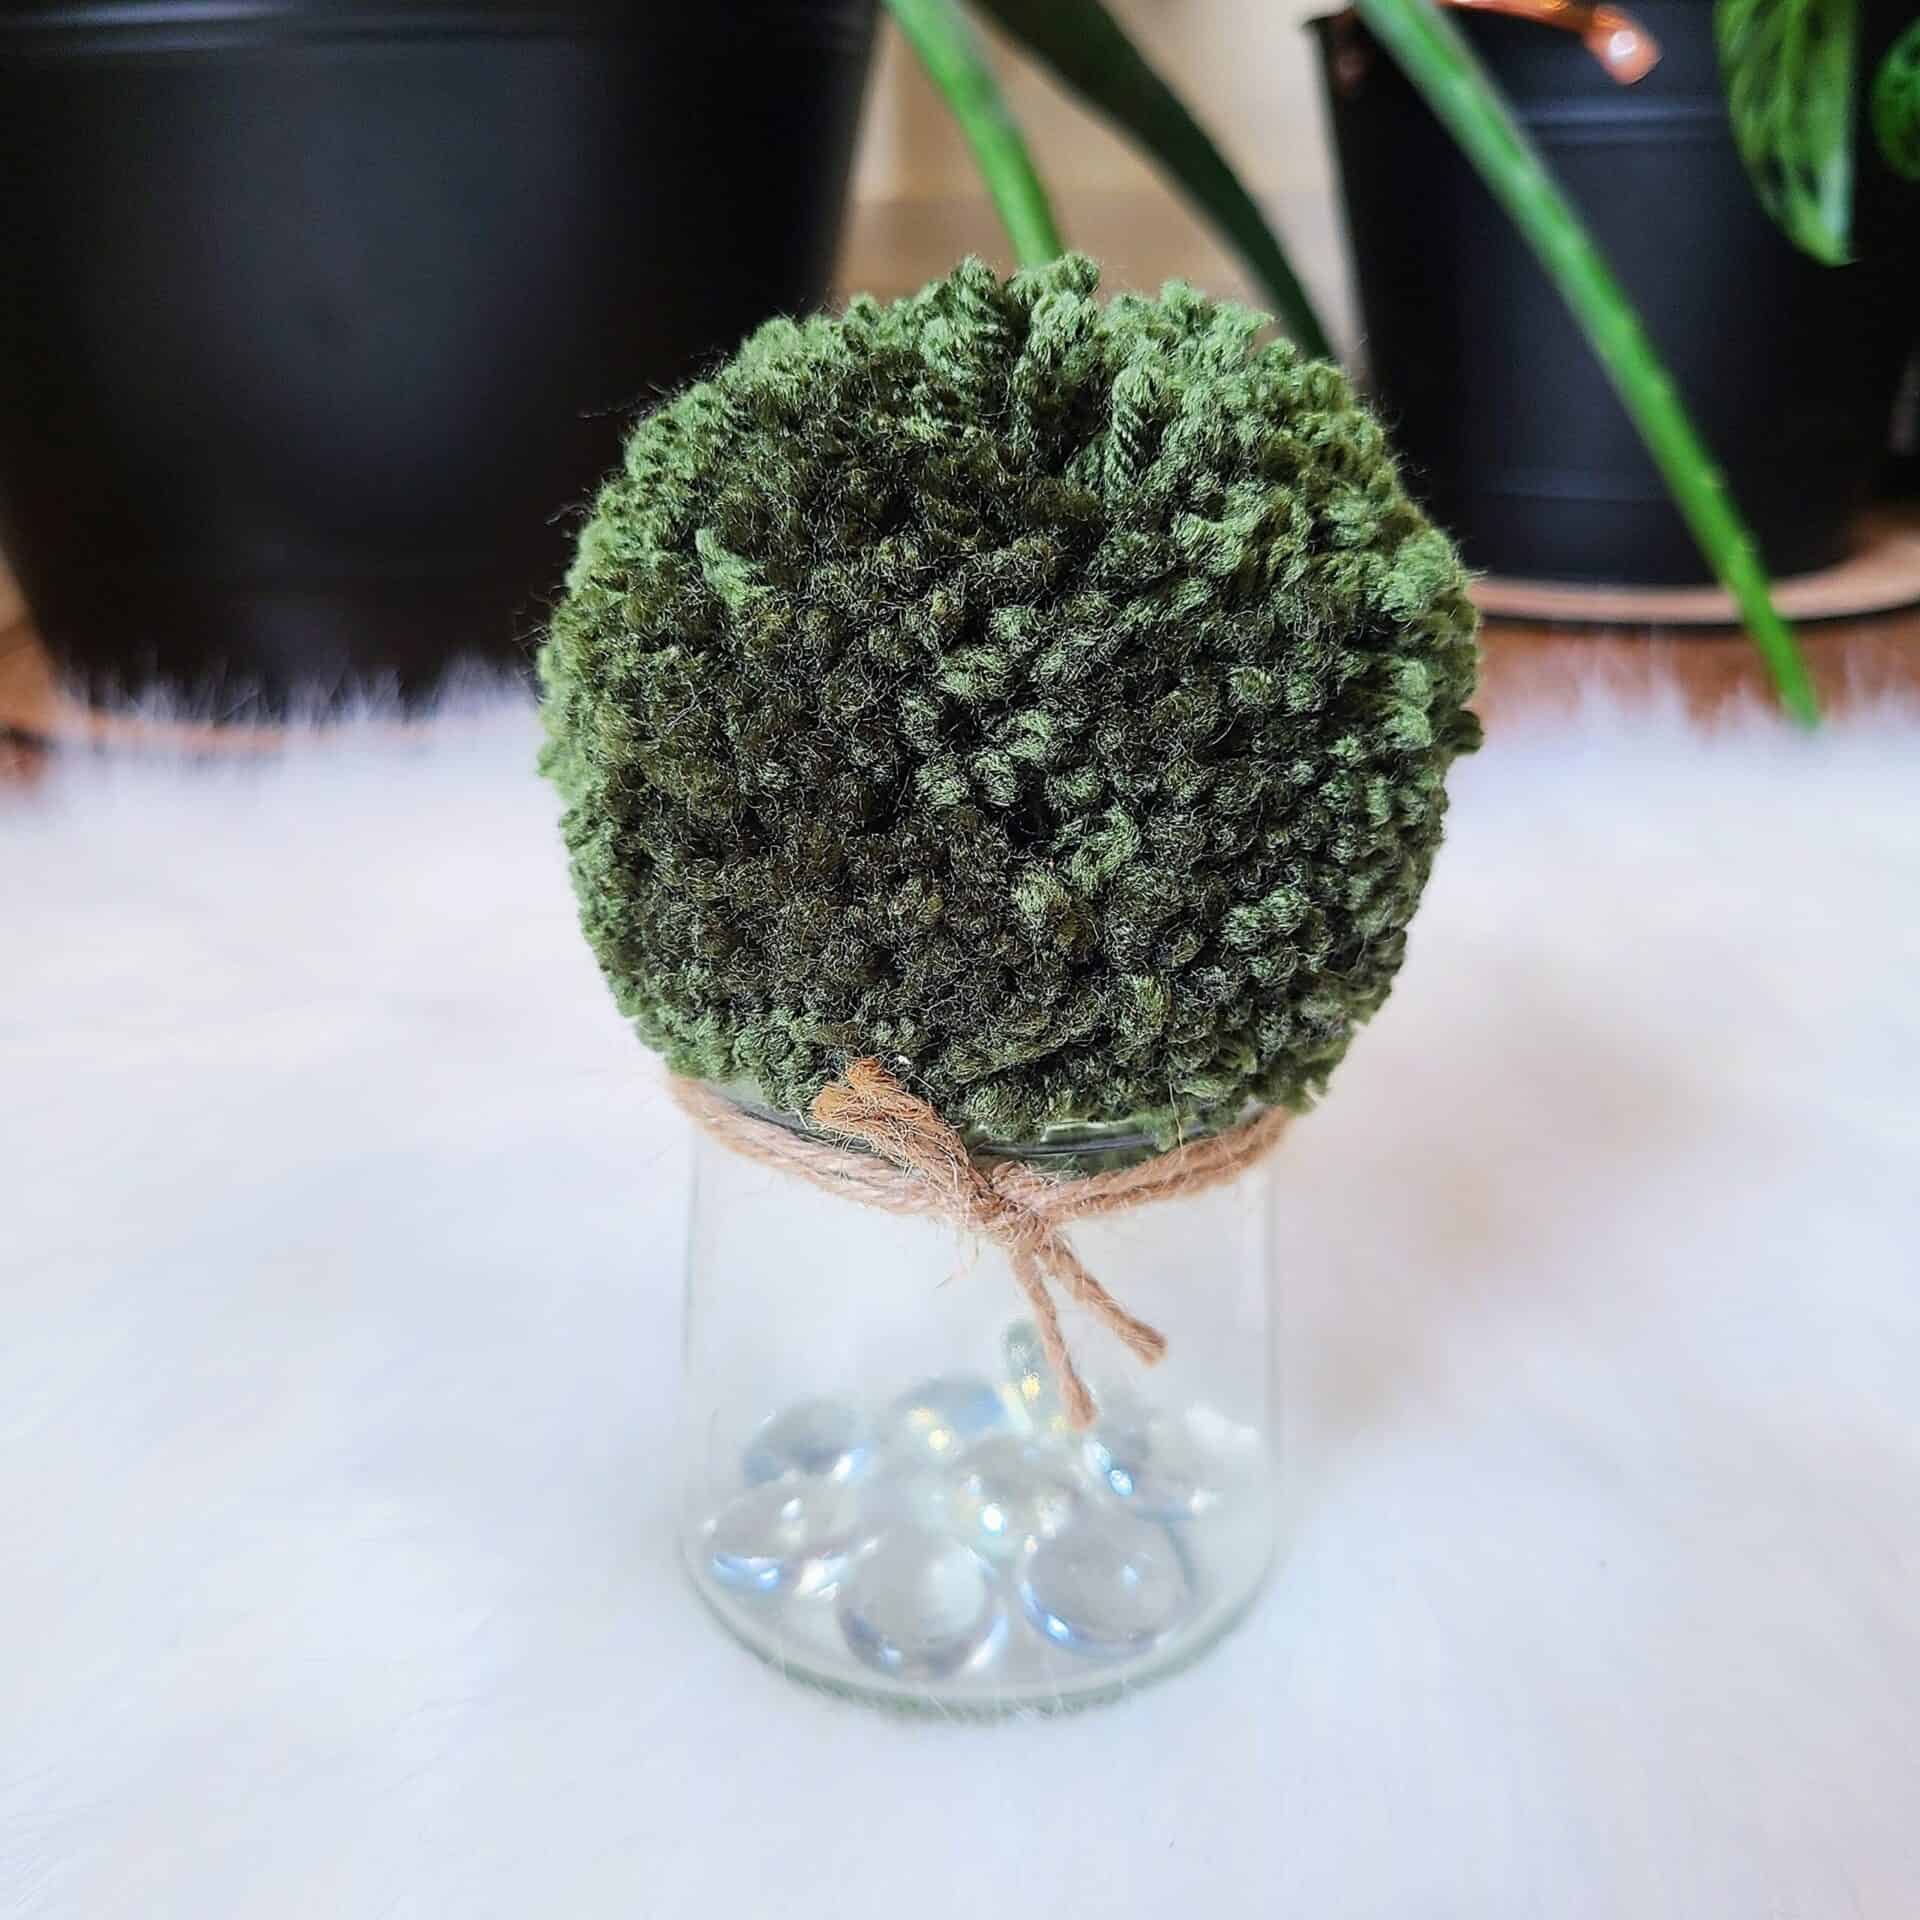
1. Make the pom in your choice of color and trim evenly. I like to use the 3 3/8″ (85 mm) pom maker for the yogurt jar pictured because it fills it up nicely without falling into the bottom.
2. Cut a length of twine, string or yarn and tie around the lip of the glass jar. Trim to the desired length.
3. Add glass beads to the bottom of the jar.
4. Plop that pom pom on top of the jar and admire your handiwork!
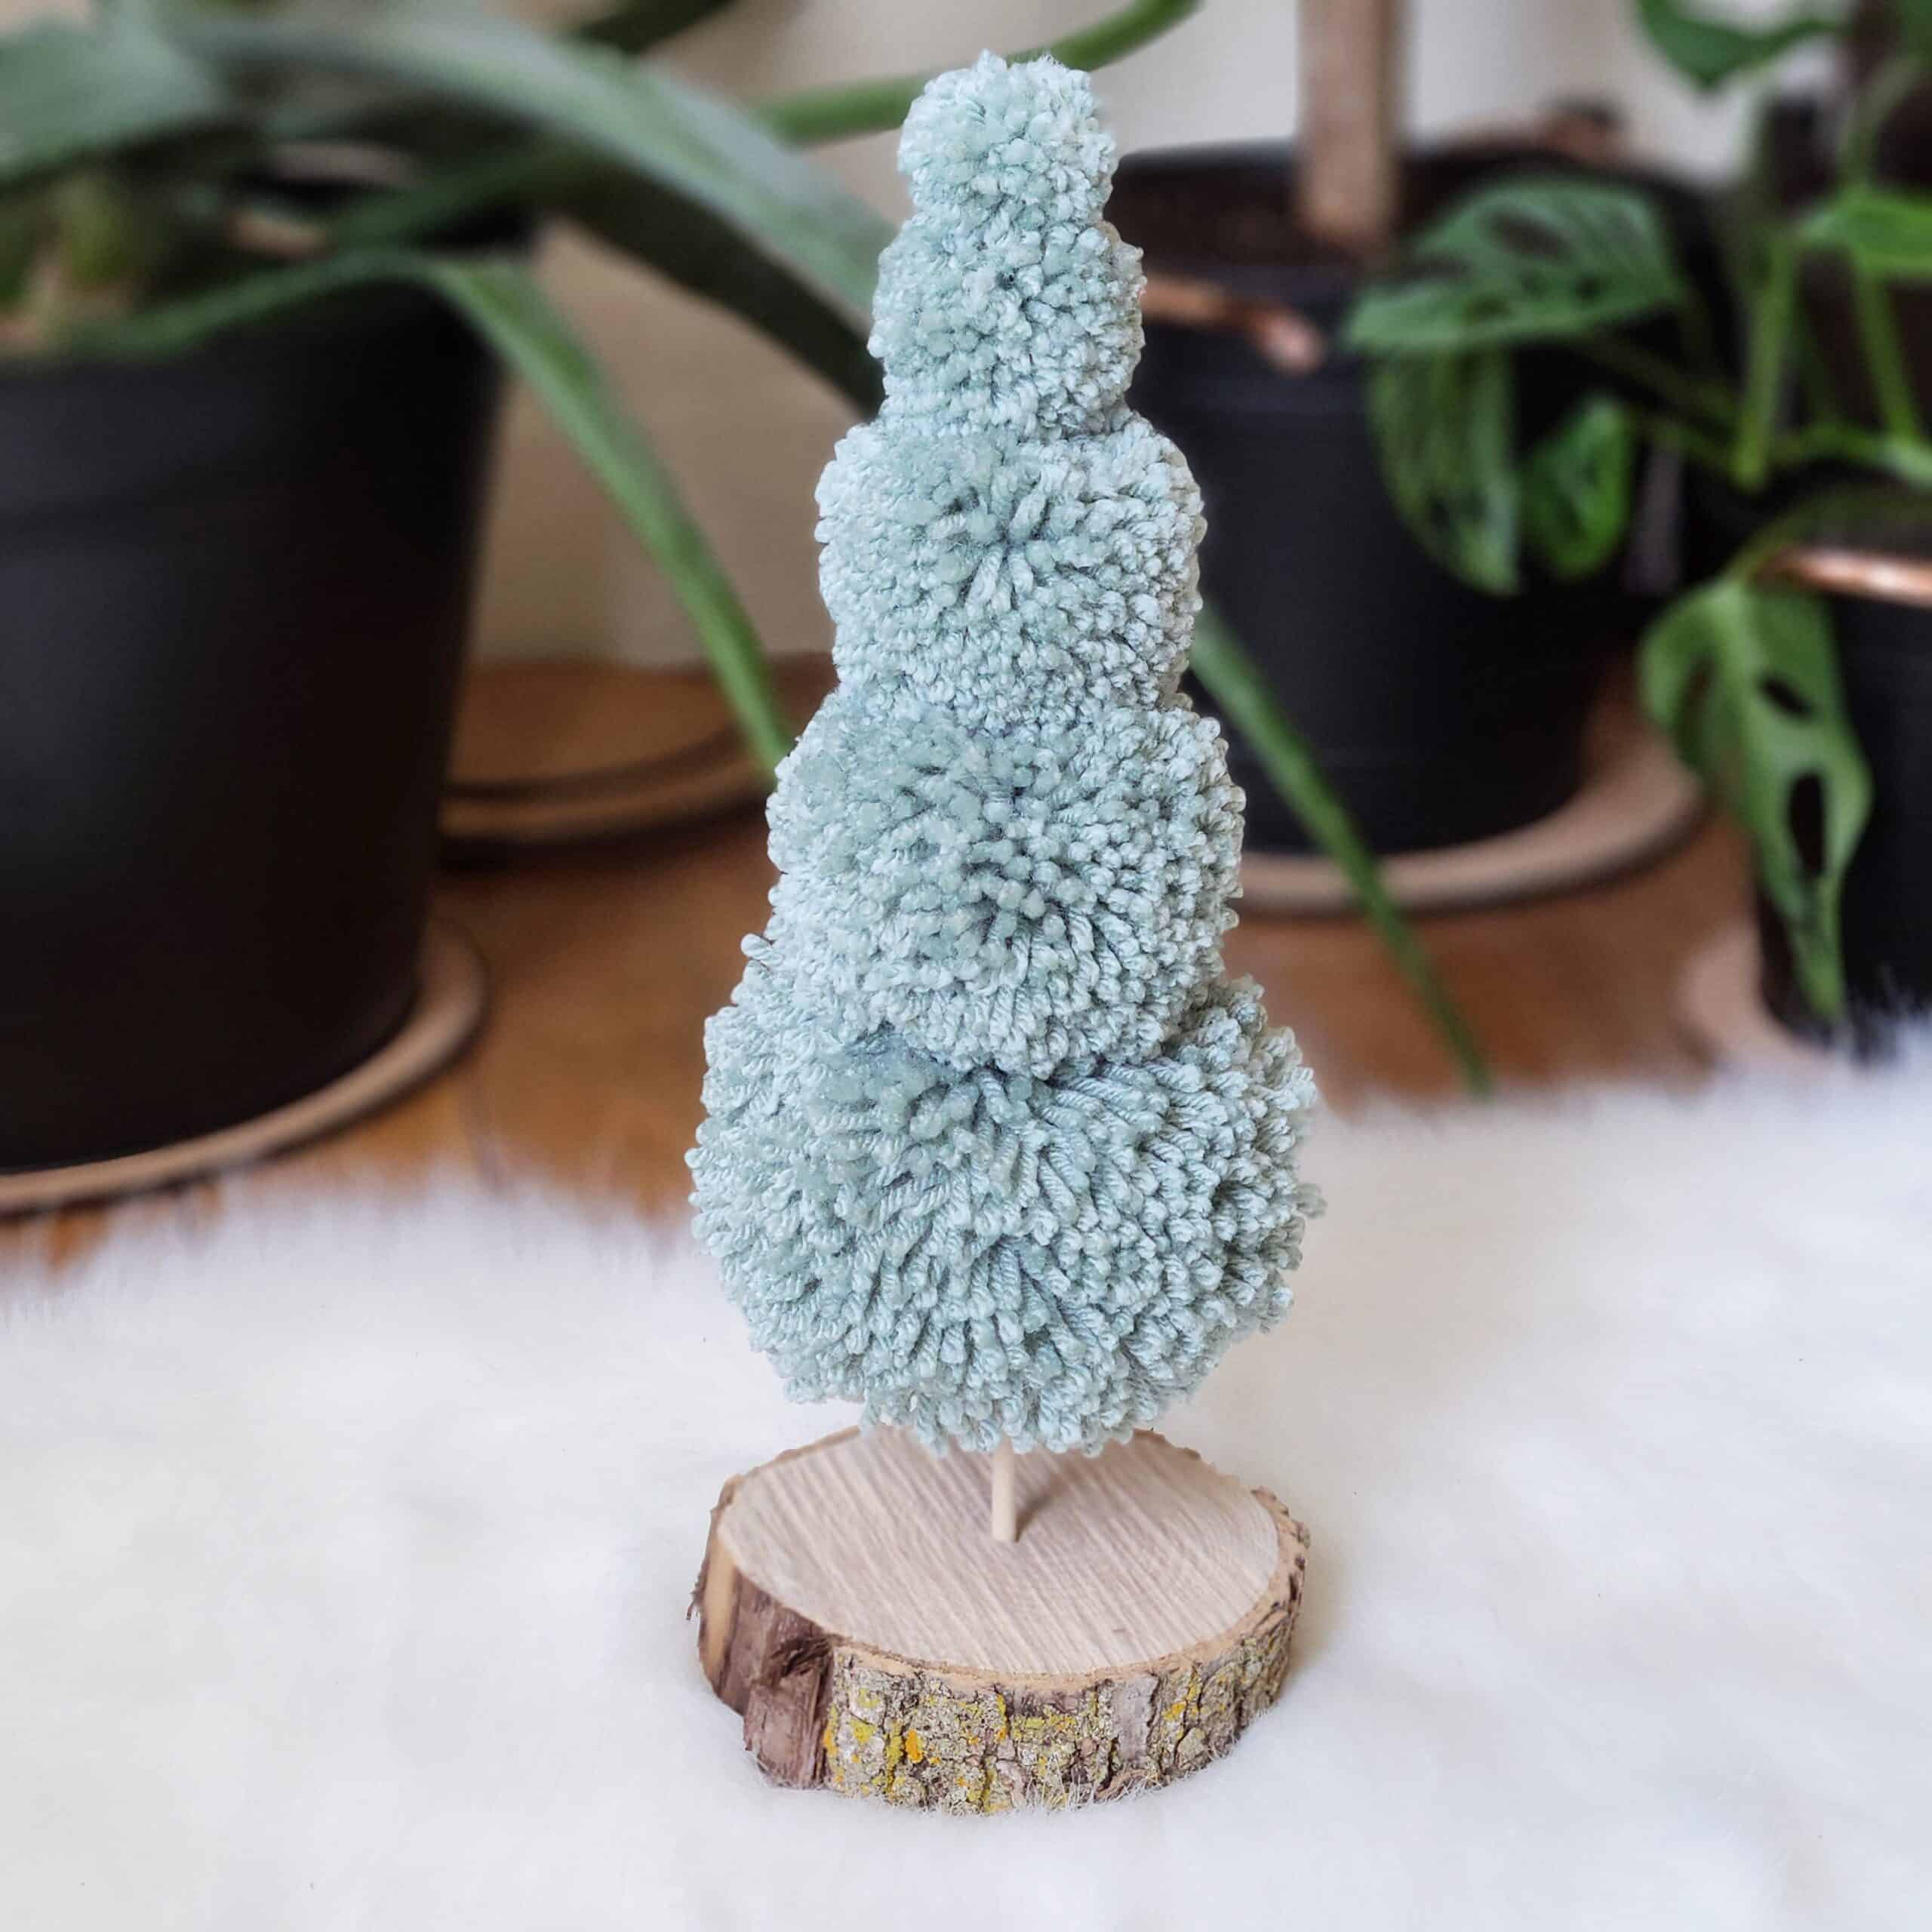
The photos below show a tree version that I made with a wooden round and a dowel by drilling a hole in the wooden round and wood gluing the dowel into the hole. You can find similar materials to the ones I used at craft stores or your back yard if you have trees.
You can also put multiple poms on a smaller dowel and then place the whole thing on a glass jar as seen in the video above.
Topiary Instructions
To make the topiary tree version with multiple poms:
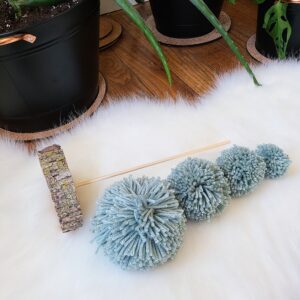
1. Make the poms in your choice of color(s) and trim evenly. I use several sizes stacked so it looks more like a tree.
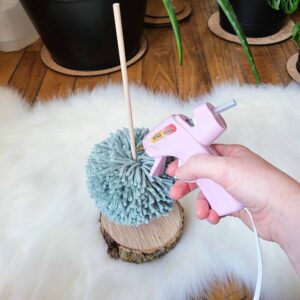
2. Place the largest pom at the bottom of the dowel first, making sure that you slide the dowel through the middle of the pom on the inside of where you tied the center.
3. Hot glue from both the top and the bottom around the dowel so it doesn’t slide around.

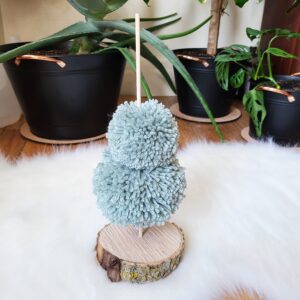
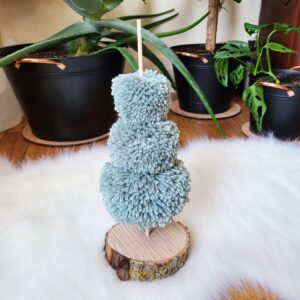
4. Continue to stack the poms by size, biggest to smallest, gluing around the dowel as you go to keep the poms in place. Add the smallest one last, making sure that it covers the top of the dowel and glue in place.
5. Trim any loose strands and fluff each pom.
Now that you’ve finished your pom pom plants, make sure to show them off on social media by tagging me using @craftseverywhere on Instagram or Facebook!
If you have any questions regarding the tutorial, don’t hesitate to contact me at erin.oetker@gmail.com or through my messages on Etsy or Instagram.
Erin
Find CraftsEverywhere on social media! Instagram | Facebook | Ravelry | Etsy
Stay connected with Clover on Facebook | Twitter | Instagram | Pinterest | YouTube | Ravelry