Mountain Road Pumpkin: Knitting Pattern
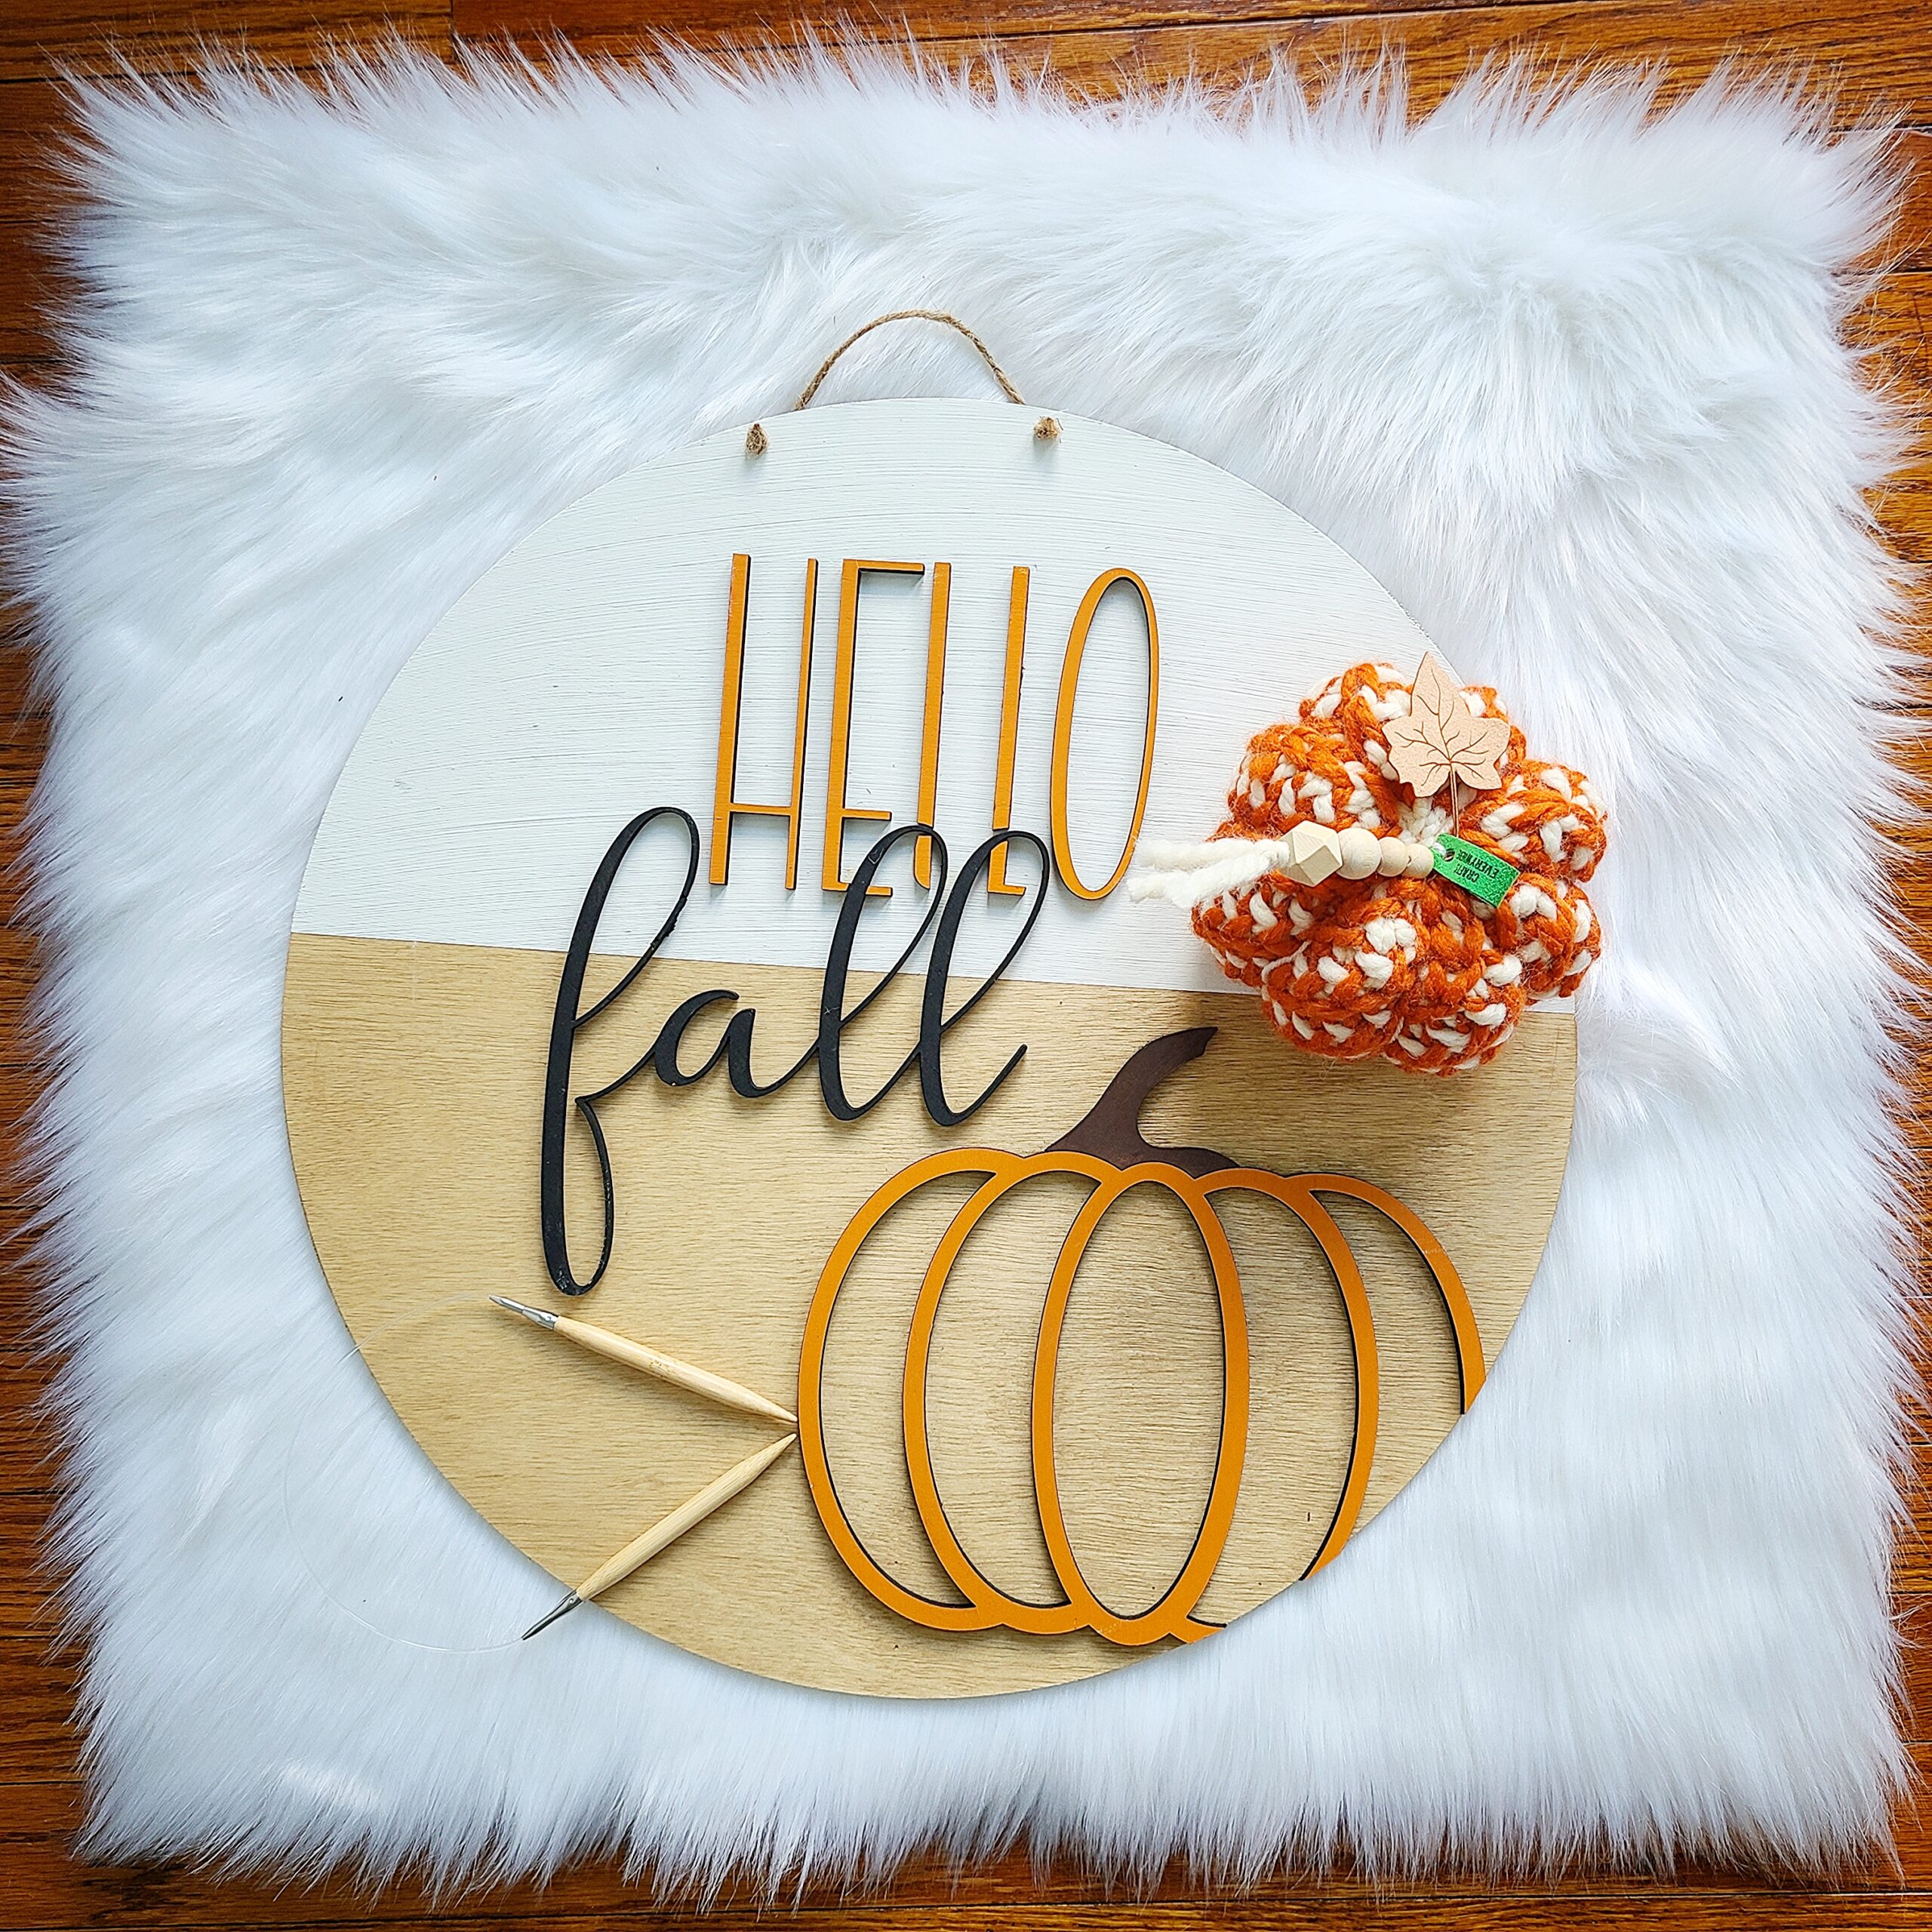
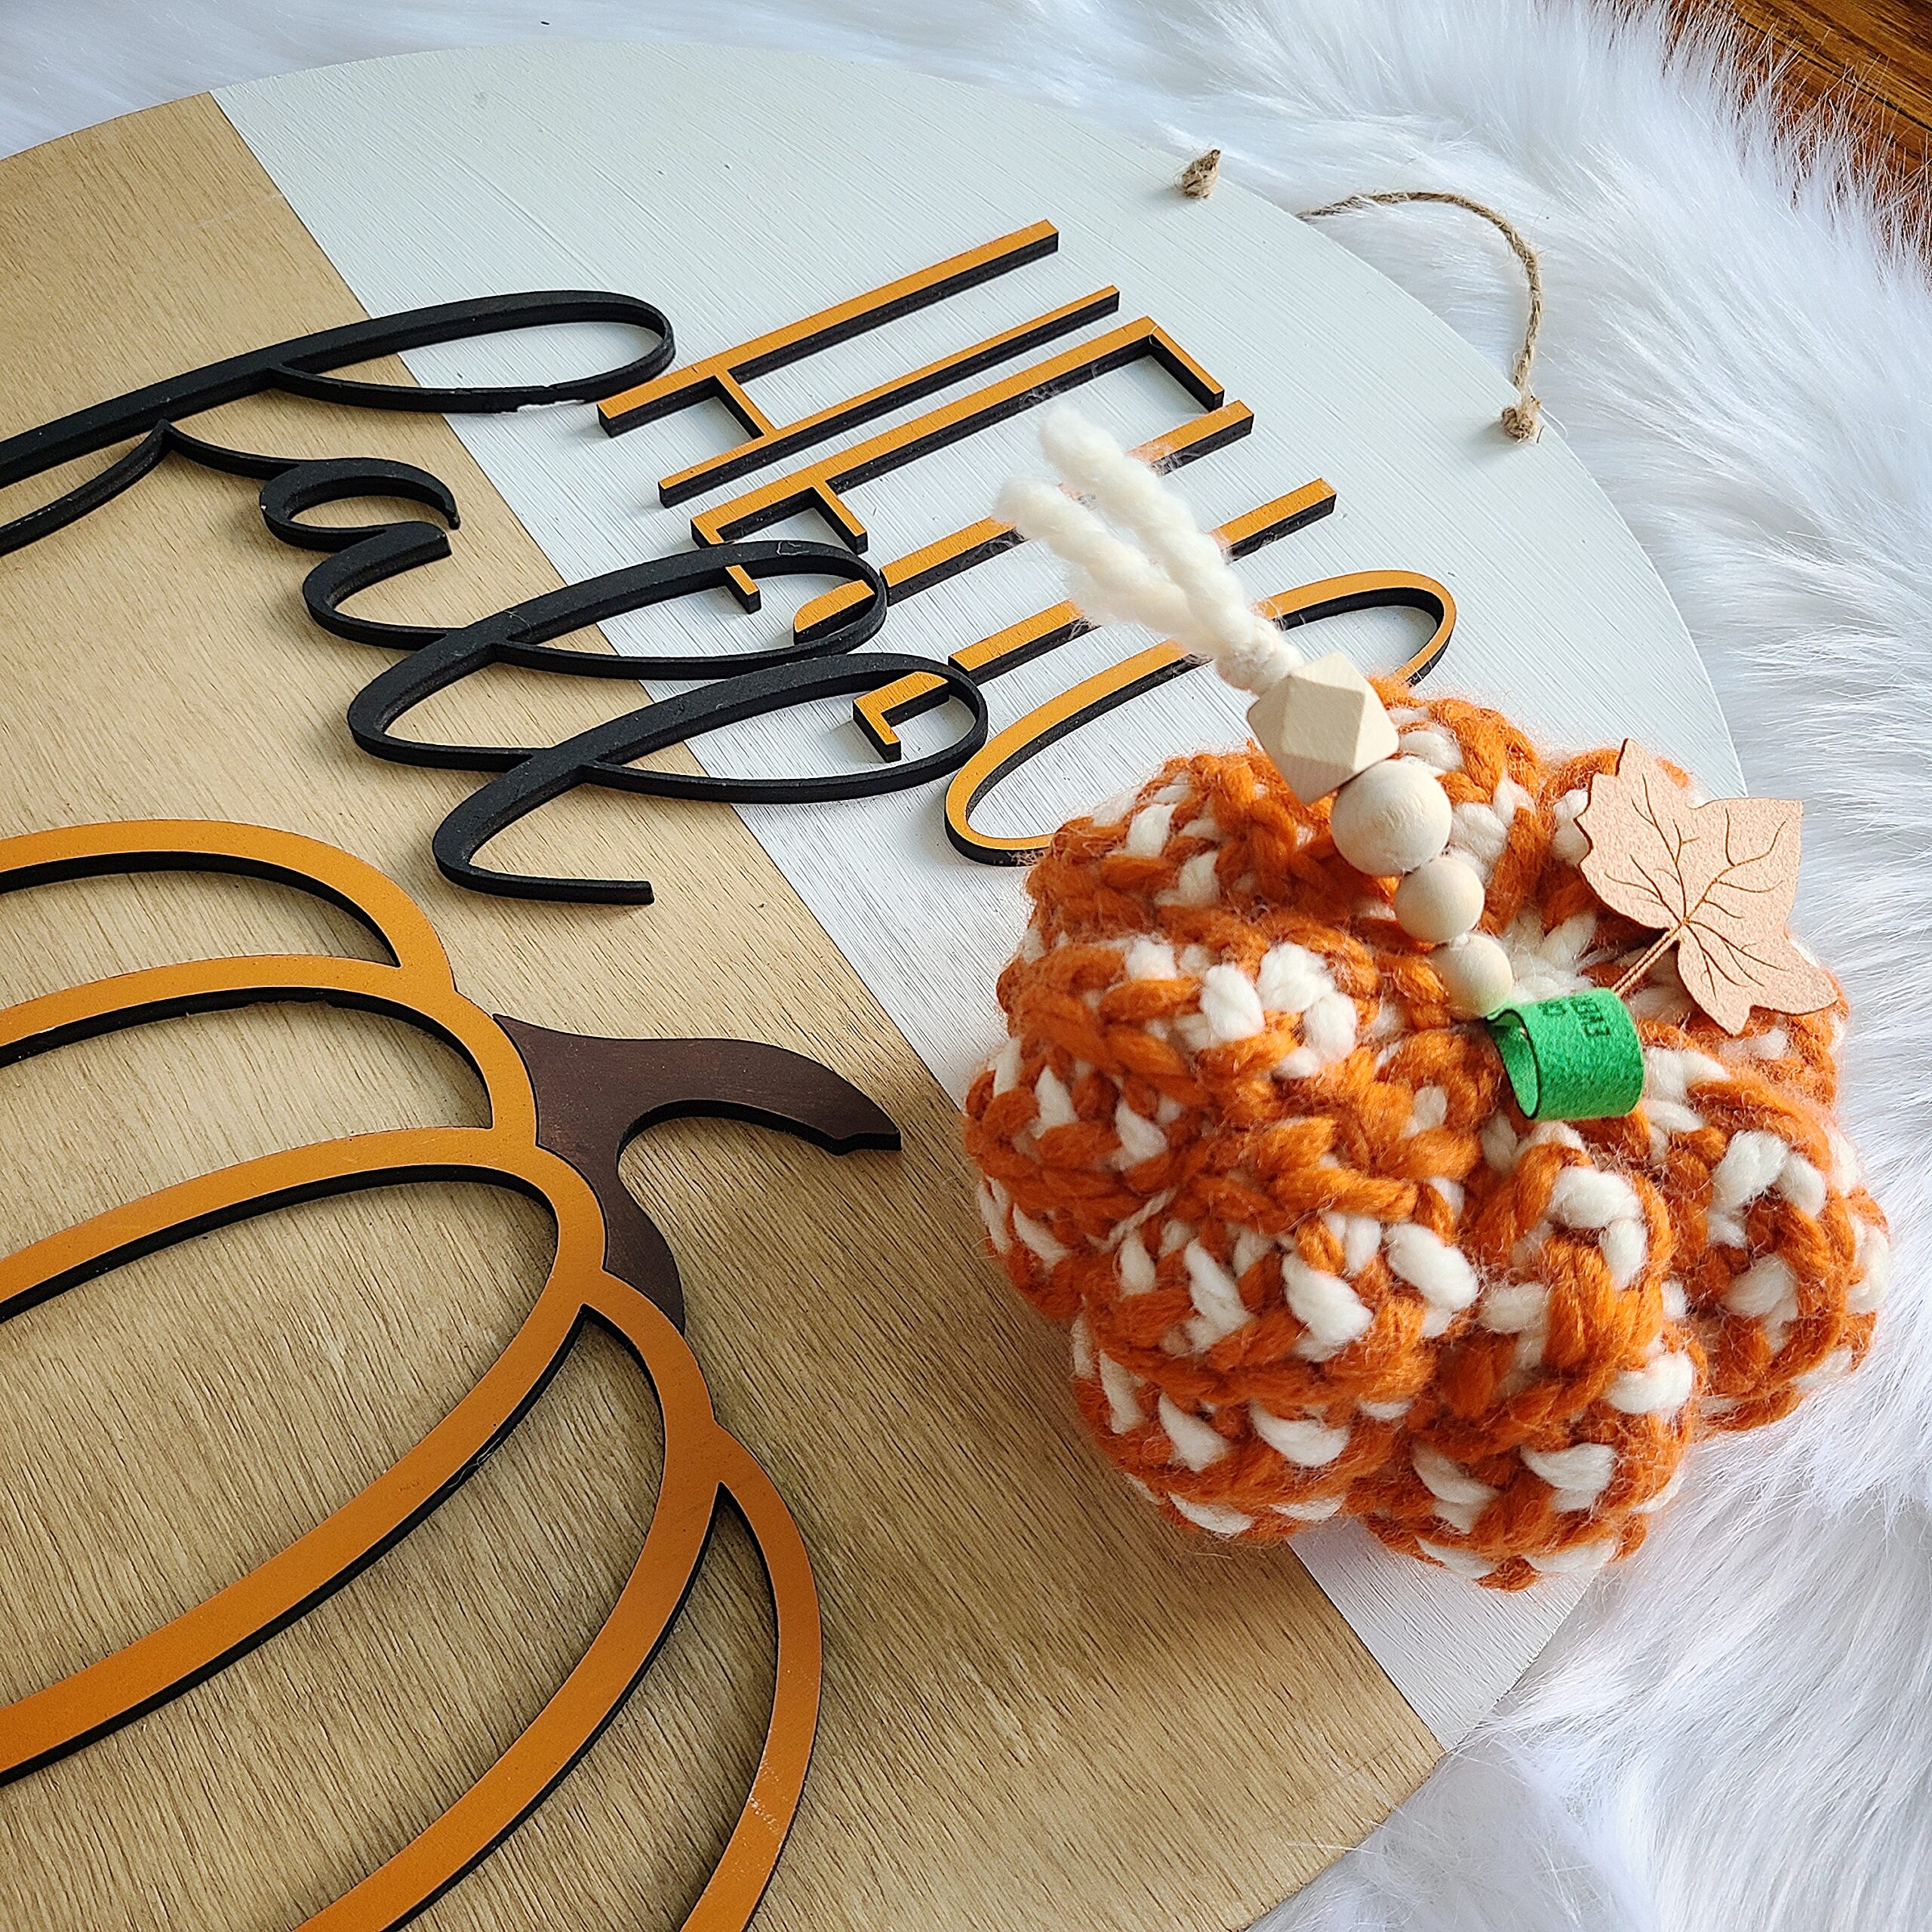
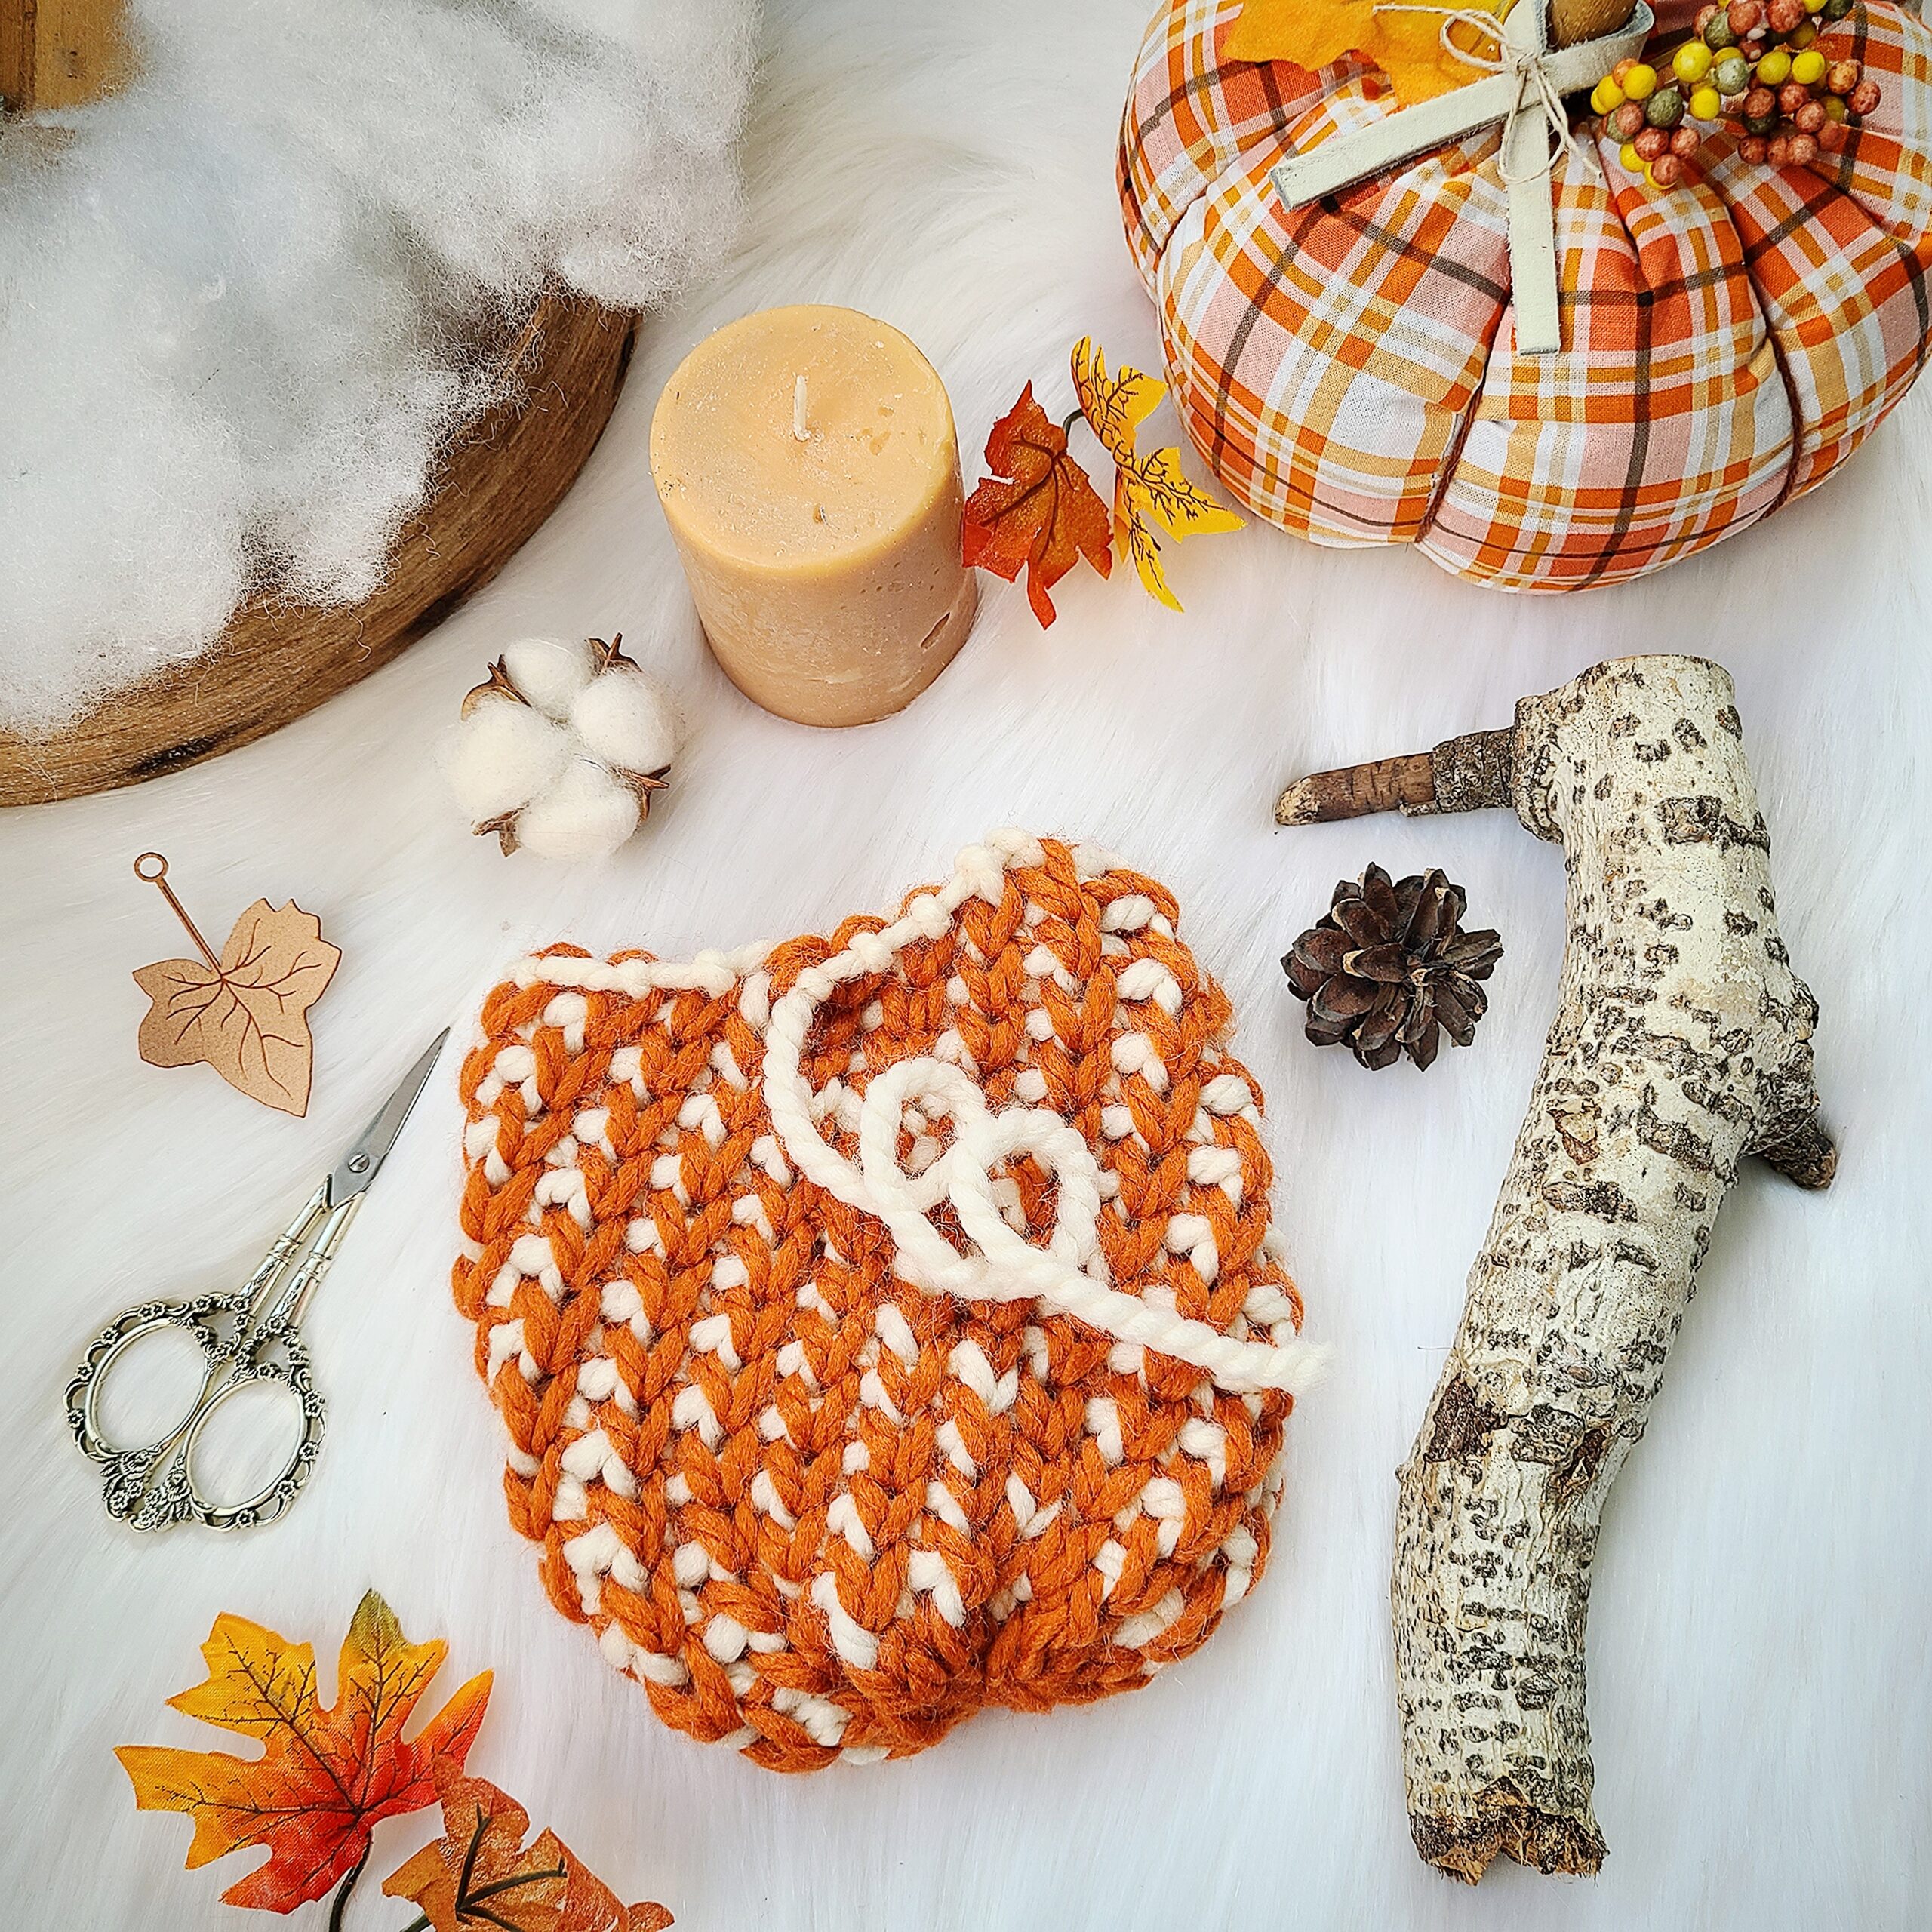
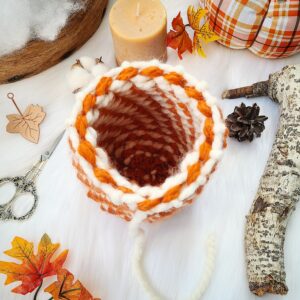
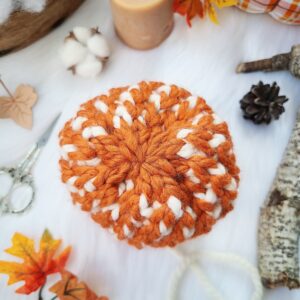
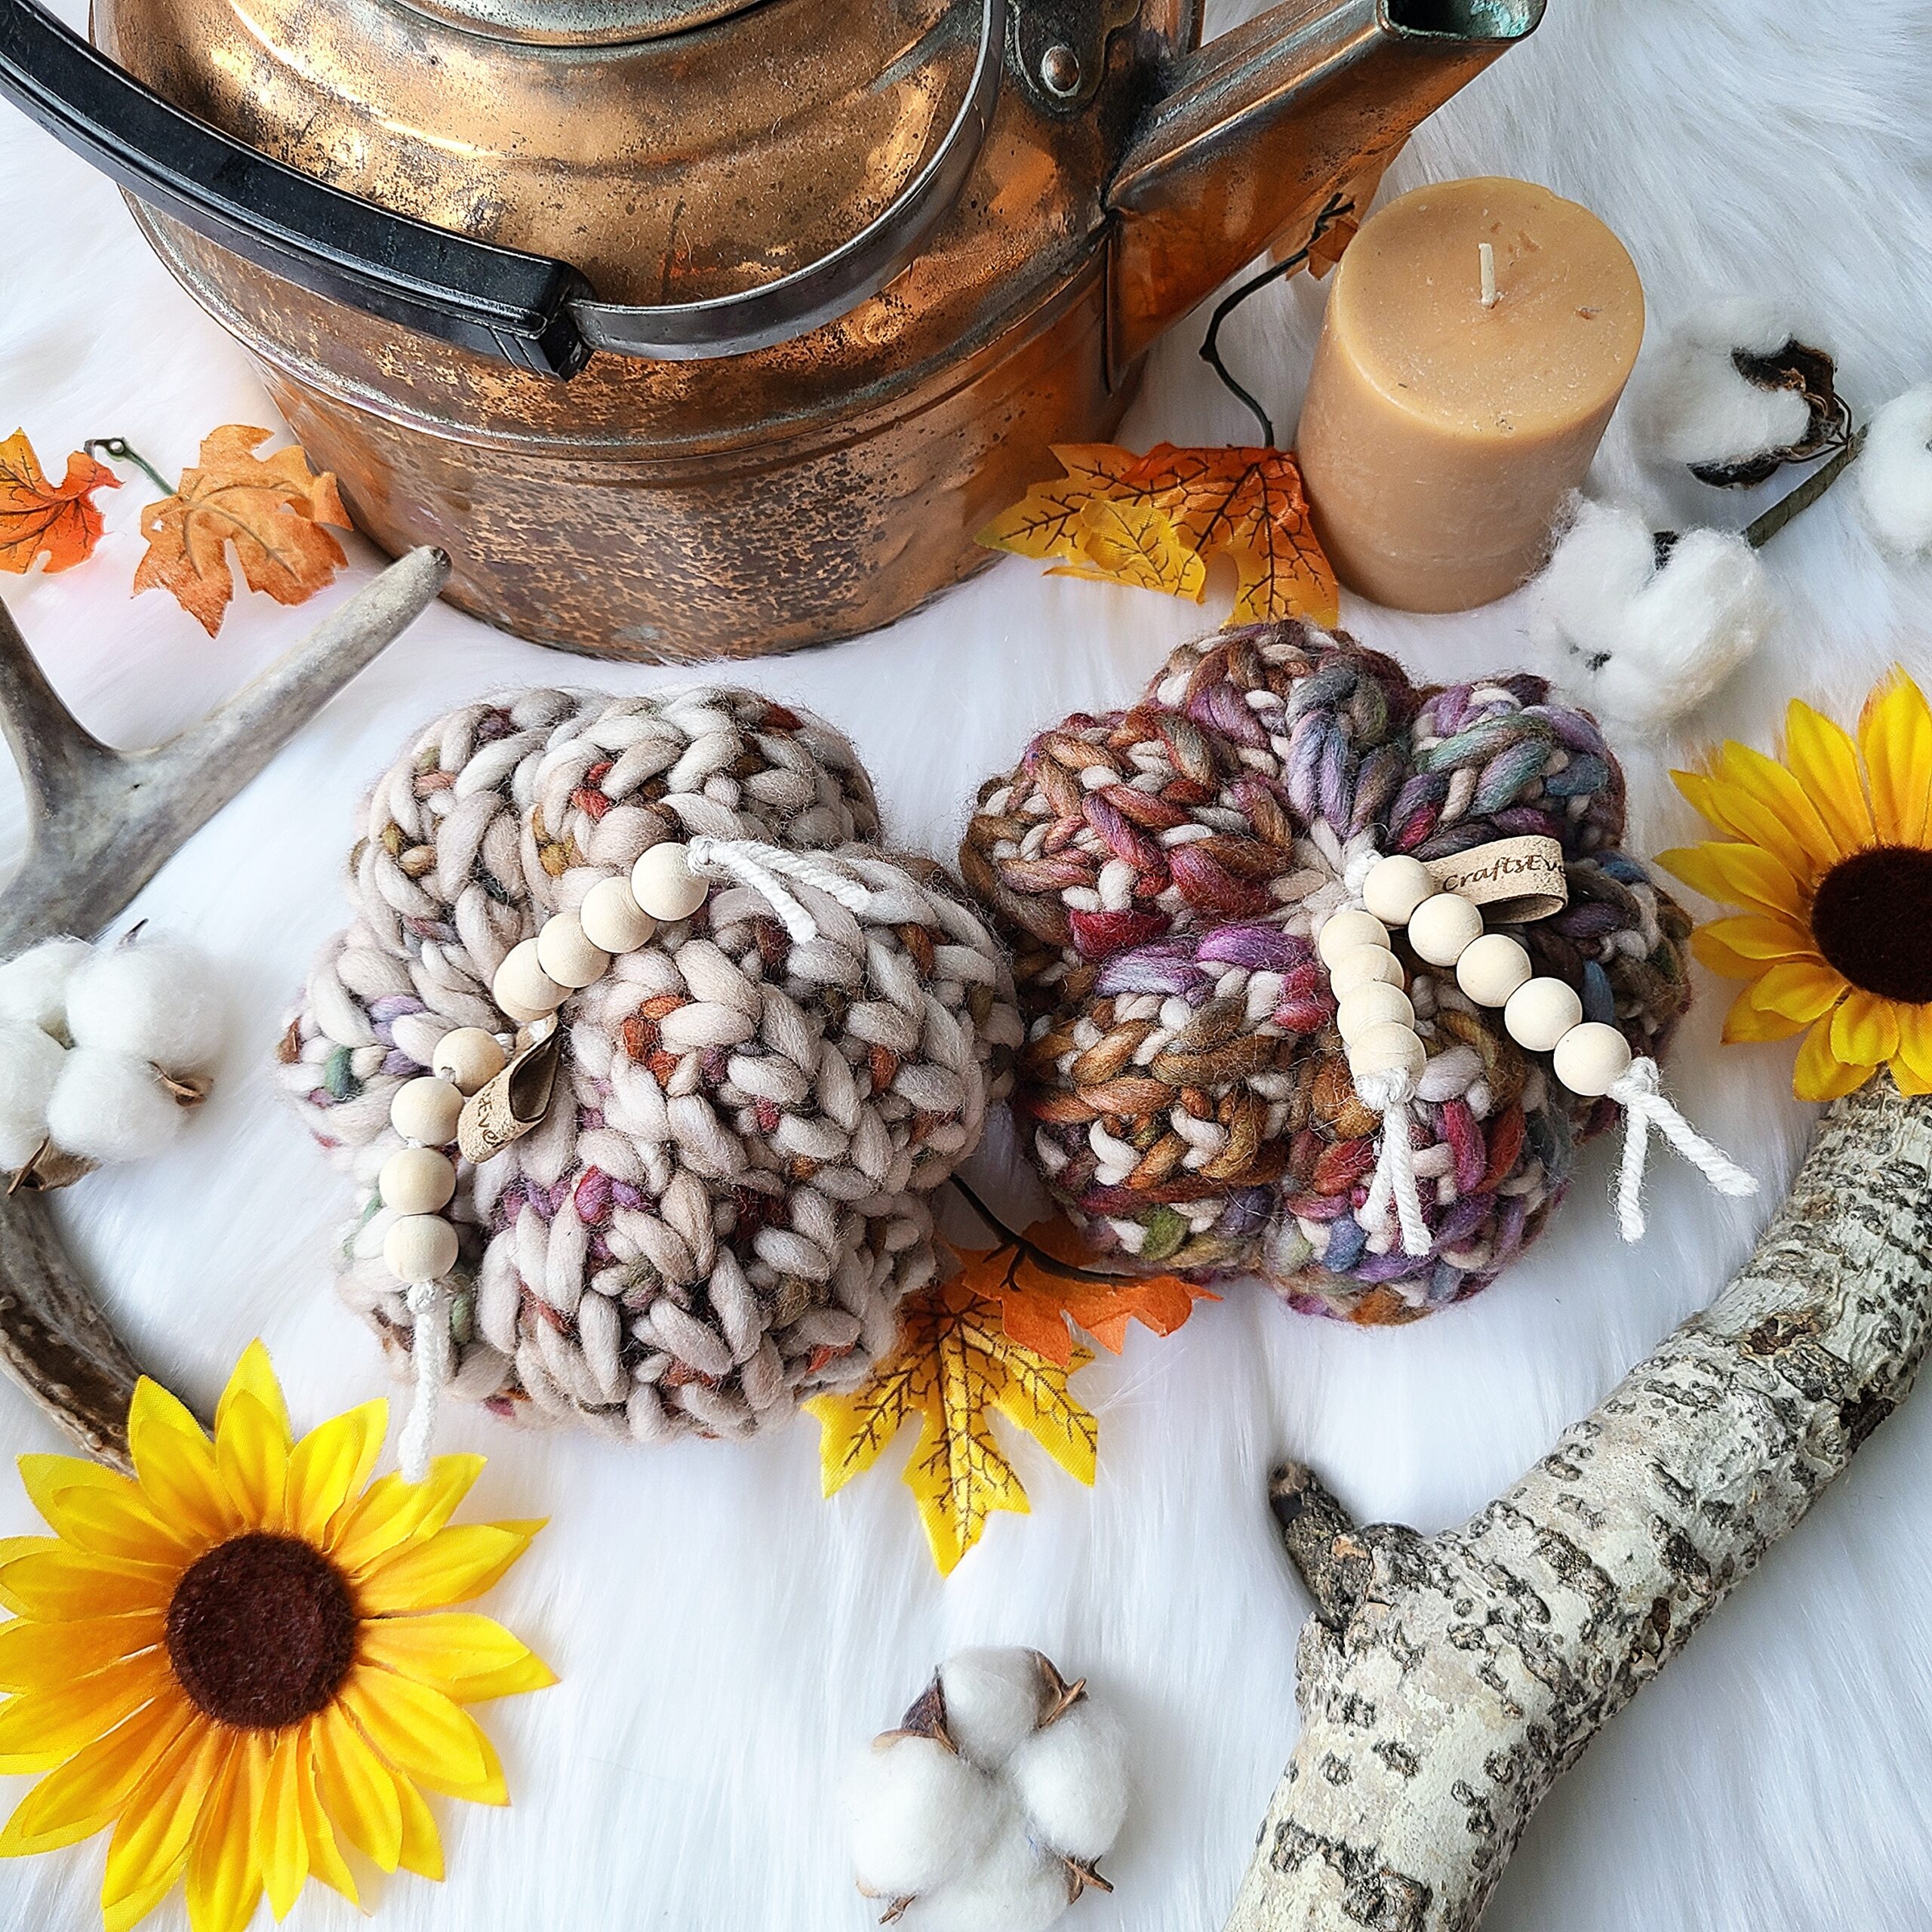
Hi everyone! Erin from @craftseverywhere on IG 🙂 It’s my favorite time of year and there’s no better way to celebrate it than by adding to my huge collection of pumpkins! I try to publish at least one new method or pattern for making pumpkins every year as it gives me an excuse to both add to my collection AND it makes it feel more like fall. The weather where I’m at is usually still pretty hot at the beginning of fall, so it can definitely be hard to get into the spirit. This year, I picked my Mountain Road pattern for the pumpkin base. That swirl pattern is just the cutest. These are especially fun to make in sets of two, using each of the two colors as the main color. My favorite thing about making your own pumpkins is that you can add any and all embellishments that you want (pumpkin, stick or cinnamon stems, leaves, tags, ribbon, beads, ornaments, etc). They’re cute no matter what, so get out your supplies and let’s go! Also, if you’re looking for more fall-themed ideas, click HERE for the Fabric Pumpkins pattern I created last year for Clover’s blog!
This is an easy project which includes basic mosaic, knit and purl stitches plus the decrease round. You’ll need Clover’s Pro Takumi Circular Knitting Needle 16in. No.11 (8.0mm), DPNs or magic loop method, and two colors of super bulky yarn. Let’s get started!
SKILL LEVEL:
- Advanced Beginner (Easy)
MATERIALS:
- PRO “Takumi” Bamboo Knitting Needles (8 mm)
- PRO “Takumi” Bamboo Knitting Needles (10 mm)
- Super Bulky yarn (Lion Brand Wool Ease Thick and Quick, Malabrigo Rasta)
- Main Color: 1.6 oz, approx. 27 yards
- Contrast Color: 1.3 oz, approx. 23 yards
- Stuffing
- Darning Needle Set
- Locking Stitch Markers
- Optional: Embellishments, stem, tags, twine, raffia, leather strips, extra yarn for pumpkin dents
GAUGE:
- Not relevant for this pattern; follows height measurements
TERMS:
- BO – Bind off
- CC – Contrast Color
- CO – Cast on
- K – Knit
- K2tog – Knit 2 stitches together
- Lhn – Left hand needle
- M – Stitch marker
- MC – Main Color
- P – Purl
- PM – Place marker
- Rep – Repeat
- Rhn – Right hand needle
- Rnd – Round
- RT – Right Twist. K into the second st on the needle without dropping the first st, K into the first st on the needle and then drop both stitches.
- Right Twist tutorial – https://www.youtube.com/watch?v=Hzr-0EXyPlg
- Sl – Slip
- St(s) – Stitch(es)
NOTES:
- Asterisks (*) mark a repeated stitch pattern.
- Your stitch count is in parentheses at the end of relevant rounds.
- This pattern is adjustable to use any size needles and yarn in multiples of 2.
- I was able to make these on 16” circulars with a backwards loop cast on. You may use whatever kind of 8 mm needles that are most comfortable.
- You can adjust needle size up or down. I used 8 mm needles to get a tighter fabric so that the stuffing does not show through.
- Make sure to pull up a little slack on your working yarn when completing the first stitch in the Right Twist stitches. This pattern can tighten up as you work on it, especially if you already knit tightly.
- This pattern is worked one color at a time per row with the mosaic method. There are no floats or colorwork involved.
- When you slip stitches in this pattern, slip purl-wise with yarn in the back of your work.
PATTERN:
CO 32 sts using the Backward Loop (Basic) method on 8 mm (US 11) needles of choice with MC, PM, join to work in the round.
Round 1: MC, K all sts (32).
Round 2: CC, K all sts.
Round 3: MC, *RT.
Round 4: CC, K all sts.
Round 5: Sl first st, MC, *RT* to final st, sl final st from lhn to rhn, remove M. Sl that same st back to lhn, work first half of the final RT, PM, complete RT. First stitch of next round complete.
Rep rounds 2-5 until piece from CO edge measures approx. 6”, ending after a rnd 5 rep.
Decrease round: *K2tog to final st. Remove M and K2tog the first st that was slipped and the final st (16).
FINISHING:
BOTTOM: After finishing the final round, use your beginning tail and thread through the edge of each stitch in your co edge around the bottom.
Cinch the bottom closed and sew in the end.
TOP: Cut yarn, leaving a long tail. Thread tail through stitches.
TUTORIAL: https://youtu.be/UjCSKadY-Lc?si=iK-7d0lLdhmDzXuB
BODY:
- Stuff your pumpkin, making sure not to overfill.
- Cinch the top closed (leave a hole for the stem when cinching shut, if desired).
- Thread the needle through the top of the pumpkin to the bottom and back several times to shape it.
- Sew in the ends.
- Add pumpkin dents, tags, stems or any other embellishments.
Now that you’ve finished your pumpkin, make sure to show it off on social media by tagging me using #mountainroadpumpkin and @craftseverywhere on Instagram or Facebook! If you have any questions regarding the pattern, don’t hesitate to contact me at erin.oetker@gmail.com or through my messages on Etsy or Instagram.
-Erin
Find @CraftsEverywhere on social media! Instagram | Facebook | Ravelry | Etsy
Stay connected with Clover on Facebook | Twitter | Instagram | Pinterest | YouTube | Ravelry