Simple Mother’s Day Tote- Sewing Tutorial
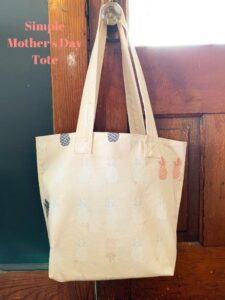
Hi again! My name is Faith and I am so happy to be back this month with another simple make. I went over dozens of ideas for a Mother’s Day gift that would be pretty yet practical, I landed on the one that I actually need for myself. This one will go to my mom since these are 100% her colors and esthetic, but it was so quick I can make more for myself and personalize a couple for my boys karate gear.
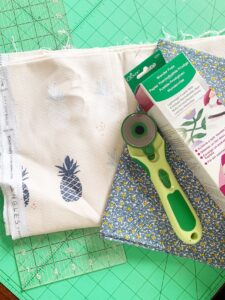
What you will need:
Two pieces of fabric 20 inches wide by 37 long (you can also use a half yard cut to make a bit smaller tote).
Extra fabric to make straps or webbing.
Ruler, scissors, rotary cutter and iron will all be helpful.
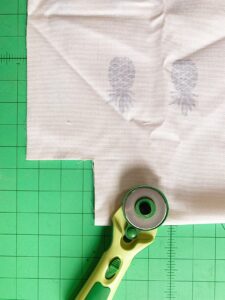
Cut your inside and outside fabrics so they measure 20x 37, fold the larger measurement in half and cut 3 inch square corners at each of the folded ends. This is the bottom of your bag and the corners. Repeat for inside and outside fabrics.
Note: you can adjust the sizes of fabrics to make your bag bigger or smaller as well as cutting the corner squares bigger or smaller to give your tote a different base size. The bigger the corner square cut the more squatty your bag and the wider the base will be. Go ahead and play around with your sizing for fun.
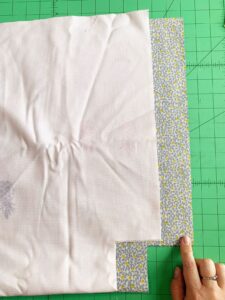
Keep folded in half and sew along each edge using a generous 1/4 seam allowance. Next iron your fabrics and cut two pieces of Wonder Fuse, one for each side of the outside panel approximately 19x 15 inches ( you may also use sheets of Wonder Fuse placed side by side). Follow directions and fuse to the wrong side of your outside fabric. Note: you do not need to fuse the bottom of the tote, just the walls of the bag.
Fold your square cut corners flat to make the corner edges, sew using a generous 1/4 seam allowance and locking in stitches at beginning and end. Repeat with all four corners.
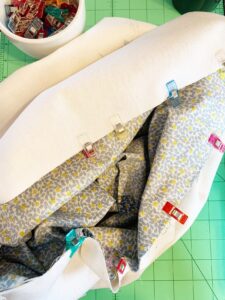
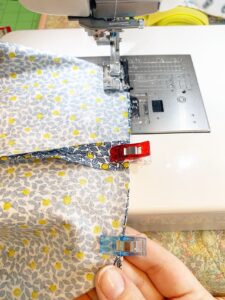
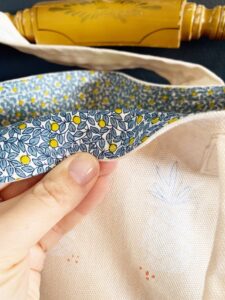
Join both fabrics with right sides together and wrong sides showing. Use Wonder Clips to join seams, sew around top edge leaving a four inch section open for turning.
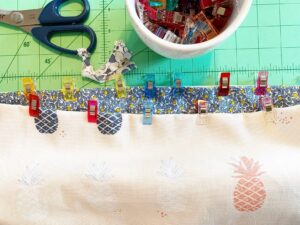
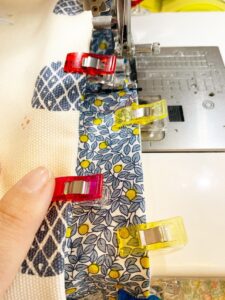
Turn right sides out and clip top edge seam flat as well as your opening closed. For this one I sewed around the edge three times to give it a nice and clean seam finish.
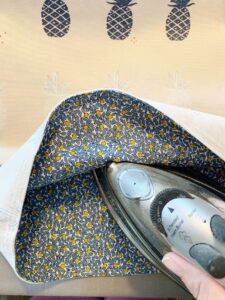
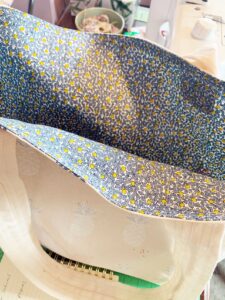
Once your top is sewn closed, use your iron to fuse your inner panel to the outside one. I smoothed it over with my hand first and did one side at a time.
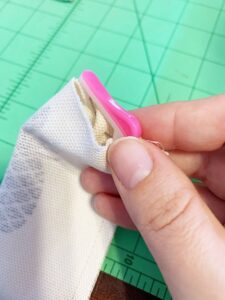
I made matching straps out of my fabric since I don’t have any webbing. I cut my strips 36×4.5 for a nice wide strap that won’t dig into your shoulders. Fold right sides together and sew the long edge, using a pin (I love this one) feed through to turn right sides out. Press and stitch along edges and center to make sturdy flat straps.
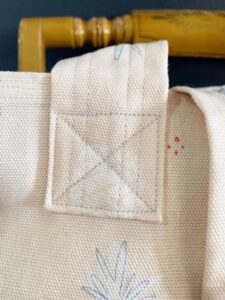
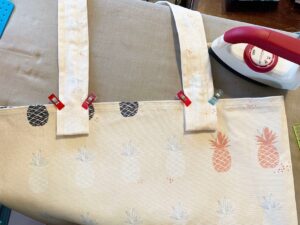
Fold each end over about an inch and a half and sew into place along the top edge of tote. I went over my stitching line twice to make sure the straps will hold really well.
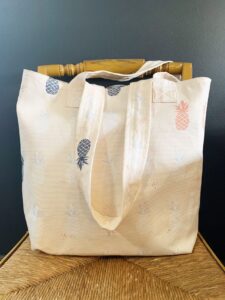
All done! Once you have all your supplies ready this will only take about a half hour total, which I love because then I can make multiple totes and have something on hand as a gift or even use it as a gift bag.
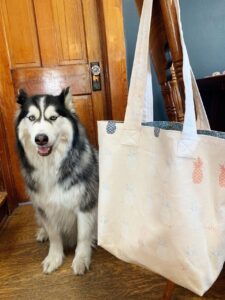
My big puppy Justice wanted in on the pictures too. Thank you for stopping by and please tag me if you make one! Follow Clover and myself for more sewing ideas and inspiration.
Happy Mother’s Day to all the moms!
Faith