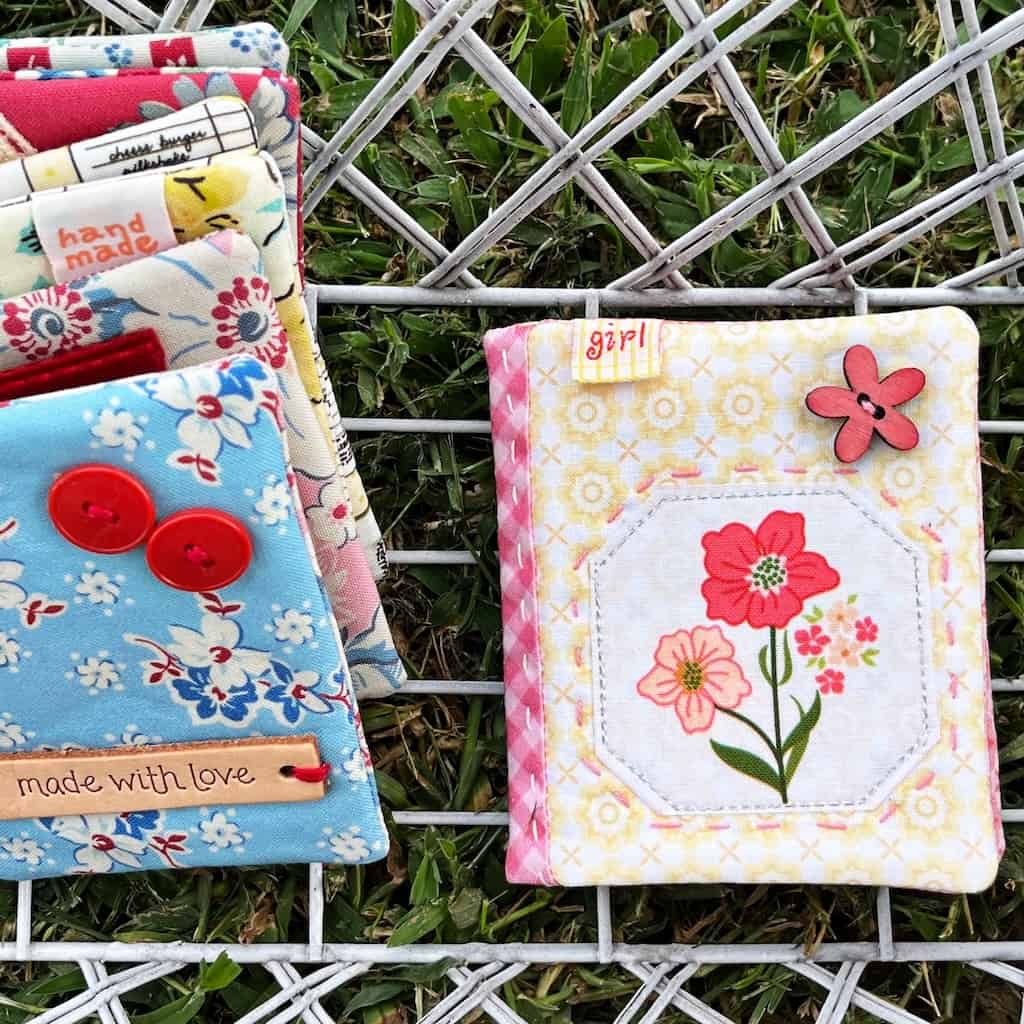
DIY Needle Holder Books <3 (sewing tutorial)
Happy September my sewing friends! Do any of you remember back in 2011 when fabric designer Amy Sinibaldi showed the sewing world her most precious little needle books that she made??? I clearly remember being completely enchanted with how darling they were. I’ve literally made SO many since then. They’re quick, easy, fun, and make the PERFECT gift.
Today, I’m going to take you through the process as we whip one up. There are all kinds of needle book patterns and tutorials out there now, but I always come back to Amy’s because they are simply my favorite. But now YOU can come back to this one! Let’s get started and make a few 🙂
SUPPLIES:
- Fabric Scraps
- Felt Scraps
- Fusible Fleece
- Clover Needle and Thread
- Clover Scissors
- Pinking or Scallop Scissors (optional)
- Embellishments (ribbons, buttons, etc…)
- Wonder Clips
- Clover Rotary Cutter
- Clover Pins
INSTRUCTIONS:
Step One:
- From fabric scraps, cut the following:
- For book interior (same fabric): cut one 4.5 inch by 5 inch and one 4.5 inch by 3 inch
- For book exterior (different fabrics): cut one 1.5 inches by 4.5 inches (for book spine), four 1.5 inches by 3.5 inches (for book back), one 3.5 inches by 4.5 inches (for book front)
- Fusible fleece: cut one 5 inches by 8 inches
- Felt: cut one 3.5 inches by 6.5 inches

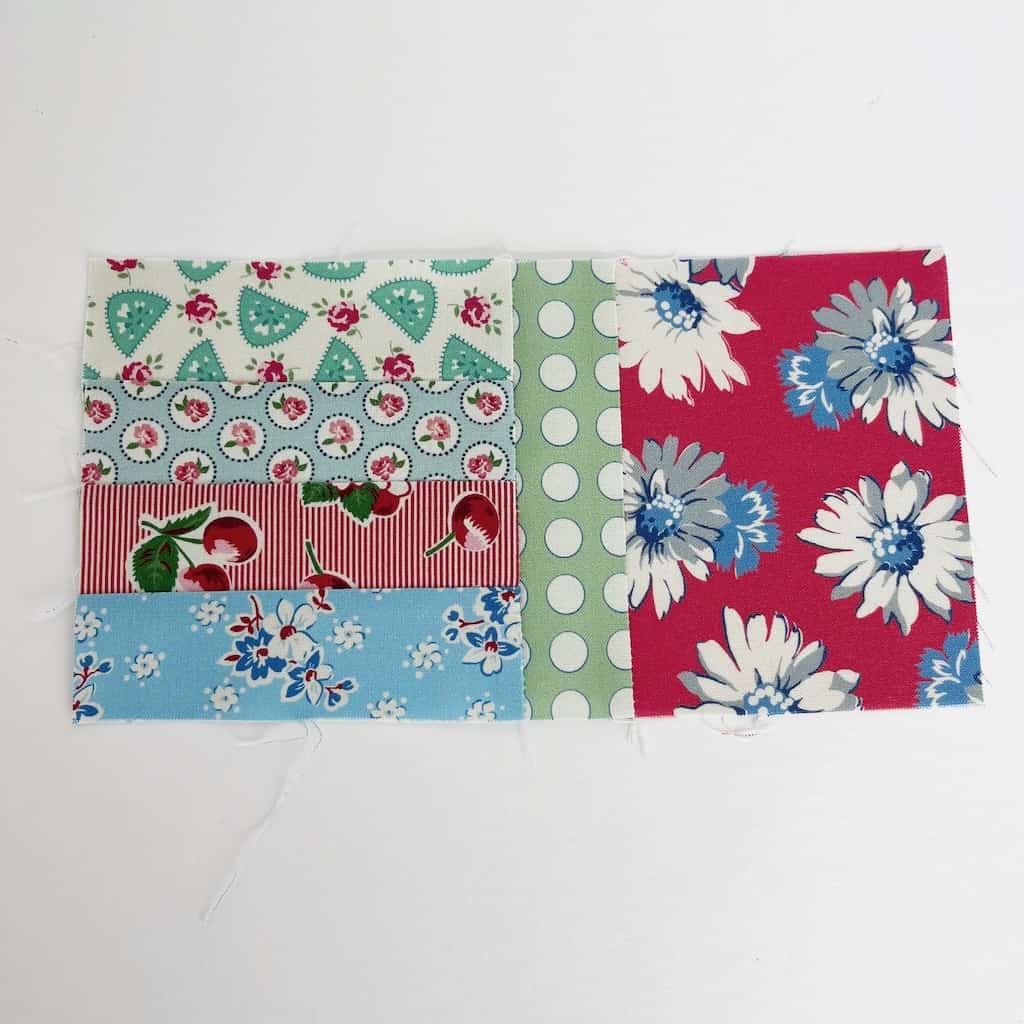
Step Two:
- Sew the four strips for book back together on the long edges, using a 1/4 inch seam. Press seams in one direction.
Step Three:
- Sew the back to the spine and then sew the book front to the spine, using a 1/4 inch seam allowance. Press seams. Iron the fusible fleece to the back of your book exterior.
Step Four:
- Take your two interior pieces and sew them together, leaving an opening in the middle of the seam.
- This is where we will turn the book right side out. Press the seam to one side. Set aside for now.

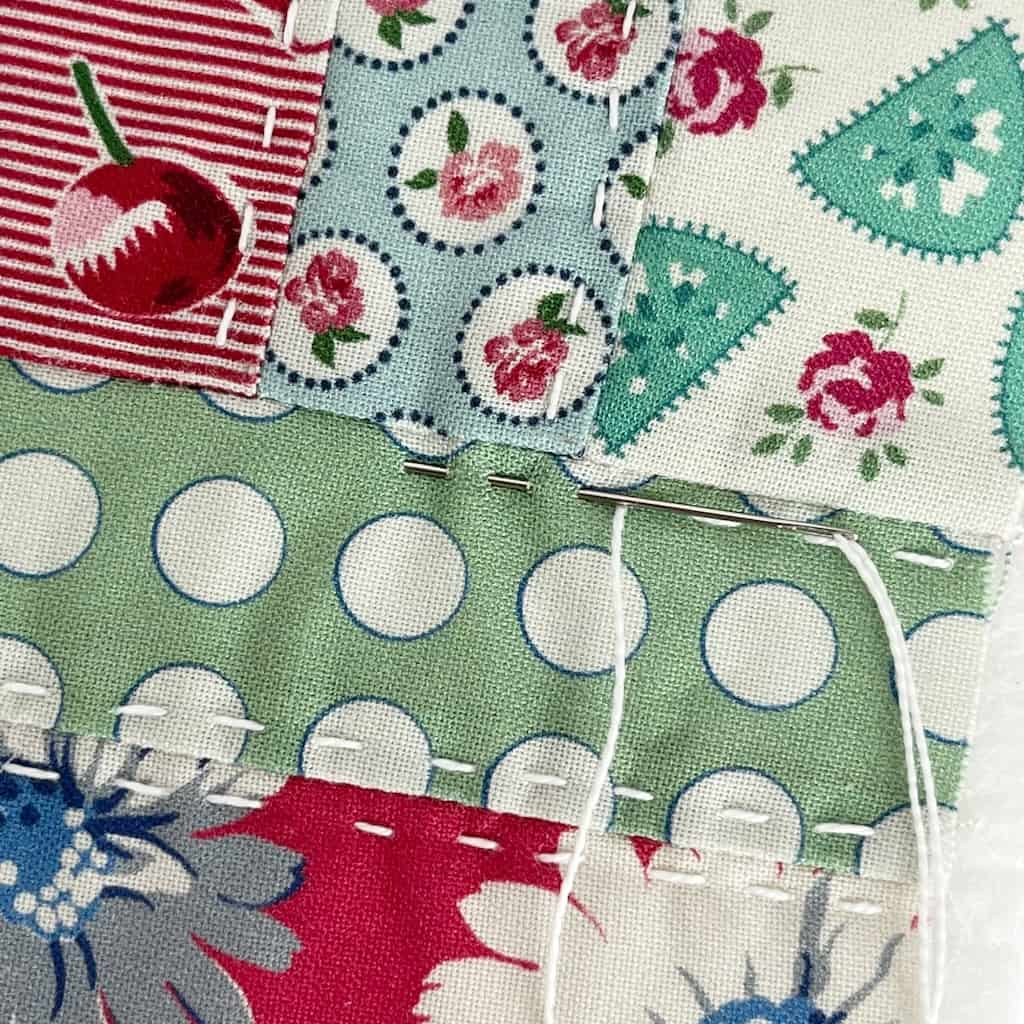
Step Five:
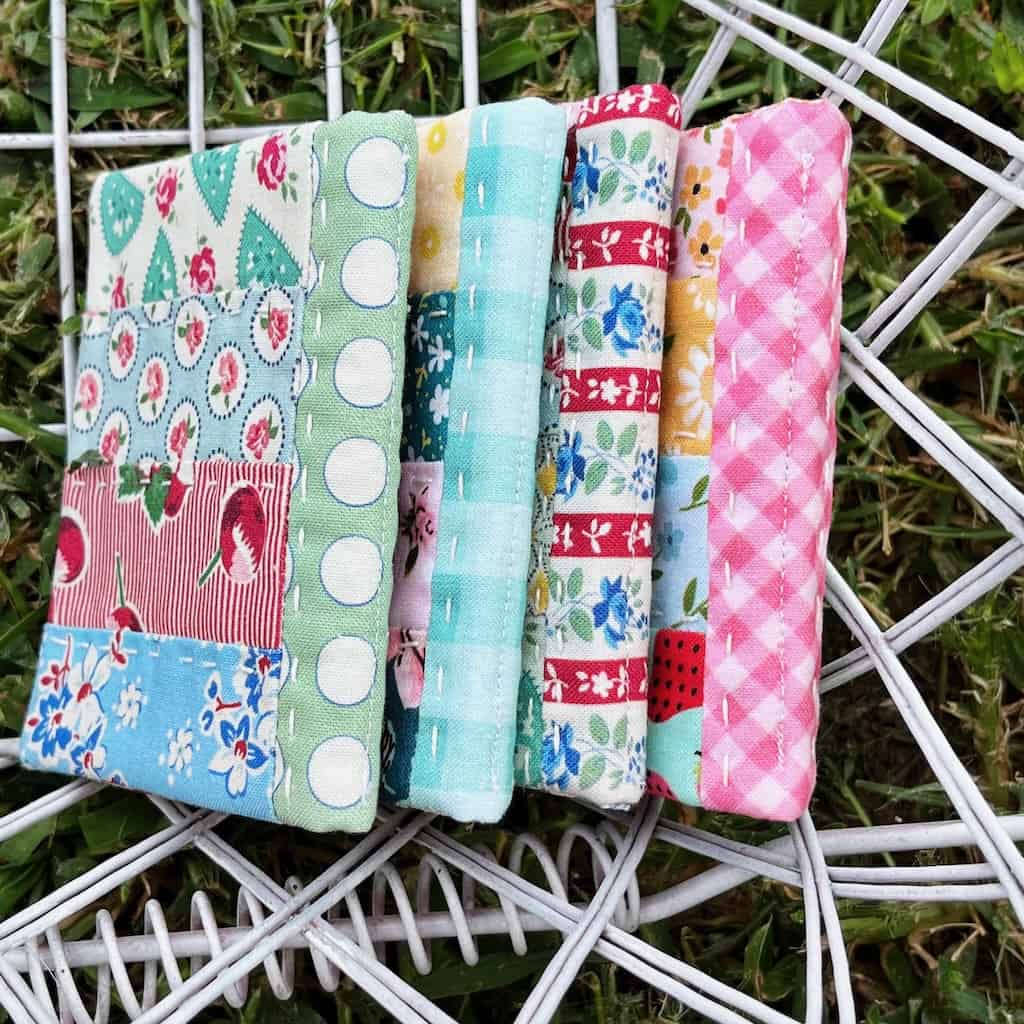
- Hand quilt any way you like on the back and spine of the book.
- I used Perl Cotton thread for the hand quilting; but you could use embroidery thread or just regular sewing thread.
- You could also do this with the sewing machine if you prefer!
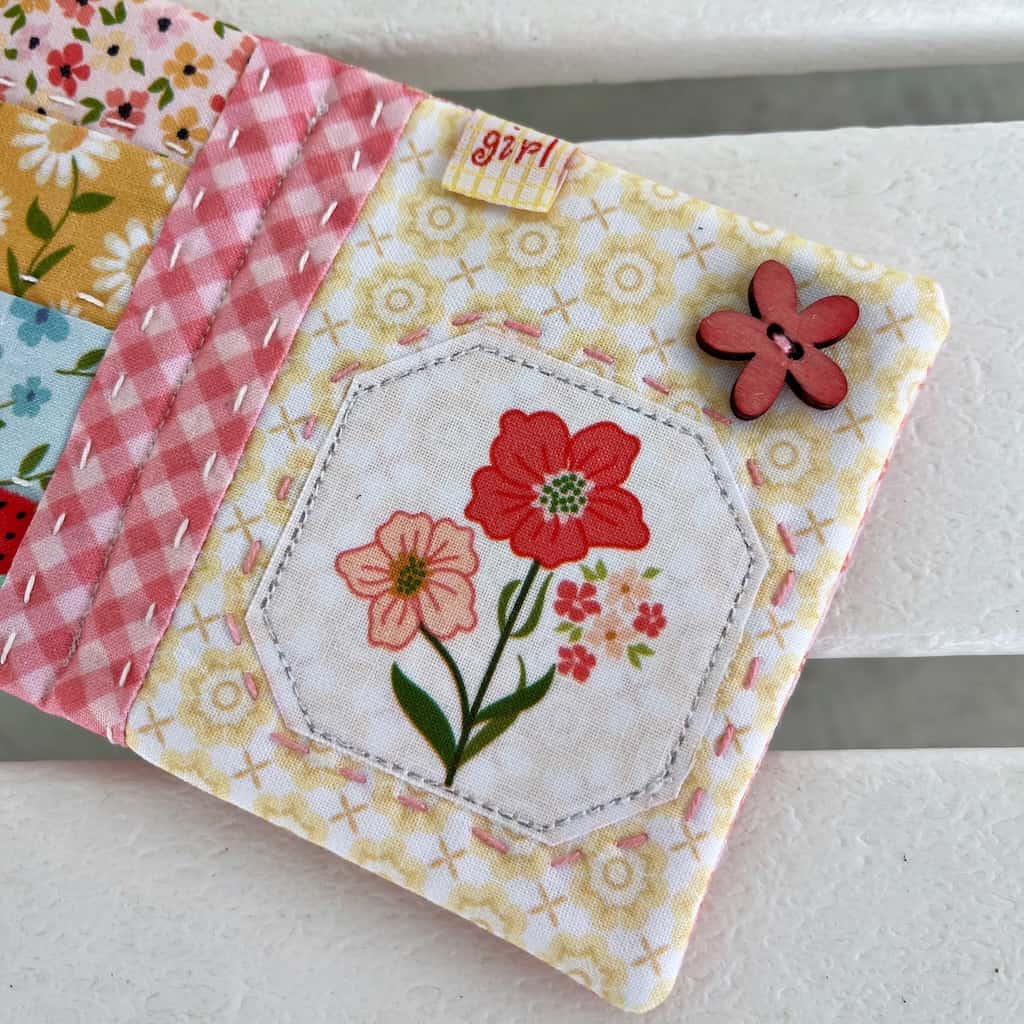
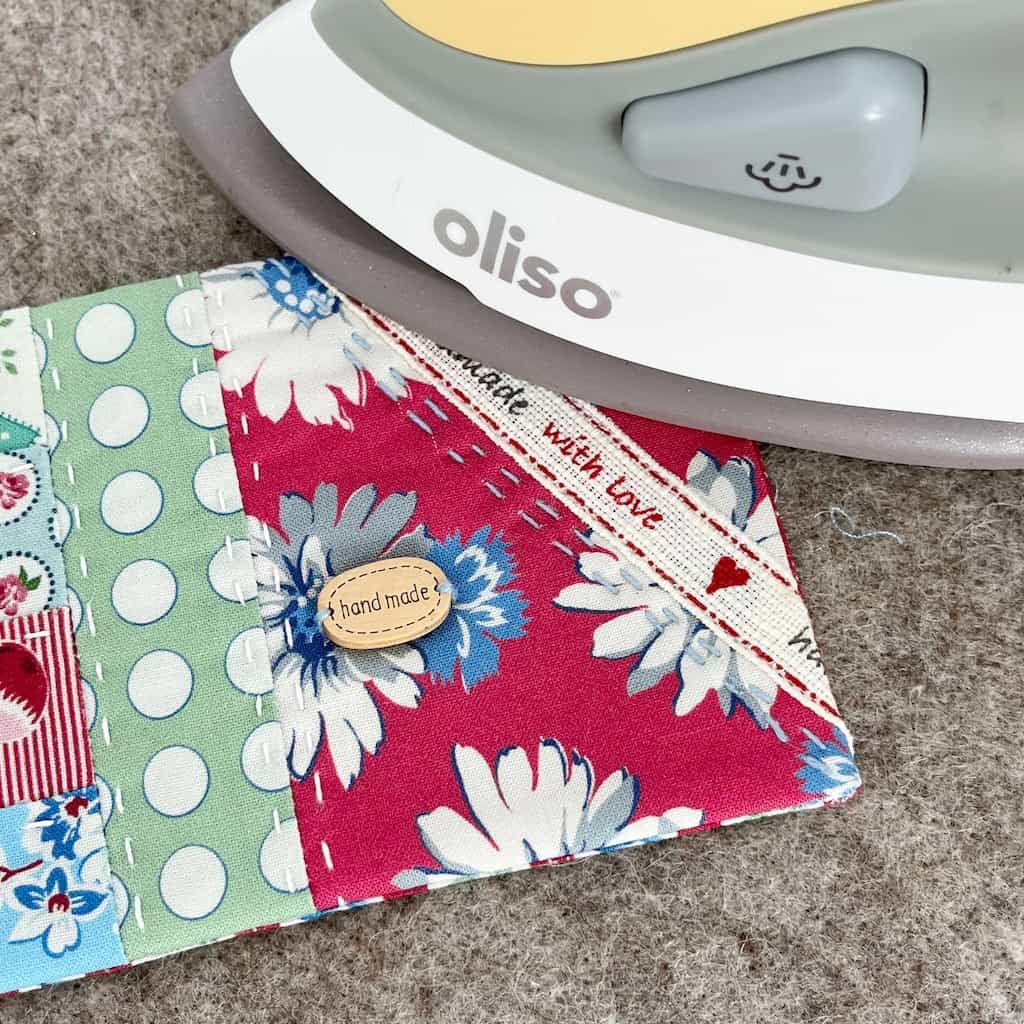
Step Six:
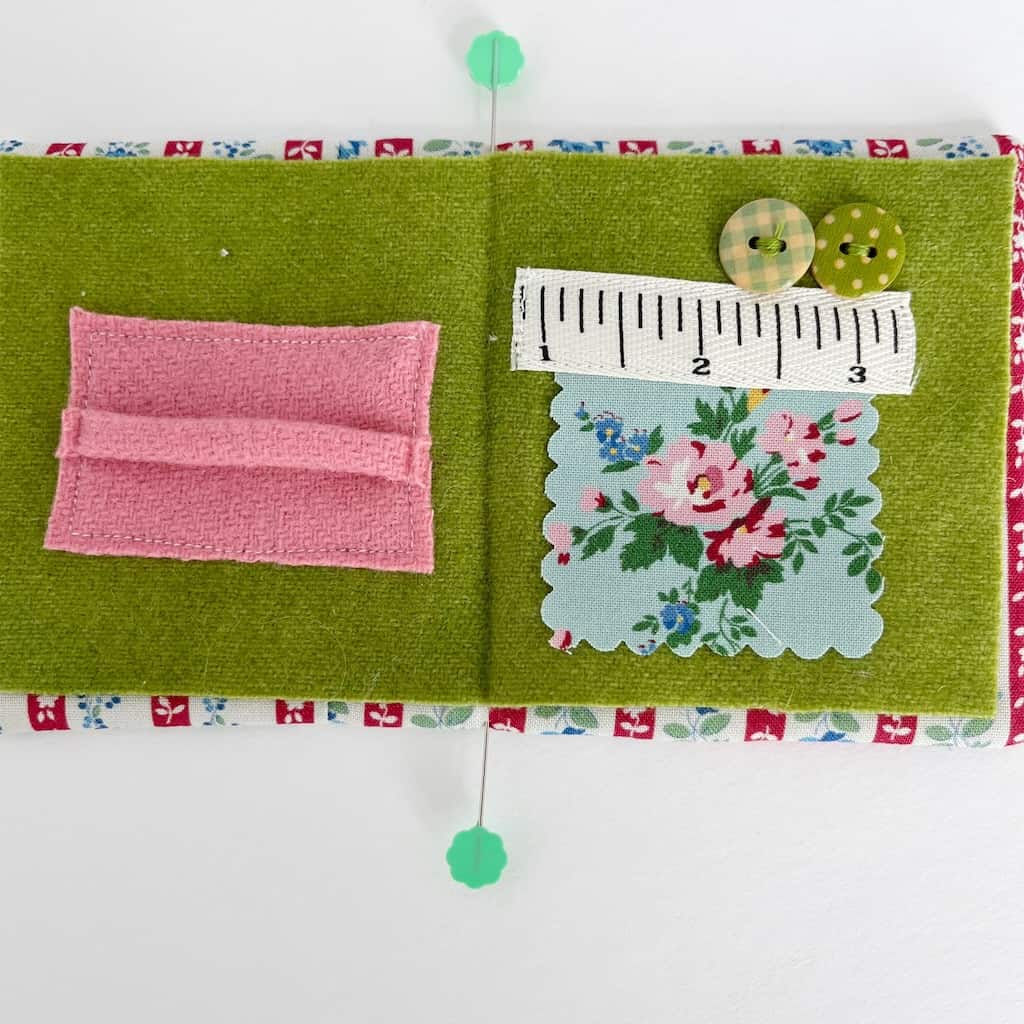
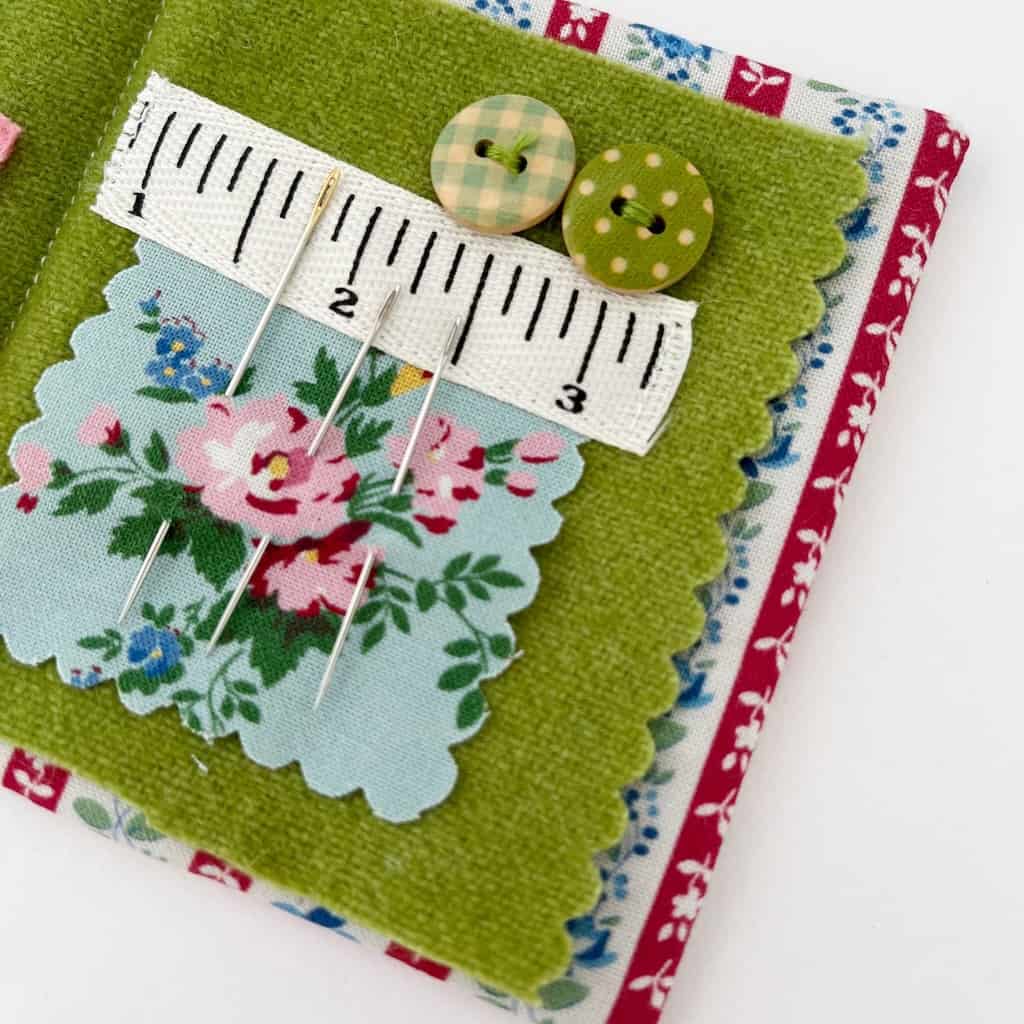
- Embellish the front cover of your book. Use ribbon, selvedge, buttons… anything you would like!
- Do not place buttons too close to the edges… remember you will lose 1/4 inch along the raw edges.
- Have fun with this step and get as creative as you’d like. OR you can leave it plain! It’s all up to you.
Step Seven:
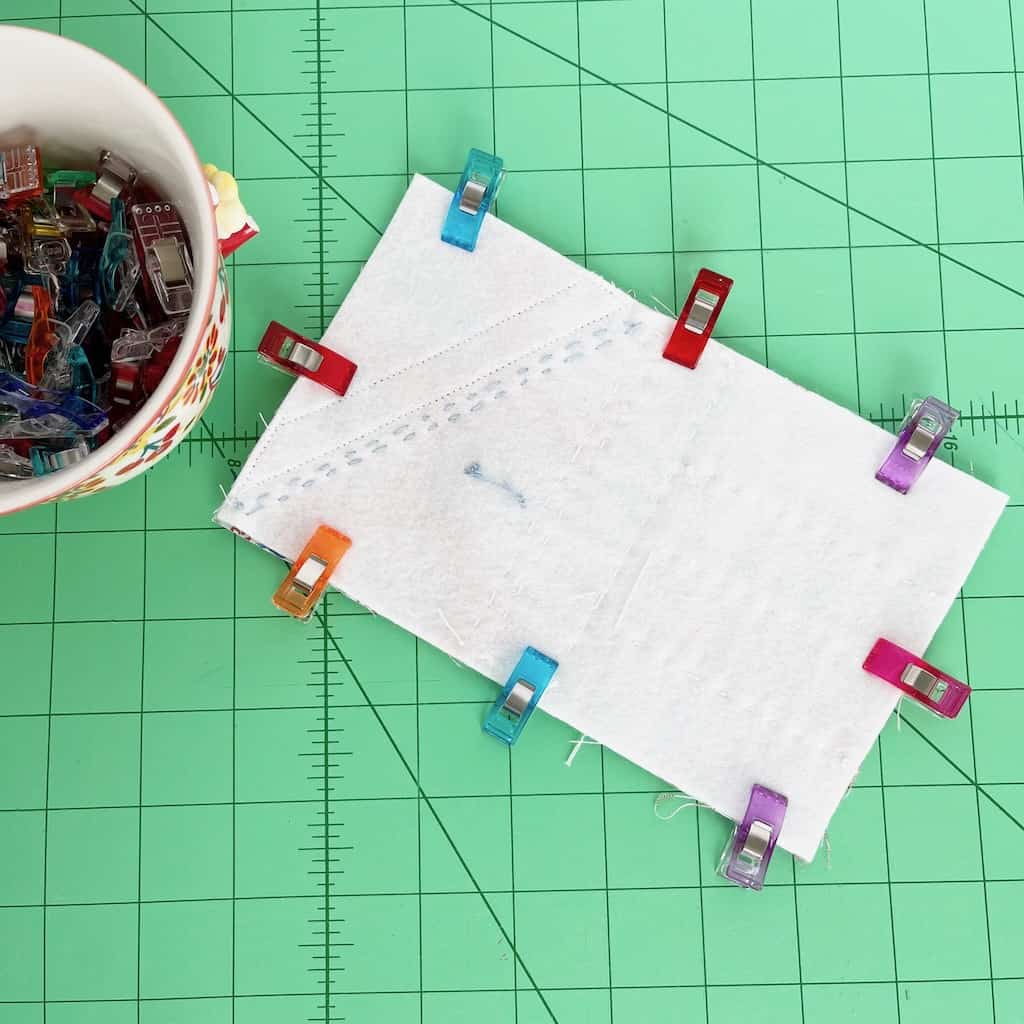
- Trim the fusible fleece and book exterior to exactly 4.5 inches by 7.5 inches. Place your book interior on top of the book exterior, right sides together and sew a 1/4 inch seam all the way around, you will want to use Wonder Clips to keep it from slipping as you sew. Clip corners, being careful not to cut into the seam.
Step Eight:
- Turn your book right side out through the opening in the lining. Push the corners out and press the entire book, especially around the edges.
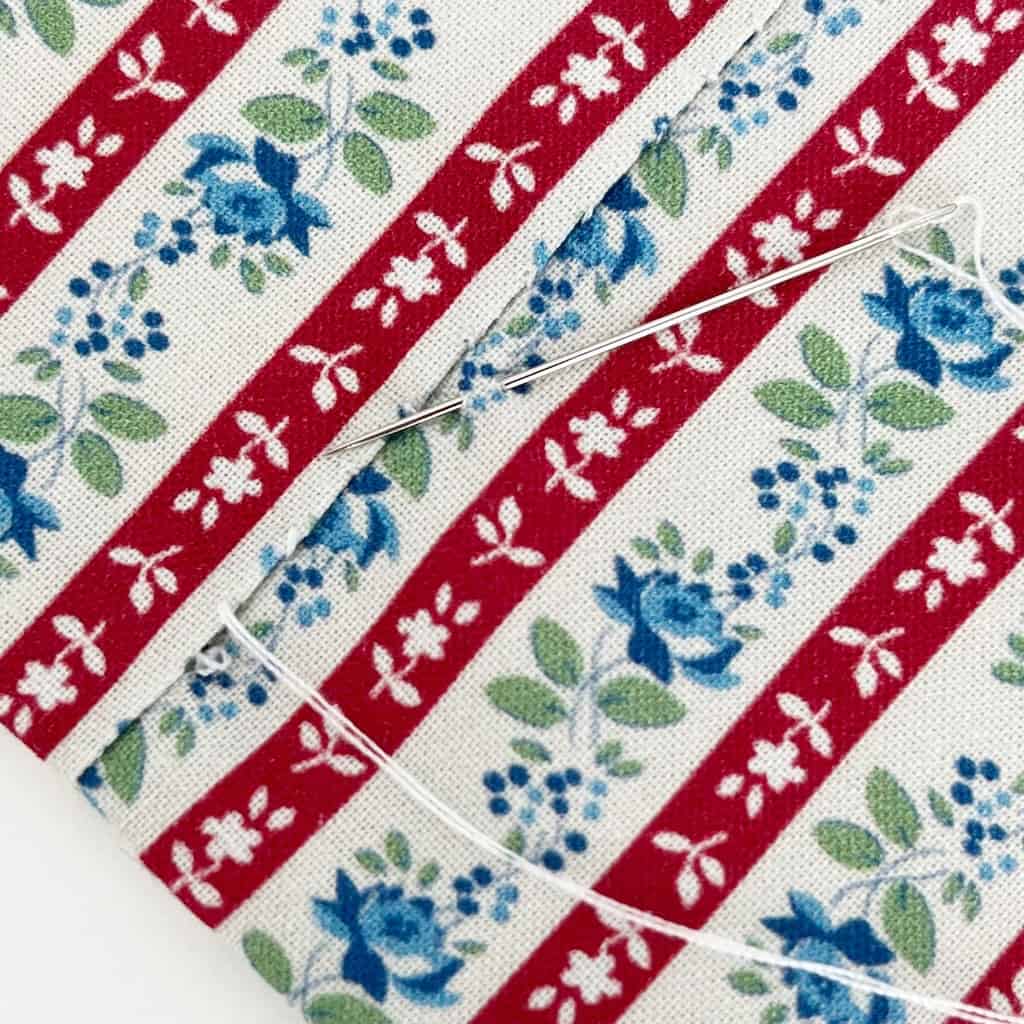
Step Nine:
- Use a needle and regular sewing thread to close up the opening in the lining.
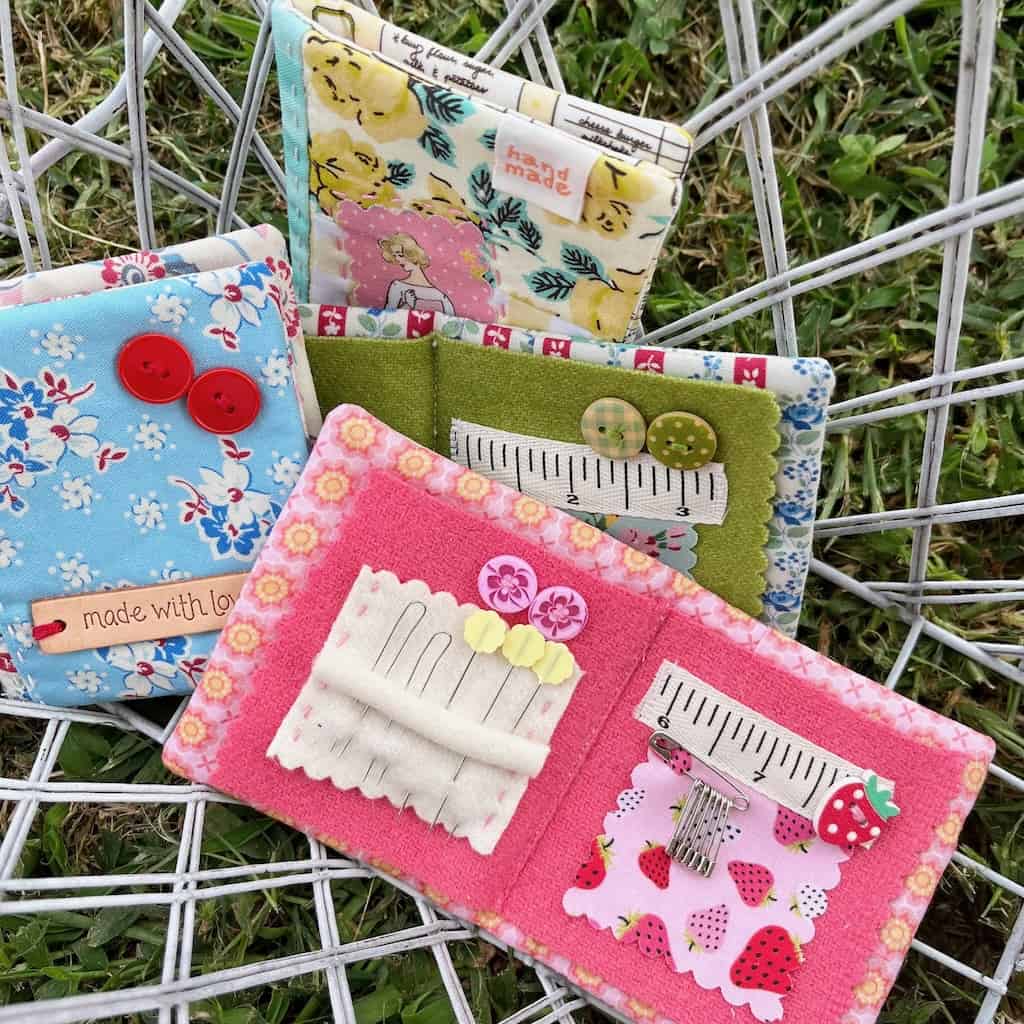
Step Ten:
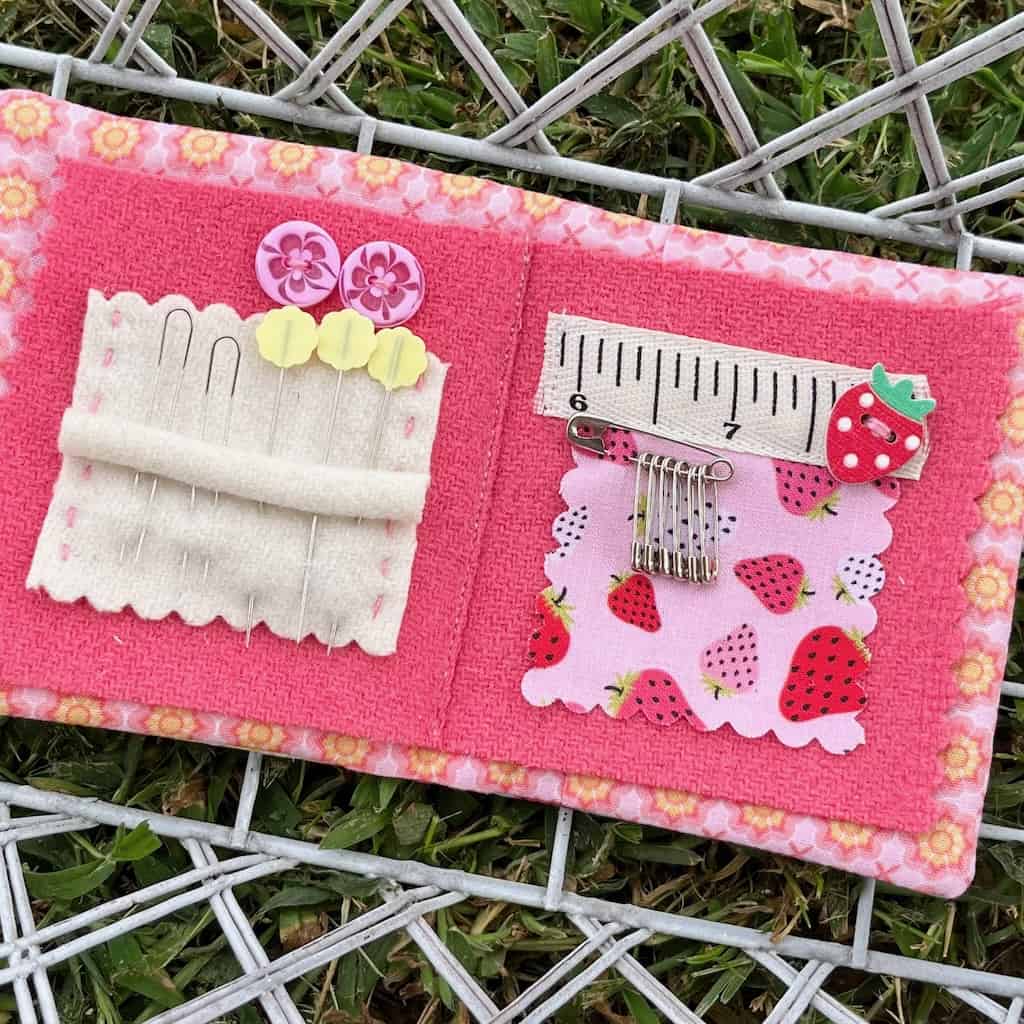
- Now let’s make our felt pages for the interior! This is so fun! Before I got started, I folded my felt in half (like a book) and carefully pressed a crease. That way you can embellish each side separately from the other. Keep in mind that we will be trimming the side edges of the felt when we have it completely sewn in so leave those edges free of embellishments. You can go all the way to the middle fold, however.
Step Eleven:
- Lay your felt page on the interior of the book, carefully centering it exactly. Use pins as a guide for the center if you need it; it helps me. Sew a straight seam, attaching the page to the book. When you finish your seam on the exterior of the book should be right down the middle of the book spine.
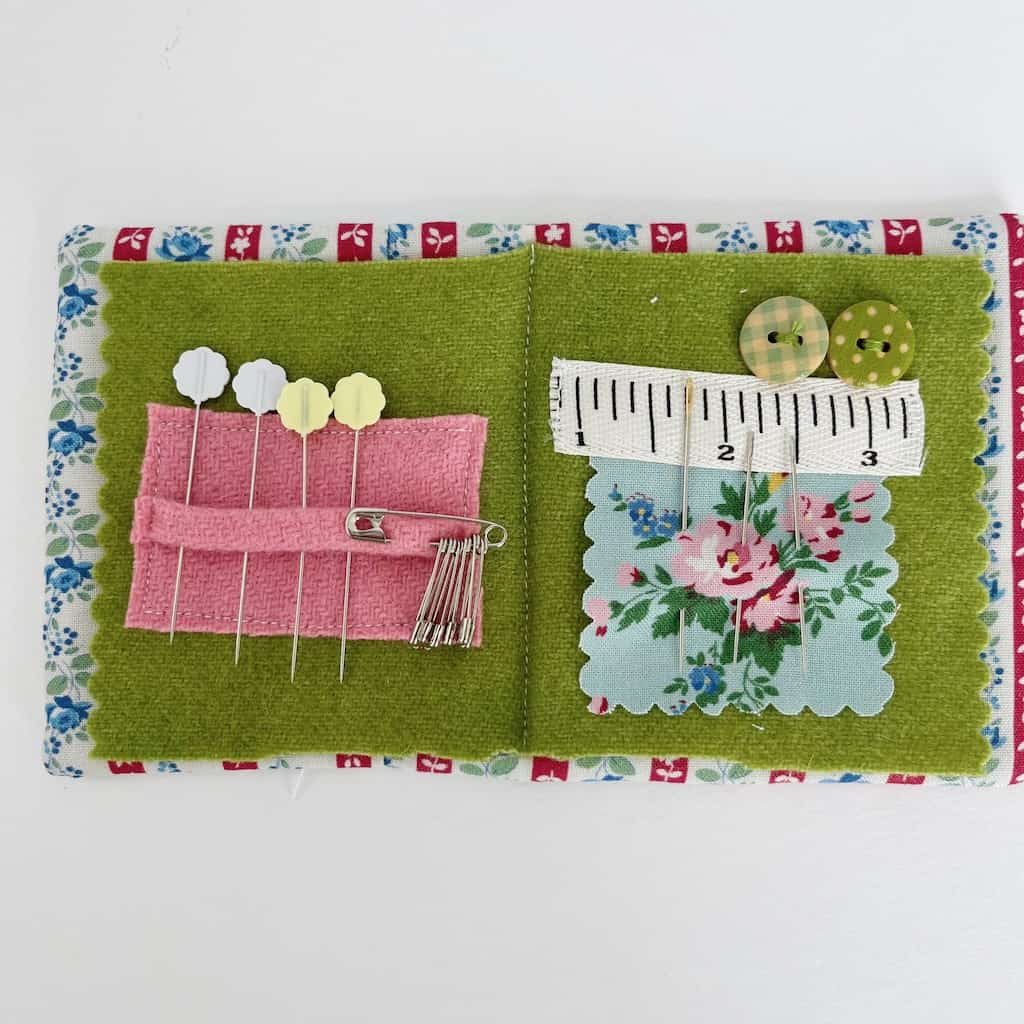
Step Twelve:
- Use pinking or scallop scissors to cut the edge of the felt. This is optional, but it gives a really pretty finish!
And you are DONE – our needle book is officially finished 🙂 I tried making some in assembly line style and it went by pretty fast! They’re super addicting to make, so now it’s your turn to go try out this project!
Be sure to tag me on IG @redfeedsack when you do make it!
– Dori 🙂