Back To School Pencil Pouch {Sewing Tutorial}
Hello friends!
I am always so shocked at how quickly school starts back in session; does it seem like summer just flies by?
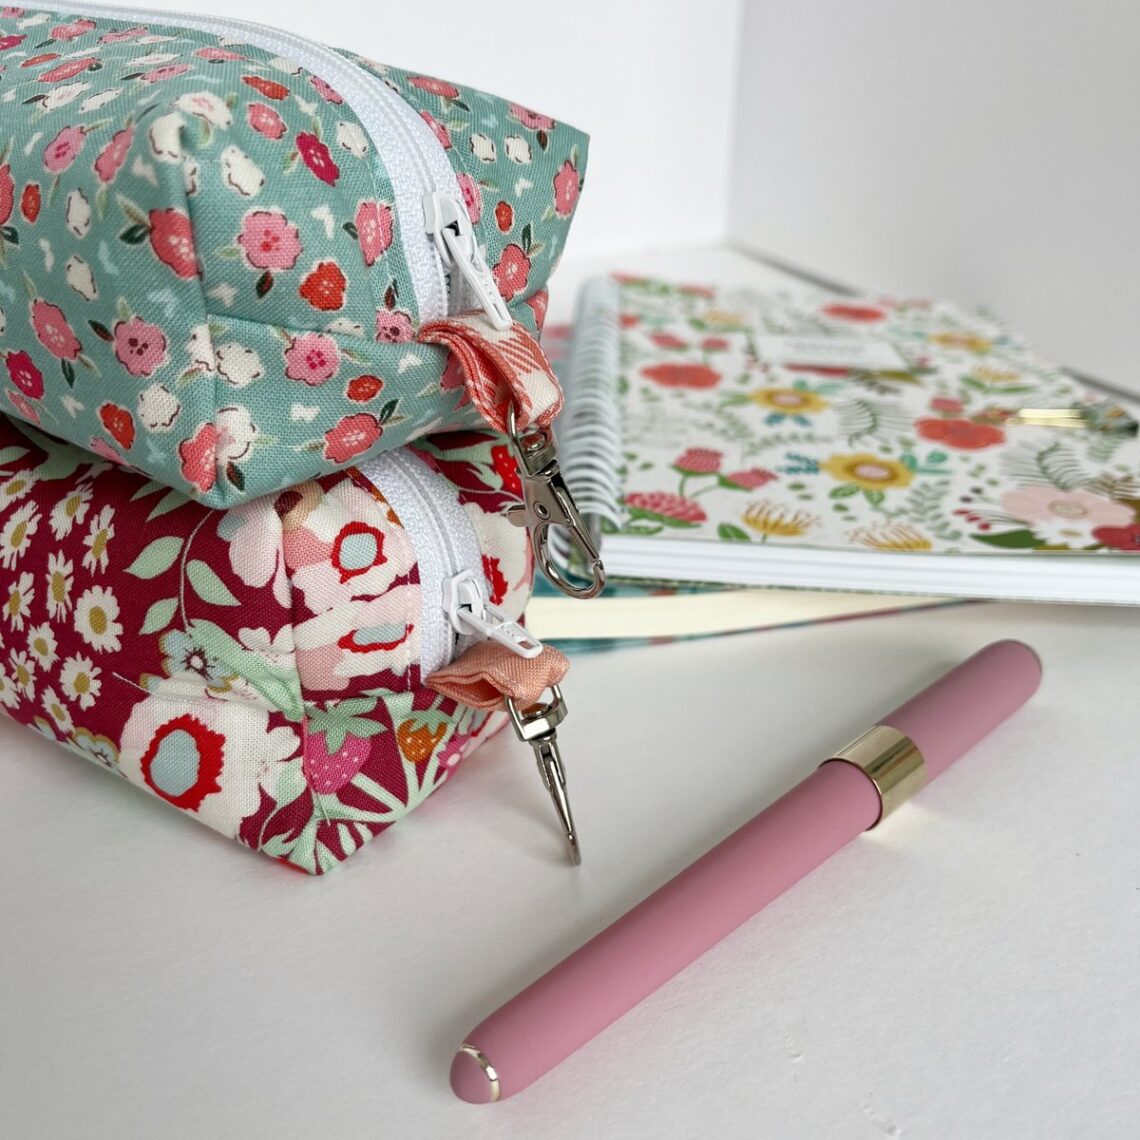
I wanted to share a fun back-to-school project with you. This adorable boxy pencil pouch is so incredibly easy to make. Even if you’ve never sewn with zippers before, this is a great project to start. Let’s get started!

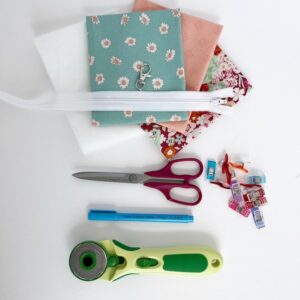
Necessary Supplies
- Fabric for outer bag
- Fabric for lining
- Scrap Fabric for tabs
- Fusible Fleece
- 14 inch (or longer) zipper
- Swivel Hook
- Clover Wonder Clips
- Clover Erasable Fabric Pen
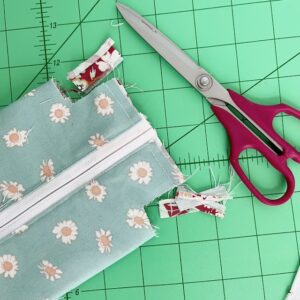
- Clover Bordeaux 170 Scissors
Instructions
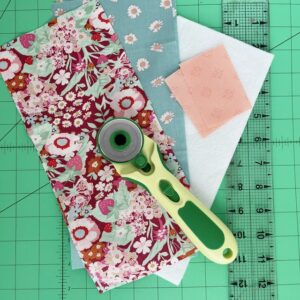
Step One: Cut the following:
2) outer fabric: 11.5 inches x 5.25 inches
2) lining fabric: 11.5 inches x 5.25 inches
2) fusible fleece: 10.5 inches x 4.75 inches
2) contrast fabric for tabs: 3 inches x 2 inches
Step Two: You will cut notches out of the short side of each fabric piece. Here’s how: fold a fabric piece in half lengthwise, finger press a crease along both raw edges. Use a ruler to measure a rectangle 1.25 inches wide x .75 inches tall. Use your erasable fabric pen to mark these lines. Repeat on all outer and lining fabric pieces. Using sharp scissors cut along those marked lines.
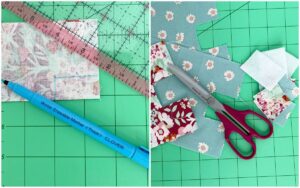
Step Three: Do the same with the two fusible fleece pieces except mark your lines: 1.25 inch wide and 1 inch tall.
Step Four: Fuse your fusible fleece pieces to the wrong side of both outer fabric pieces. Keep in mind the fleece will be smaller than the fabric, this is correct.

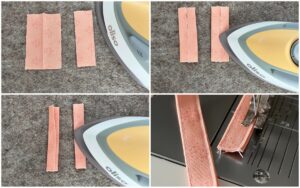
Step Five: Prepare your tabs: fold them in half creating a piece that is 1 inch x 3 inches. Press the fold. Open them up and fold both raw edges to the crease, and press them again. Fold in half one more time and press. Top stitch along both long edges of each tab. You will now have tabs that are .5 inch x 3 inches.
Loop one of the tabs through the end of the swivel hook. Fold over and sew the loop closed right at the raw edges. Set tabs aside for now.
Step Six: Now let’s install the zipper! Lay an outer piece of fabric right side up, and lay your zipper face down along the long edge. Don’t worry that your zipper is longer than the fabric piece; that is how we want it. Use Wonder Clips to hold it in place and baste a seam along the long edge of your zipper.
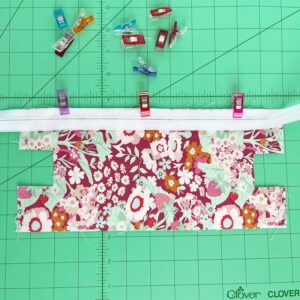
Step Seven: Lay your lining piece on top of the zipper, wrong side up. (Tip: your zipper will be sandwiched between the lining and the outer fabric.). Sew a scant 1/4 inch seam along the edge. Use either a zipper foot for this step or a 1/4 inch foot. (Double-check that your lining piece is lining up exactly on top of your outer piece, use Wonder Clips!)
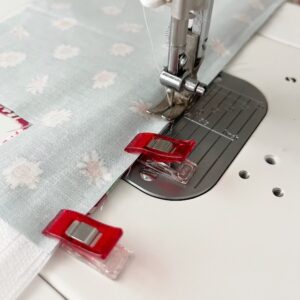
Step Eight: Turn both fabrics right side out and carefully press.

Step Nine: Repeat the above steps with the opposite side of the zipper to the remaining outer and lining fabric pieces. (Double-check that all fabrics line up along the edges.). Turn both fabrics facing right side up and carefully press.

Step Ten: Topstitch 1/8 inch along both finished edges of the zipper.

Step Eleven: We are now ready to assemble the pouch! Open the layers up so that the outer fabrics are right sides together and the lining fabrics are right sides together. Use Wonder Clips and clip along each long edge. Sew 1/4 inch seam along both long edges.

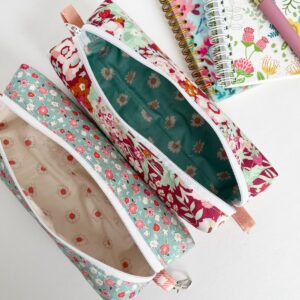
Step Twelve: Turn the pouch right side out through one of the open sides. It will look like a long tube with the zipper edges sticking out each side!

Step Thirteen: Open your zipper halfway. This is VERY important!!! You want to be able to open your pouch when it is all sewn together! Give it a press and now turn your bag wrong side out.
Step Fourteen: Take your tab with the swivel hook, center it on the seam of the unzipped and raw edge of the pouch, use a Wonder Clip to hold it and baste in place. Do the same with the remaining tab on the other side.
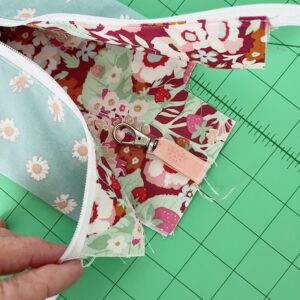
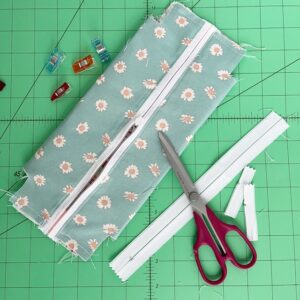
Step Fifteen: With your pouch still wrong side out, sew a 3/8 seams on both short raw edges. Make SURE your zipper is at least half way open!! Trim your zipper ends to the raw fabric edge at this point. I like to use pinking sheers to trim this raw edge, or you could use a zig-zag stitch as well.
Step Sixteen: Now we are going to close up the open boxes at the corners of your pouch. Don’t be surprised if they aren’t exactly even. Take this time to square them up nicely with your scissors, trimming any fabric that isn’t completely lined up.
Step Seventeen: We are going to sew those corners closed, creating the “box” part of your pouch. It’s not hard, but be sure to follow the instructions exactly to get that box! Here we go… open up each corner, lining up the raw edges and use a Wonder Clip to hold in place. Sew that seam closed using a 1/4 inch seam allowance. Repeat on all four corners. Use pinking shears or a zig zag stitch to finish off the edges.
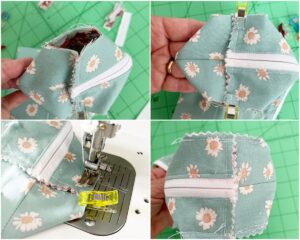
Step Eighteen: Turn your pouch right side, by pushing it through the opened zipper! (Unless you forgot to open the zipper in step thirteen in which case… well, you are in trouble! HaHa!)
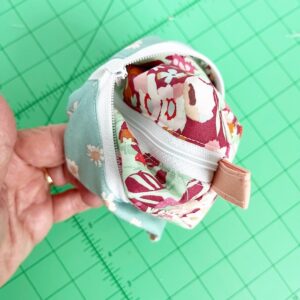
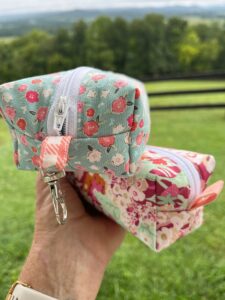
Step Twenty: Push all your boxy corners out and now you have a perfect little Boxy Pencil Pouch!

This is one of those projects that you can make numerous pouches in a short amount of time if you do them in assembly line style!!! I love how they came out so much, I intend to make more!

Happy back-to-school sewing!
~ Dori ~