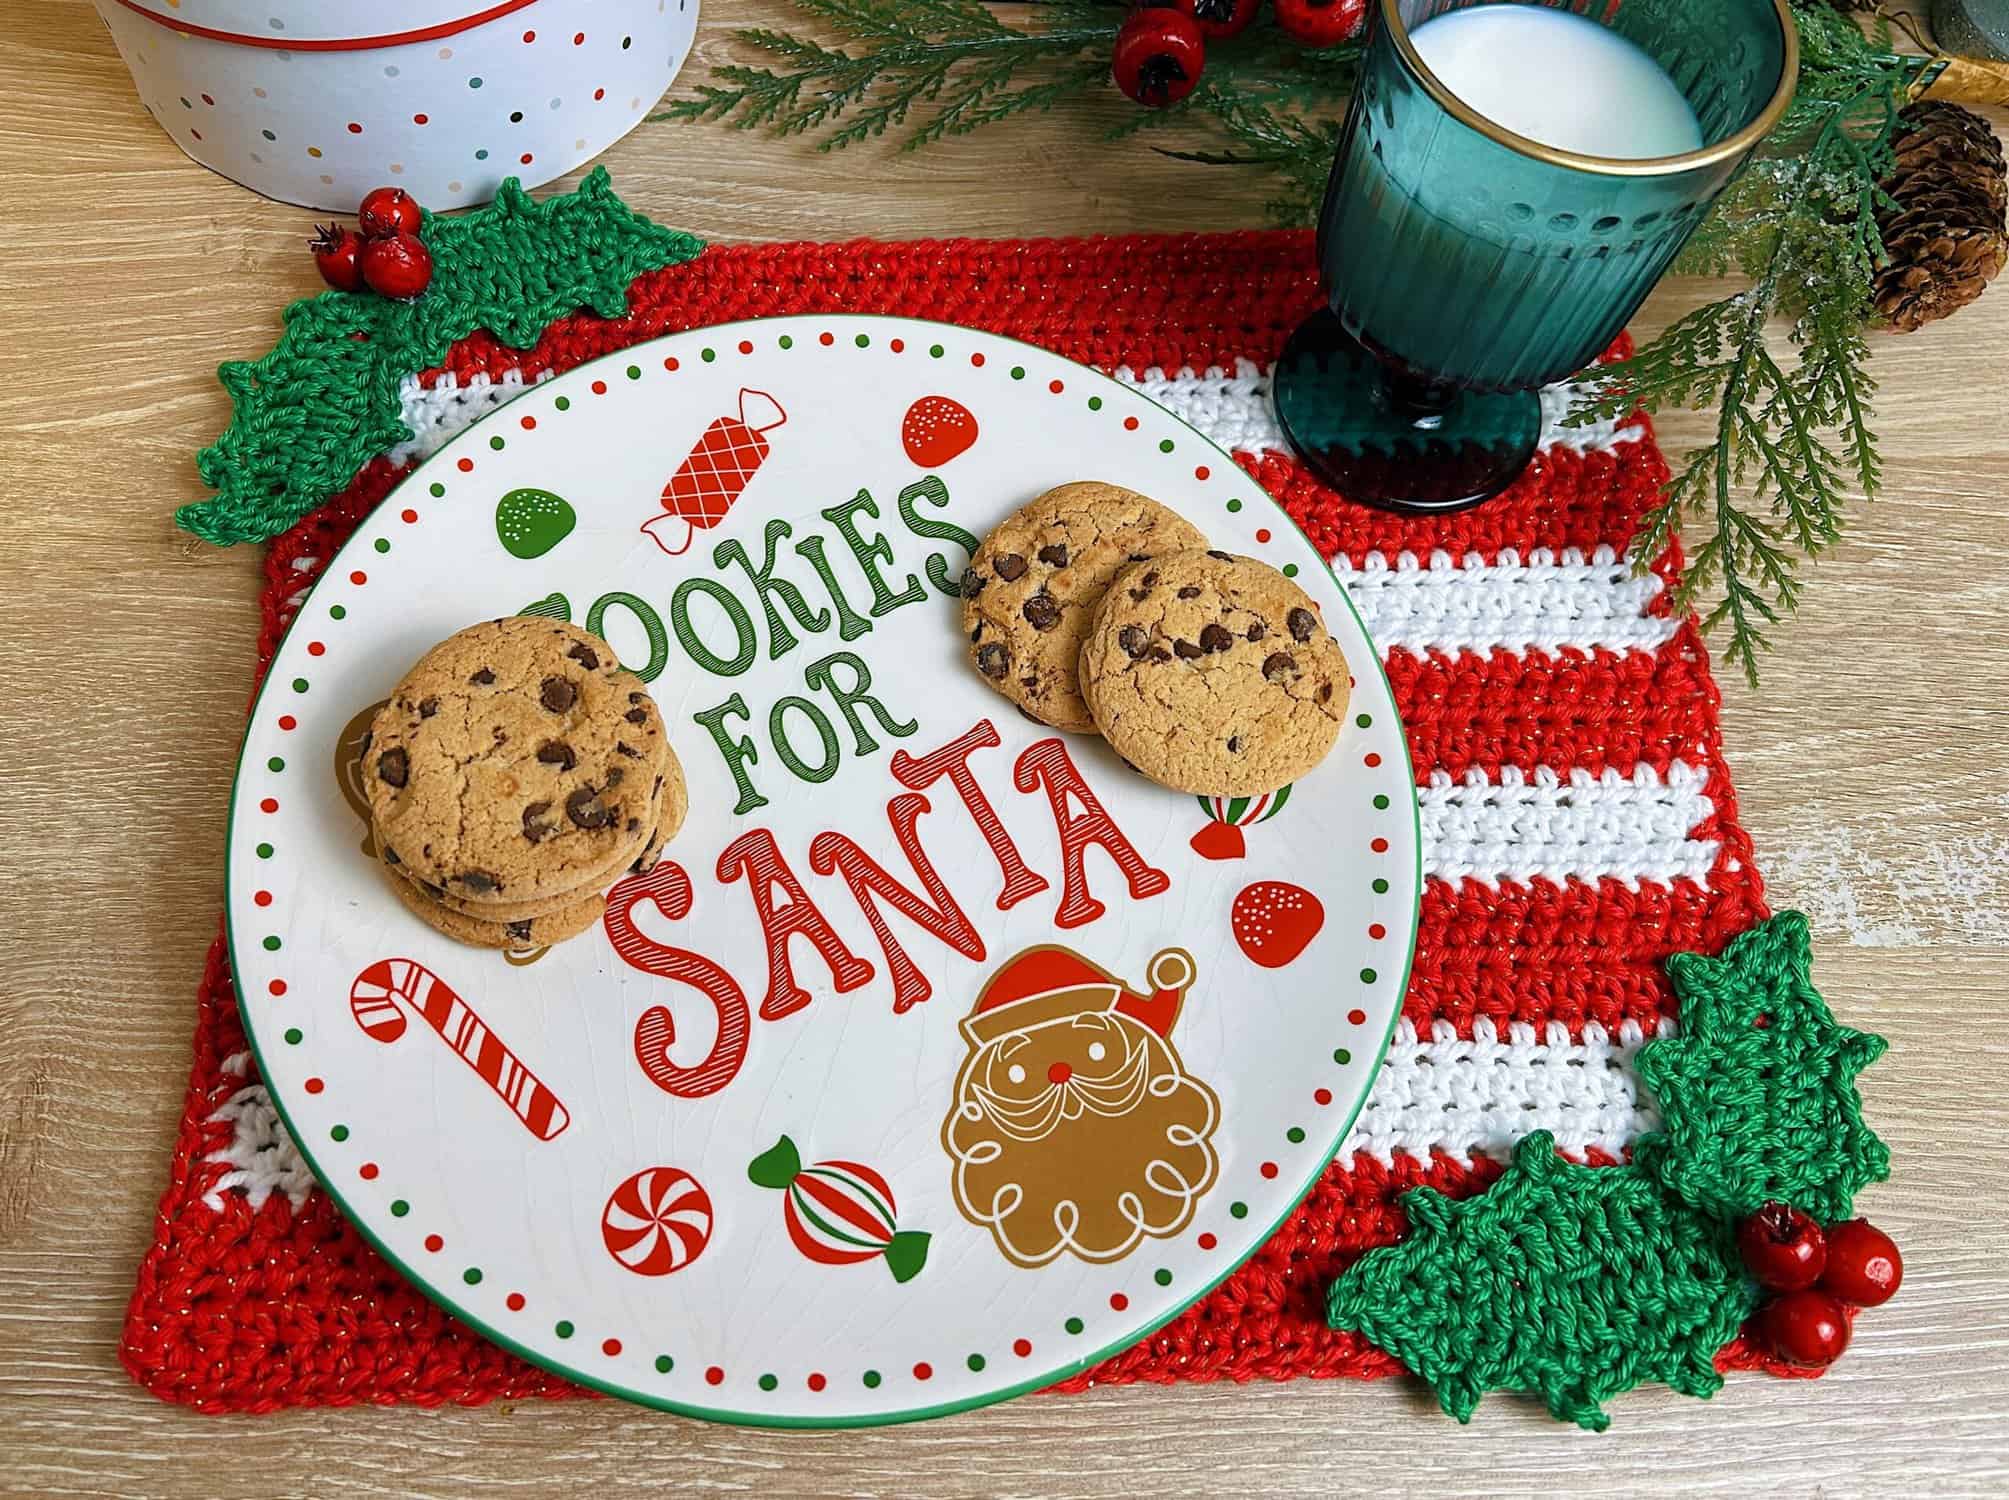
Cookies for Santa Placemat!
As the festive season approaches, there’s a magical excitement in the air, and what better way to welcome the jolly old man in the red suit than with a touch of handmade charm? Imagine your home adorned with the warmth of holiday cheer, and at the center of it all, a delightful “Cookies for Santa” holiday placemat that not only adds a festive flair to your table but also serves as a cozy backdrop for those sweet treats left out for Santa on Christmas Eve. Join us as we dive into the world of crochet and discover the joy of crafting a magical placemat that not only captures the essence of Christmas but also showcases your passion for handmade treasures. So, grab a cup of cocoa, gather your crochet supplies, and let’s embark on a delightful adventure of stitching and storytelling!
MATERIALS:
- Clover Amour Crochet Hook G (4 mm)
- any worsted weight yarn in colors red, white and green
- Patchwork Scissors
- yarn needle
- hot glue gun
- red pom-poms or fake holly berries (you can find these at any craft store)
NOTES:
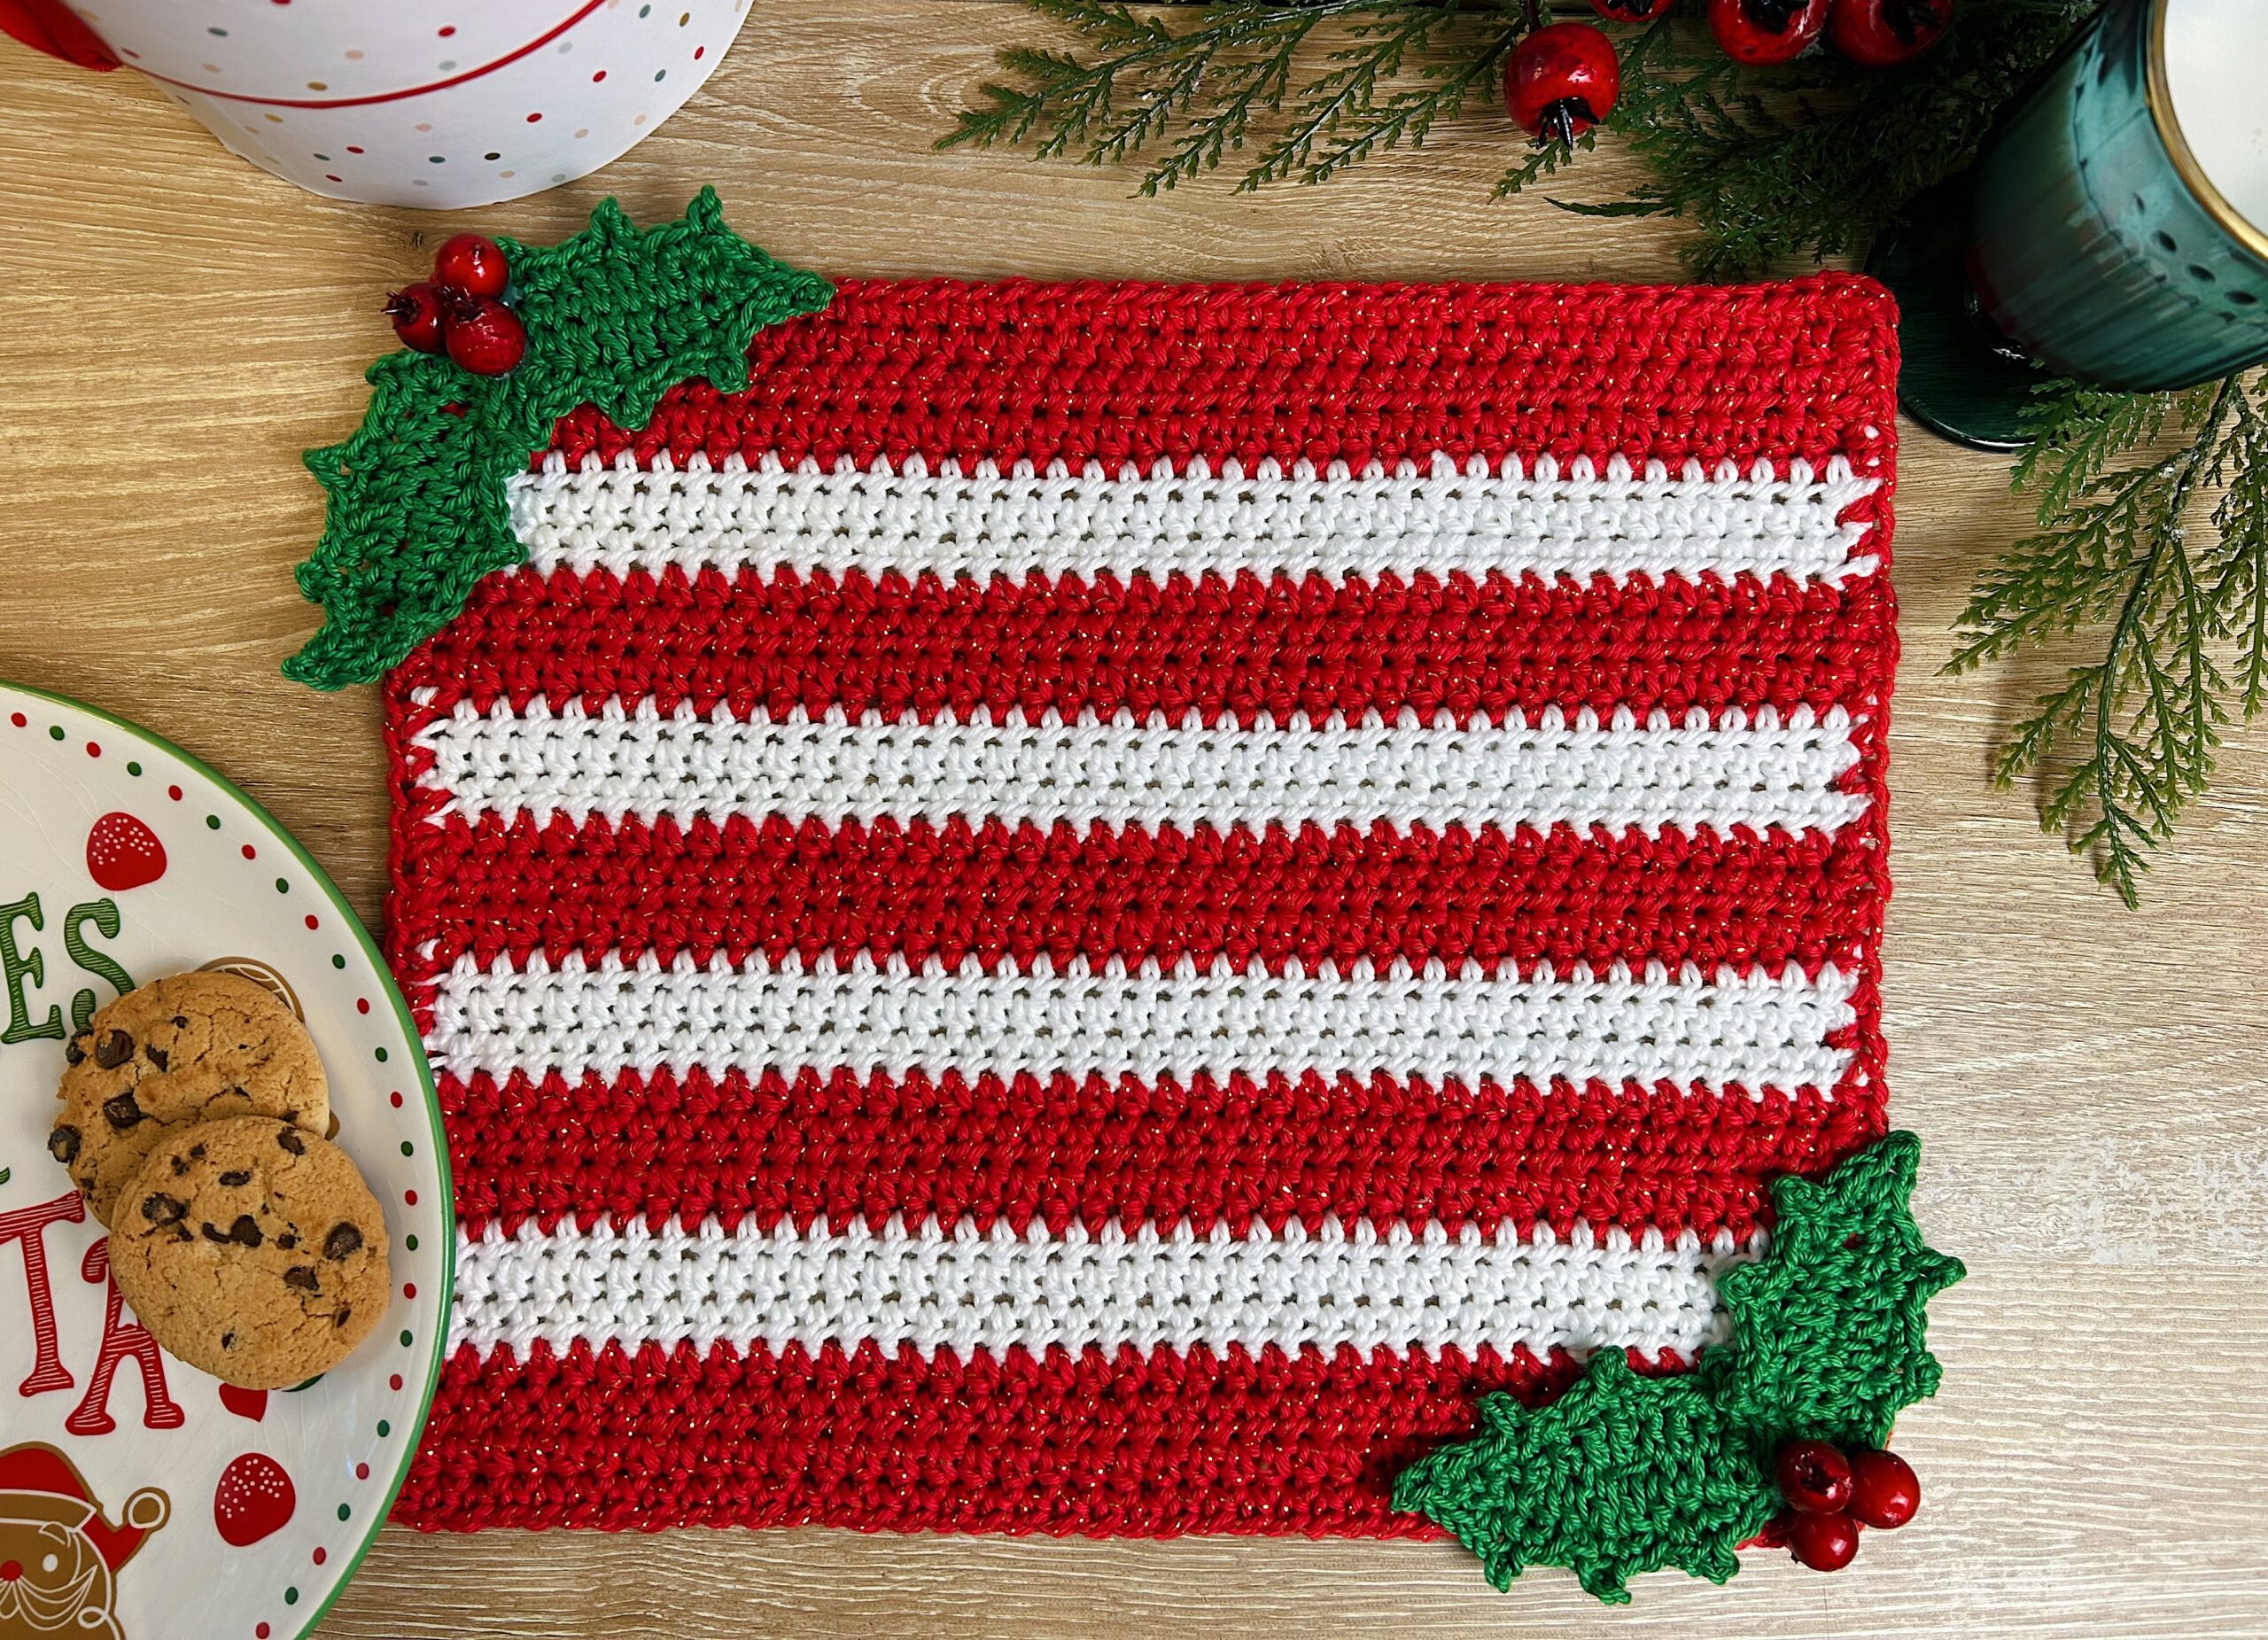
- final placemat is 12” x 10”
- 1 leaf is 3.5” long
TUTORIAL (PLACEMAT):
- Alternate colors every 3 rows!
- With red, ch 42
- Row 1: 1 hdc in the third ch from the hook and in each ch across. Ch 2, turn.
- Row 2-27: 1 hdc in each st across. Ch 2, turn.
- Finish off, weave in all ends.
- With red, attach in any stitch along the edge and ch 1. Sc evenly all the way around the entire piece, placing 3 sc in each corner. Join with a sl st to the first sc.
TUTORIAL (HOLLY):
- You are going to make 4 leaves total.
- With green, ch 11
- Round 1: 1 sc in the second ch from your hook, 1 sc in the next ch, 1 hdc in each of the next 2 chs, 1 dc in each of the next 2 chs, 1 hdc in each of the next 2 chs, 1 sc in the next ch. [1 sc, ch 1, 1 sc] in the last ch. Now working along the other side of the initial foundation ch, 1 sc in the next ch, 1 hdc in each of the next 2 chs, 1 dc in each of the next 2 chs, 1 hdc in each of the next 2 chs, 1 sc in each of the next 2 chs, ch 1, sl st into the first sc of the round.
- Round 2: Ch 1, sk first st (same st where you joined Round 1). *1 sc in the next st, ch 3, sl st in the first ch (picot made), 1 sc in the next st, sl st in the next st*, repeat from * 2 more times. [1 sc, ch 3, sl st in the first ch, 1 sc] in the next st. Sl st in the next st, *1 sc in the next st, ch 3, sl st in the first ch (picot made), 1 sc in the next st, sl st in the next st*, repeat from * 2 more times.
- Finish off. Instead of weaving in the ends, use the excess strands to sew them in place on the corners of the placemat.
- Now glue on your berries.
- I recommend 2-4 for each side!
This project is soooooo cute for decorating your dining table, you could gift it to a friend for Christmas, you could make your pet a placemat for their food bowl, or most importantly, leave it out to place cookies and milk on it for Santa! 😉 If you have any questions about this tutorial, DM me on Instagram @handsofzeal!
If you want to keep up with me, Julie, on social media for other fun projects, follow me on social media: Instagram | Blog | Etsy
If you want to keep up with all things Clover, follow us on: Facebook | Twitter | Instagram | Pinterest | YouTube | Ravelry