Yarn Ghosts *more halloween decor!*
Hi there, Erin from CraftsEverywhere here! Today, I’m bringing you a tutorial for these cute yarn ghosts. This craft can also be done with help from the kids too! I added these little ghosts to my spooky corner. So far, I don’t have quite enough Halloween decorations to go all out in my house but maybe one of these years….
October and Halloween are my favorite times of the year as the weather changes and gets cooler (finally). Crunchy leaves and awesome Halloween costumes are highlights for this month too. For this project, I’ve included lots of different materials you can use to make these, so let’s do it!
SKILL LEVEL:
- Beginner
MATERIALS:
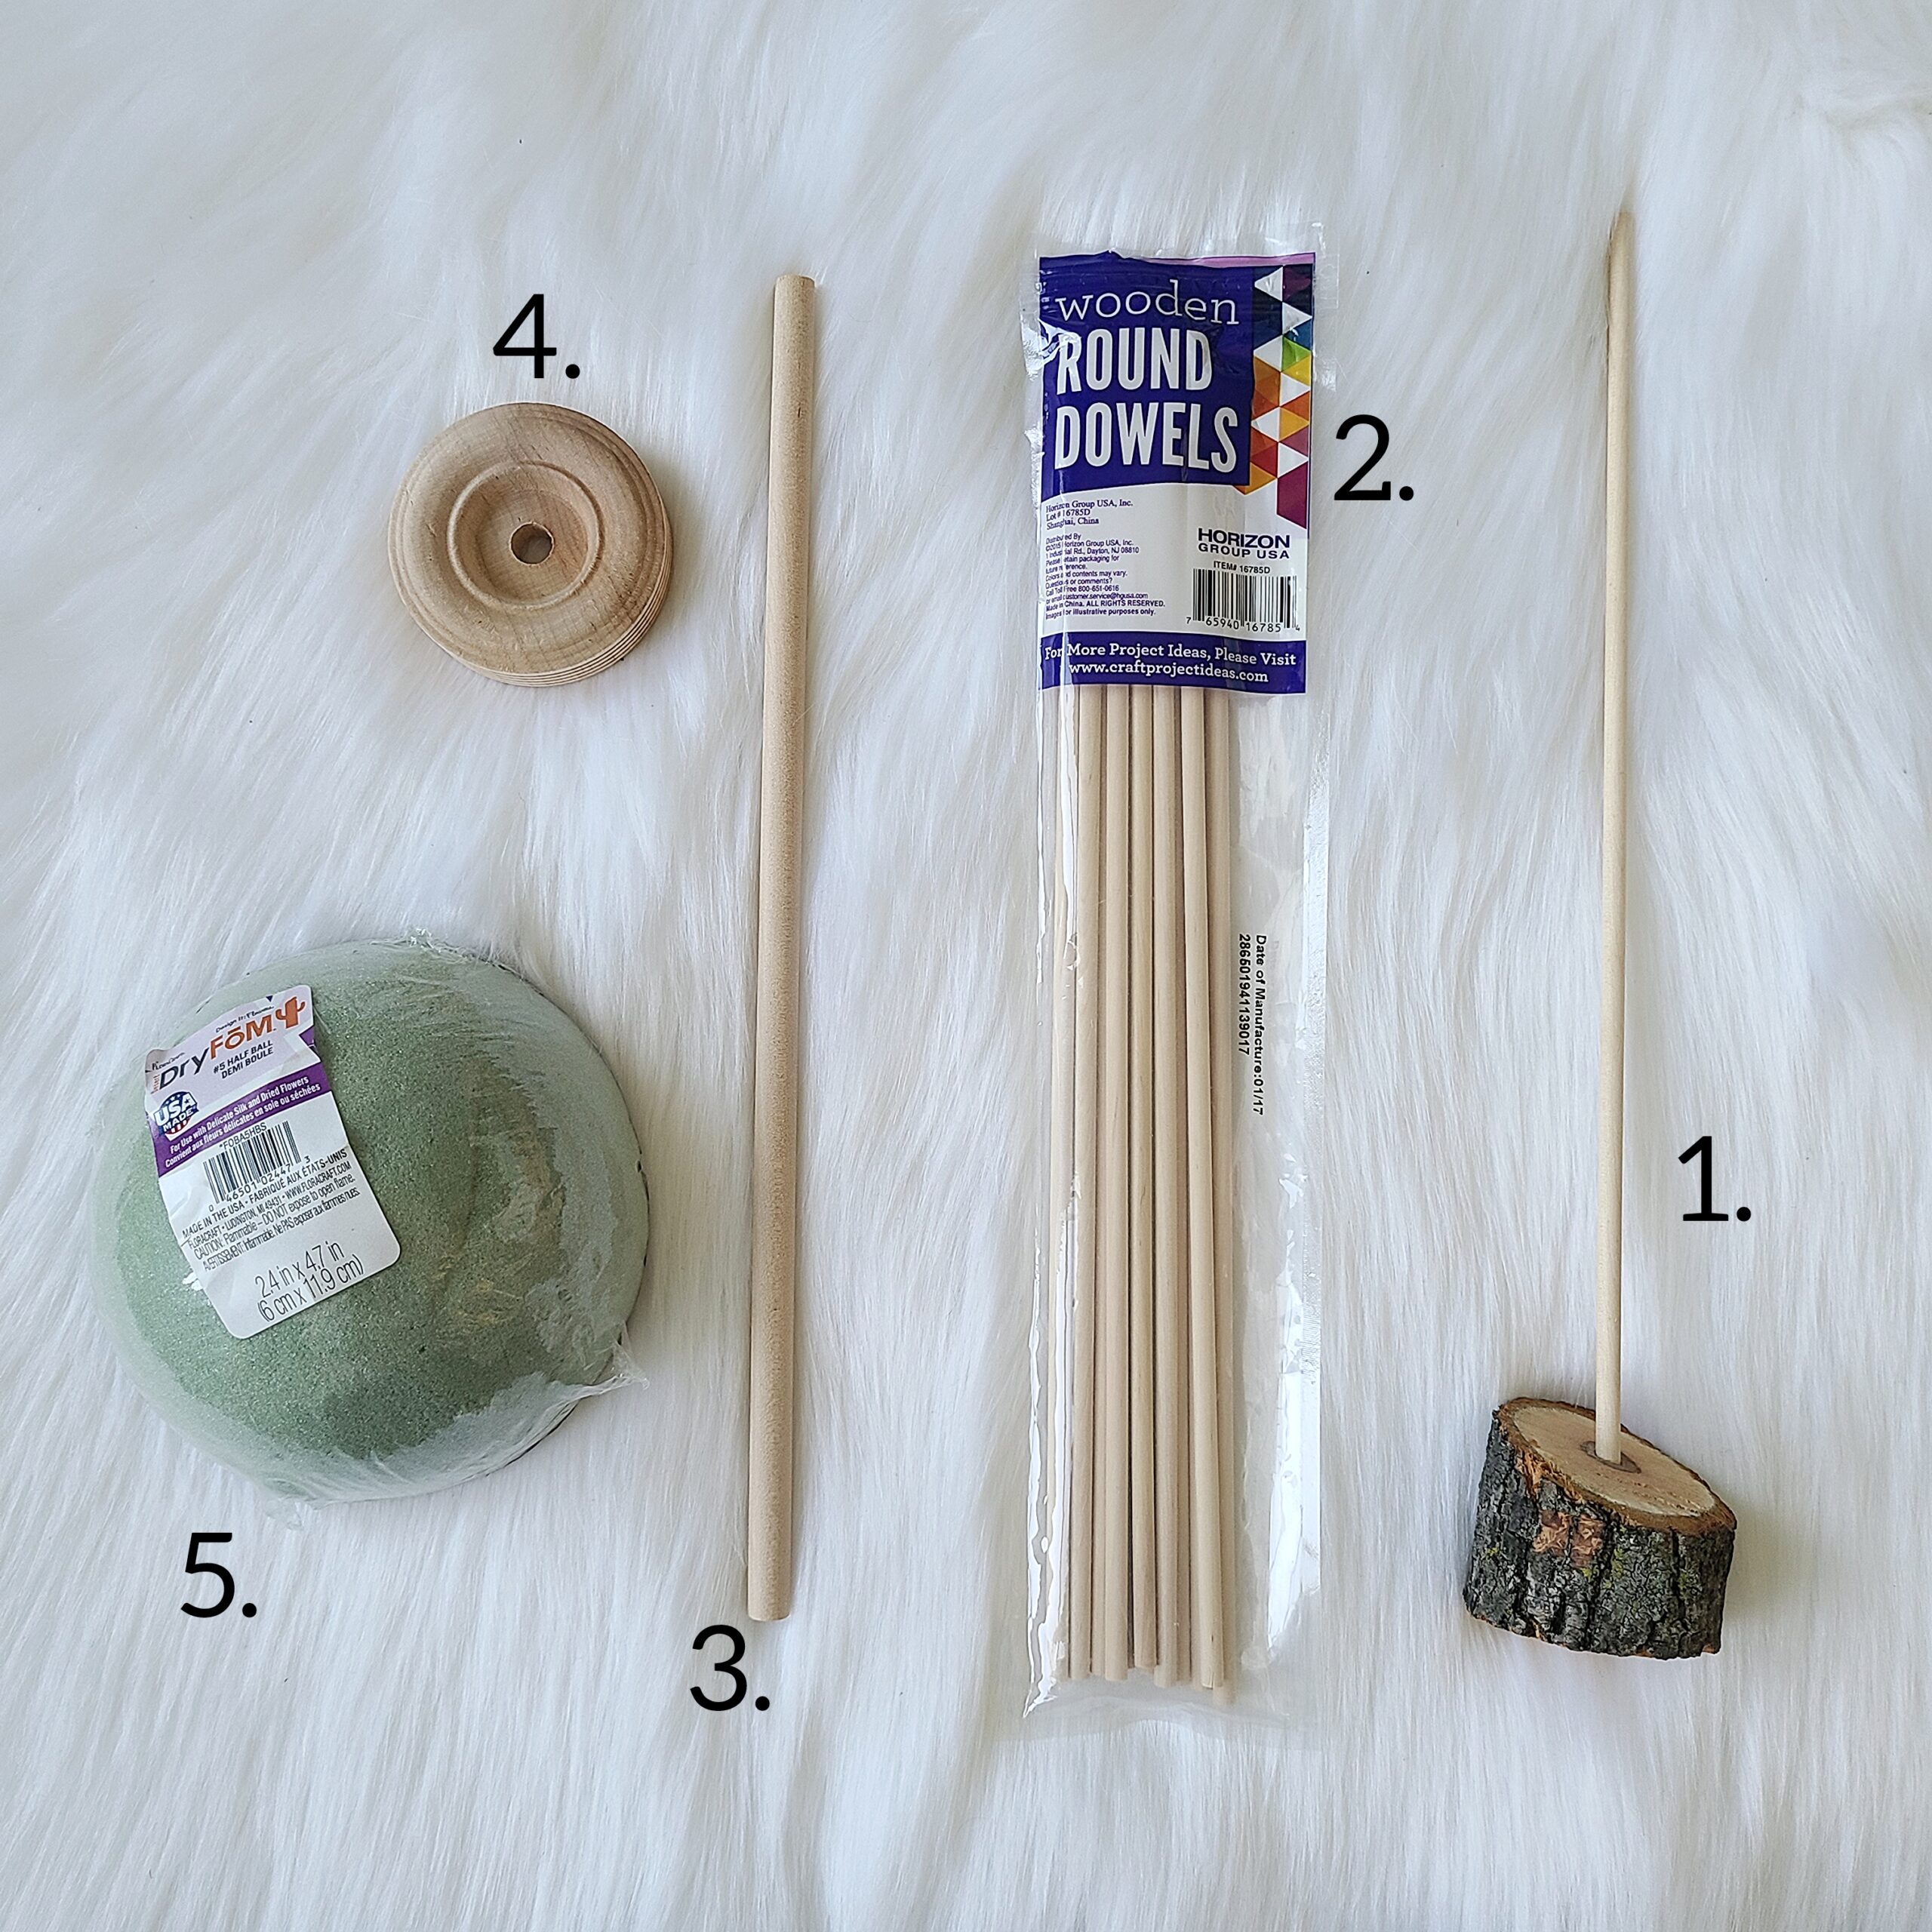
- Options for the base and stand:
- To make your own: My wooden stand tutorial and wood slices
- For the stand: Wooden dowel – 12″ x 3/16″
- For the base: 3/8″ dowel for the tread wheel
- For the base: Wood Tread Wheel
- For the base: Half foam ball
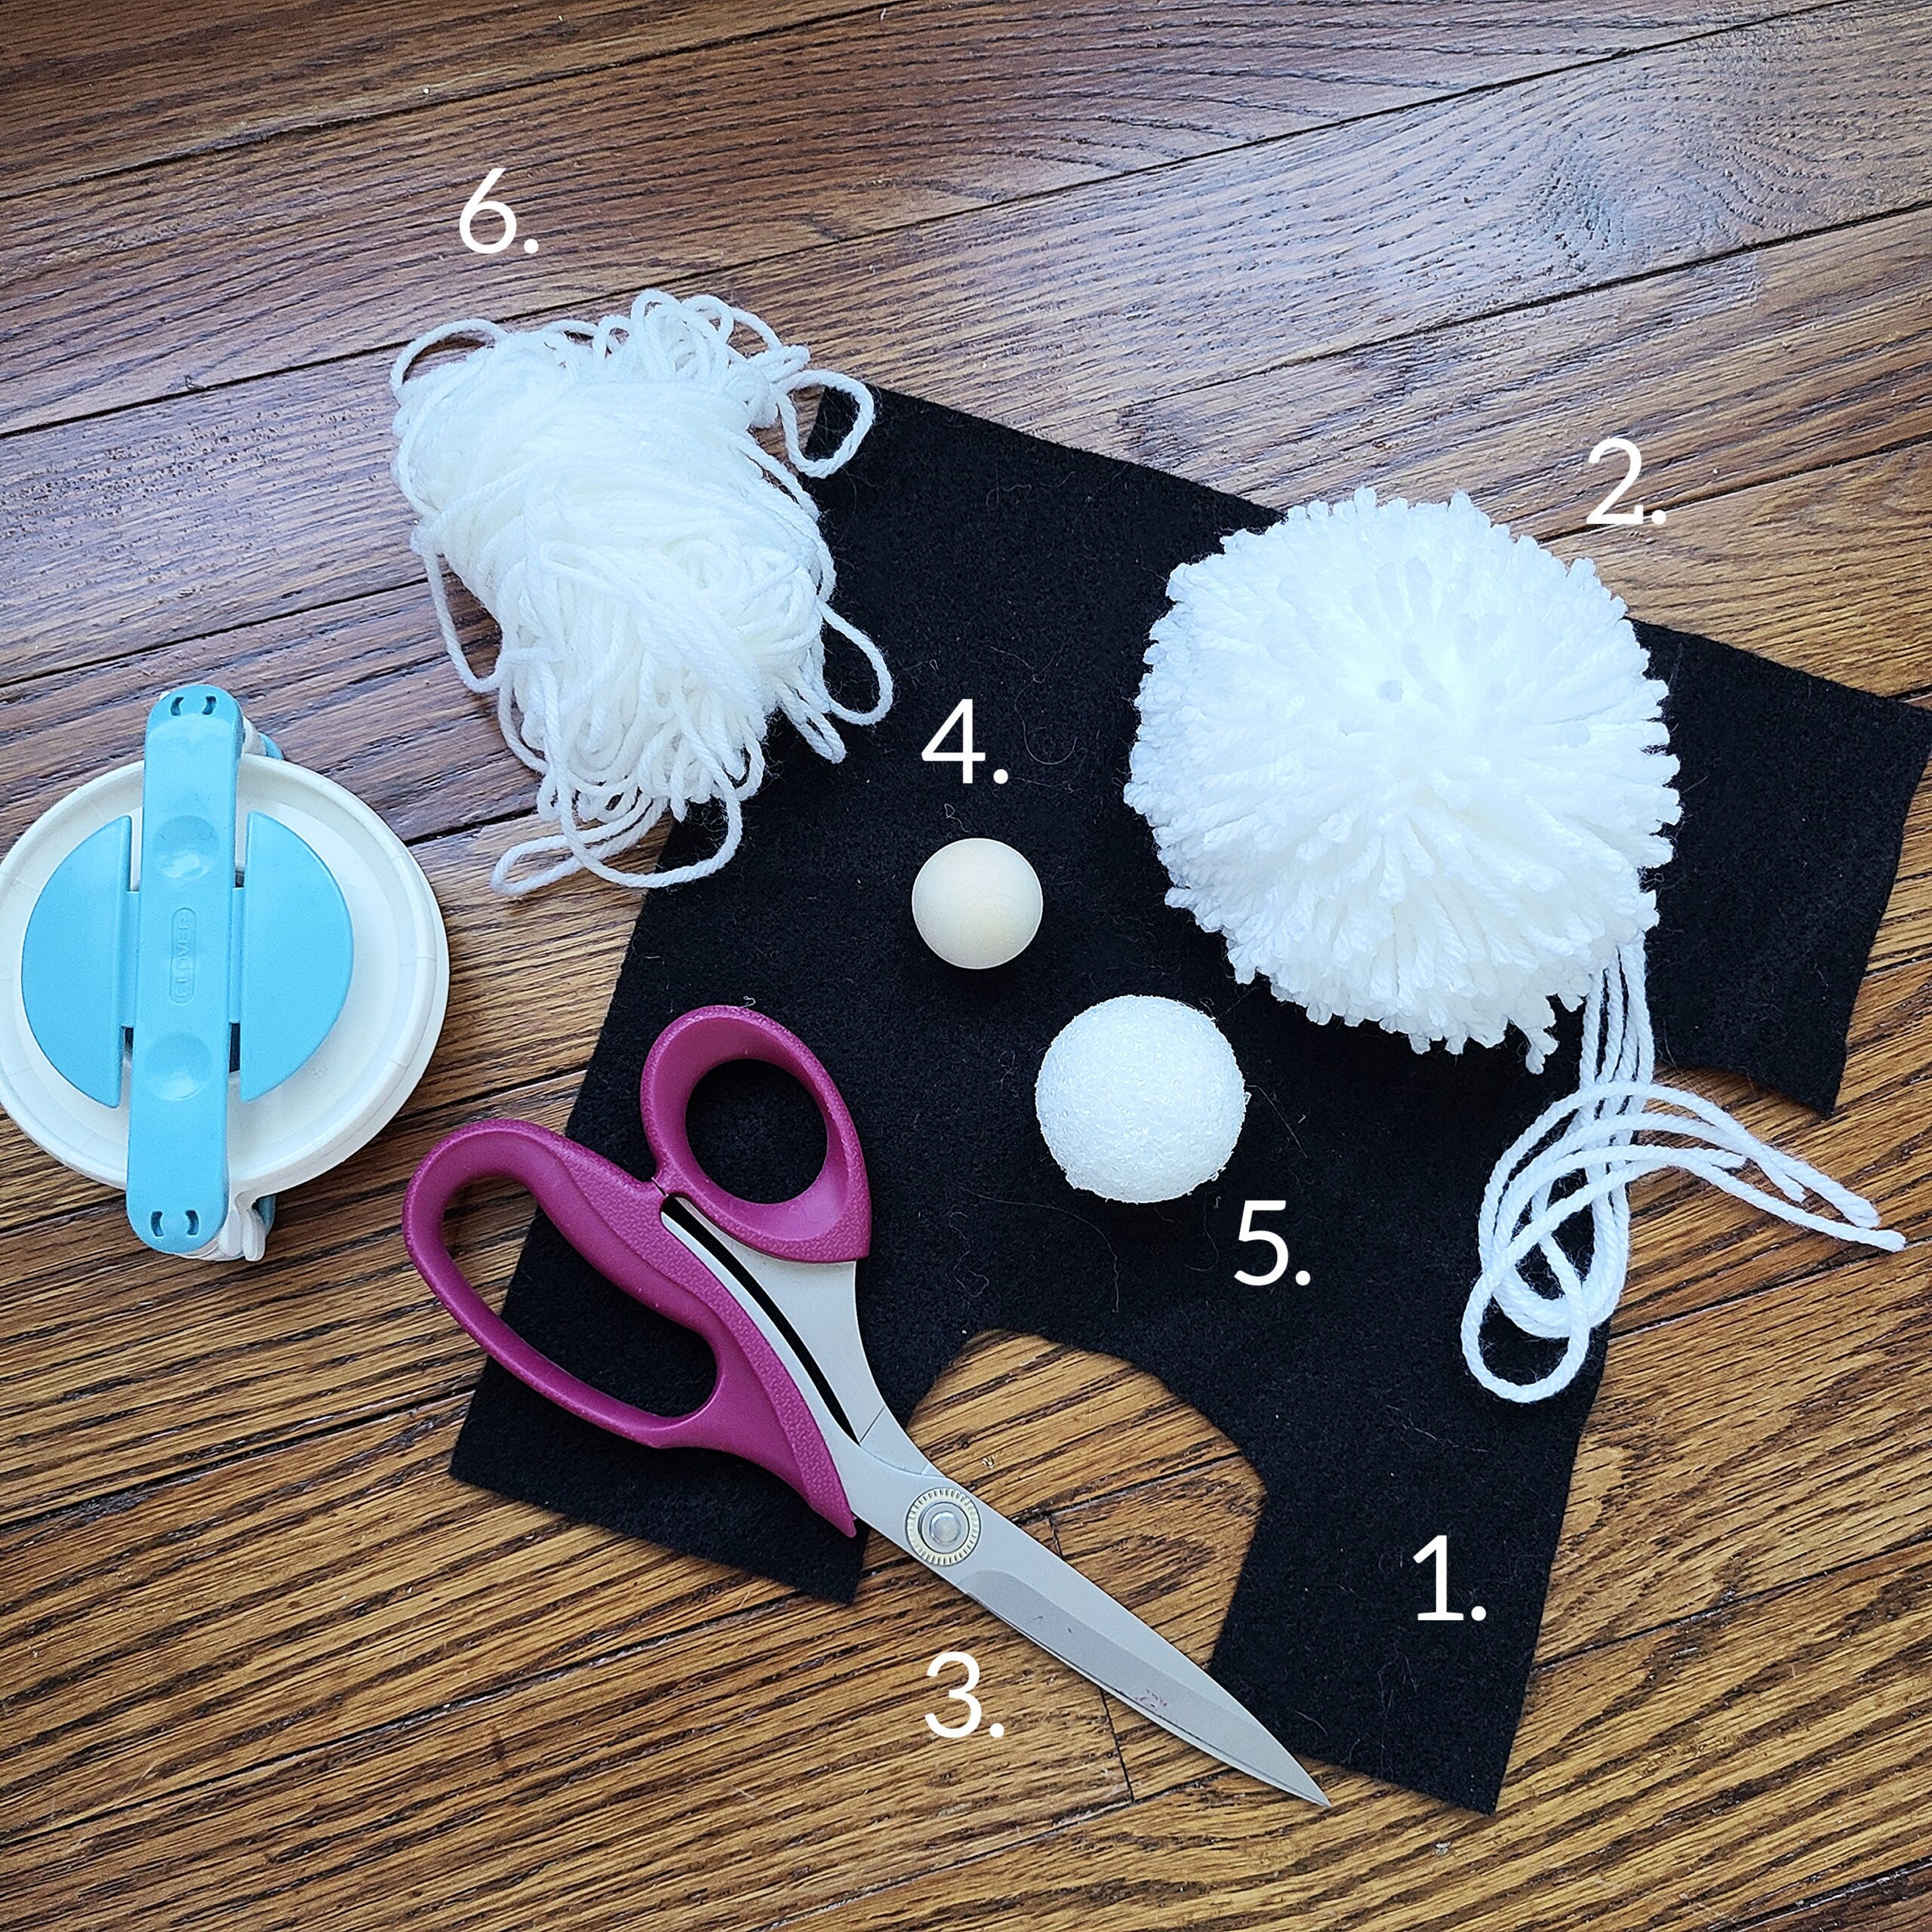
- Options for the head and other materials:
- For the face: Black felt
- For the head: Pom-pom maker to make pom-pm
- Patchwork Scissors – (Art No. 493)
- For the head: Wooden ball – 25 mm
- For the head: Foam ball – 1.5″
- White yarn – anything will work, nothing fancy needed. Stash yarn, Red Heart Super Saver, Lily Sugar N’ Cream etc. all work.
- Other supplies needed:
- Hot glue gun
- Face embellishments – 2 buttons or something else to use for eyes
INSTRUCTIONS:
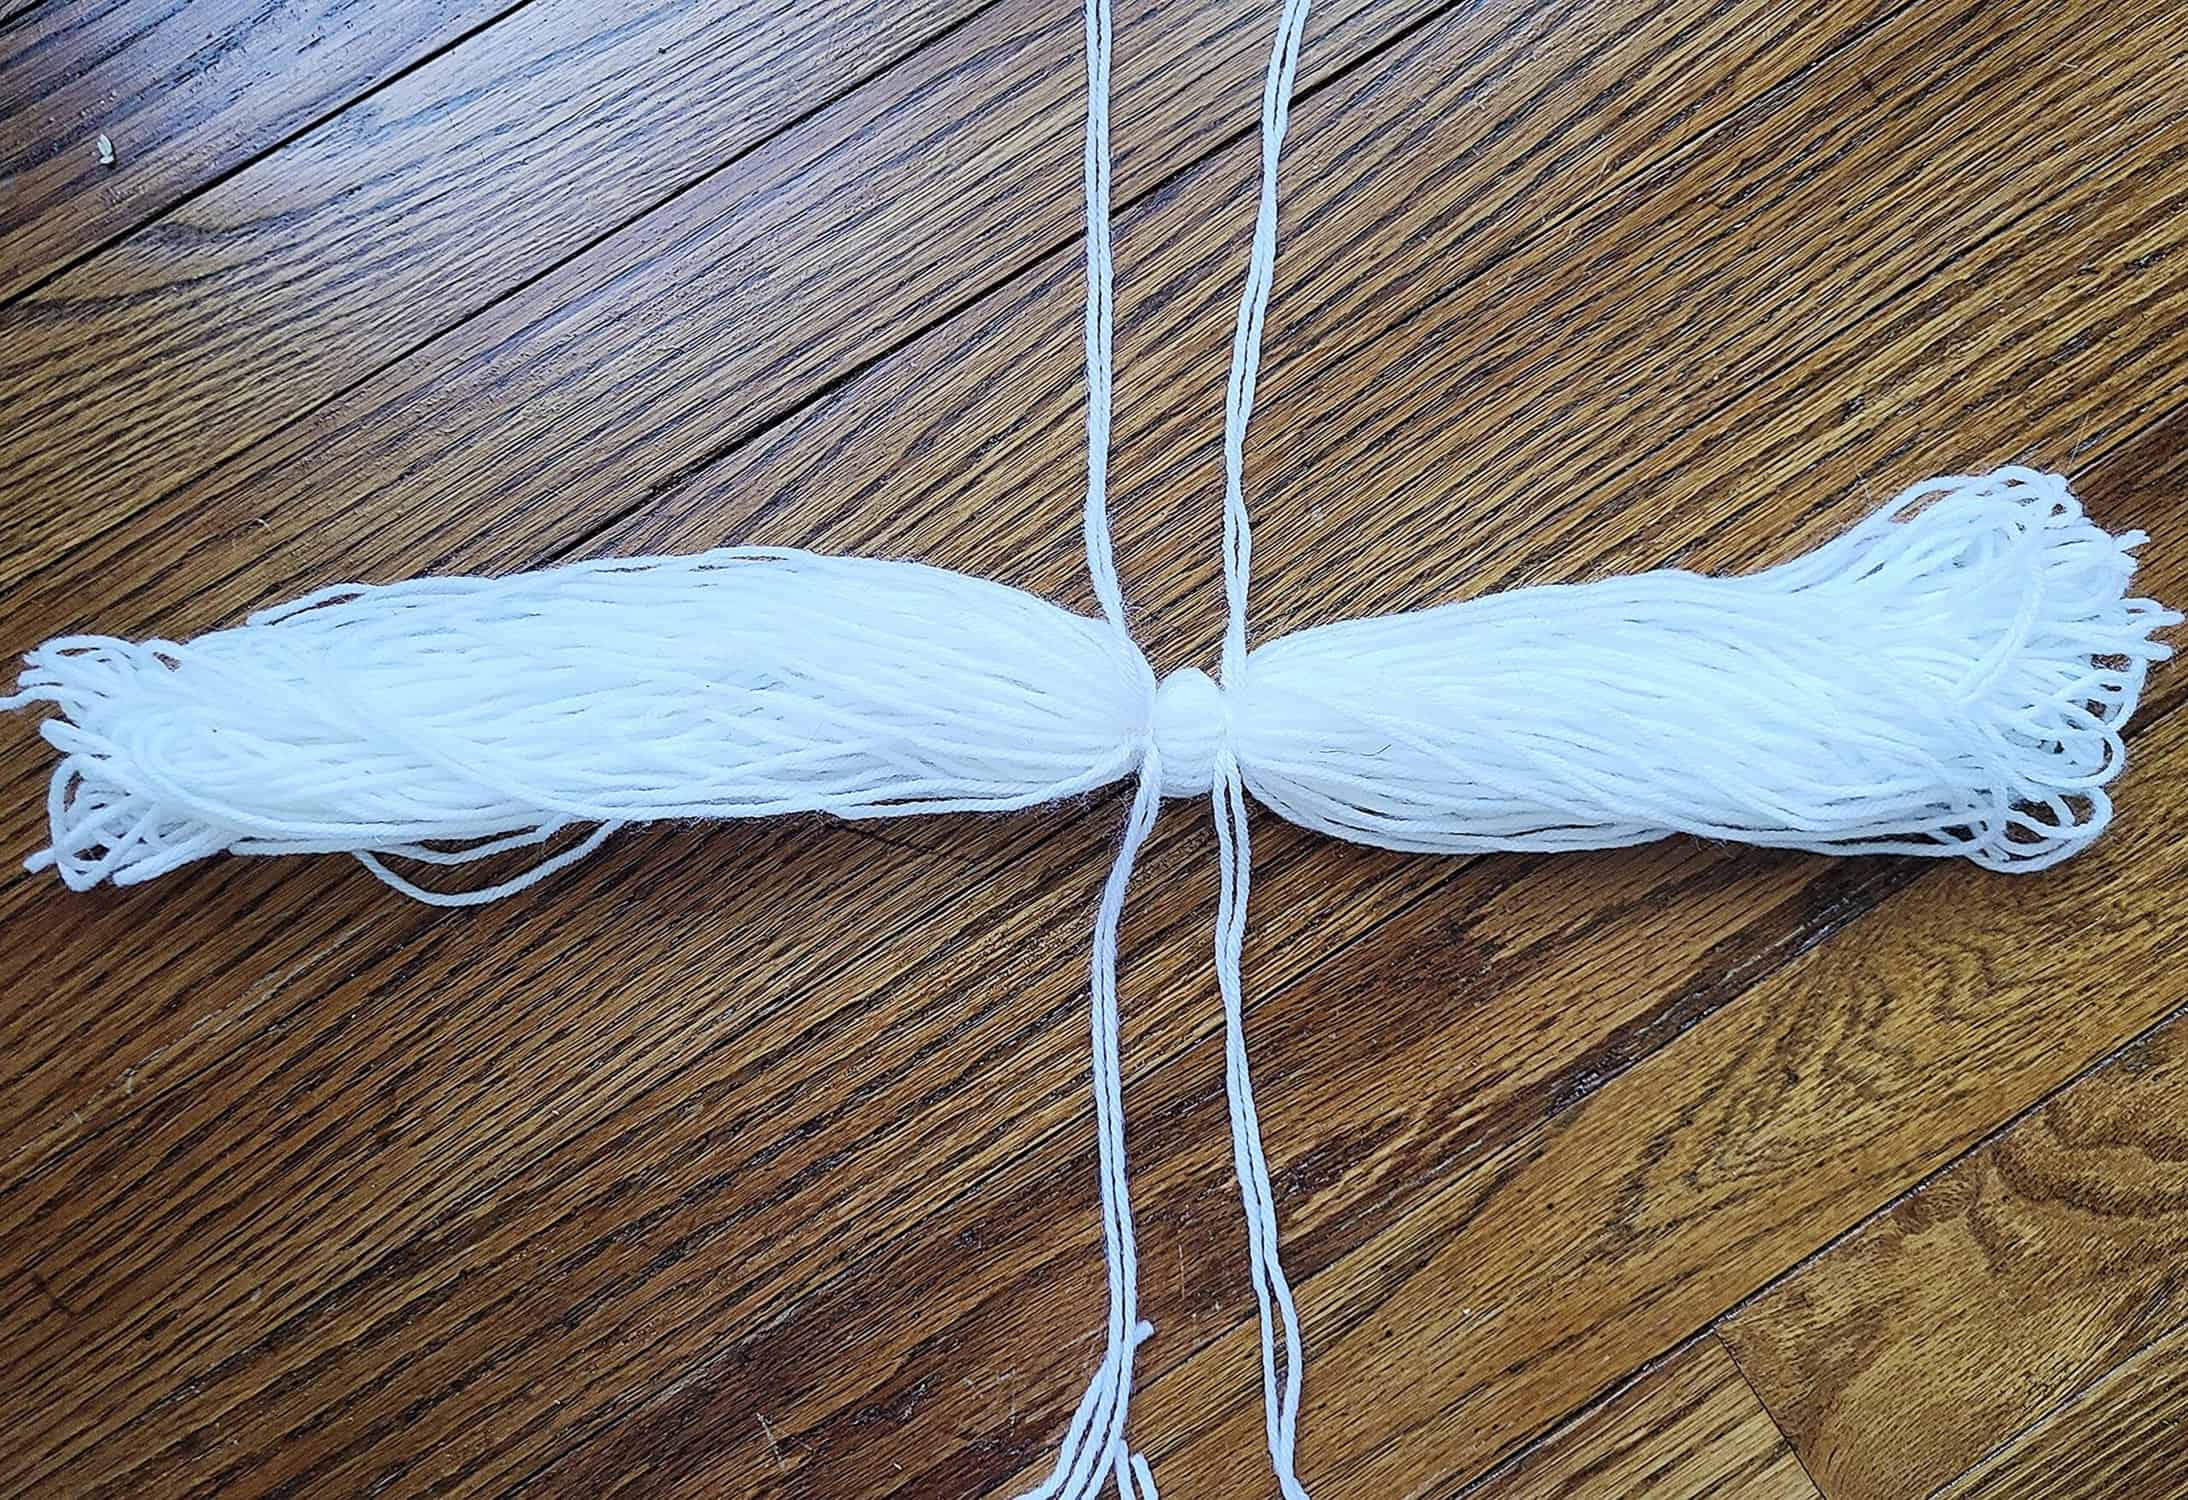
1. Make a bundle of yarn (approx. 80-100 strands) to fit your stand. I made mine about 12-16″ long before folding in half. Lay the bundle flat and tie two separate strands of yarn at the center, as shown above, leaving enough space in-between the two ties for the stand to go through.
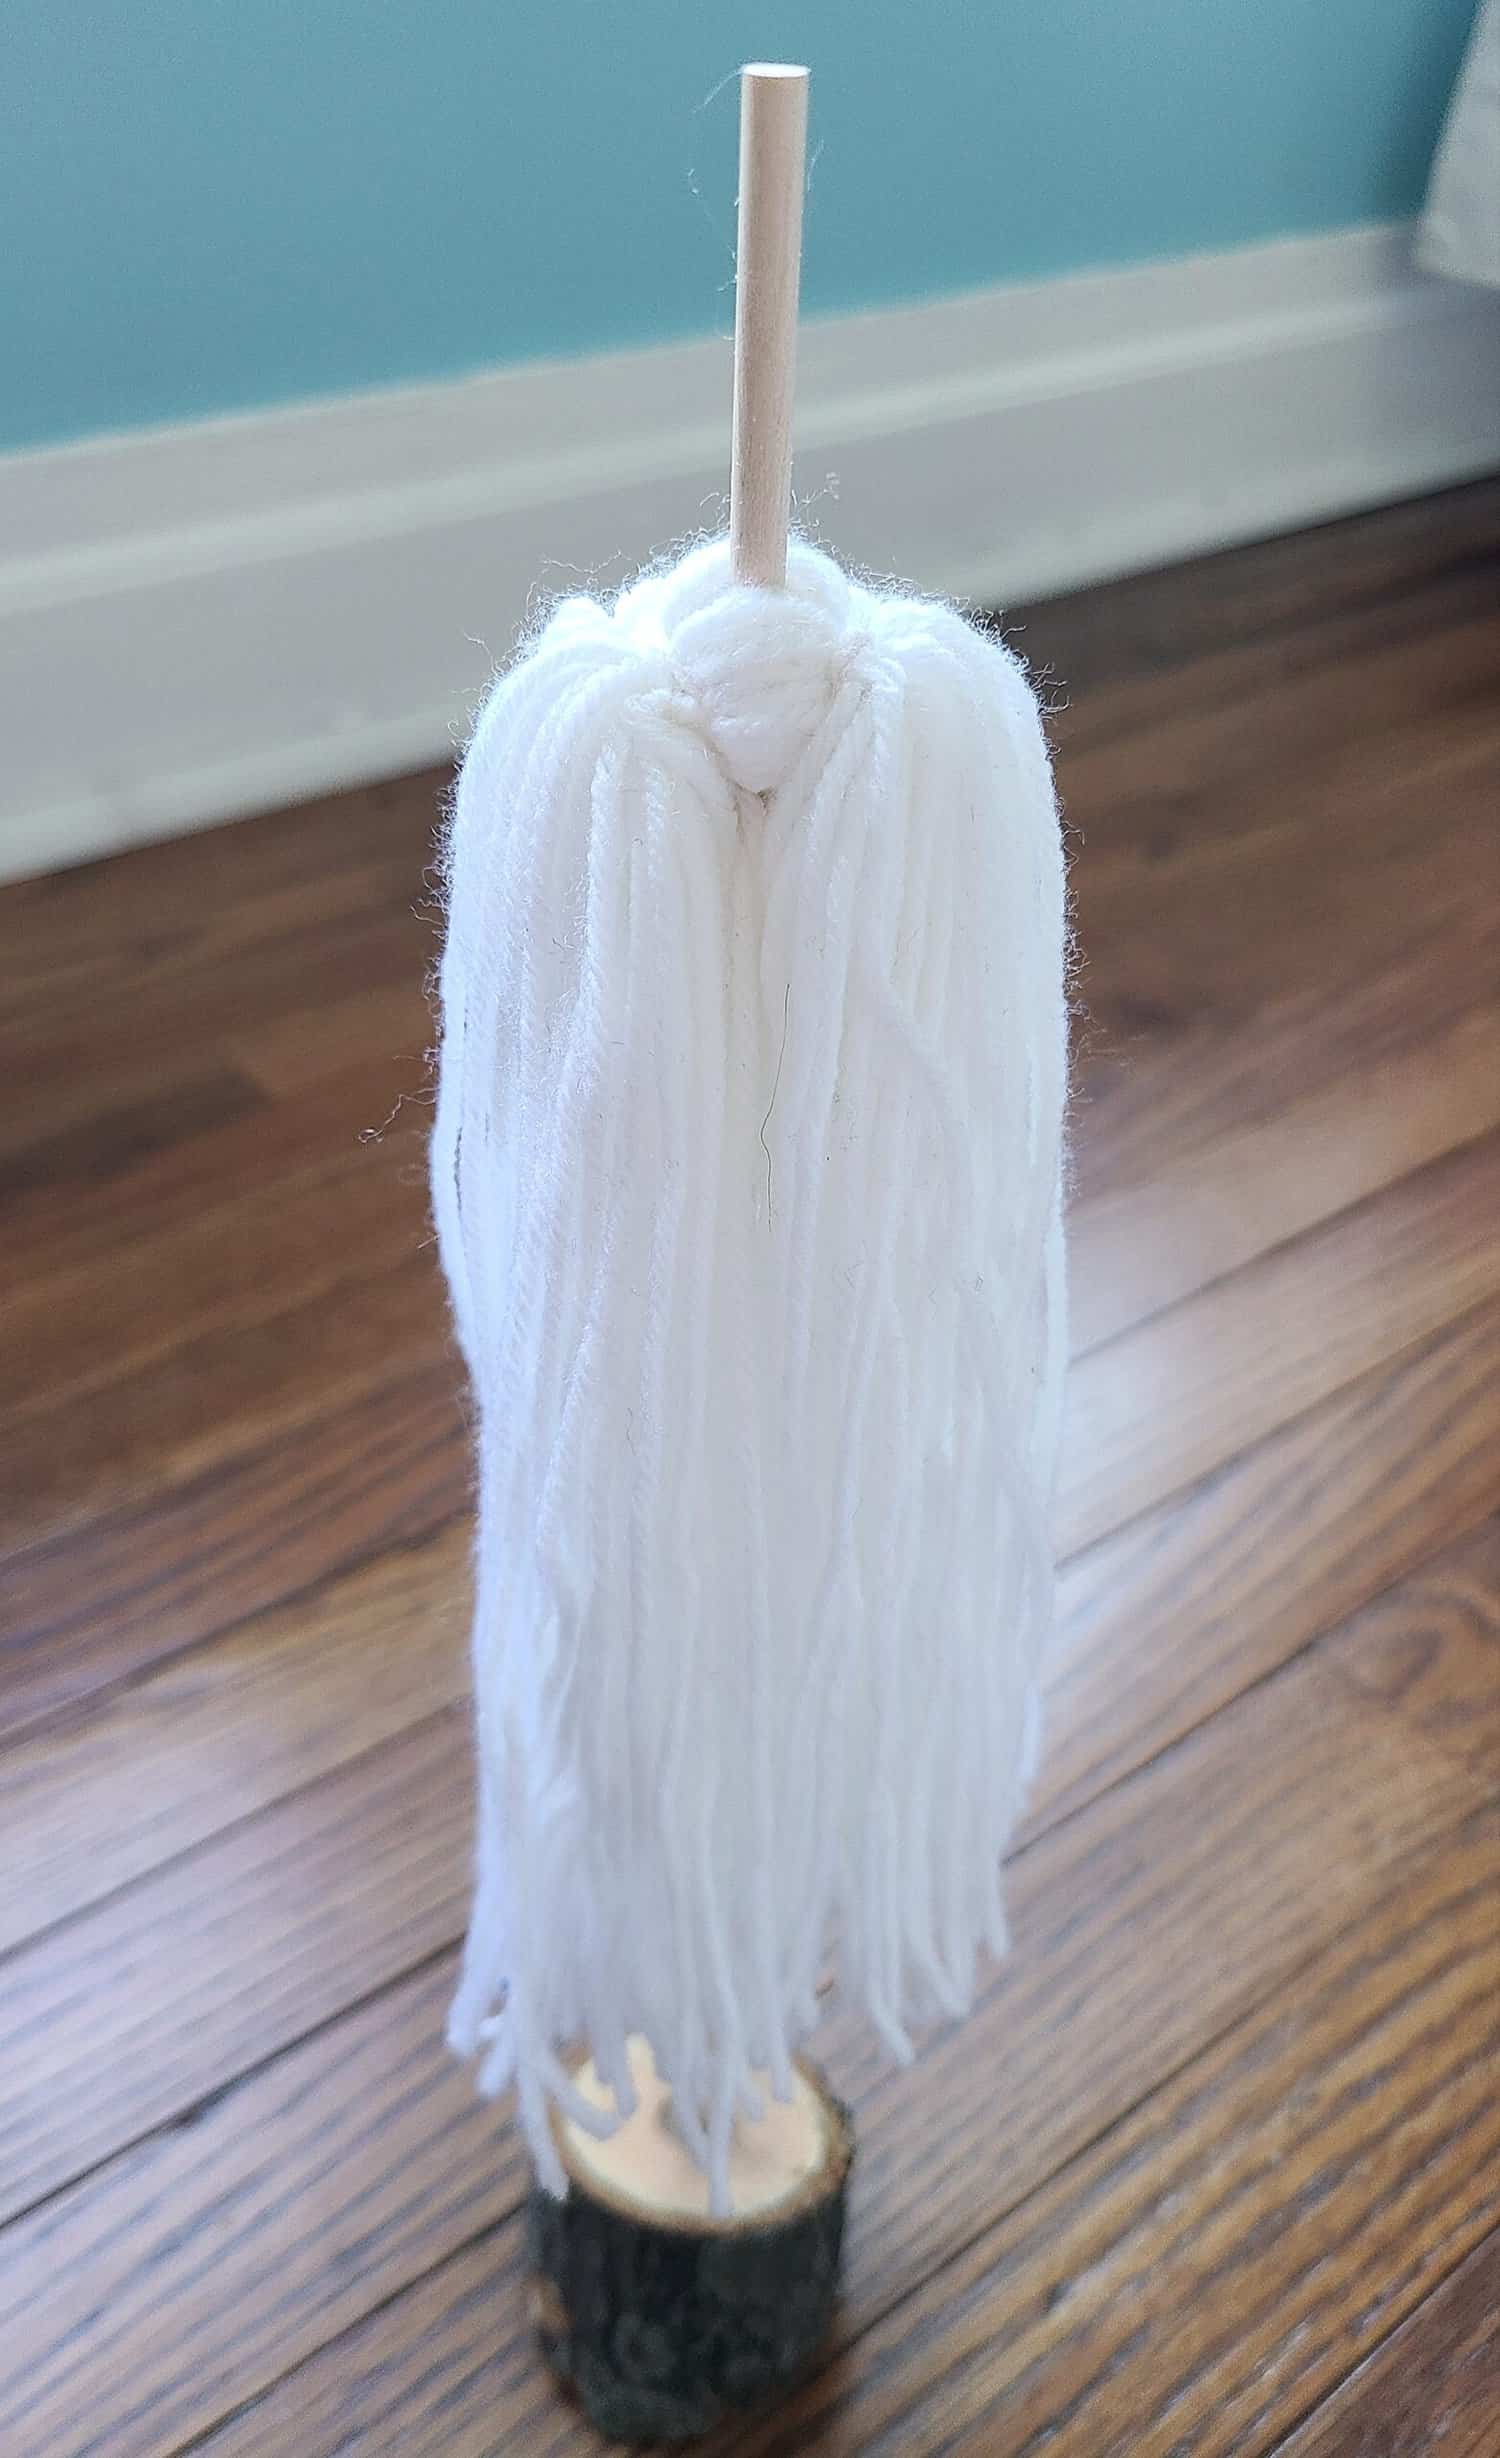
2. Push the yarn bundle down onto the stand in-between the two ties you made. It will slide up and down right now and that’s okay. We’ll fix that part later.

3. To hide the center of the body, add some hot glue to the center area of the body and pinch the yarn together to cover. Repeat for the other side.
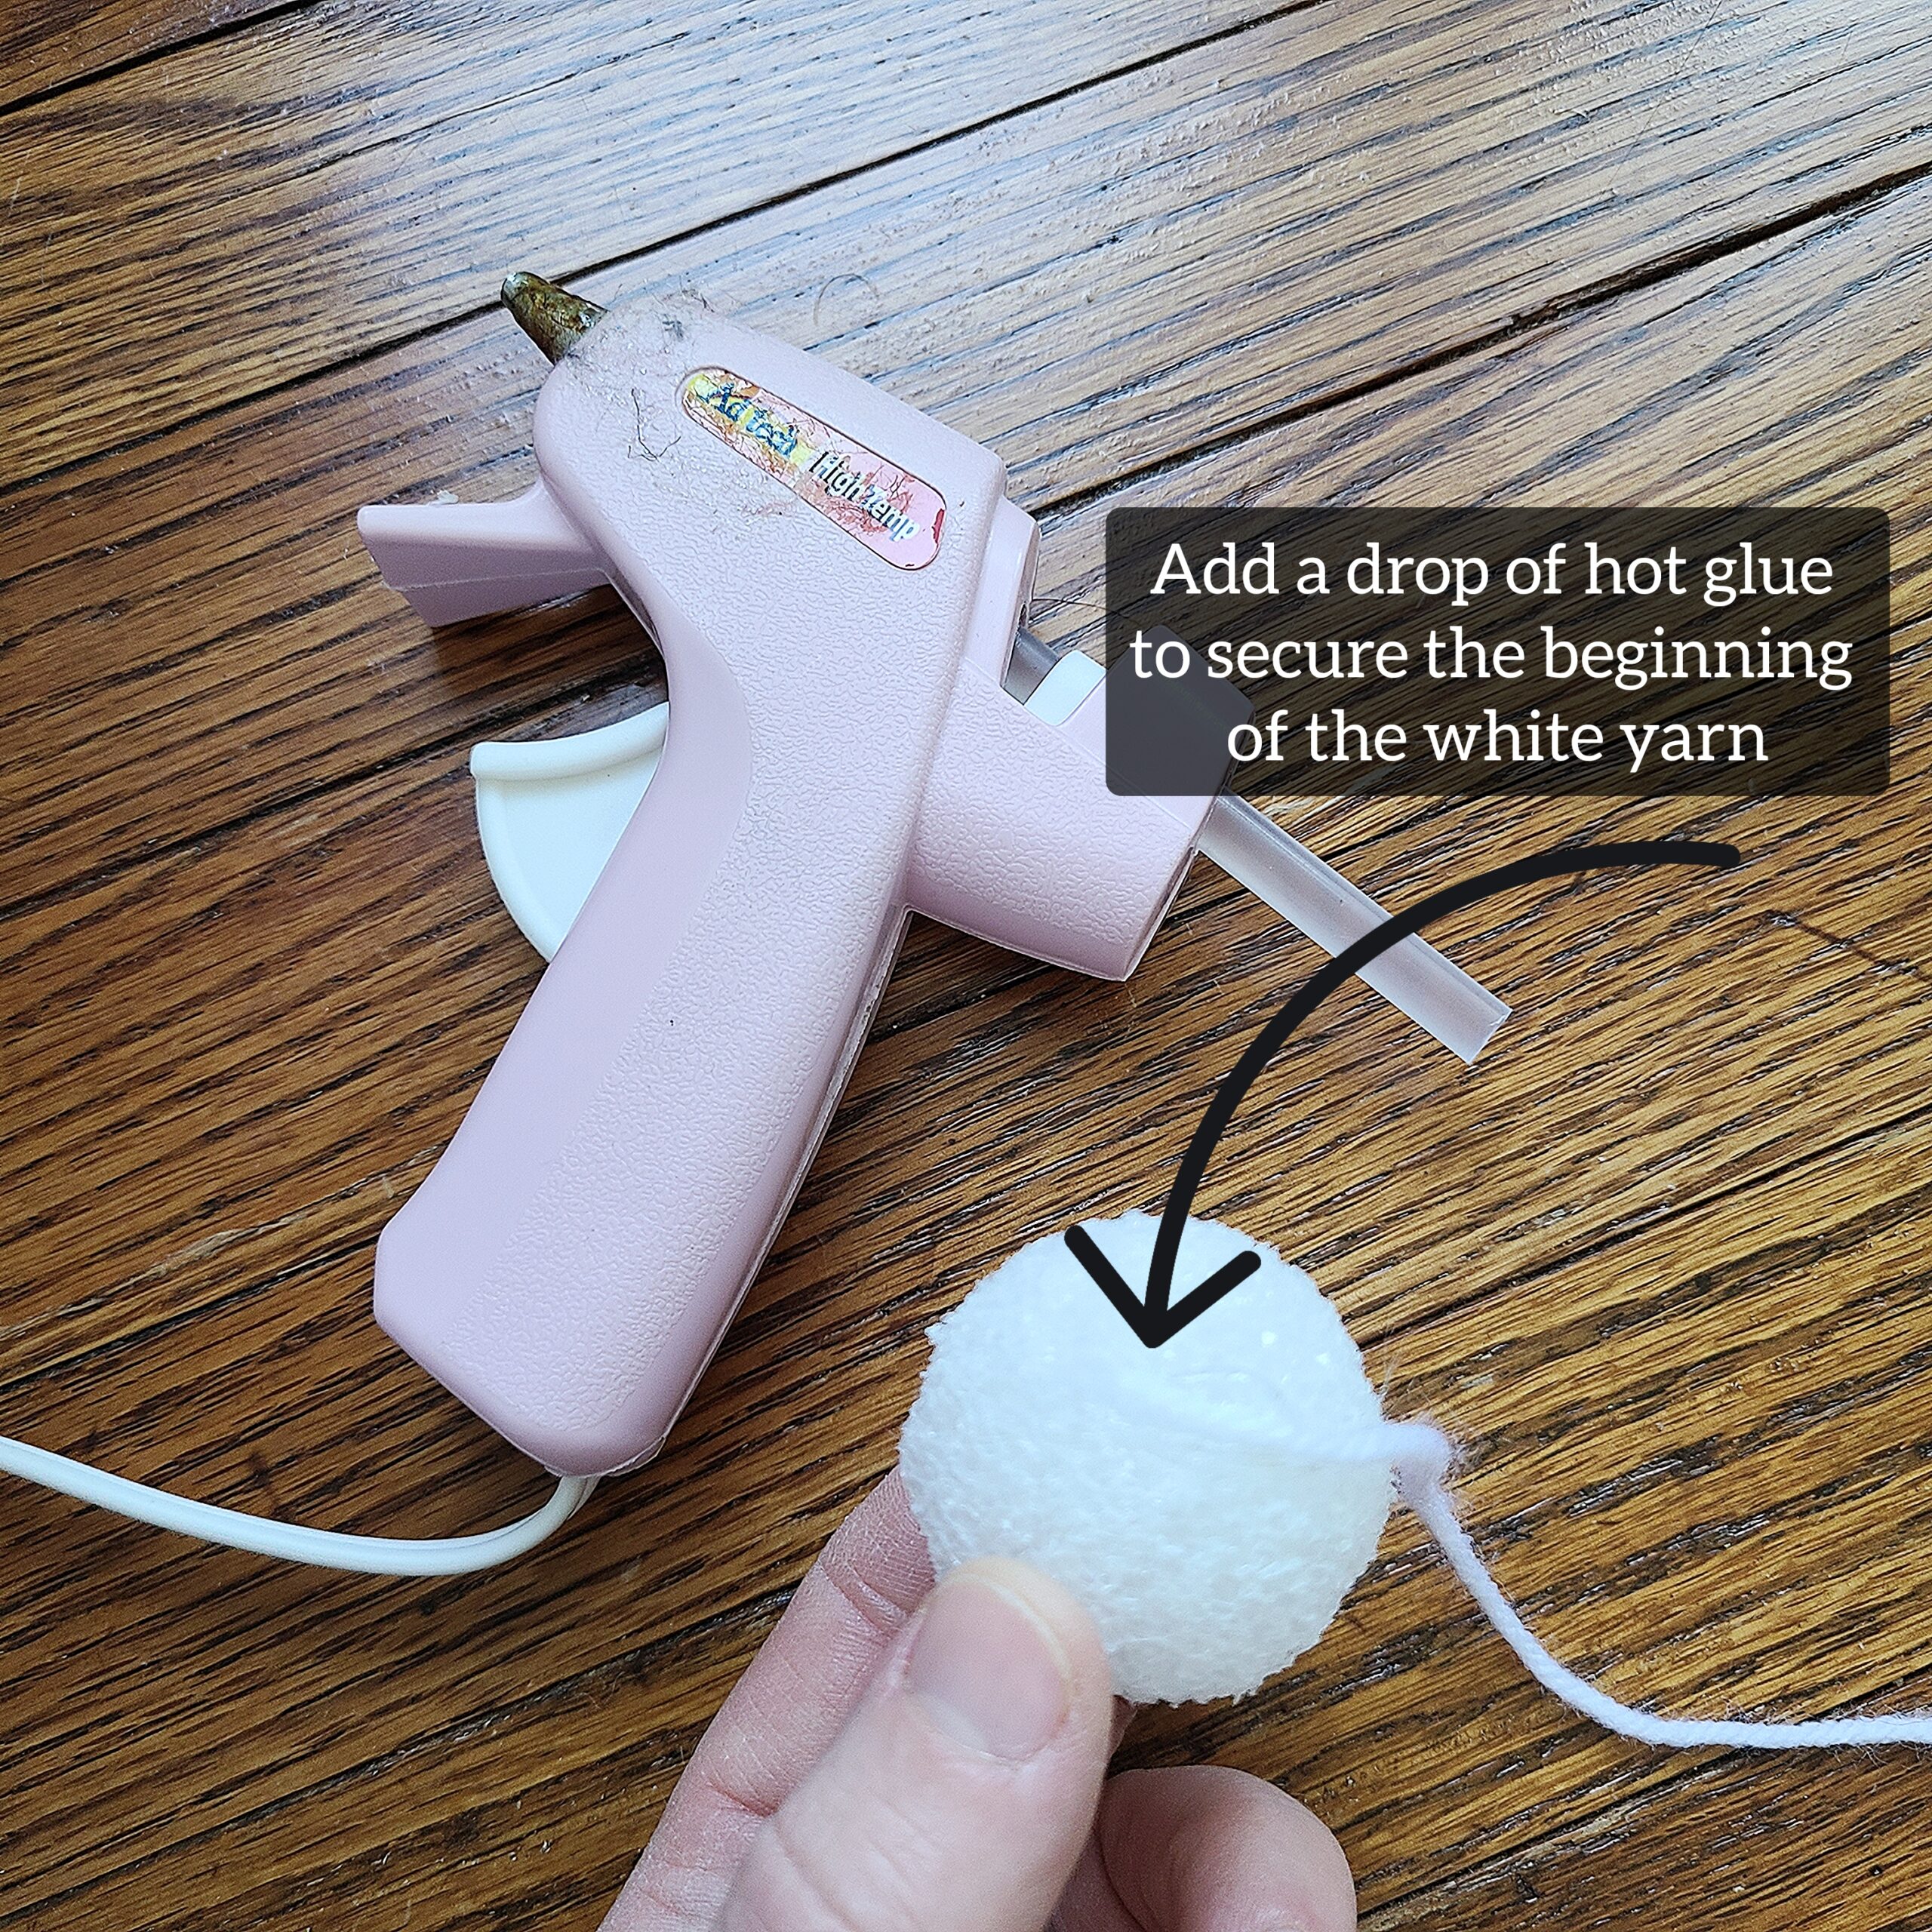
4. Wrap white yarn around the item you decided to use for the center of the head (shown here is a 1.5″ foam ball) until the center isn’t showing and it’s the size you want, adding dots of hot glue occasionally as you go. Cut the yarn and glue the tail down to secure when finished.

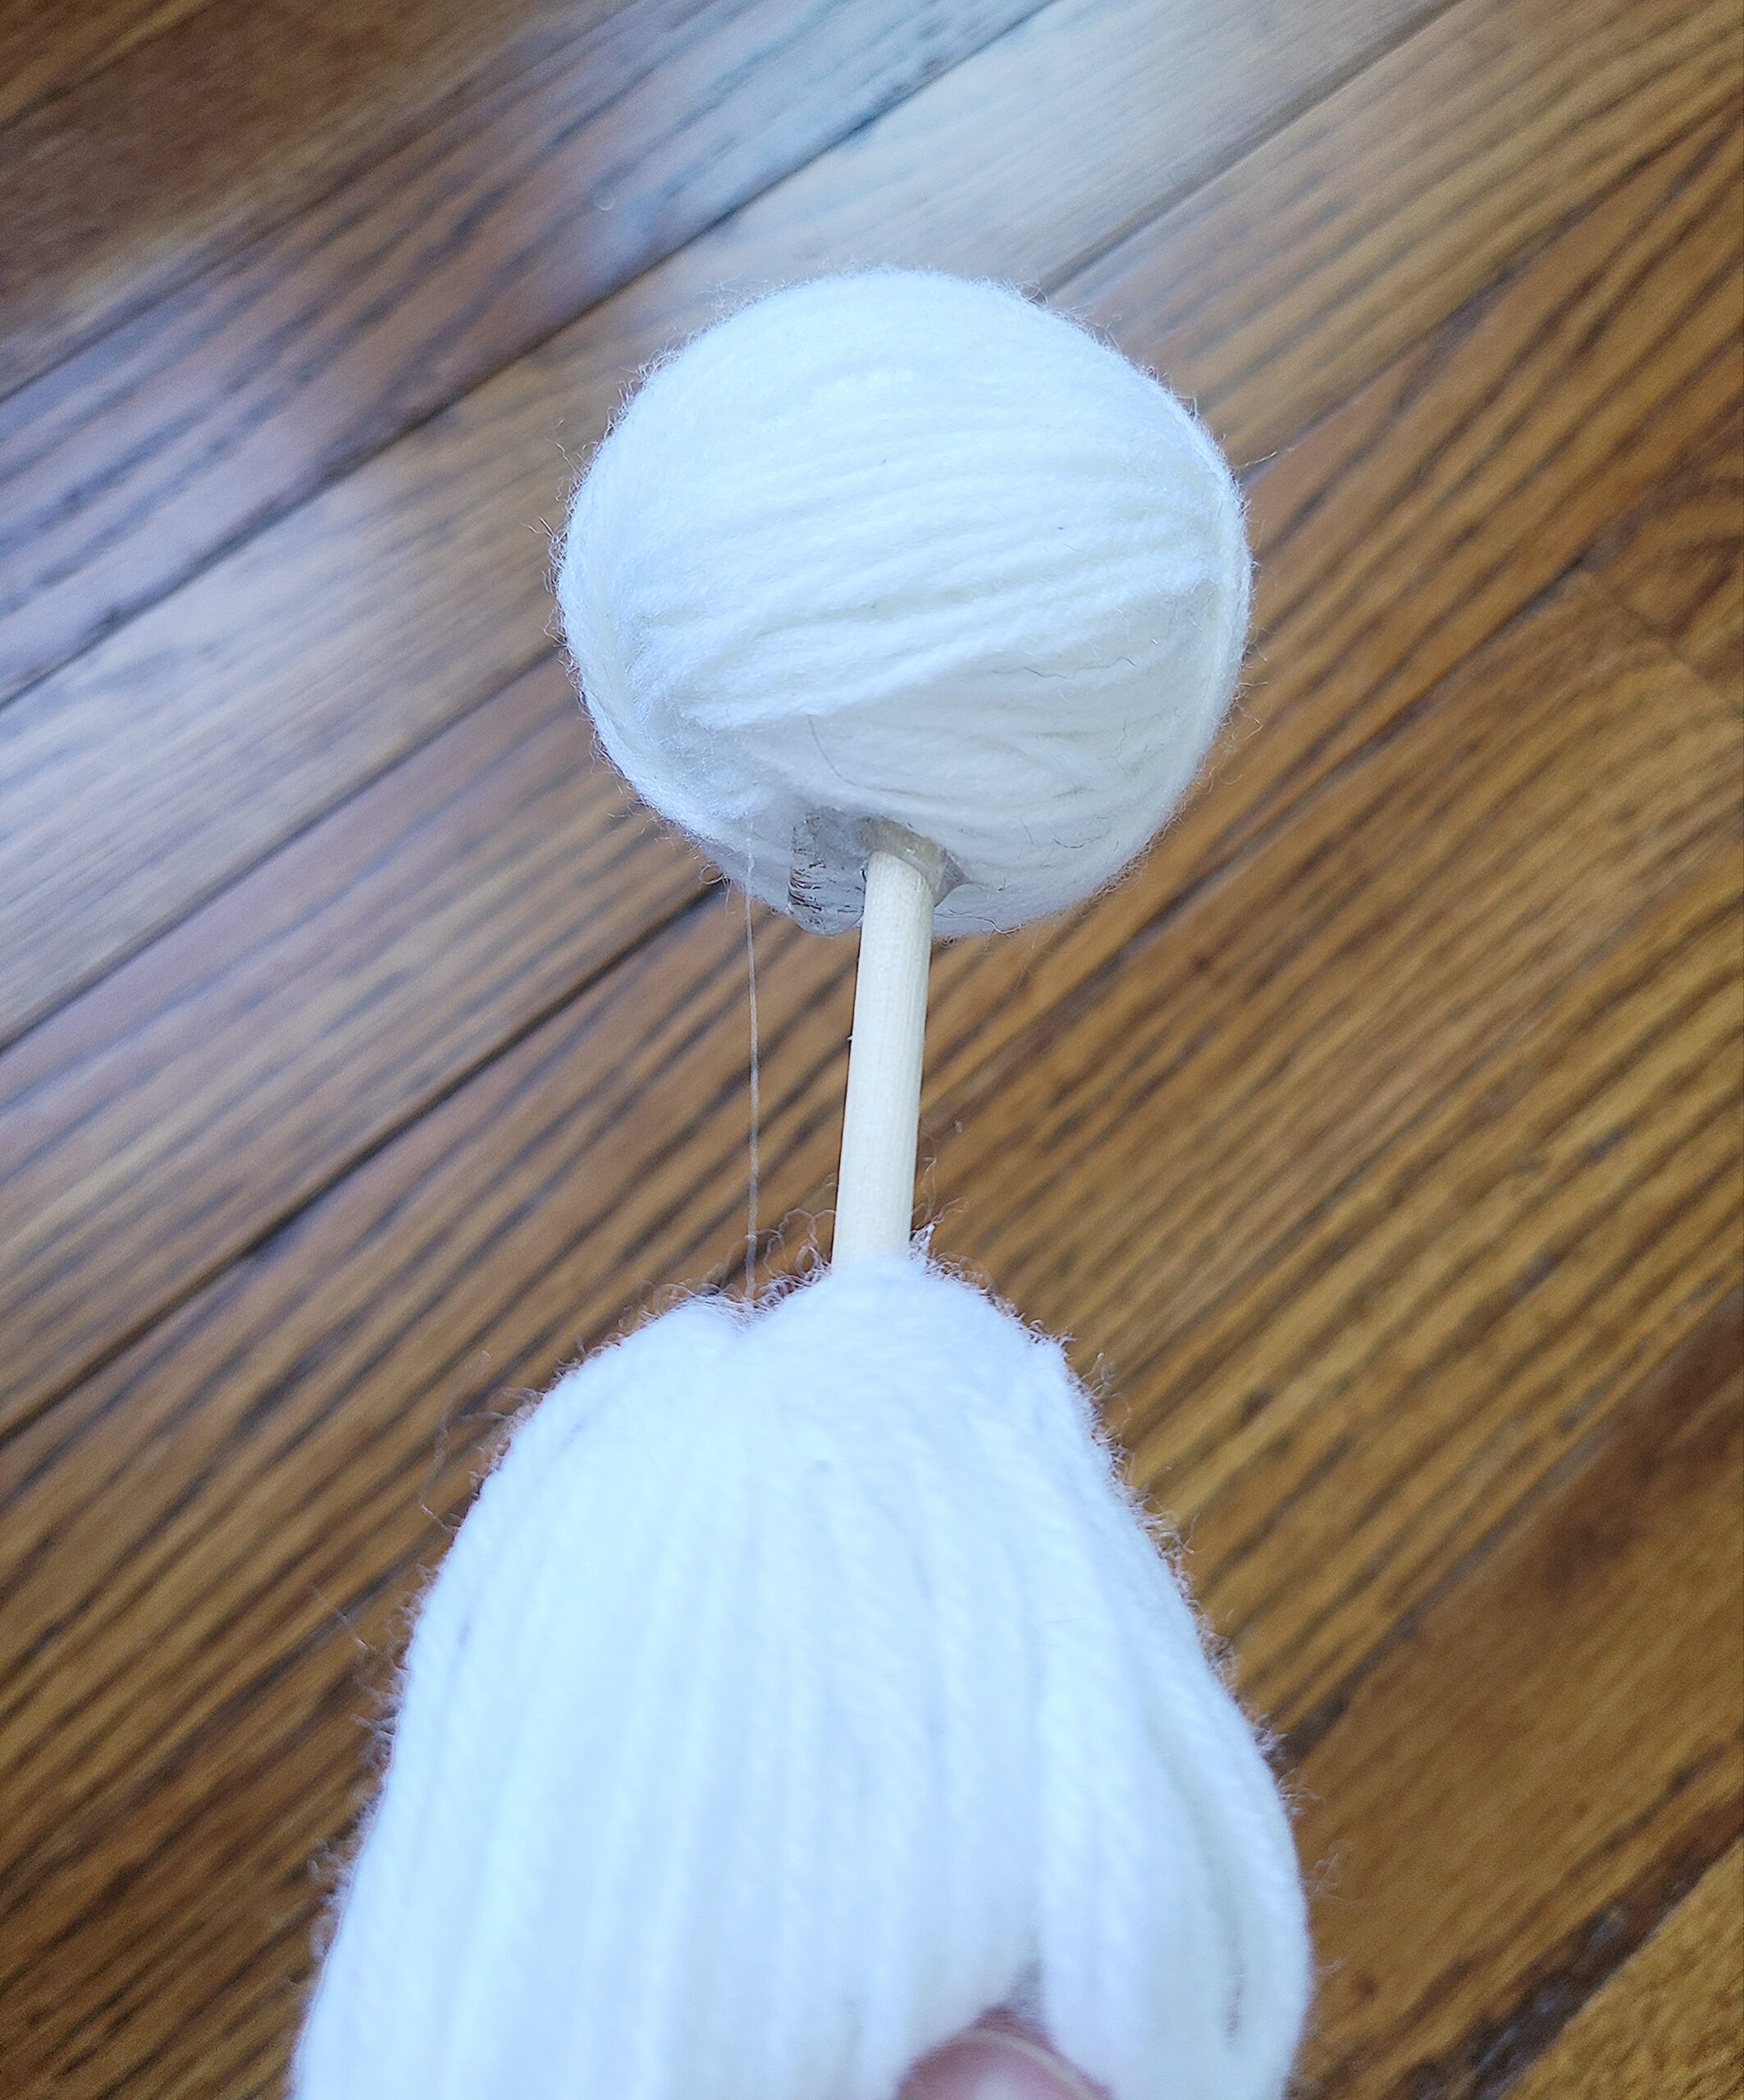
5. Insert the dowel into the head and push down until it is firmly in place. Pull the dowel back out slightly and add some hot glue, then push the head back into place.
6. Push the body up to meet the head so there is no space between the two. Flip upside down and add hot glue underneath of the body to secure it in place.
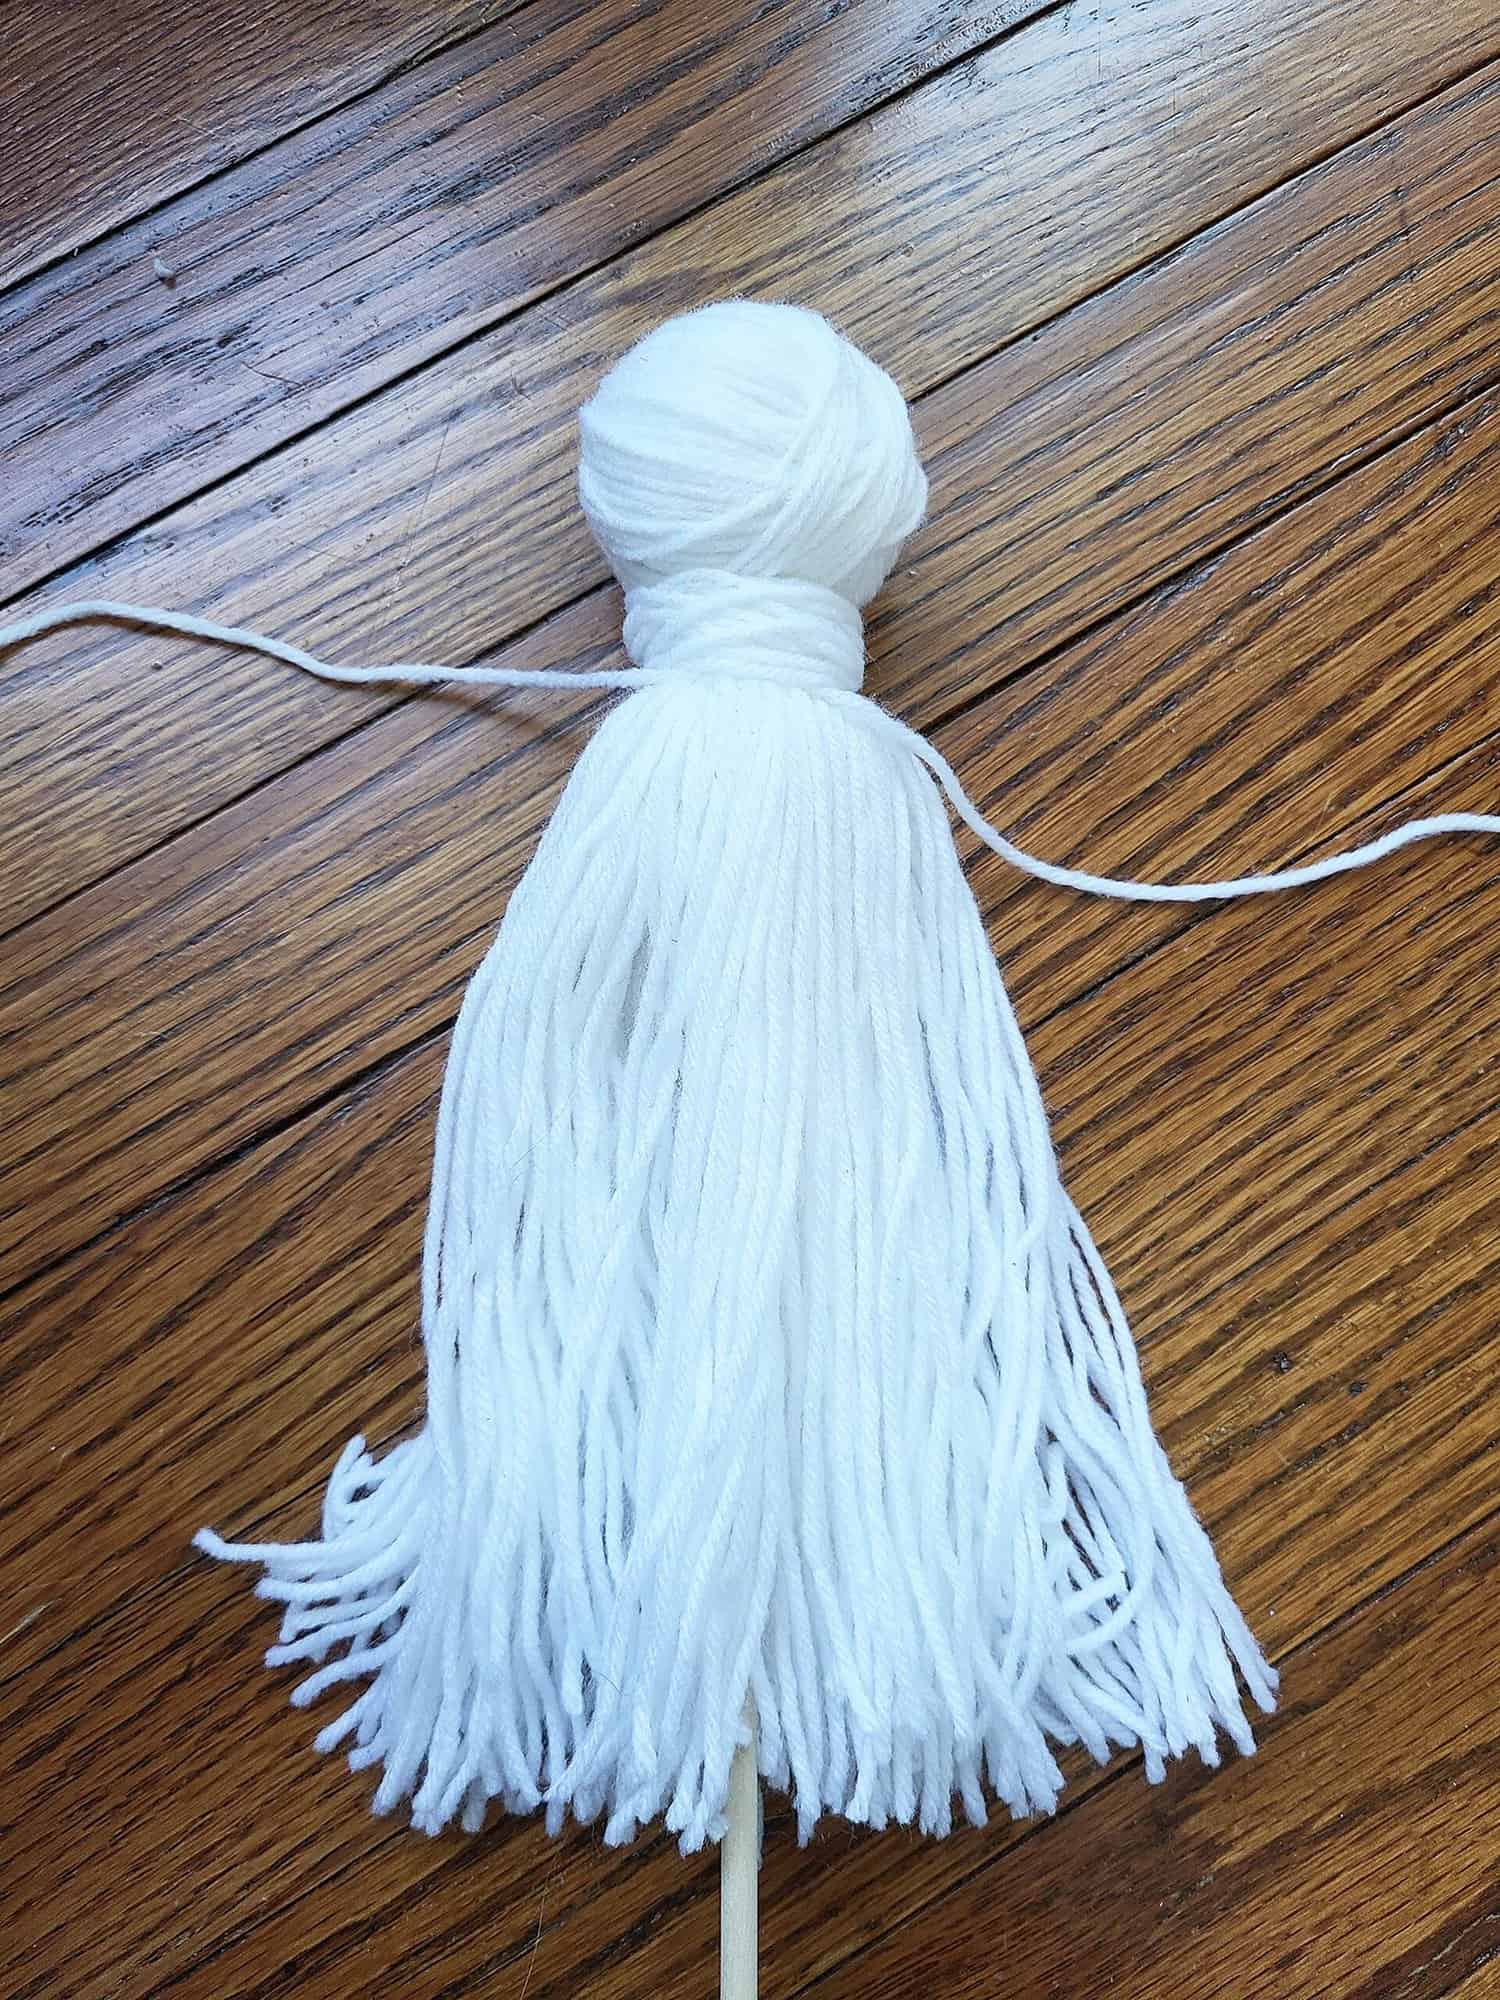
7. Cut a long piece of white yarn (approx. 6 feet long) and tie it around the neck between the body and the head. Leave one tail very long and the other the same length as the other strands on the body. Wrap the long tail around the neck until it covers up the join between the head and body. Tie the long tail in a double knot with the short tail and trim to the same length as the body.
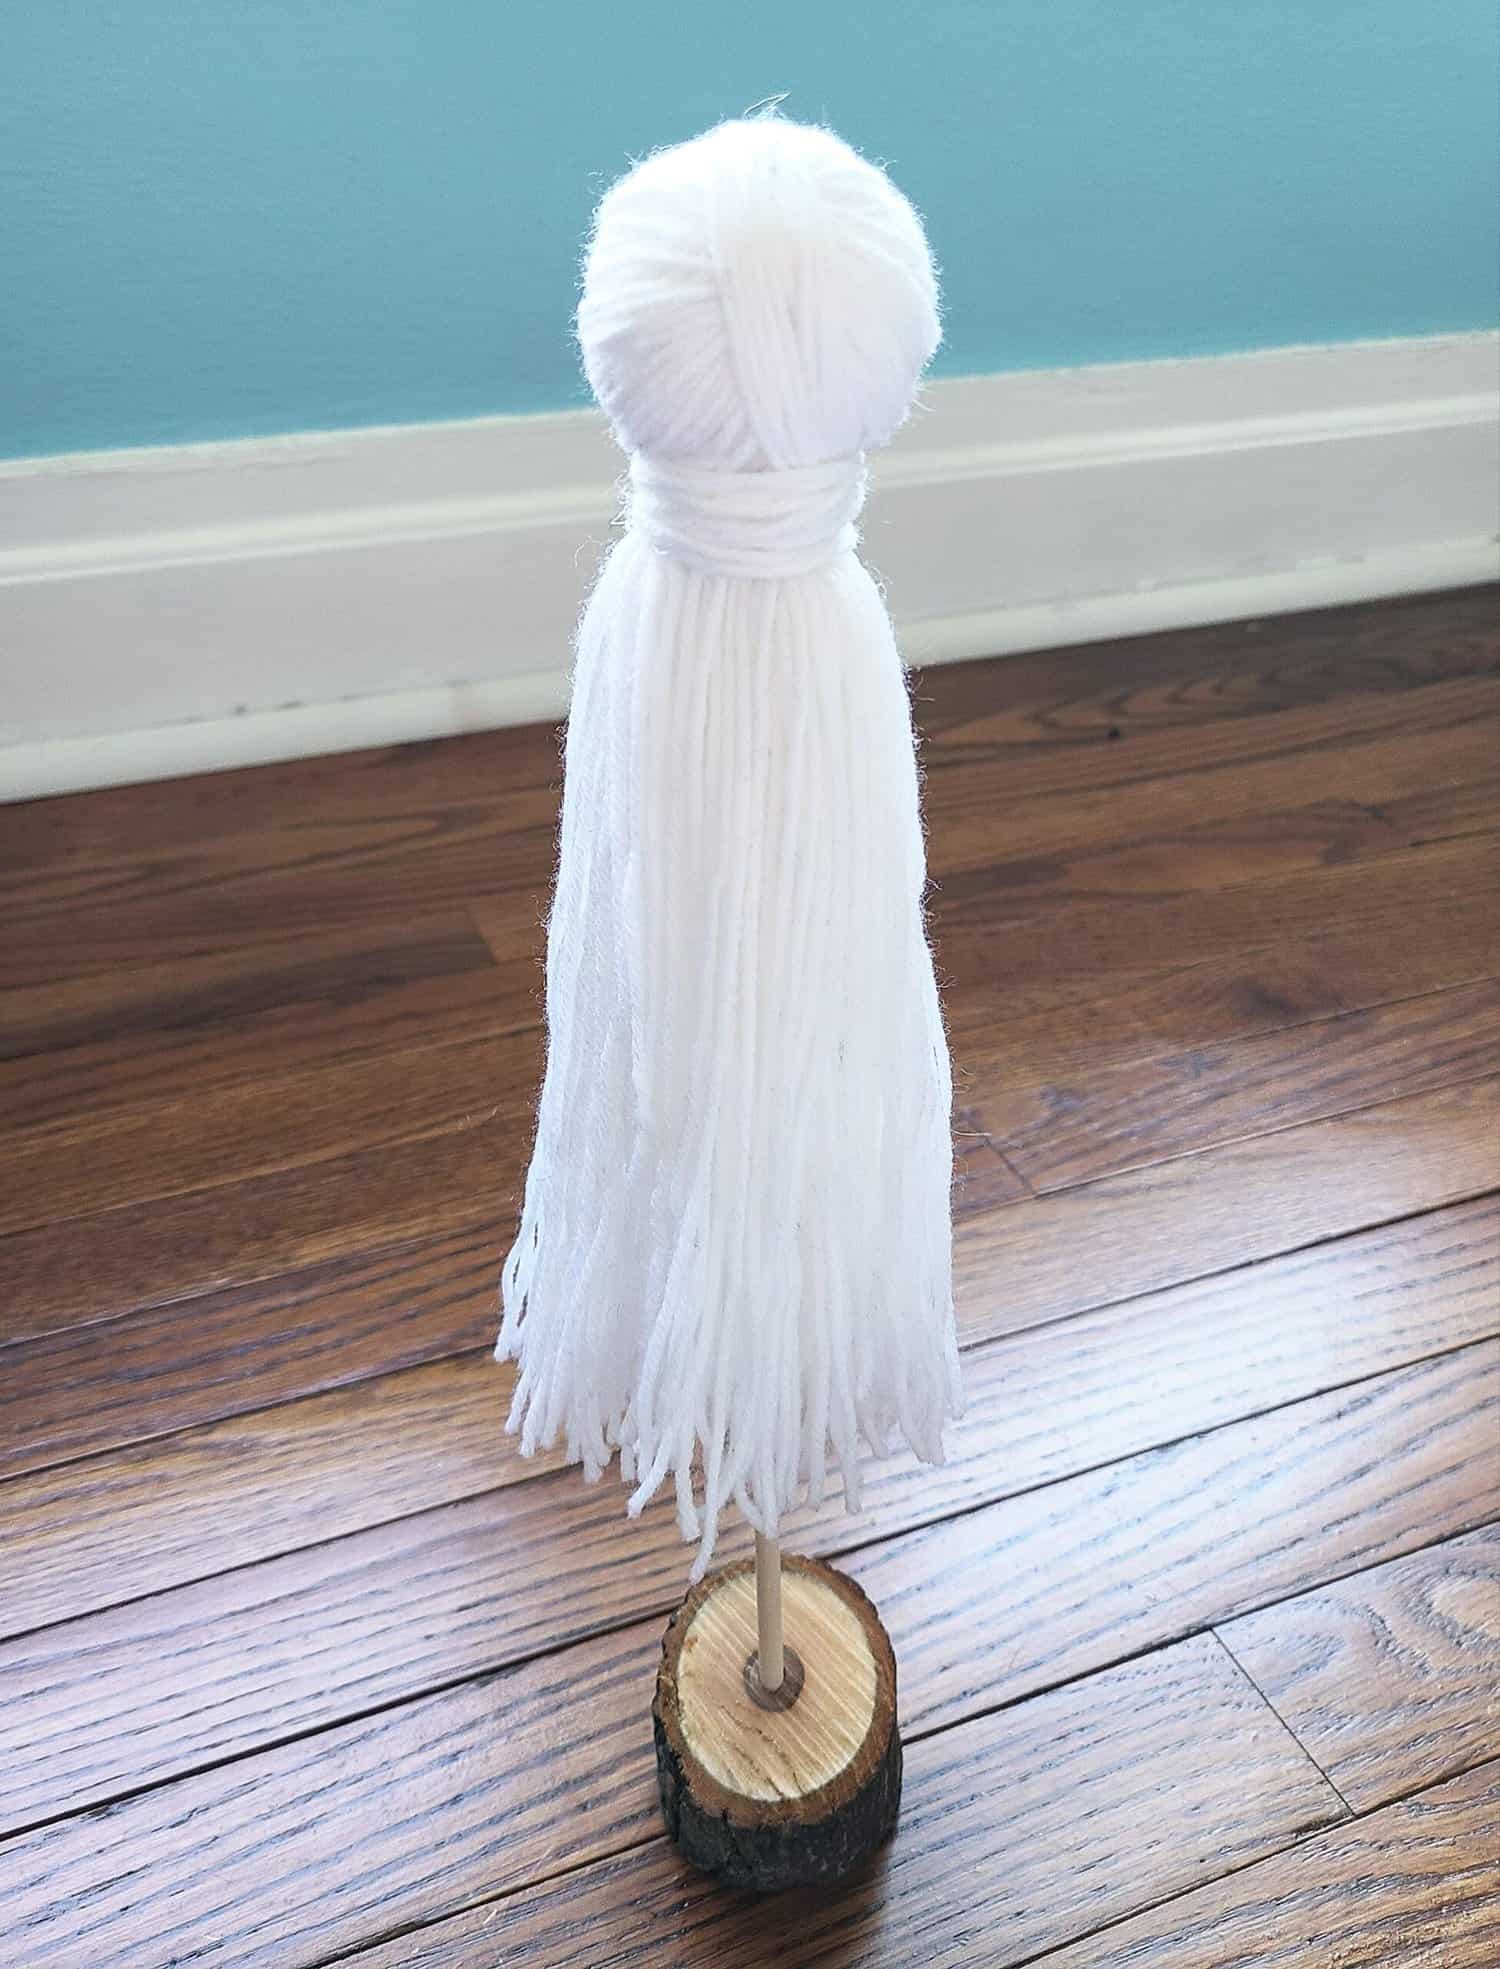
8. This is a good time to trim the rest of the body to the length you desire. I wanted the base of my stand to show so I trimmed the body to be above the base by a few inches.
9. For the face, I cut out an oval shaped mouth and bow tie/hair bow out of black felt. I used two small black buttons for eyes. I recommend getting all of your pieces cut out and placing then on the face before gluing to make sure that everything looks the way you want it to.
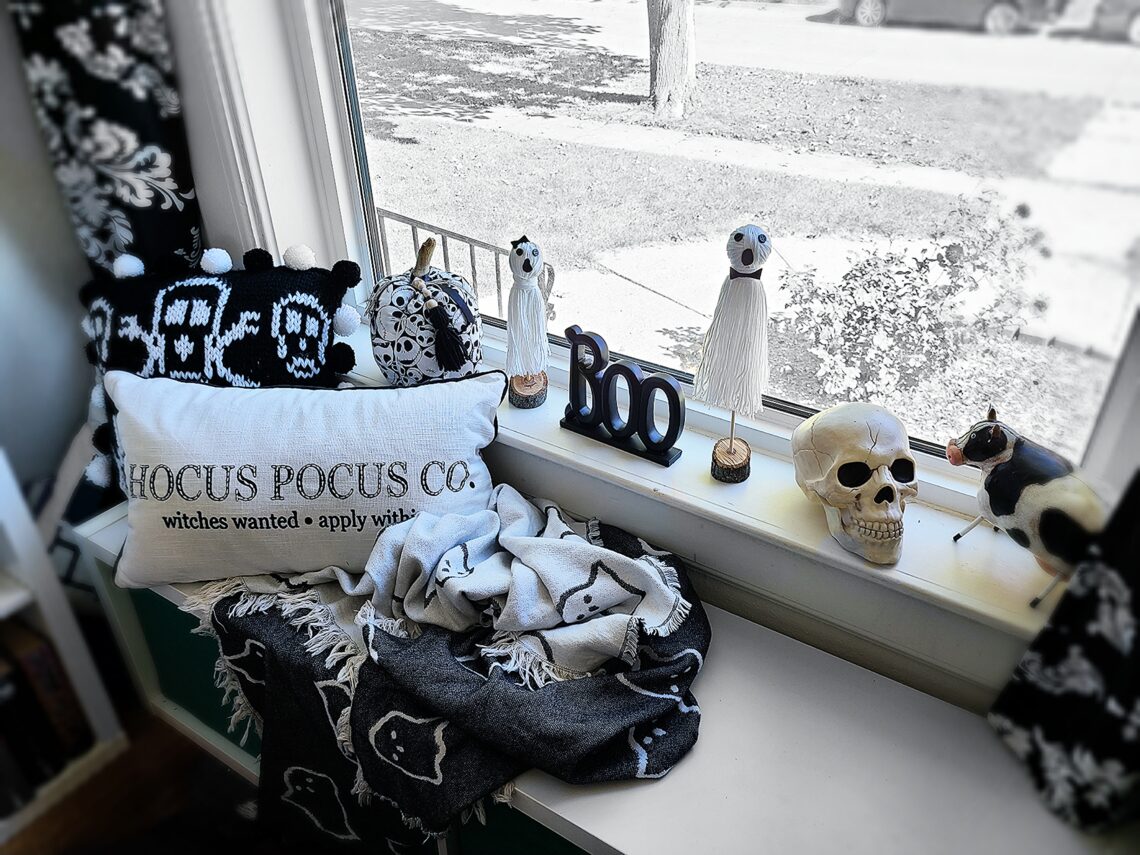
10. Add these little cuties to your Halloween decor!


Now that you’ve finished your ghosts, make sure to show them off on social media by tagging me, Erin @craftseverywhere on Instagram or Facebook!
If you have any questions regarding the tutorial, don’t hesitate to contact me at erin.oetker@gmail.com or through my messages on Etsy or Instagram.
Find CraftsEverywhere on social media! Instagram | Facebook | Ravelry | Etsy
Stay connected with Clover on Facebook | Twitter | Instagram | Pinterest | YouTube | Ravelry