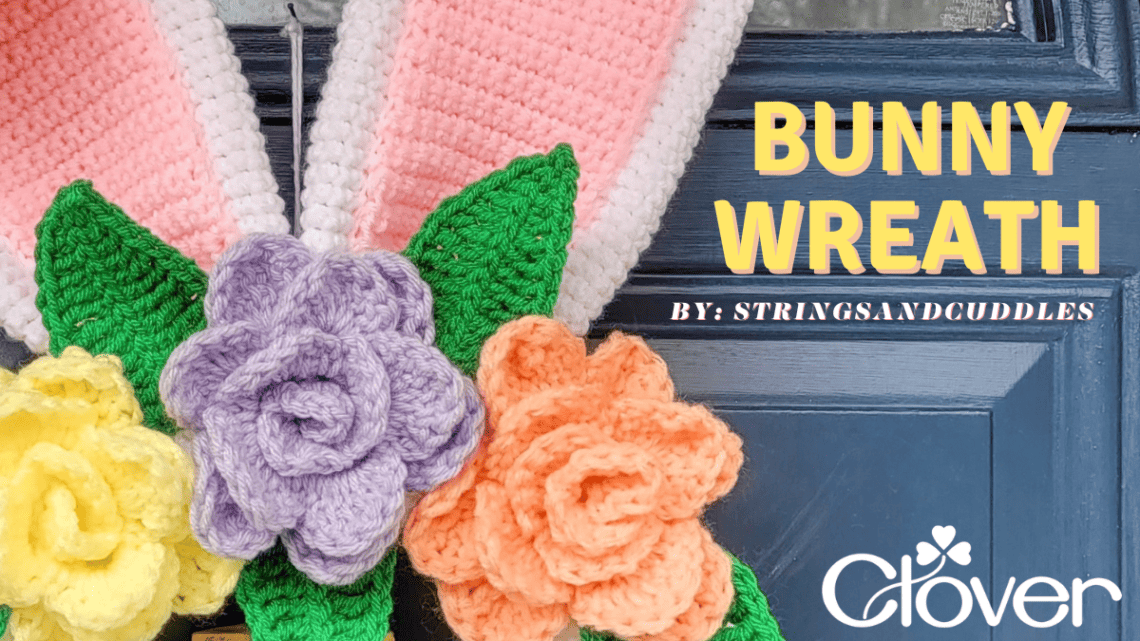
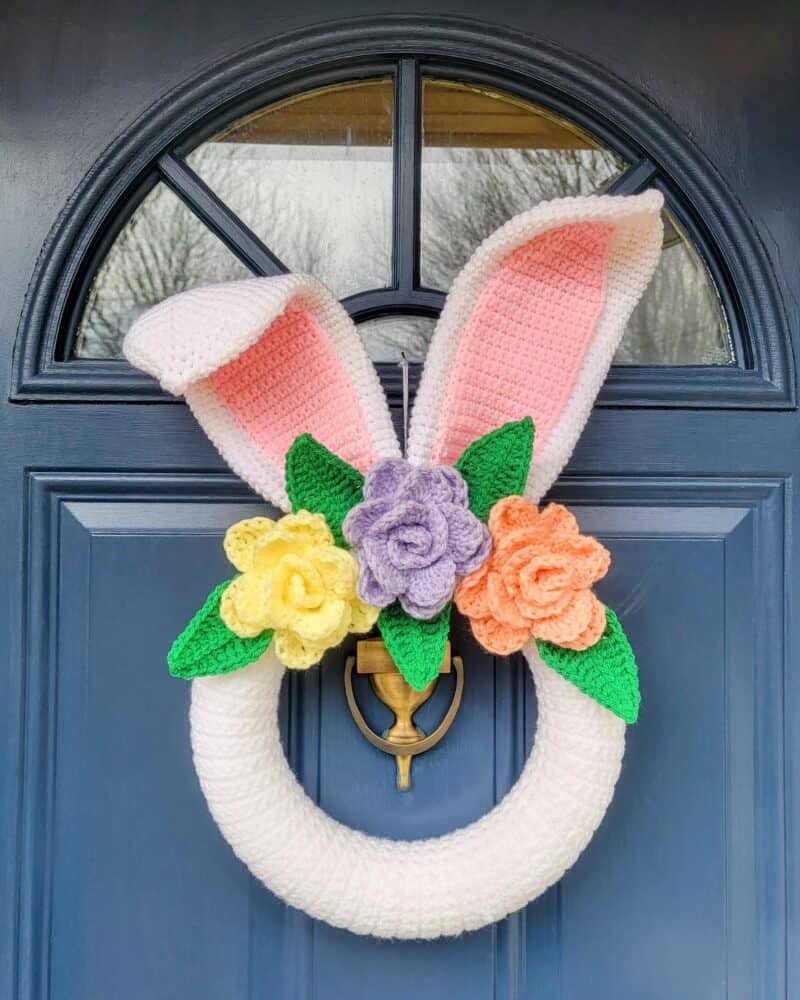
Bunny Wreath-Crochet Pattern
Are you looking for a project to add to your Easter decorations? Look no more because I have a crochet pattern for you today!
Hi! I am Elisa from Strings and Cuddles. I love designing and creating easy-to-make crochet projects! If you’ve remembered me, I have shared a few items here before. One of my favorites is My Blooming Lantern!
Today, I’d love to share with you my new design, the Bunny Wreath! It may look like a big project, but you can finish this project in 2 to 3 or 4, or 5 days if you’re not that fast. This means you still have enough time before Easter week!
So, without further delay, let’s get started!
~ BUNNY WREATH ~
CROCHET PATTERN
SKILL LEVEL: Beginner to Intermediate
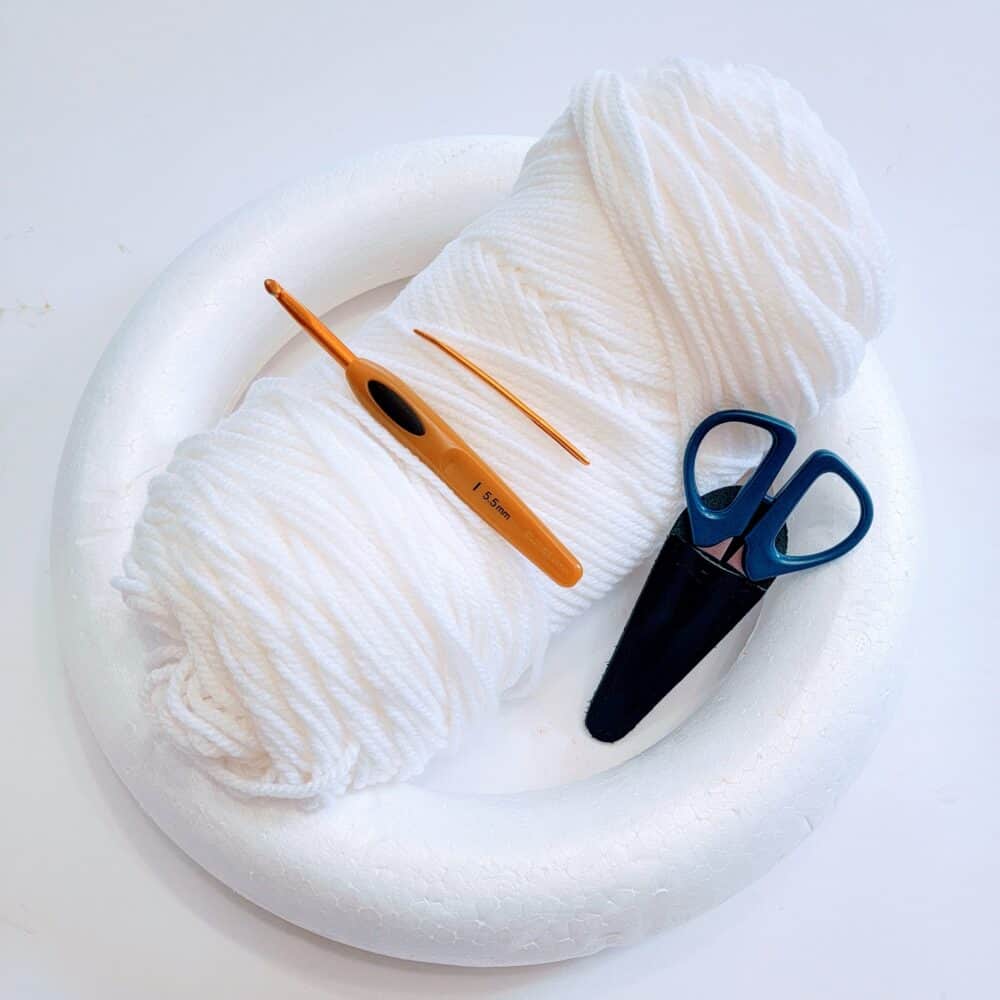
MATERIALS
- Any Worsted Weight (4) Yarn in White, Pink, Green, Yellow, Purple, and Peach (or your own choices of colors)
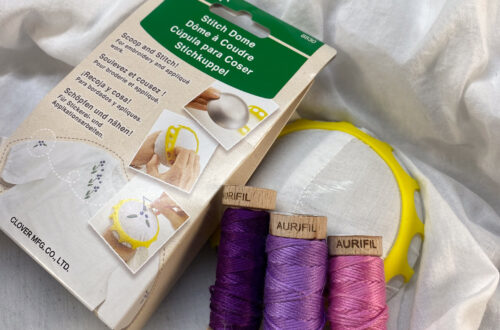
- Clover Soft Touch Crochet Hook Size 5.5 mm (or size to obtain gauge)
- Clover Patchwork Scissors Mini- Art No. 493/CW
- Clover Quick Locking Stitch Marker- Art No. 353
- Clover Chibi with Jumbo Darning Needle- Art No. 340
- Tape Measure
- Foam Wreath Form – 12 inch
- Wire (for the bunny ears) – optional
- Glue Gun and Stick (for attaching) – optional
GAUGE: 13 sts x 15 rows = 4 inches in Foam Wreath Form Cover Pattern
FINISHED MEASUREMENT: 12 (width) x 24 (height) inches
STITCHES AND ABBREVIATIONS | US Terminology
- Ch(s) – Chain(s)
- DC – Double Crochet
- DTR – Double Treble Crochet
- HDC – Half Double Crochet
- PM – Place Marker
- R – Row/Round
- Rep – Repeat
- RS – Right Side
- SC – Single Crochet
- SC2Tog – Single Crochet 2 Stitches Together (Decrease)
- Sk – Skip
- Sl St(s) – Slip Stitch(es)
- St(s) – Stitch(es)
- TR – Treble Crochet
- WS – Wrong Side
- V-st – (DC, ch 2, DC) all in 1 stitch
NOTES
- Read the pattern carefully before starting. There are specific notes for each pattern piece instruction.
- * * repeat instructions between asterisks as many times as directed or repeat at specified locations.
- ( ) work instructions within parentheses as many times as directed or work a group of stitches all in the same stitch or space.
- [ ] work instructions with brackets as many times as directed.
~ INSTRUCTIONS ~
WREATH FOAM COVER
Note: This pattern is worked in rows and turning ch 1 does not count as a st throughout.
With white yarn, ch 22.
R1 (WS): SC in 2nd ch from the hook and in each ch across. Turn. 21 sts
R2 – R112 (RS): Ch 1, SC in each st across. Turn. 21 sts
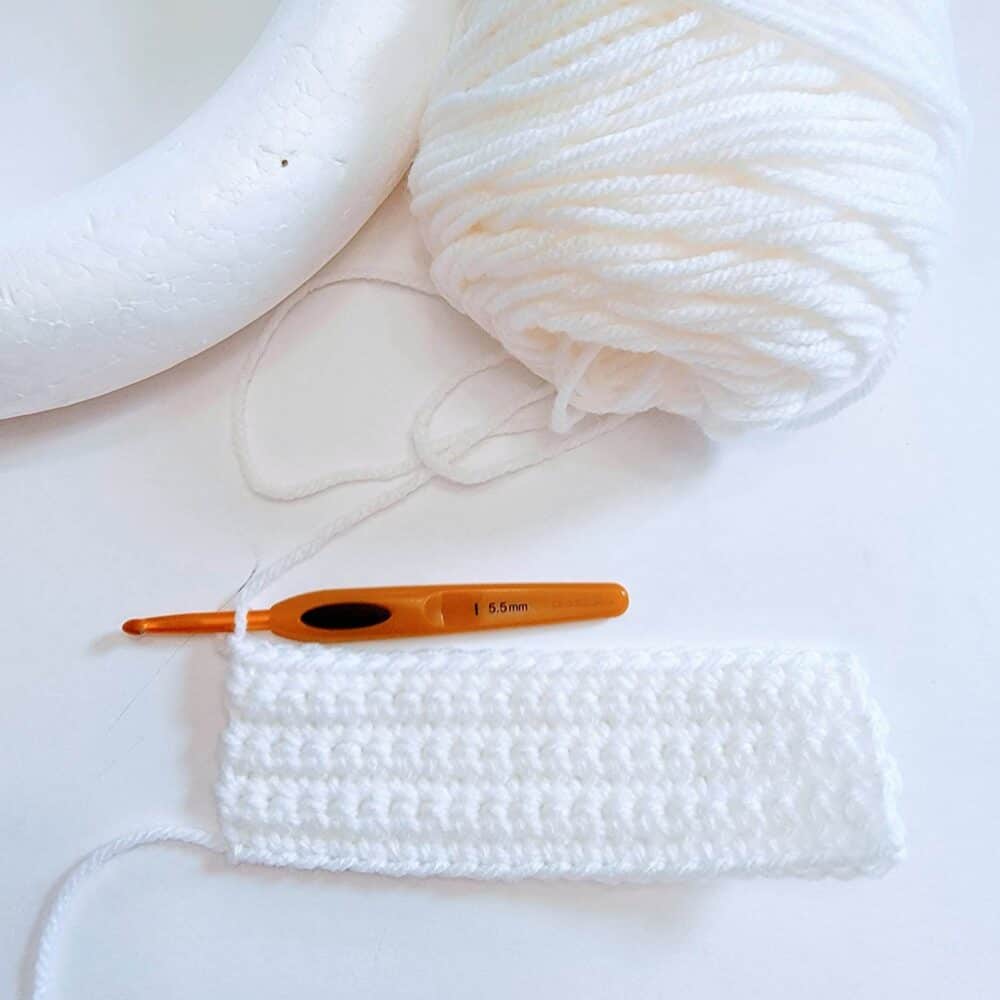
Fasten off.
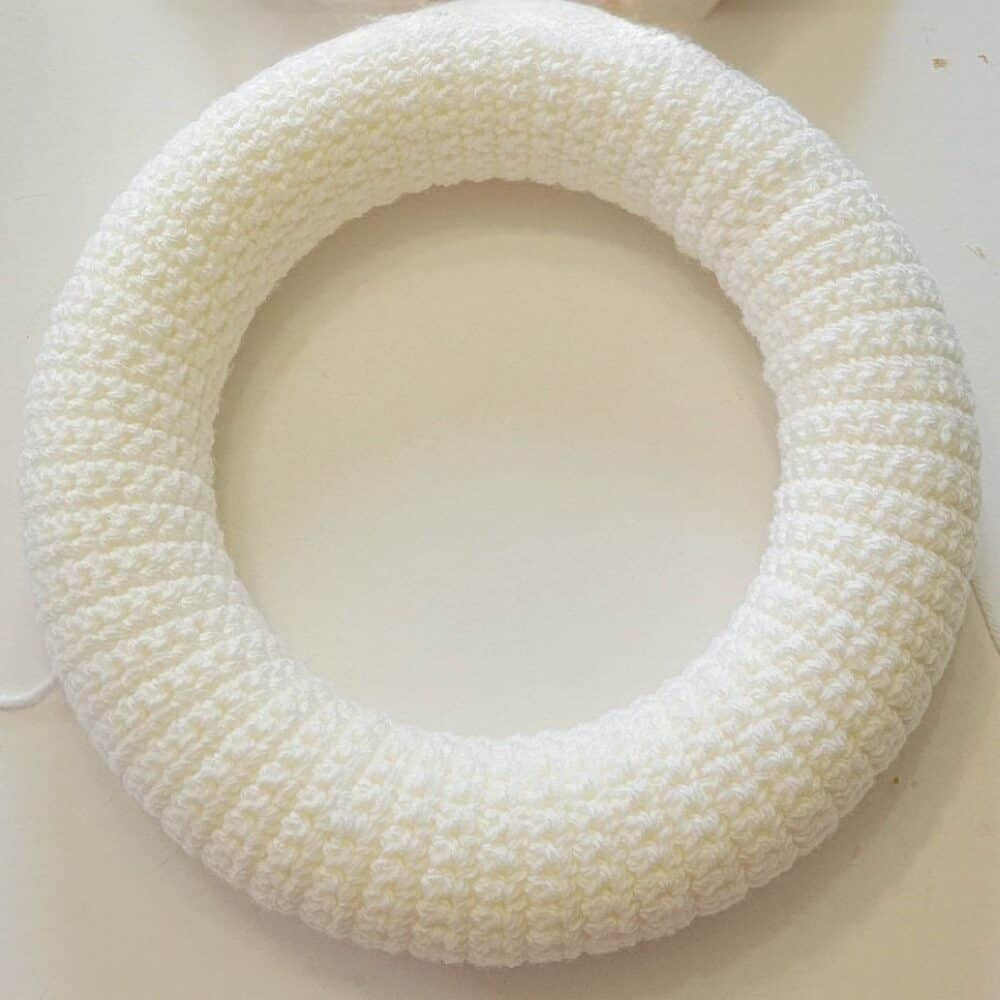
Time to cover up our foam wreath form. To do this, thread a long yarn through your darning needle. With RS facing out, place your crocheted piece over the wreath form then insert the needle to the 1st and last sts of R1. Continue sewing until you reach the end row (R112). Once you’ve completed sewing the tube, let’s close it up by connecting the 1st and last row. Fasten off and weave in all ends. Please see the photos below for your reference.


BUNNY EAR (make 2)
Note: This pattern is worked in continuous rounds. PM marker at 1st st of each round and remember to move the stitch marker as you progress.
With white yarn, ch 40.
R1 (RS): SC in the 1st ch to form a ring/round. PM marker in the first st. SC in each ch around. 40 sts
R2: SC in each st around. 40 sts
Rep R2 until your piece measures 10 inches. Now, let’s continue working on the decrease pattern.
Note: Decrease pattern. This is still worked in rounds.
R3: *SC2Tog, SC in next 6 sts*; Rep from * to * around. 35 sts
R4: *SC2Tog, SC in next 5 sts*; Rep from * to * around. 30 sts sts
R5: *SC2Tog, SC in next 4 sts*; Rep from * to * around. 25 sts
R6: *SC2Tog, SC in next 3 sts*; Rep from * to * around. 20 sts
R7: *SC2Tog, SC in next 2 sts*; Rep from * to * around. 15 sts
R8: *SC2Tog, SC*; Rep from * to * around. 10 sts
R9: SC2Tog around. 5 sts
R10: SC around. 5 sts. Fasten off and weave in all ends.
INNER BUNNY EAR (make2)
Note: This pattern is worked in rows and turning ch 1 does not count as a st throughout.
With pink yarn, ch 13.
R1 (RS): Sc in 2nd ch from the hook and in each ch across. Turn. 12 sts
R2 (WS): Ch 1, SC in each st across. Turn. 12 sts
Rep R2 until your piece measures 8 inches. Now, let’s continue working on the decrease pattern.
Note: Decrease pattern. This is still worked in rounds.
R3: Ch 1, SC2Tog, SC in next 8 sts, SC2Tog. Turn. 10 sts
R4: Ch 1, SC in each st across. Turn. 10 sts
R5: Ch 1, SC2Tog, SC in next 6 sts, SC2Tog. Turn. 8 sts
R6: Ch 1, SC in each st across. Turn. 8 sts
R7: SC2Tog, SC in next 4 sts, SC2Tog. Turn. 6 sts
R8: Ch 1, SC in each st across. Turn. 6 sts
R9: SC2Tog, SC in next 2 sts, SC2Tog. Turn. 4 sts
R10: Ch 1, SC in each st across. Turn. 4 sts
R11: DO NOT ch 1, sk 1st st, SC in next 2 sts, sl st in last st. 3 sts
Fasten off.
Let’s attach the inner ear to the main bunny ear. To do this, with RS facing out, place the inner ear on top of the bunny ear. Make sure that the R1 of both pieces is aligned and that the inner ear is centered. Put Stitch Markers to secure the placement of the inner ear temporarily when sewing. Thread your pink yarn through your darning needle and start attaching the inner ear to the bunny ear by sewing around the edges of the inner ear. Fasten off and weave in all ends. Please see the photos below for your reference.


Optional: Insert a wire in the bunny ear to make it a little stiffer.
Fold the base of the bunny ear and sew it up to close. Please see the photos below for reference.


FLOWER PATTERN (make 3)
Note: This pattern is worked in rows.
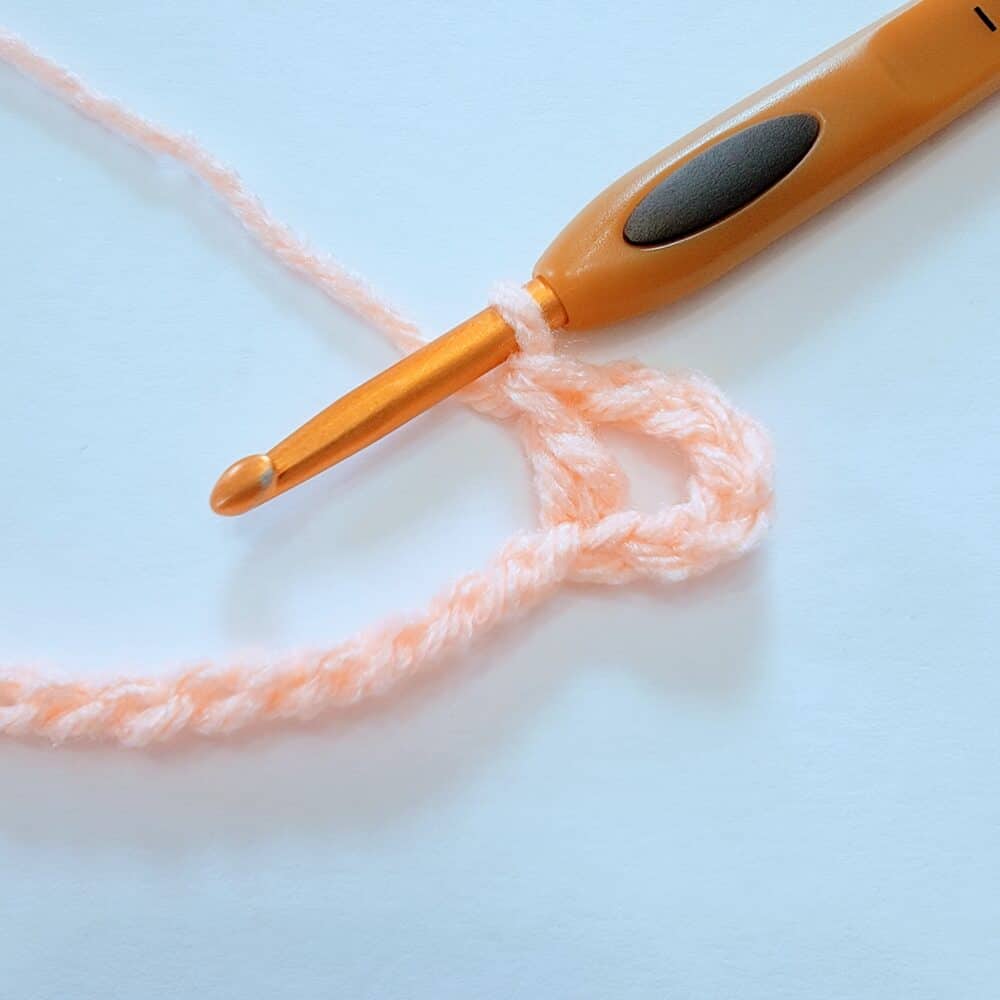
With your color choice, ch 45.
R1: DC in 6th ch, *sk 2 chs, V-st in next ch*; Rep from * to * across. Turn.

R2: a) [Ch 2, (DC, TR, 4 DTR, TR, DC) in next V-st, ch 2, sl st in between V-st sp] 5 times,
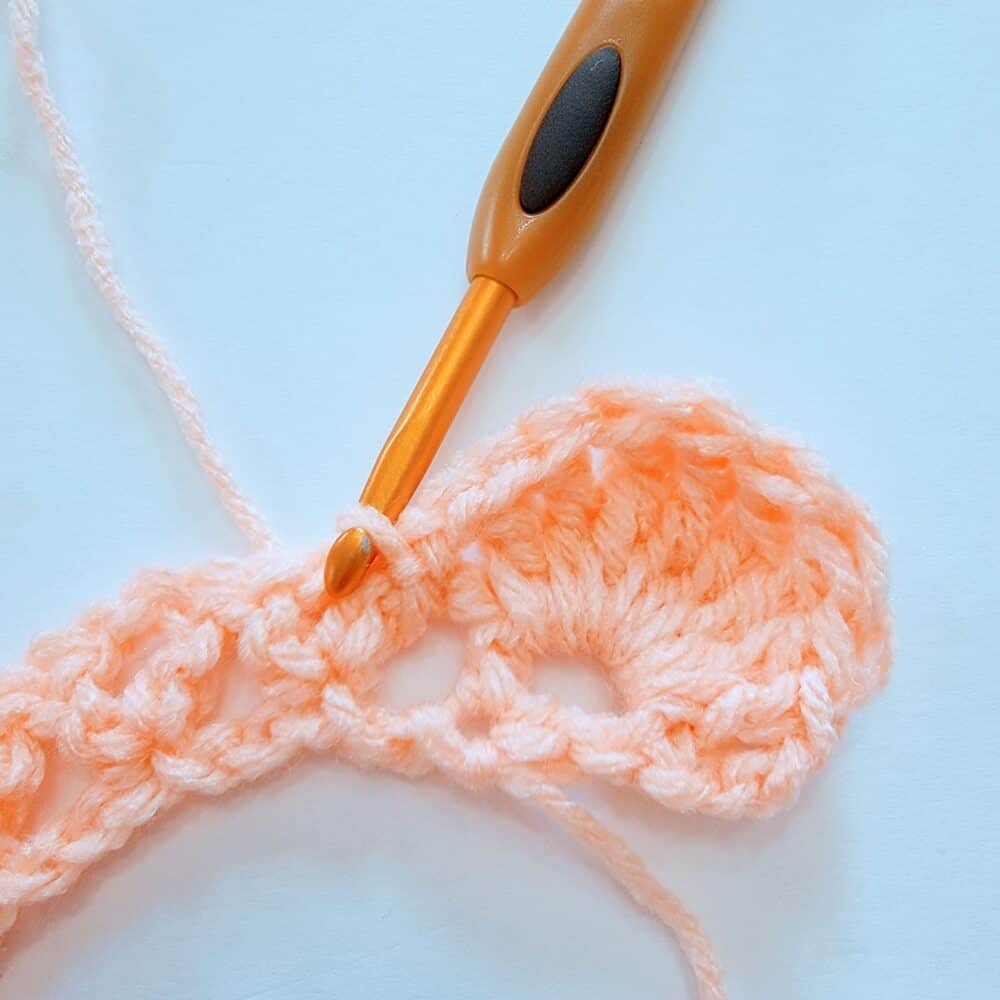
b) [ch 2, (2 DC, 3 TR, 2 DC) in next V-st, ch 2, sl st in between V-st sp] 5 times,
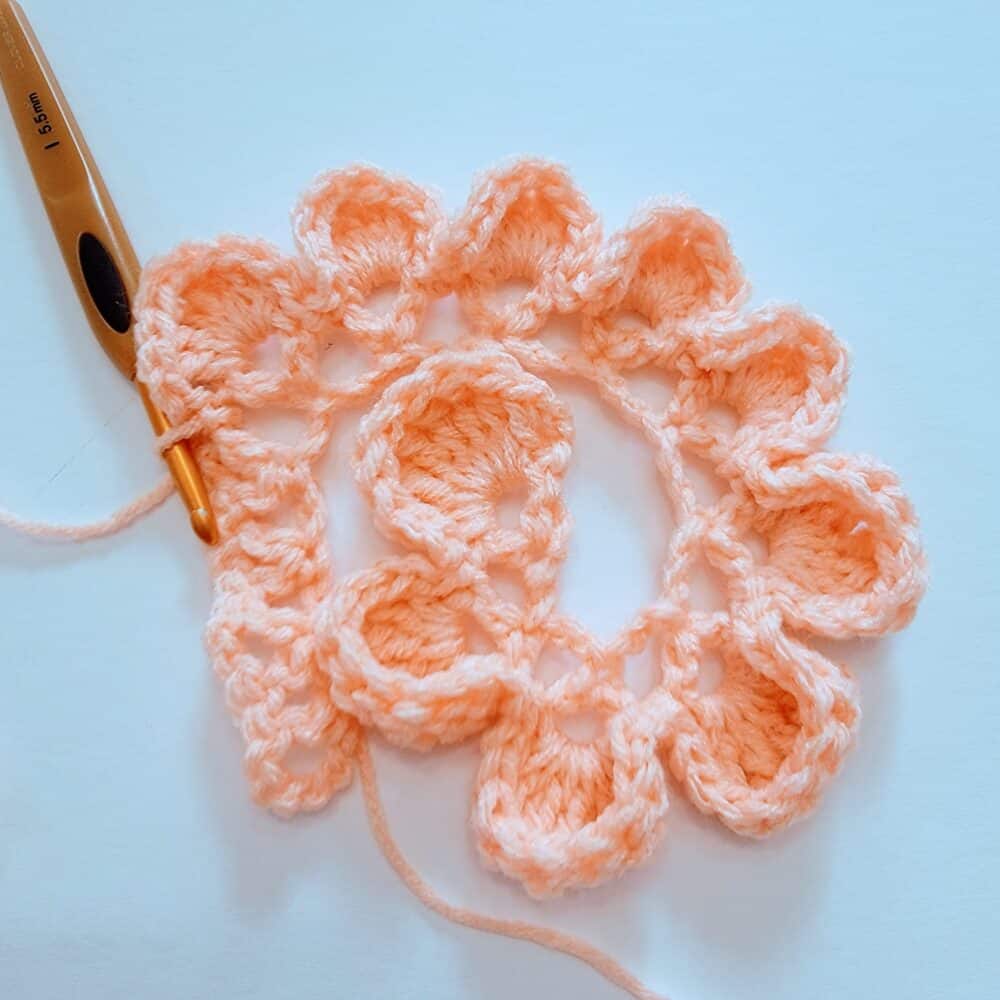
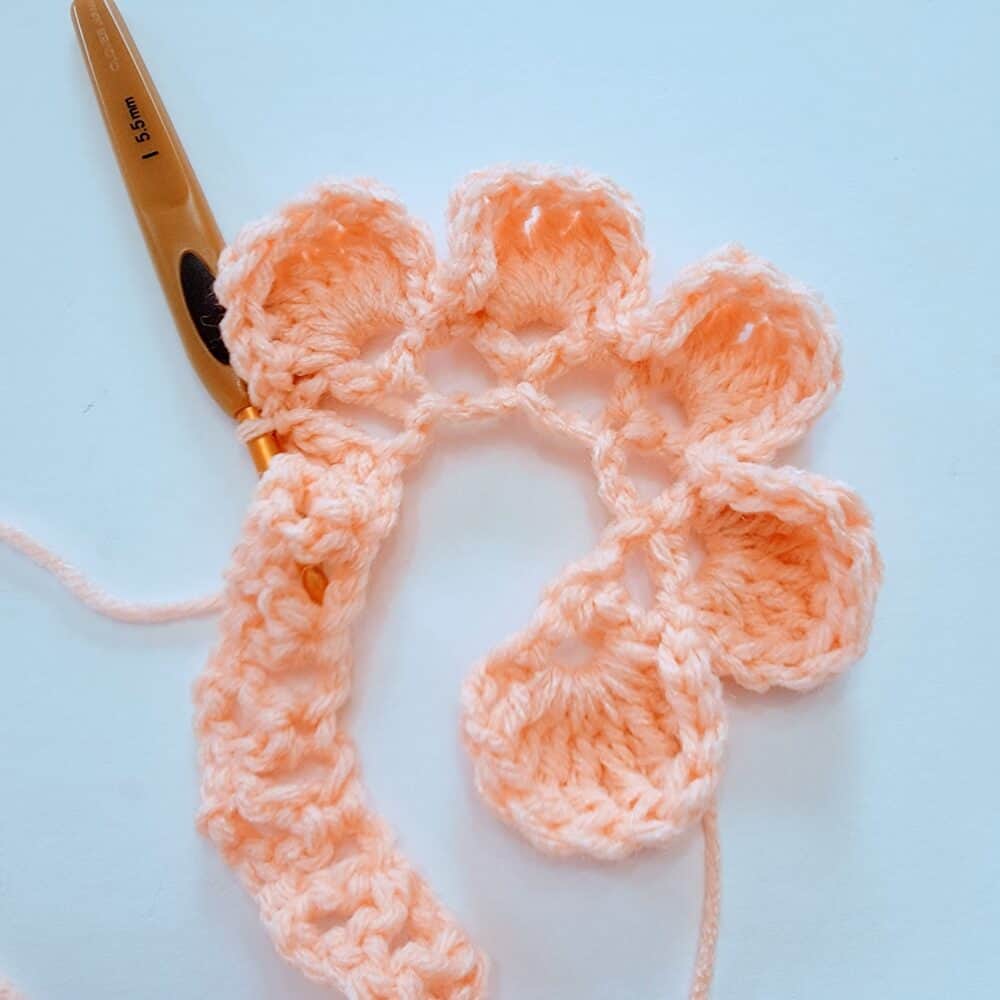
c) [ch 2, (HCD, 4 DC, HDC) in next V-st, ch 2, sl st in between V-st sp] 3 times, ch 2, (HCD, 4 DC, HDC, ch 2, sl st) in last V-st.
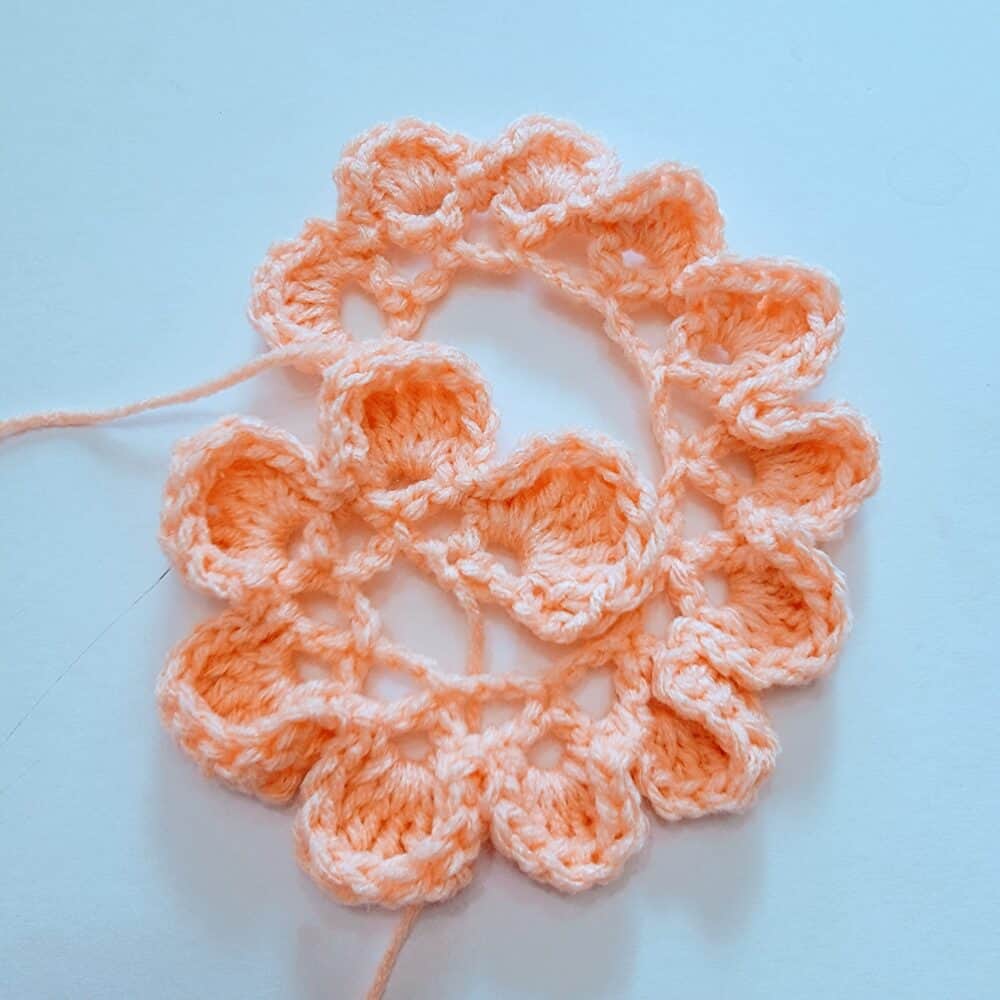
Fasten off leaving a long tail for forming the flower.
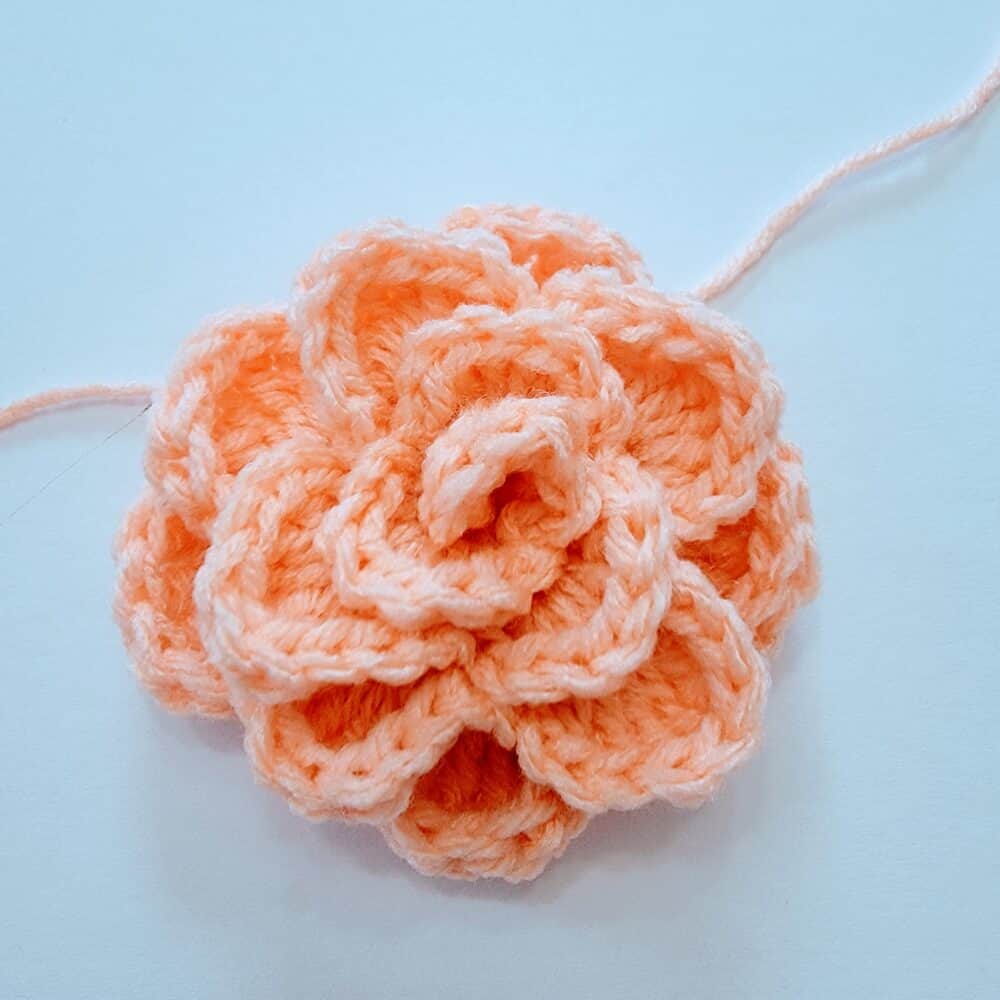
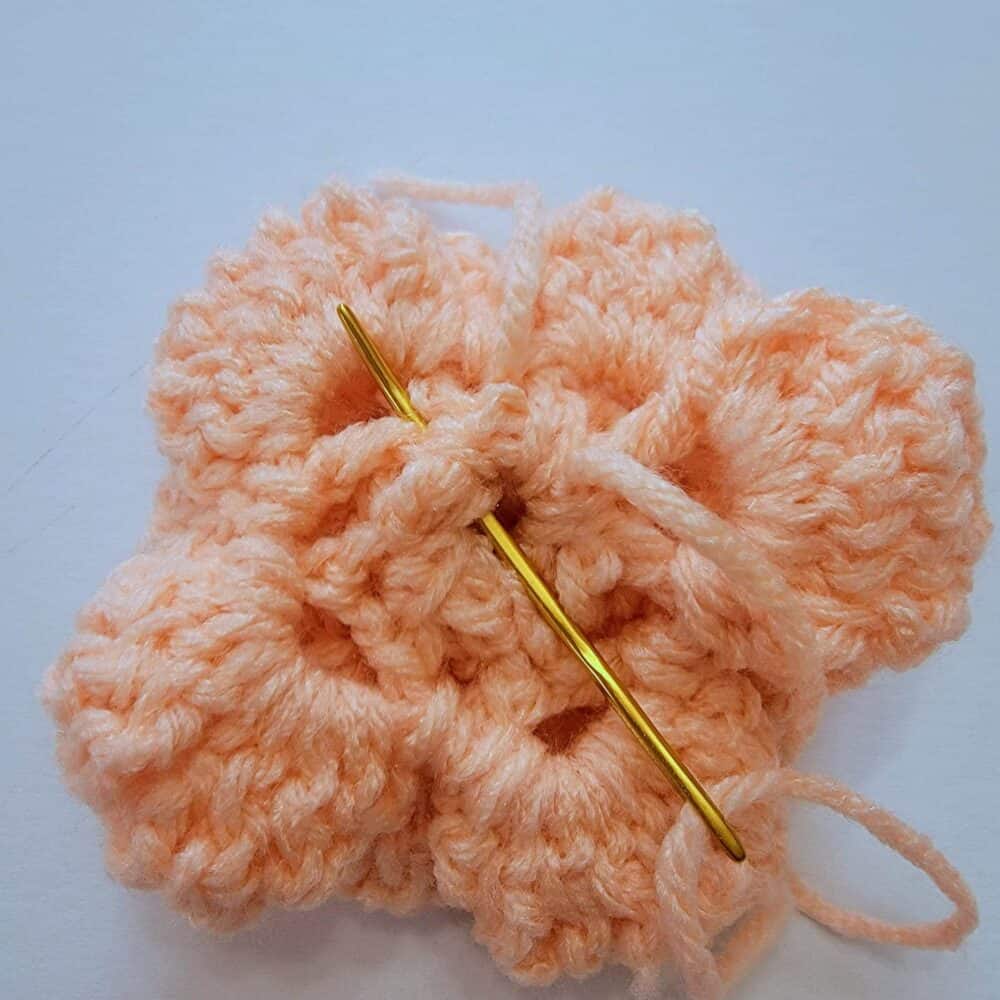
Now. let’s form the petals together to make a flower. With your last petal made as the center of the flower, roll each petal clockwise until you form a very nice flower. And with the long yarn tail thread through your needle, secure your flower by going through possible loops that hold every petal. Please see the photos below for your reference.
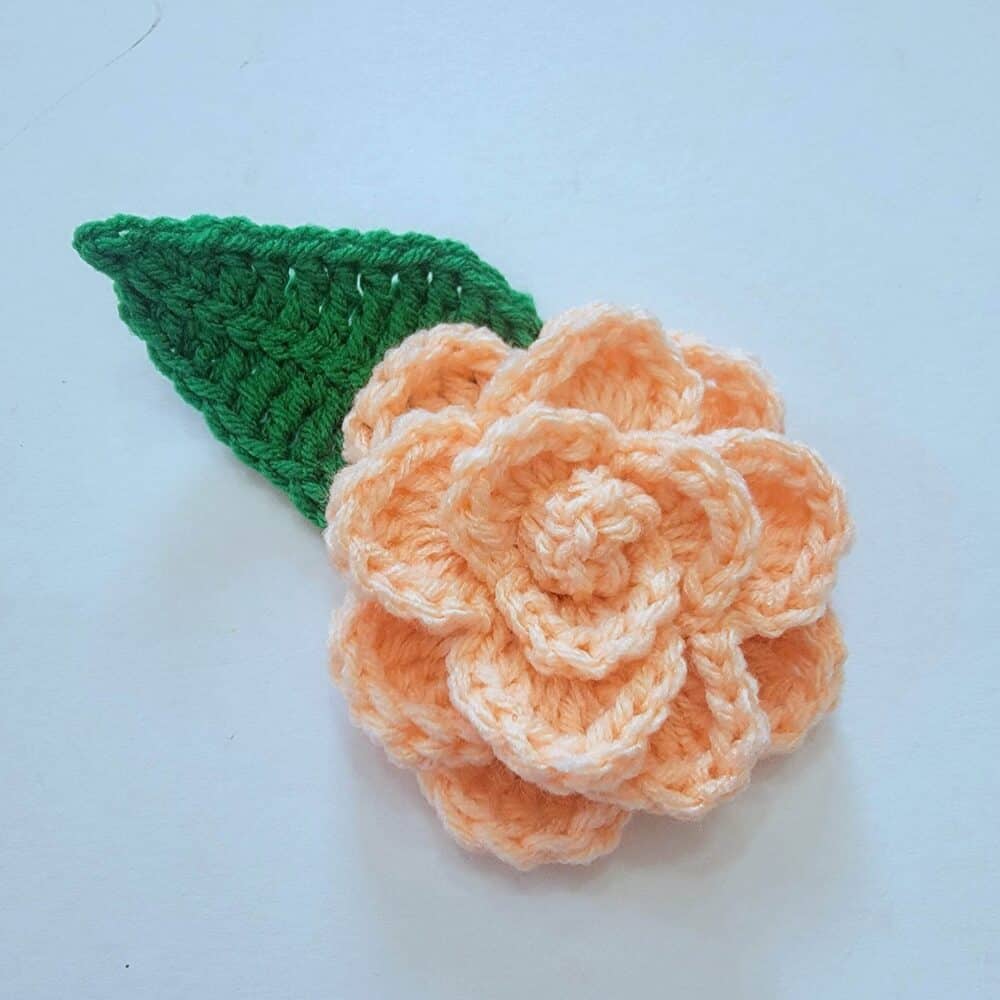
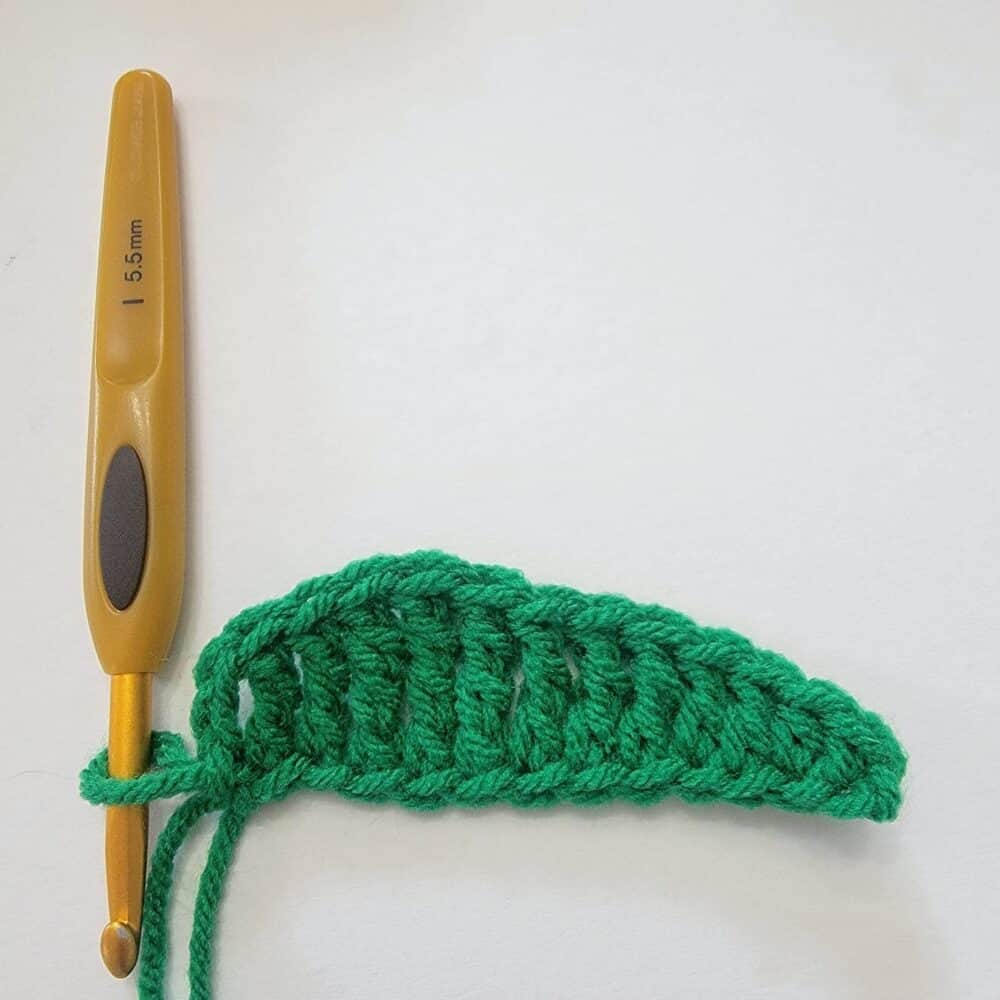
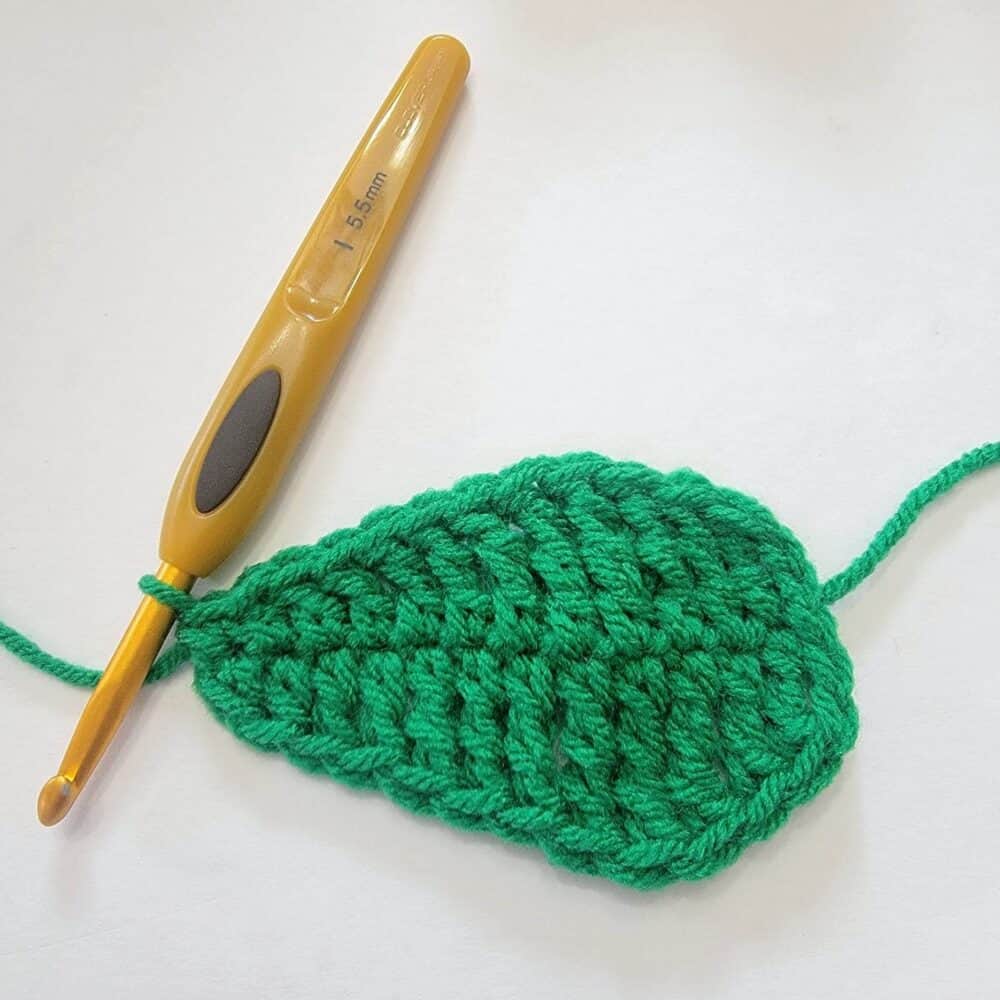
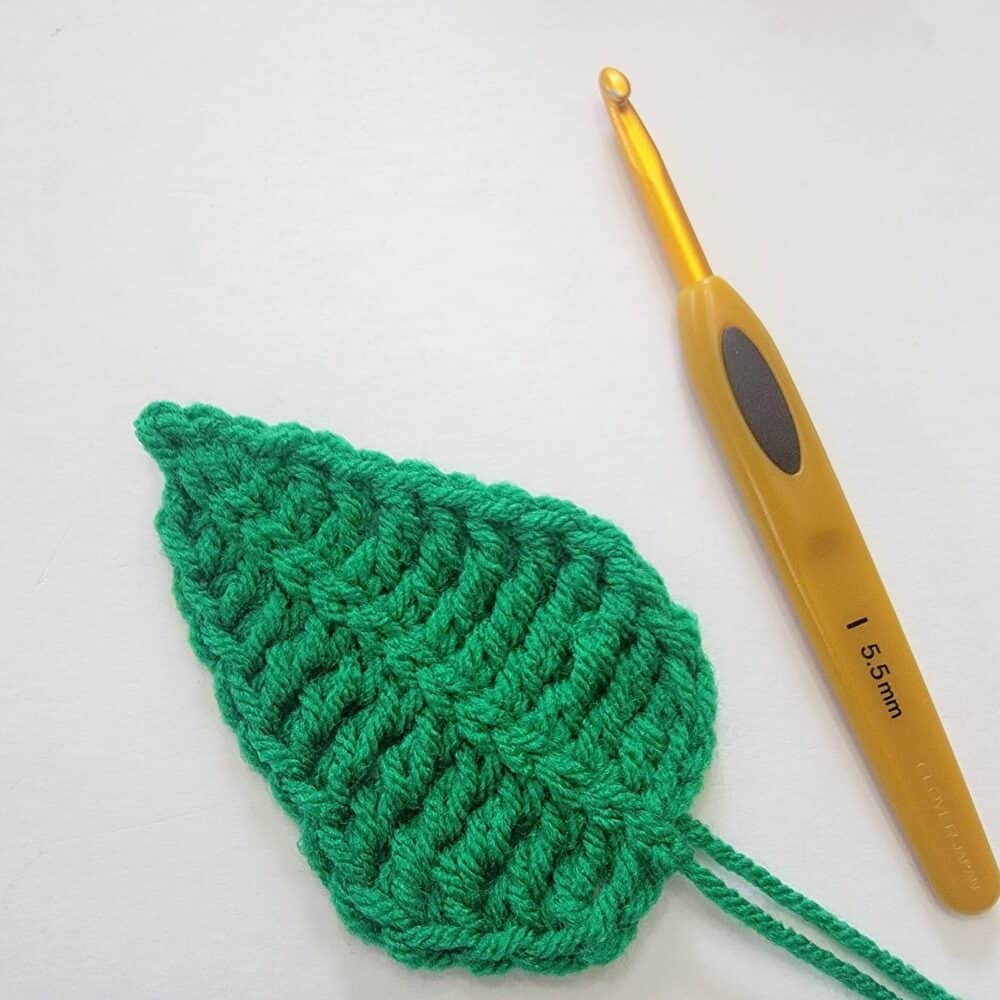
LEAF PATTERN (make 5)
With green yarn, ch 13, SC in the 2nd ch from the hook, HDC in the next ch, DC in the next 2 chs, TR in the next 3 chs, DTR in the next 3 chs, TR in the last 2 chs, ch 2 and sl st in the last ch. DO NOT turn as we will be working on the opposite side of the foundation chs. Now, ch 2, TR in the next 2 chs, DTR in the next 3 chs, TR in the next 3 chs, DC in the next 2 chs, HDC in the next, and SC in the last ch. Next, SC in the very first SC and ch 1. Then, sl st into each foundation ch (middle section of the leaf) across. Fasten off leaving a long tail for attaching to the wreath. Please see the photos below for your reference.
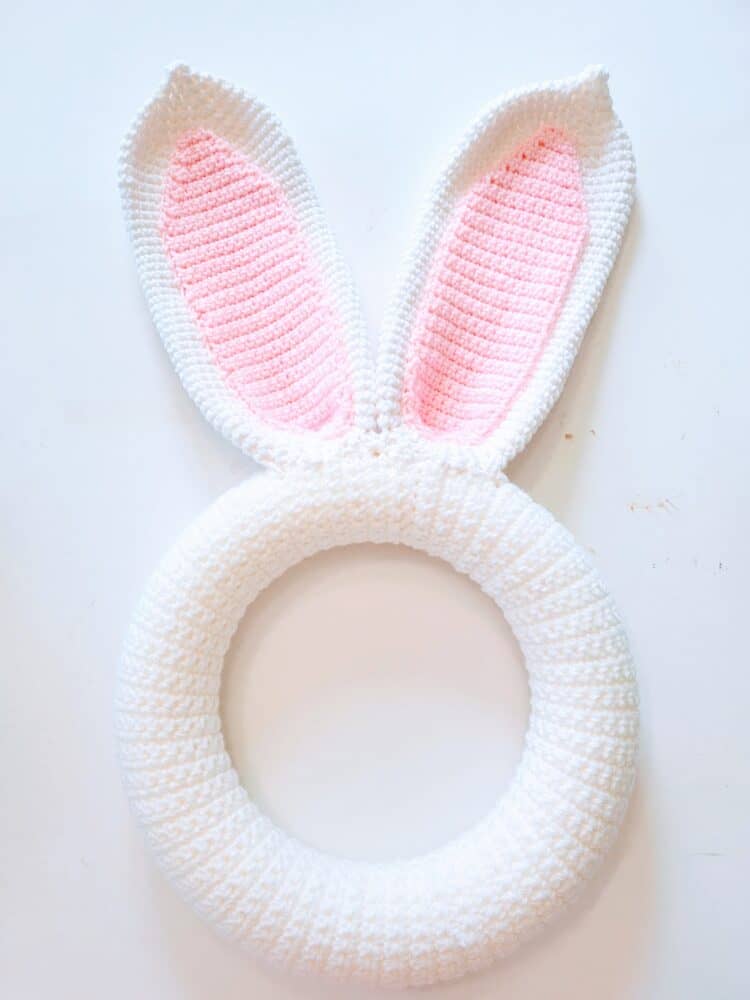
BUNNY WREATH ASSEMBLY
Now, let’s put together all our pieces to make a very cute Easter Bunny Wreath!
First, let’s attach the bunny ears to the wreath. Place your bunny ears on top of your wreath and check how you would like them to look. There is no right or wrong way here. This will make your wreath unique! Next, attach your bunny ears either by sewing or gluing (or both) them to the wreath. I find sewing my pieces to the wreath the best way because you can go over and over again and make it tighter. This way it will not fall. Sometimes, glue losses its grip especially when it is placed under direct heat (sunshine). Please see the photos below for your reference.


After the bunny ears are fixed into the wreath, let’s add in our flowers and leaves! The same process – position your flowers and leaves the way you want them to look on the wreath before securing them. Again, you can either use glue to secure them to the wreath or by sewing.
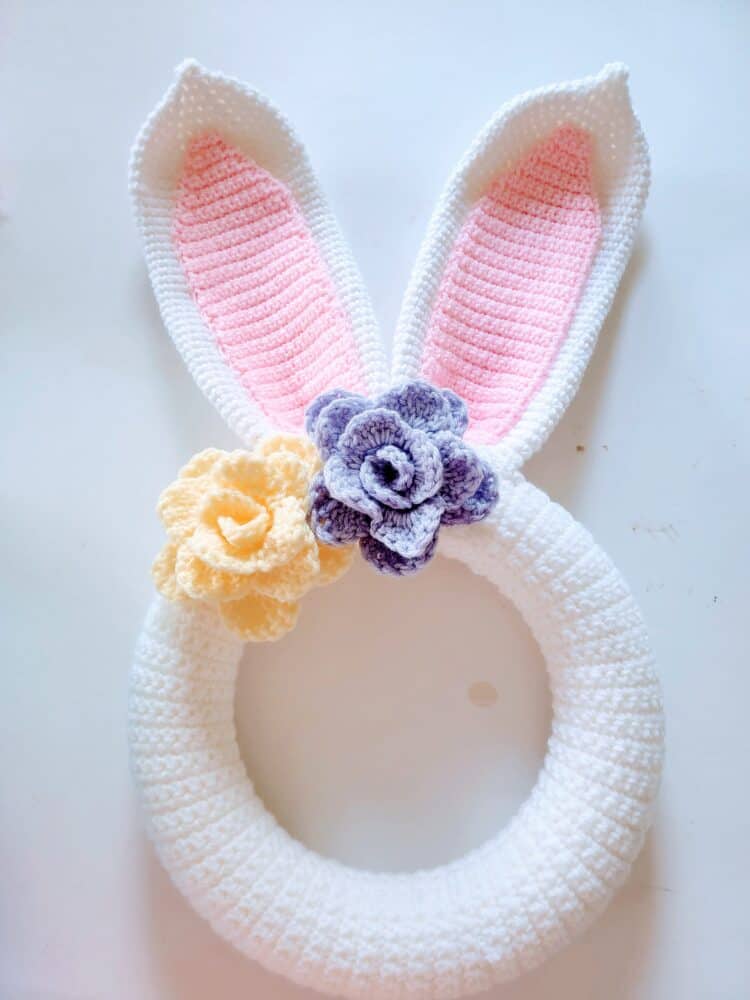
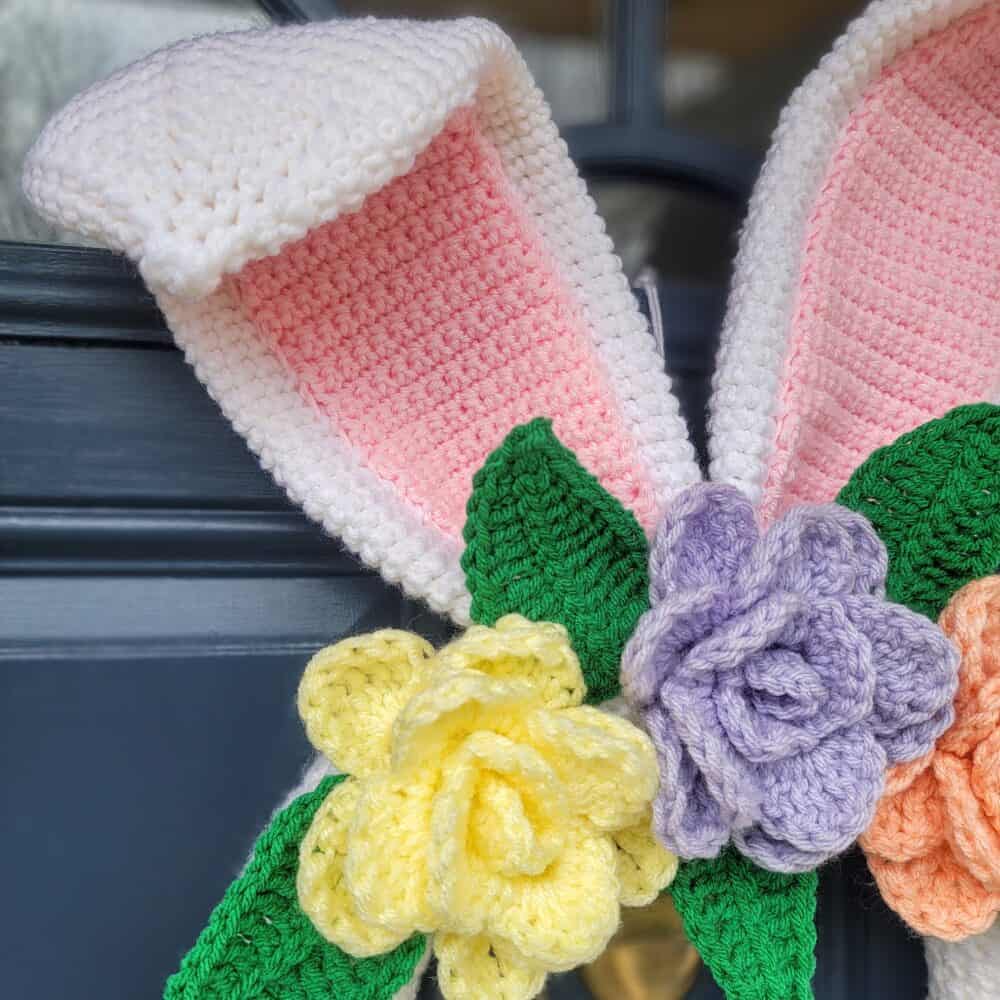
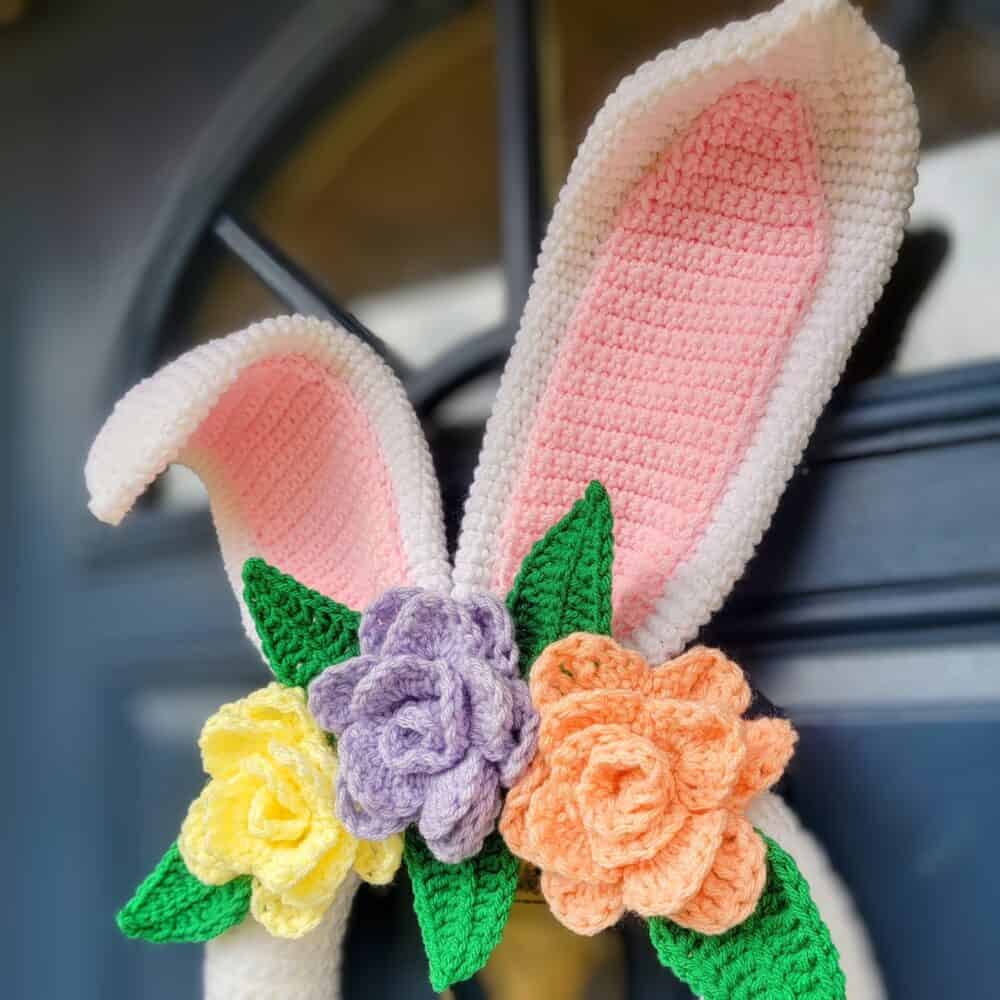
It’s all done! You can hang your BUNNY WREATH on your front door for everyone to see! Woo hoo!
I hope that you like and enjoy this pattern. Please don’t hesitate to contact me with any questions.
I can’t wait to see your very own Bunny Wreath! If you make one, please share and tag me @stringsandcuddles so I can see and share it too!
Happy crocheting! Have a blessed Easter, everyone!
XO
Elisa
Connect with me
Instagram | Pinterest | Facebook | Blog | Ravelry
Stay connected with Clover on Facebook | Twitter | Instagram | Pinterest | YouTube | Ravelry