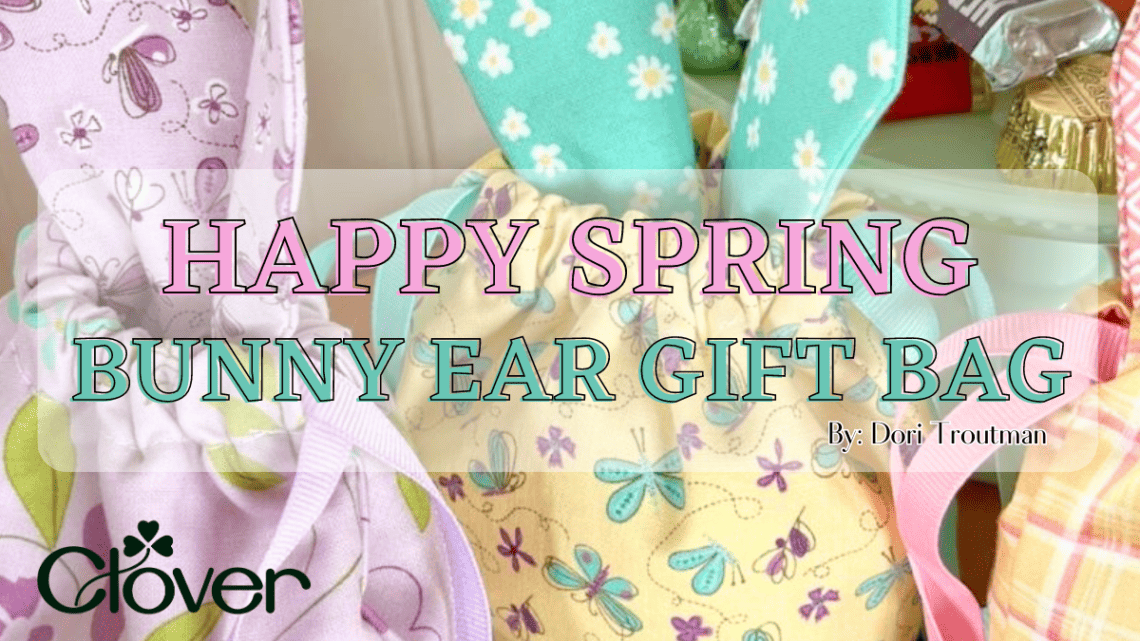
Happy Spring Bunny Ear Gift Bag- Sewing Tutorial
Happy spring my friends! I love this time of year, with the promise of a great summer ahead! I’ve been making these adorable little bunny ear gift bags for sweet little treats for friends! I’m here today to share this project with you and step you through it; its so easy, you can have a handful of bags within an hour!

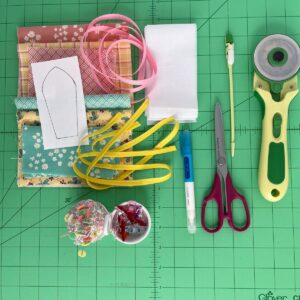
Necessary Supplies
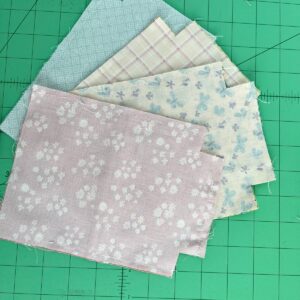
2) fabric pieces for outside of bag measuring 6 inches wide by 8 inches tall
2) fabric pieces for inside of bag measuring 6 inches wide by 8 inches tall
4) fabric pieces for ears measuring approximately 2.5 inches wide by 4 inches tall
4) SF101 interfacing pieces measuring approximately 2.5 inches wide by 4 inches tall
2) 20 inches of ribbon for drawstring
Scissors (these Bordeaux Ultimate Scissors are my favorite)-Art No. 4941
Clover Water Erasable marker- Art No. 5013
Clover Flower Head Pins- Art No. Q2506
Clover Clip and Glide Bodkin – Art No. 9582
NOTE: This is a pattern and tutorial that you can find online here. I’ve simply changed things up a tiny bit and re-written the tutorial. But to clarify, this is NOT my pattern and design!!
Instructions
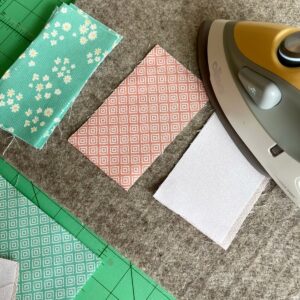
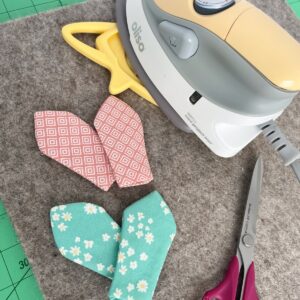
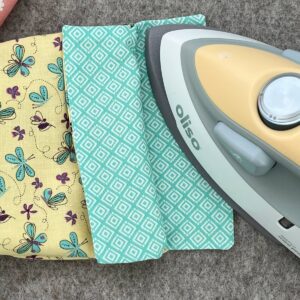
Step One: Cut all fabric pieces and interface them according to the sizes given above. Iron the interfacing pieces to the back of the bunny ear fabric pieces.
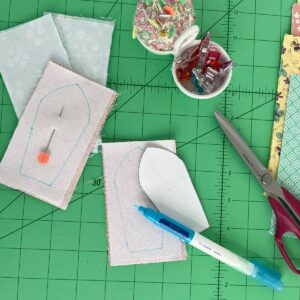
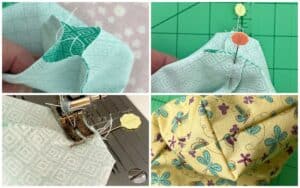
Step Two: Print the bunny ear pattern and cut it out along the line. Place two of the ear fabric pieces right sides together. Lay the bunny ear pattern on top and trace around the edge with the fabric marking pin. Do NOT cut it out.
Step Three: Pin the two ear pieces together and sew around the drawn line, leaving the bottom open. Repeat on second ear. Cut about 1/8 inch to 1/4 inch from the sewn edge around each ear.
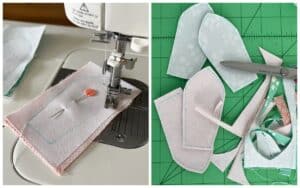
Step Four: Turn the ears right side out, carefully pushing the tip of the ear out. Push about 1/4 inch of the bottom raw edge to the inside of the ear. Iron flat. Set aside for now.
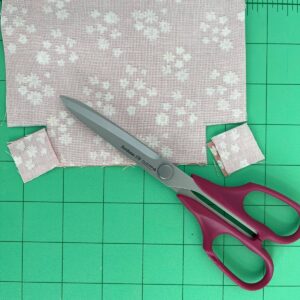
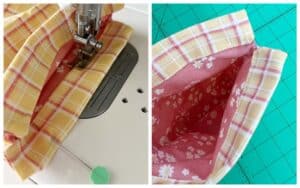
Step Five: Place the exterior fabric right sides together. Cut a one inch square out of the bottom corners. Repeat with the lining pieces.
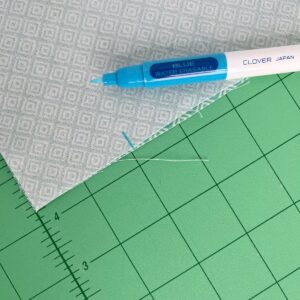
Step Six: Using your fabric marker, mark a line two inches from the top of the bag on both the exterior and interior fabric.
Step Seven: Sew the exterior bag together by sewing the side seams from the mark to the bottom. Then sew the bottom seam as well (do not sew around the cut corners). Repeat with the lining, EXCEPT leave a two inch opening in the bottom seam for turning.
Step Eight: With the exterior bag with wrongs sides facing out, open the cut corners and line up the side seams. Pin the side seams and sew 1/4 inch seam closing up the corner. Repeat on the other side, as well as both corners of the interior. Now you will end up with perfect little boxed corners!
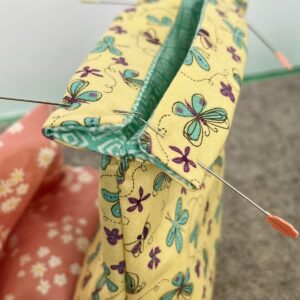
Step Nine: Take both exterior and interior bags and pin them together along the unsewn flaps. Line up side seams as well as the tops and sides. It will seem a little awkward at first, but its actually really simple.
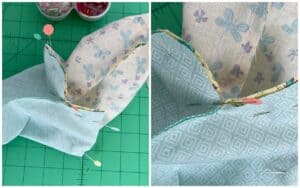
Step Ten: Sew all the way around the flaps. When you get to where the seams tie in together, just take it slow and make sure the bags are out of the way as you pivot that corner. Turn the bags right side out through the opening that was left in the bottom seam of the interior. Use a sharp object to push all the corners out. You might end up with puckers where you pivoted at the bottom of the flaps, but press them carefully and they won’t be noticeable.
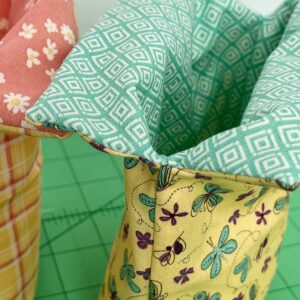
Step Eleven: Sew the opening in the lining closed. Push the lining into the exterior of the bag.
Step Twelve: Iron the flaps nice and crisp.
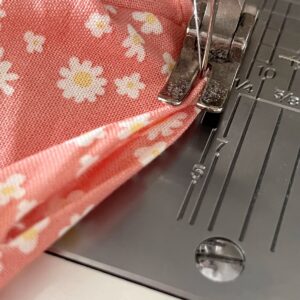
Step Thirteen: Fold the flaps over 1/2 inch to the inside of the bag. Iron in place and pin.
Step Fourteen: Sew along the bottom of the folded flap, creating a channel to run your drawstring.
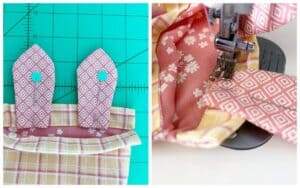
Step Fifteen: Now let’s attach the bunny ears!! Place each ear inside the bag, about one inch apart. Sew along the bottom of the ears, right on the seam you just sewed.
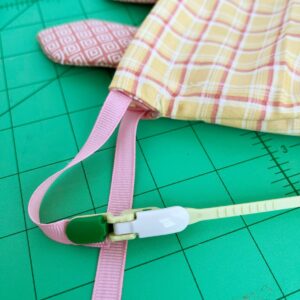
Step Sixteen: Attach one of your cord or ribbon pieces to the Clover Bobkin and thread it through both of the bag channels. Tie the raw edges together with a little knot.
NOTE: this step can be done with a safety pen attached to the end of the ribbon and threaded through the channel. However!!! The Bobkin makes it fast and so easy, that it is worth purchasing one!
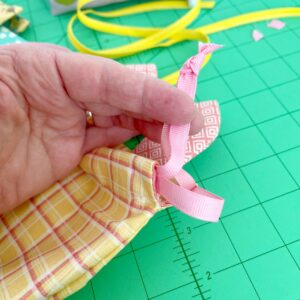
Step Seventeen: Repeat with the remaining cord or ribbon, just be sure to feed your ribbon so that it comes out the opposite side of the previous one. Tie those ends together as well. You should be able to pull both tied ends and the bag will draw up and close.
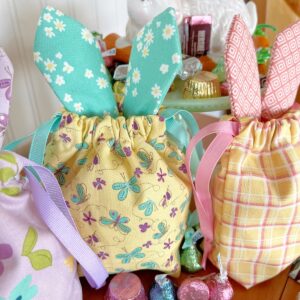
And you have finished your darling little Bunny Ear Pouch! Fill it with goodies and gift it to the favorite little (or big!) person in your life! Cutest little bunny ears!
Thanks for following along my friends! I’ll see you next month as we get ready for Mother’s Day!
~ Dori ~
Stay connected with Clover on Facebook | Twitter | Instagram | Pinterest | YouTube | Ravelry