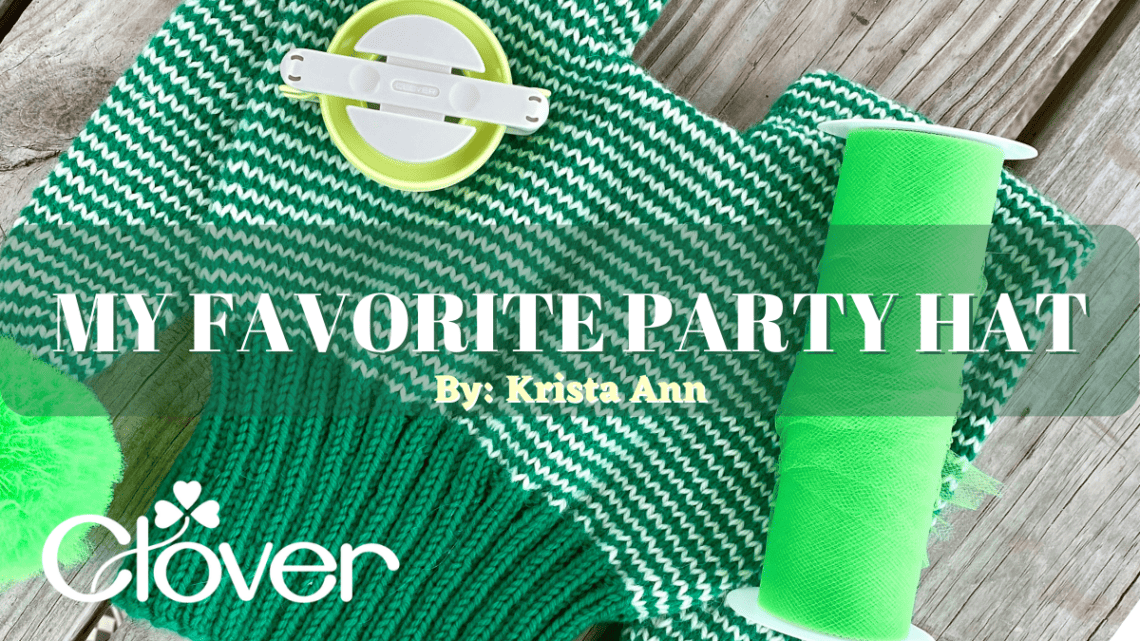
My Favorite Party Hat- Knitting Pattern
The thing about a party hat is that it should be like nobody else’s in the room. It has to be fun and quirky and represent your awesome knitting talents.
Anyone can show up to a birthday party and put a cardboard cone on their head. But only the coolest of knitters show up with their own custom party hat that everyone will be jealous of!
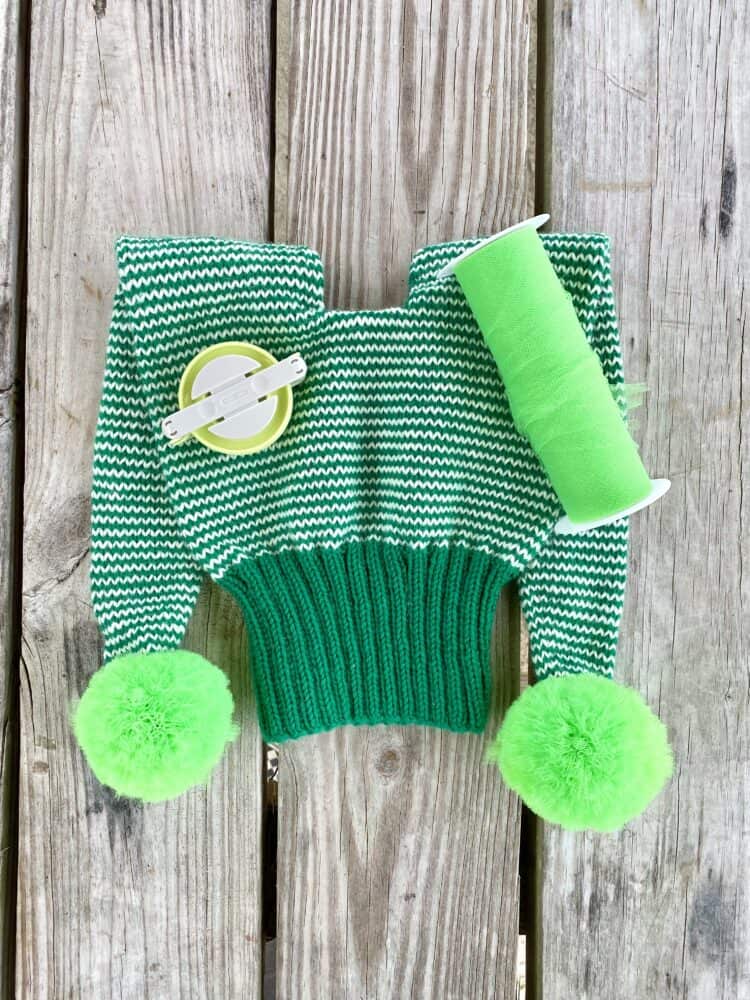
Every knitter needs a favorite party hat for whatever reason you have to celebrate. This fun and quirky hat will be a show stopper at your next St. Paddy’s Day party.
But here’s the best part. You can customize the colors of this hat to work for ANY event, party, shindig, get together, bazaar, celebration, or festivity you need to party hard at!
Make it red and white with green tulle poms for a Christmas party. Knit it up in your favorite colors for your own birthday party. Get crazy creative and make a red, white, and blue one for a Fourth of July BBQ!
Got a favorite NFL or college football team? Boom! You know what to do!
There is no end to what kind of hat you can create. Get fun and funky with your yarn colors and your tulle pom pom colors and rock the next party you throw, attend, or crash!
MATERIALS
Needles
No. 5/3.75mm 16” Takumi Bamboo Knitting Needle Circular (SKU: 3016/16-05)
No. 6/4.0mm 16” Takumi Bamboo Knitting Needle Circular (SKU: 3016/16-06)
No. 6/4.0mm Takumi Bamboo Knitting Needles Single Pointed 9” (SKU: 3011-06)
Yarn
100% Superwash Wool
219 yds/200 m; Worsted Weight
C1: Color 3335 Holly (1 skein)
C2: Color 3301 Cream (1 skein)
Notions
Darning Needle (SKU: 339)
Scissors (SKU: 493/CW)
Scrap Yarn
Spool of 6” Wide Tulle
Large Pom Pom Maker (SKU: 3126)
Gauge
22 sts and 28 rows = 4 in/10 cm in stockinette stitch
Finished Measurements
To fit approximately 22 in/56 cm head circumference
Abbreviations
BO – bind off
bor – beginning of round
C1 – Color One
C2 – Color Two
CO – Cast On
K2tog – knit two together (1 stitch decrease)
K – Knit
P – Purl
sm – stitch marker
SSK – slip slip knit two slipped stitches together (1 stitch decrease)
st/sts – stitch/stitches
Notes
When joining your yarn to make your second (right) pigtail, I recommend adding several extra inches to your C1 tail and using that longer tail to close up the gap between pigtails.
![]()
The Pattern
Using smaller needles and C1, CO 112 sts. Join to work in the round being careful not to twist. Place sm to note bor.
*K2, P2* for 30 rnds or until piece measures 4 in/10 cm from CO edge.
Change to larger needle.
Rnd 1 (C2): Knit
Rnd 2 (C1): Knit
Work last 2 rnds of striping until hat measures 9.5 in/24 cm from CO edge. End after working a C1 rnd. Remove bor sm.
Next Rnd (C2): K51, pm, K56, pm, K5
Next Rnd (C1): BO 5 sts, K to next sm, remove sm, BO 10 sts, K to next sm, BO last 5 sts.
Cut both C1 and C2 and leave tails to weave in later.
Place last 46 sts worked onto scrap yarn.
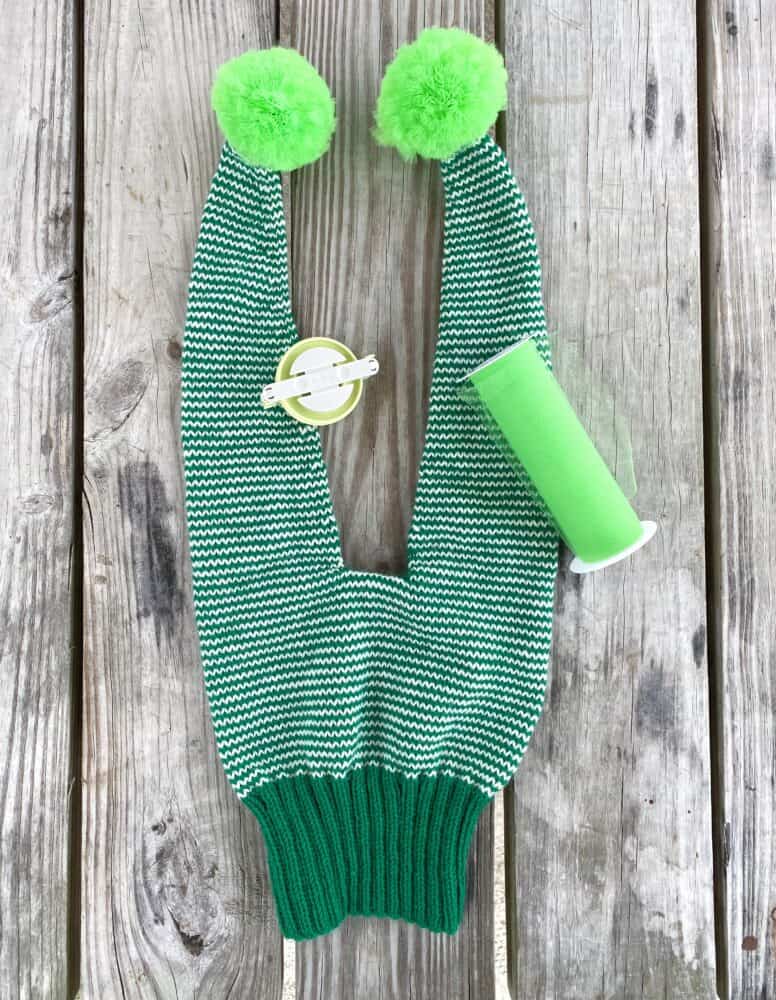
You will now be working the left pigtail in the round while the right pigtail stitches hang out on scrap yarn. You will now be working with your DPNS to finish out each pigtail.
***
With RS facing, rejoin C2 and knit one round onto your DPNs. Place sm to note bor. Rejoin C1 and close up the gap to work in the round for the left pigtail on 46 sts.
Continue striping in the round for 11 rnds.
Decrease Rnd (C1): K1, K2tog, K to last 3 sts, SSK, K1
Work last 12 rnds once more – 42 sts
Work 7 rnds of striping. Then work decrease rnd.
Repeat last 8 rnds a total of 3 times – 36 sts.
Work 5 rnds of striping. Then work decrease rnd.
Repeat last 6 rnds a total of 5 times – 26 sts.
Work 3 rnds of striping. Then work decrease rnd.
Repeat last 4 rnds a total of 4 times – 18 sts.
Knit 1 rnd. (This should be using C2.)
Last Rnd (C1): *sl2K1p2sso* around – 6 sts
Cut both C1 and C2. Use C2 tail and weave through 6 remaining live sts several times and tie off.
Work right pigtail the same as the left beginning at the *** section.
Seam up the gap between the pigtails. Weave in all your tails. Block lightly if necessary.
Create two poms using tulle and large pom pom maker and attach to the end of each pigtail.
Now you are ready to paaaarrrrtyyy!
Stay connected with Clover on Facebook | Twitter | Instagram | Pinterest | YouTube | Ravelry