Candy Corn Trick-or-Treat Bag! (sewing tutorial)
Hello friends! Did you know that there is actually a National Candy Corn Day? I had no idea until it was called to my attention a few months ago! I’ve got a great project for you to make today… so that on October 30th on National Candy Corn Day, you can gift a Candy Corn Treat Bag full of goodies to your Halloween-loving friends! This is such fun trick-or-treat bag to make, and it finishes at 7 inches tall x 5 inches wide. So there is actually plenty of room for all kinds of candy and treats! Plus, you can always double the measurements if you want something a bit bigger! You don’t need many supplies, swhich makes it extra fun and easy. Let’s get started! 🙂
MATERIALS:
- white, yellow, and orange felt
- white jute twine
- Clover Rotary Cutter and Ruler
- Clover Clip ‘n Glide Bobkin
- Clover Wonder Clips
- Clover Scissors

TUTORIAL:
Step One: Use your Clover Rotary Cutter and cut the following:
- yellow felt: cut 2 pieces (6 inches x 3 inches)
- orange felt: cut 2 pieces (6 inches x 3 inches)
- white felt: cut 2 pieces (6 inches x 3 inches) and another 2 pieces (5.5 inches x 2 inches)
- white twine: cut 2 pieces (20 inches long)

Step Two: On the two yellow pieces, use your scissors (these are my favorite!) and cut a small 3/4″ square in the two bottom corners of each yellow piece.

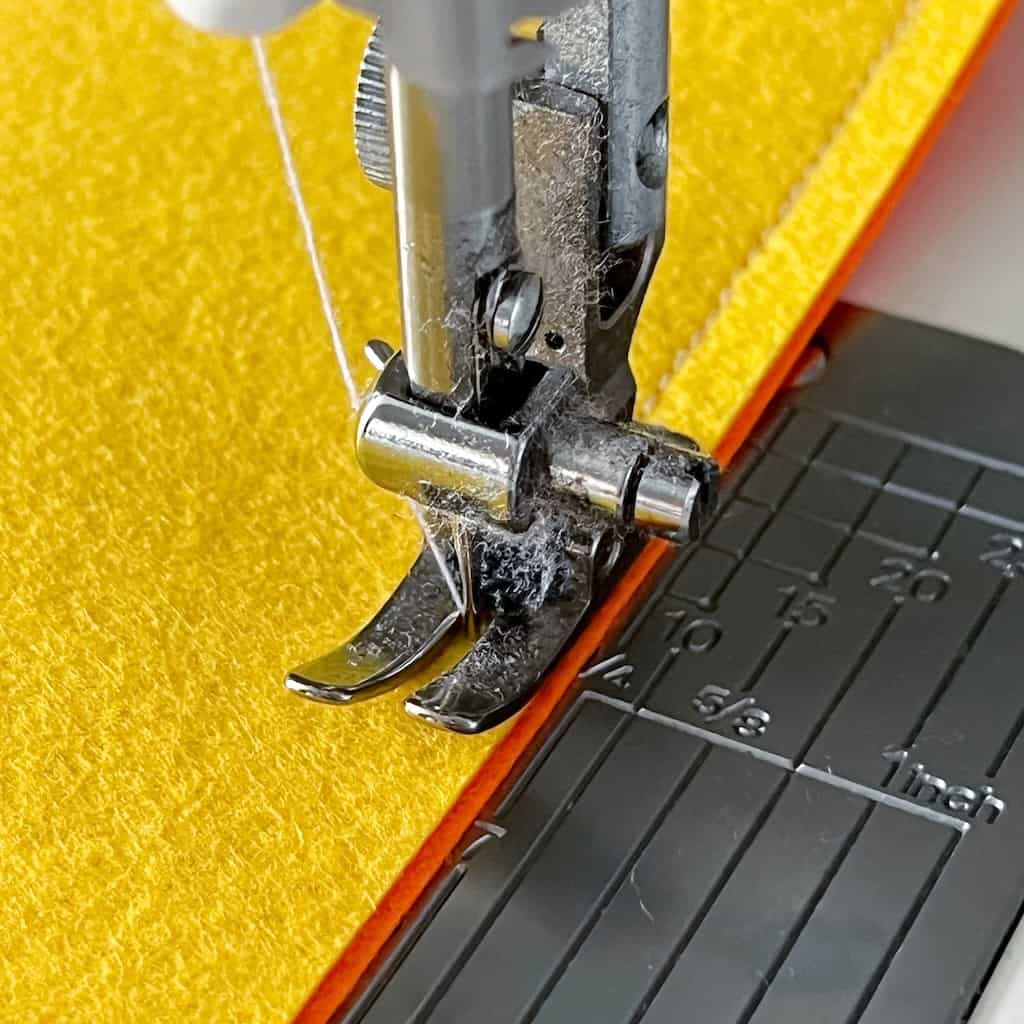
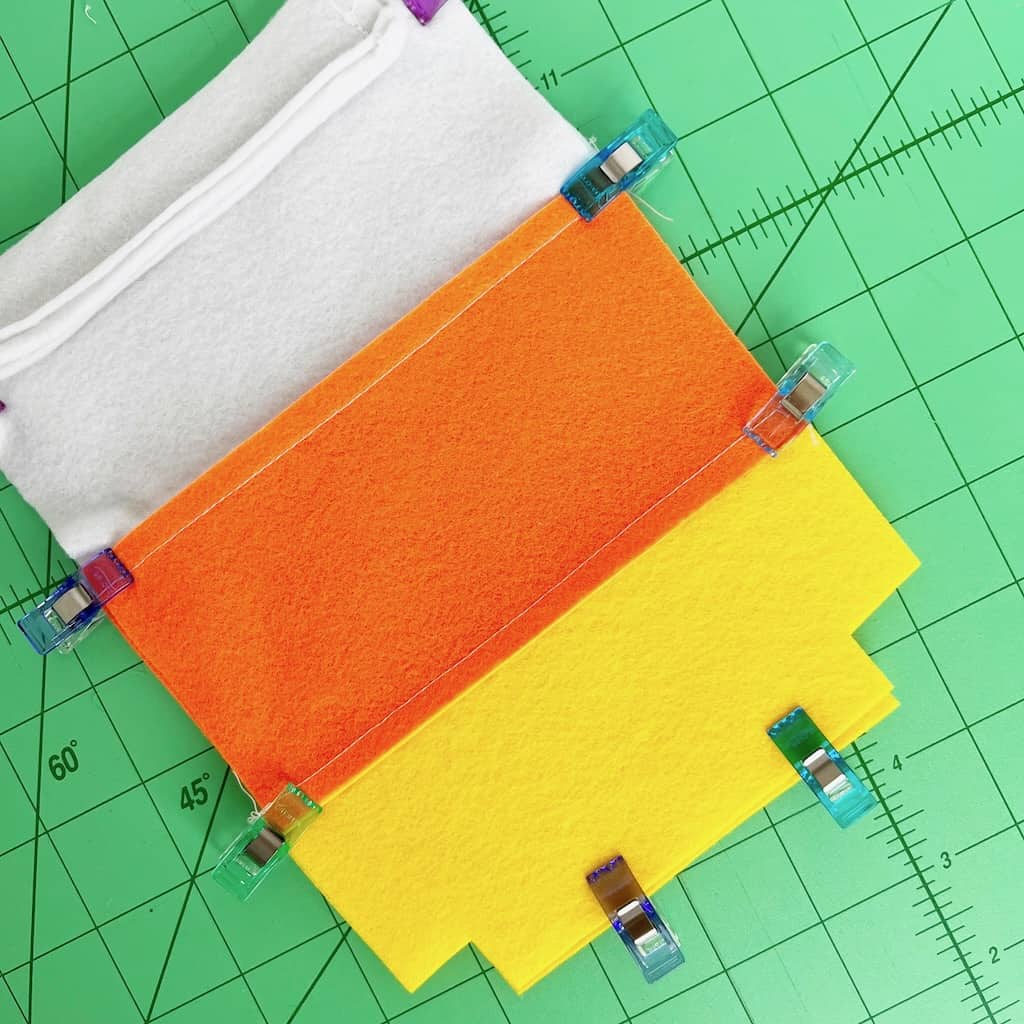
Step Three: Set aside the two 5.5 inch white pieces for now (these strips are the drawstring casing). Using a 1/4 inch seam, sew along the long ends of one yellow to one orange. Now sew a white piece to the orange. Repeat on the other three pieces.
Step Four: Carefully press the seams so they are facing in one direction (I used a paper pressing sheet for this to insure that my iron doesn’t stick to the felt).

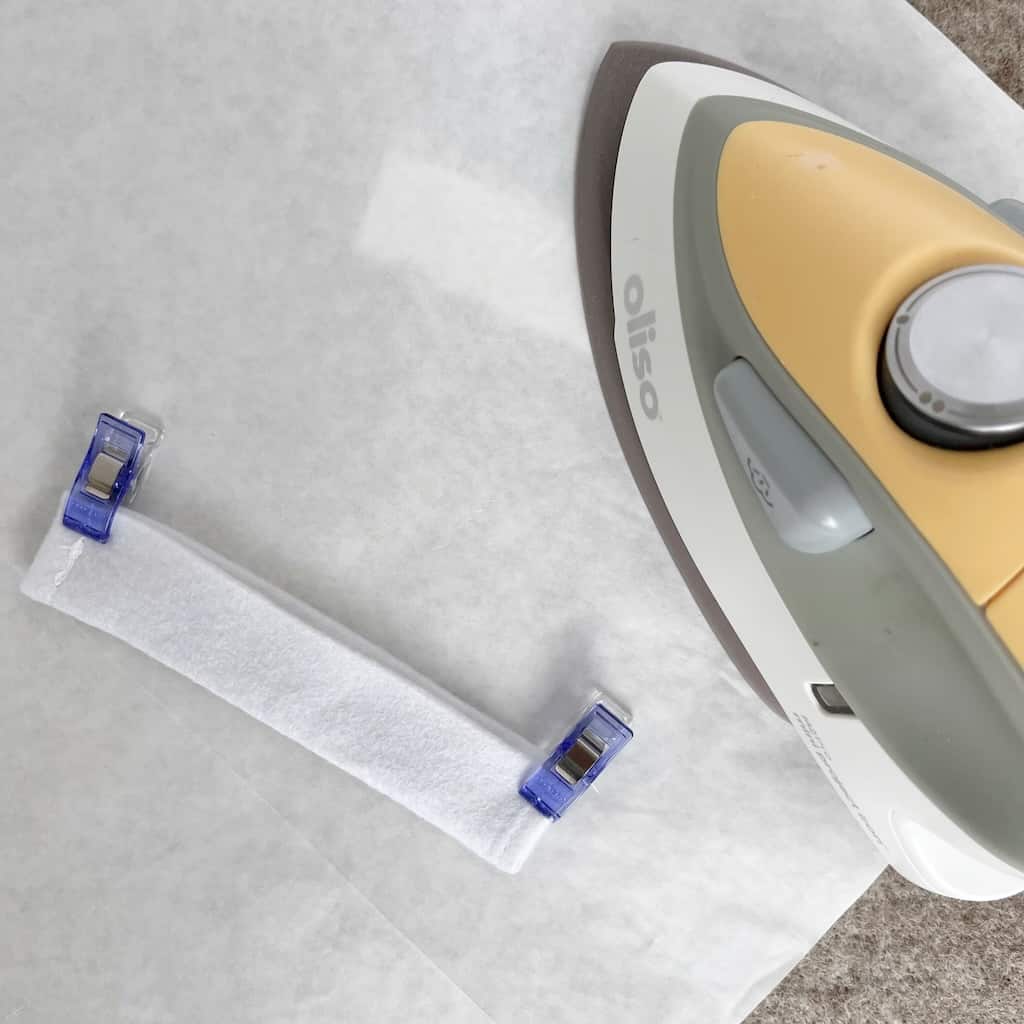
Step Five: Take the 2 drawstring casing pieces and fold over on each short end approximately 1/4 inch. Sew this, creating a hem. Repeat on remaining 3 ends.
Step Six: Fold both casings in half lengthwise and press firmly (use a pressing sheet if necessary).

Step Seven: Place the casing on the top edge of the outer bag, eyeballing to center it. Use Wonder Clips to hold it in place. Repeat with the other casing and outer bag. Sew casing to both outer bags using a 1/4 inch seam. Press seam facing down.
Step Eight: Lay both front and back of the bag together (right sides facing) and use Wonder Clips to hold in place along the sides and bottom. Sew a 1/4 inch seam all the way around the sides and the bottom (do not sew the little cut- out boxes).

Step Nine: Now we will close up the little boxes, creating perfect little boxy corners. Open the corner up, match the seams, and hold in place with a Wonder Clip. Sew a 1/4 inch seam to close it up. Do the same on the remaining corner.


Step Ten: Turn bag right side out, using your fingers to push the boxy corners out.

Step Eleven: At the top of the bag, below the casing, press the seam down about 1/4 inch and sew a topstitch all the way around.

Step Twelve: Attach the Clip n Glide Bobkin to one end of a piece of twine. Thread it all the way through both sides and back out the other opening. Repeat with the other piece of twine, only this time go in the opposite side of the bag. Tie a knot on the two twine ends on both sides of the bag.


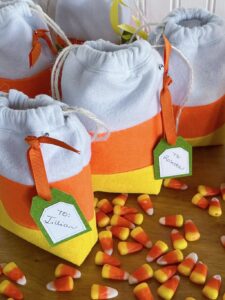
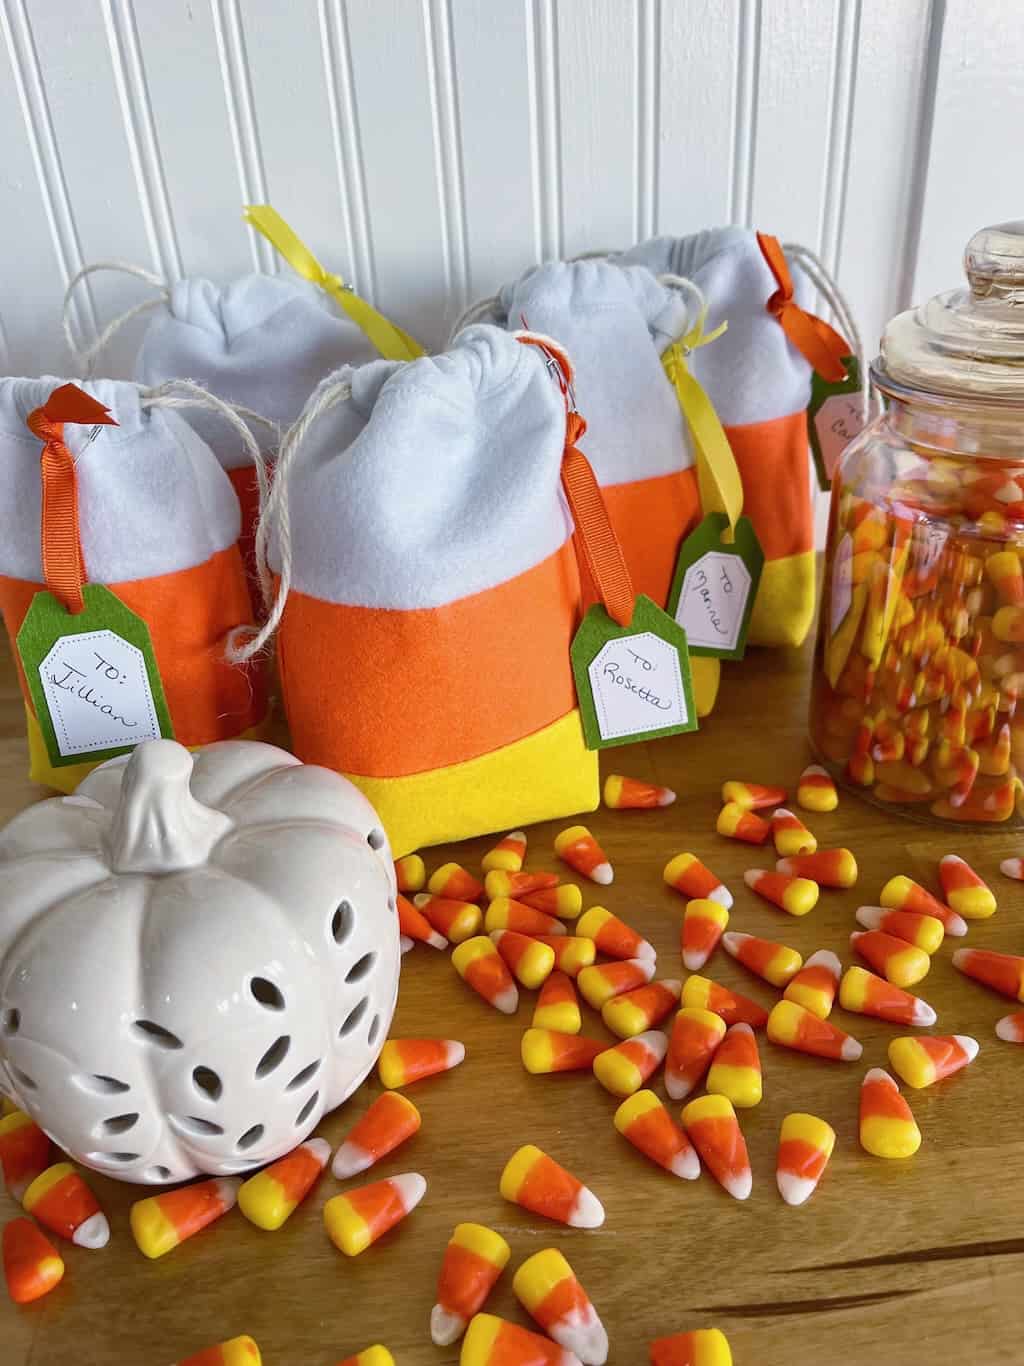
Your adorable little Candy Corn trick-or-treat bag is finished! Have fun and fill it with all kinds of candy and goodies to gift to your favorite Halloween-loving friends! I made little gift tags with card stock sewn to felt and tied with a ribbon. They are super adorable! This little drawstring bag is soooo easy to make. And as long as you have all your supplies out, why not make a bunch of them? I made five and I’m excited to give them to my granddaughters and three of their friends for National Candy Corn Day! Here’s what the final project looks like: