Fusilli Coaster – Knitting Pattern
Hello Makers! It’s Elise, the maker, and designer behind Frosia Knits. I’m thrilled to be back on the blog and share with you a new washcloth pattern!
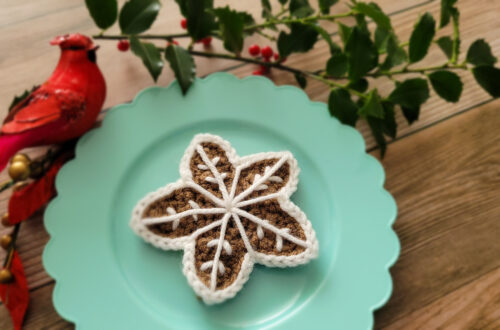
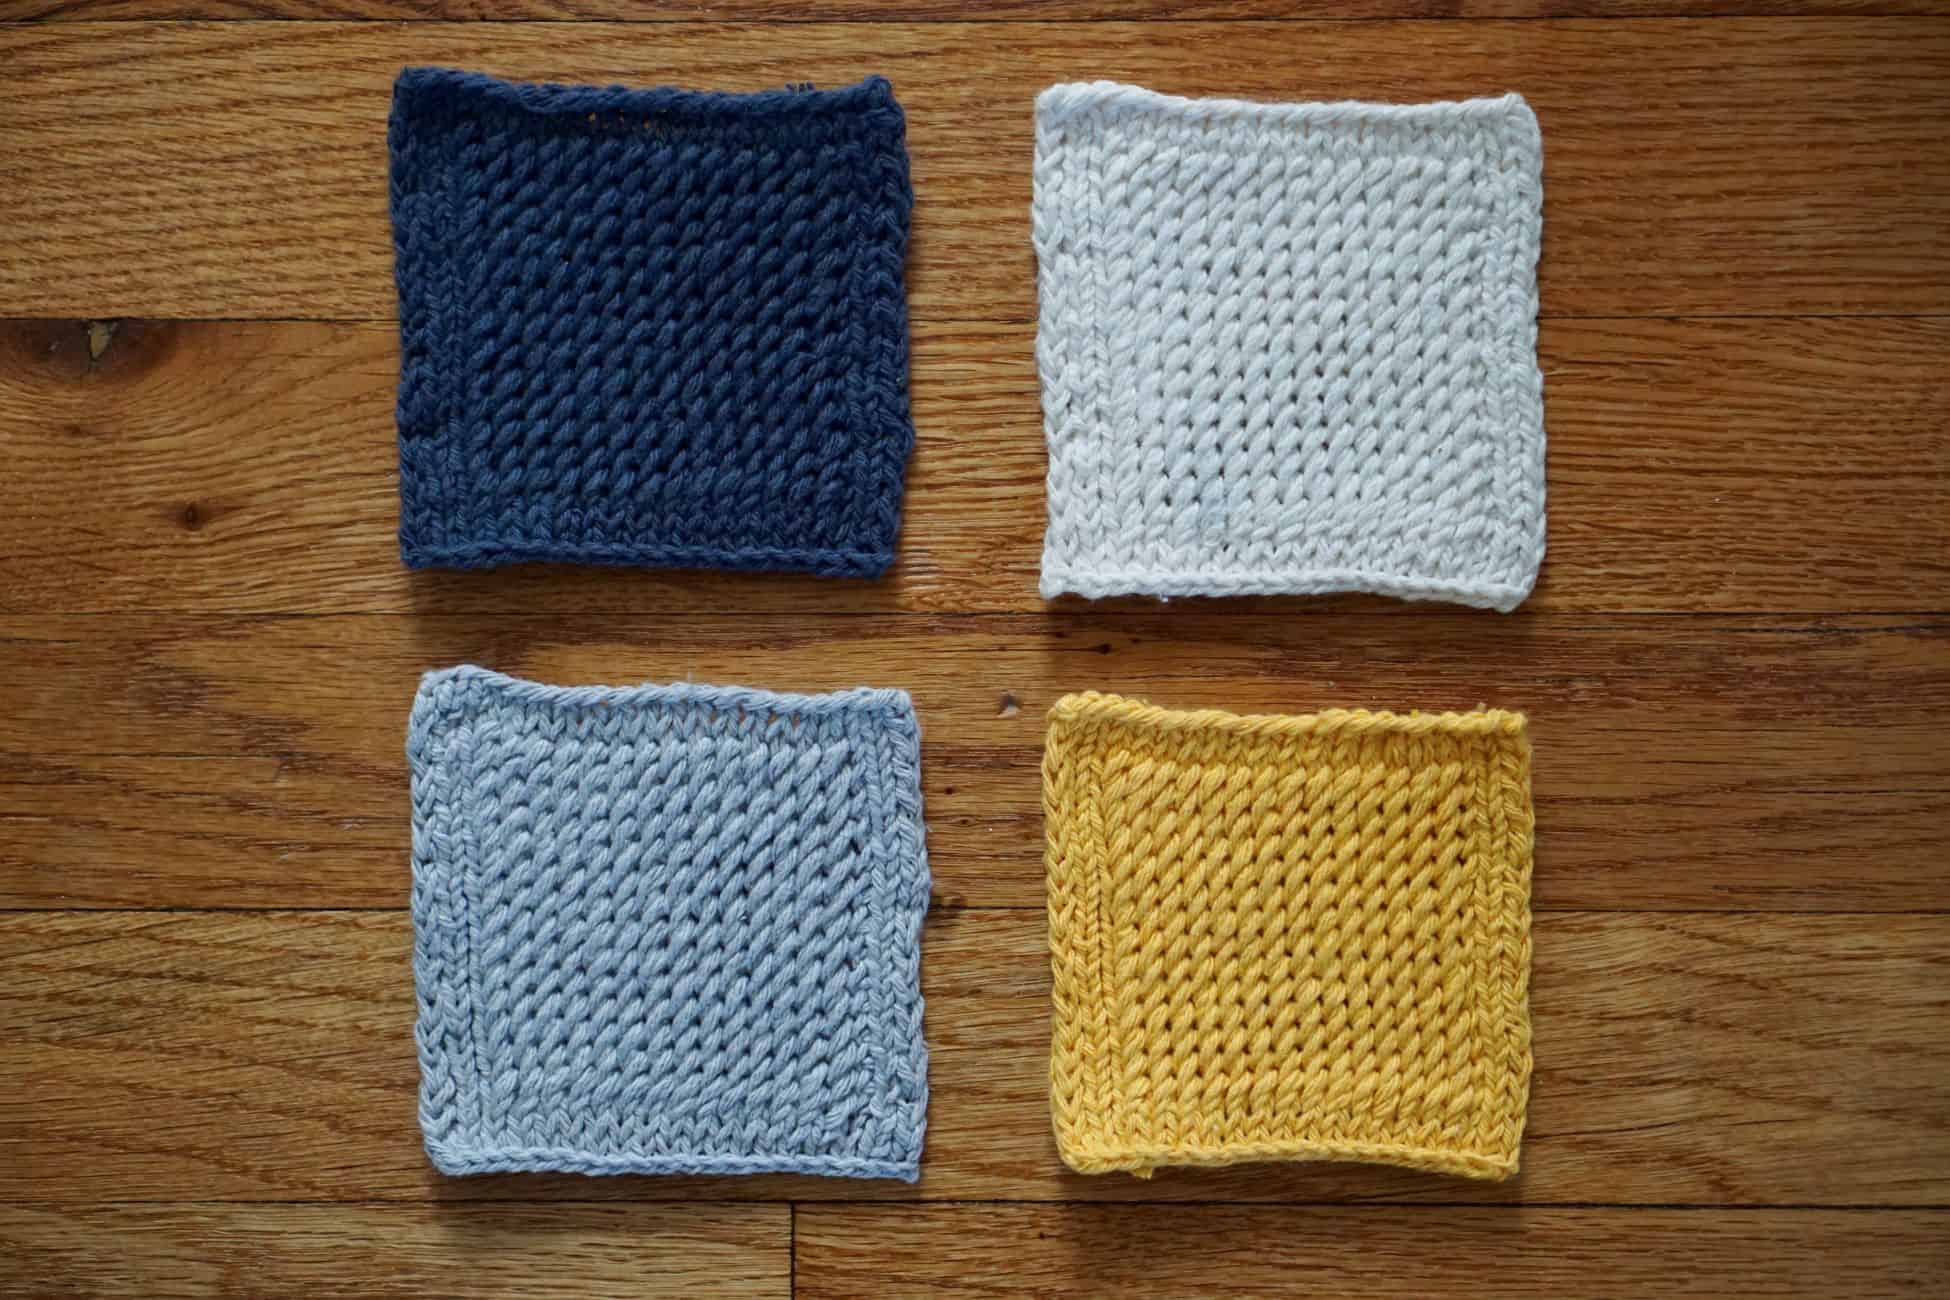
The Fusilli Coaster has a classic simple square design with a beautiful texture created by using the twisted knitting stitch.
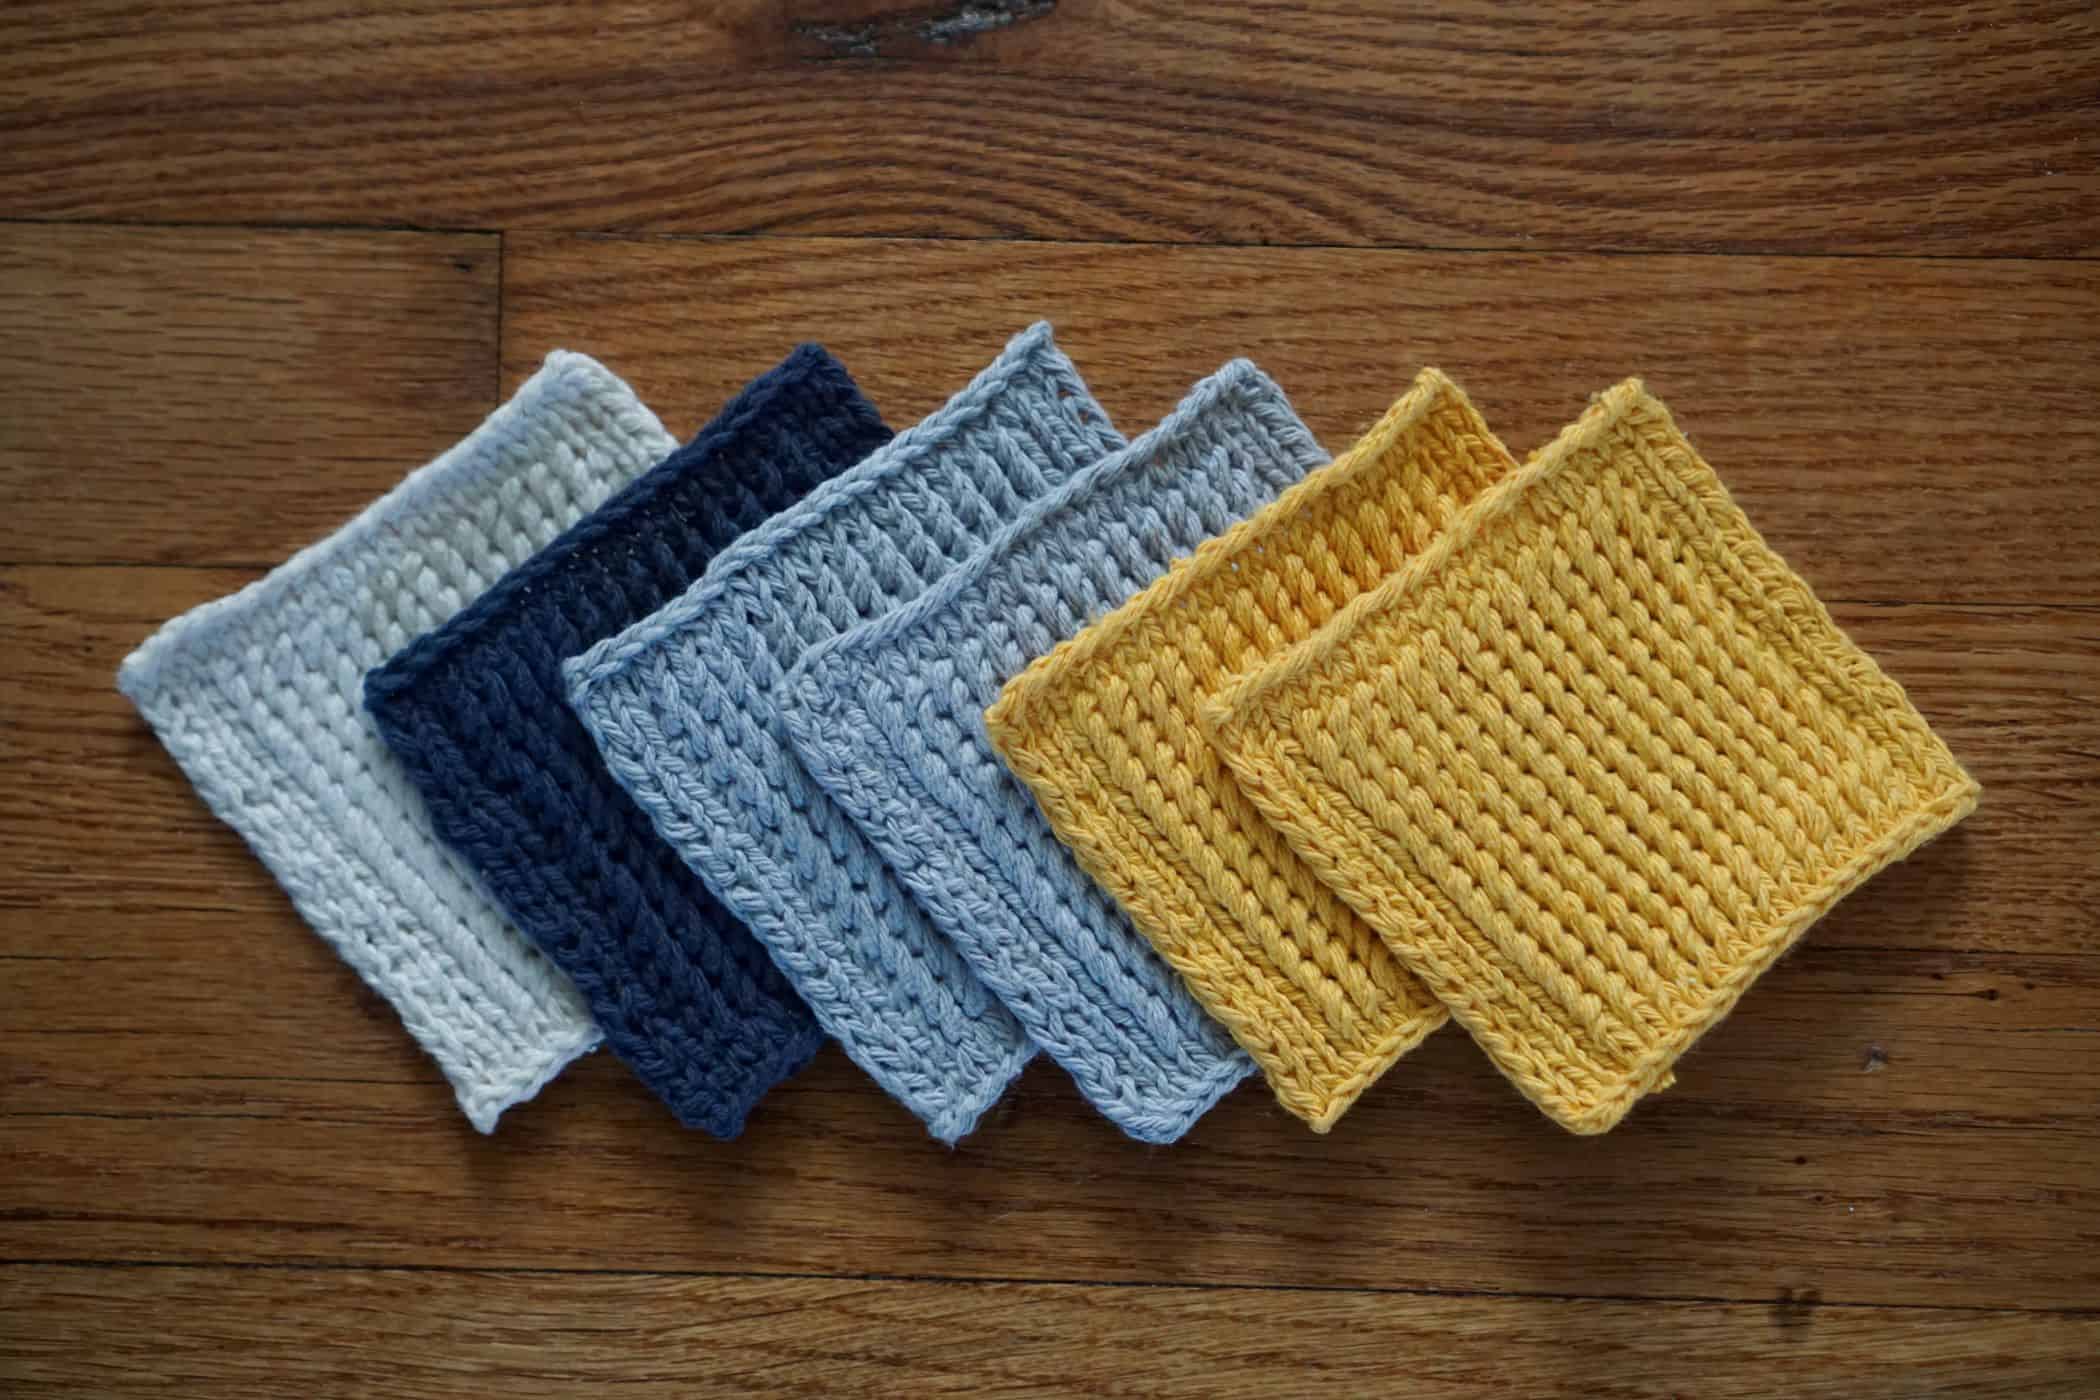
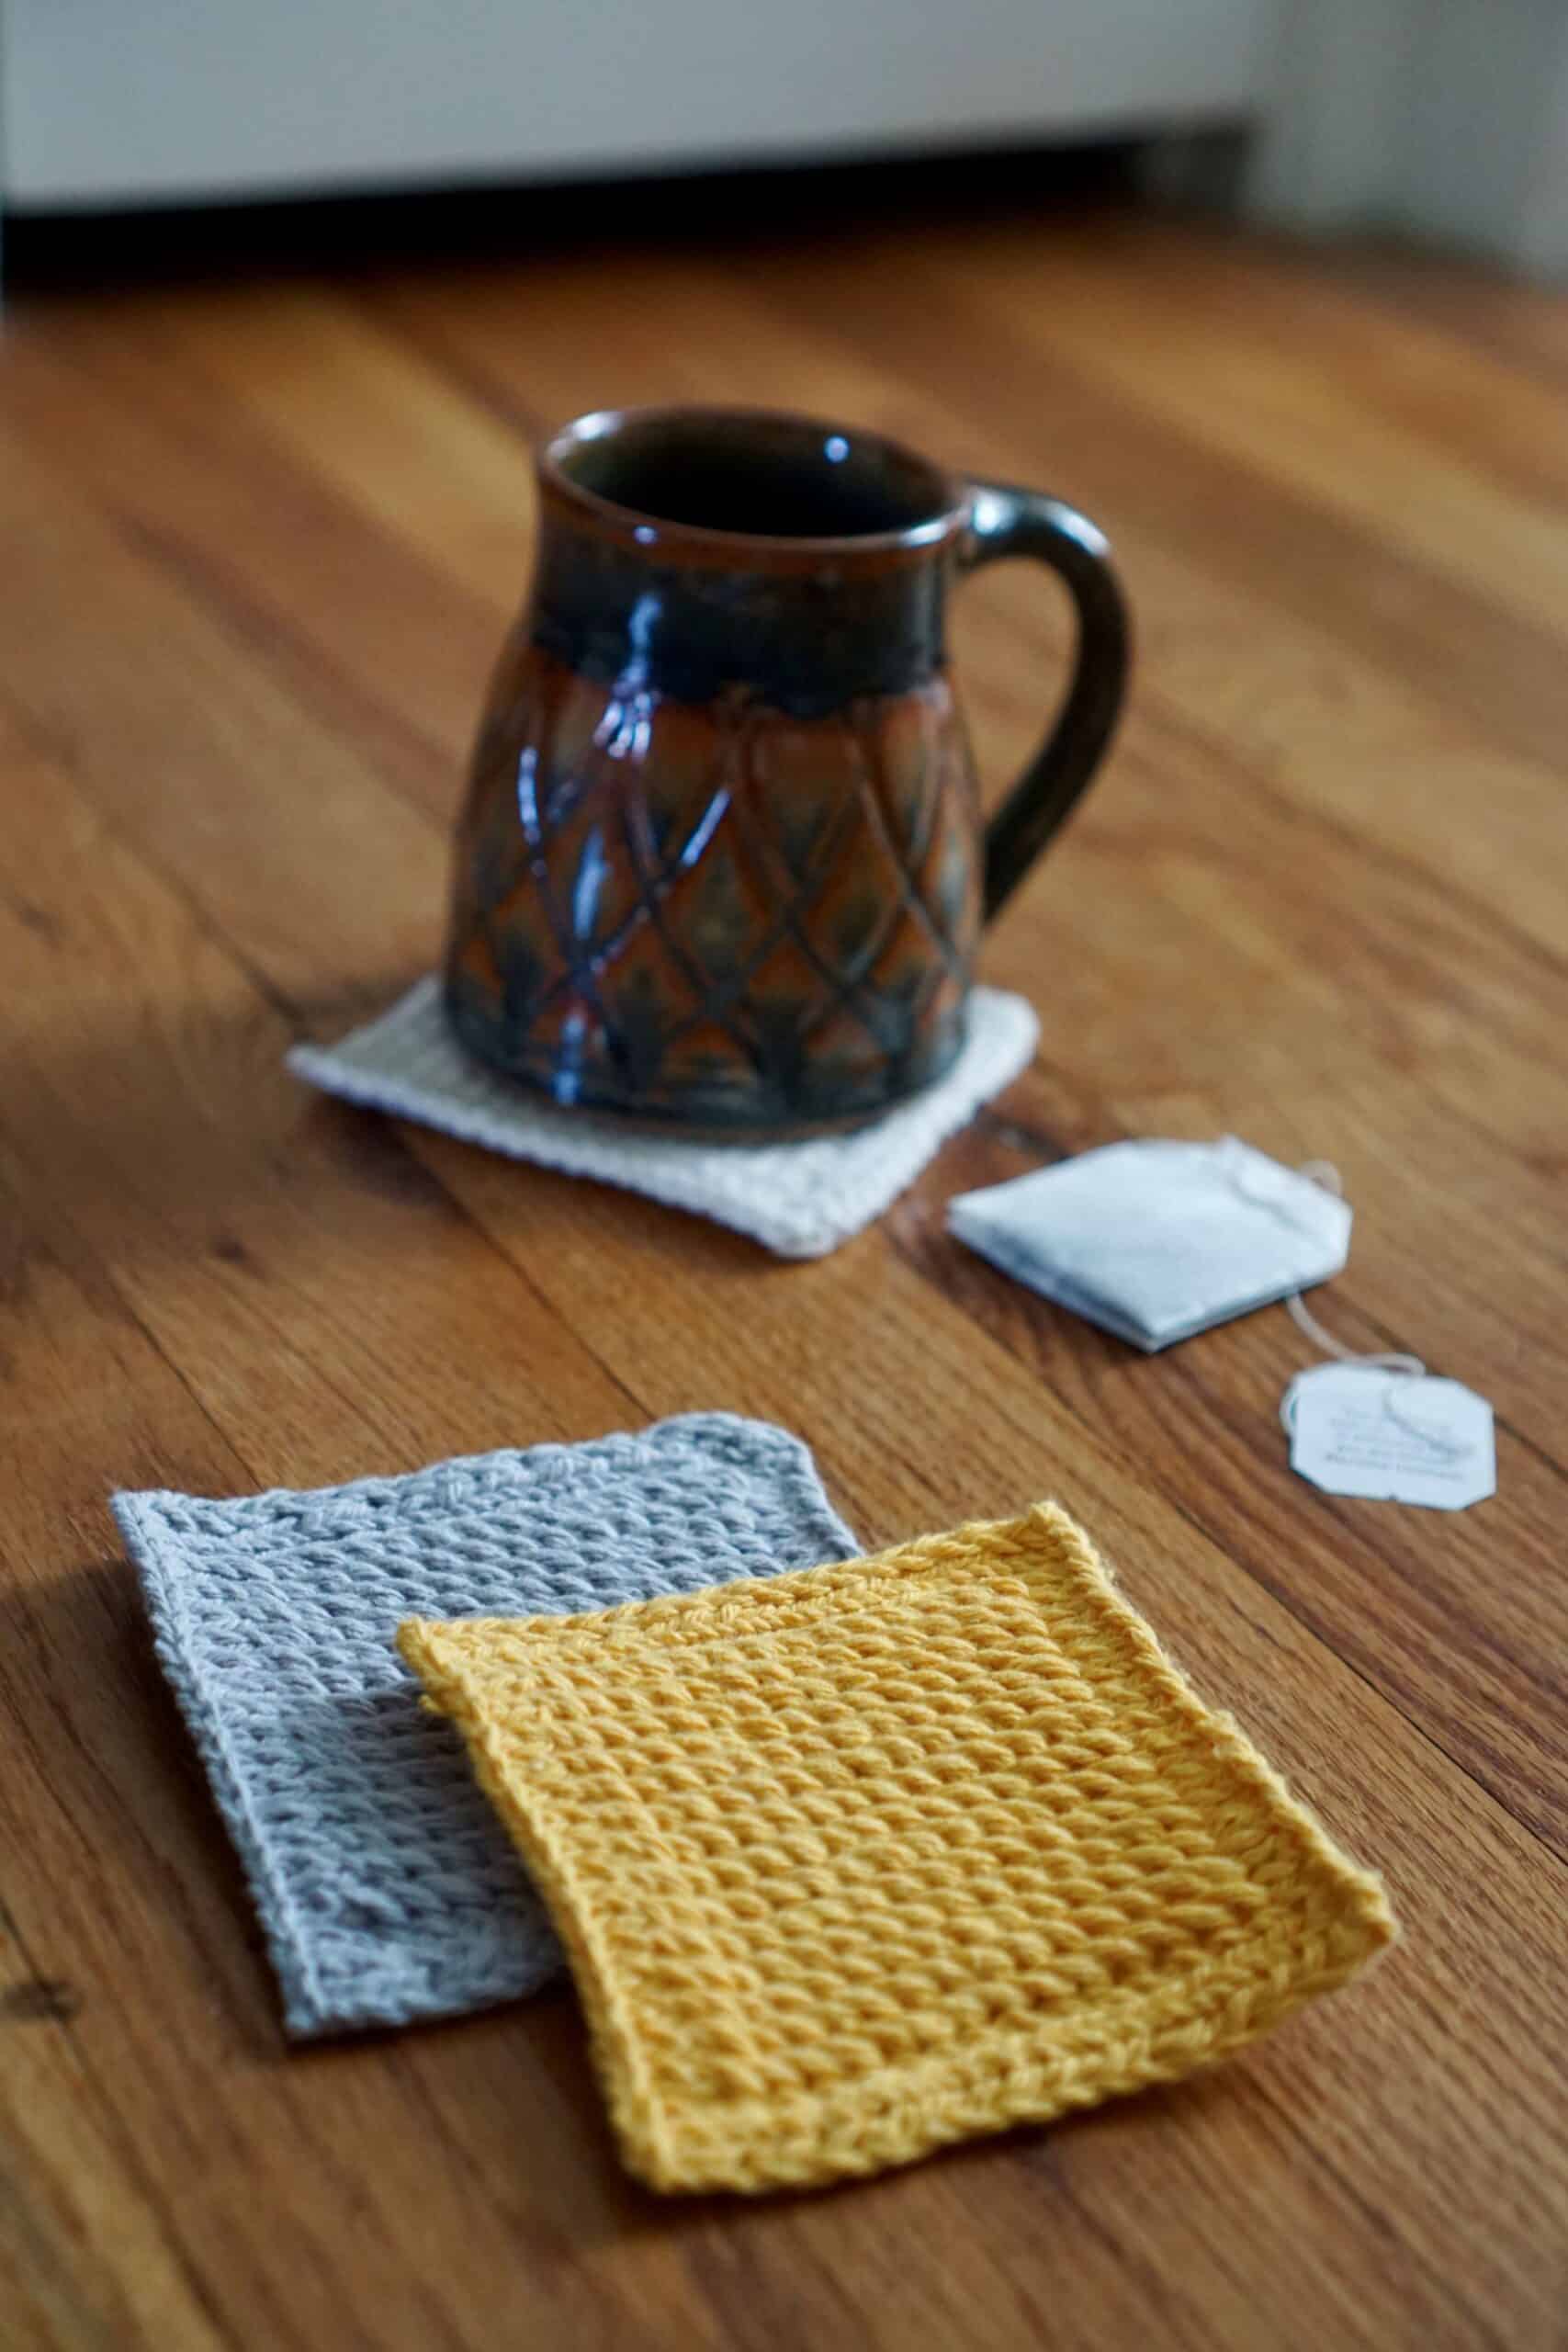
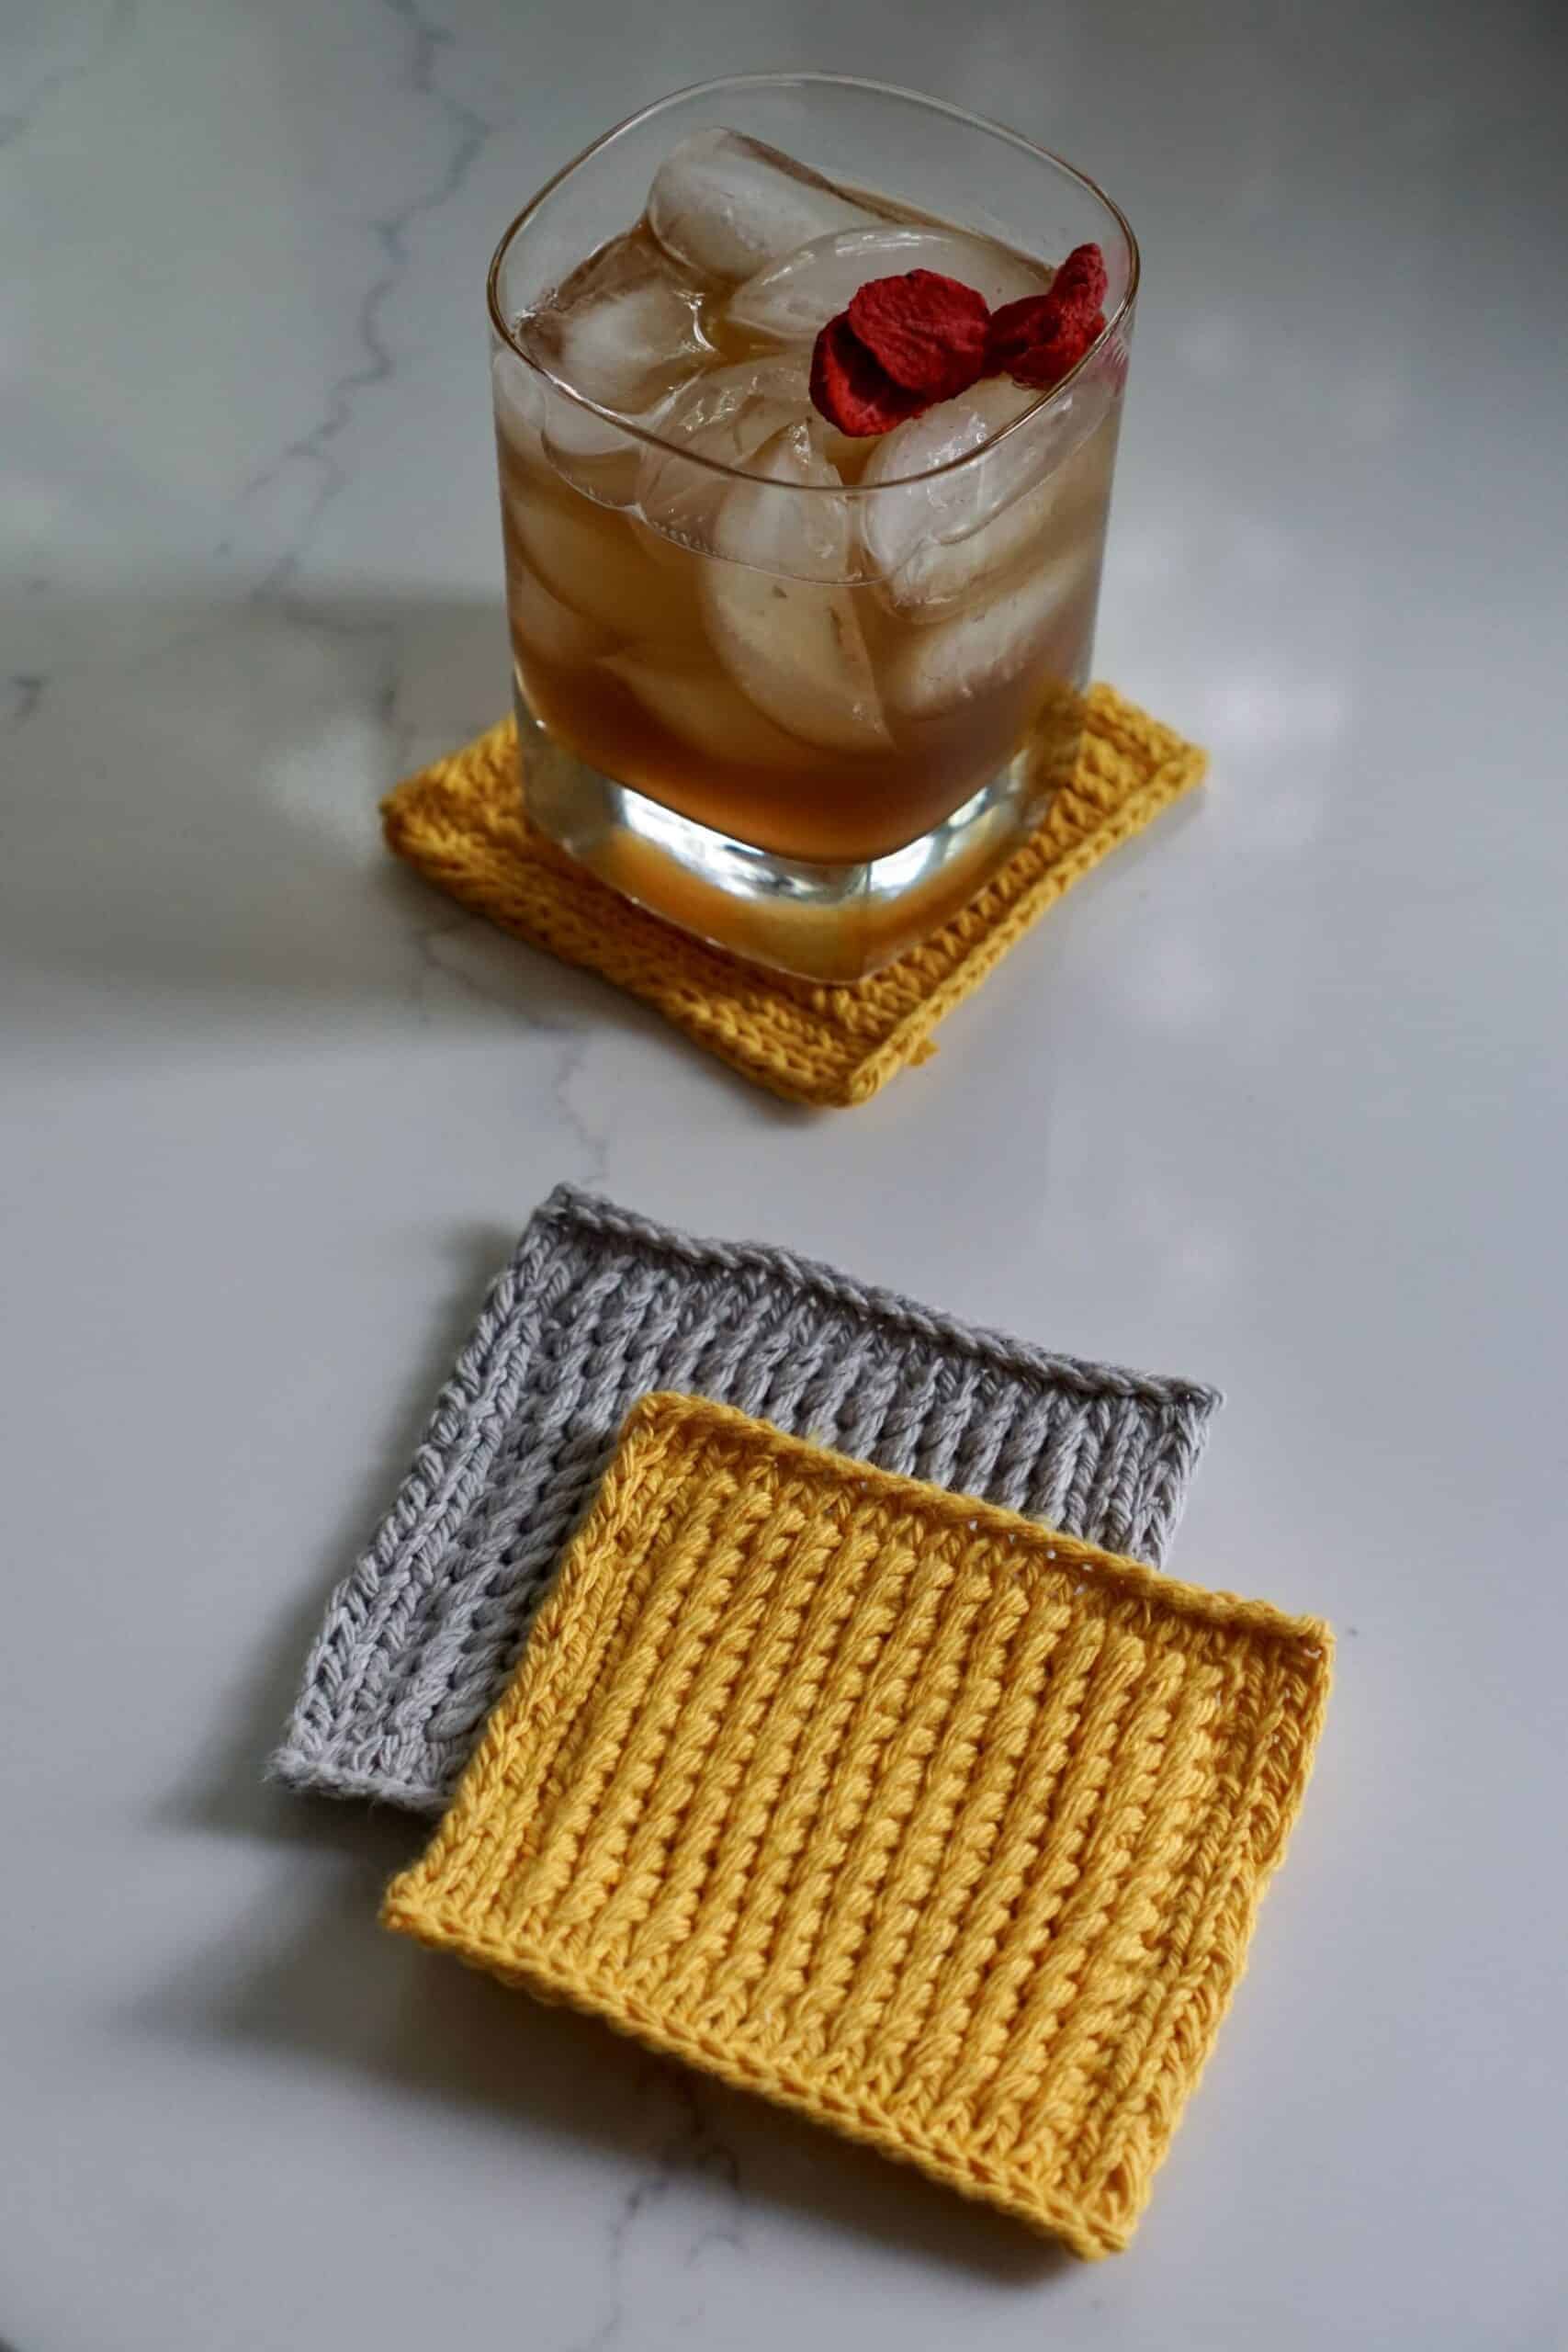
This pattern is knit flat, bottom-up and works up in no time! Pasta is a staple in my household (be it regular for my family or gluten-free for me) and the stitch that the twisted knitting stitch creates makes me think of the spirals of Fusilli pasta that my son adores. My Fusilli Coaster creates a dense fabric perfect for protecting your table from hot or icy drinks alike. I hope you enjoy this pasta-inspired coaster just as much as I’ve enjoyed creating it!
Method:
Knitting
Skill Level:
Beginner
Materials
- Less than 1 skein of Lion Brand ReUp yarn (100% Recycled Cotton). Each skein is 117 yds (107m). You will need about 8 yds (7.5 m) of your CC and 82 yds (75 m) of your MC to complete one washcloth. This yarn is on the lighter side of worsted, so when substituting make sure to check your gauge.
- US 6 (4.0 mm) Knitting Needles – Art. No 3016/24-06
- Tapestry Needle Set (Bent Tip) – Art. No 219
- Mini Patchwork Scissors – Art. No 493/CW
Finished Size
- Height: 3.75″ (9.5cm)
- Width: 4″ (10 cm)
Gauge
20.5 sts + 31 rows = 4” (10cm) in pattern
Abbreviations
- CO cast on
- k knit
- p purl
- sl1p slip one stitch purlwise
- wyif with yarn in front
- wyib with yarn in back
- p2tog purl two stitches together
- TK Twisted Knitting Stitch
- BO bind off
- st(s) stitch(es)
Twisted Knitting Stitch Explanation
- Place the right-hand needle in-between the next two stitches on your left-hand needle in the row below your current working row
- Yarn over your right-hand needle and pull up a loop keeping it on the right-hand needle
- Slip the next stitch from your left-hand needle to your right-hand needle purlwise
Check out my Youtube videos for a step-by-step tutorial:
Twisted Knitting Stitch Video Tutorial: https://www.youtube.com/watch?v=390wdsWRno8
Fusilli Coaster Pattern
Notes on tension: I recommend knitting all the k and p stitches with tight tension on the right and wrong sides of your work. When you are pulling up loops in the twisted knitting stitch, I recommend very loose tension. And finally on the wrong side of your work, I recommend doing the p2tog stitches with tight tension, as well. This helps decrease the tendency of the stitch to curl your finished object.
Long-tail CO 20 sts
Row 1: sl1p wyif, p to end of row
Row 2: sl1p wyib, k to end of row
Row 3: sl1p wyif, p to end of row
Row 4: sl1p wyib, k2, *TK, repeat from * to last 3 sts, k3
Row 5: sl1p wyif, p2, *p2tog, repeat from * to last 3 sts, p3
Repeat Row 4 and Row 5 thirteen more times.
Row 30: sl1p wyib, k to end of row
BO purlwise
Weave in all your ends and block your coaster. I recommend wet blocking these coasters as it helps them lay down flat.
And you are done! I hope you enjoyed making this coaster as much as I enjoyed designing it! Don’t forget to follow Frosia Knits on social media for more updates and to share your finished projects tagging @FrosiaKnits and with the hashtag #FusilliCoaster!
Find Frosia Knits on Instagram | Pinterest | Etsy | Ravelry | Facebook | Youtube
This pattern is free but you may also purchase the inexpensive PDF file in my Etsy shop for easy printing and reading. If you’d like a printable version of the pattern, you can find that here.
All photos and instructions in this pattern are the property of Frosia Knits. Do not publish or share this pattern as your own. You can sell the items you make from this pattern by crediting Elise Ljiko from Frosia Knits, linking to my Etsy site, and using your own photos.
Stay connected with Clover on Facebook | Twitter | Instagram | Pinterest | YouTube | Ravelry