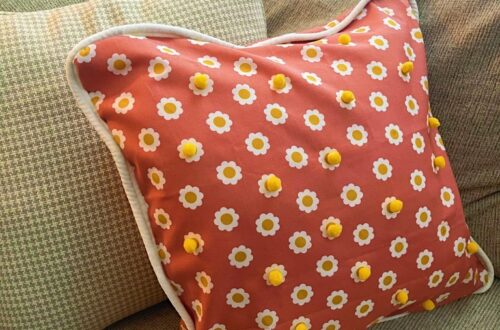
Crochet a Beaded Bracelet

I’ve been very interested in experimenting with crochet beading lately. I have been incorporating beads into my work for a few months now, and it was only a matter of time before I started pulling it into my comfort craft. Many crochet beadwork projects use small seed beads in intricate patterns. I have no doubt that I’ll graduate to those patterns one day, but larger supplies are always helpful in learning the basic concepts of a new skill, which is why I’ve created this beginner-friendly bracelet! This pattern is geared towards the absolute beginner and can be easily modified in length to create a necklace. in making this bracelet, you will also walk through all of the steps that you would with a more traditional beaded crochet pattern, meaning that after you work it, you will be ready to create more intricate crochet jewelry!
Let’s get started
Supplies:
- Patchwork Scissors (Mini) – Art. No 493/CW
- Swift Bead – Art. No 2300
- Darning Needle Set – Art. No 339
- Clover Amour Crochet Hook (Size F/3.75 mm) – Art. No 1044/F
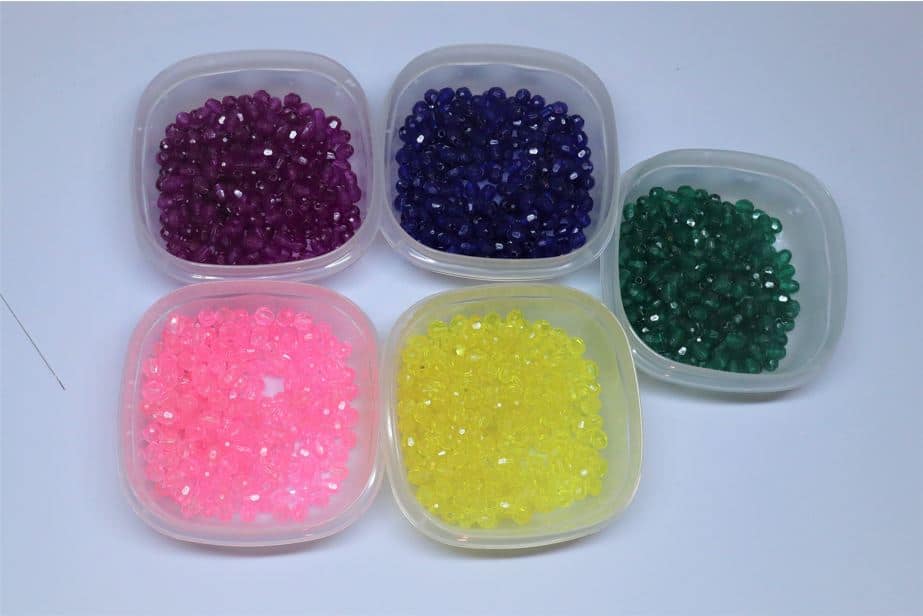
- 6mm-8mm Faceted Beads in 5 colors (300+ Beads in total)
- Size #3 Crochet Thread
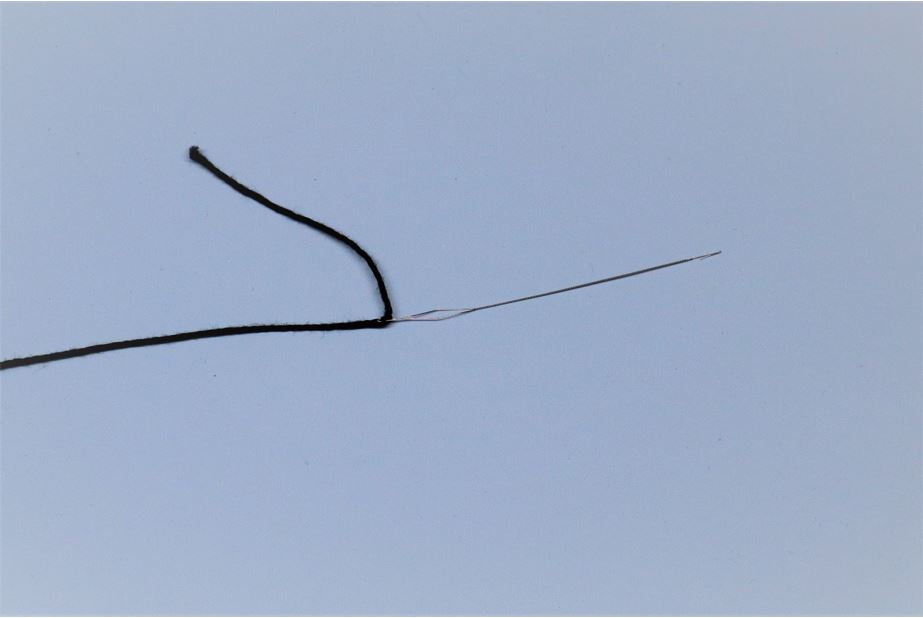
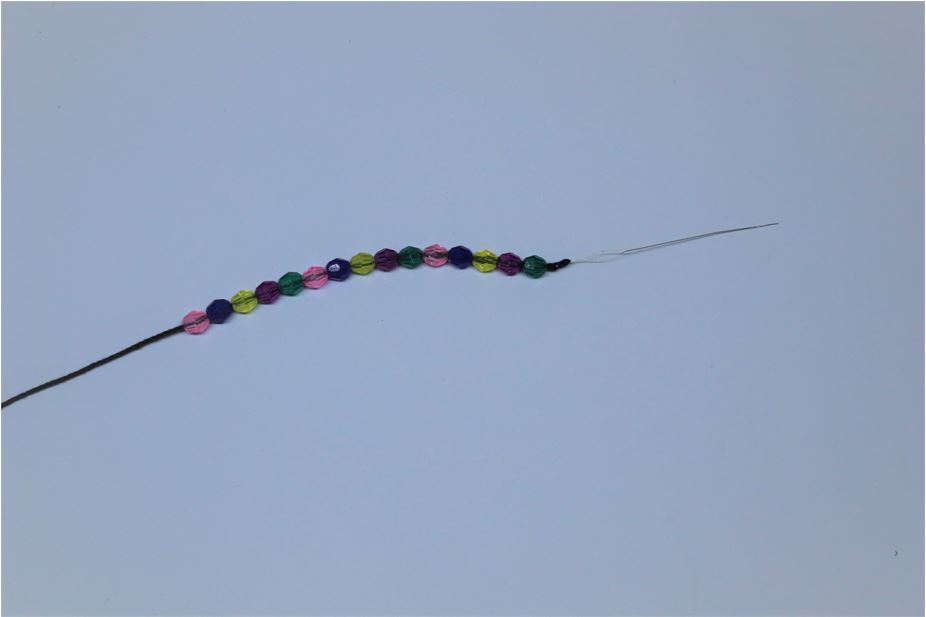
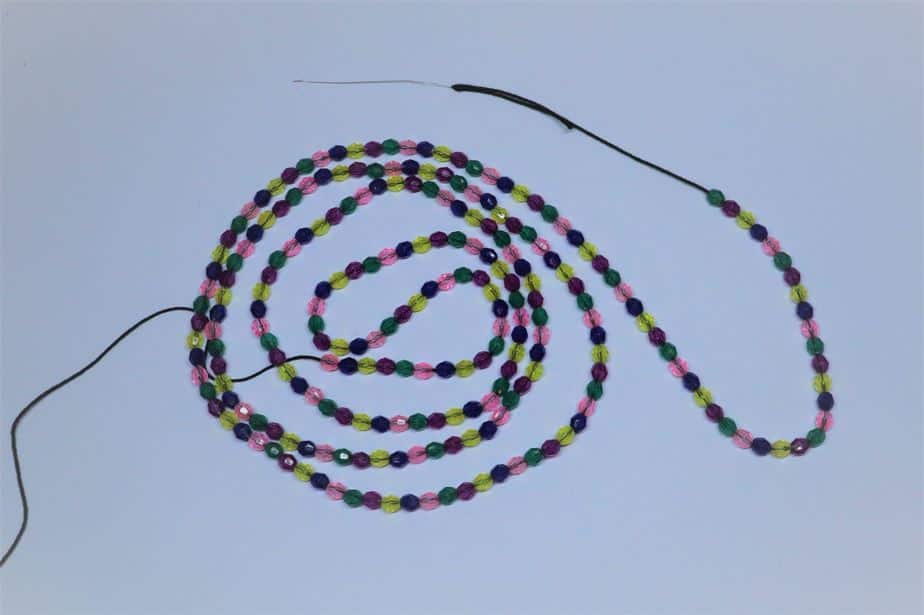
String Beads:
To begin, thread the swift bead needle onto your crochet thread. Pull 3-4 yards of thread off the roll for ease. It is helpful to separate out your beads by color beforehand. With your swift bead needle, string 5 beads in your choice of color striping. (In my case the stripe pattern is pink, blue, yellow, purple, green.) Continue stringing beads in this striping pattern. Depending on the length of your intended piece, you may need to string anywhere from 300-500 beads for a bracelet. My bracelet measures about 10” in circumference, and I used 420 beads. I recommend stringing on at least 20-30 more beads than you think you will need just in case, as it’s difficult to add beads after running out.
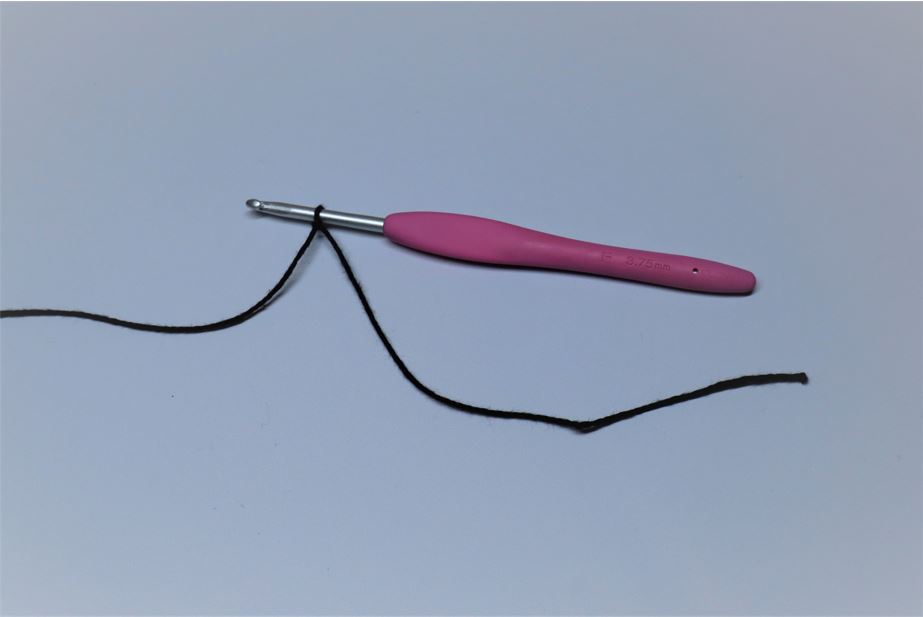
Begin Crocheting:
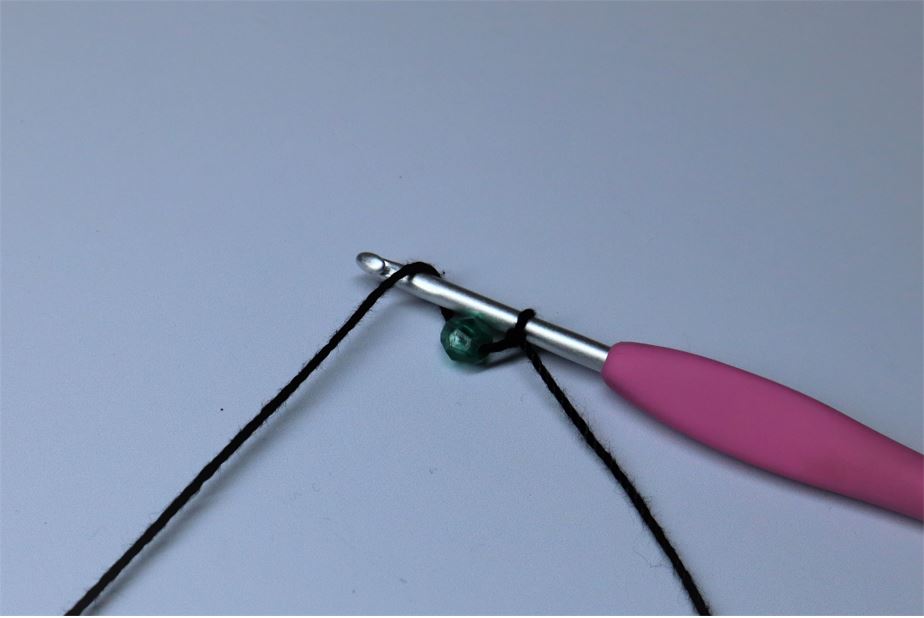
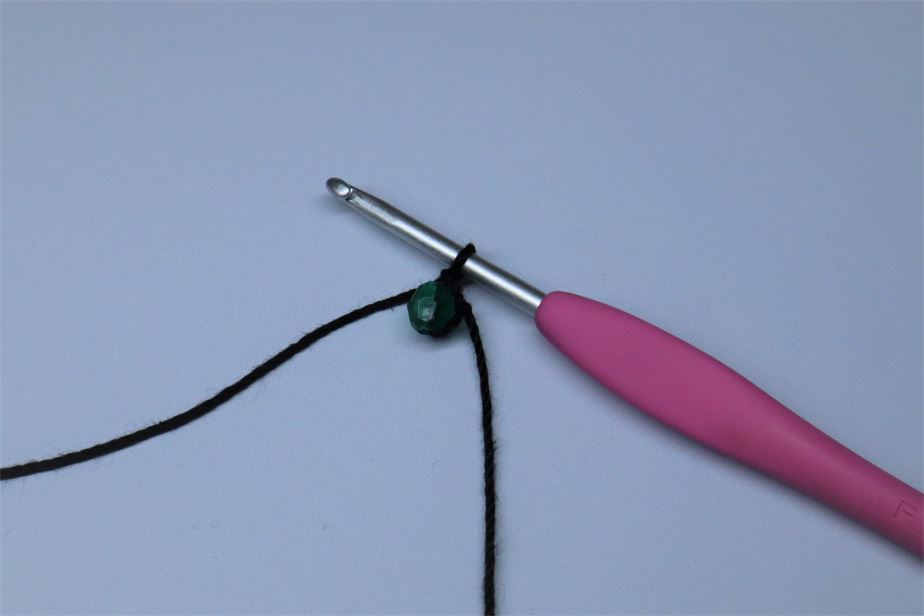
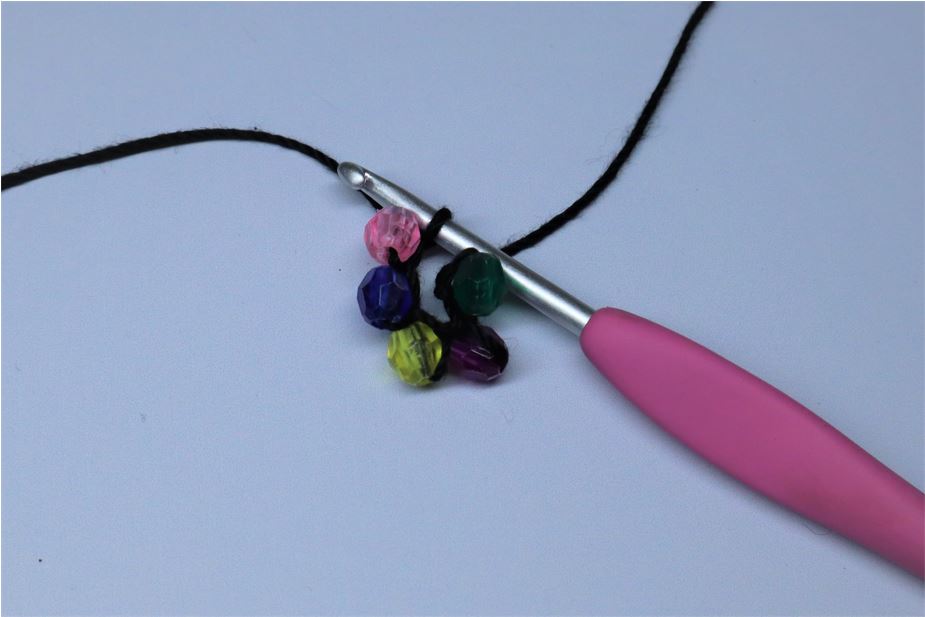
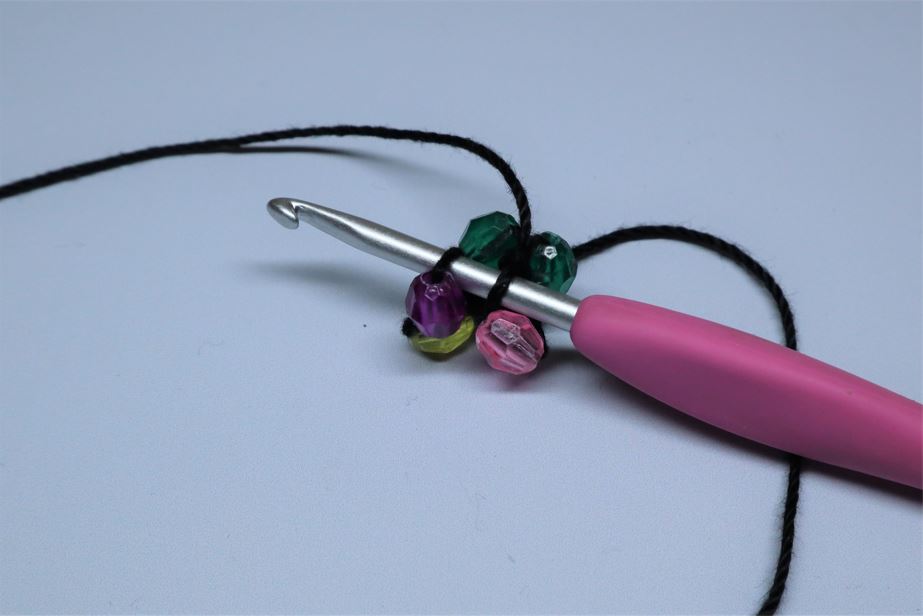
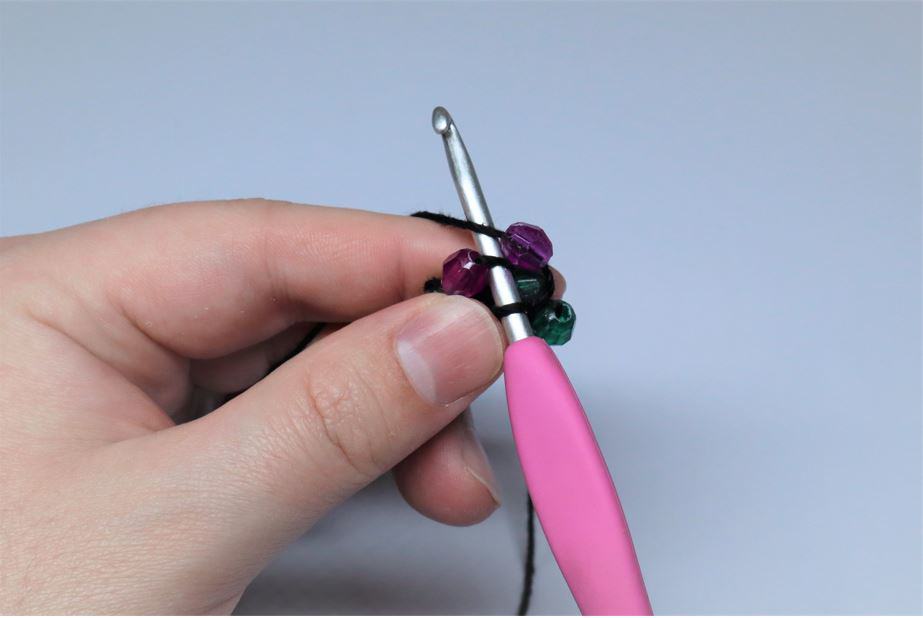
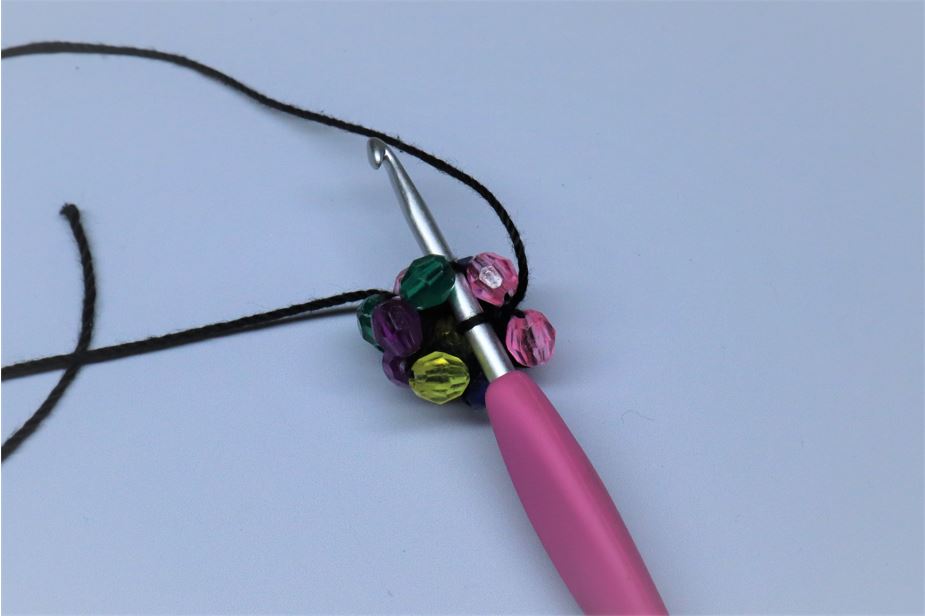
Form a slipknot around 4-5” from the tail end of your thread. Push your first bead up against your crochet hook and yarn-over with the bead being caught between the yarn-over and slipknot. Complete your first chain by pulling the yarn-over through the slipknot. Your bead will now be set within your first chain. Repeat this process four more times.

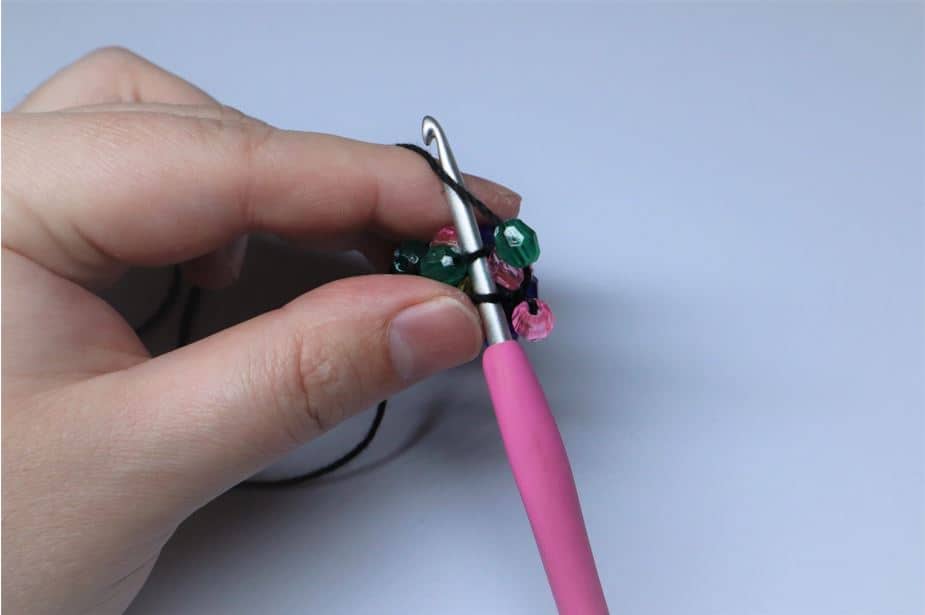
First Crochet Round:
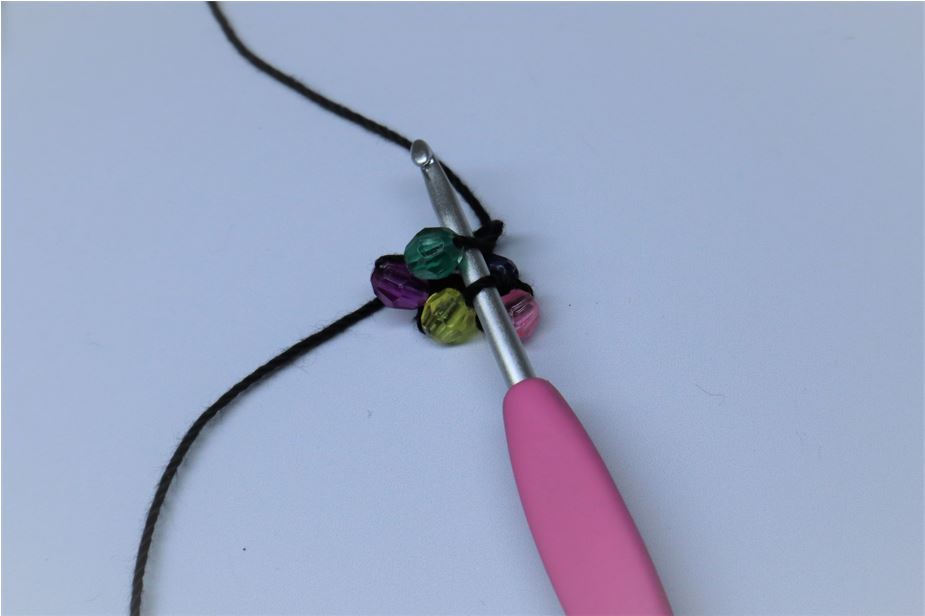
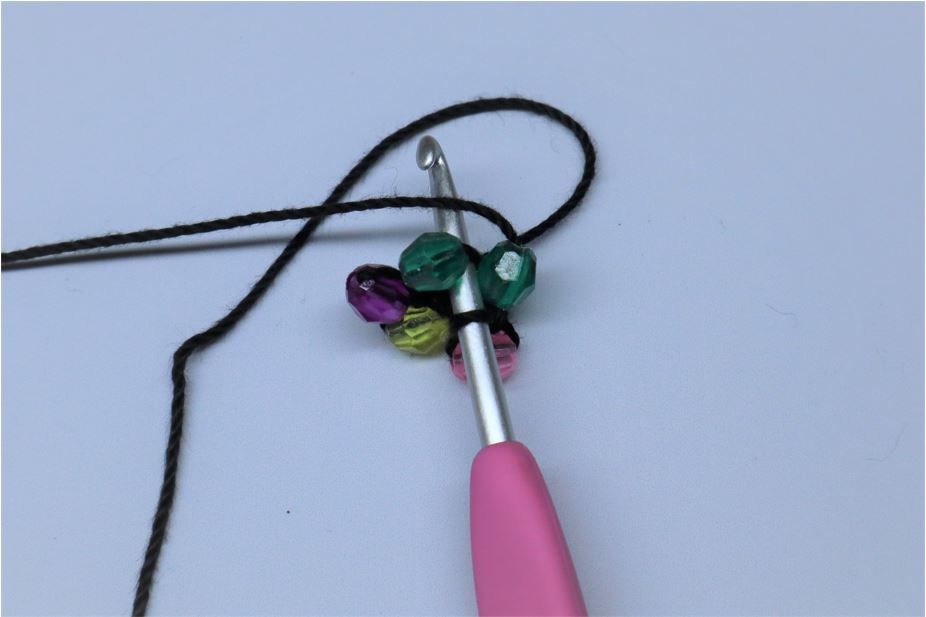
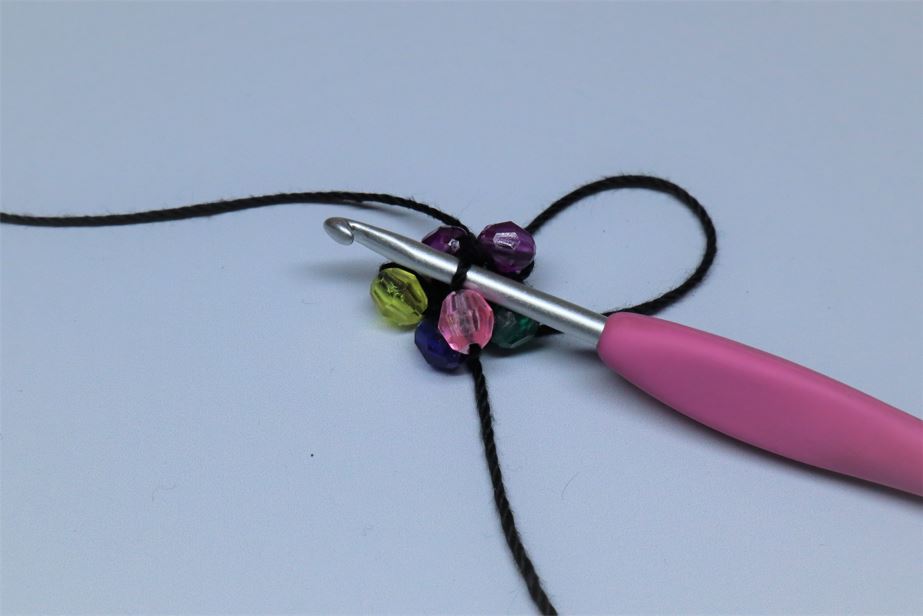
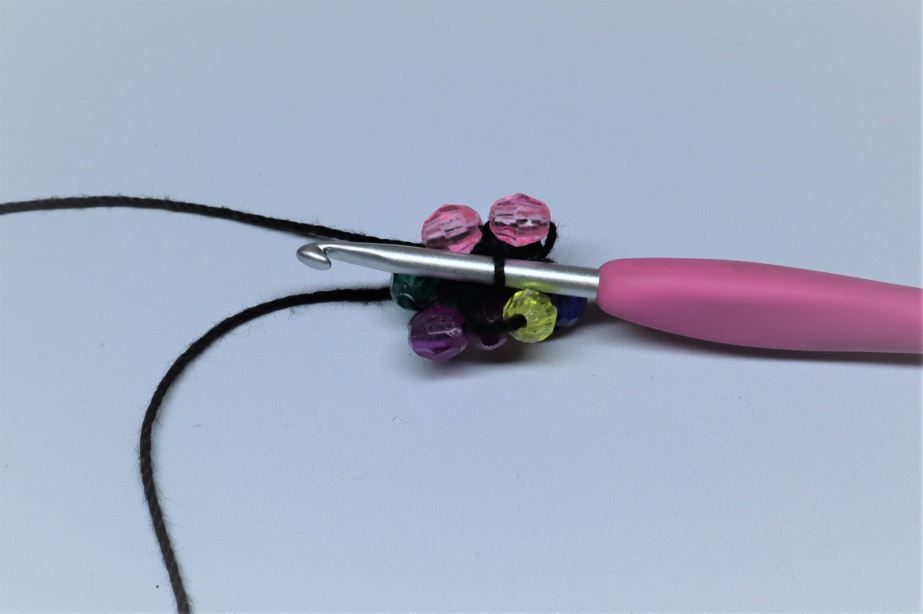
This beaded rope and all crochet beaded ropes are formed in a spiral, as opposed to individual rounds. However, it is best to look at the first round of stitches in the spiral as a round in and of itself, as it can be a bit fiddly. Don’t worry though, after a few passes around, the piece will be smooth sailing! To work the first round, insert your crochet hook between the 1st bead and chain, either to the left or right of the bead. It is easier to insert and crochet to the left of the bead, but I prefer the finished look of crocheting to the right of the bead. No matter which side you choose, however, keep it consistent. Bring the next bead from your working yarn up against your crochet hook. It should be the same color as the bead you just inserted the needle against. Yarn-over and create a slipped stitch by pulling through the chain, and the loop on your hook. Repeat this process around all five stitches.
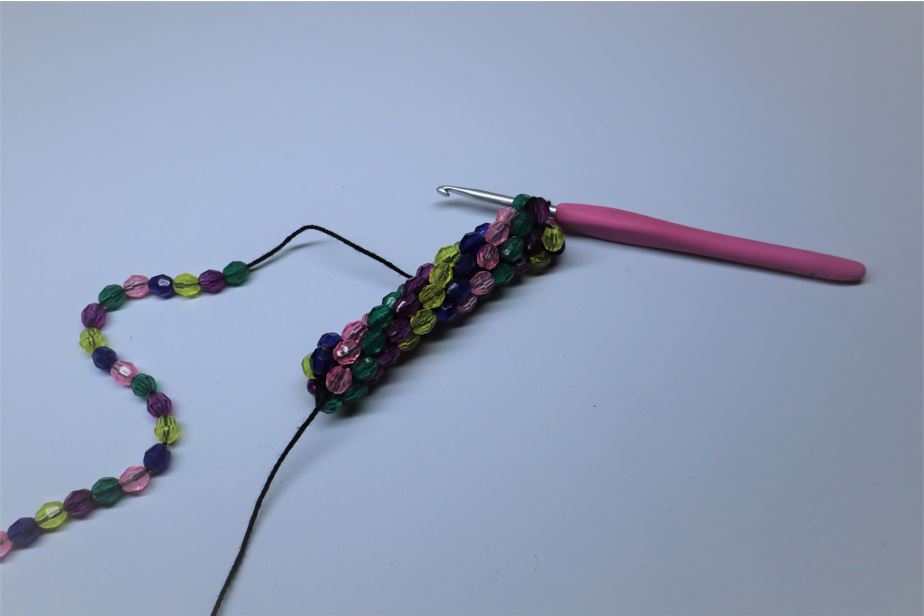
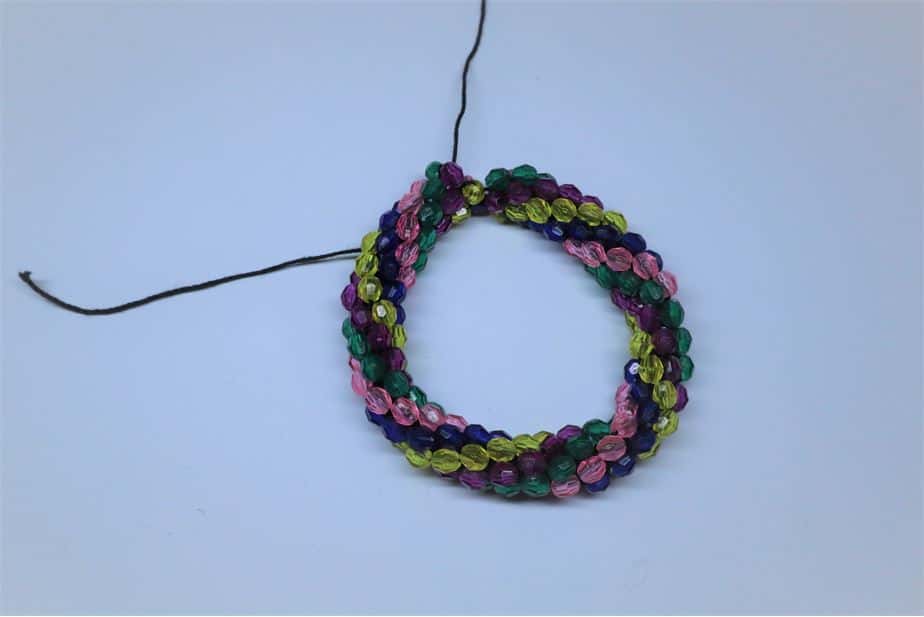
Continuing Crochet:
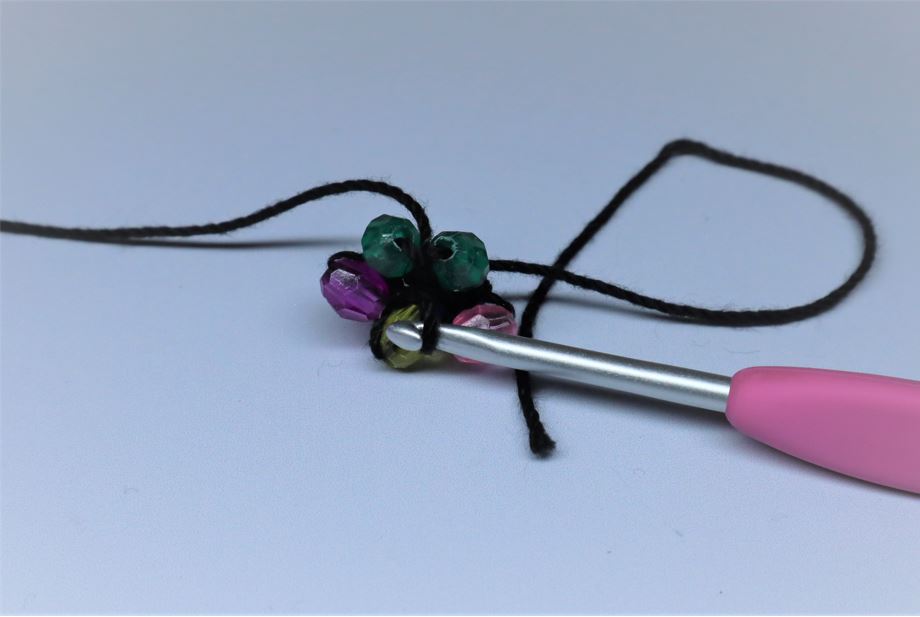
After the first round of beads, continue in the same pattern forming a long spiraled tube of stitches. After the first few rounds, the bracelet will begin to take shape. Work until you’ve reached your desired length. It helps if the intended recipient is close by to check the length against their wrist. Keep in mind that crochet beaded rope does not have much stretch, so you may need to add an inch to an inch and a half of stitches to help get the bracelet on and off easier. Once you’ve reached the intended length, you are ready to start the finishing process.

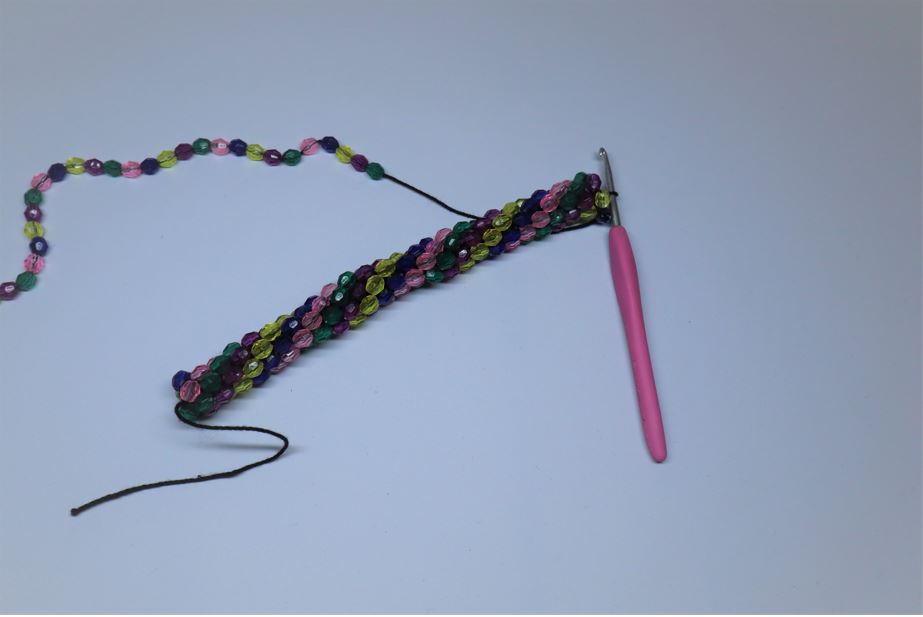
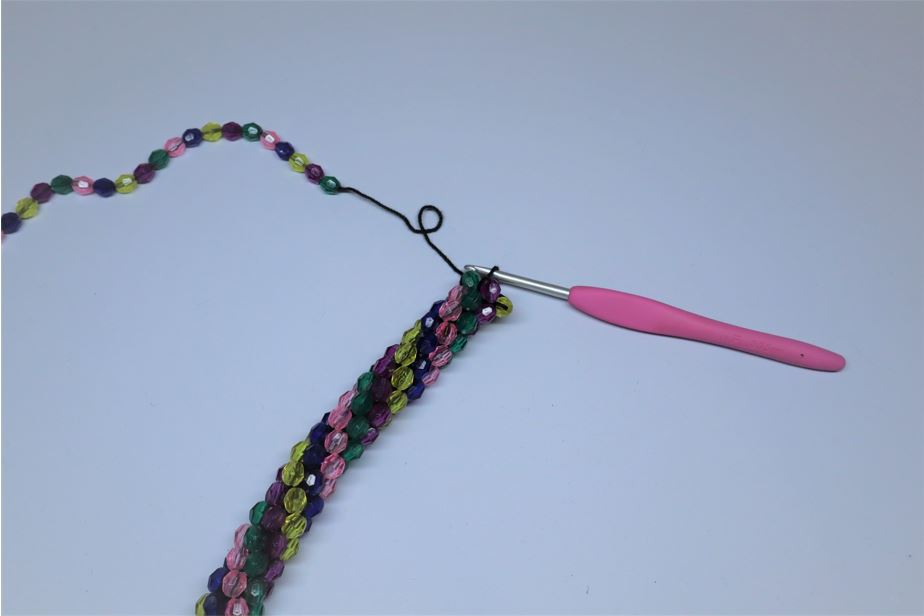
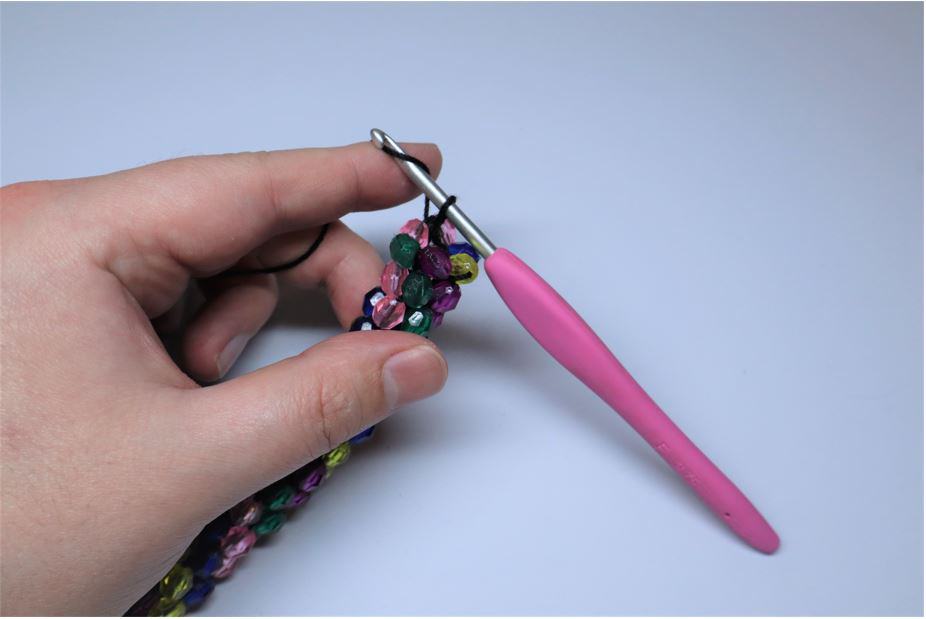
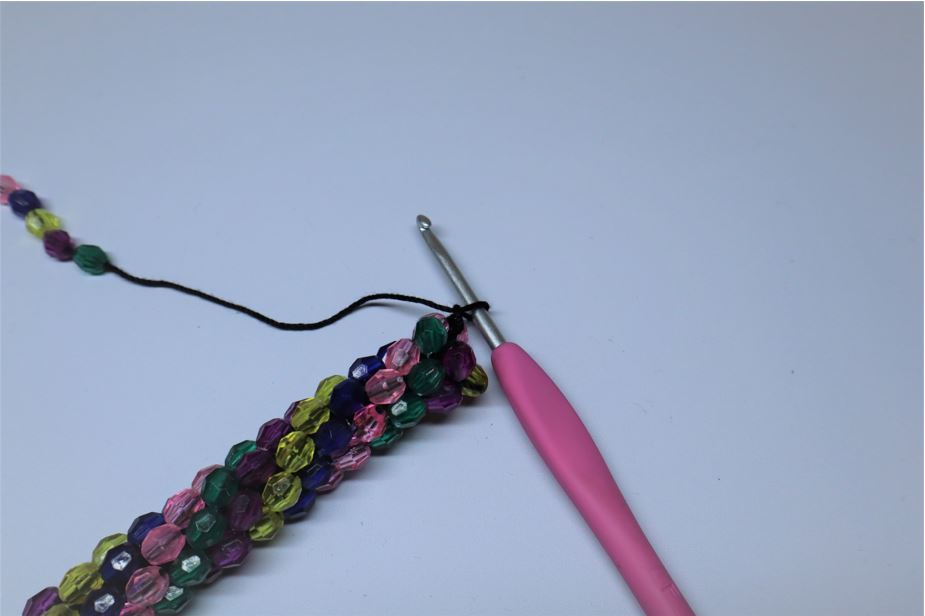
Fastening Off:
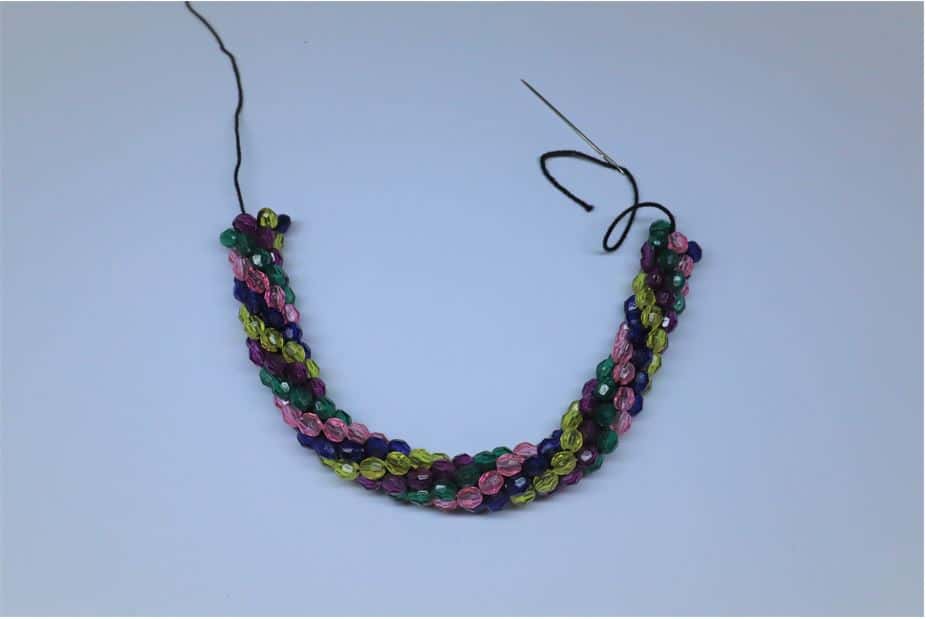
When you have reached the desired length, you must stop on whatever the ending bead in your striping pattern is. In this case, my crochet stripe pattern started with green and ended with pink, so I will fasten off after a pink bead. To fasten off, yarn over and pull through the loop on your hook with no bead between the stitch. Cut the thread to about 10” and tug the loop on your hook to pull the tail end completely through.
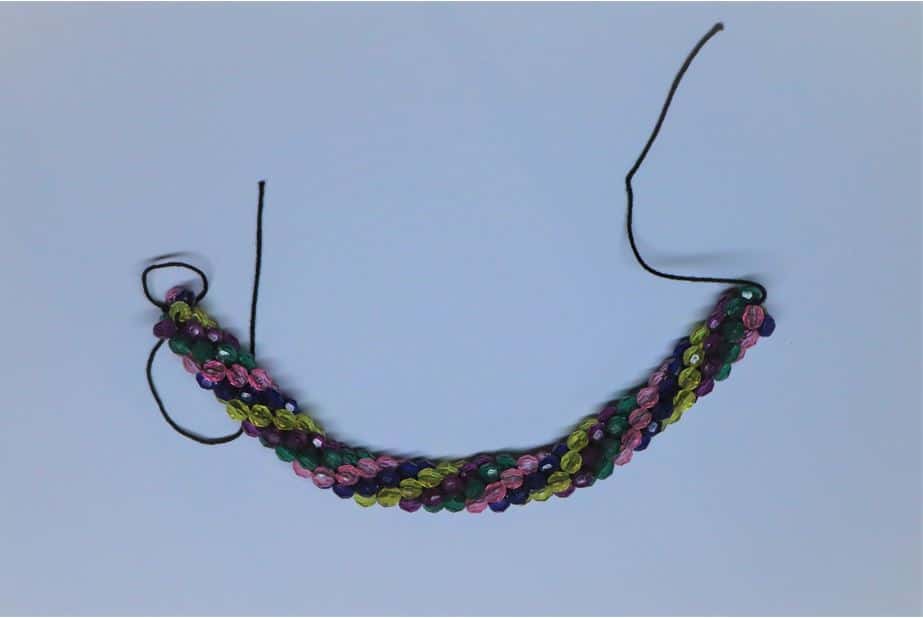
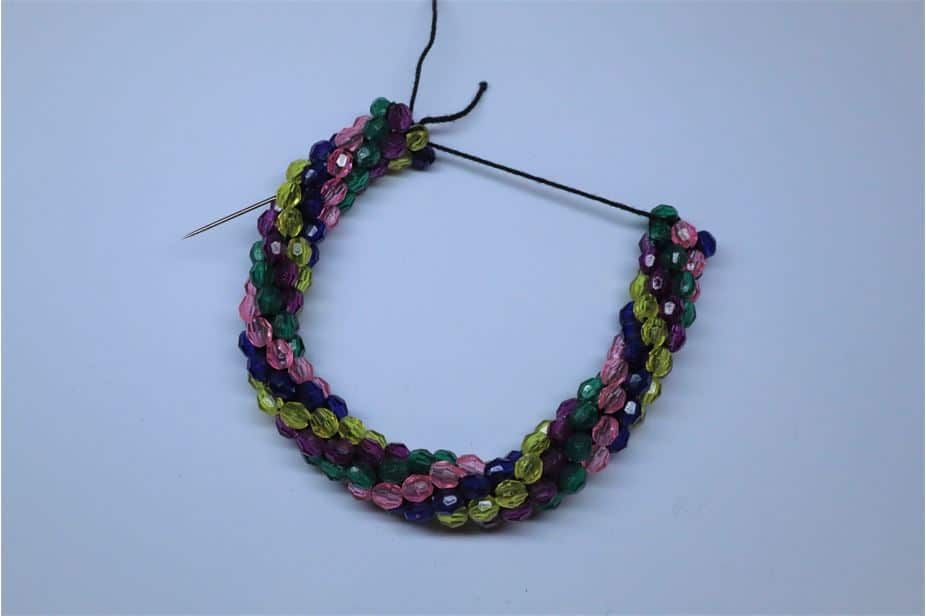
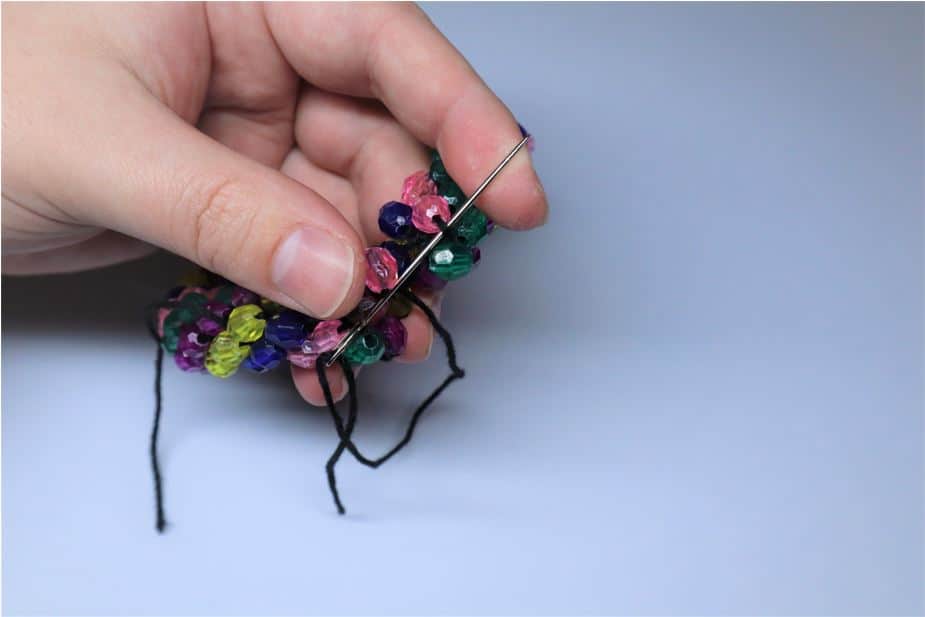
Finishing Setup:
To set up your finishing and make it easier to manage, thread the starting tail onto your darning needle and pass the threaded needle through the opening of the tube on the other side of your work. At about 1 1/2-2” in, pass the needle through from the inside of the tube to the outside. Take the needle off of the tail, and pull the tail to adjust the bracelet and bring both ends closer together. Twist the ends in the direction of the striping until the colors of beads match up.
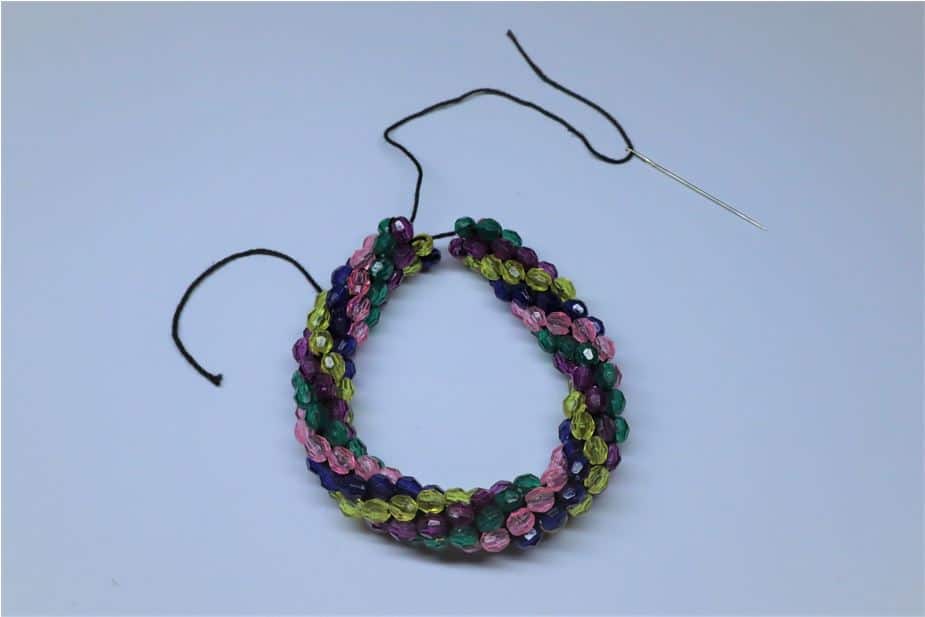
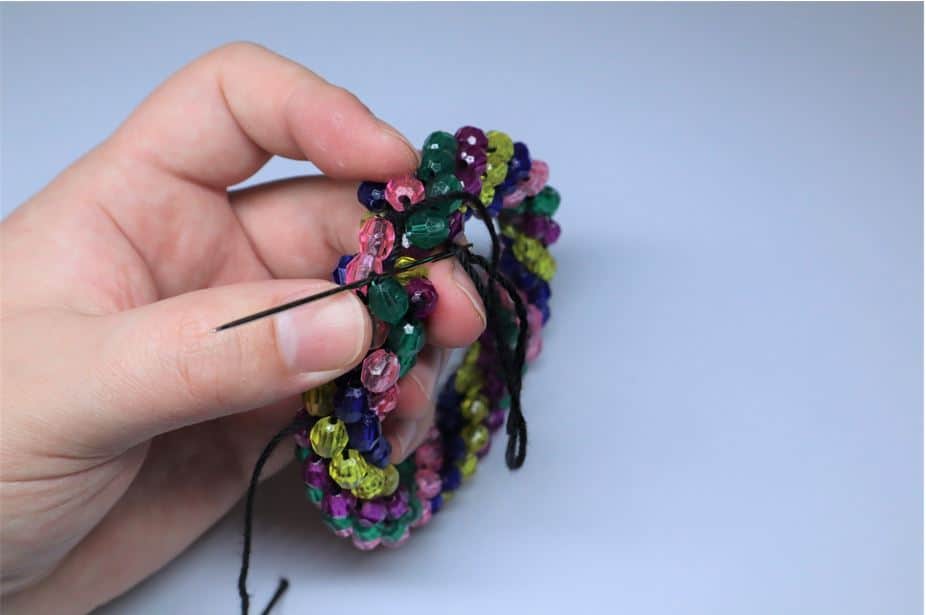
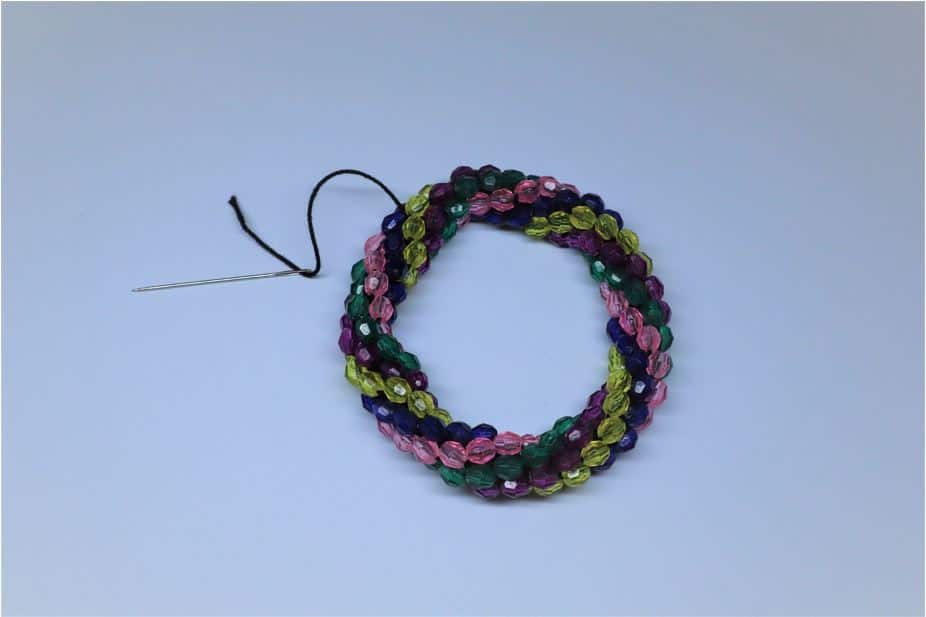
Finishing:
Thread your longer tail end onto the darning needle. We will be using the locking mattress stitch to invisibly seam our bracelet closed. To do so, pass your needle through the closest stitch on the starting end of the tube from the inside of the tube to the outside. After, pass the needle through the finishing end of the tube in the adjacent stitch from the inside of the tube to the outside. Repeat this process around the tube. After finishing, weave both tails into the middle of the tube and cut off the excess tail.

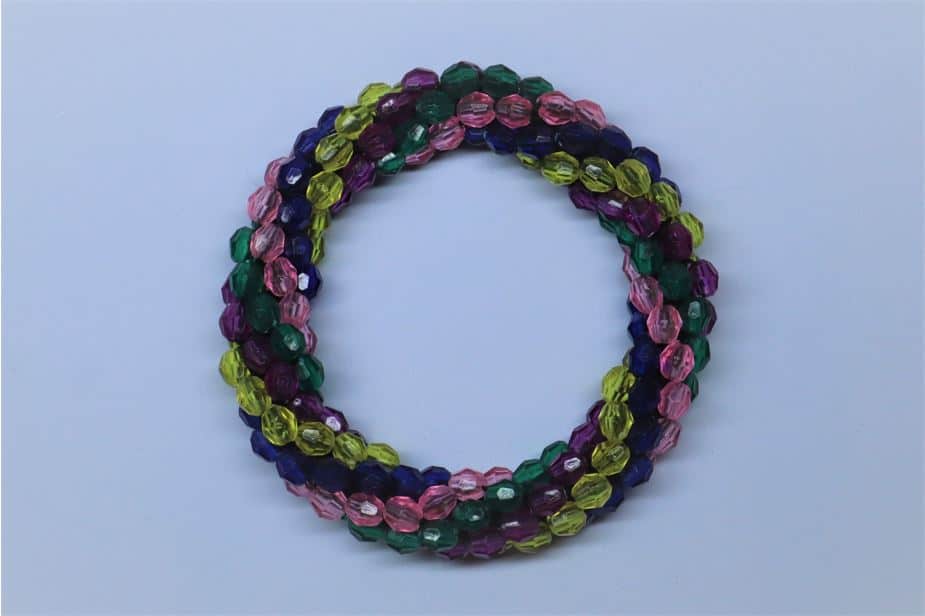
We’ve completed our beaded bracelet! Now you will have a beautiful piece of costume (or if you’re like me, everyday) jewelry to be treasured for years to come. With your own personal style in bead and color choices, this bracelet will be perfectly you and bring your personality across to a lasting project. Be sure to tag Clover and me in your finished bracelets, we’d love to see your take on it!
Follow what Quayln is up to next on his Blog | Instagram | Facebook | TikTok | YouTube | Ravelry
Stay connected with Clover on Facebook | Twitter | Instagram | Pinterest | YouTube | Ravelry