Retro Wavy Checkerboard Pillowcase- Tutorial
In the spirit of National Sewing Month, I love that I am now able to draw inspiration from things I’ve seen and think about how I could craft my own version of them and turn these visions into reality. Lately, I’ve seen many trendy prints with this checkered pattern and thought I’d make something similar to accessorize my living space with a fun pop of color. Thus, enter the retro wavy checkerboard pillowcase…
![]()
What you’ll need:
- Pillow insert (I used a 16”x16” pillow insert)
- ½ yard of 2 colors of cotton fabric for body of pillow
- ½ yard of organza fabric for floral embellishment
- Matching thread
- Clover Kanzashi flower maker – small orchid- Art No. 8486
- Clover 2 Point turner- Art No. 7803
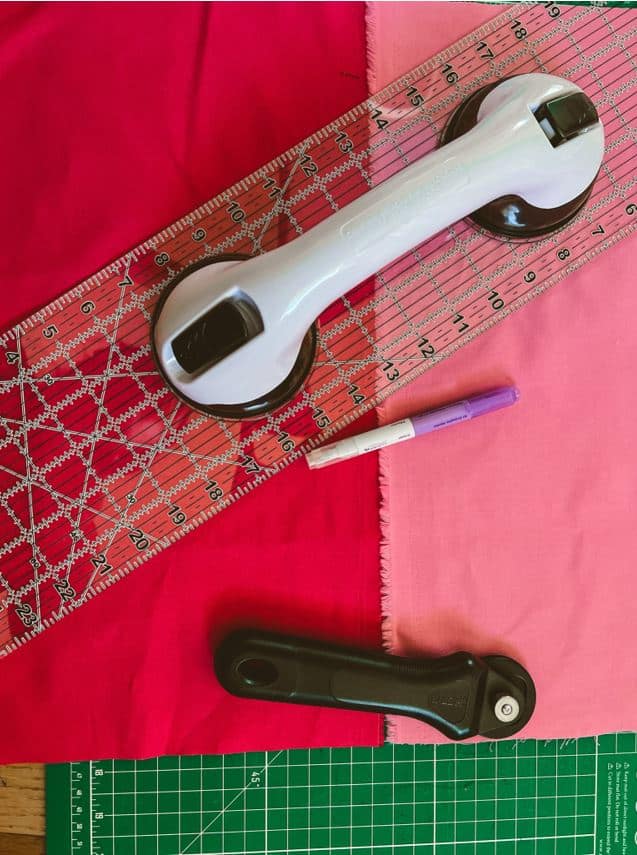
- Ruler
- Cutting mat
- Rotary cutter
- Clover ” I sew for fun” roll and press- Art No. 9612
- Clover Air Erasable Marker- Art No. 5032
- Pinking shears
- Fabric scissors
- Clover Wonder Pins- Art No. 3210
- Interfacing (Optional – for button)
- Button (Optional)
Directions:
Note: Seam allowance is 1cm unless otherwise specified.
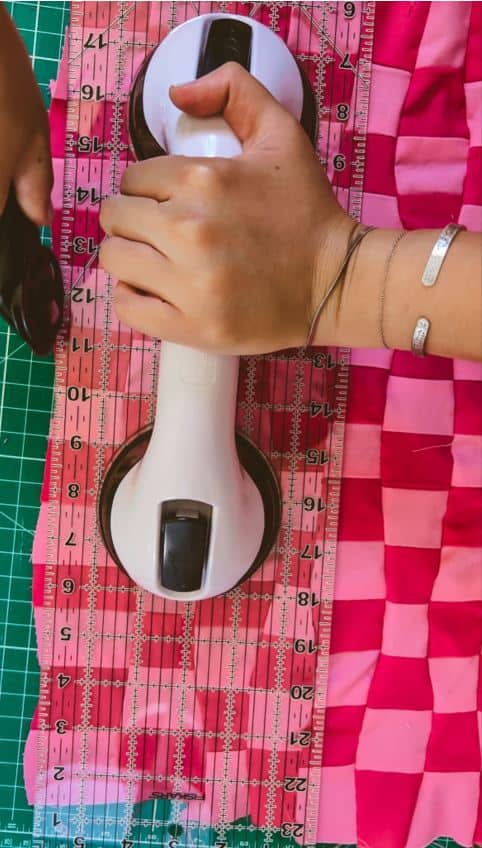
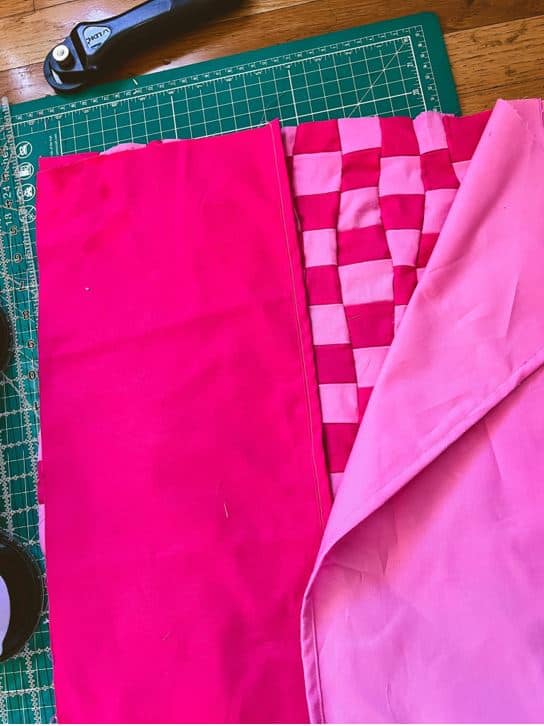
Step 1: For this project, start with your main body pillowcase fabrics folded in half lengthwise and measure out 2” strips from each of the two colors. To aid in this, use a fabric marker as a guide. Cut out these strips. I ended up cutting 7 strips of each color.


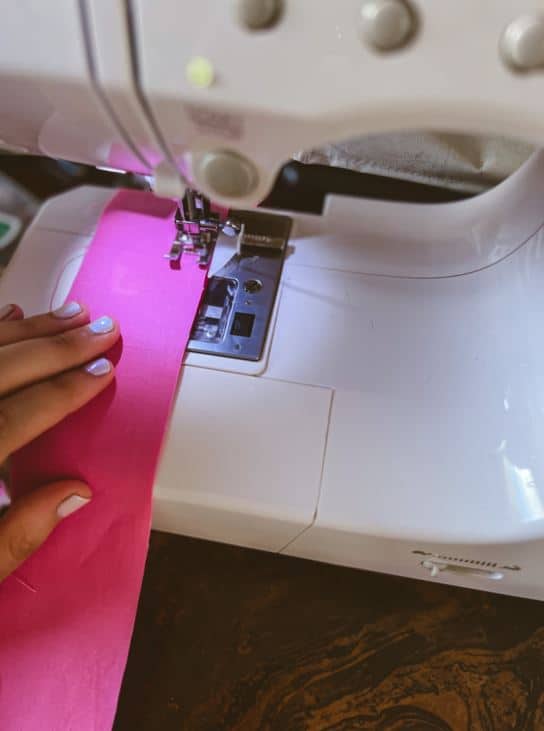
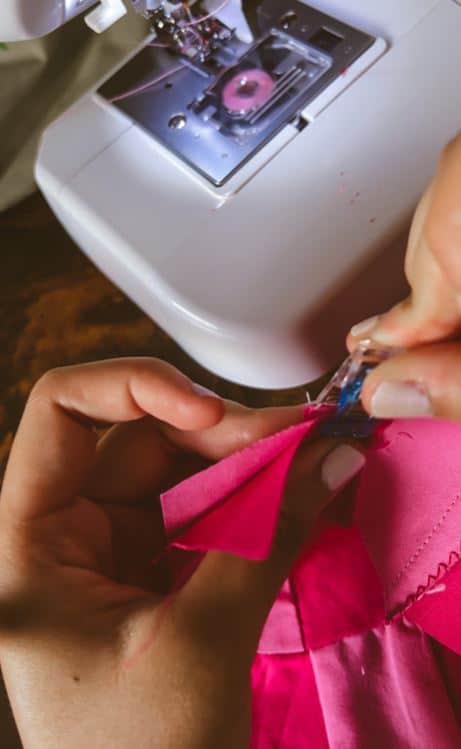
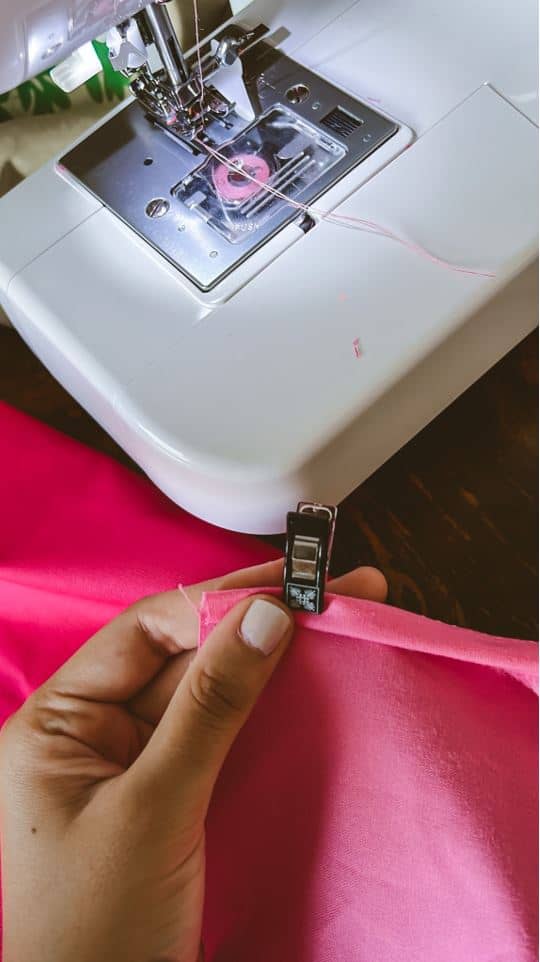
Step 2: Take a strip of Color 1 and sew it with a straight stitch to a strip of Color 2 down the long side. Continue to sew the remaining strips together in alternating colors.

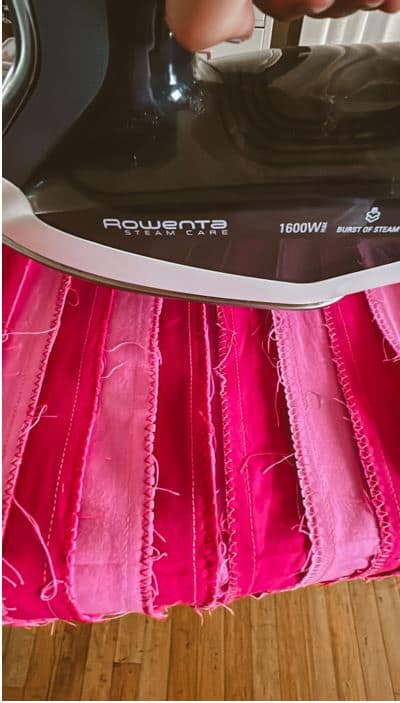
Step 3: Finish the seams with your preferred method; here, I chose to zigzag. Then press the seam allowances with an iron or seam roller to help them lie flat.
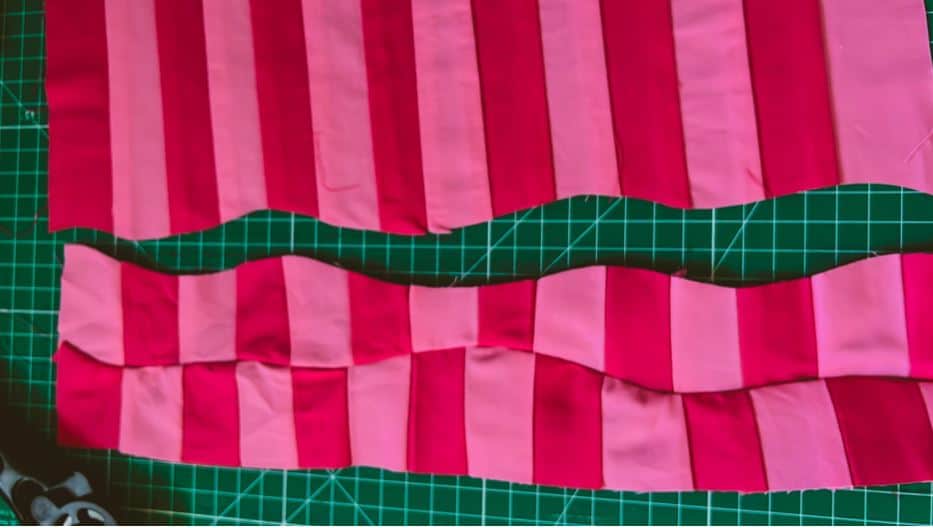
Step 4: Next, square off the edge so there is a nice clean side and cut out a freehand wavy design using a rotary cutter at whatever width you’d like. Keep in mind that the wider the wavy strip becomes, the fewer strips you’ll need altogether to sew the pillowcase. Align the first wavy strip with the body of parallel strips so that the straight edges match up and the wavy strip colors alternate with the main body colors (you may need to flip the wavy strip to the wrong side to accomplish this). Follow the wavy template and cut with a rotary cutter.
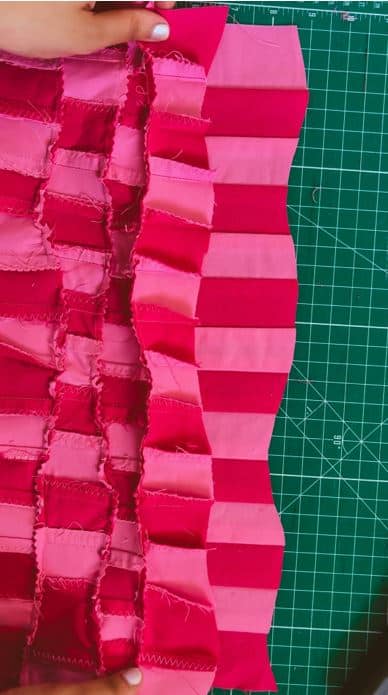
Step 5: It’s up to you how you’d like to proceed, but I chose to sew strips together one by one and then cut out the next wavy strip so that I didn’t get confused with which side to flip, etc. Sewing curves is a little tricky, so just be sure to pin or clip in abundance if you need to. Make sure that the seam allowances of the working wavy strip are pressed to the opposite side of the main body to help them lie flat. Essentially, you will just be repeating the process of cutting the next wavy strip and sewing it together with the main body until you reach a length about an inch or two wider than your actual pillow insert. My final measurements were 17.5×17.5”.
Step 6: Once the wavy checkerboard body has reached the appropriate length, trim the seam allowances with pinking shears or scissors to reduce the bulk. You may need to cut into the curves to help relieve tension, but be sure not to snip into the stitches. Square off each edge to help even the sides.
Step 7: To construct the back of the pillowcase, you can choose to make a matching wavy checkerboard side, in which case you can repeat the process outlined above, or you can use some of the remaining pieces of the body fabrics. Measure out a 12×17.5” rectangle from each solid color fabric. *Note: You’ll need additional width to back pieces to accommodate for the puffiness of the pillow. Any excess will overlap and hide the pillow insert.* Fold one long edge of the rectangle in by 1 cm and again by another 1 cm and press. Edgestitch along this side.
Step 8: Align the rectangles to the front wavy checkerboard body with the right sides facing and with the newly sewn side seams facing the center. You will find that the back two rectangles will overlap each other. Pin along the four edges and sew with a straight stitch, making sure to place the needle down at each corner and pivot the fabric to align appropriately with the next side.
Step 9: Once the front and back pieces are connected, trim each corner to reduce bulk and finish the edges. Then turn the right sides out and use a point turner to push out the corners.

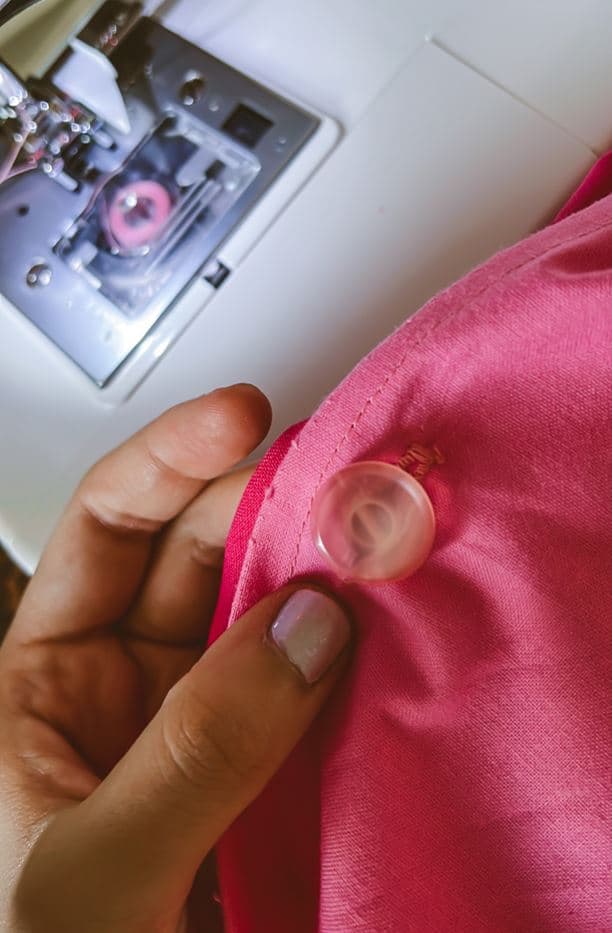
Step 10: Add your pillow insert inside the pillowcase and make note of the fit. You may want to opt for a more snug and secure fit by adding a button closure. In this case, measure out where you want the button to go and evenly mark your fabric on both sides of the back rectangles. Press a small rectangle of interfacing to the side where the buttonhole will go and begin sewing the buttonhole. Once completed, sew a button to the side opposite the buttonhole.
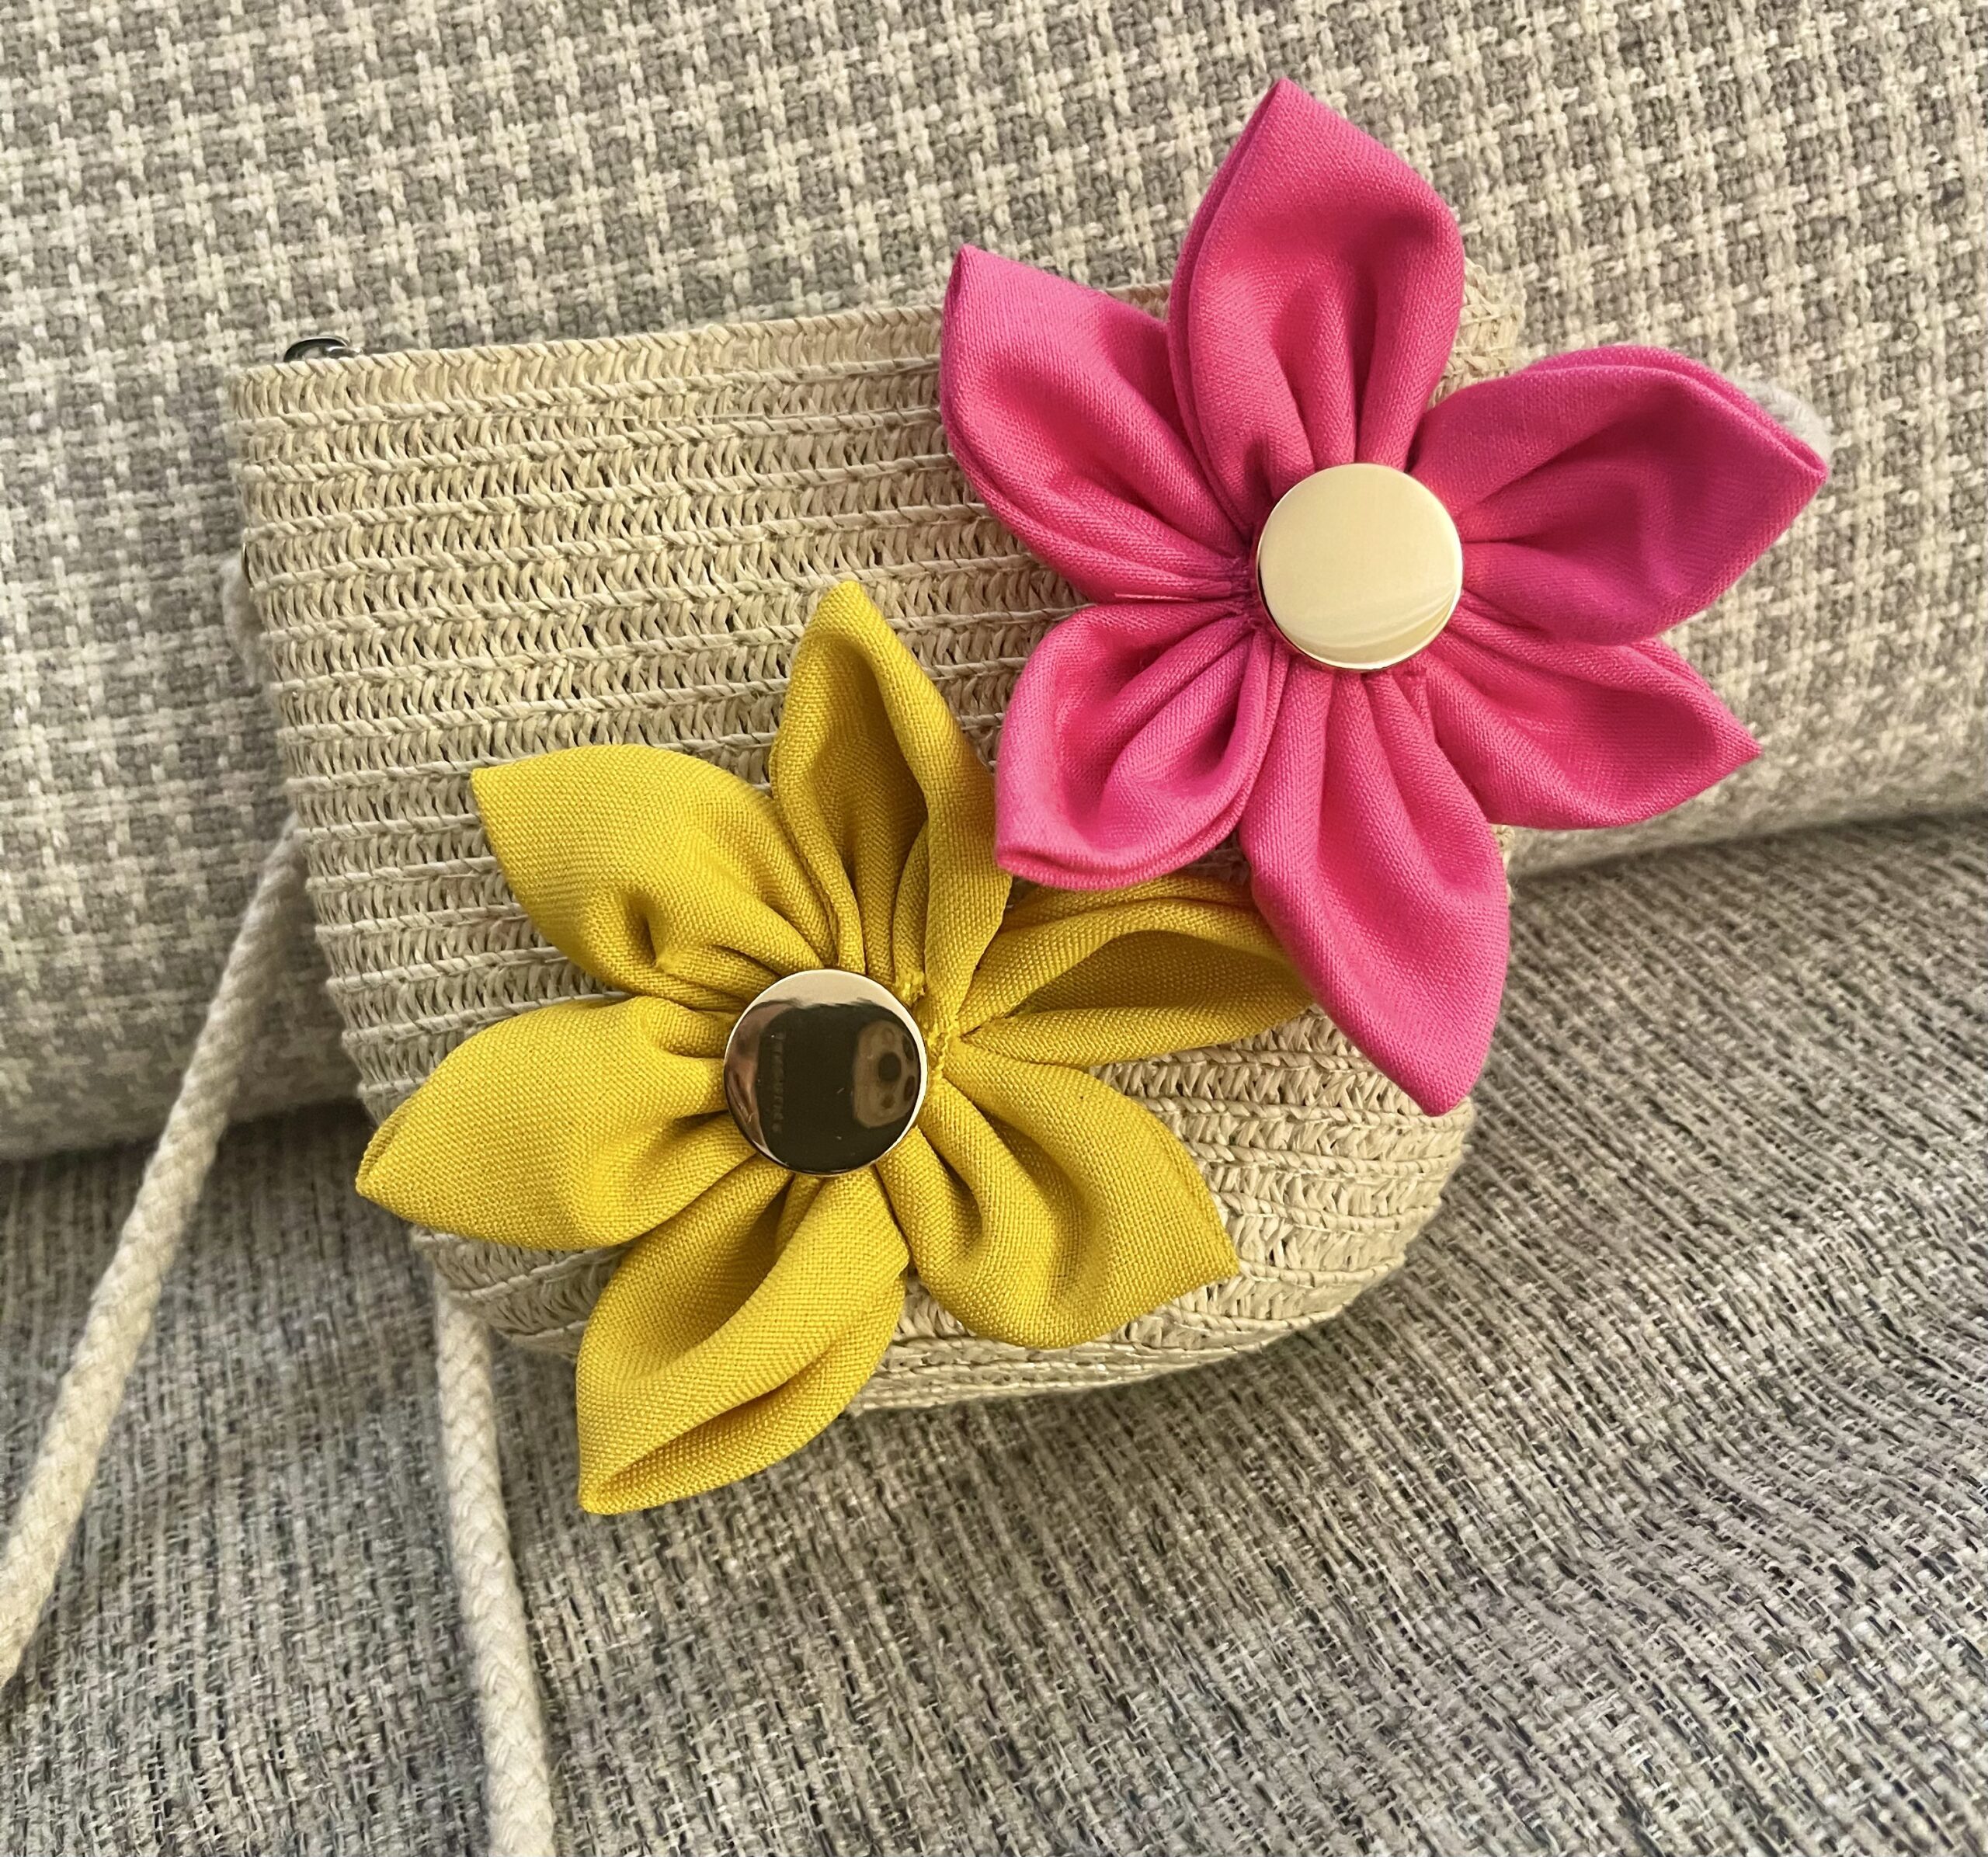
Step 11: To add a little pizzazz to the pillowcase, you may want to add a floral embellishment. I added some organza flowers using the Kanzashi flower maker small orchid kit. I followed the instructions that were included and repeated them until I had 13 flowers. Then I hand-sewed them onto the pillow in an arrangement that I liked. You can make as many as you’d like and arrange them on your pillowcase to your liking.
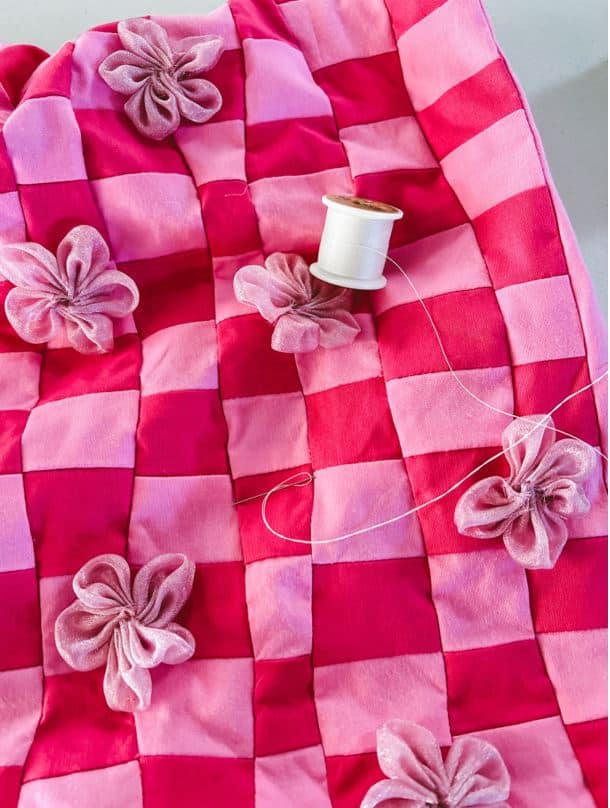
Now your retro wavy checkerboard pillowcase is complete! Enjoy a cute addition to your cozy collection.

Tag me on Instagram @rumer_has_it so that I can see how your project turned out!
Stay connected with Clover on Facebook | Twitter | Instagram | Pinterest | YouTube | Ravelry
You May Also Like

Mug Cozy *for cozy season* :)
Boo-quet Granny Squares