Faux Leather Wallet -Sewing Pattern
As Father’s Day rolls around the corner, I thought it would be nice to create something lightweight and functional for all the Dad’s out there. This month, I will be sharing how to create an easy faux leather business wallet that can you can gift or used for yourself. With the increase in small business owners and networking, this is one wallet you don’t want to be without!
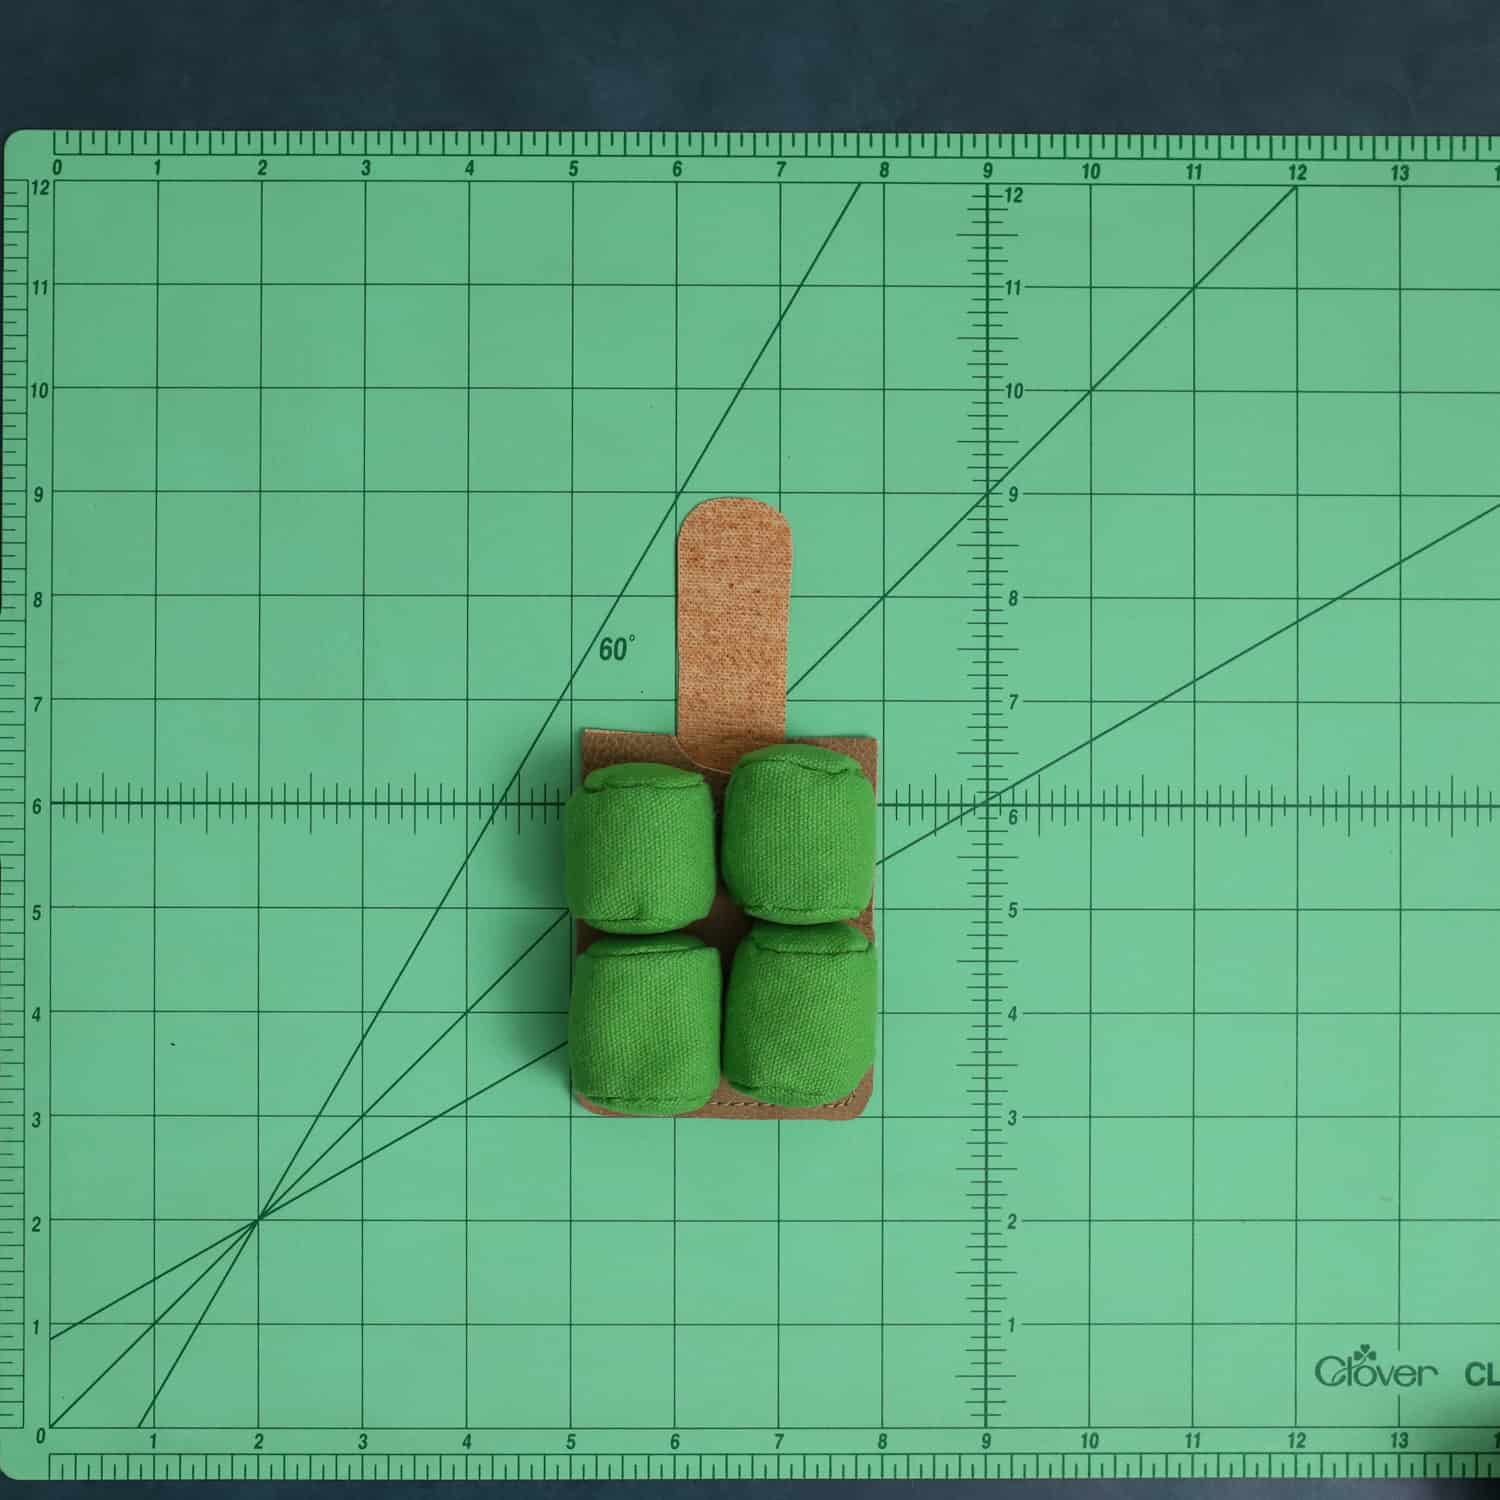
Here’s what you’ll need to get started:
- Clover Patchwork Scissors Art No.493
- Clover Rotary Cutter Art No. 7500
- Clover Air Erasable Marker Art No. 5031
- Clover Jumbo Wonder Clips Art No. 3157
- Clover Point 2 Point Turner Art No. 9613
- Clover Cutting Mat 12 by 18 Art No.7520
- Business Card Wallet Pattern
- Faux Leather or Vinyl
- Thread
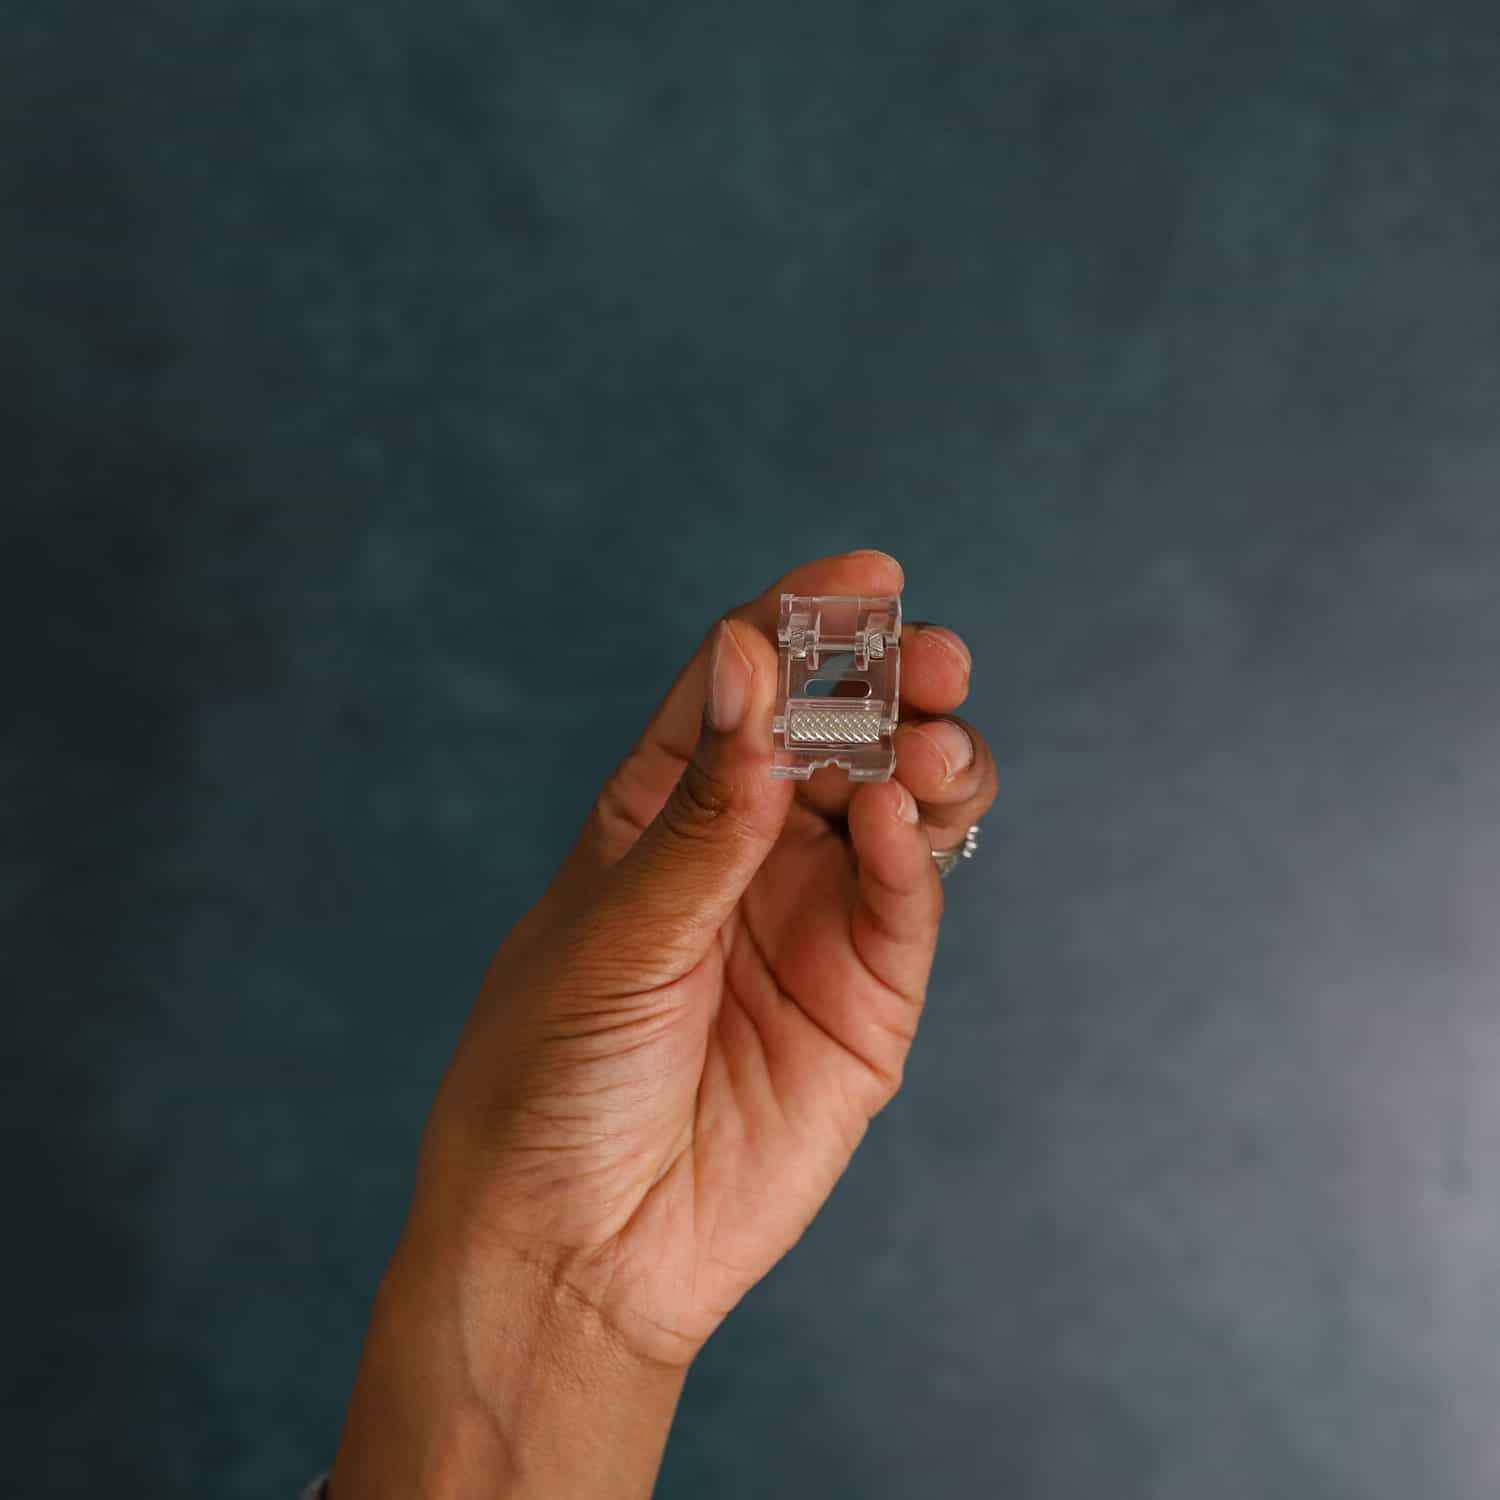
- Rolling Foot or Walking Foot
- Sewing Machine
- Leather Glue
- Pattern Weights
- Brayer
- Needle (Optional)
Click here to download and print the free sewing pattern.
Directions
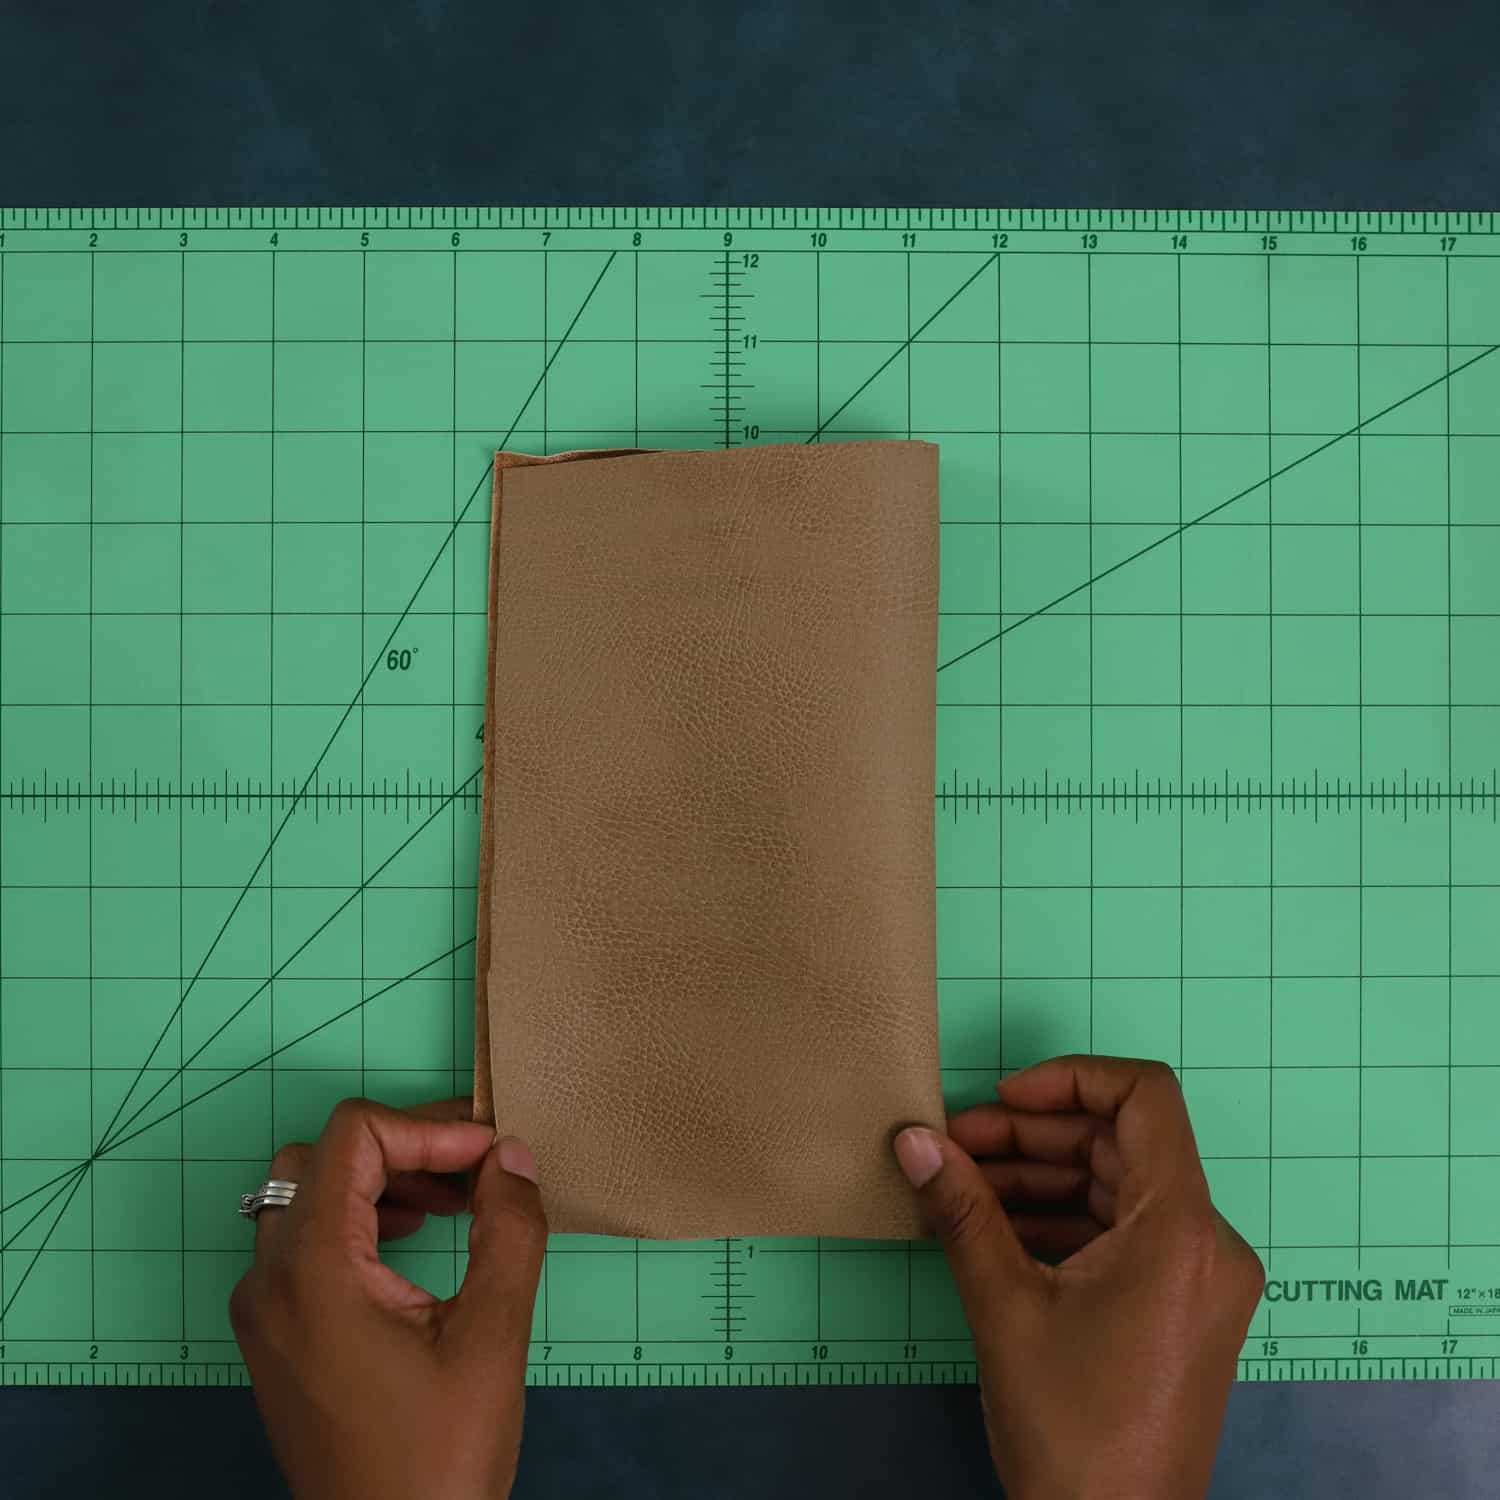
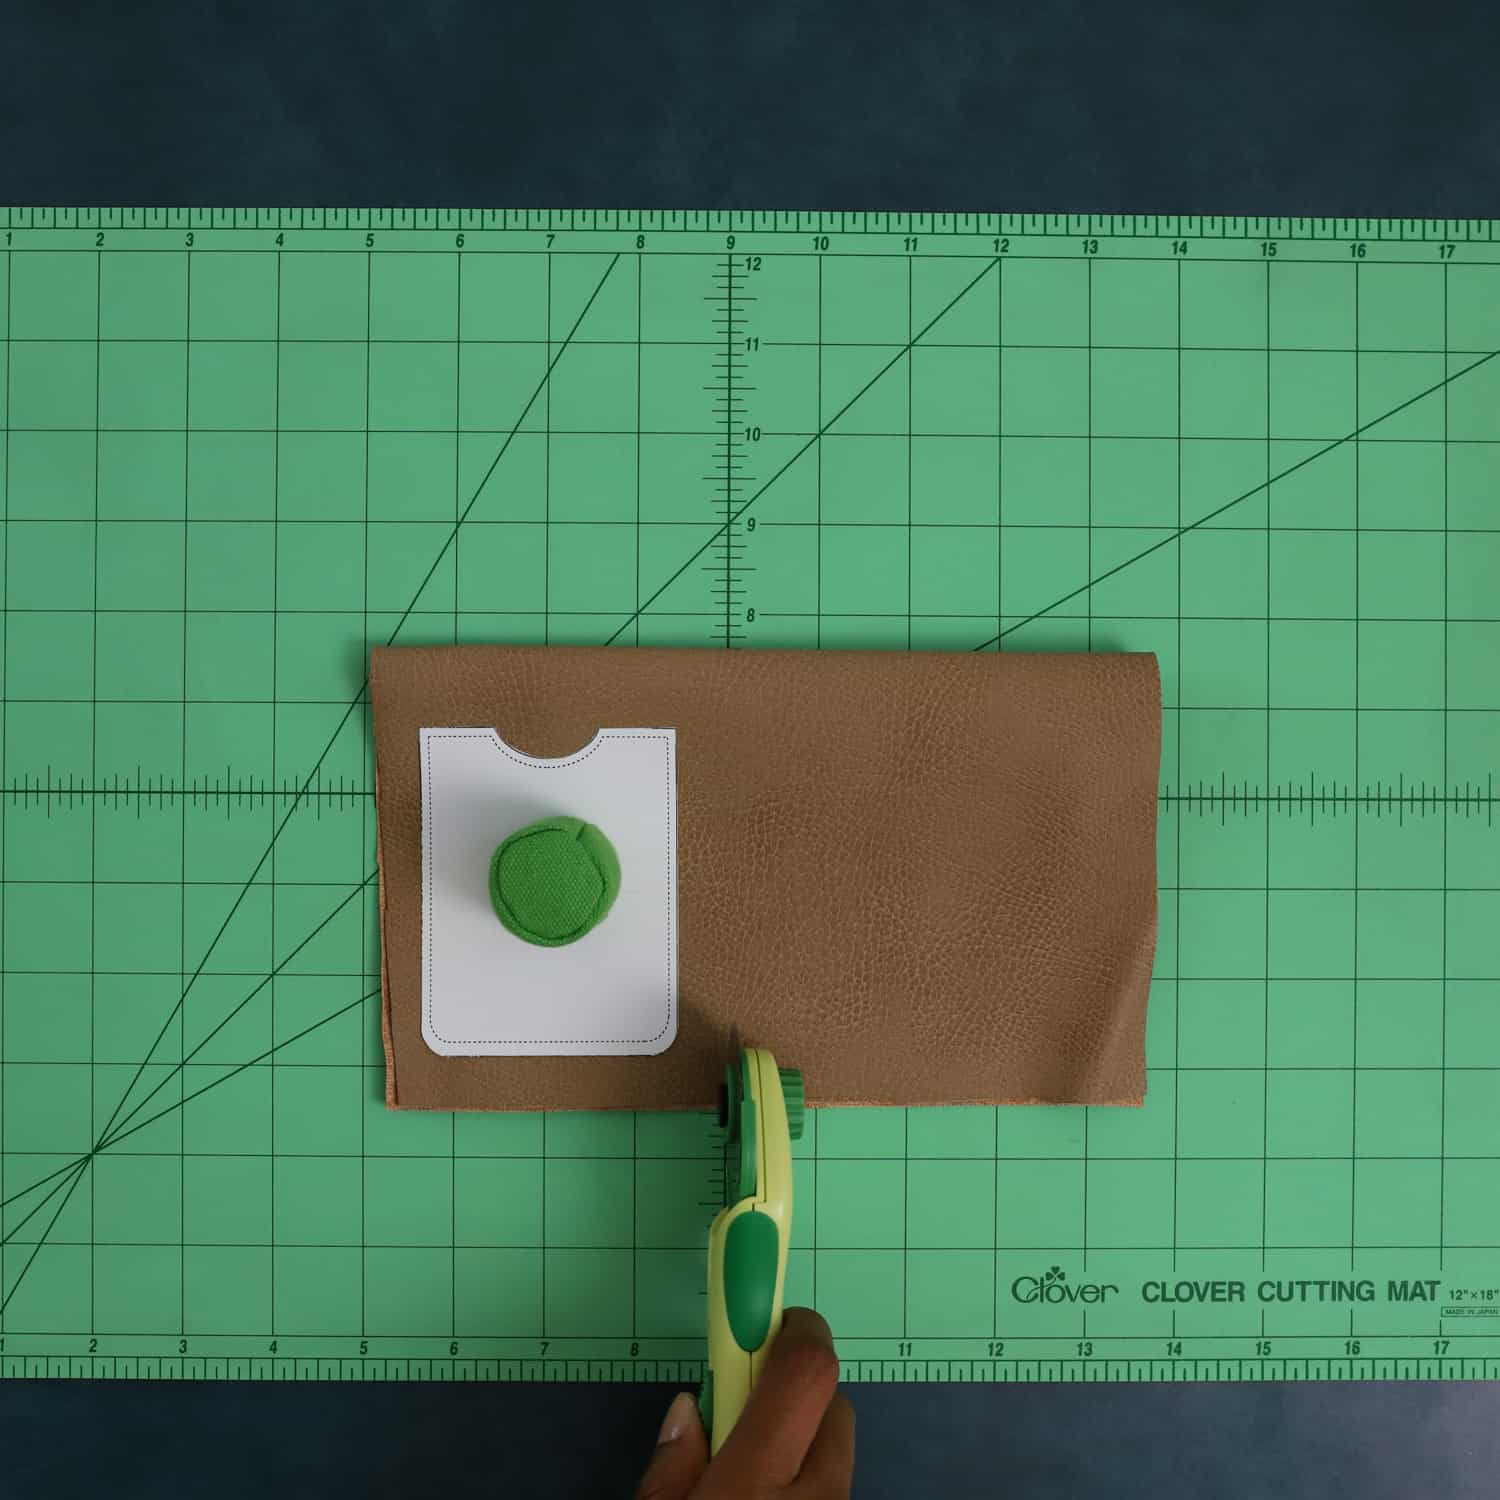
Step 1. Start by laying out your faux leather with the wrong side facing upward, then fold it in half.

Step 2. Use Clover’s Rotary Cutters to cut a portion of the faux leather, then lay the other piece flat with the right side up. Place pattern weights on the pattern to hold it down.
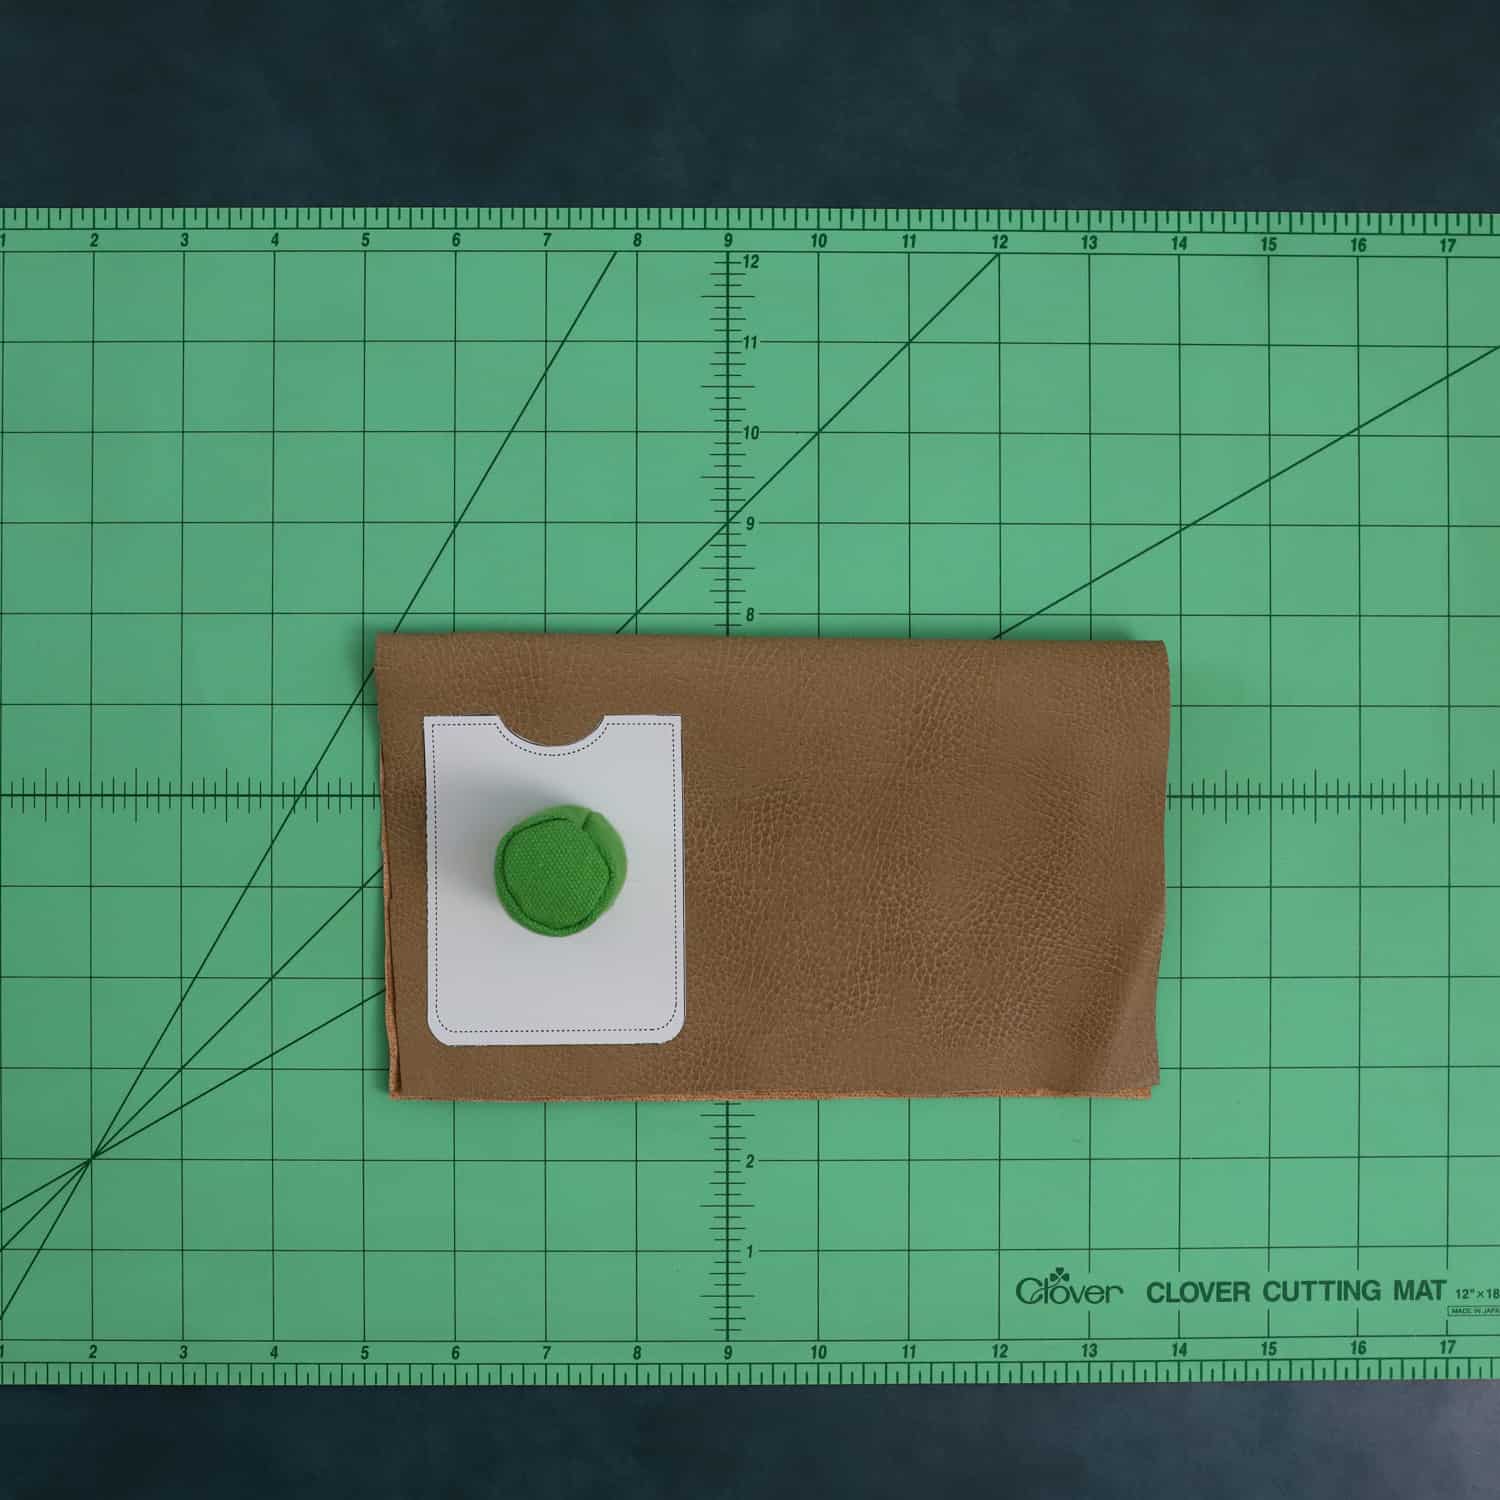
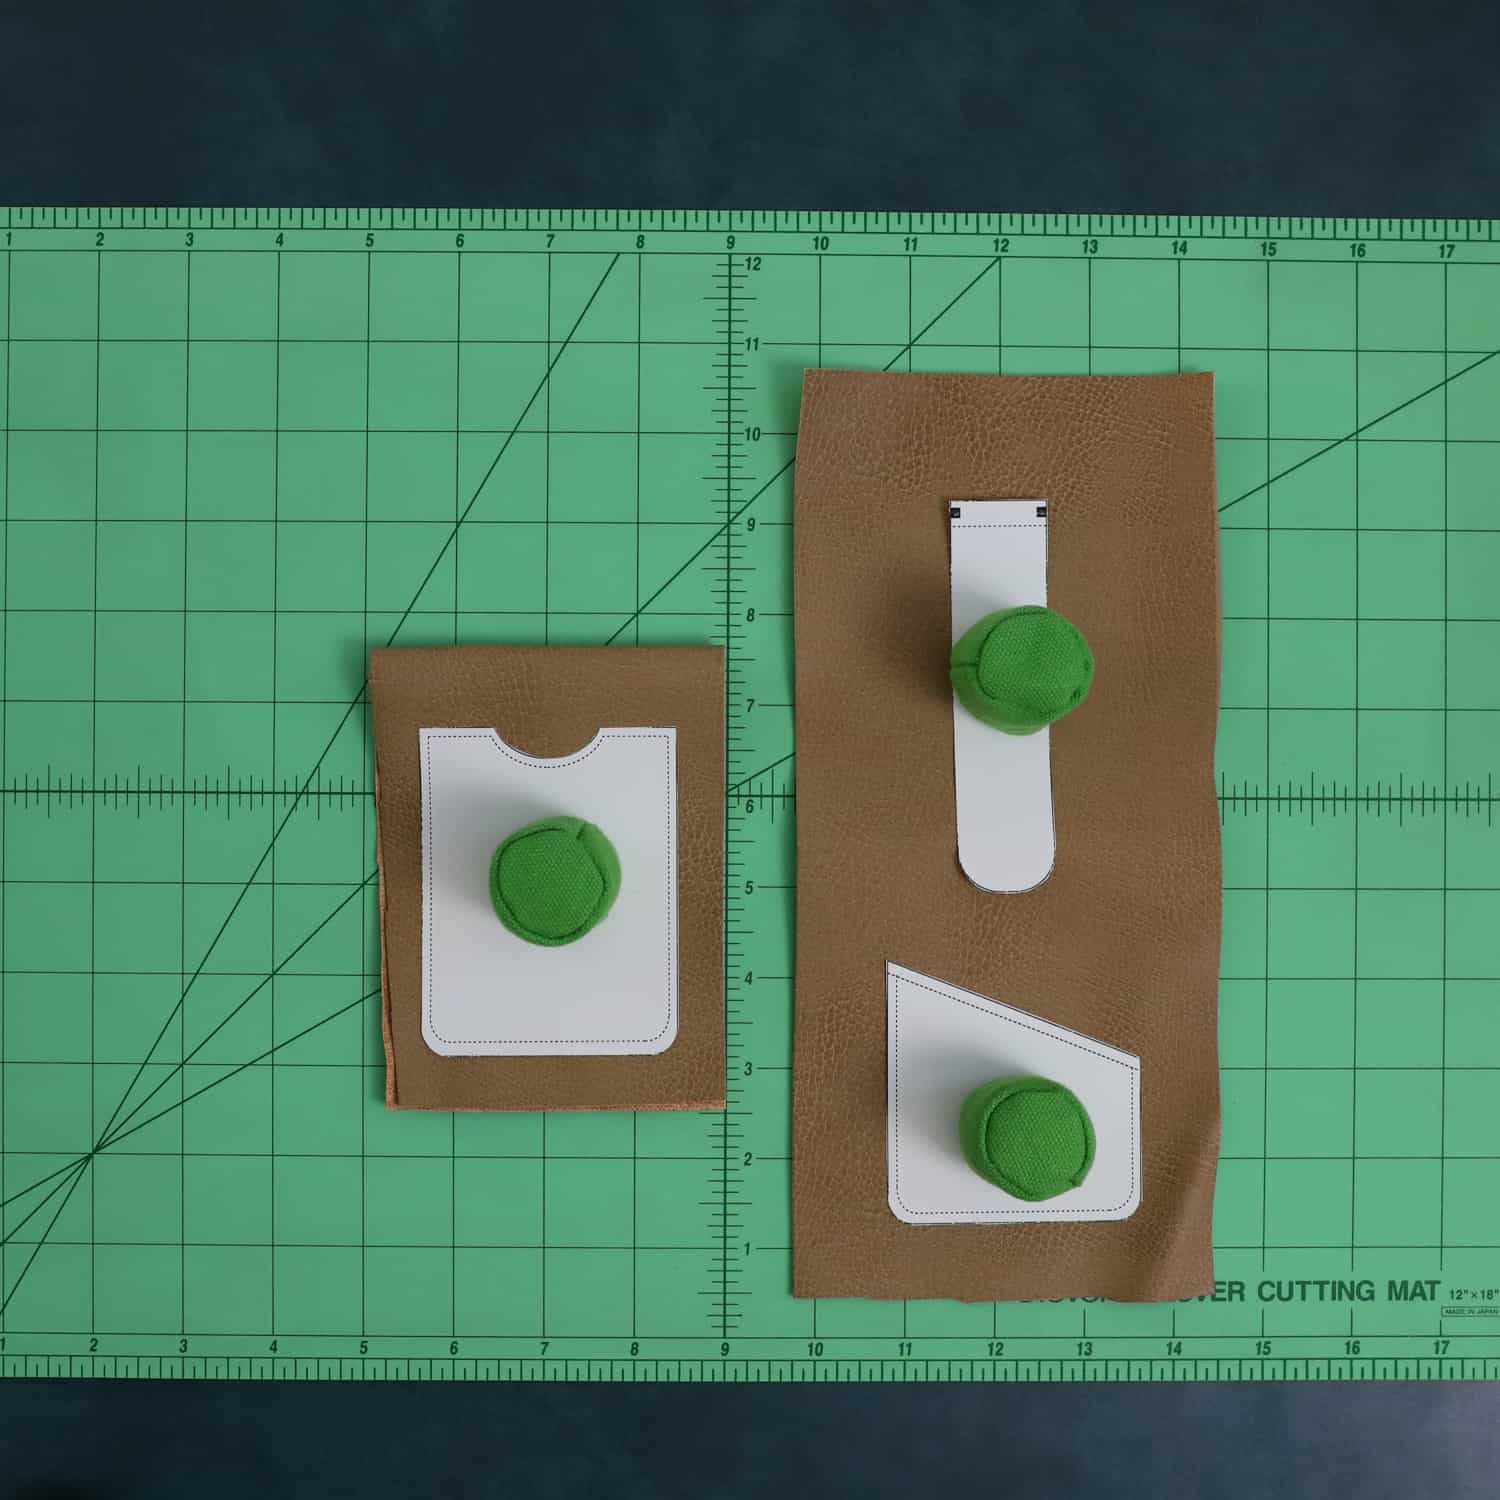
Step 3. When sewing heavy-weight fabrics, it’s best to minimize markings unless it’s necessary. Instead of tracing the pattern with a marker, I prefer to use Clover’s Jumbo Wonder Clips and then jump to the cutting stage.
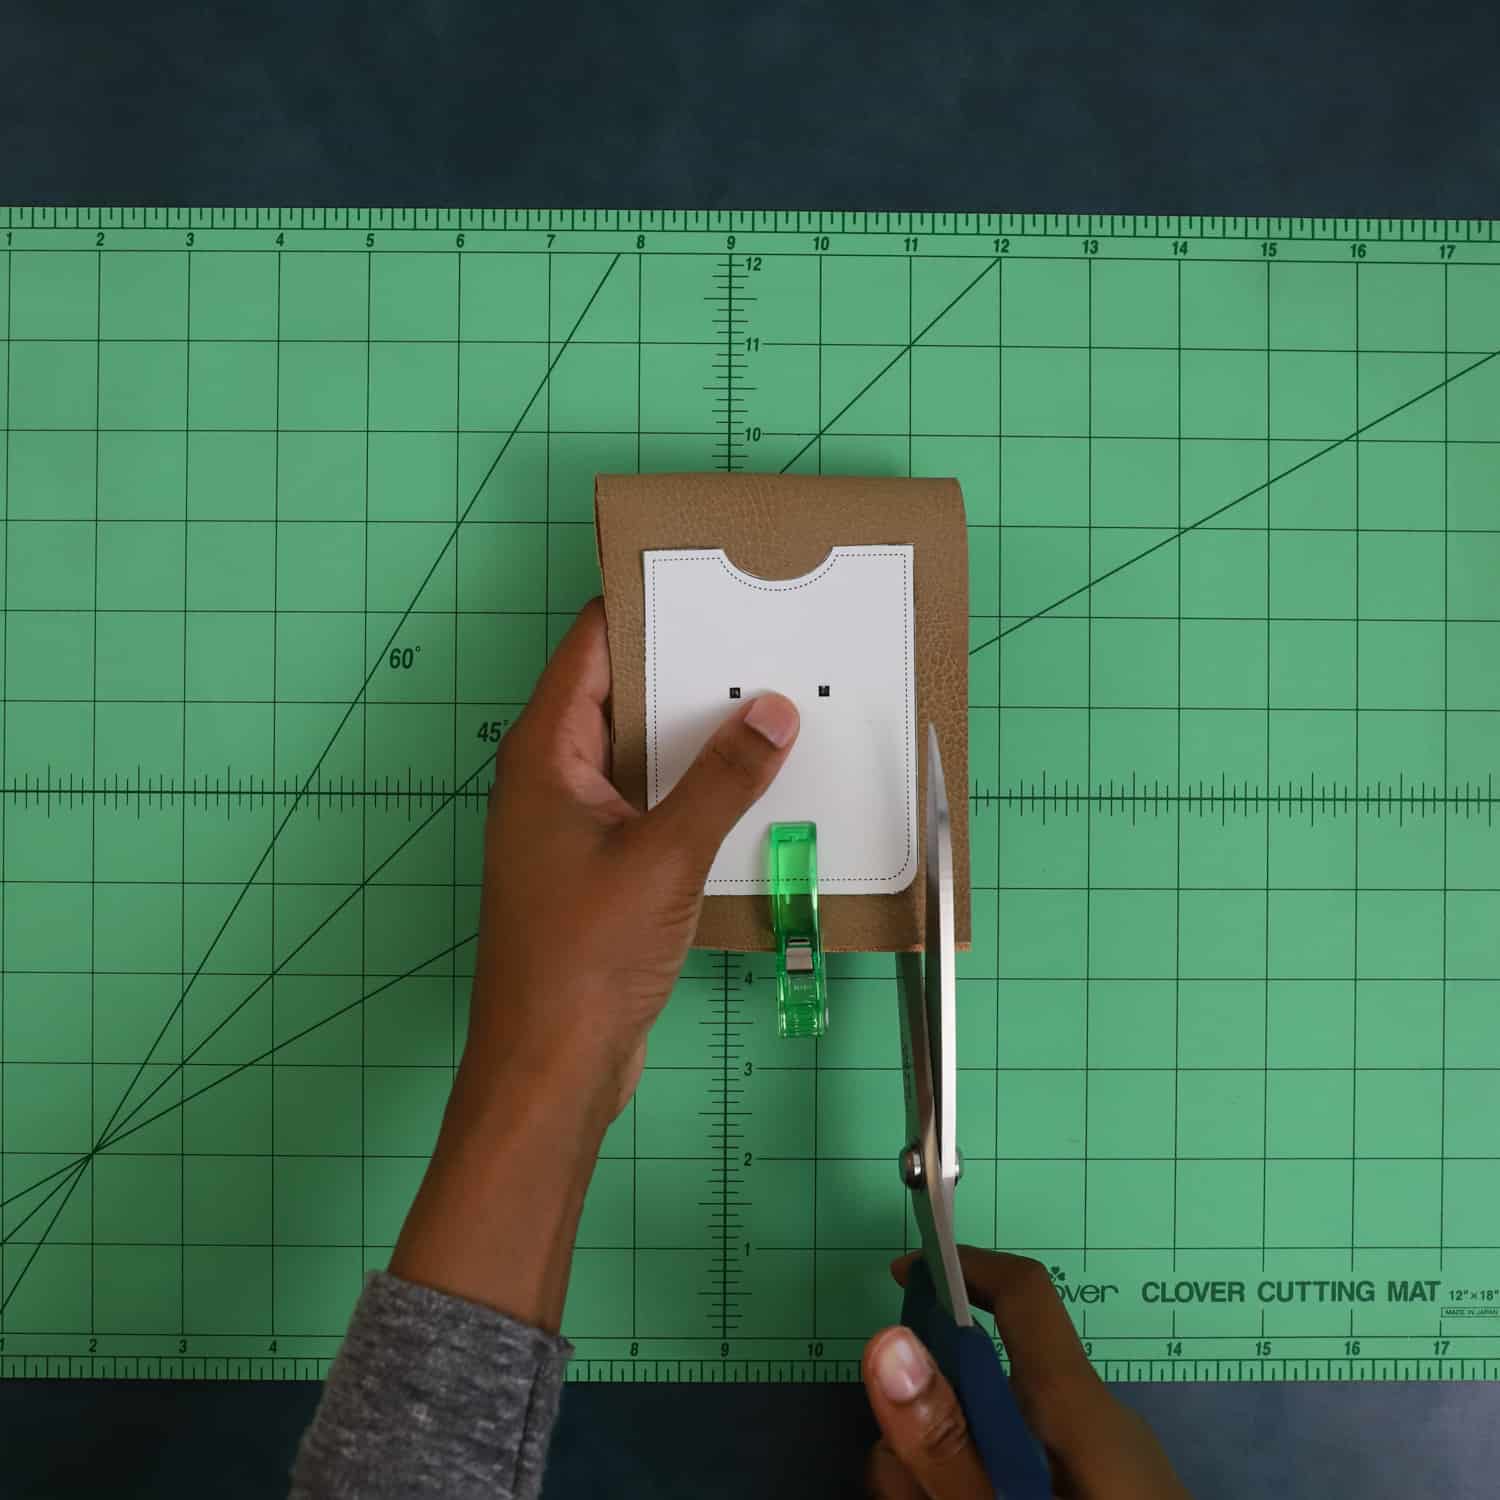
Step 4. Cut the pattern using Clover’s Patchwork Scissors, then adjust the clips as needed to achieve a clean-cut pattern piece. I like using these scissors because of the serrated blades!
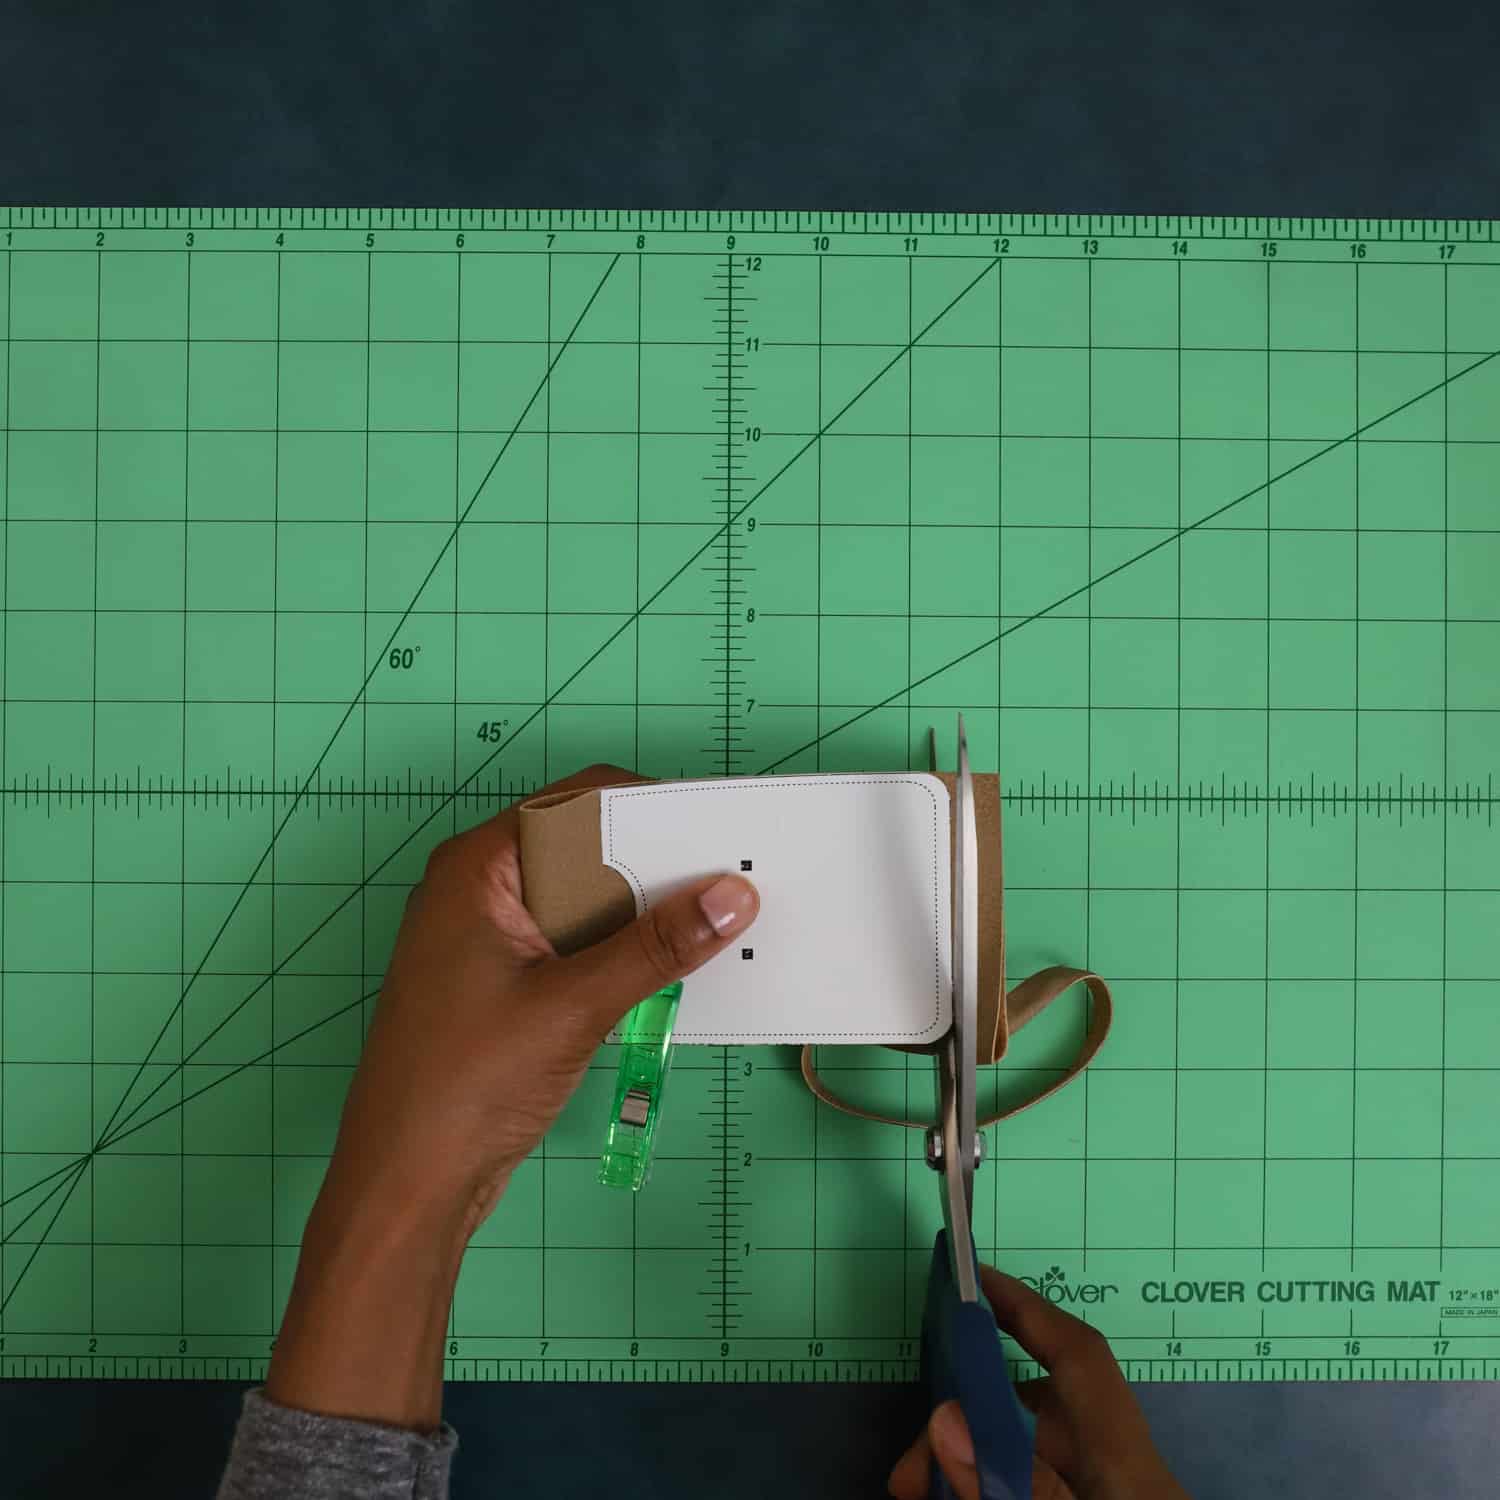

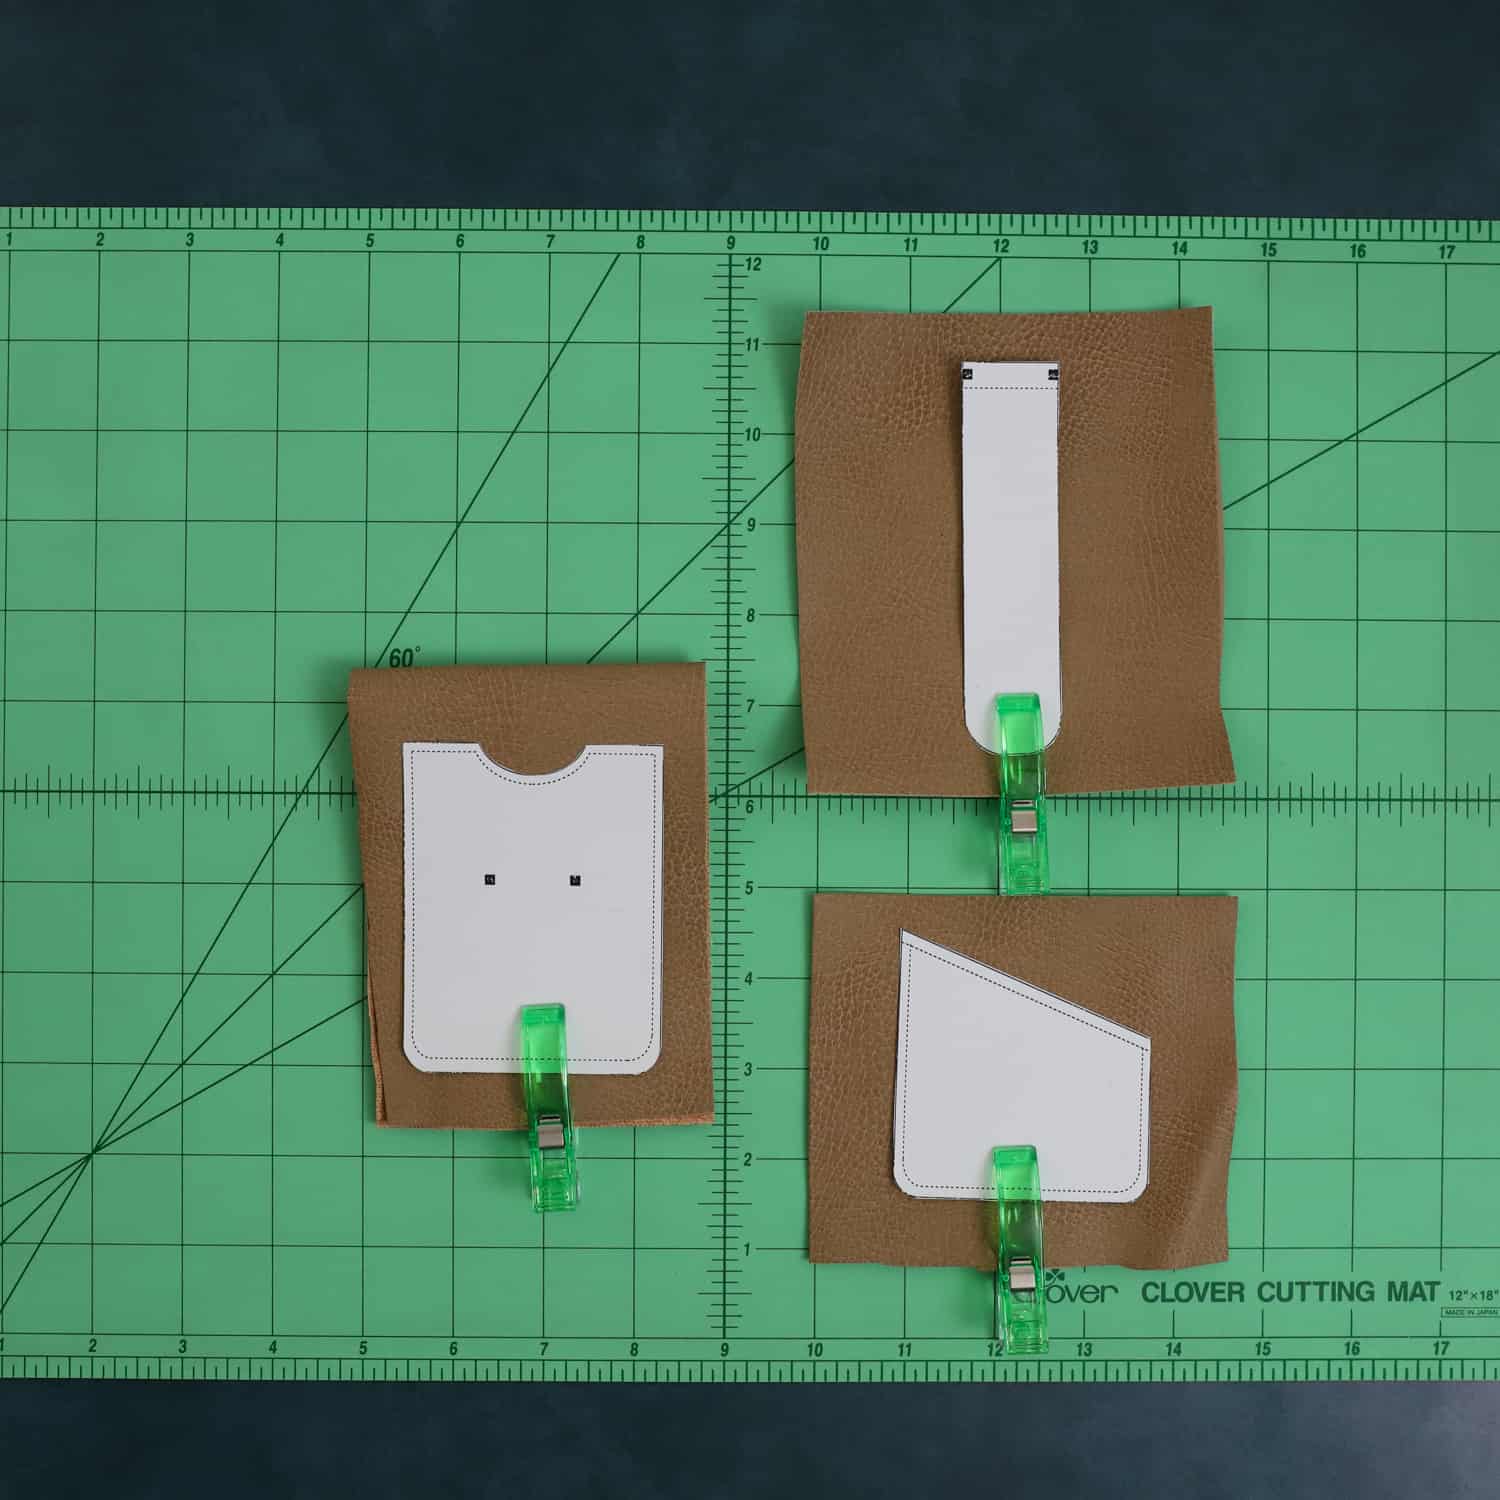
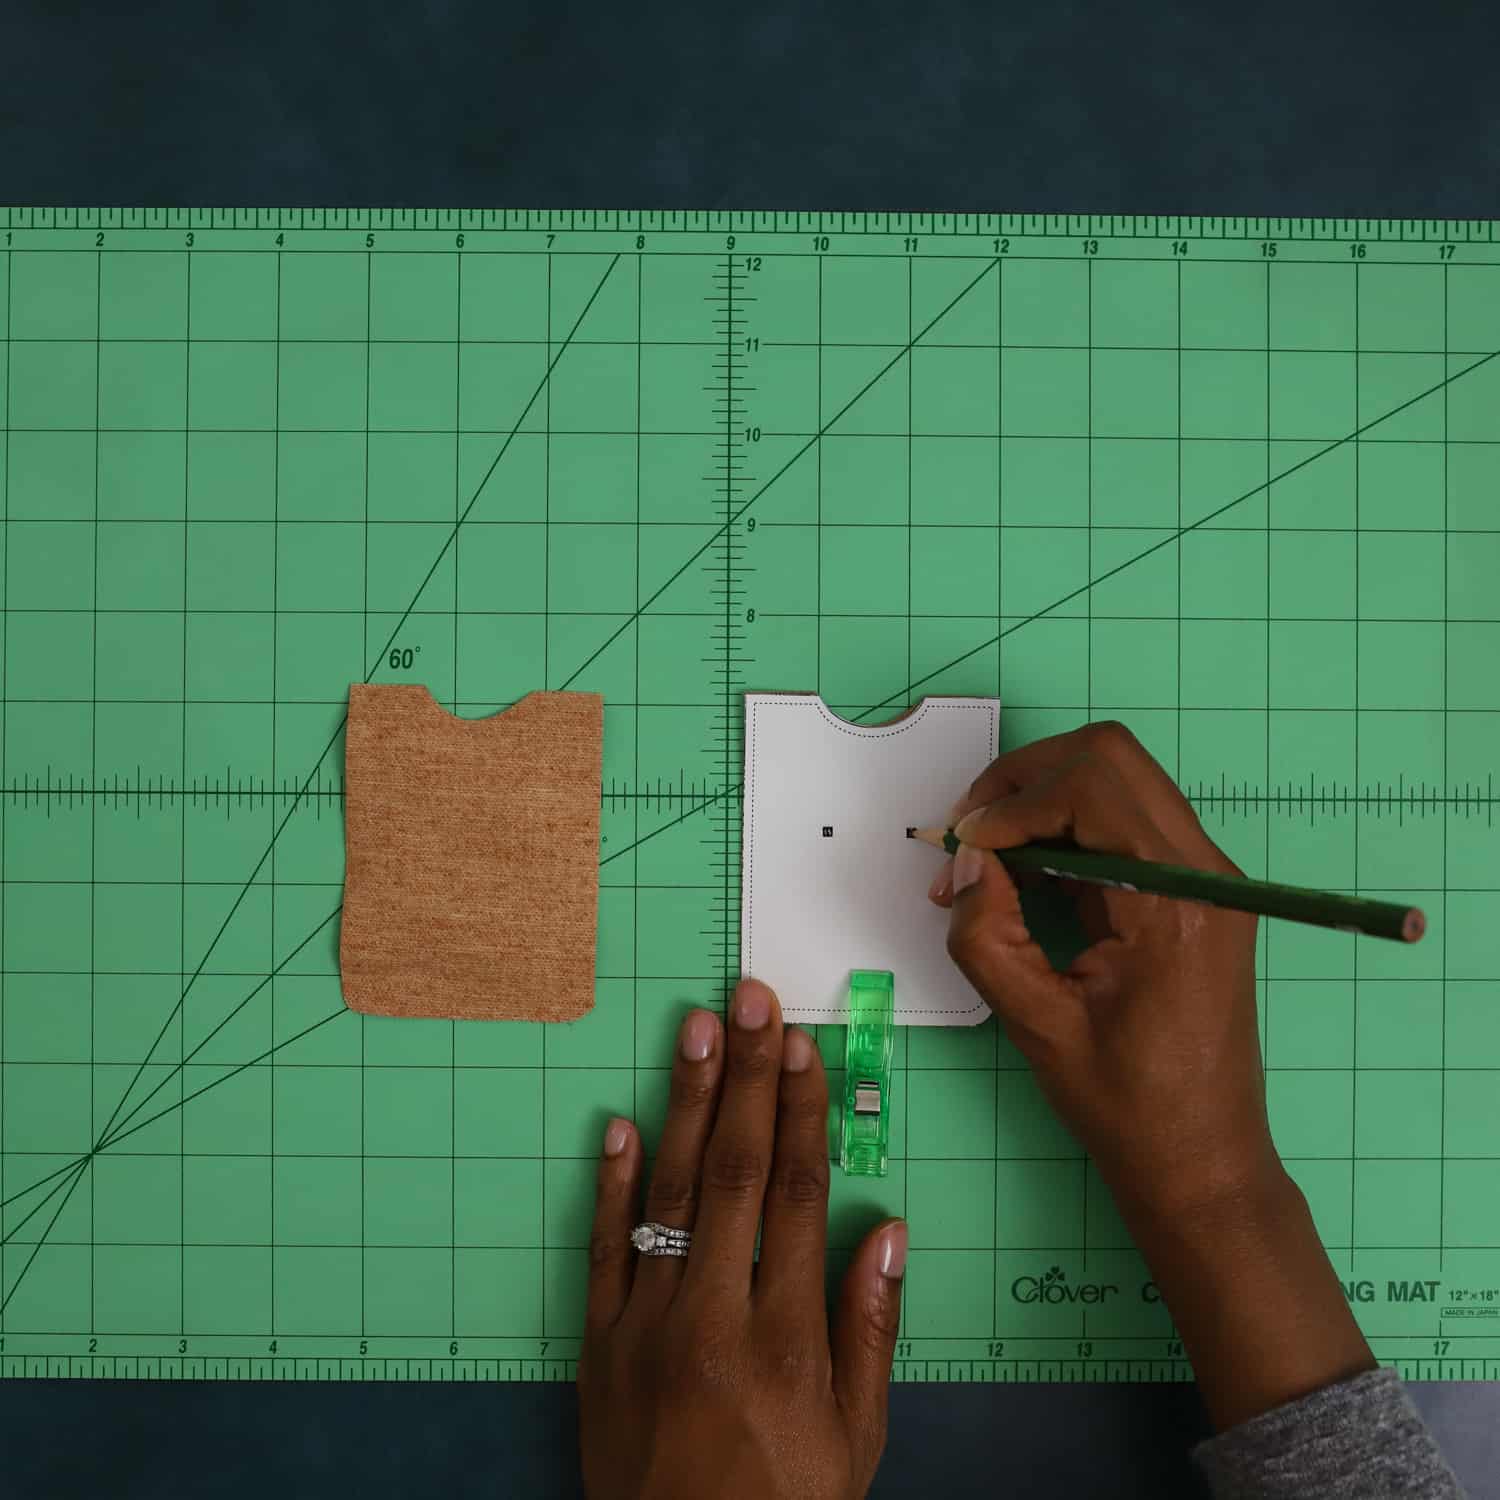
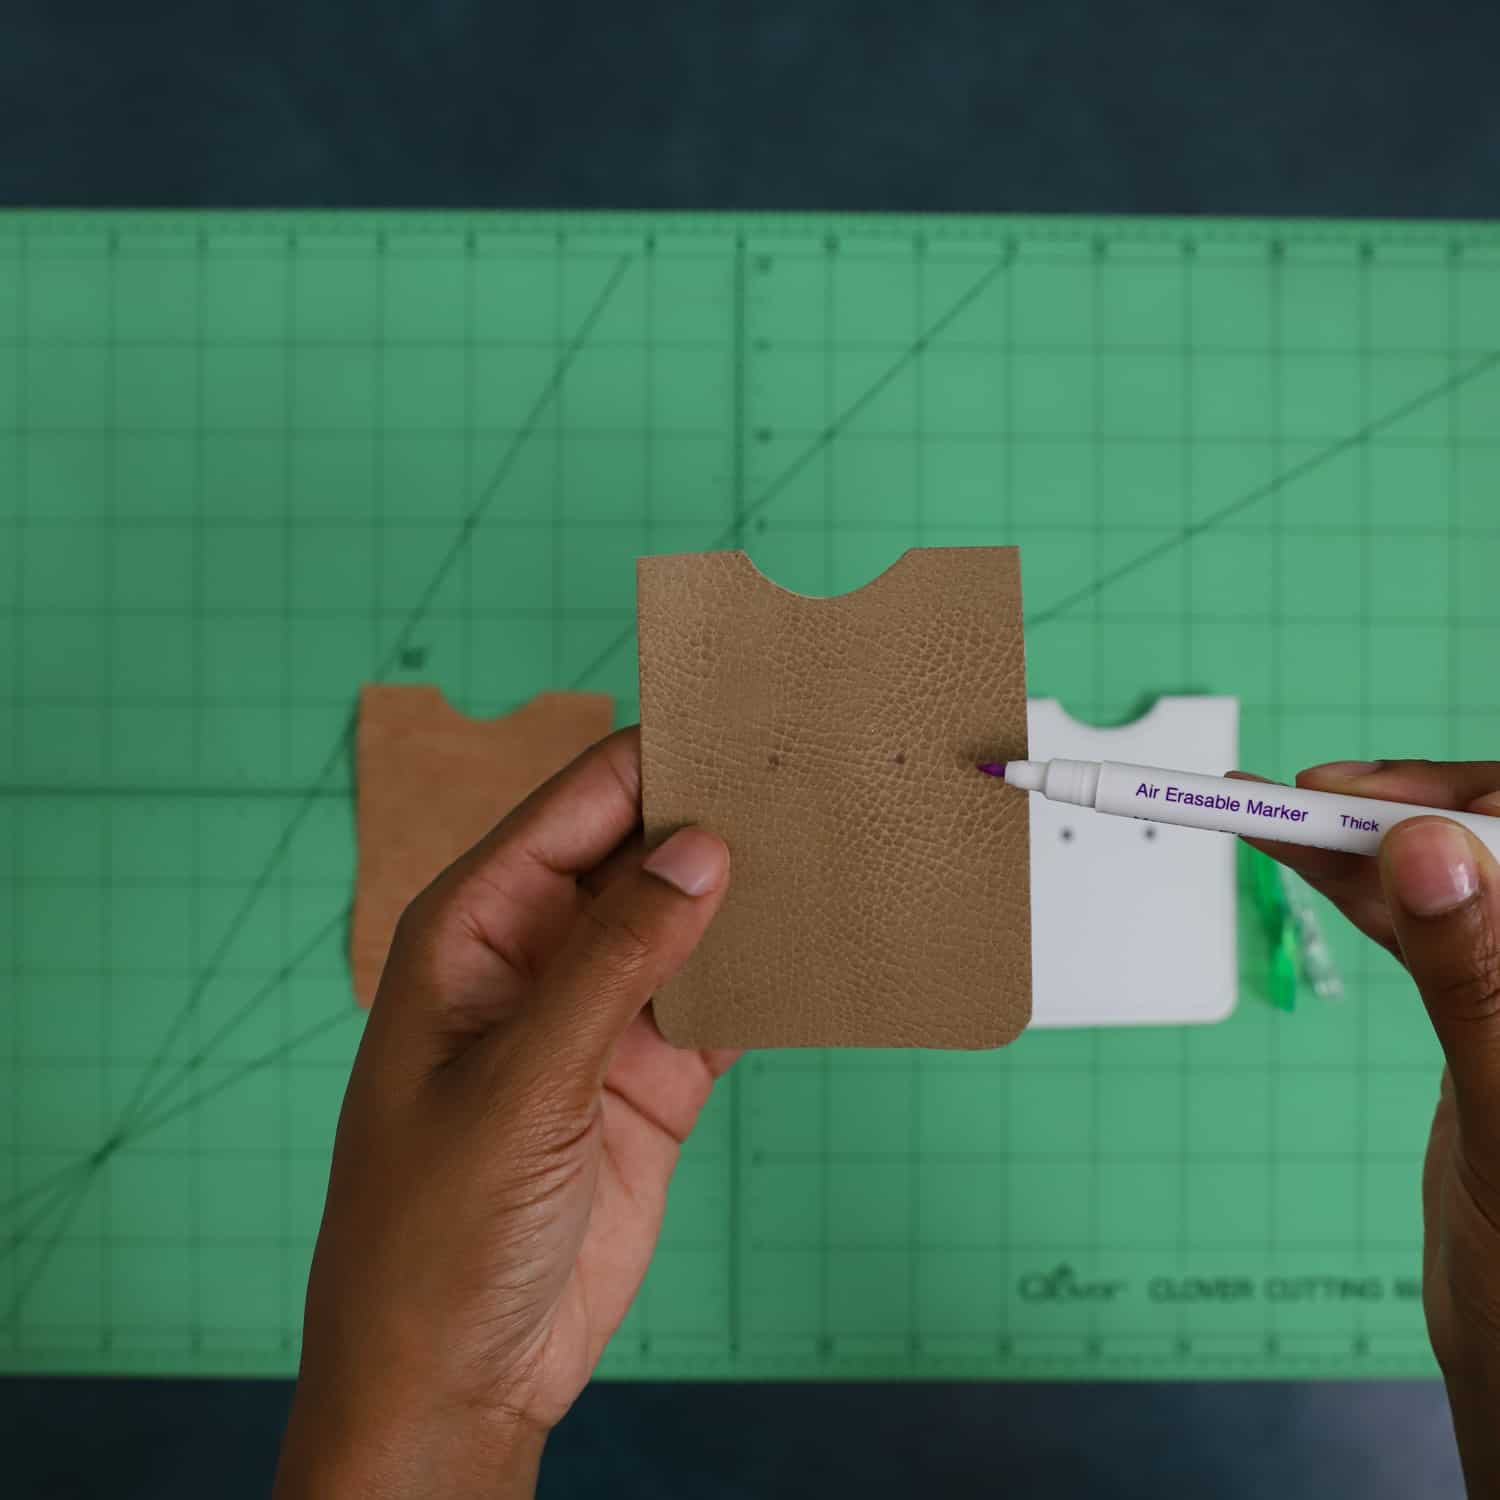
Step 5. Now it’s time to transfer the markings for the strap placement onto the back pattern piece. Place the paper pattern piece back over the faux leather with the right side facing up and make two indentations by pressing on top of the square boxes with a pencil. Once you see the dents on the fabric, color them in using Clover’s Air Erasable Marker.
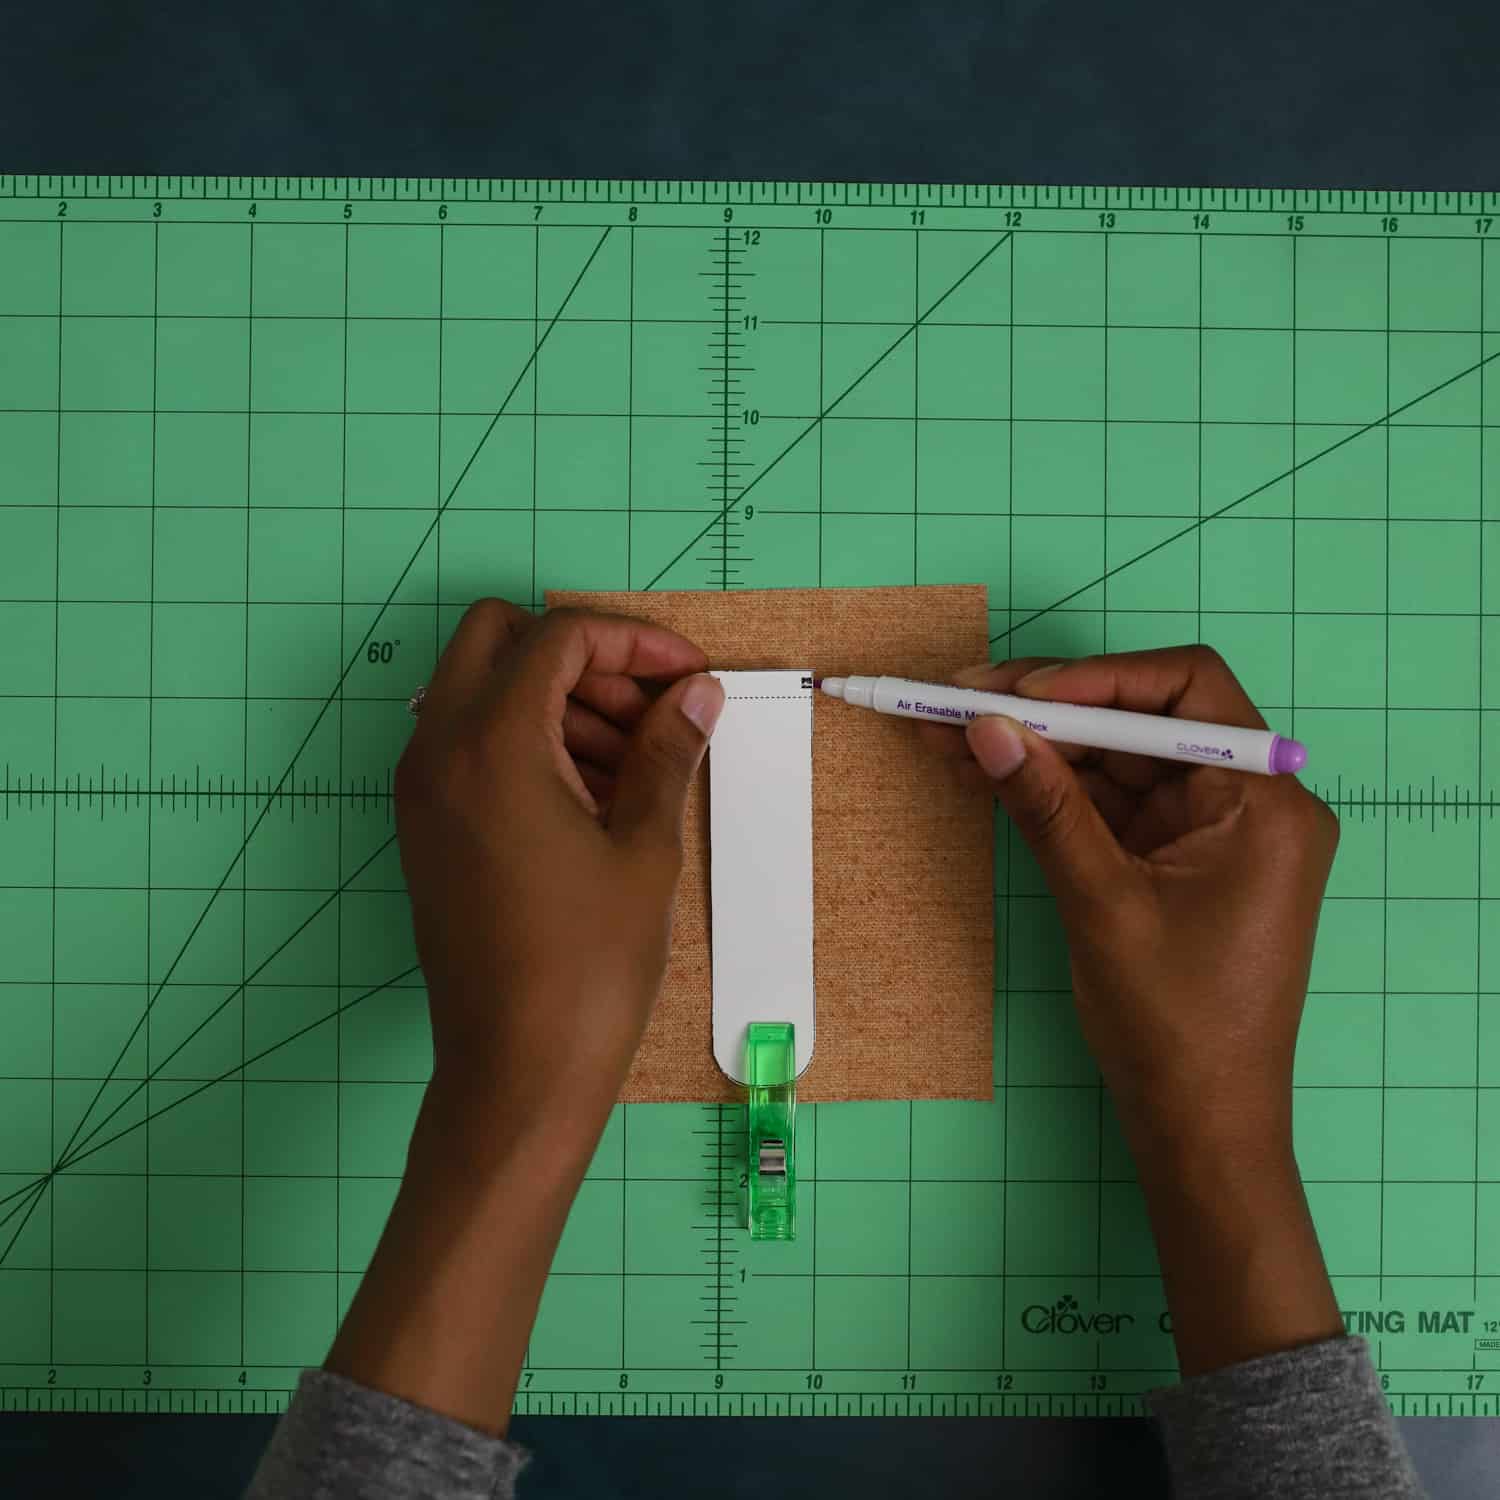
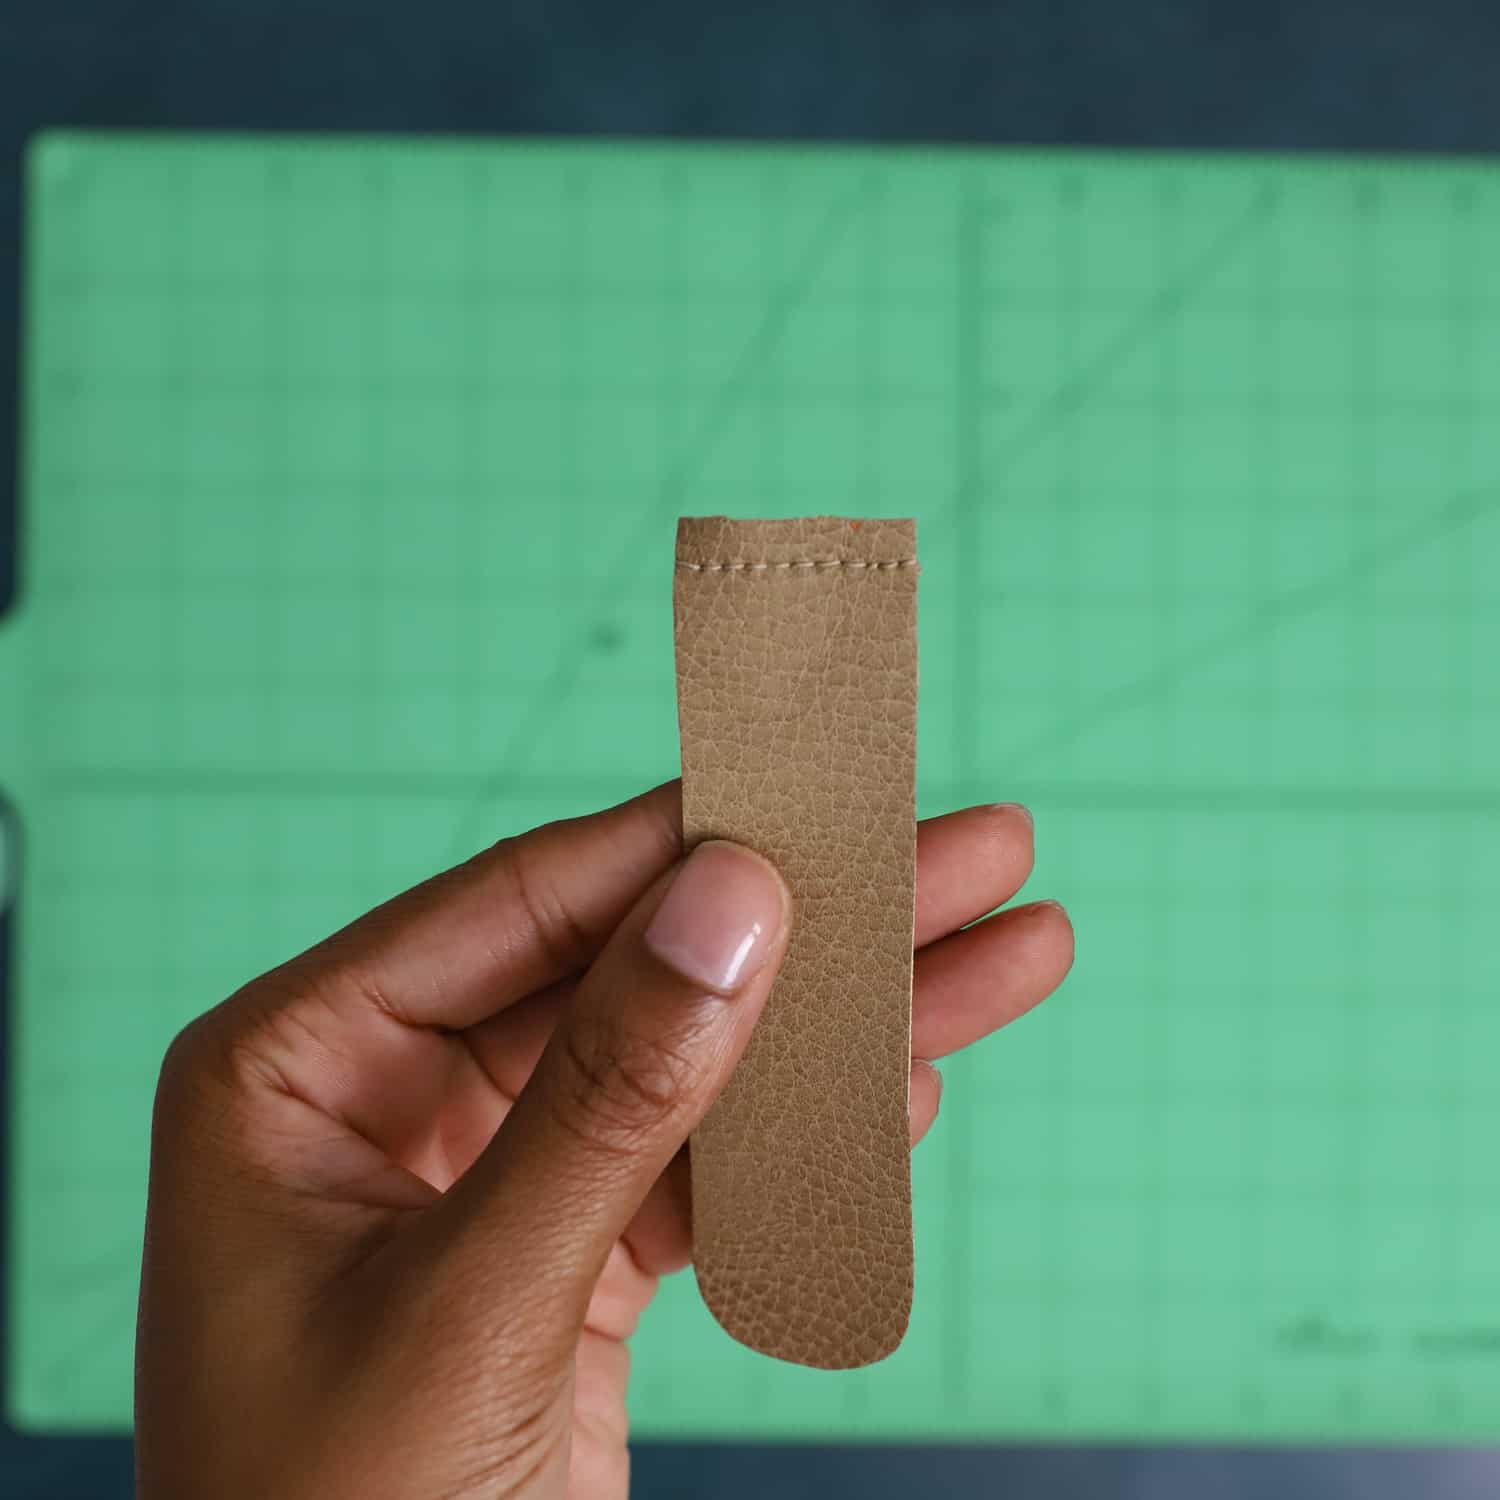
Step 6. Transfer the placement marks onto the strap with the fabric wrong side up.
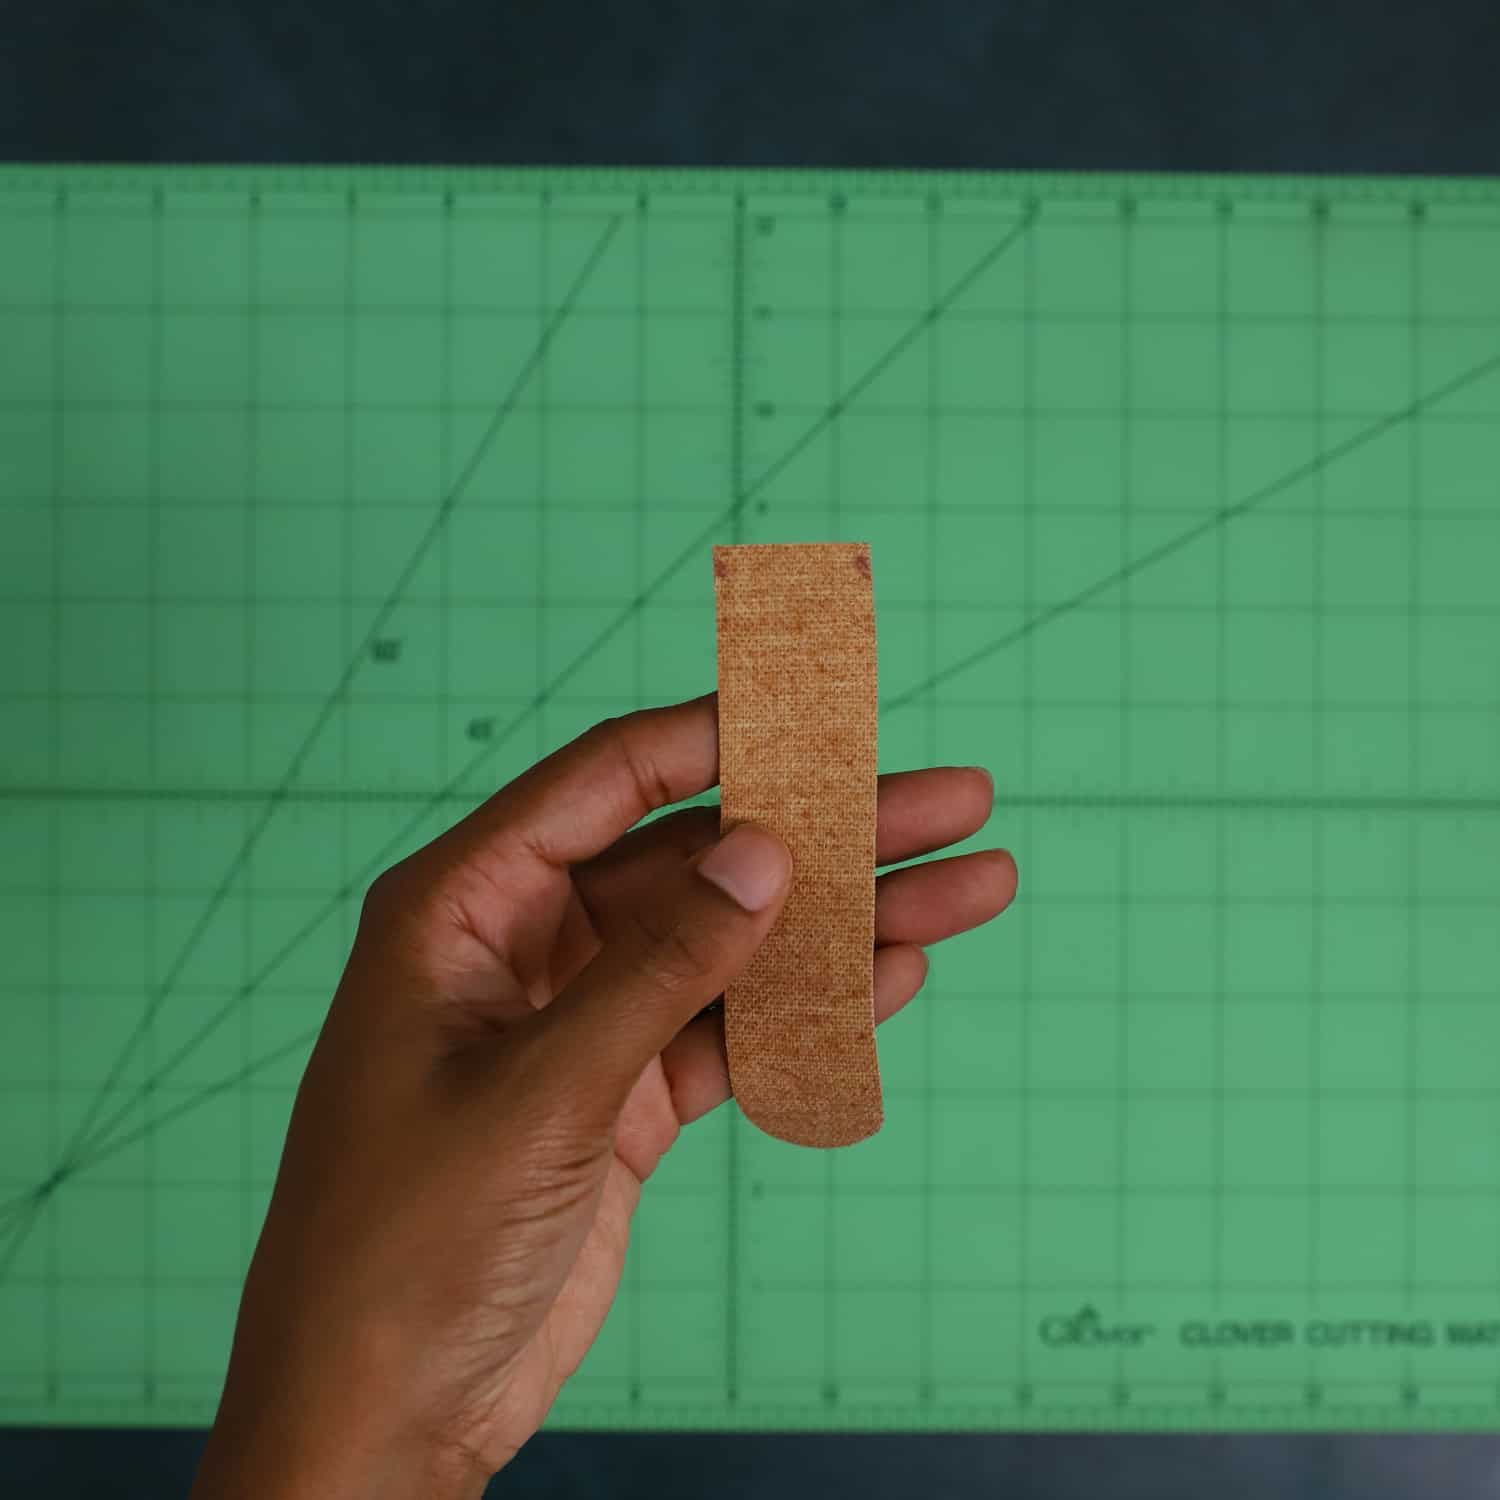
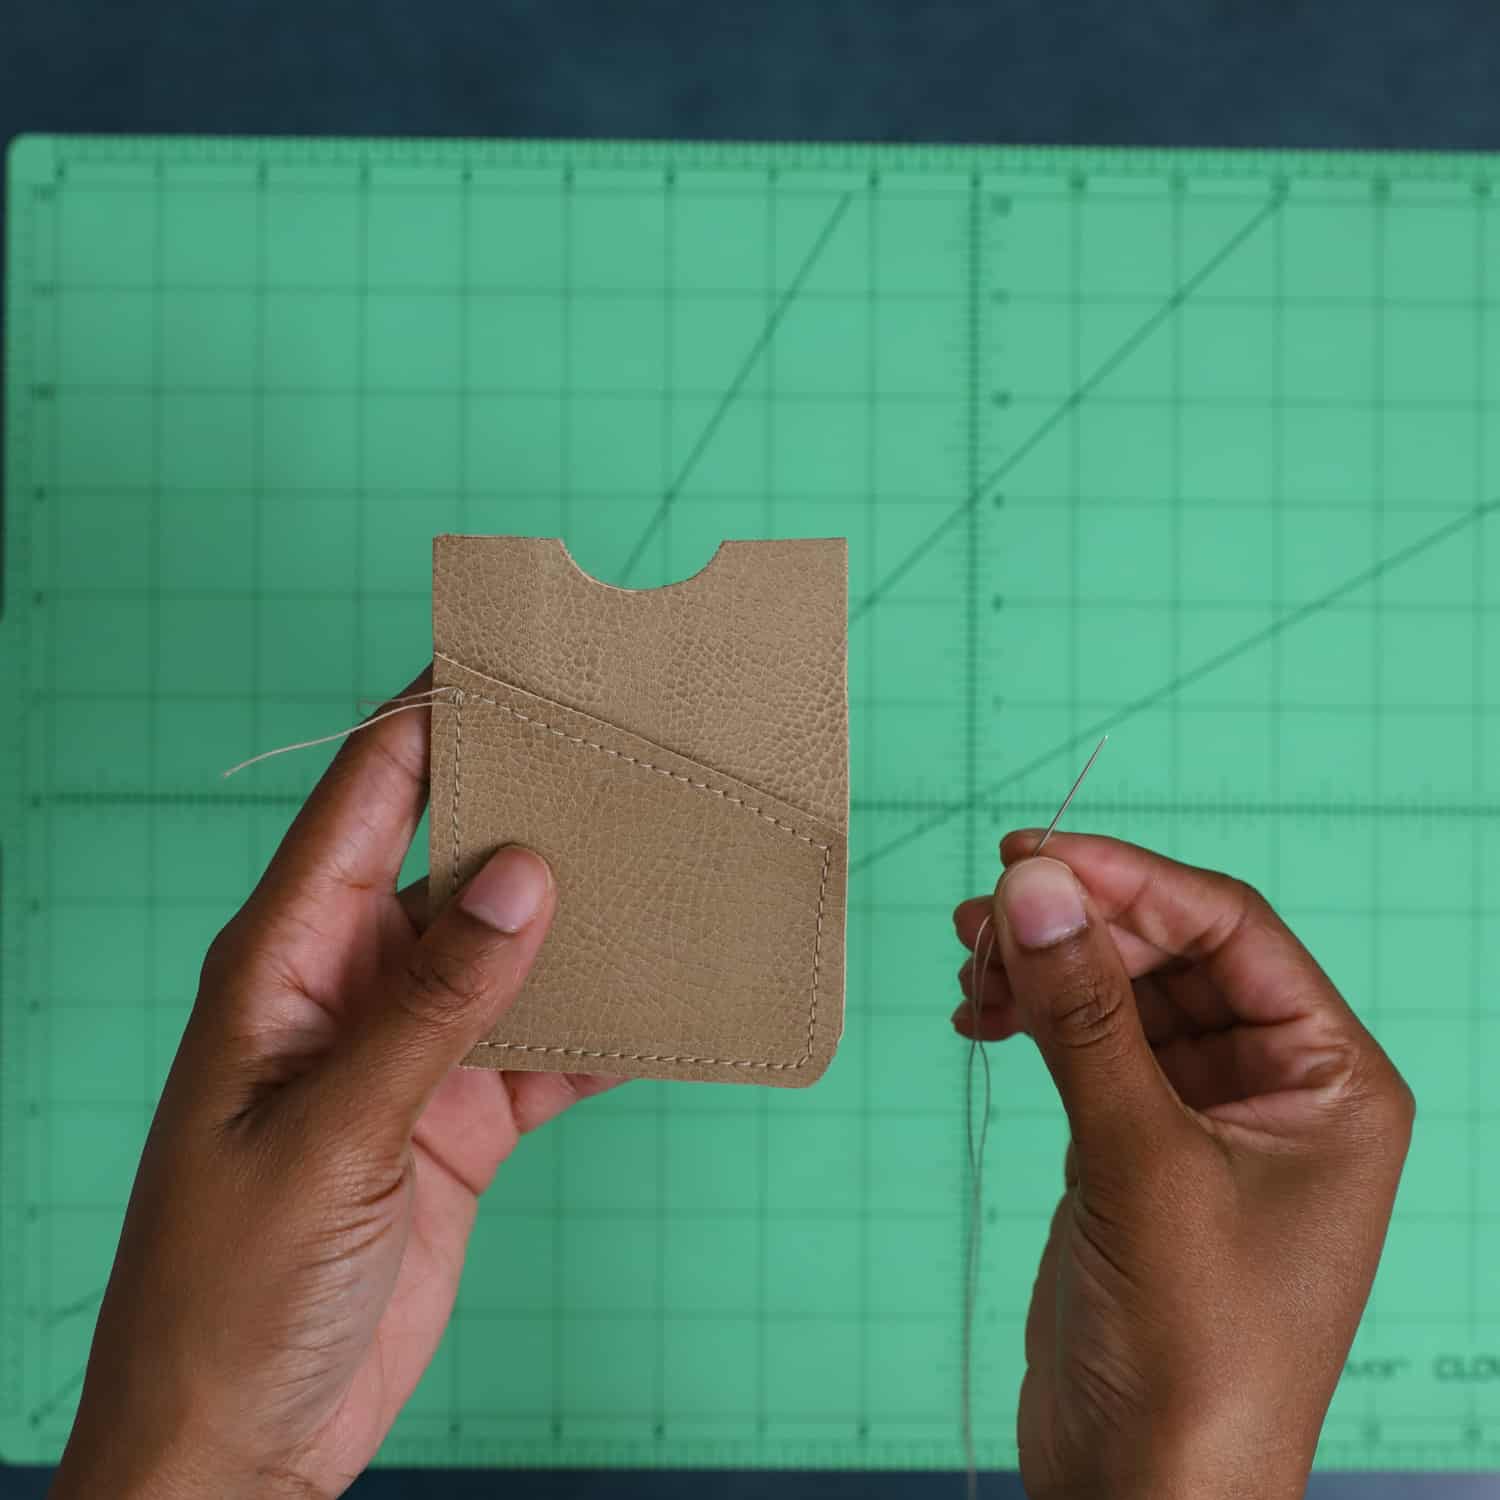
Step 7. Okay, now we’re ready to put the business card wallet together! Grab a roller foot or walking foot to topstitch the strap and front angled pattern piece.
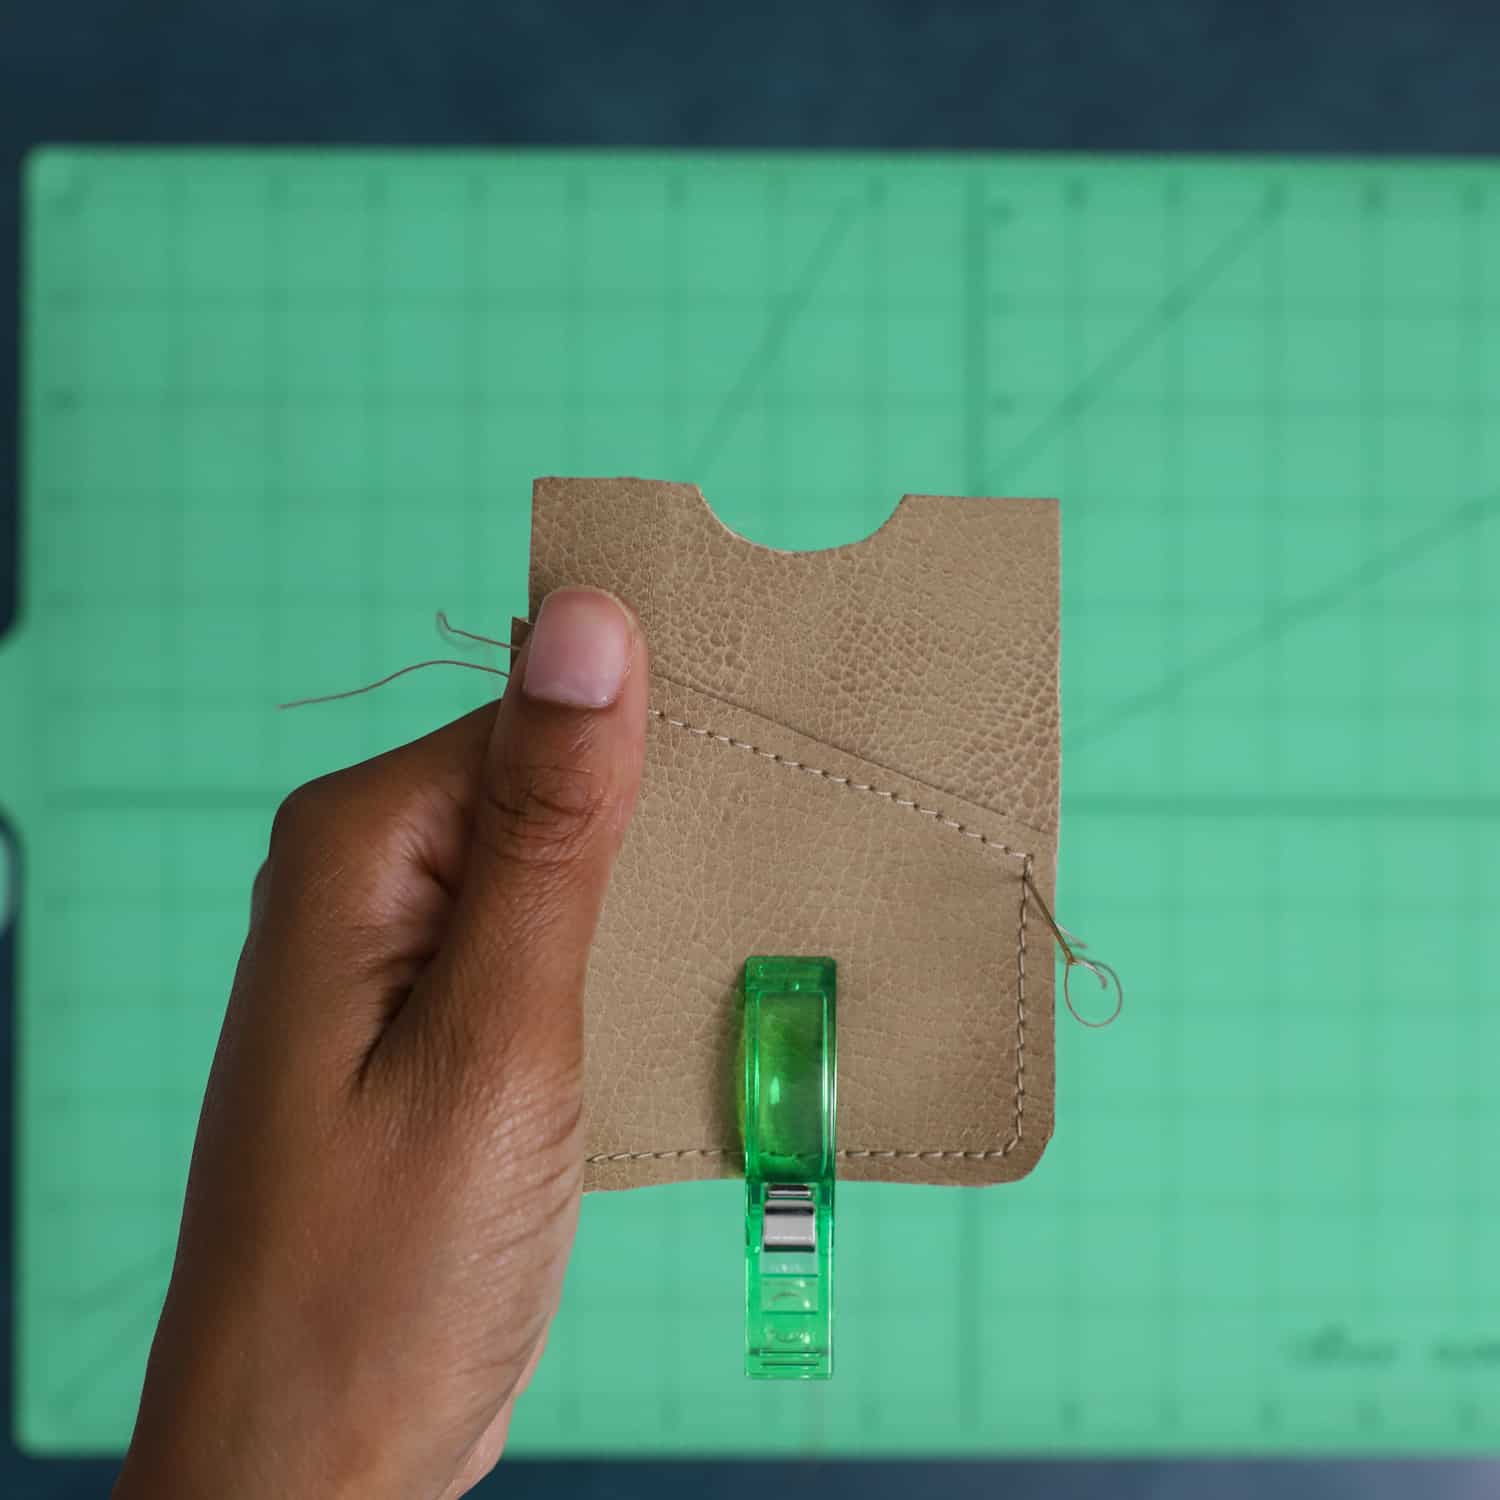
Step 8. Sewing through multiple layers of faux leather can be a challenge for some sewing machines, so it’s best to know the limits of your machine. Unfortunately, my sewing machine couldn’t sew through the three layers, so I used leather glue to finish my wallet.
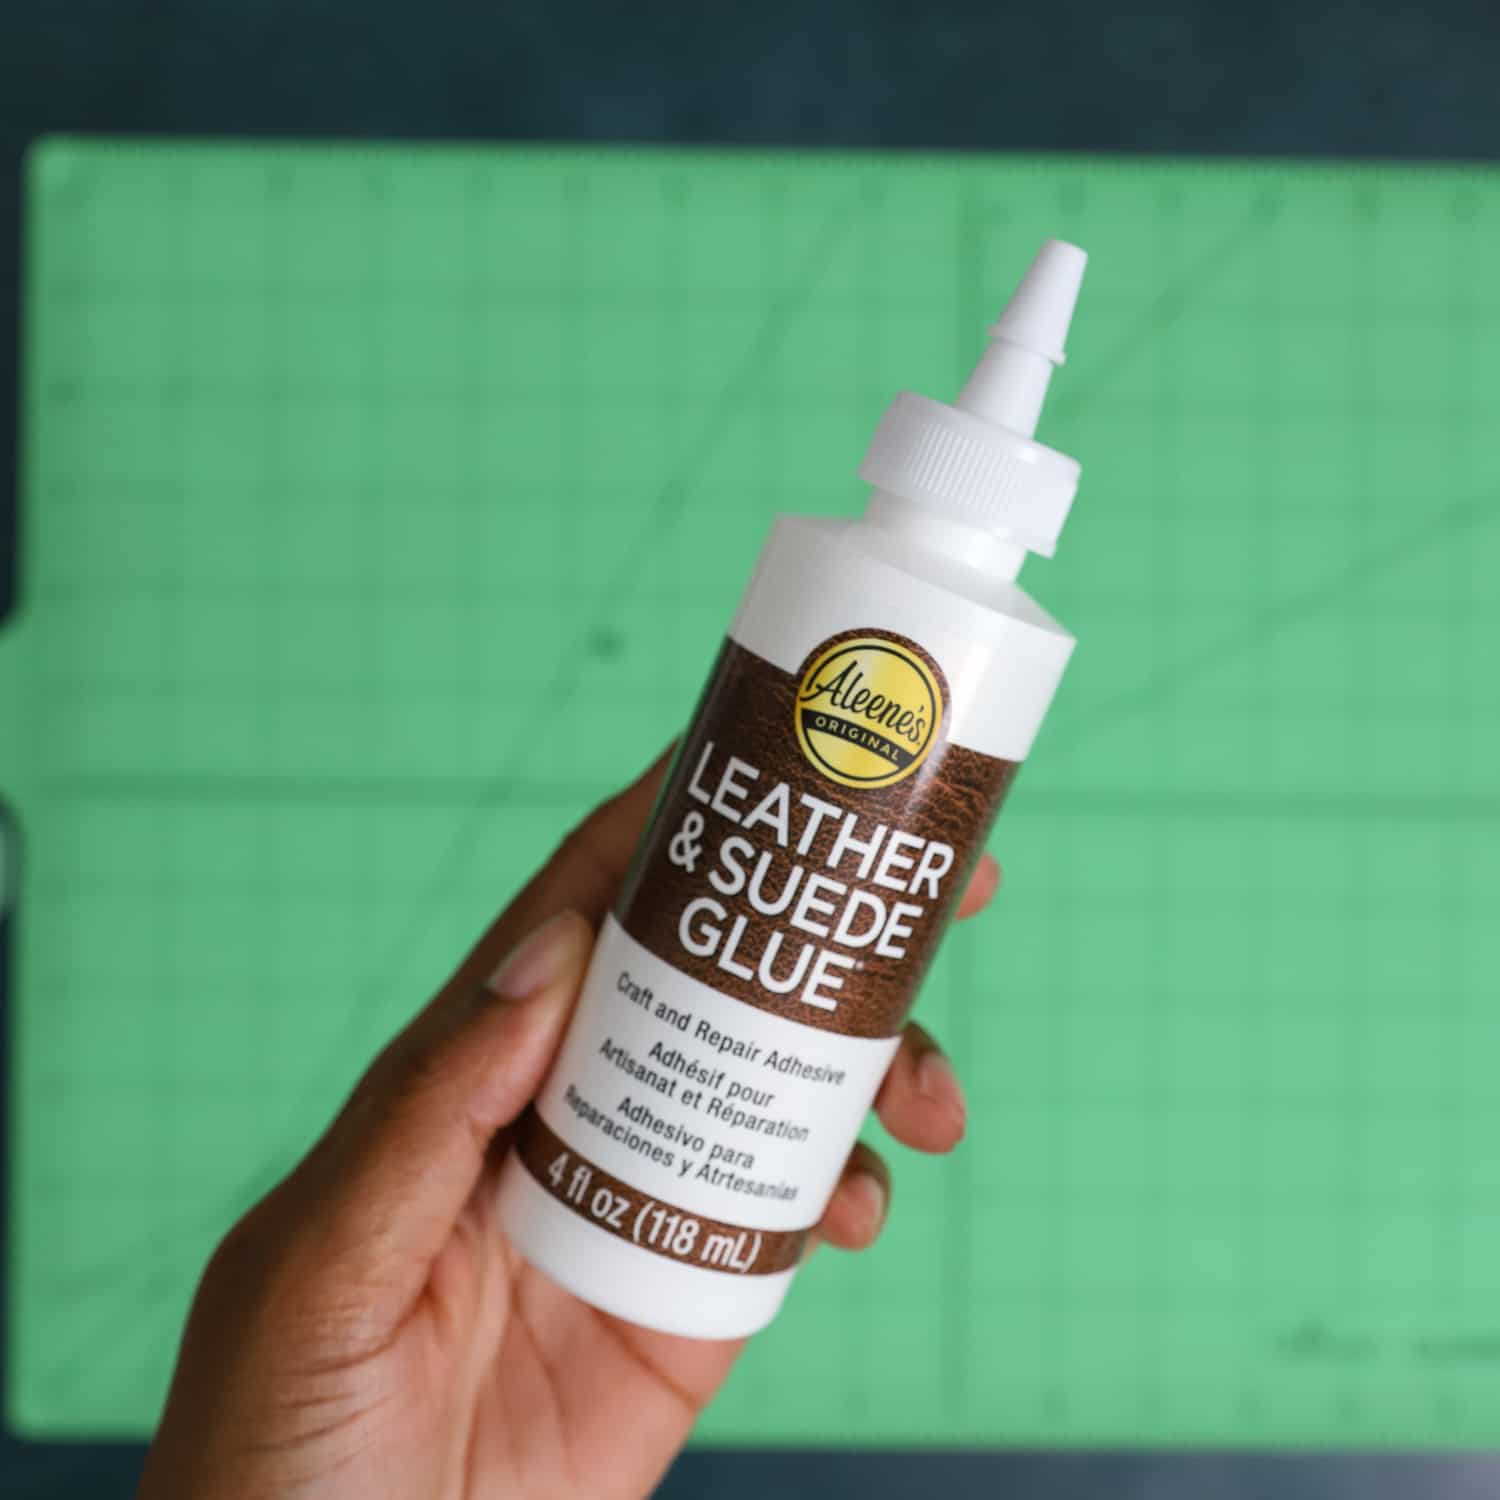
With the wrong sides facing, spread an even layer of leather glue onto the faux leather, then use a brayer to seal the back pattern pieces together.

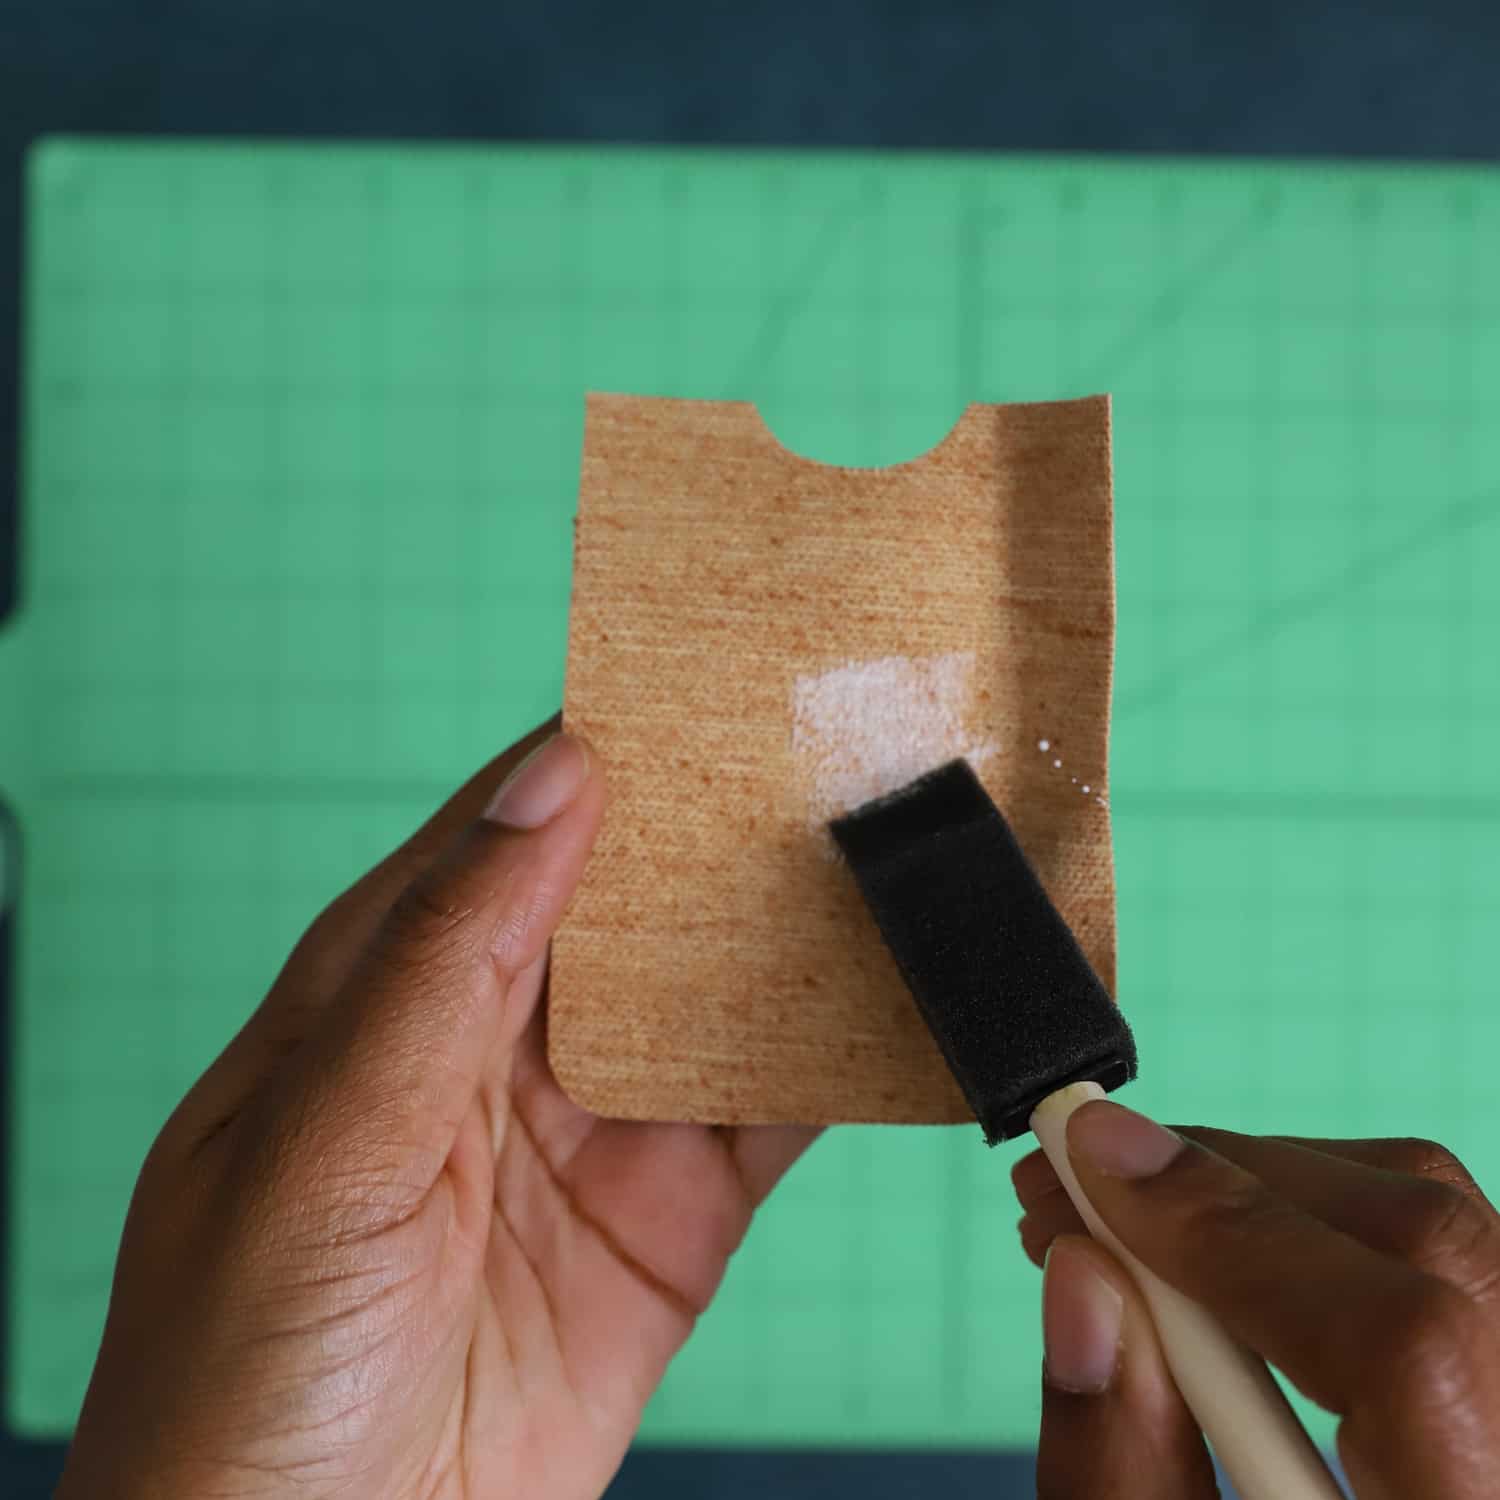
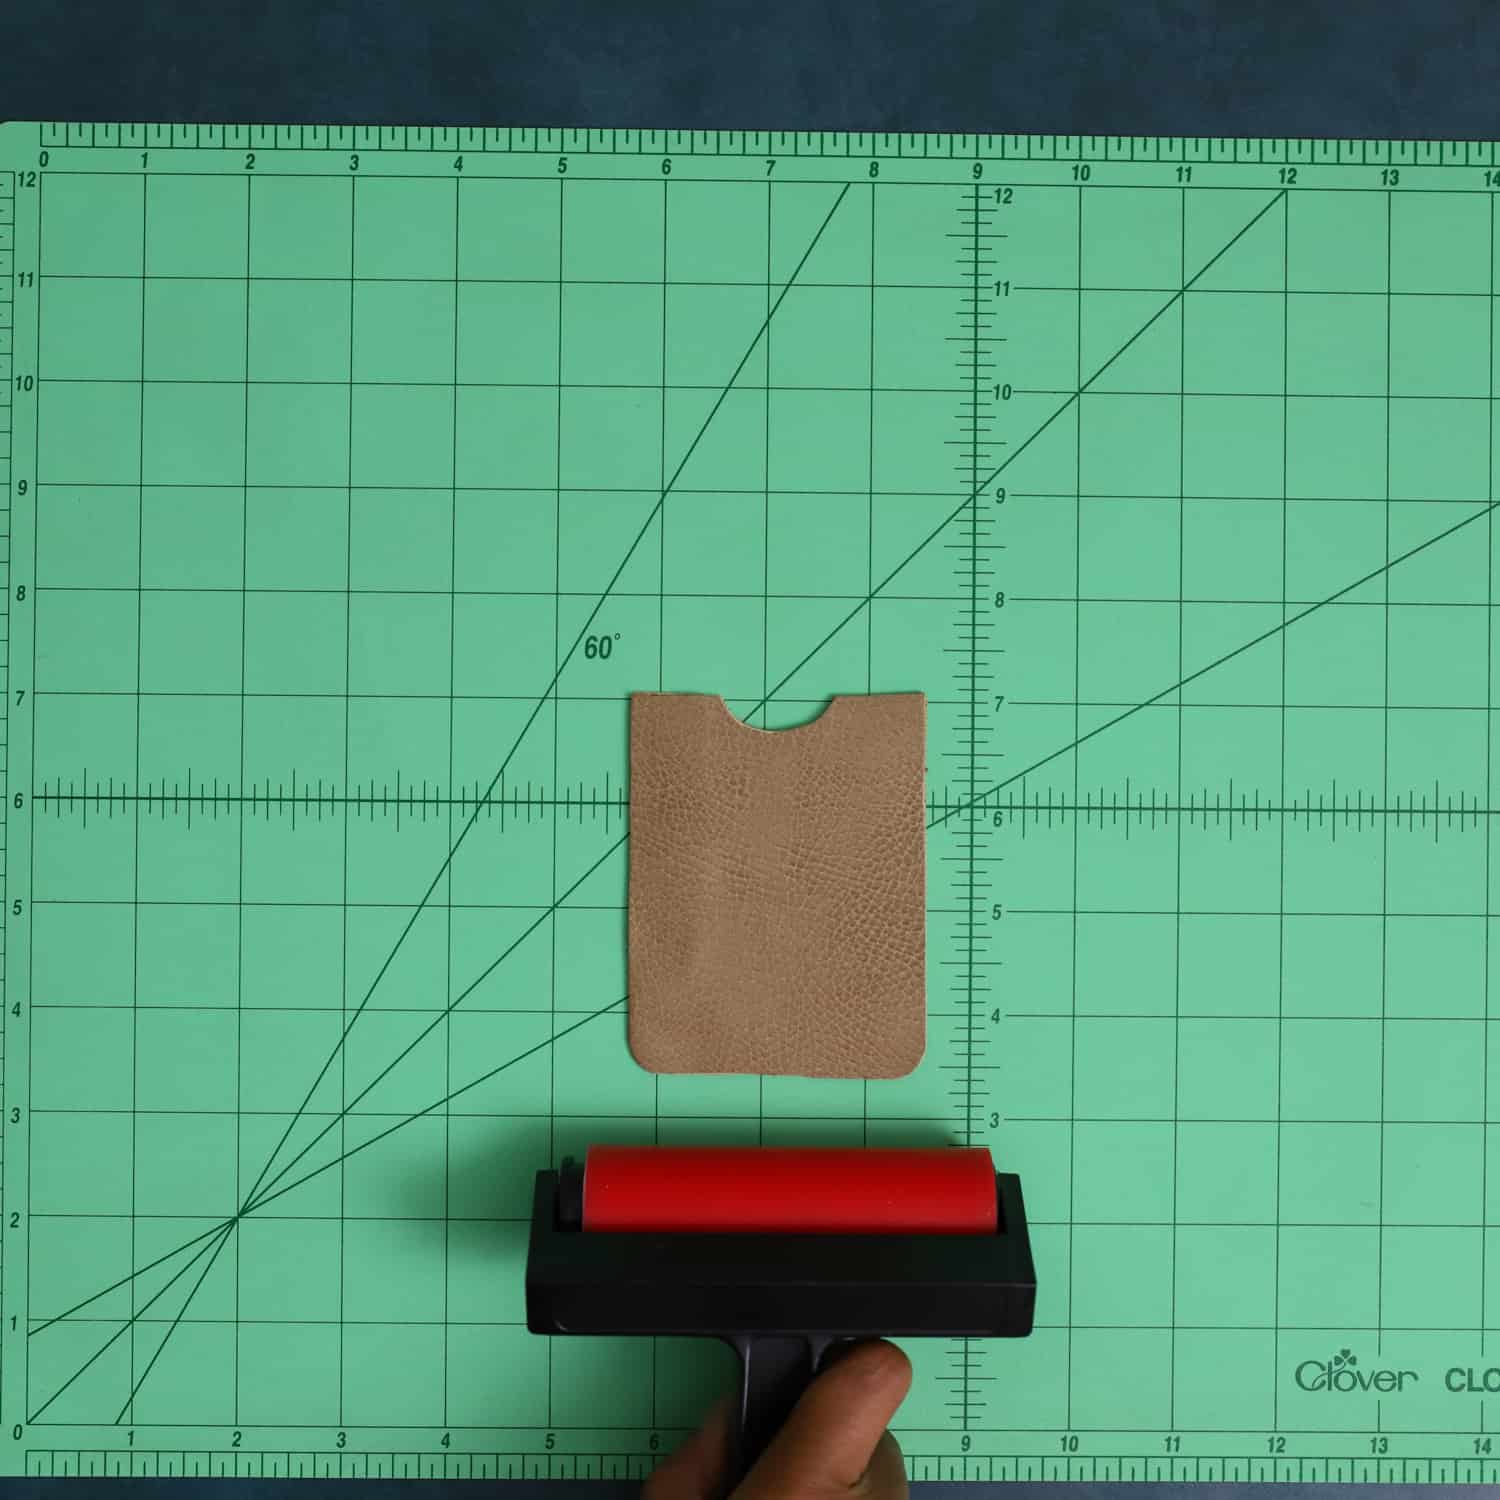

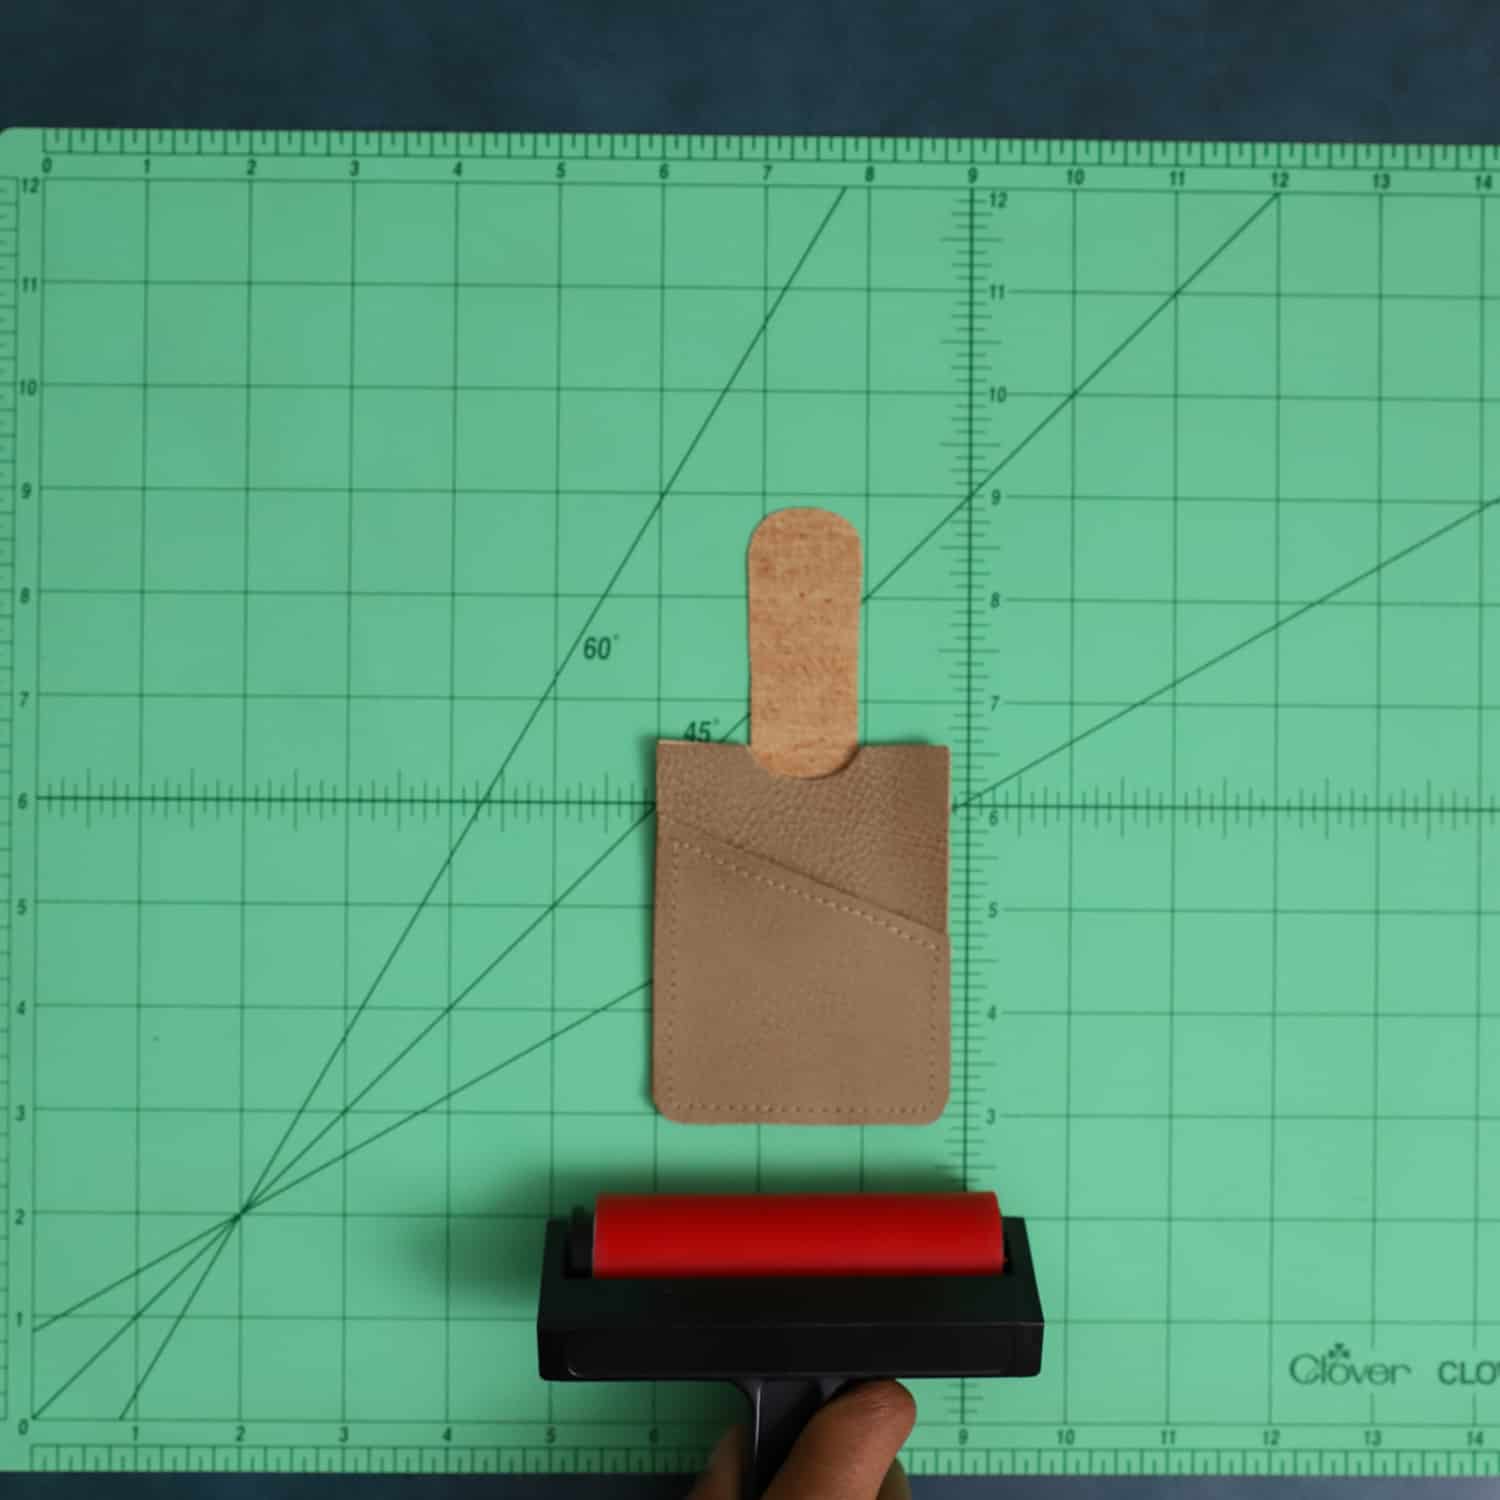
Step 9. Lay pattern weights on top of the wallet, then allow it to dry for 24 hours.
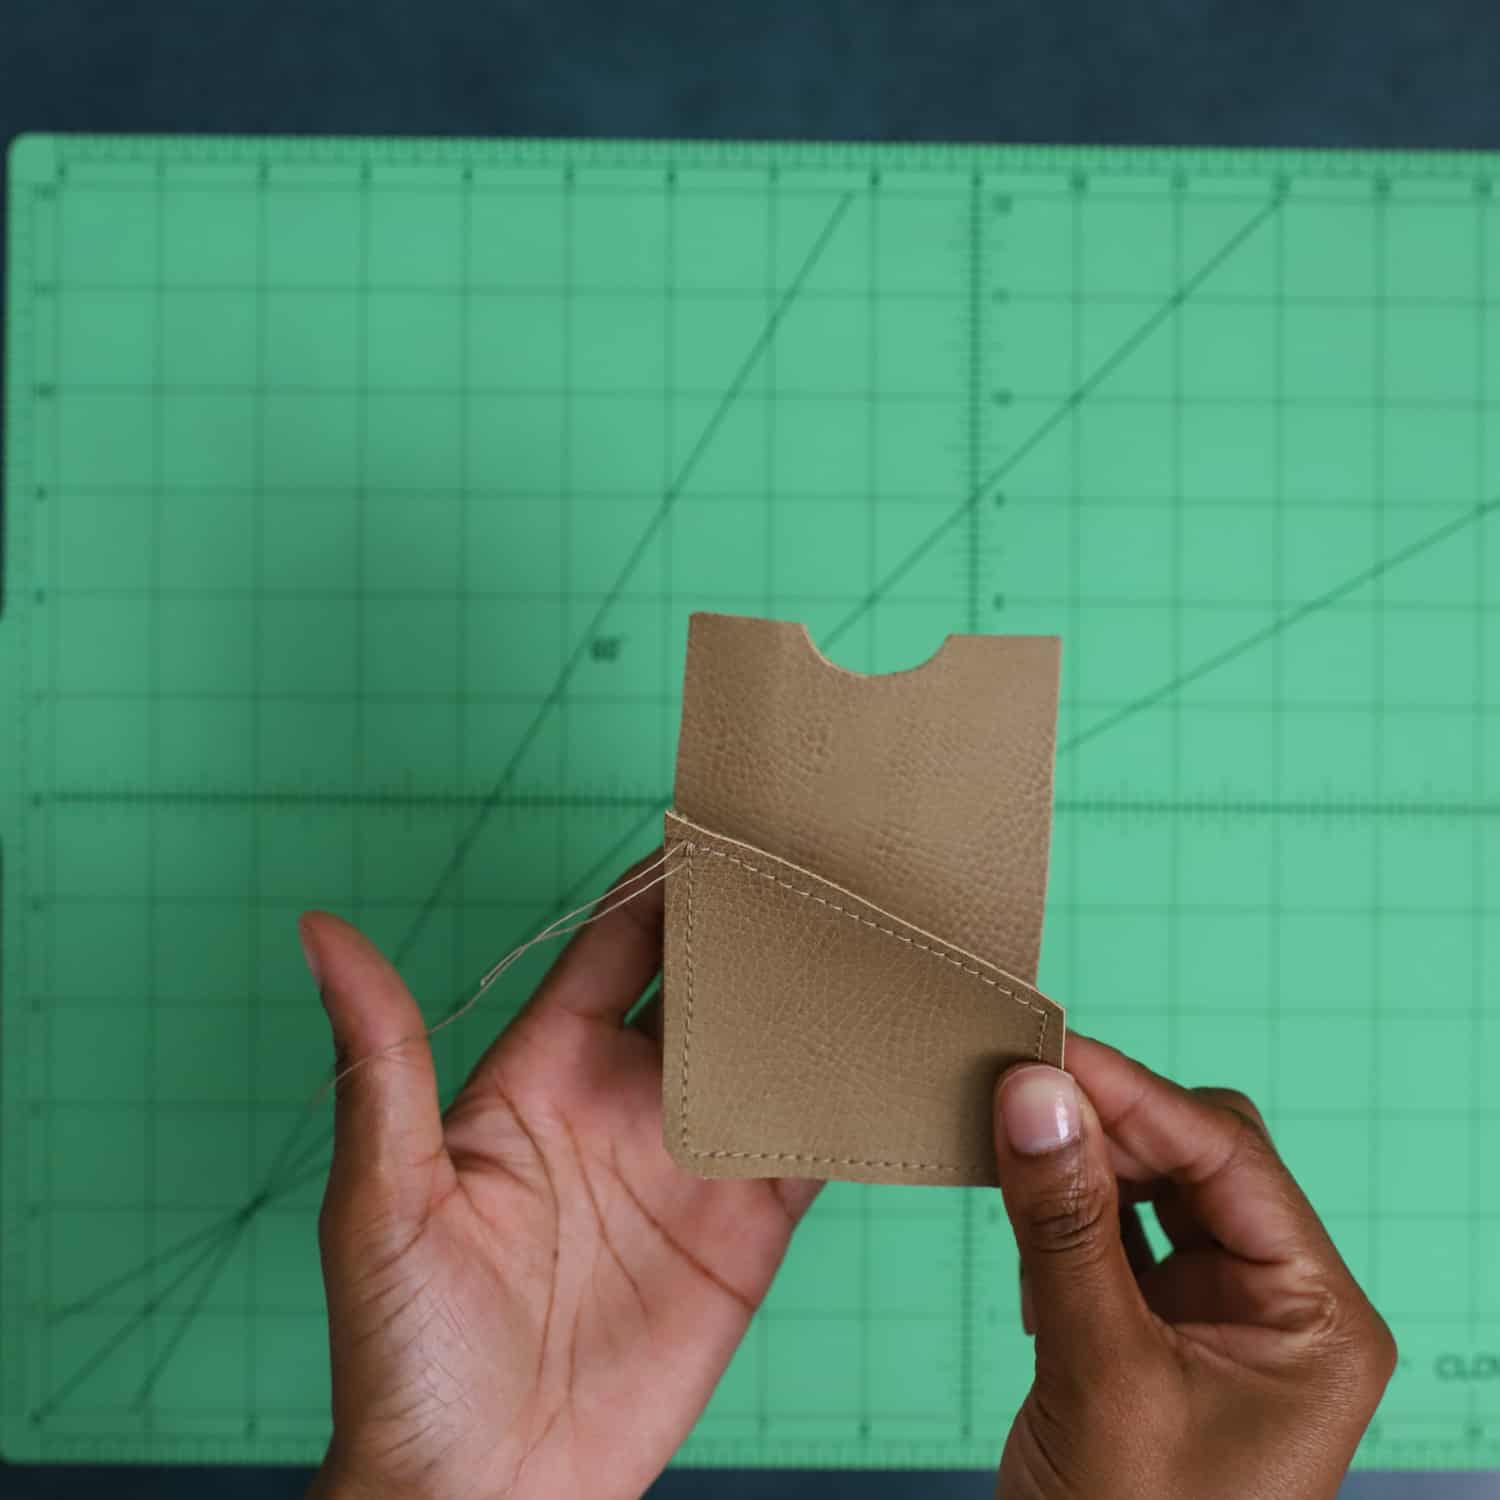
Step 10. If you have some extra time, you can totally connect the wallet by hand sewing over the topstitching.
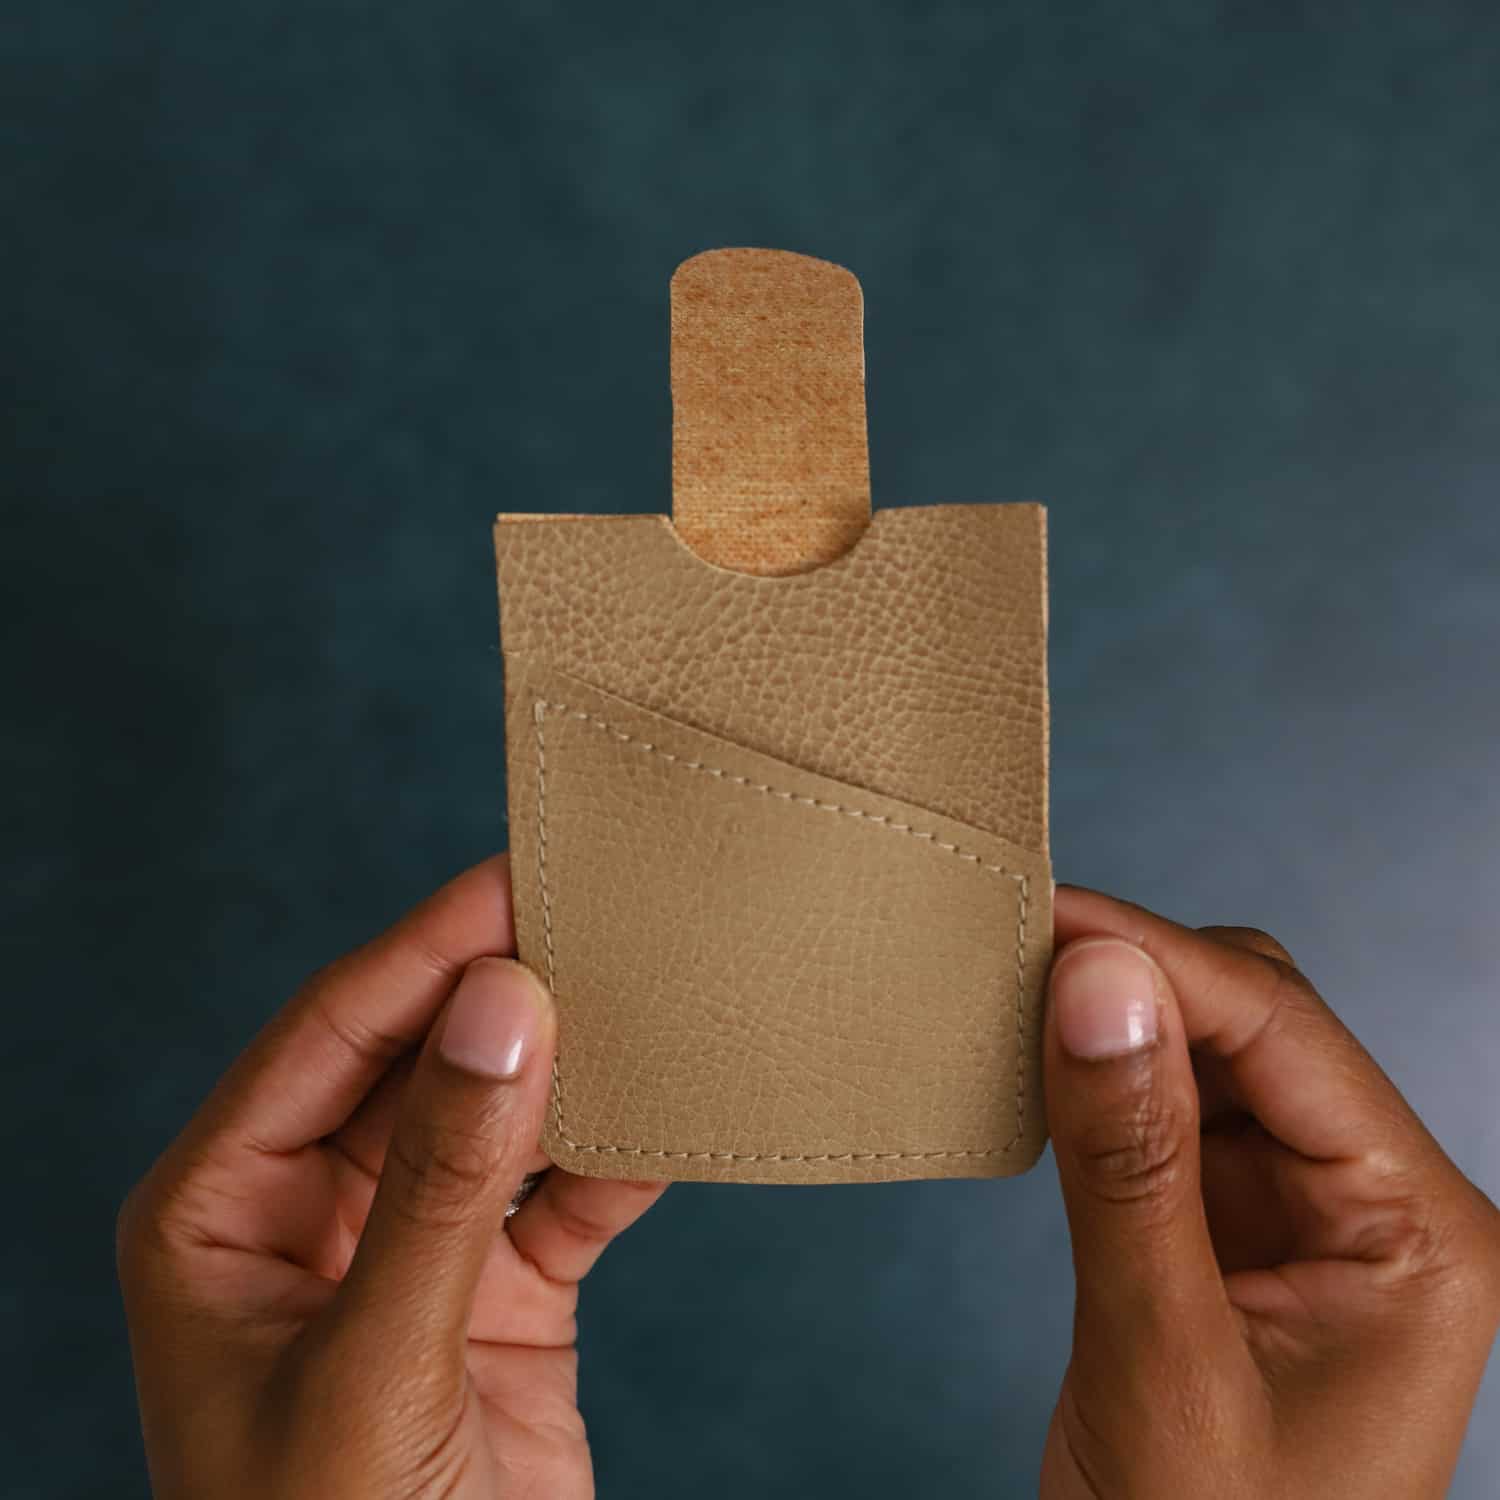
Here are a few pictures of the finished wallet. It’s lightweight and easy to fit inside any pocket!
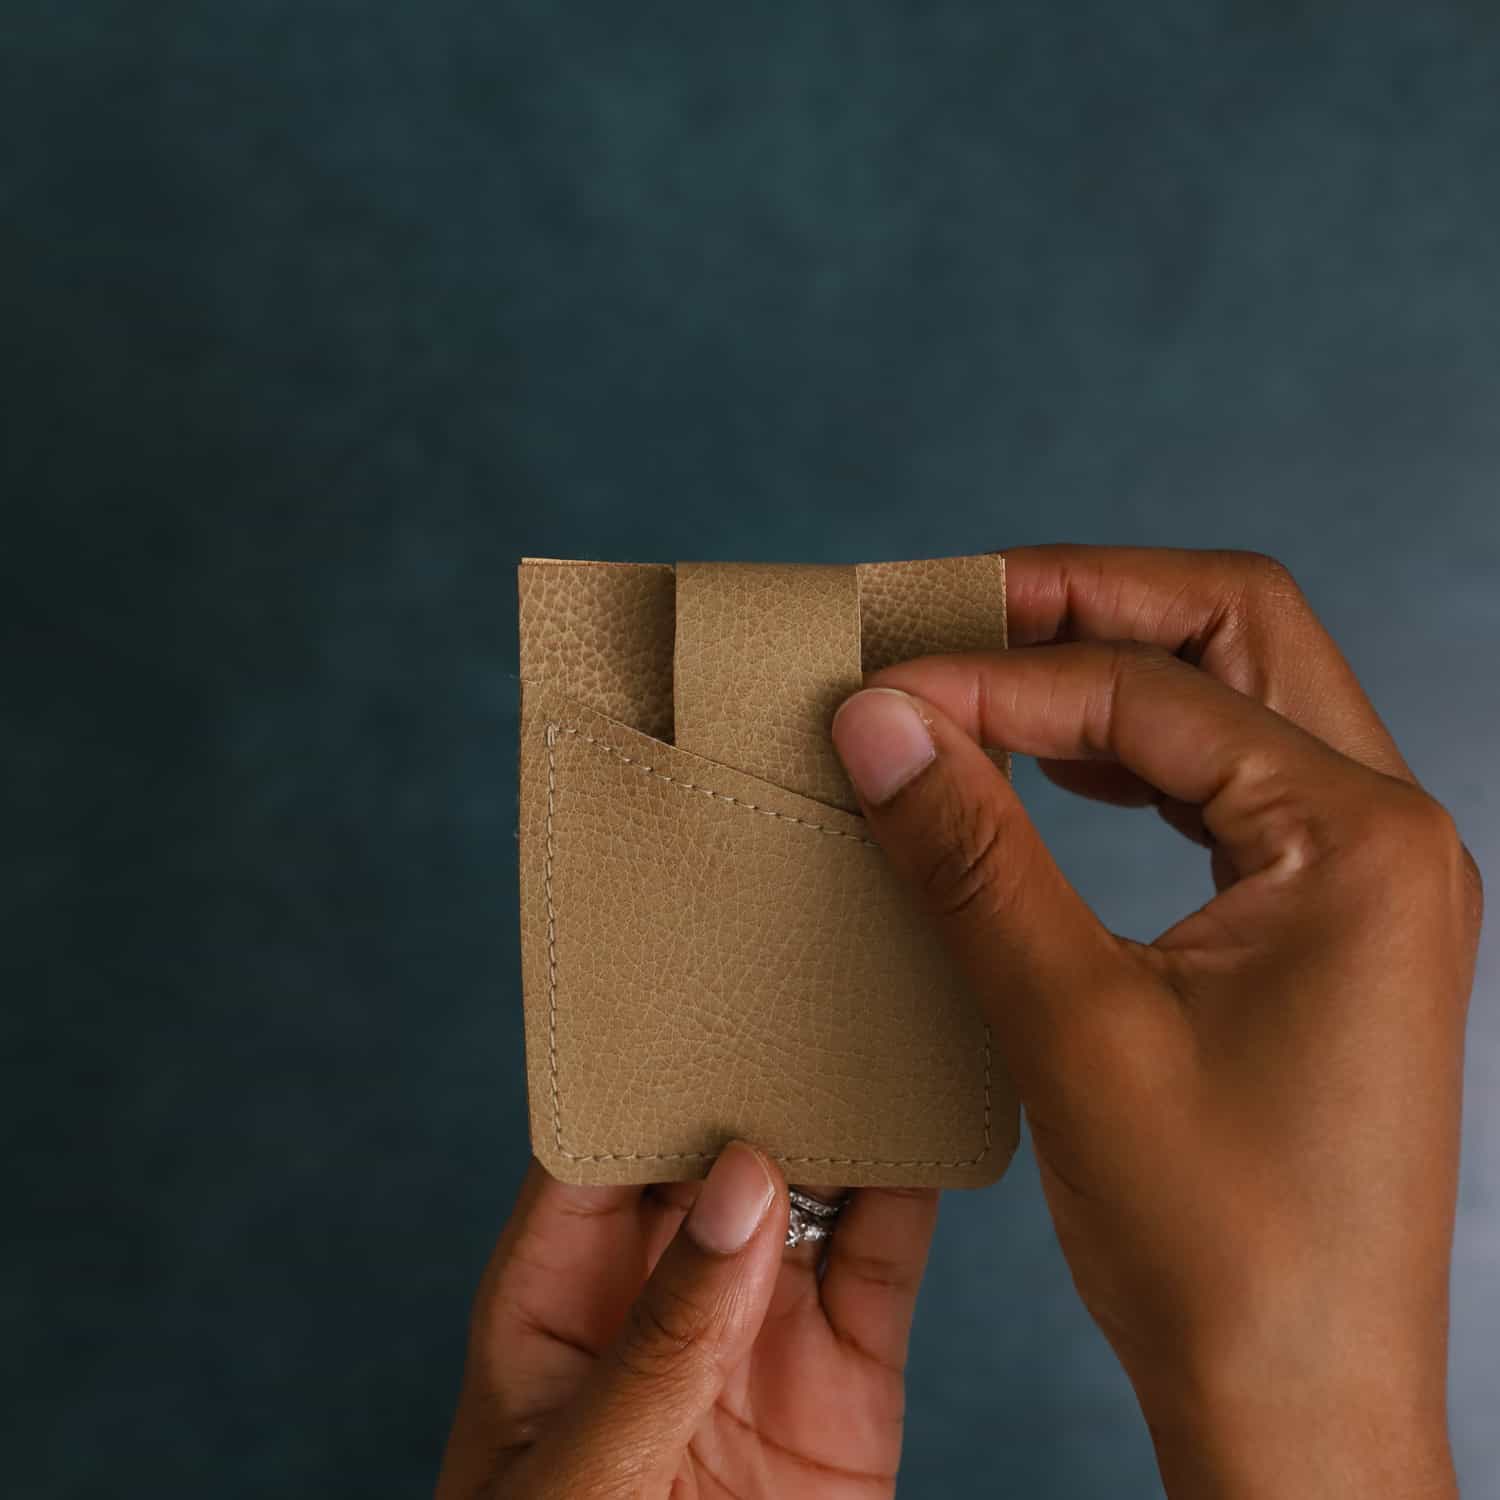
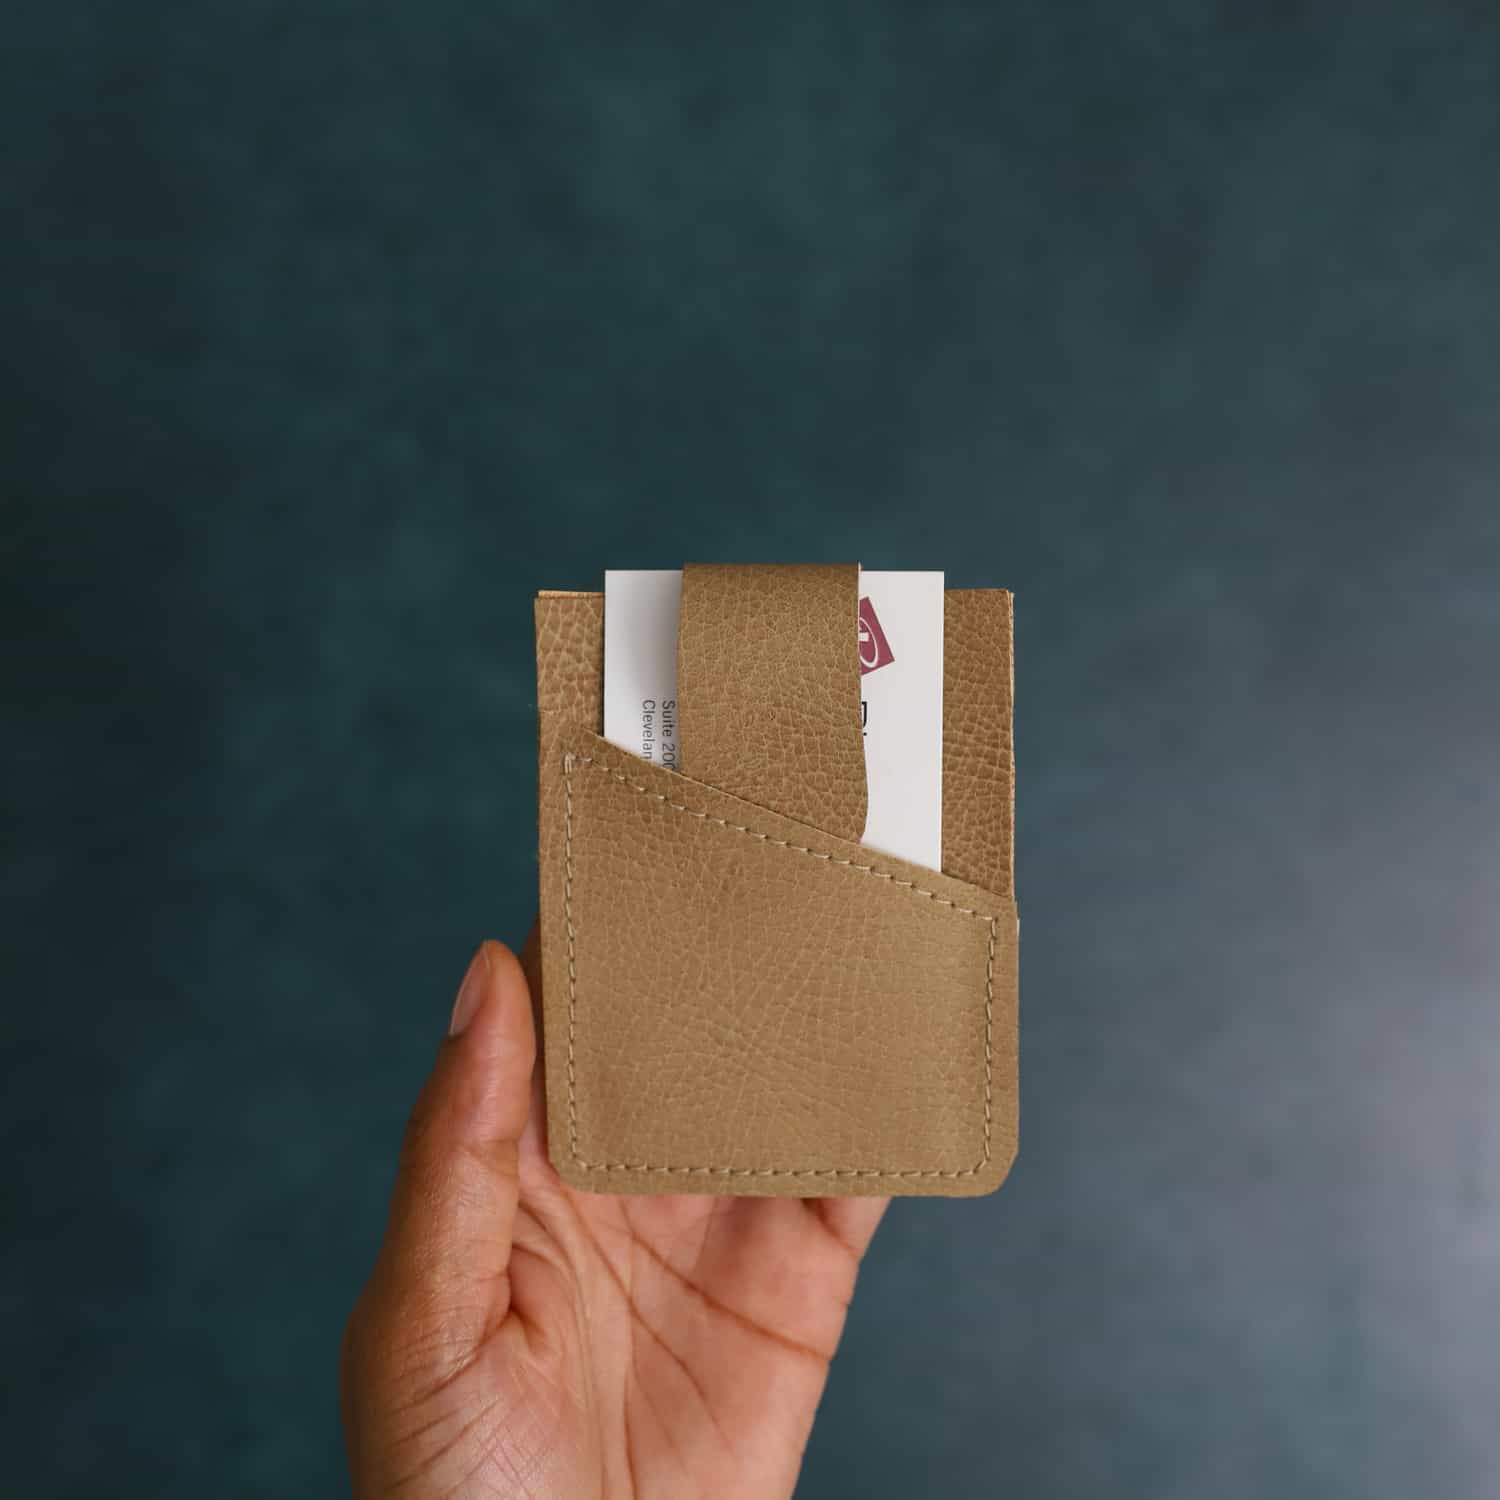

Wasn’t that a pretty fun project? I hope you enjoyed this blog and found each step helpful. If you want to see more sewing blogs, click the links to check out my DIY hexagon pot holders blog or Faux leather pouch blog.
Oh, and before you go, be sure to show me how you decided to use the pattern with the hashtag #makeitwithzeal and tag me @sprinklesofzeal on all social media.
Well, until next time, have a craftastic day!
-Danielle
Want to check out more of my blogs and tutorials? Here are my social links below!
Blog | Instagram | Facebook | Pinterest | YouTube
Stay connected with Clover on Facebook | Twitter | Instagram | Pinterest | YouTube | Ravelry