Faux Leather Pouch – Sewing Pattern
 Hey everyone, Happy New Year! I hope that your 2021 will be bright, peaceful, and full of creativity.
My name is Danielle and I am the designer and craft blogger over at sprinklesofzeal. Today we will be sewing a Faux Leather Pouch with an internal kiss clasp. This mini pouch is not only great for saving pocket change but storing any other items in your craft room. Are you ready to get sewing? Alright, Let’s Go!

To create your leather pouch, you will need:
- Clover Triangle Tailor’s Chalk (Red) – Art No. 432/R
- Clover Seams Right – Art No. 9507
- Clover Hold it Precision Stiletto – Art No. 7807
- Clover Bordeaux Ultimate Shears 130 – Art No. 4940
- Clover Bordeaux Ultimate Shears 200 – Art No.4942
- Clover Mini Wonder Clips – Art No. 3189
- 7 inches of Lightweight Leather or Faux Leather
- Thread
- Teflon Foot
- Sewing Machine
- Internal Kiss Clasp Clip 110mm
- Pliers
Instructions:
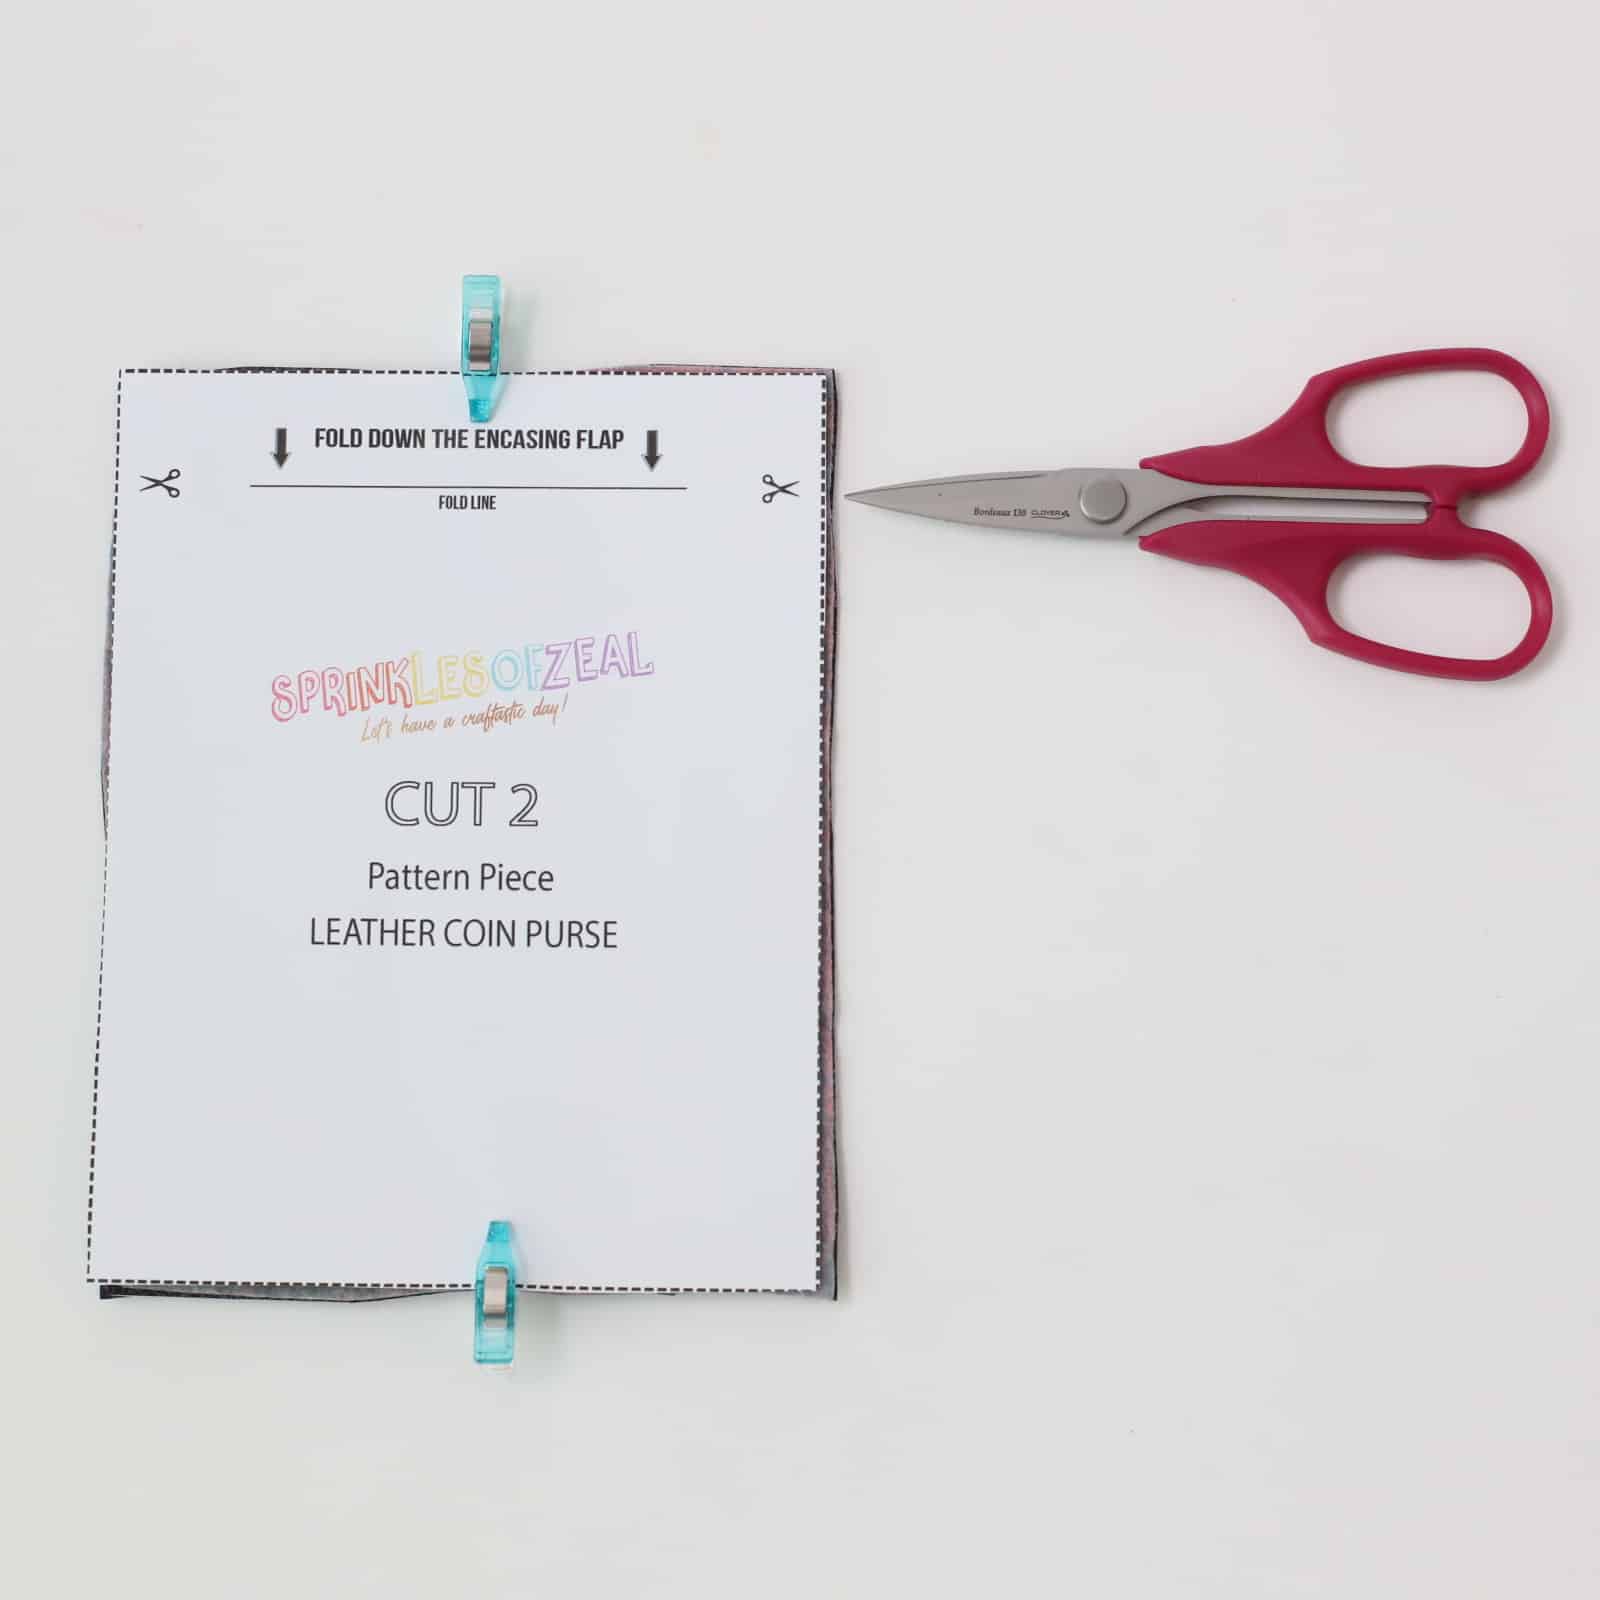
Step 1: Download and print the pattern.

Step 2: Place the pattern on the wrong side of the fabric, then use the red Triangle Tailor’s Chalk to begin tracing. After you’ve outlined the pattern, use the Bordeaux Shears 200 to cut the fabric.

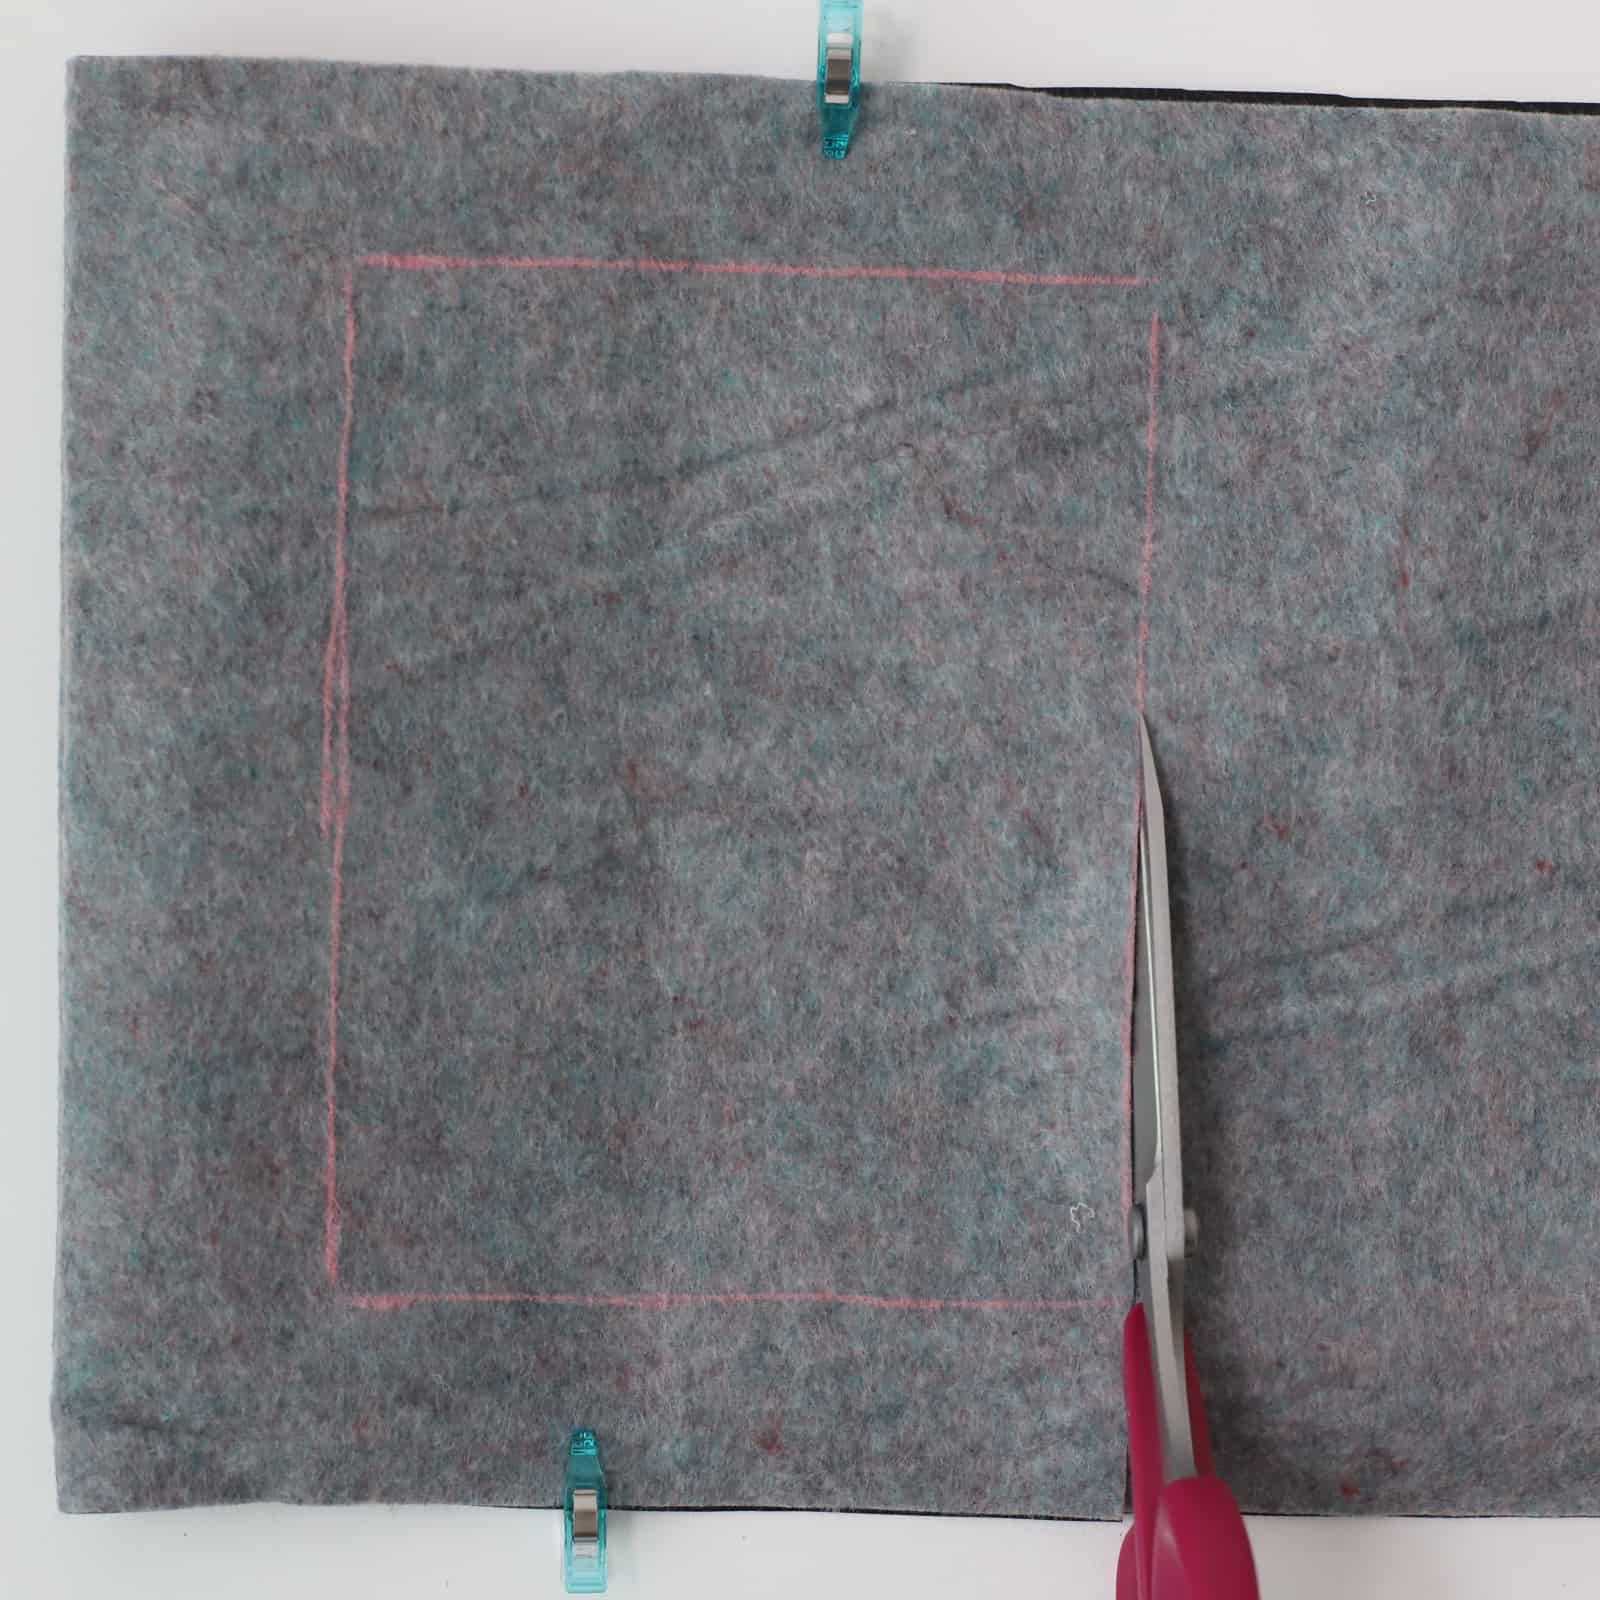
I like to make little snips in the fabric to help me locate the fold line on each side. The scissor image on the pattern indicates where the snips should be placed, but it may not be necessary if you decide to use a different fabric.
 Step 3: Now, it’s time to make the encasing that will house the clasp. I usually complete this step before stitching the pouch to make sure that the clasp fits. First, you’re going to look for the snips in the fabric then, fold the fabric down and secure it with two Mini Wonder Clips.

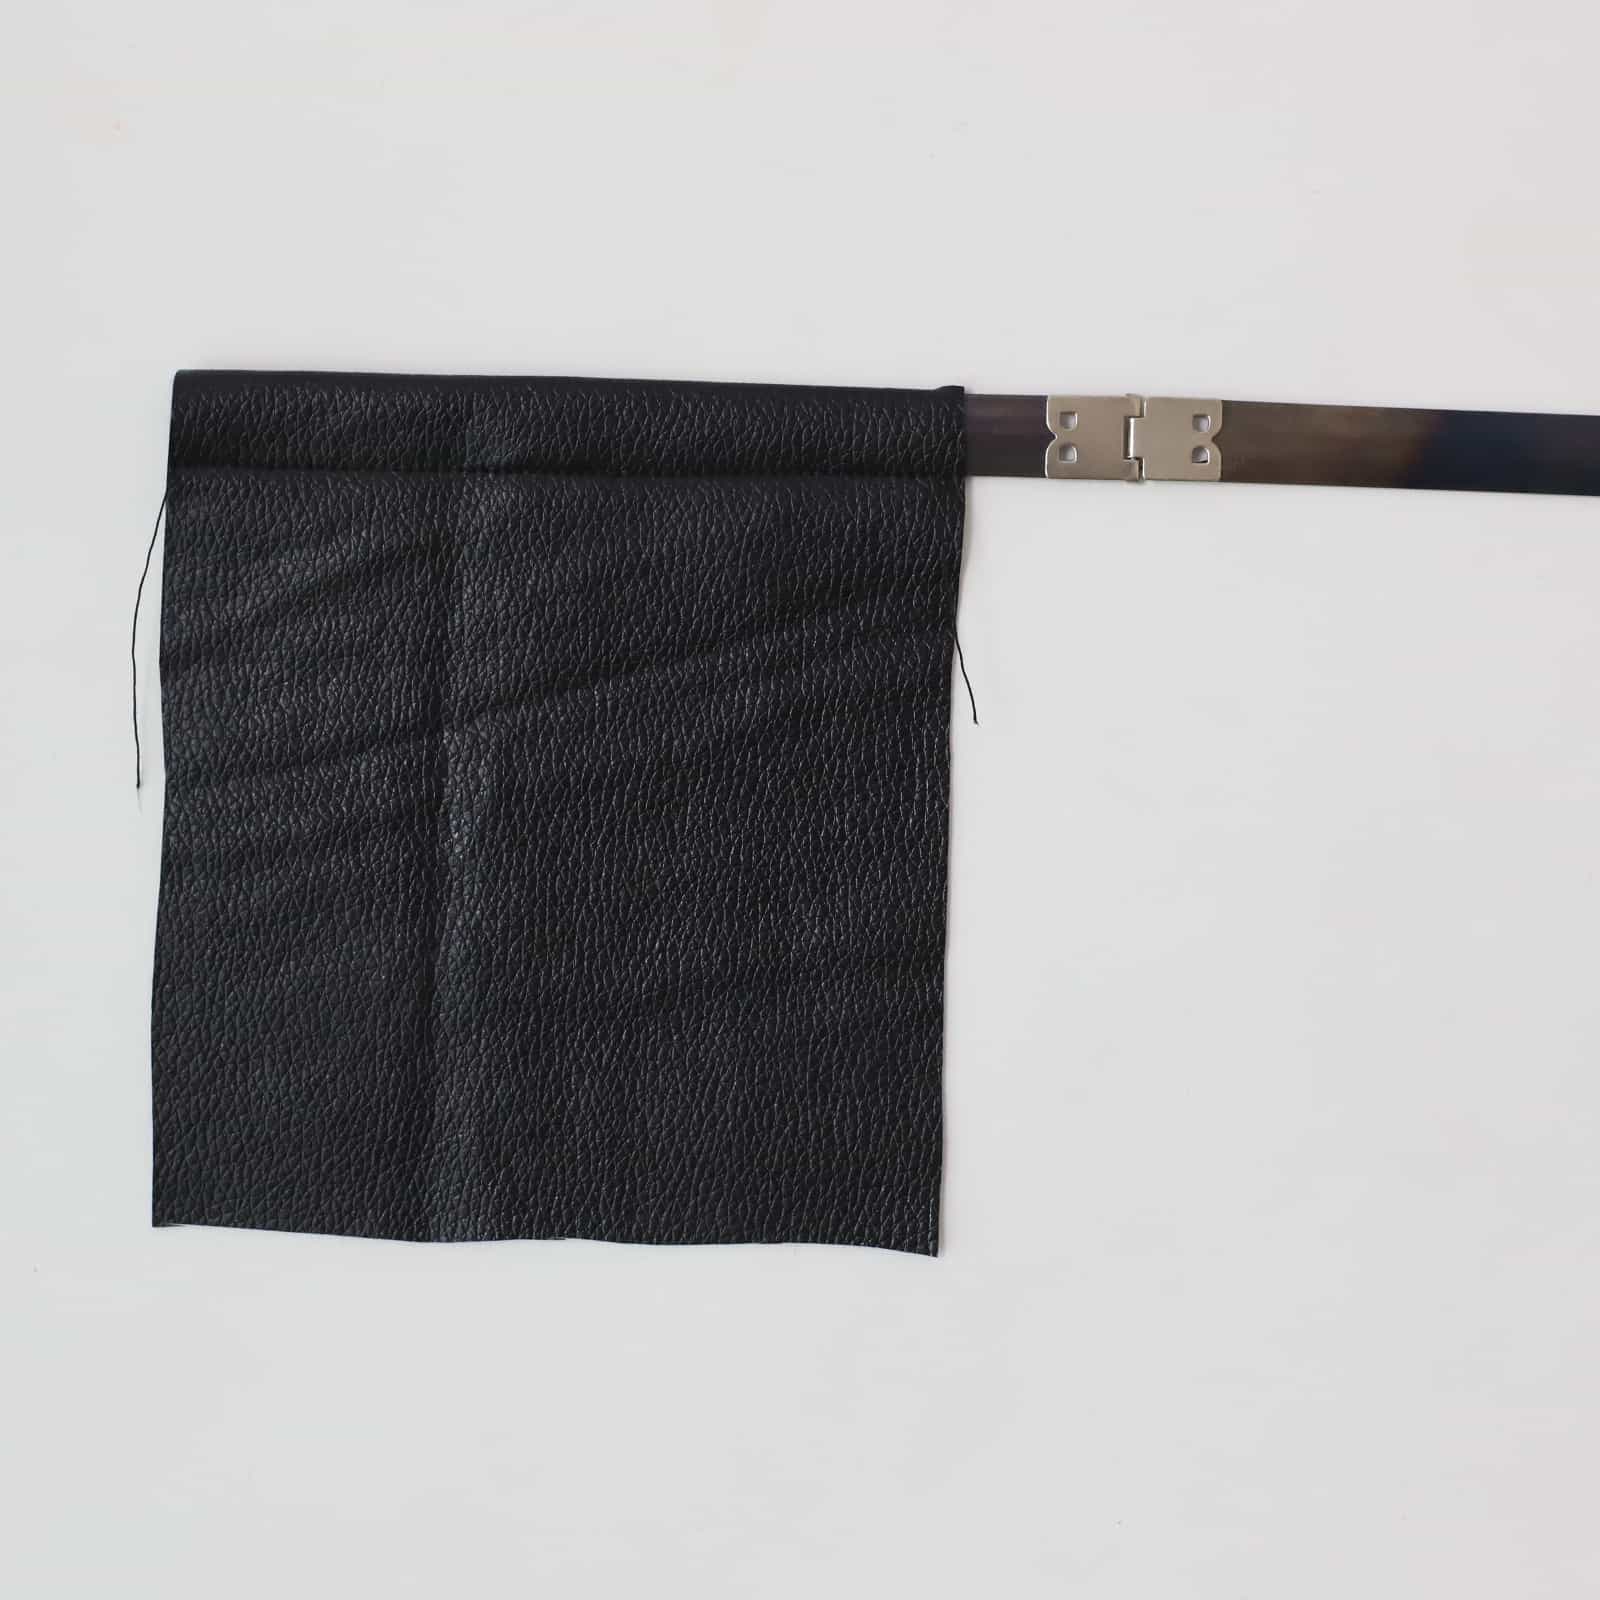
I like to attach the clasp in the center of the encasing to check the spacing.

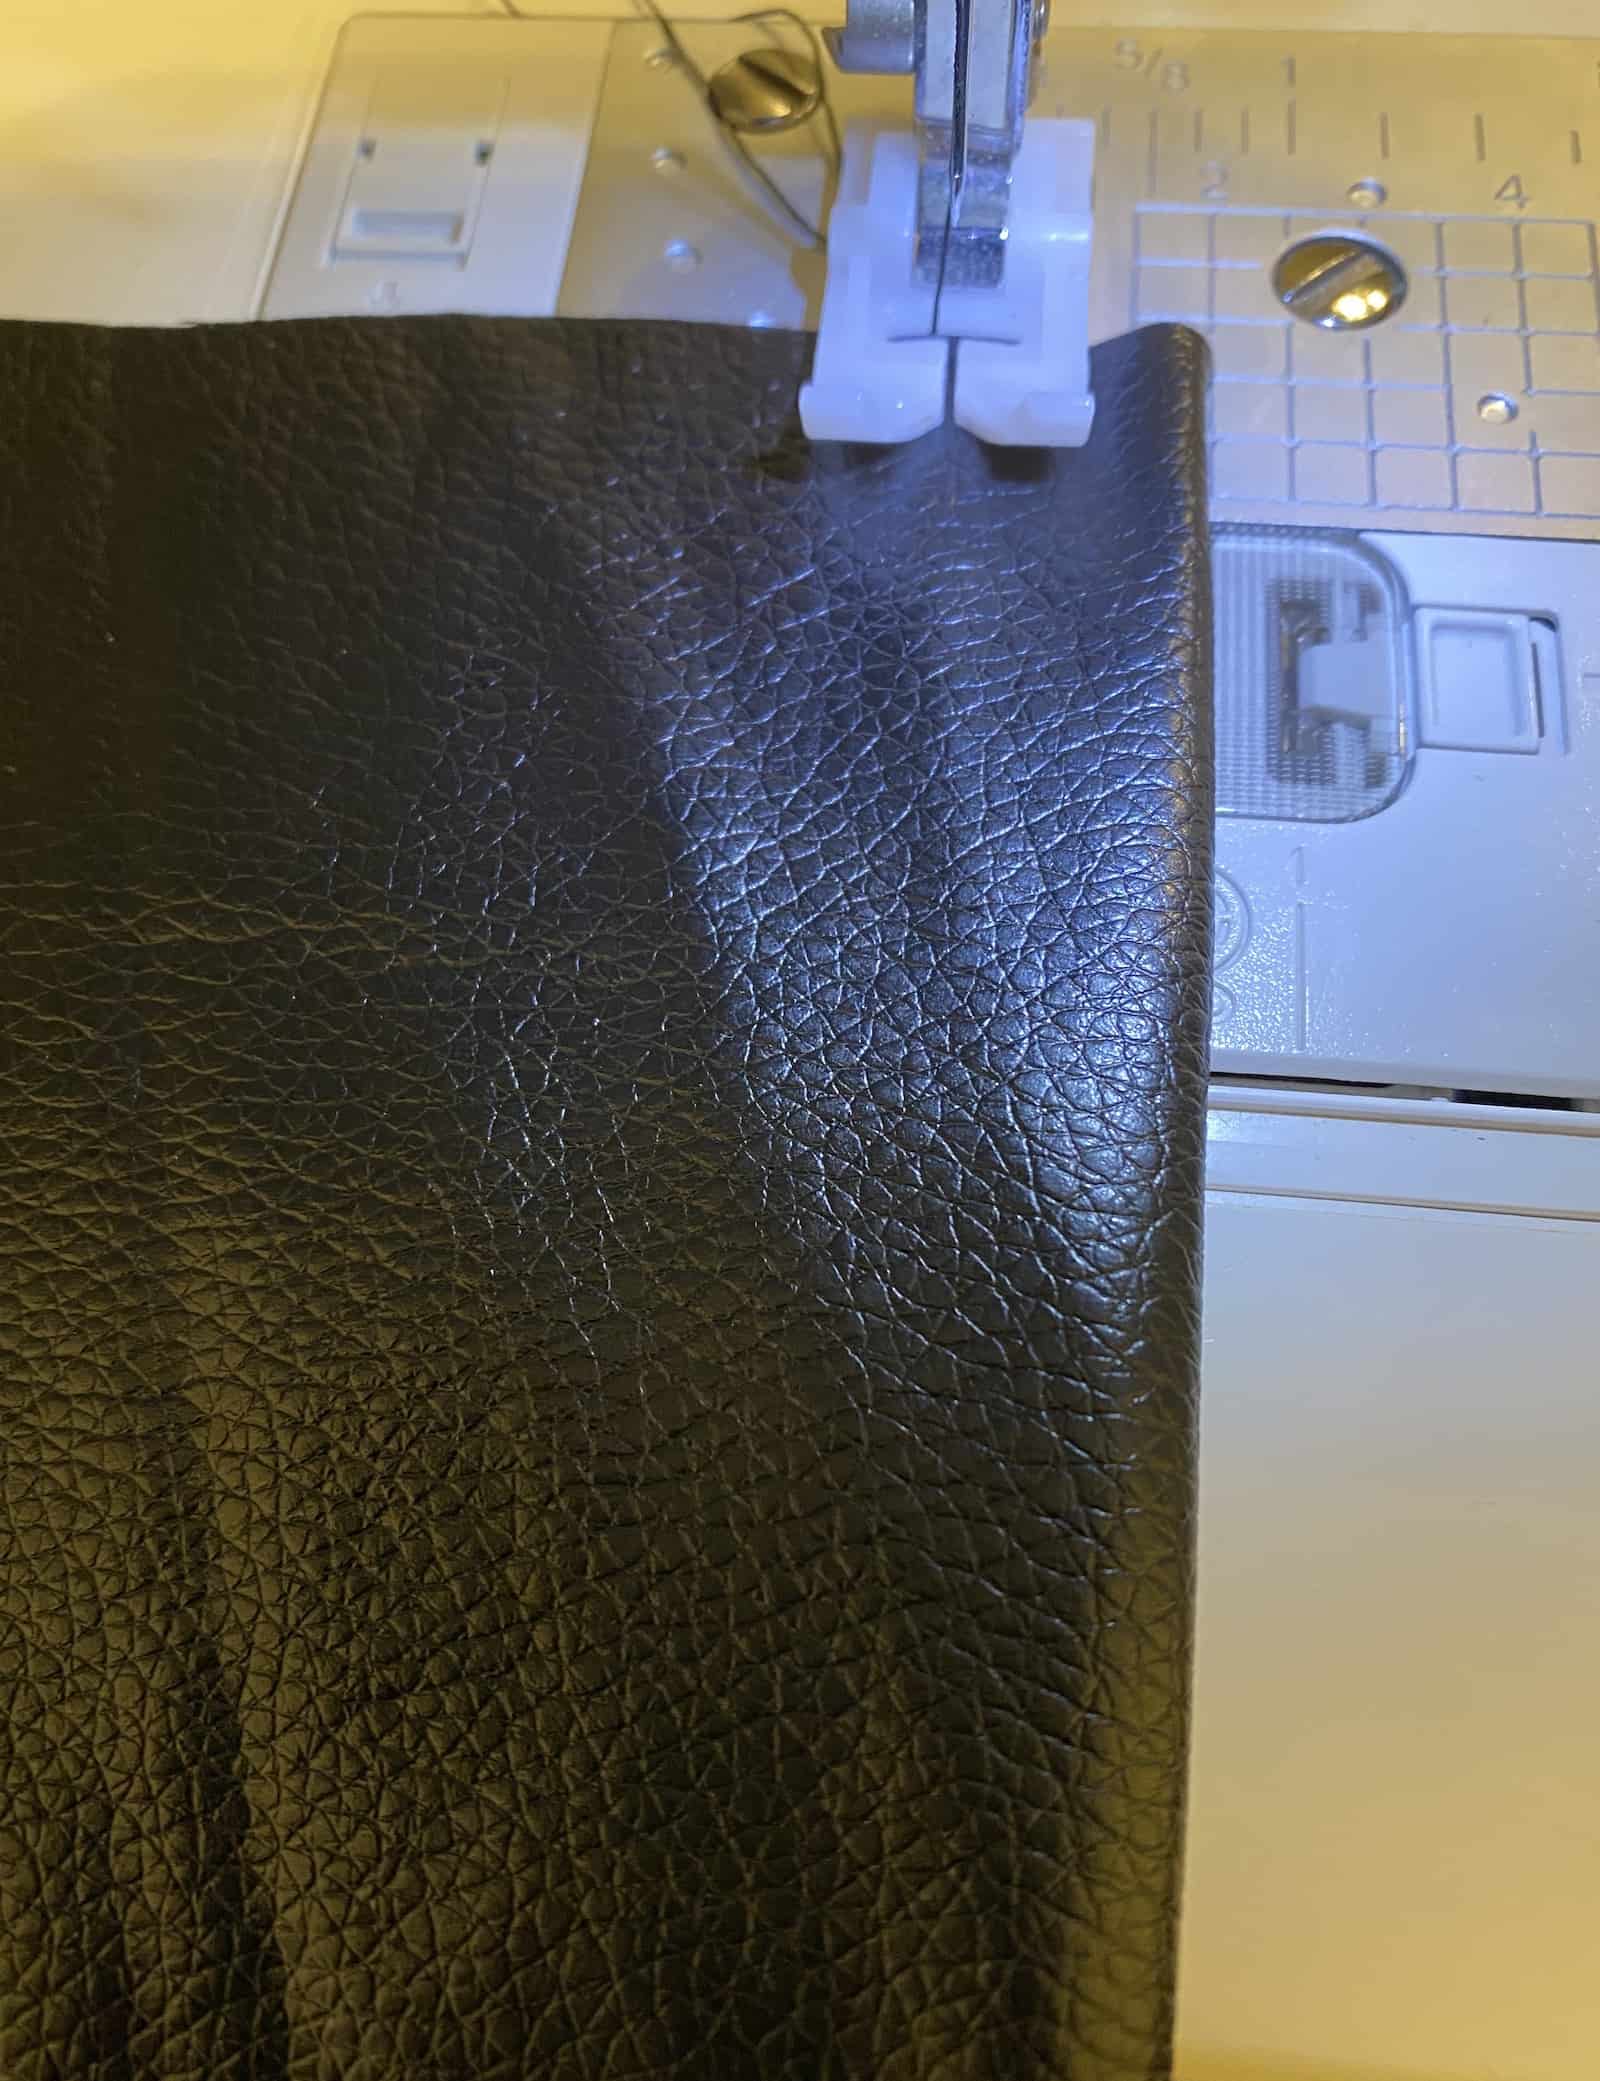
Next, you’re going to sew a straight stitch on the right side of the fabric to close the encasing. Before you begin sewing, use your handwheel to drop your needle inside the fabric to prevent it from shifting. Some faux leather can be slippery, so I recommend using a Teflon foot if you have trouble sewing with a standard foot.

Check to make sure that the clasp fits inside before moving on.
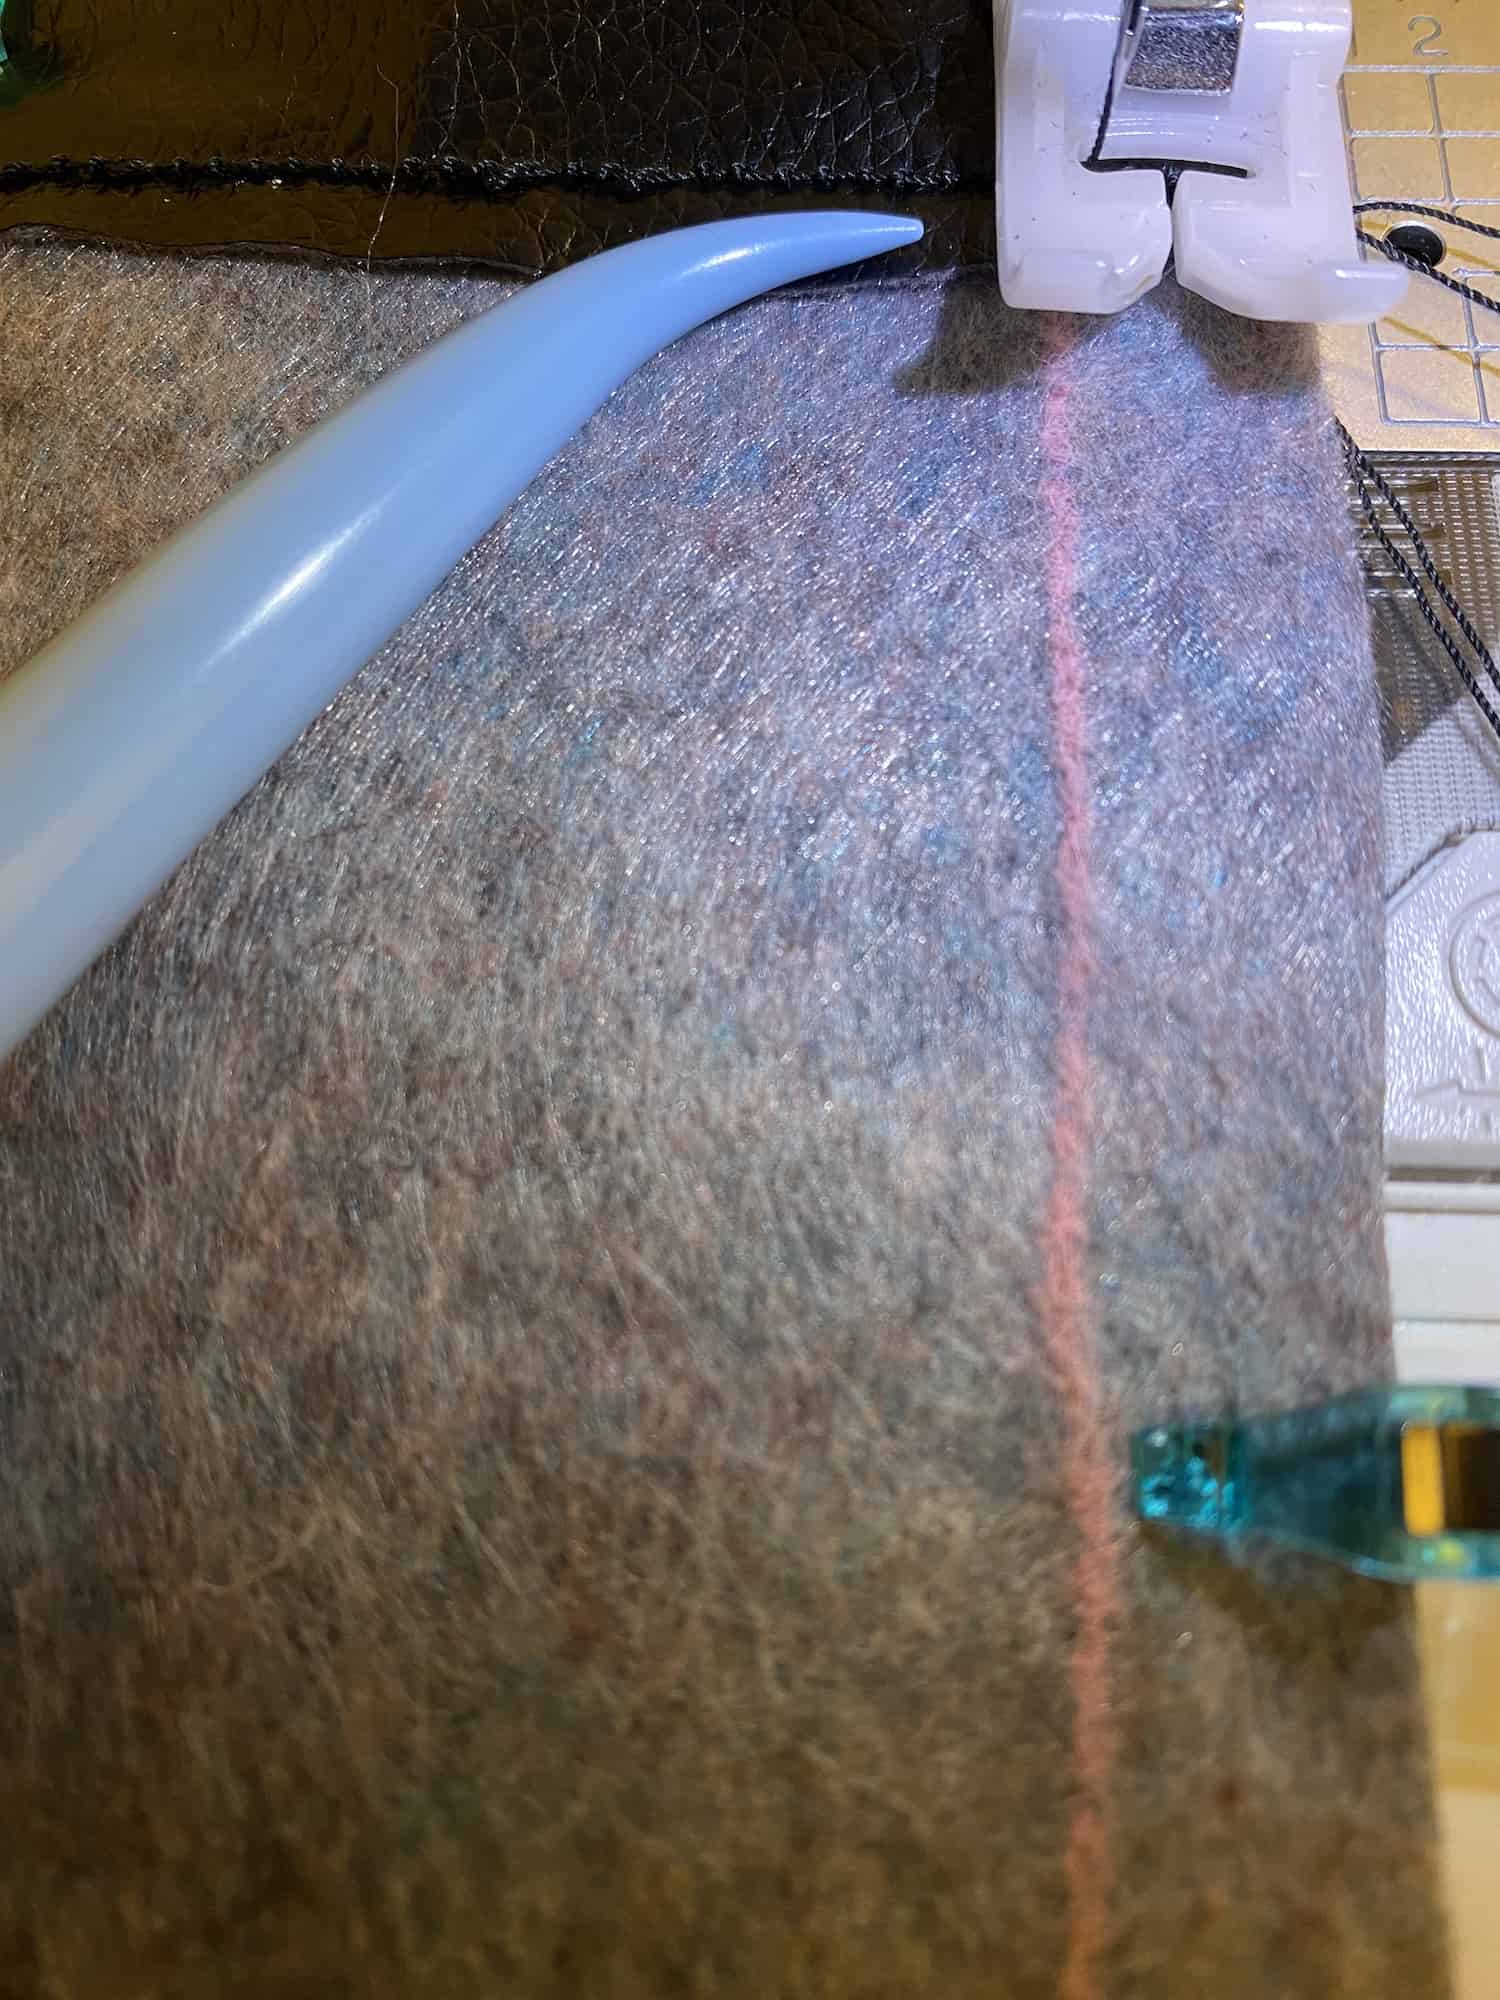
Step 4: Adjust the fabric so that the right sides are facing, then use the Seams Right tool to measure the 1/2 inch seam allowance.

I like using Clover’s Triangle Tailor’s Chalk because it makes clean lines and it’s easy to remove.

Once the sides are clipped, starting sewing from the bottom of the encasing stitch.
*Important Tip* Remember to backstitch when you start sewing the seam allowance, and don’t make the mistake of stitching over your encasing.
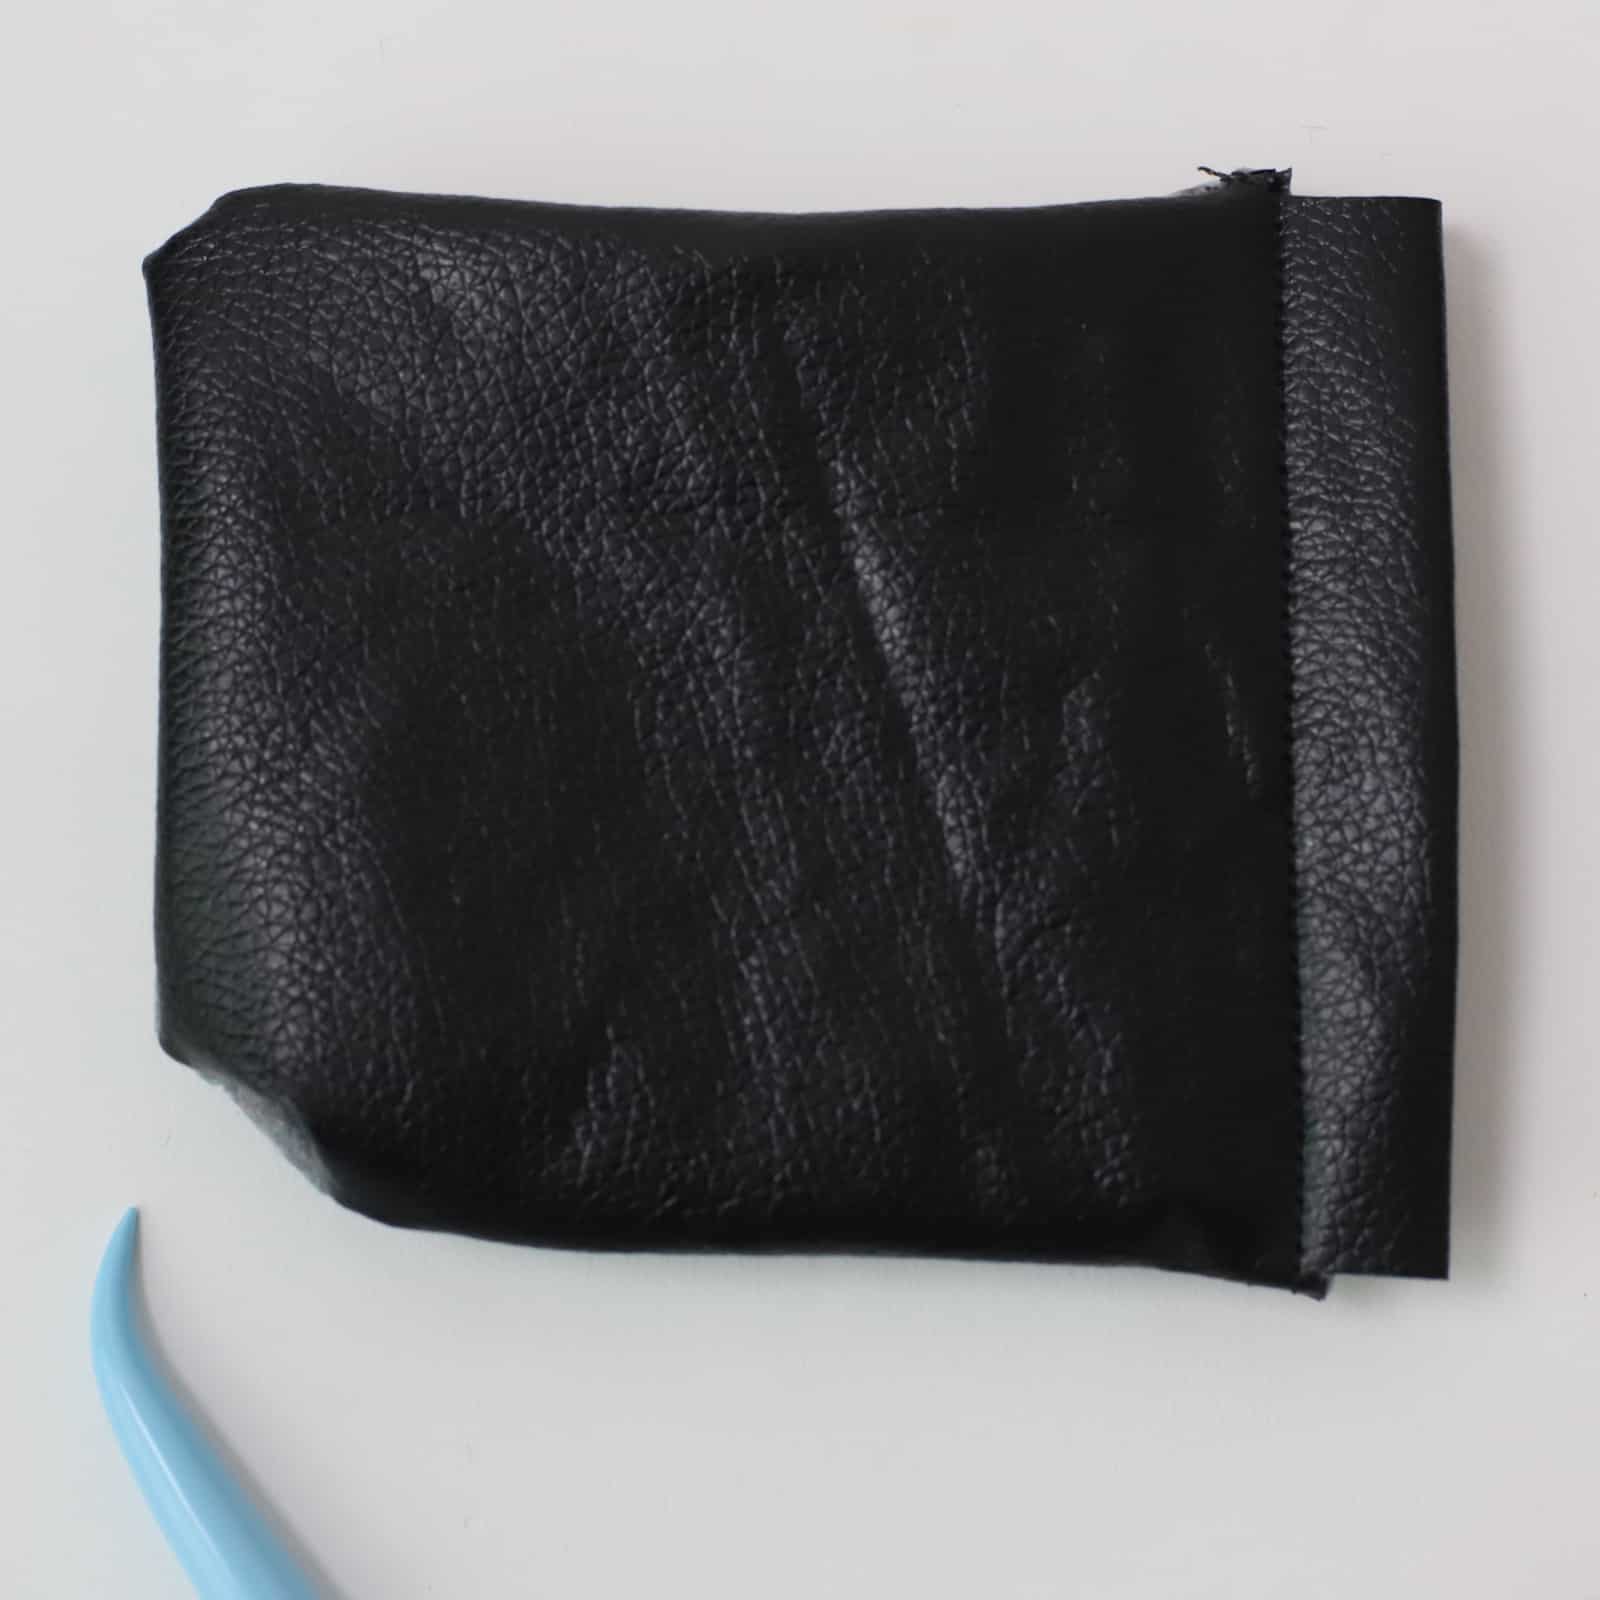
Step 5: Trim the encasing and edges as seen below.
Step 6: Fold the pouch so that the faux leather is showing. Use Clover’s Hold it Precision Stiletto to pop the corners out.
Step 7: Take one of the clasp attachments and place it inside of the encasing flaps. Then, use some pliers to pick up the rod and secure it to lock the clasp.

The pouch should bend and snap back without any issues.
Alright! Now you can start adding pocket change, or any other little things that you need on a day-to-day basis. If you’re wondering about different ways to use your new pouch, keep scrolling for additional images.
Secure your delicate beads.

Save your pocket change.

Store your favorite Clover supplies!

If you enjoyed this tutorial, be sure to show me your leather pouches with the hashtag #makeitwithzeal and tag me @sprinklesofzeal on all social media. I can’t wait to see what you create!
Well, until next time, have a craftastic day!
-Danielle
Want to check out more of my blogs and tutorials? Here are my social links below!
Blog | Instagram | Facebook | Pinterest | YouTube
Stay connected with Clover on Facebook | Twitter | Instagram | Pinterest | YouTube | Ravelry
[mc4wp_form id=”11289″]