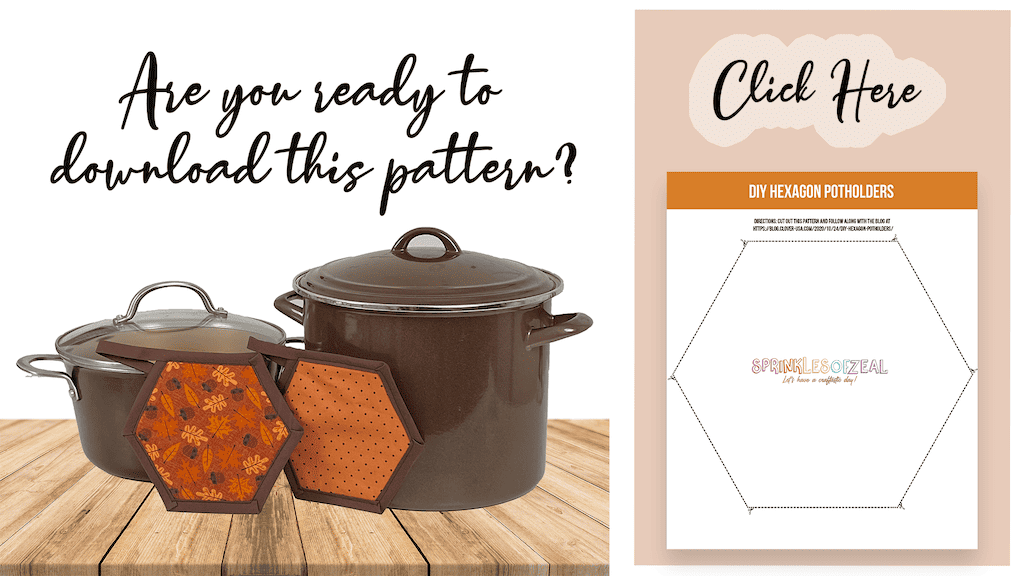
DIY Hexagon Potholders – Sewing Pattern

Hey Hey! It’s Danielle, the Designer and Craft Blogger behind Sprinklesofzeal!
Fall is here, so that means it’s time to start cooking those pumpkin pies and delectable treats. The blog today will show you how to create your own hexagon potholders that can be used in your kitchen for the new season!
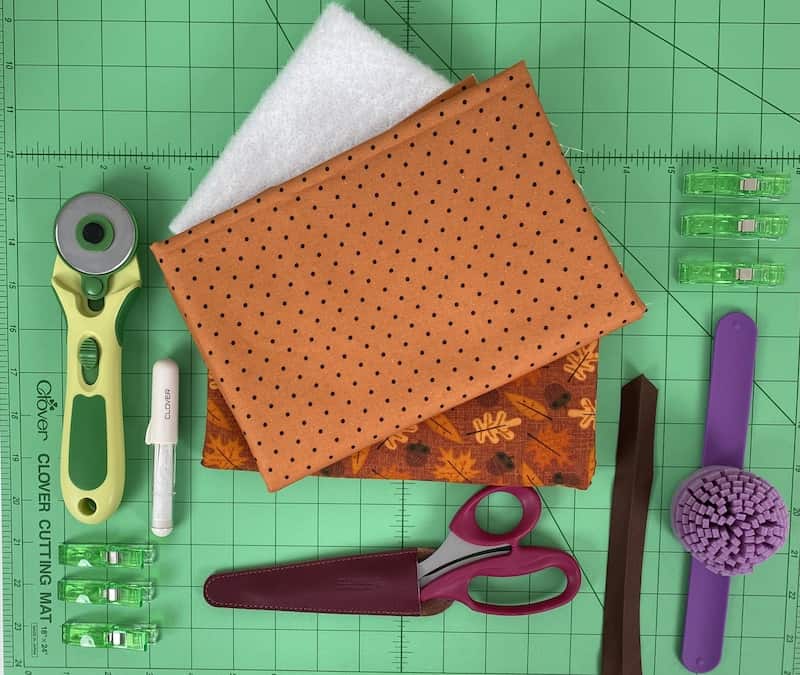
To create your hexagon potholders, you will need:
- 1/2 yard of 100% Cotton Fabric
- 1/2 yard of Thermal Batting Insulin-Bright
- Clover Bordeaux Ultimate Shears 200 – Art No. 4942
- Clover Rotary Cutter – Art No. 7500
- Clover Jumbo Wonder Clips – Art No. 3157
- Clover Wonder Clip Wrist Cushion – Art No. 3184
- Clover Cutting Mat 18 X 24 – Art No. 7521
- Clover Chaco Chalk – Art. No 4712
- Bias Tape
- Thread
- Sewing Machine
Instructions:
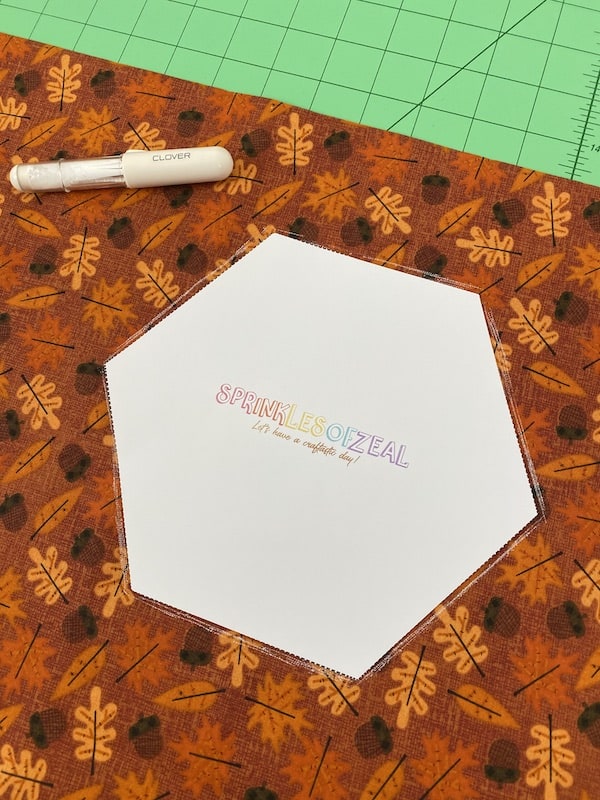
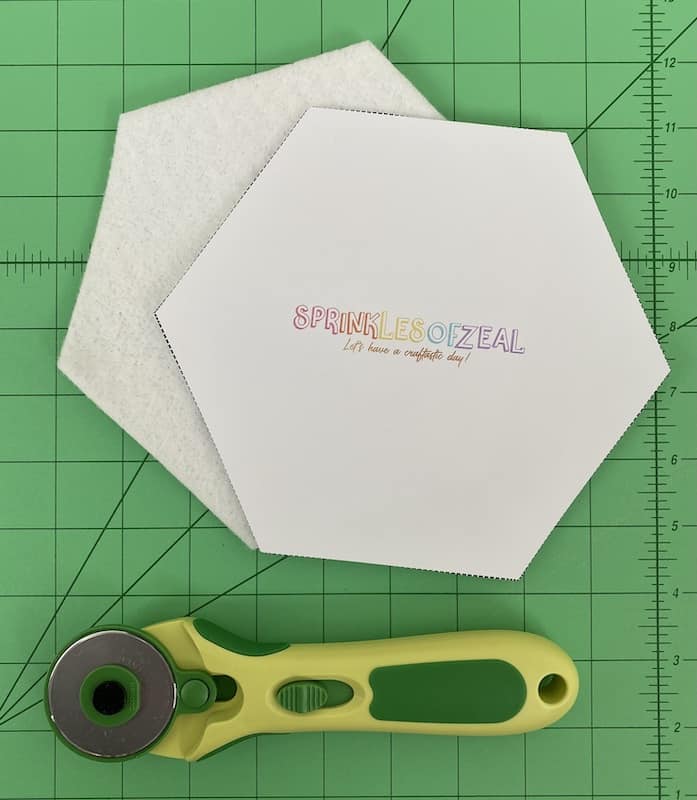
1. Print and cut out the hexagon template.
2. Trace the pattern and cut.
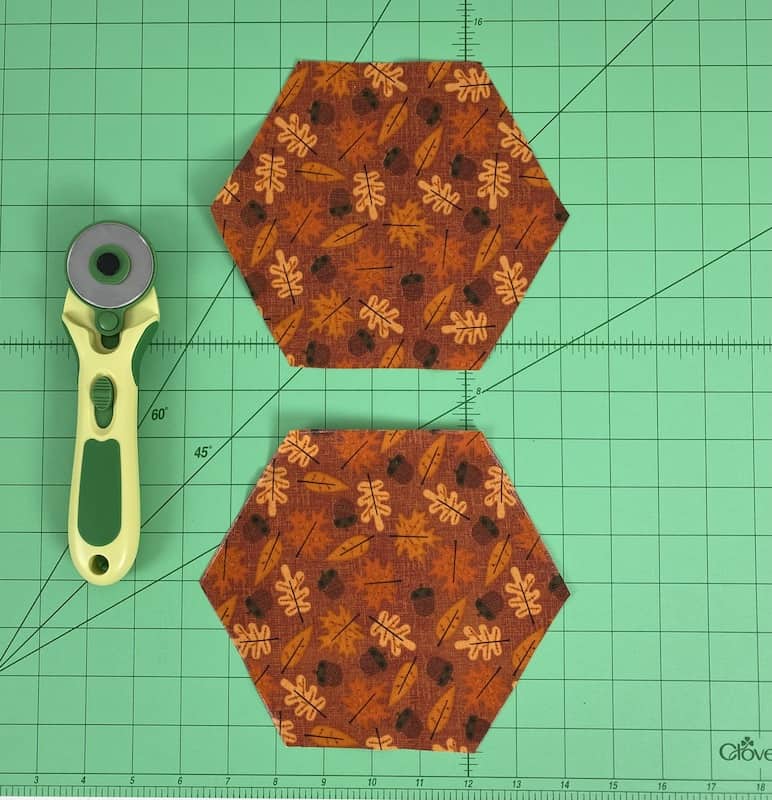
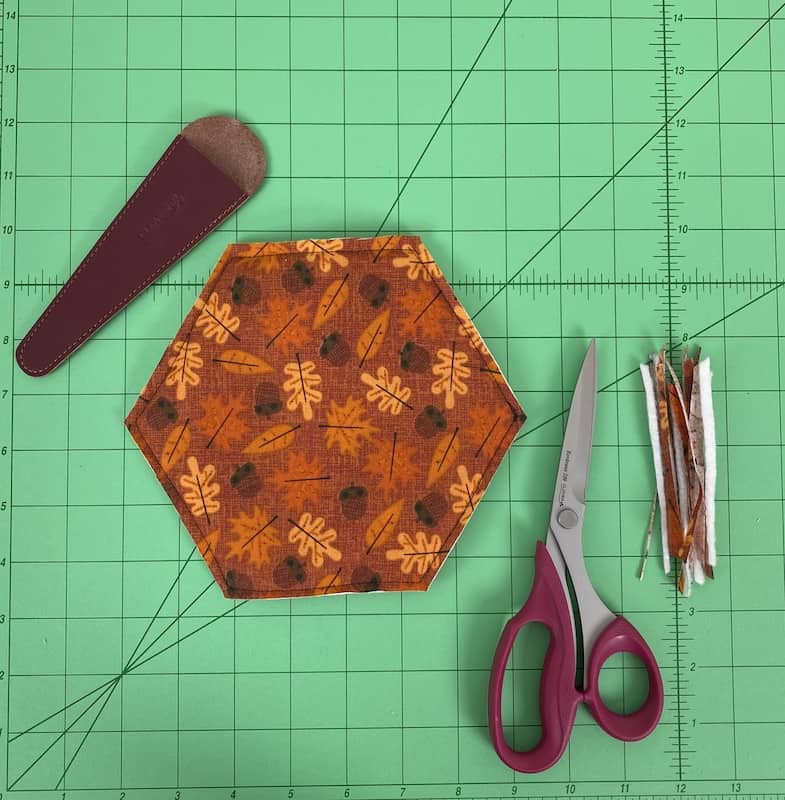
First, you will need to fold your fabric in half, and then trace the hexagon template on top of the fabric with the Chaco pen. Next, grab your rotary cutter and begin cutting on the chalk line. You should have one front piece, one back piece, and one piece of thermal batting for the center. Be sure to use batting that is heat-safe for anything that will be in contact with high temperatures.
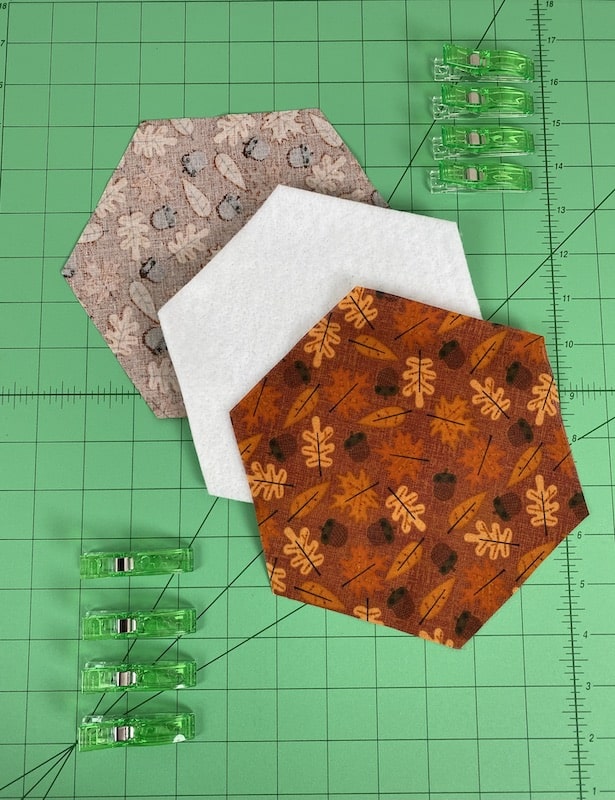
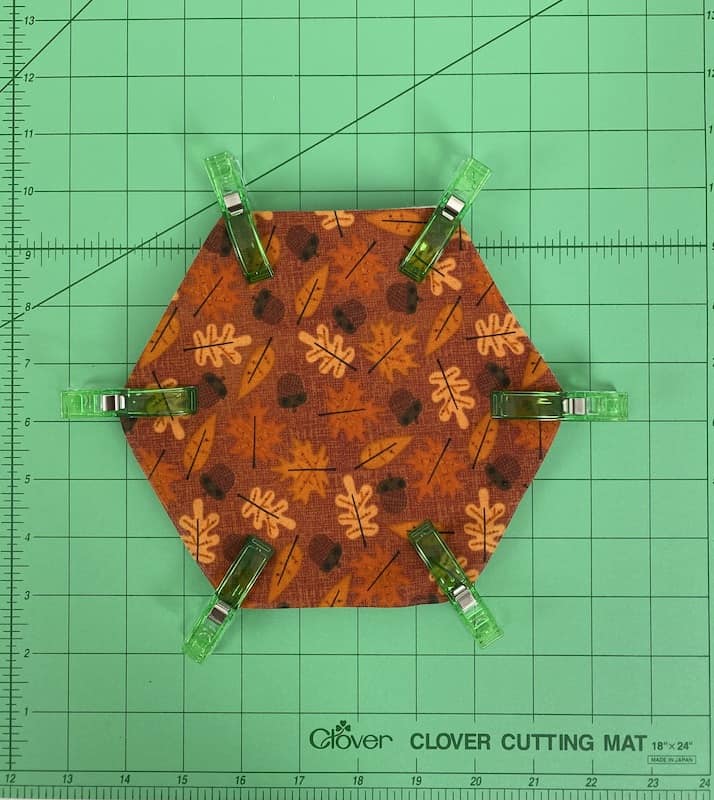
3. Stack the materials.
Make sure your fabric has the front design facing up, the thermal batting in the center, and the wrong side facing up for the back piece. Use the jumbo wonder clips to secure everything in place. Check out the picture below for reference.
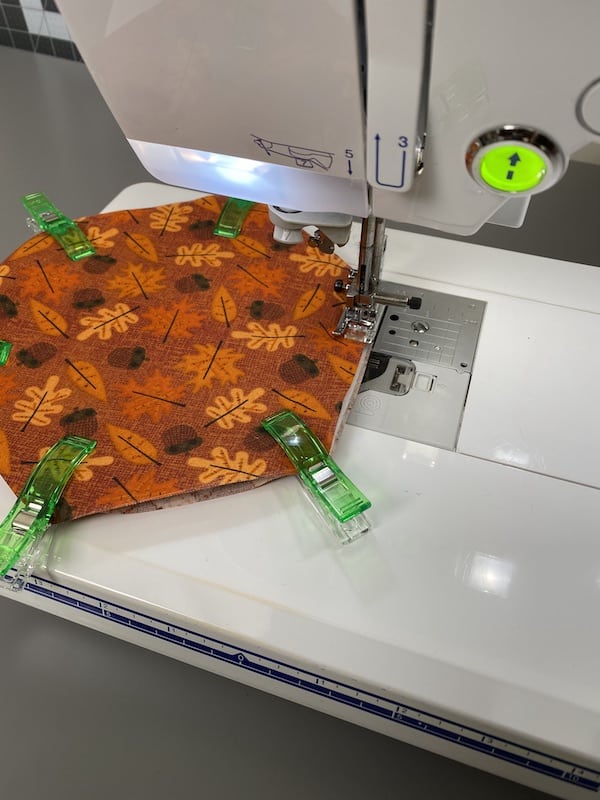
4. It’s time to sew!
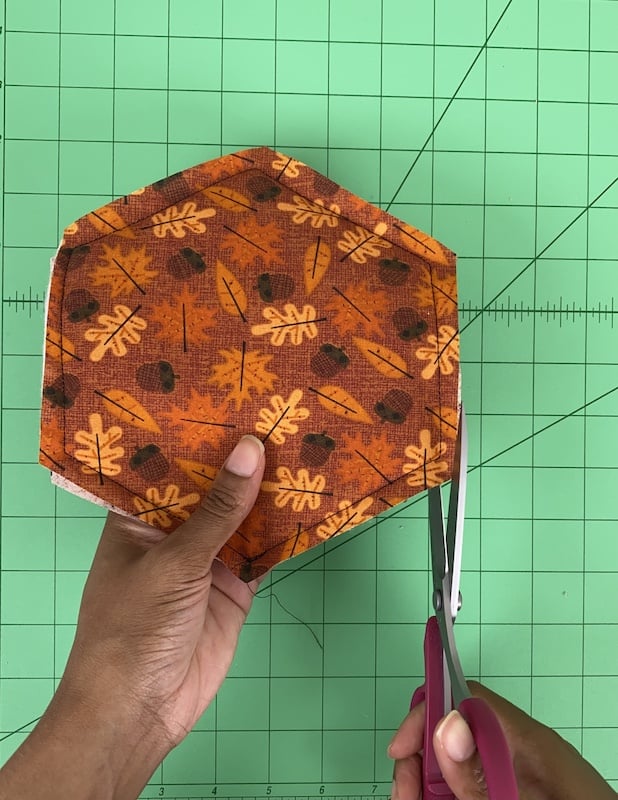
Head on over to your sewing machine and begin stitching a straight stitch around the perimeter of the potholder. Do you see it coming together?! Oh, you may notice that the fabric and the thermal batting may shift while you are sewing. But it’s ok. You can trim the edges with the Bordeaux shears, as seen below.
(Optional) If you want to add decorative stitching over your potholders, do it before adding the binding.
5. Add Bias Tape.
I purchased some pre-made bias tape to save on time, but you can totally make your own with some fabric scraps. As you can see below, I used the jumbo wonder clips again to secure my bias tape.
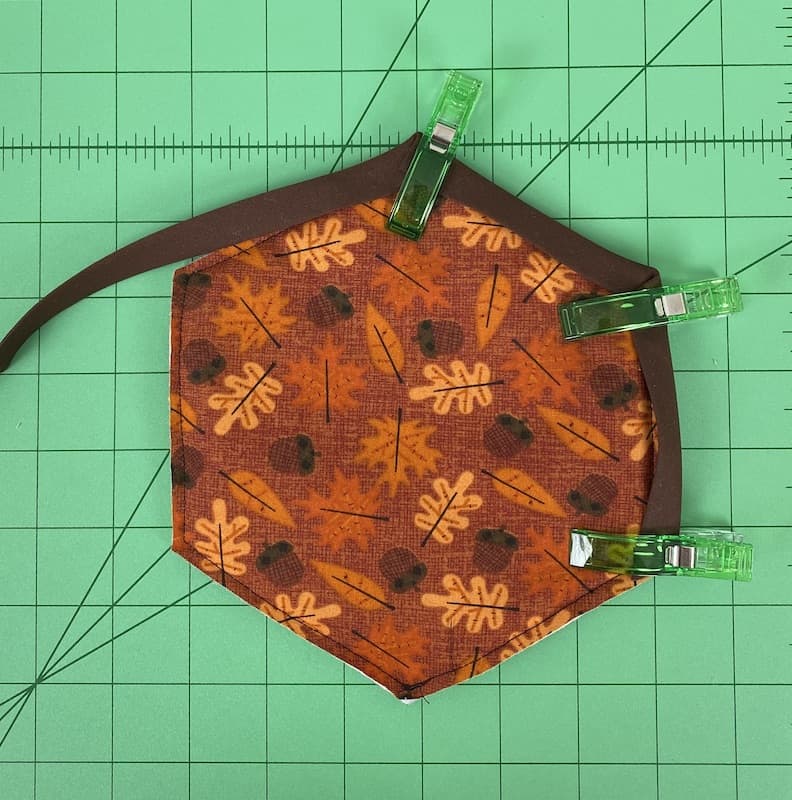
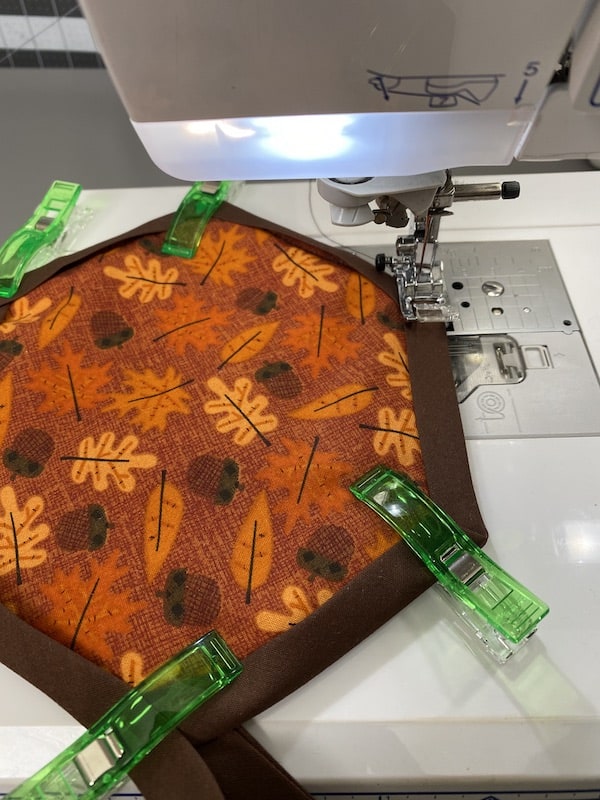
Quick Tip: Be sure to lift your presser foot often and use the point to point turner to help keep the bias tape from bunching.
6. Celebrate!
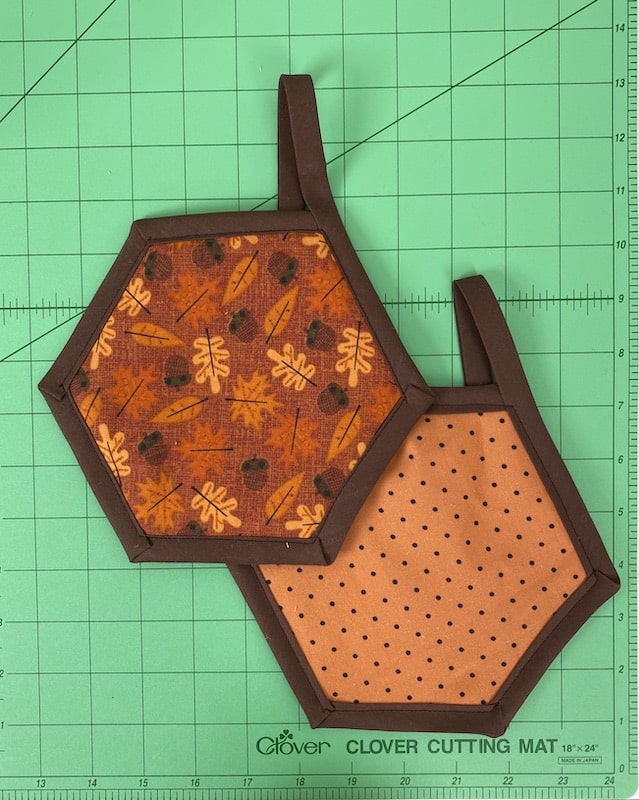
Yay! You’ve just completed your own potholders! Doesn’t it feel great?! If you enjoyed this tutorial, be sure to show me your potholders with the hashtag #makeitwithzeal and tag me @sprinklesofzeal on Instagram. I can’t wait to see what you all create!
Well, until next time have a craftastic day!
-Danielle
Want to check out more of my blogs and tutorials? Here are my social links below!
Blog | Instagram | Facebook | Pinterest | YouTube
Stay connected with Clover on Facebook | Twitter | Instagram | Pinterest | YouTube | Ravelry
[mc4wp_form id=”11289″]