Make a Chic Raffia Flower Brooch with the Hana-Ami Loom!
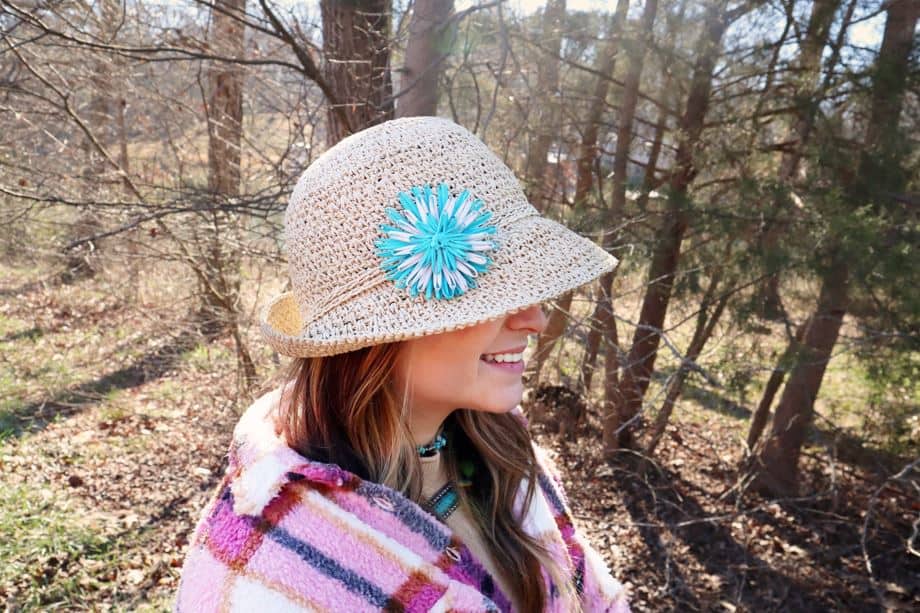
Though I tend to work mostly on large-scale fiber arts projects, sometimes I’m just not in the mood to work for hours at a time and see little progress. It’s in times like that where I look for a super quick and easy project to get my mind off whatever else I’m working on at the moment. After only an hour at most, I can have a whole new piece to take away and feel accomplished with! These projects, for me, are just as important as the larger ones. They help to avoid burnout by keeping my crafty momentum going while breaking up the monotony of a singular project. One of my favorite new projects I have been making is Hana-Ami Flower Brooches, perfect for the upcoming spring season! I use them to decorate all my raffia hats and tote bags, and how can you beat a project that you can make multiple of in one sitting?
Let’s get started making one!
Supplies:
- Hana-Ami Flower Loom- Art. No 3146
- Thread Clipper “Kuroha”- Art. No 415
- Darning Needle Set – Art. No 339
- Yarn Threader – Art. No 3142
- Raffia Yarn (Sample uses Universal Yarns Yashi)
- Brooch Clip or Pin Back
- Glue Gun and Glue Sticks
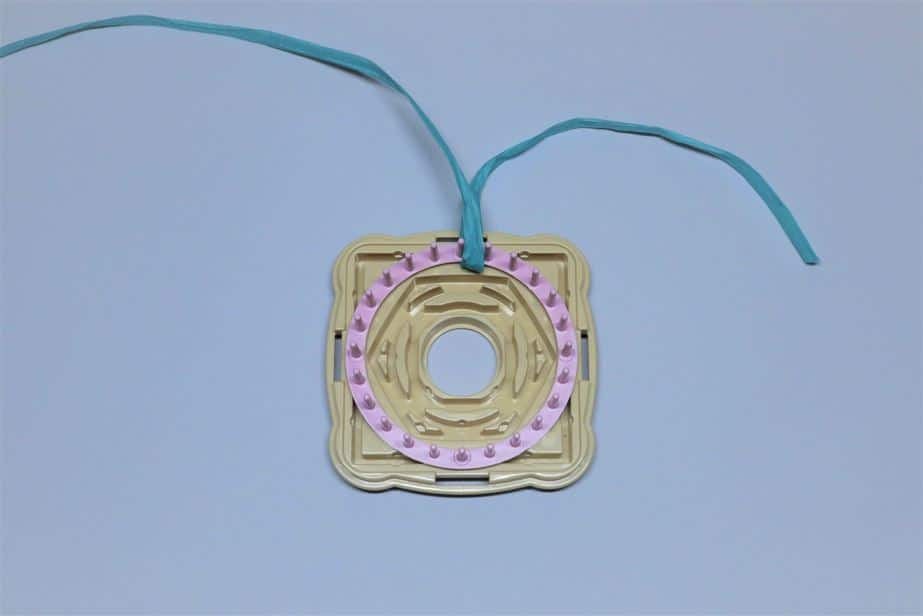
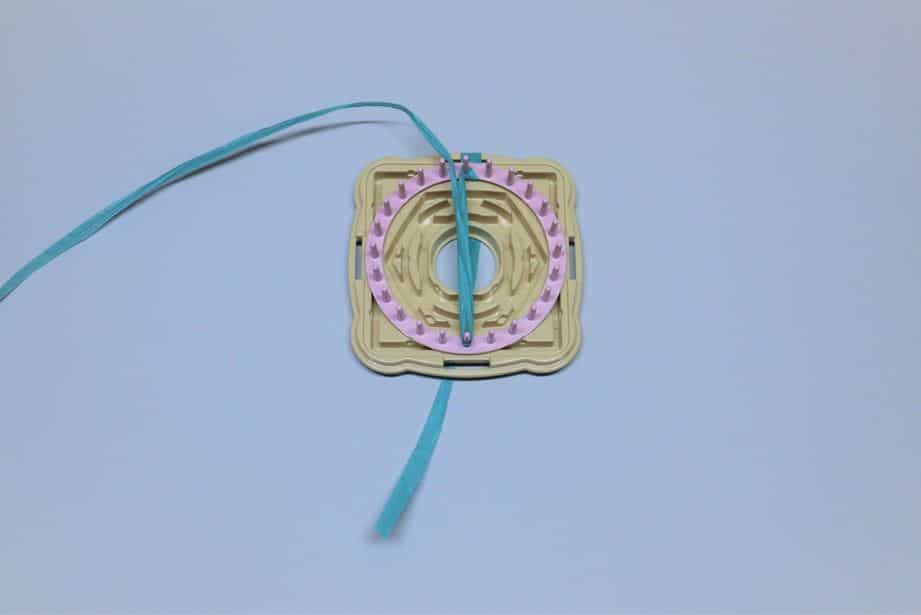
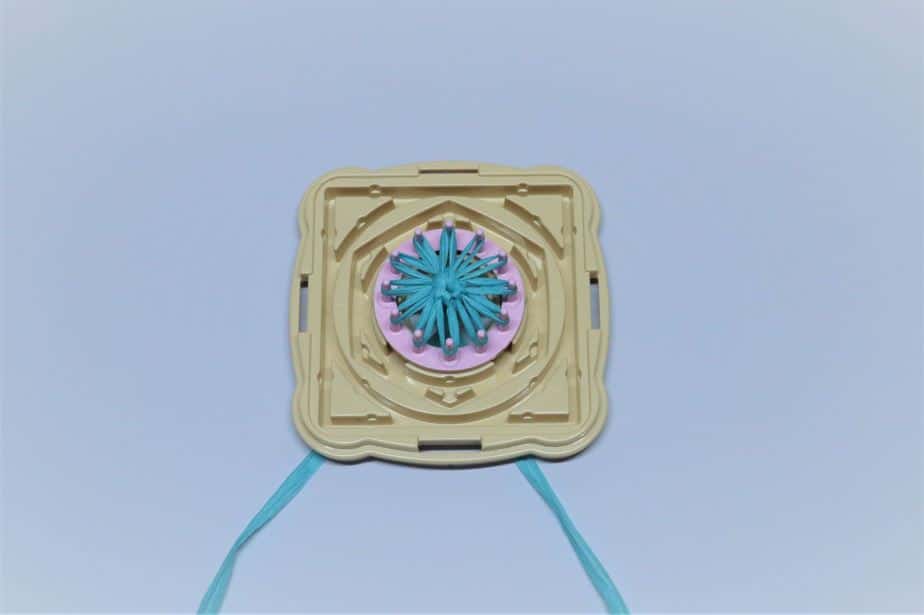
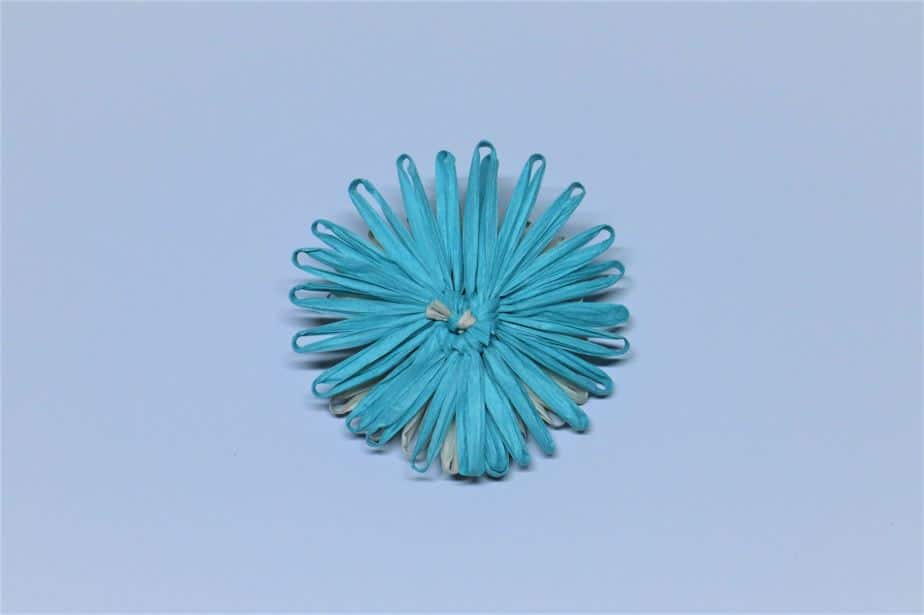
Wrap Yarn
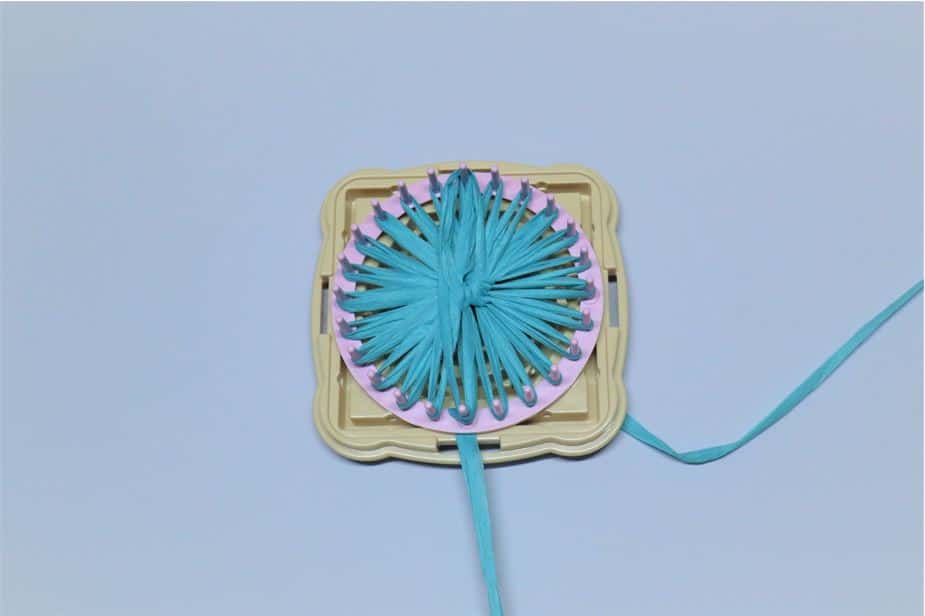
Begin by locking the largest circle loom for the Hana-Ami Flowers in place. As you lock it in place, loop the end of your raffia yarn under the circle to keep it tucked securely out of the way. Leave about 4-5” of the tail. Following the photos below, begin wrapping your yarn around every peg of the loom moving in a counter-clockwise motion. Keep your tension tight, and be sure to match up pegs evenly to the peg directly across from it on the loom. Continue wrapping until you have returned to the first loop.
![]()


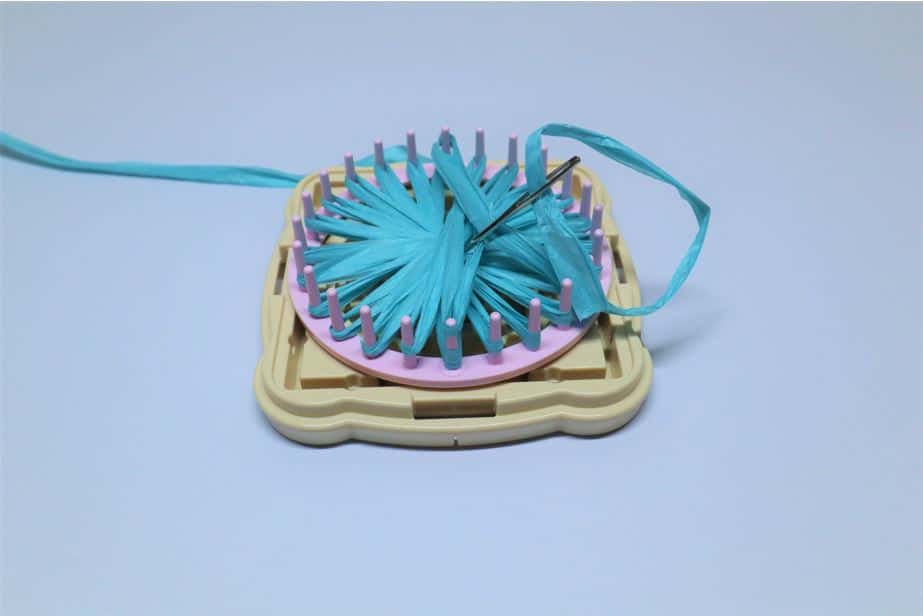
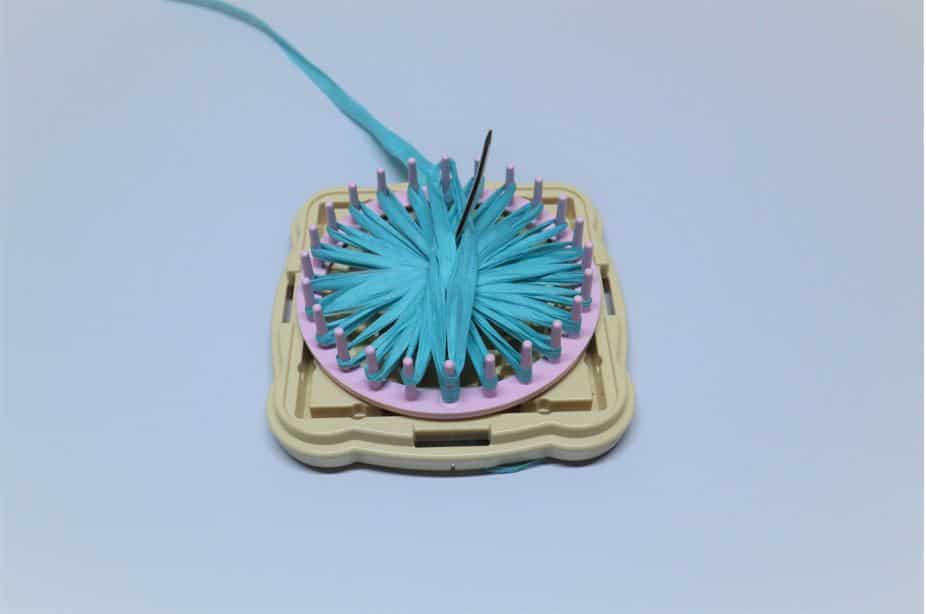
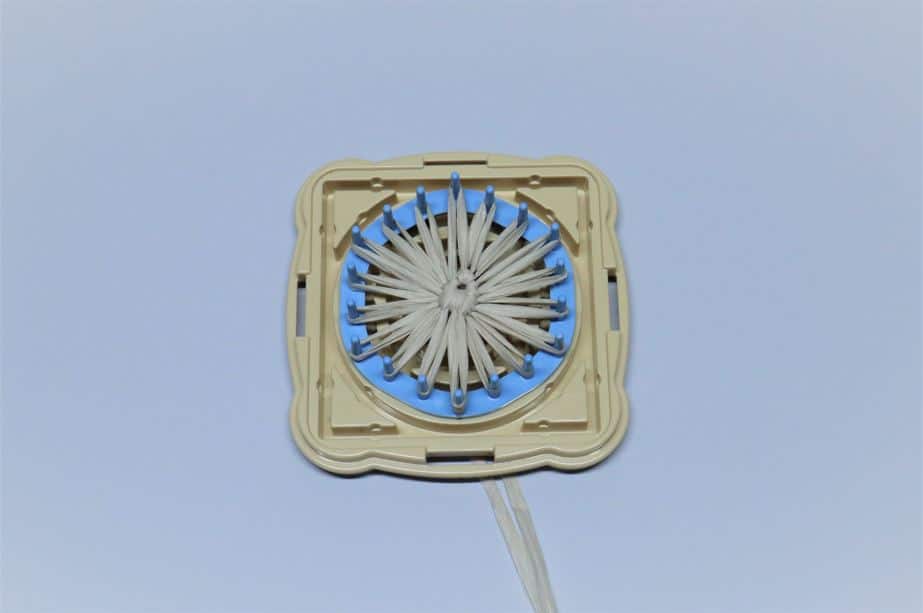
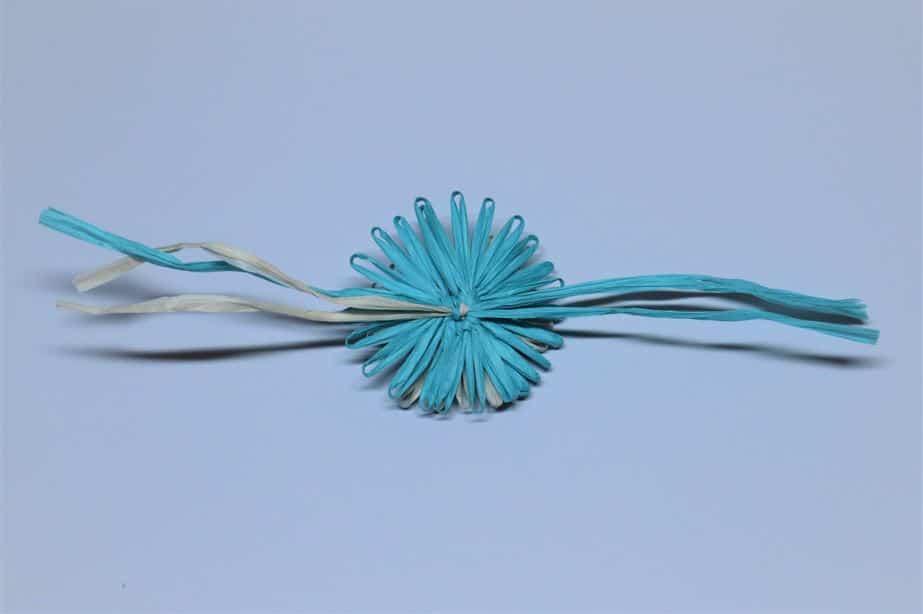
Secure Loops
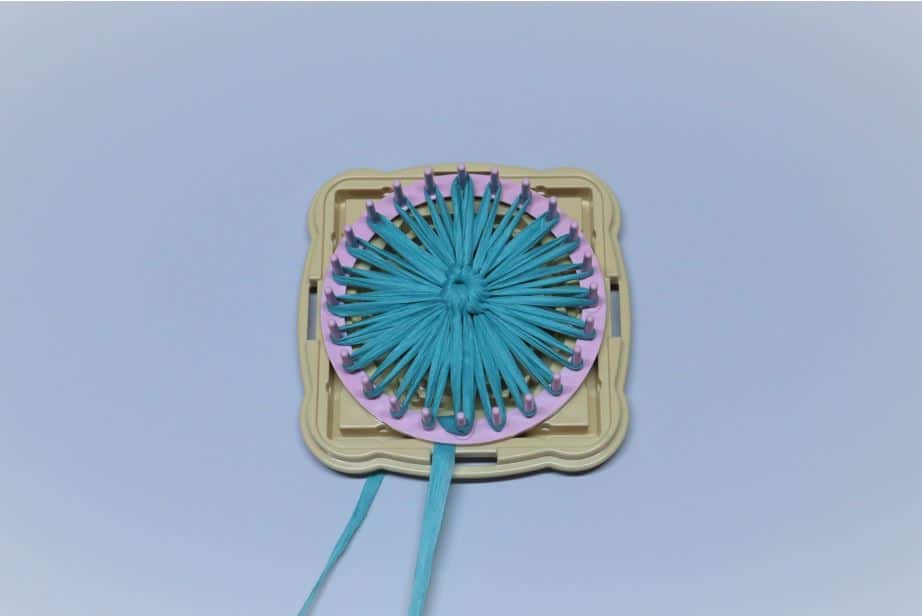
Cut your working yarn, leaving approximately 10-12” of tail to work with. Thread darning needle on working yarn tail. From the front of the work to the back, pass the darning needle through your flower at the midpoint of the loop directly opposite the last loop you worked and through the middle of the loom. Pull tail taut. Take the darning needle and pass directly through the middle of the flower from the back of the work to the front. Pull tail taut. Move to the loop directly to the right of the last loop worked and continue this counter-clockwise pattern around the flower.
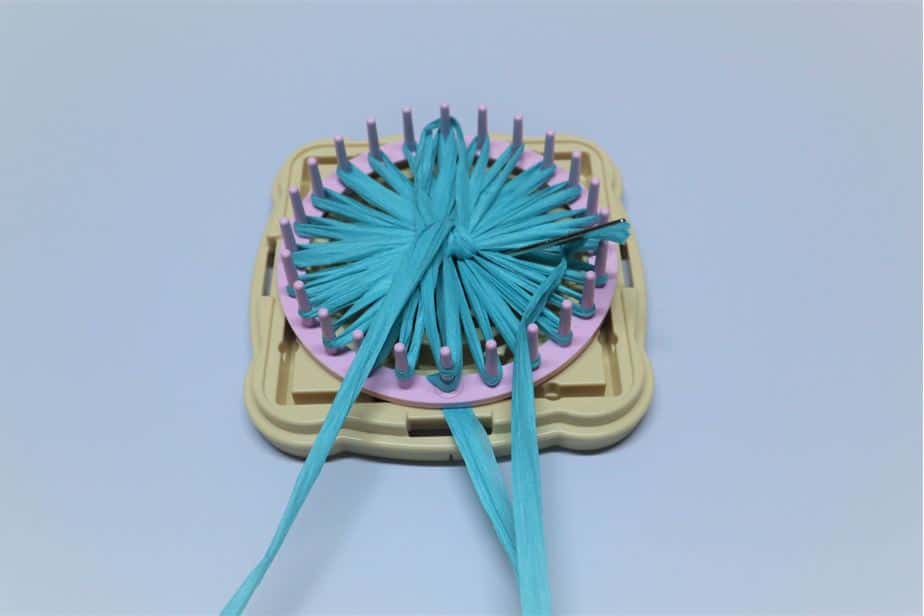
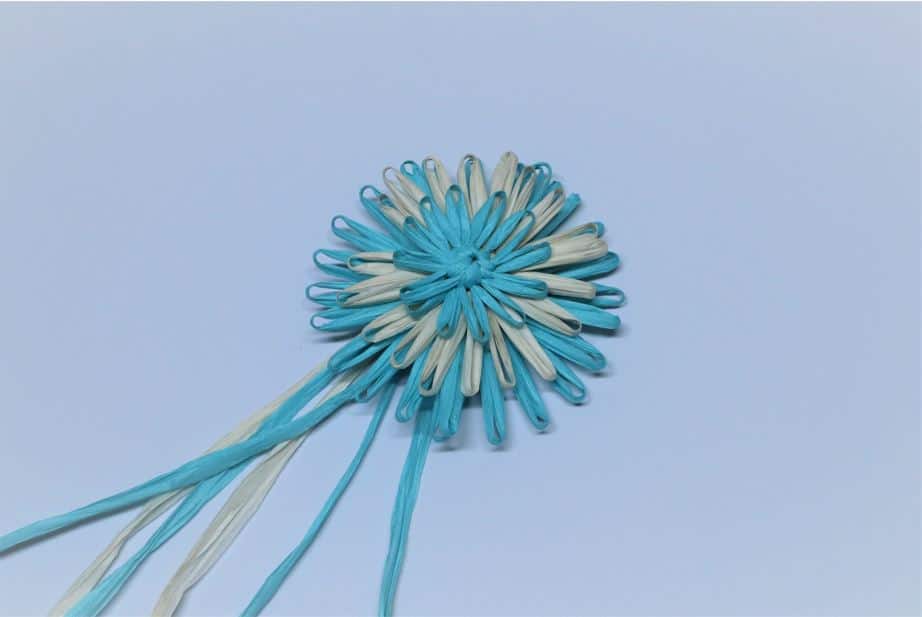
Finish Flower
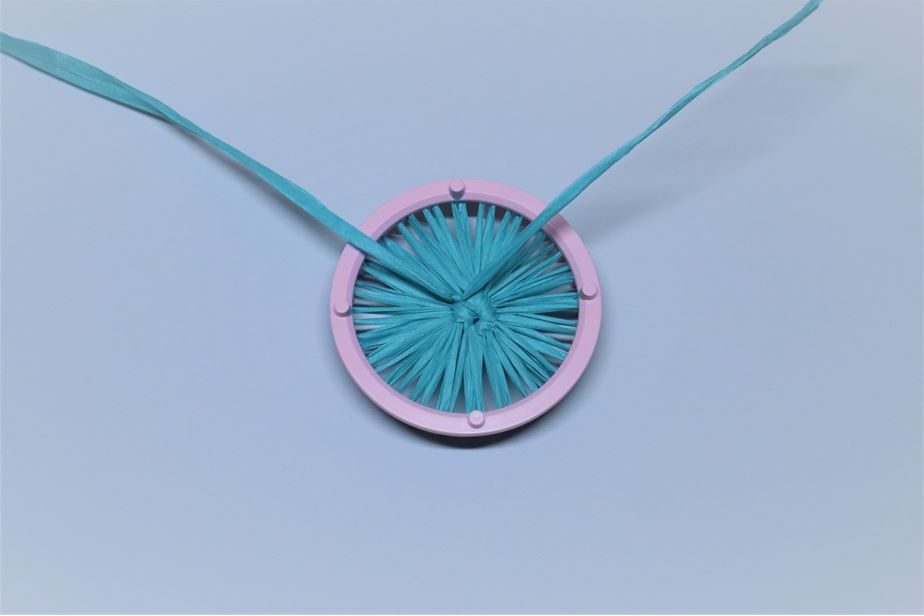
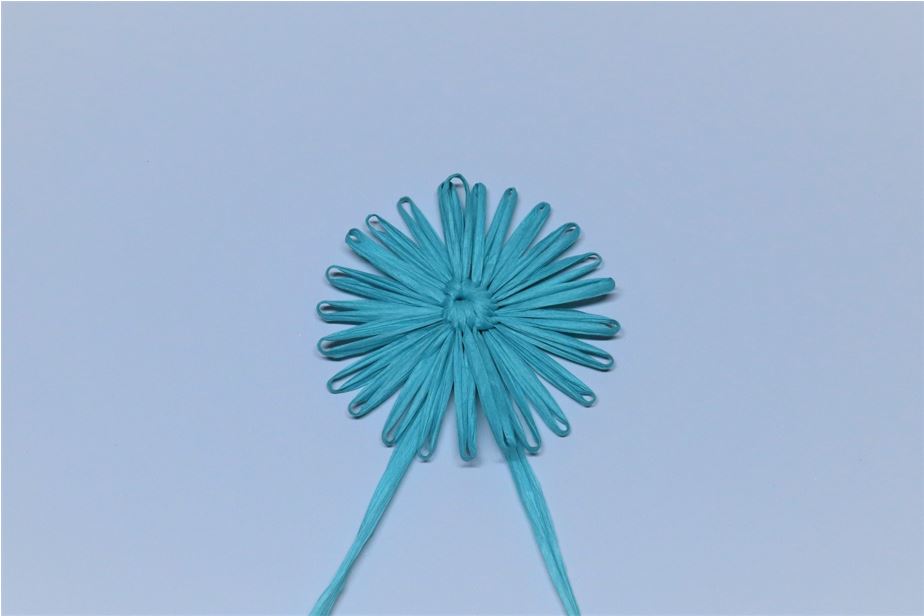
Once you have returned to the first securing stitch, pass your needle and thread to the back middle of your work. Pass the beginning tail through to the backside of your work and remove the circle loom from the base. Tie both ends together towards the middle of your flower using an overhand knot. Do not trim excess. Carefully separate the flower from the loom.
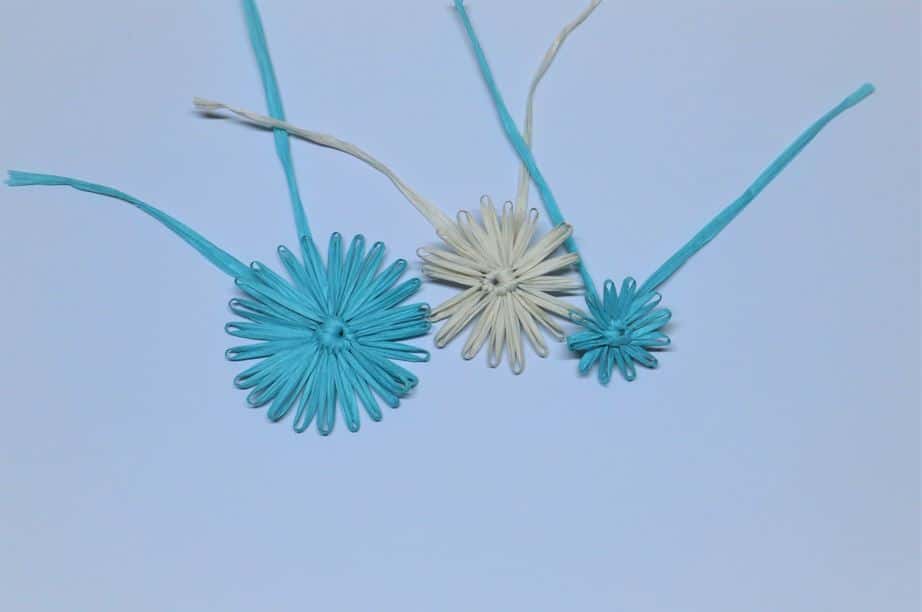
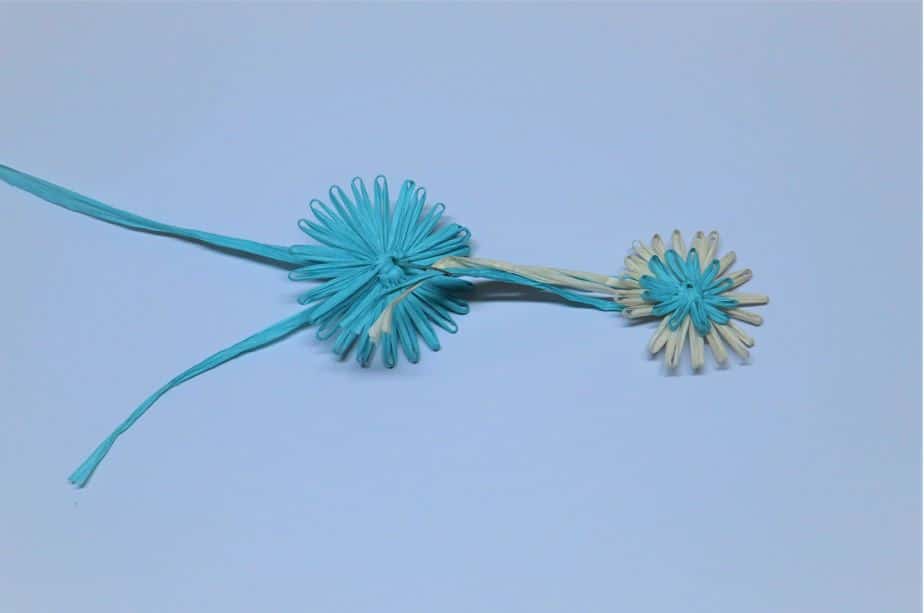
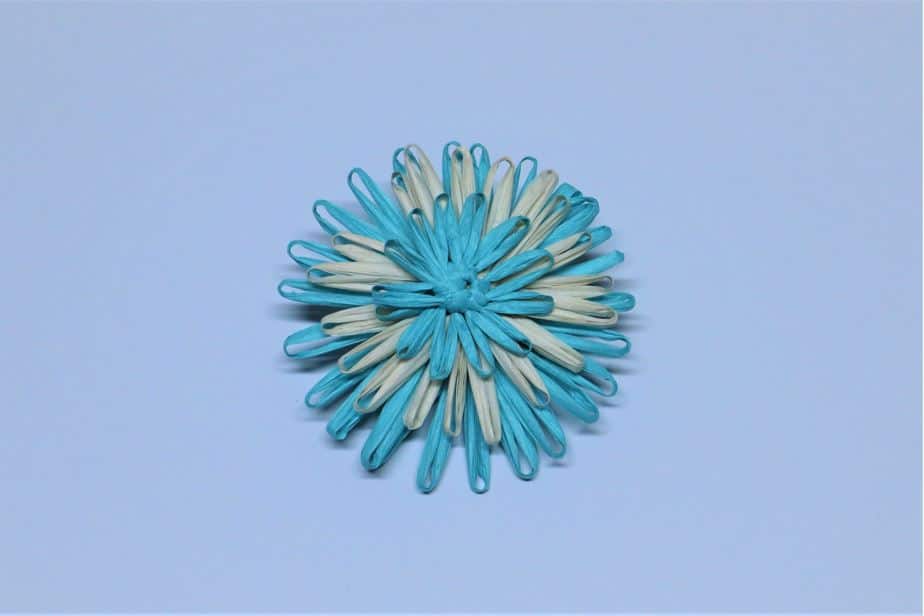
Create Variations
Following the same instructions as before, create two more flowers, one from the smallest pink loom, and one from the circular blue loom. For an added visual interest, the midsized flower may be created using a contrasting color yarn. Finish all flowers in the same way, careful not to cut the tails.
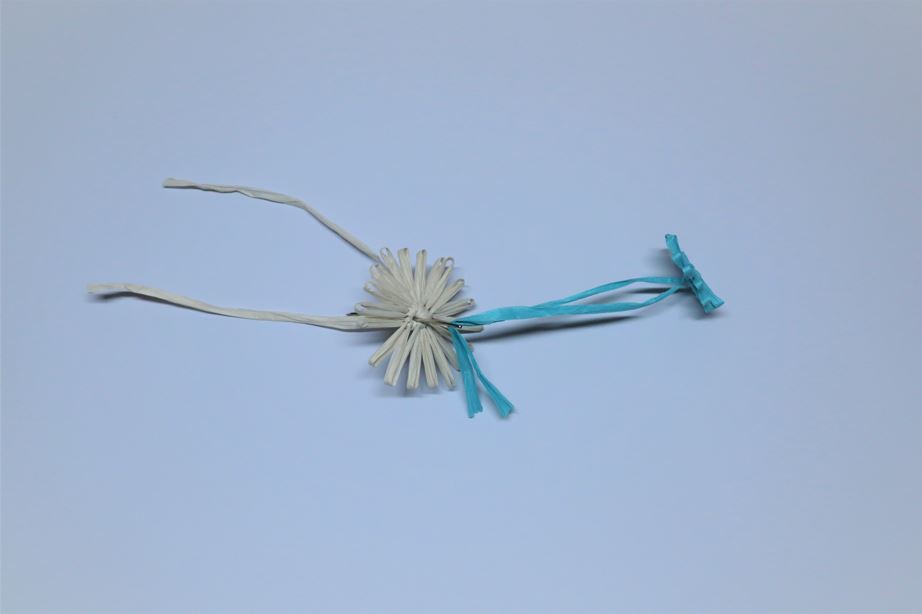
Fasten Together
Take your smallest flower and thread both tails onto your darning needle. Pass the needle and tails through the middle of your midsized flower and pull taut. Take the tails from both your small and midsize flowers and thread all four onto your darning needle. Pass all tails through the middle of your largest flower. Pull taut. You will have six strands of yarn at the back of your work. Divide them into two sections of three strands and tie all strands together securely using two overhand knots. Clip your tails.
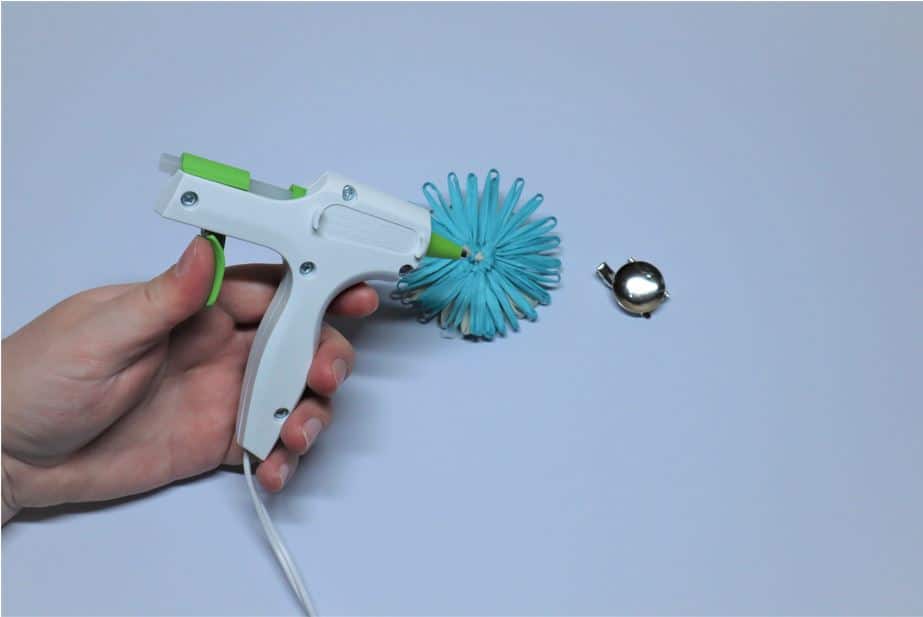
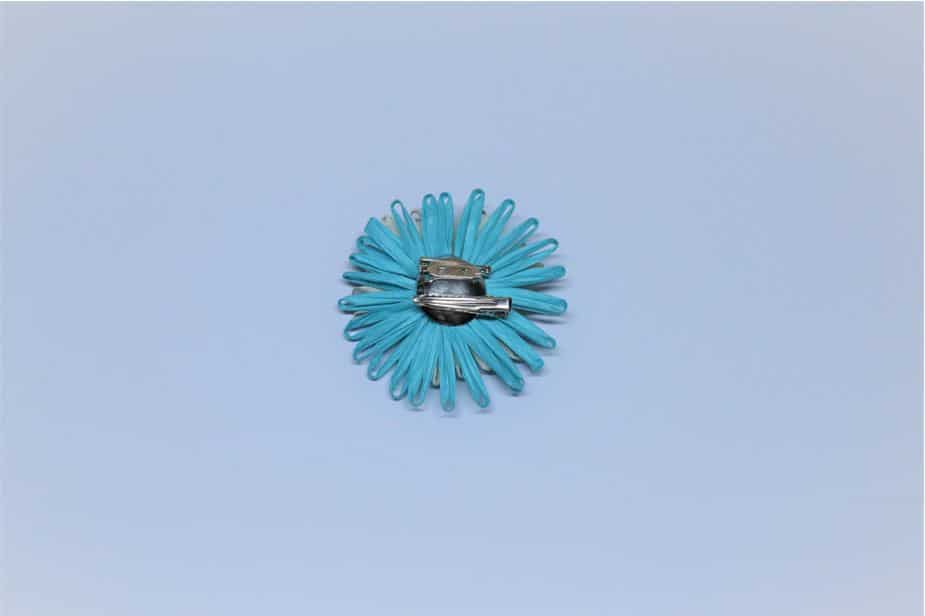
Finish Brooch
To finish the brooch, warm up a hot glue gun. If using a concave dome brooch back as pictured, fill the domed space up halfway with hot glue before attaching the flower to create a flat base. Glue directly onto the knotted ends and apply a circular dime-sized amount of hot glue to the back of the flower before attaching the flower to the brooch back. Hold the flower securely onto the brooch back until the glue has completely cooled.
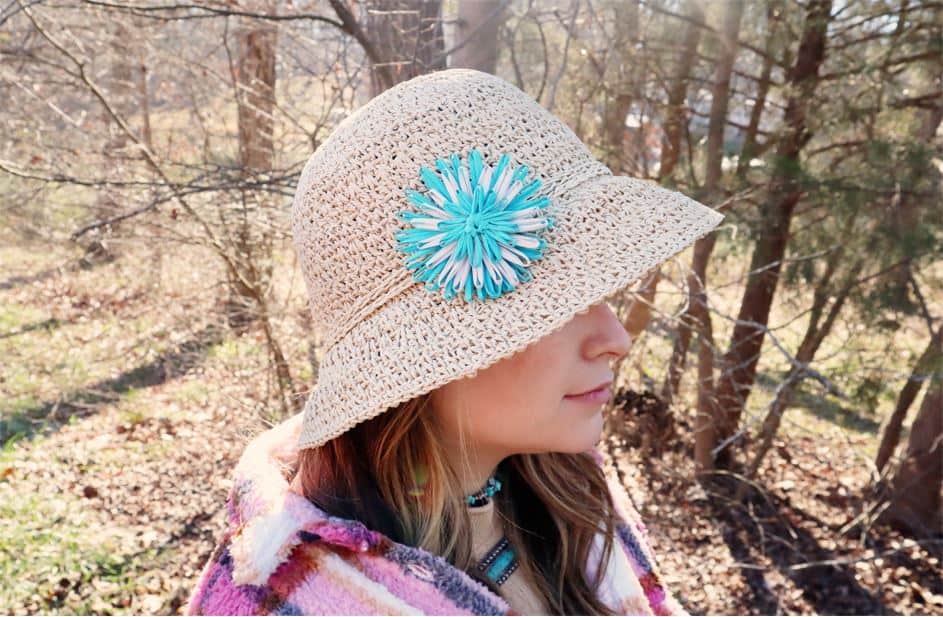
And that is all it takes to create a stylish raffia flower brooch! What will you attach yours to? They can also easily be spruced up further by attaching sequin or crystals to the middle of your flowers! I can’t wait to see all of the beautiful variations of this project in a rainbow of colors. Be sure to tag Clover and me in your posts so we can see how you interpreted this quick and fun project!
Until next time, break the status.
Follow what Quayln is up to next on his Blog | Instagram | Facebook | Pinterest | YouTube | Ravelry
Stay connected with Clover on Facebook | Twitter | Instagram | Pinterest | YouTube | Ravelry