Origami Bag Tutorial – Sewing Pattern

Designed by Carol Mesimer
These Origami Bags are perfect for all your projects. Quick to sew, and versatile enough for everything from wee, small ornaments to large and roomy market bags. A simple adjustment to your measurements changes the size.
Origami Bags can be made in any size to suit your needs. Once you understand the formula, you’ll see how this works. The fabrics used in this pattern are Fat Quarter size. Please feel free to size your market bag up or down as suits your needs.
Gather these supplies
Tools
- Patchwork Pins (Art. No 232) or Wonder Clips (Art. No 3185)
- Bordeaux Ultimate Scissors 170 (Art. No 4941)
- Point 2 Point Turner (Art. No 7803)
- Your usual sewing needs including a sewing machine
Materials
Fabric:
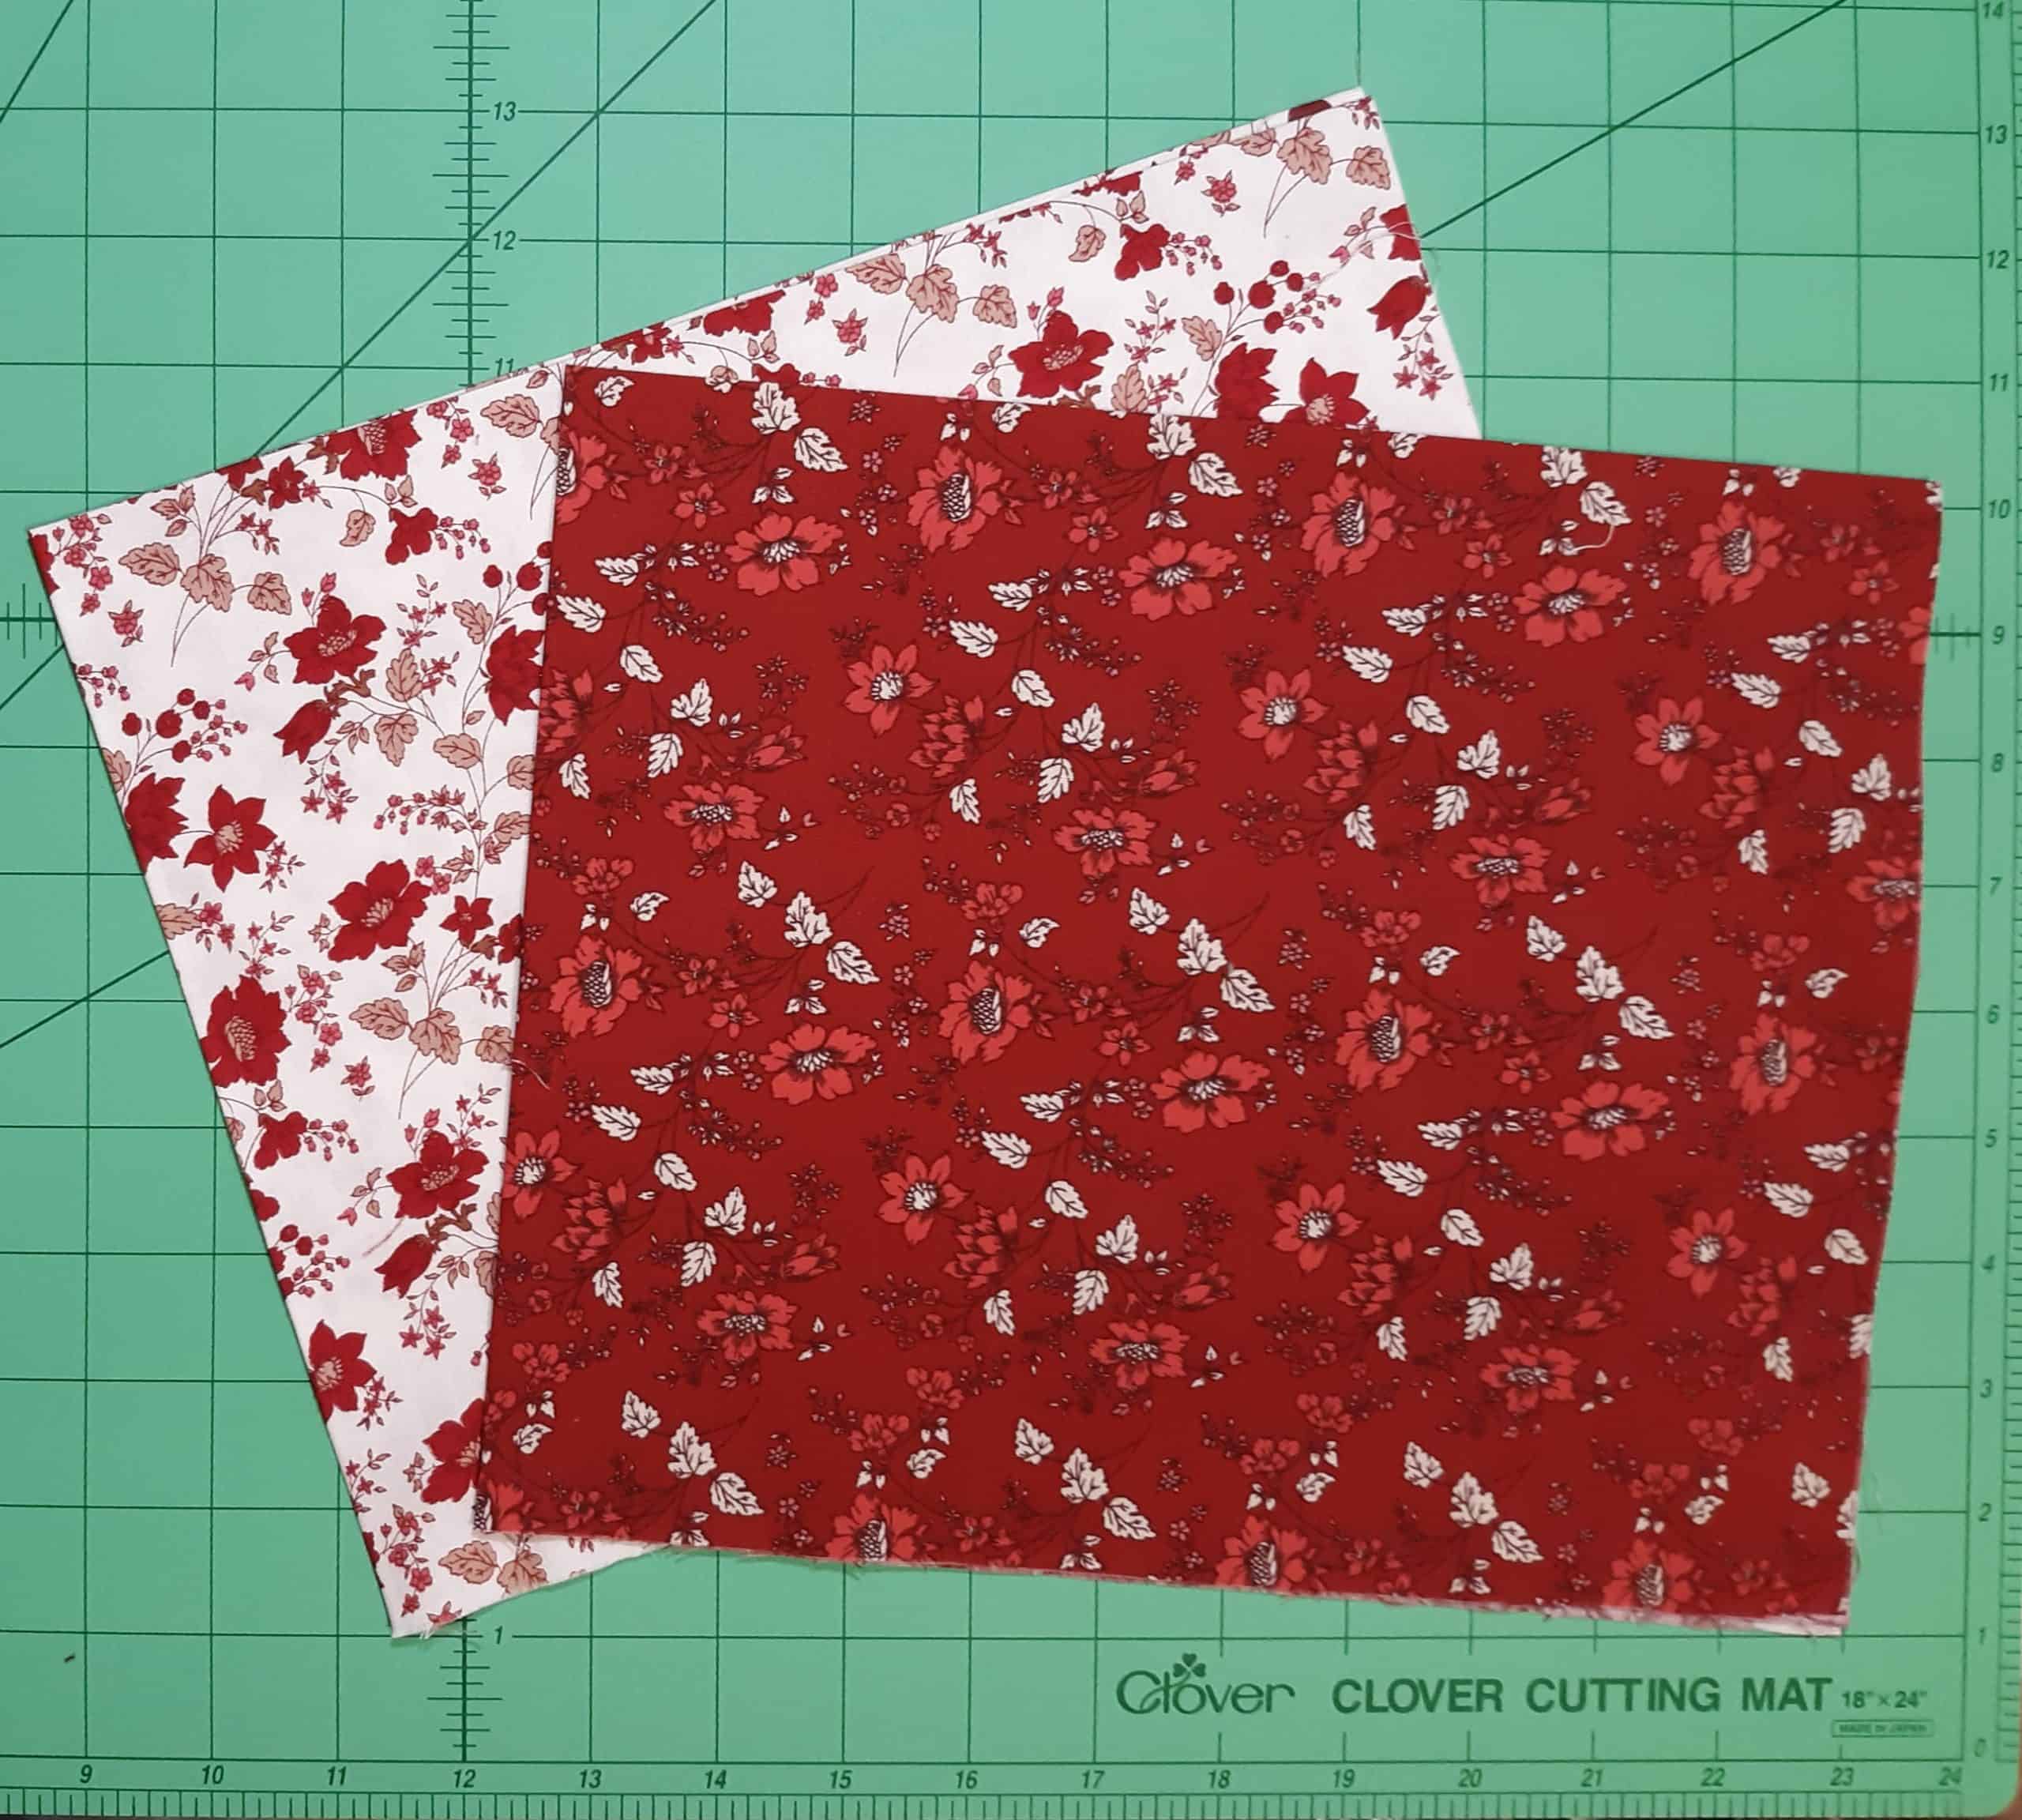
- 2 Fat Quarters
Cuts:
- Cut 2 pieces of fabric 21.5” x 7.5”
- Cut 1 piece 10” x 3” for handle
Note: ¼” seams used for entire piece

Place fabric cuts face to face, aligning edges. Use a ¼” seam allowance.
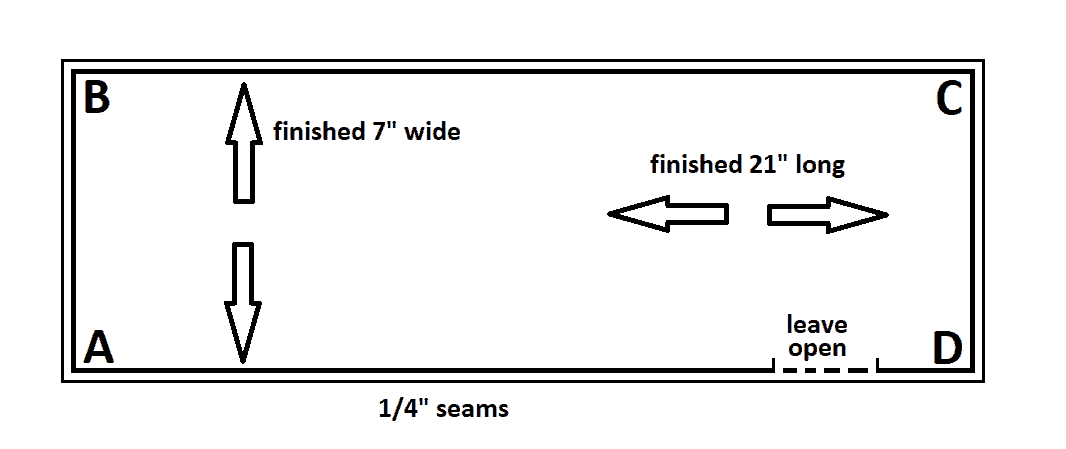
Starting at B, stitch around to A, leaving a 2”-3” opening for turning. Before stitching from A to B, check your seam allowance measurement. If you are stitching a wider seam allowance than ¼”, the length of your piece will need to be adjusted.

The final inside stitched rectangle needs to be three times as long as it is wide. Adjust your length as needed.
Trim corners and turn right side out. Even out seam edges and press.
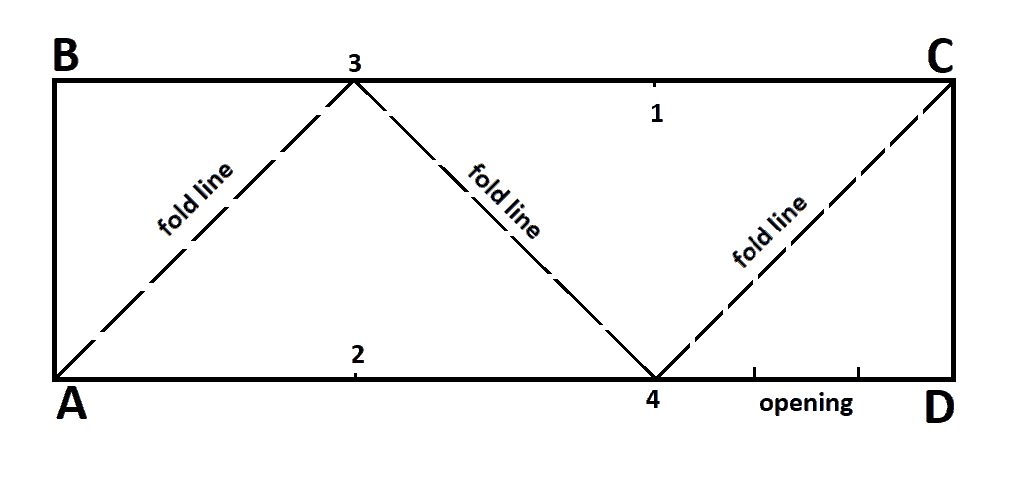
Fold corner D up to point 1.
Fold corner B down to point 2.

Bring point 2 up to point 1.


Pin the edges between points 2 & 4 together.
Flip over and pin the edges between points 1 & 3 together.

Stitch pinned edges, closing the turning opening as you sew. Sew very close to the edges.

Lay out flat with just stitched seams to the right and left.
**This step is optional, but it does give a squared off base to the bag.
Mark a 2” diagonal line across corners 3 & 4. Stitch along marked line.
Turn right side out and push corners out neatly.

Fold handle piece in half lengthwise and stitch. Leave short ends open.
Turn right side out and press.

Fold short ends of handle in ¼” and tuck points of bag into ends of handle. Stitch across ends of handle, and around top edge opening of bag.


Once you have the technique down try your hand at a larger origami bag! This size makes a perfect market tote.
Fabric:
- Cut 2 pieces of fabric 51.5” x 17.5”
- Cut 1 piece 12” x 4” for handle
Follow same instructions listed above.

Show us your complete Origami Bags on social! Tag us @CloverUSA
Stay connected with Clover on Facebook | Twitter | Instagram | Pinterest | YouTube | Ravelry
[mc4wp_form id=”11289″]