Felted Art
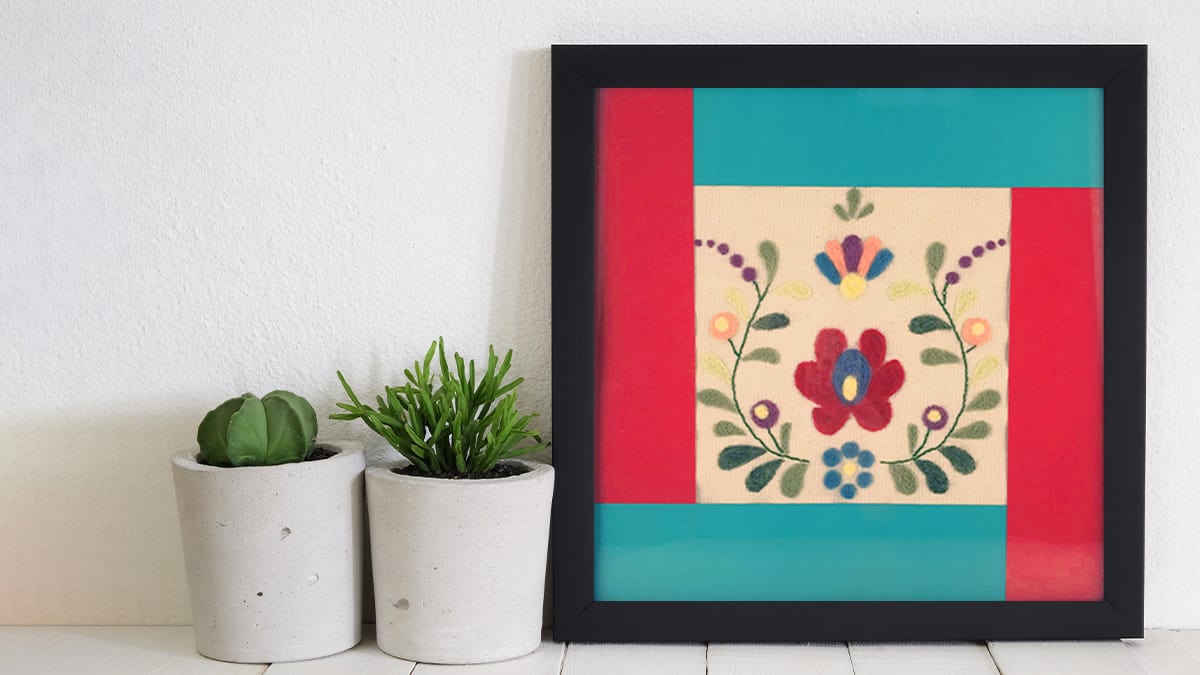
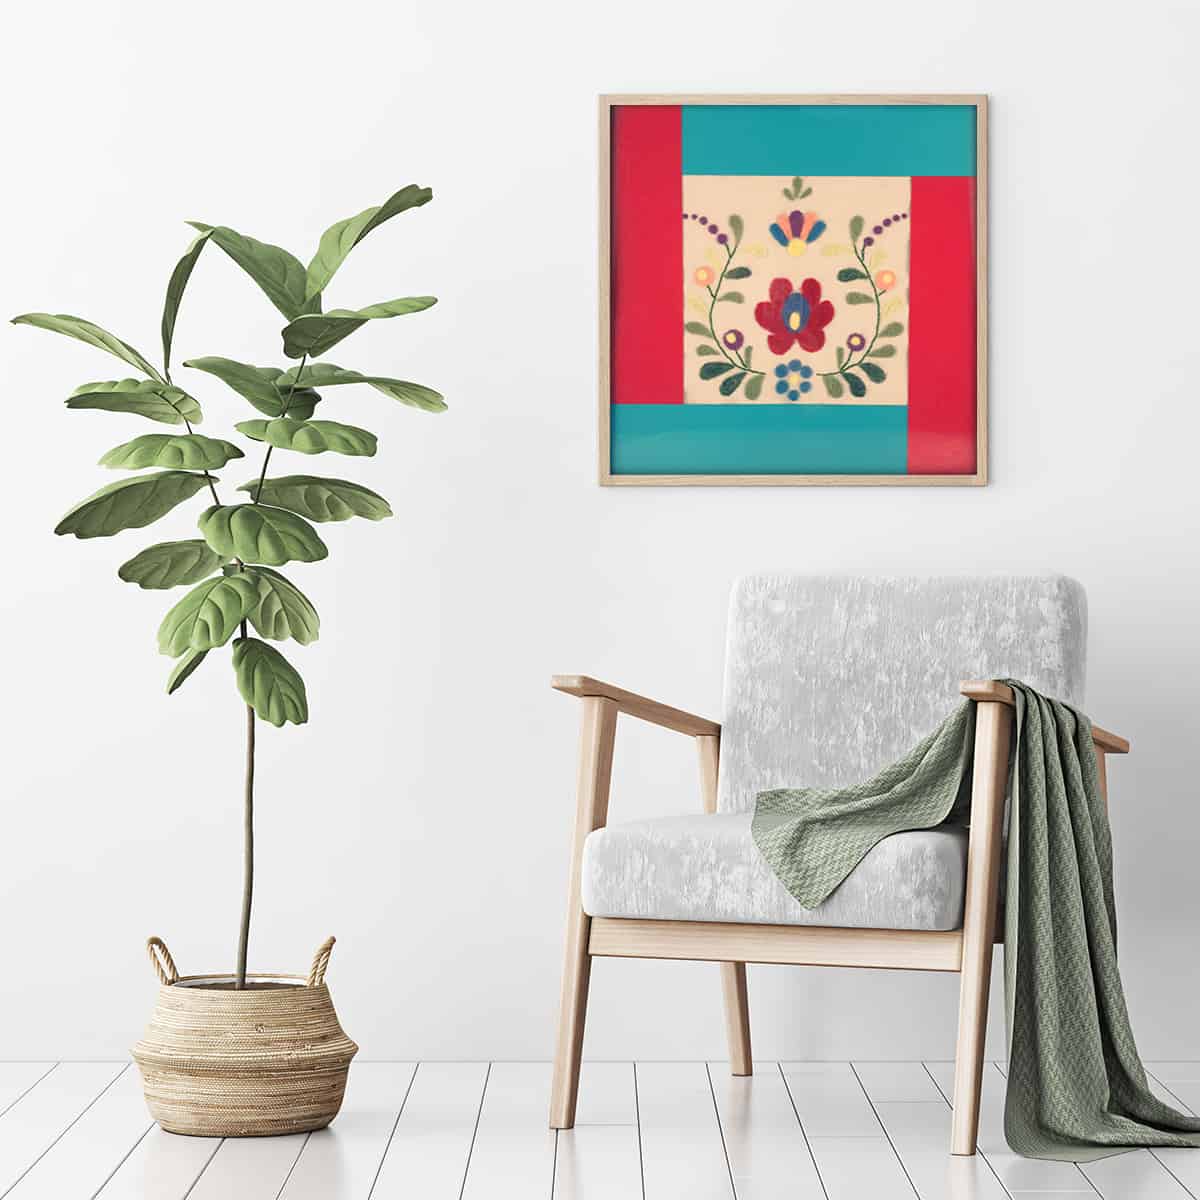
Add a pop of color to any room with a piece of needle felted art. This project can be accomplished with our Needle Felting Tools, a piece of canvas fabric and your favorite colors of wool roving.
Gather these supplies
Tools
- Pen Style Needle Felting Tool (Art. No 8901)
- Needle Felting Mat – Large (Art. No 8911)
- Claw & Mat Cleaner (Art. No 8919)
- Tracing Chacopy Paper (Art. No 434)
Everything Else
- Canvas fabric (This project utilized a piece measuring 8.5″ x 8.5″)
- Green Embroidery Floss
- Frame to display finished project (This project used a 12″x12″ frame)
- 8-10 colors of Natural Wool Roving. This project used:
- Dark Green
- Lime Green
- Moss Green
- Orange
- Yellow
- Purple
- Light Blue
- Blue

Here’s How:
Step 1: Cut out piece of canvas fabric (size will depend on frame. Image shows canvas cut at 8.5″ x 8.5″)
Step 2: Use package instructions included in Chacopy Tracing Paper to trace image onto fabric. Download pattern here.

Tip: Use Claw & Mat Cleaner to hold your project in place or to make new colors. Simply comb both colors of wool roving with the rake and a new color will form.
Step 3: Select colors or use colors shown on pattern. Remove two needles from Pen Style Needle Felting Tool and only use one to do detailed work on this pattern.

Needle felt staying within the patterned line. Do this for the entire project.
Step 4: Use either a hand sewing needle or Embroidery Stitching Tool to make a basic stitch on the stem in the pattern using embroidery floss.
Finish by framing and displaying your art.
Since design is an 8.5″ square and frame was a 12″ square, scrapbook paper was used to fill in the gap between the design and edge of the frame. Also gives the final product a finished look.
Some alternatives are using a larger piece of canvas, measuring the size of the frame or a smaller frame.
Stay connected with Clover on Facebook | Twitter | Instagram | Pinterest | YouTube | Ravelry
[mc4wp_form id=”11289″]