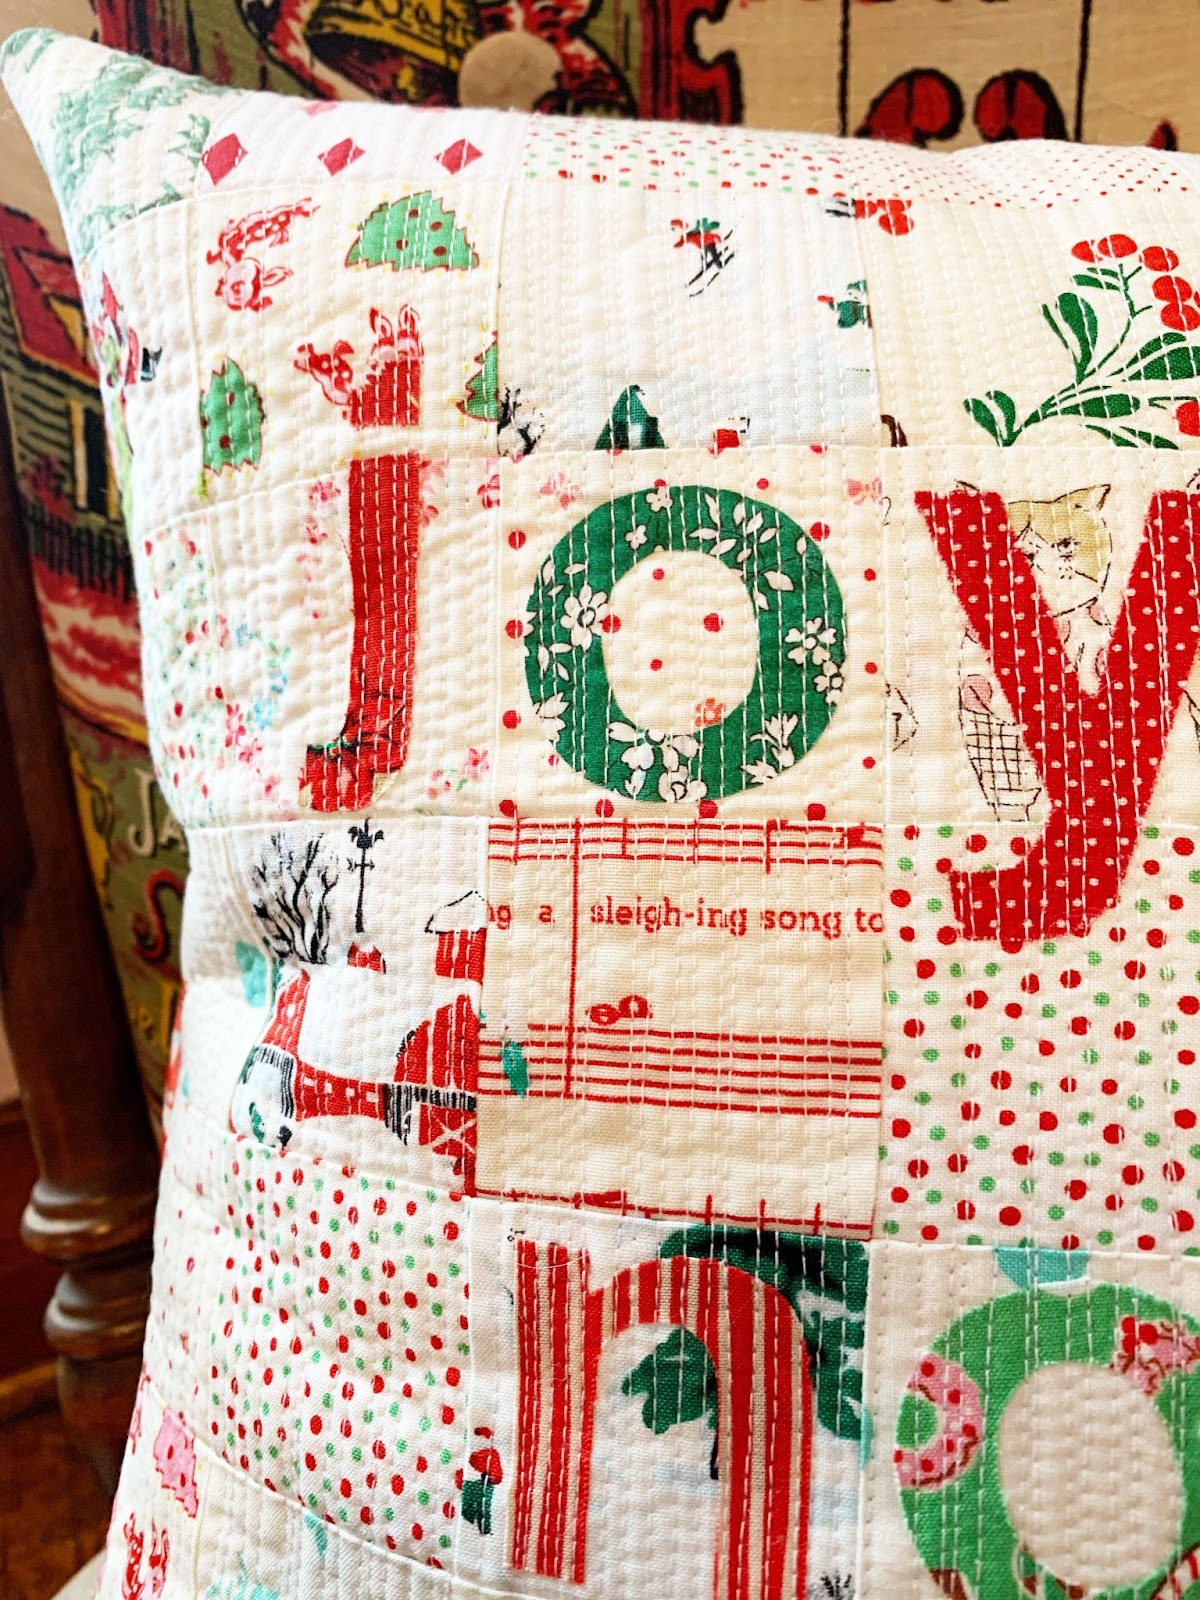
Joyeux Noel Applique Patchwork Pillow- Sewing Tutorial

We made it! It’s almost Christmas! Hi. I’m Faith, work from home mom of three boys and two huskies, sewing for fun, therapy and now income as well. I hope you are doing well and holding up under the stress and pressure this month can bring. I wanted to give you a really simple and fun project for you to finish on time to gift (even if it’s only to yourself!). I went with my applique letters on a patchwork pillow this time and found an even quicker way to secure them using “matchstick” quilting. And for extra fun I went with the French saying Joyeux Noel for Happy Christmas, which should fit right in with the rest of my eclectic pillows. Let’s get started!

You will need:
- 64 low-volume fabric cut into 2.5-inch squares
- Free PDF printed out here
- Wonder Fuse sheet or scrap pieces
- Batting 16.5 x 16.5
- Two pieces of backing fabric 16.5 x 10.5
- Red and green fabrics, scraps work well for the letters
- Wonder Clips- Art. No. 3185
- Small Patchwork Scissors- Art. No. 493/S
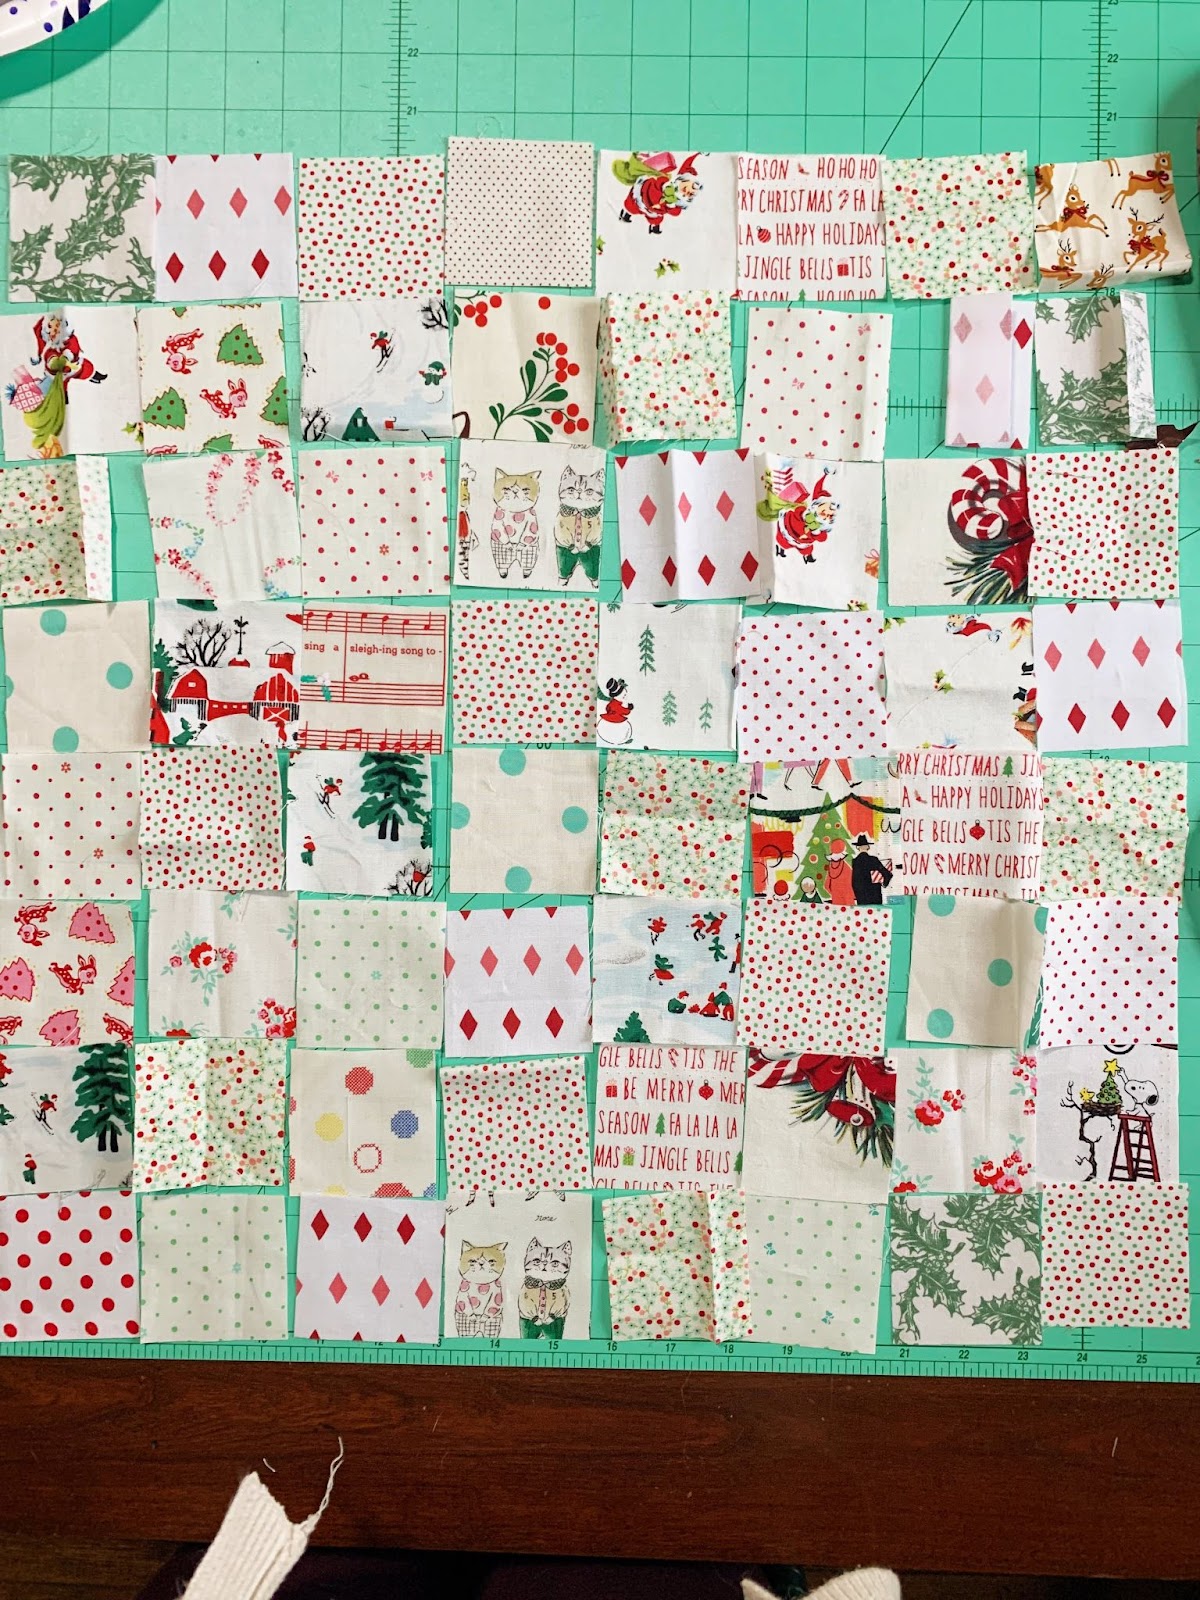
Lay your low-volume squares out in rows of 8×8. If you have lower-volume fabrics that read more white, use those closer to the center where your letters will be. I did a more random placement and had to take a couple squares out so my letters would stand out more. Noted for next time!

Keep your stacks together using Wonder Clips! Stitch together using a ¼ seam allowance or, even better, a ¼ walking foot for some happy mindless sewing! Note, I always wait to press the squares until after I sew them together.
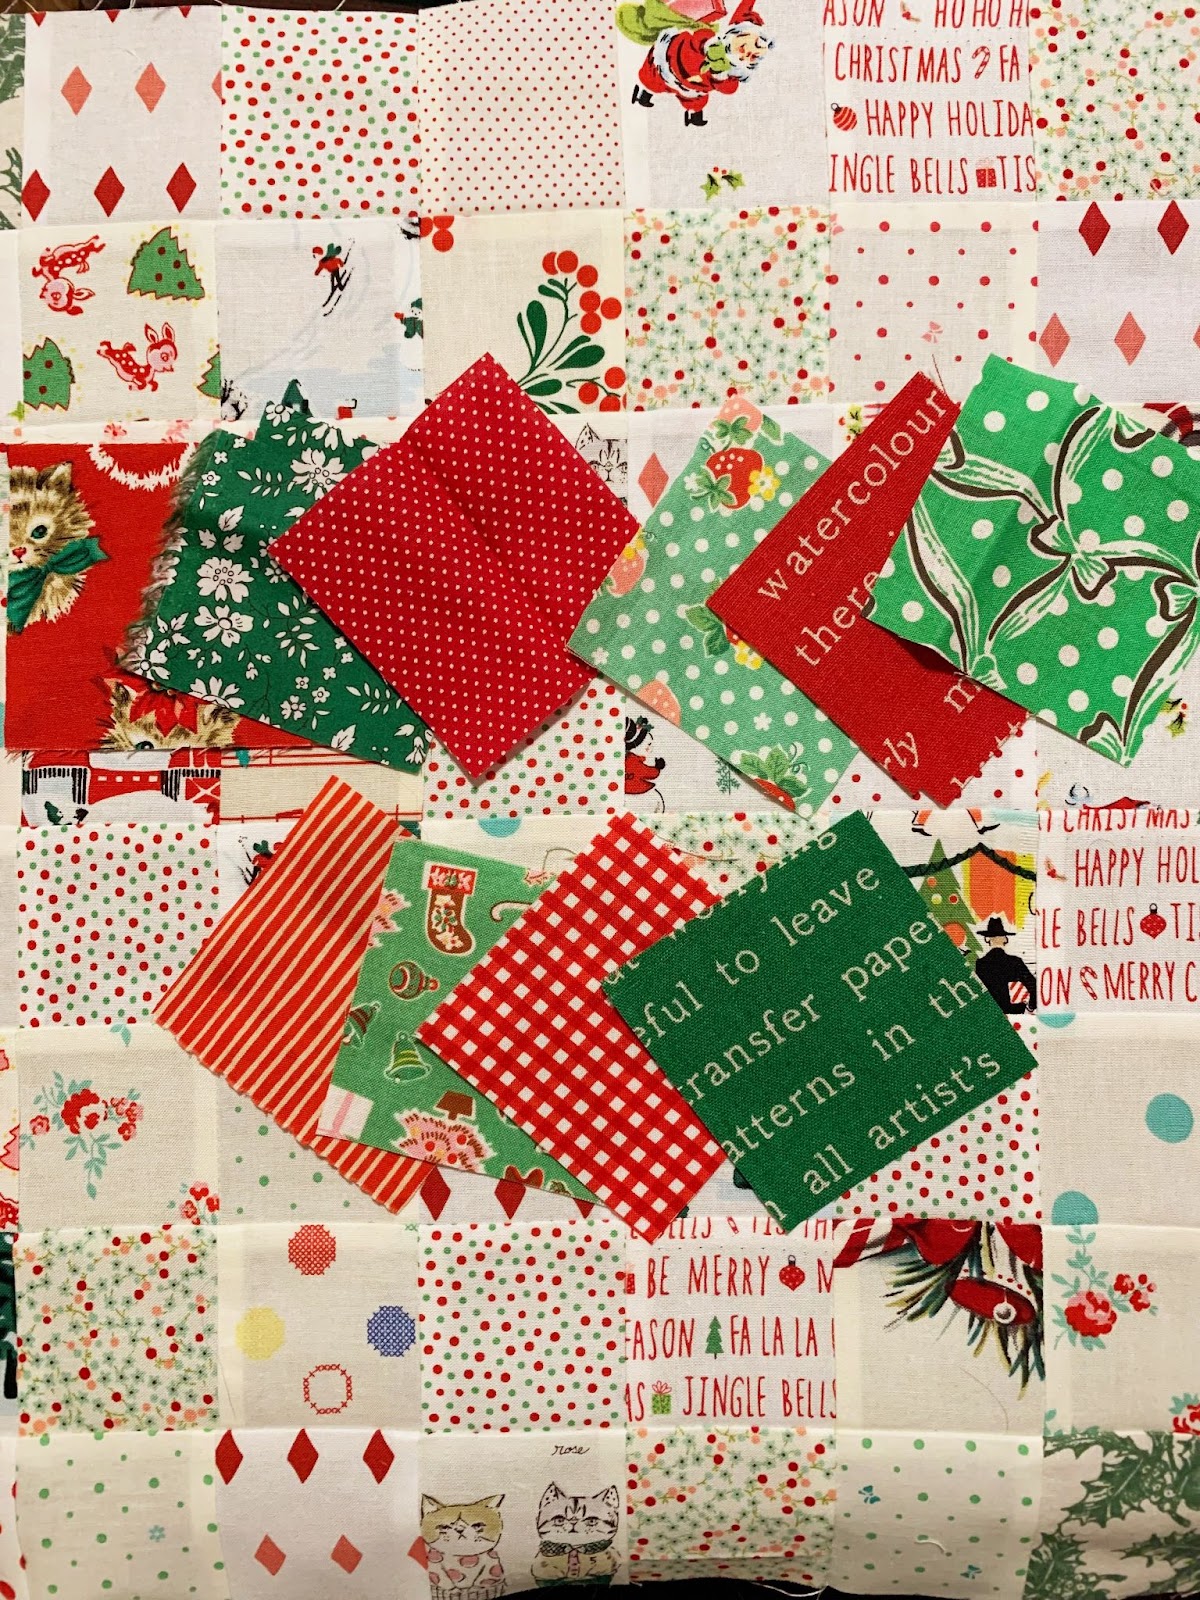
Press your low-volume panel and cut 2.5 -3 inch squares for your letters choosing a layout of every other color. It also might be fun to add a teal or yellow to the letters as well. Press Wonder Fuse onto the back side of each square of the red and green fabrics, cut your letters from the printout and trace the letters onto the paper side of the Wonder Fuse making sure to invert the letters so they will face the right way on the front side of the fabrics.
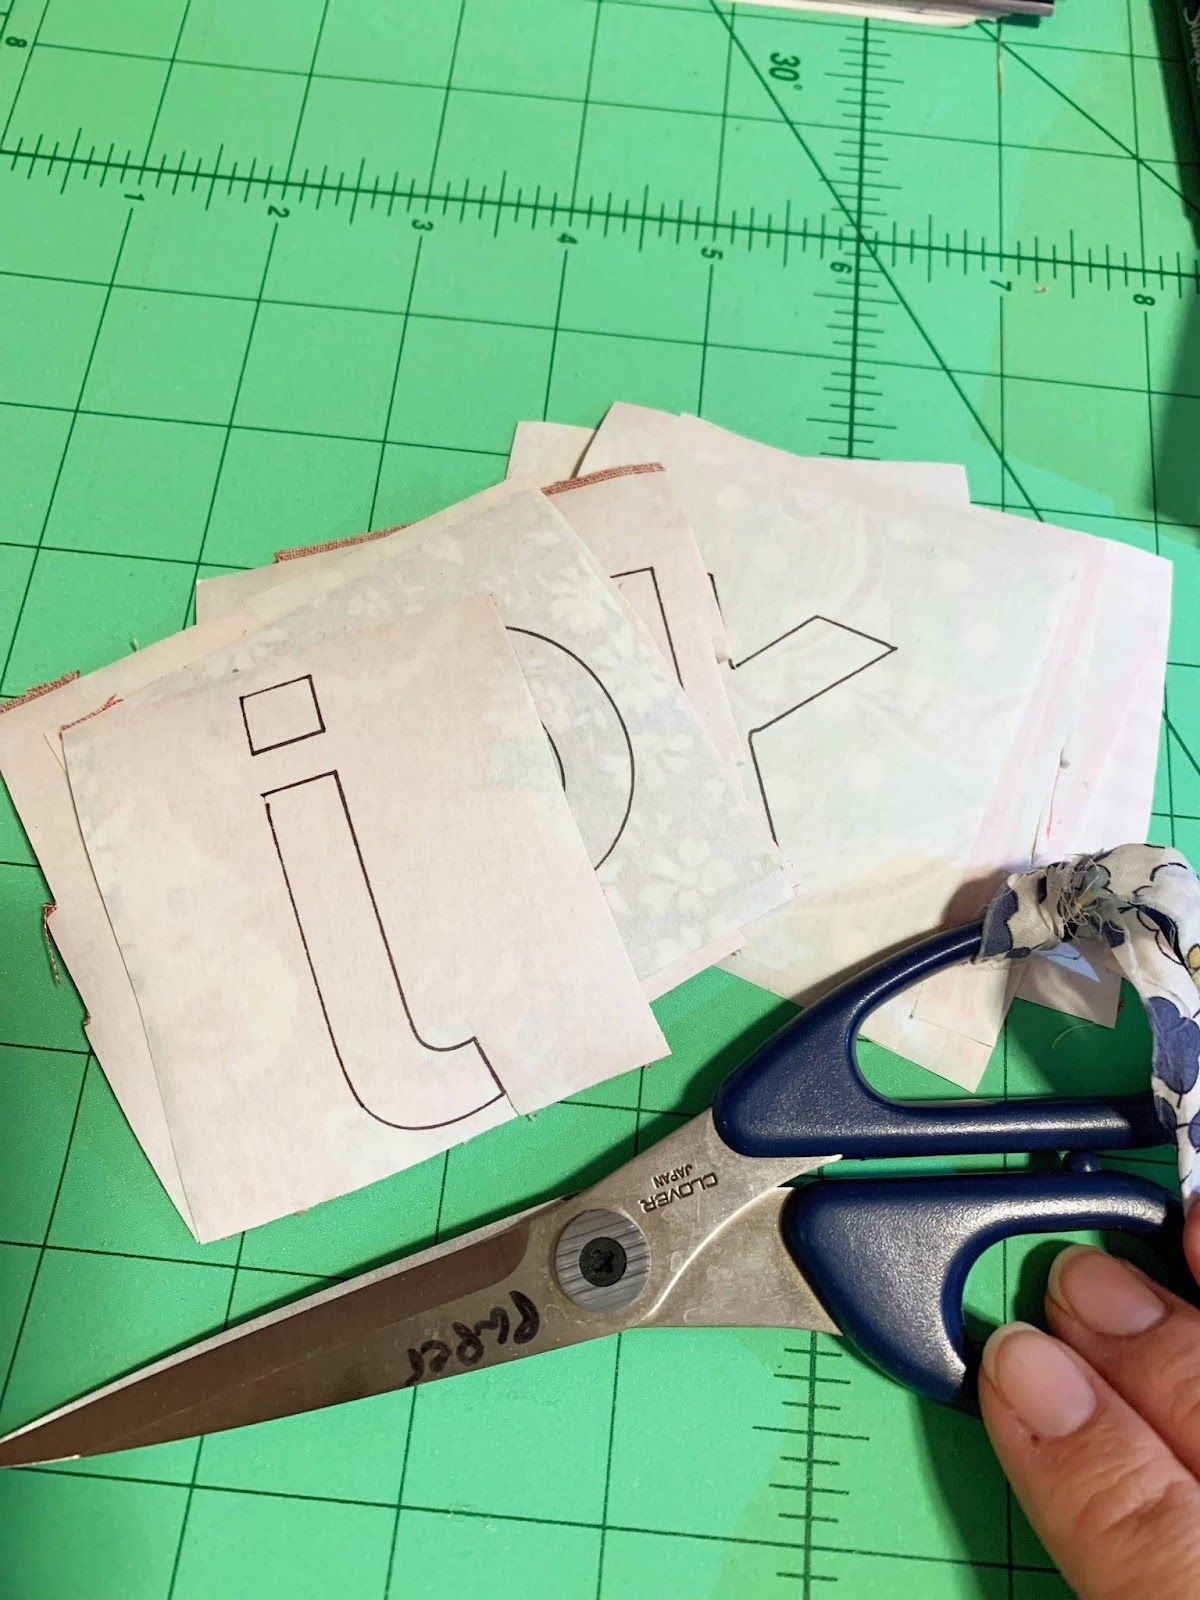
Cut your letters out using paper-safe scissors. Arrange letters on the patchwork, I placed mine centered on the squares. Remove paper from the back of each letter, using a hot iron press until set.
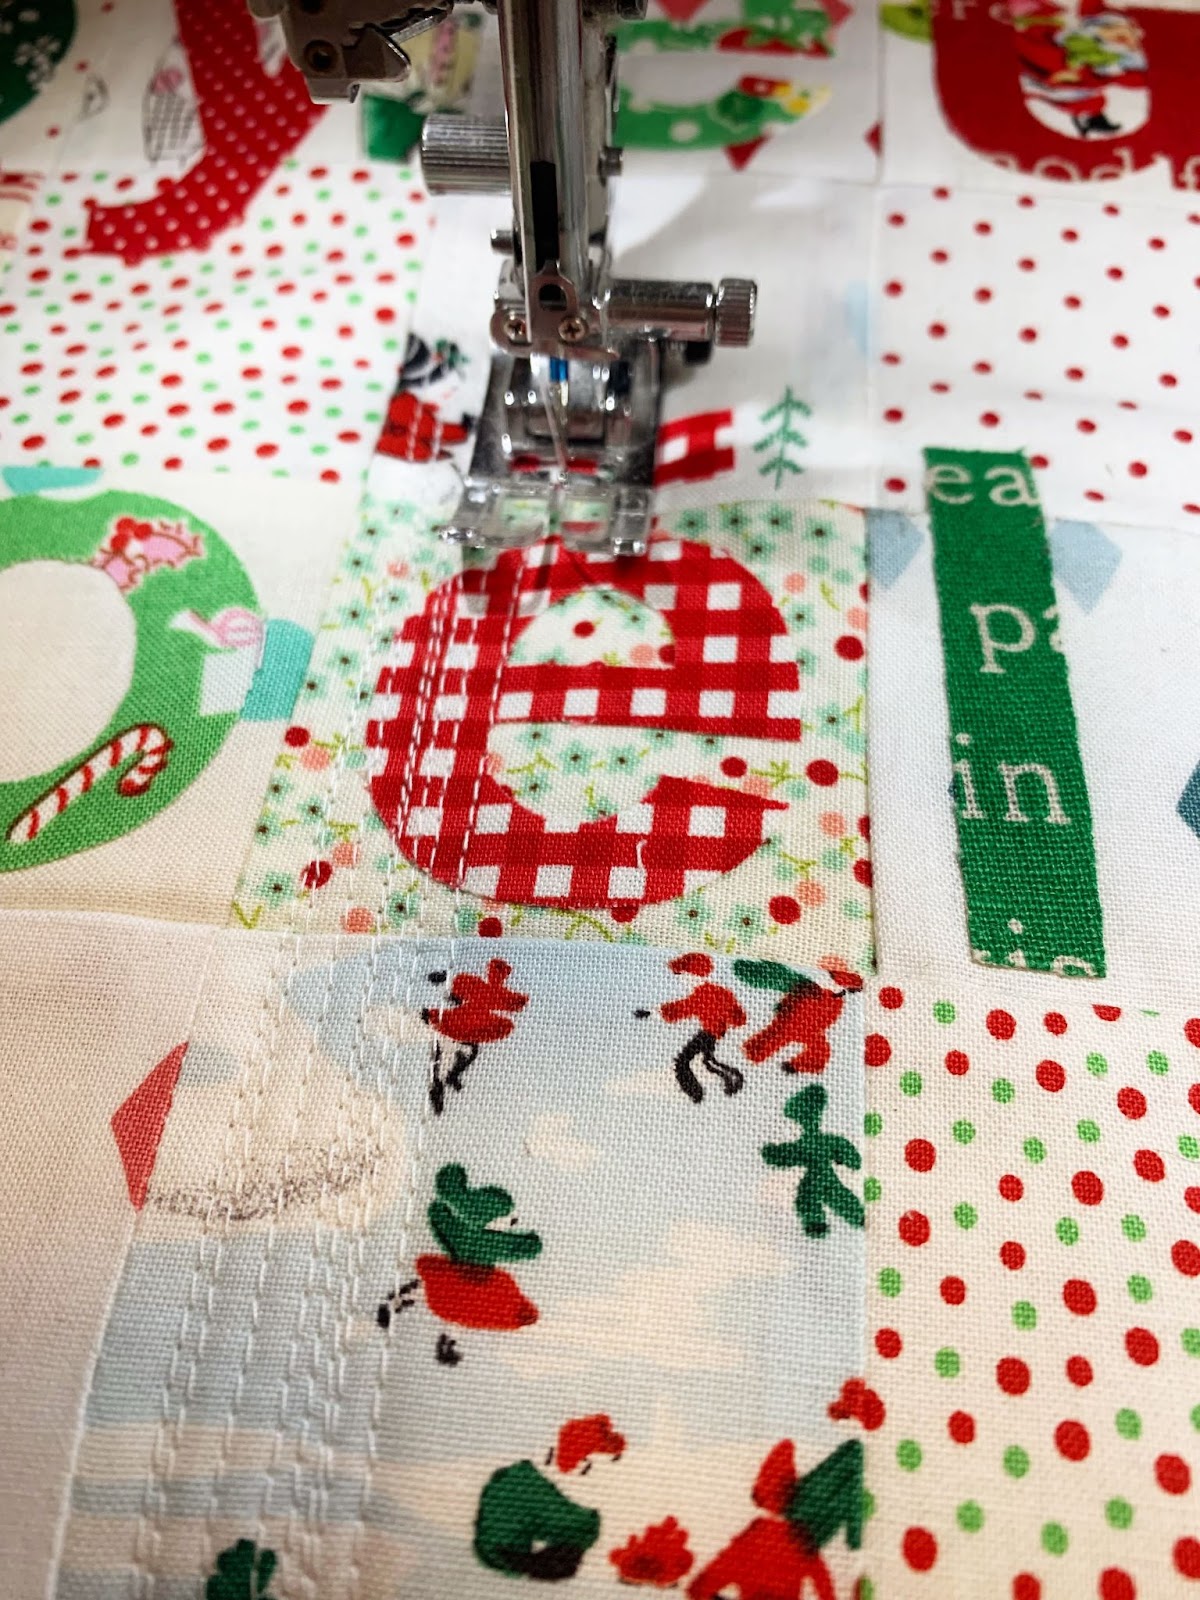
Back your pillow front with batting, I use a little spray to baste it but Clover Wonder Pins are great too. Start quilting from one end to the other and simply turn your project around when you get to each end, no need to lift the needle and cut threads. This went really quickly and was mindless sewing which is perfect for when we have so much on our minds right now anyway. If you don’t prefer the look of this you can use a more traditional method for applique such as a blanket stitch which can be found here.
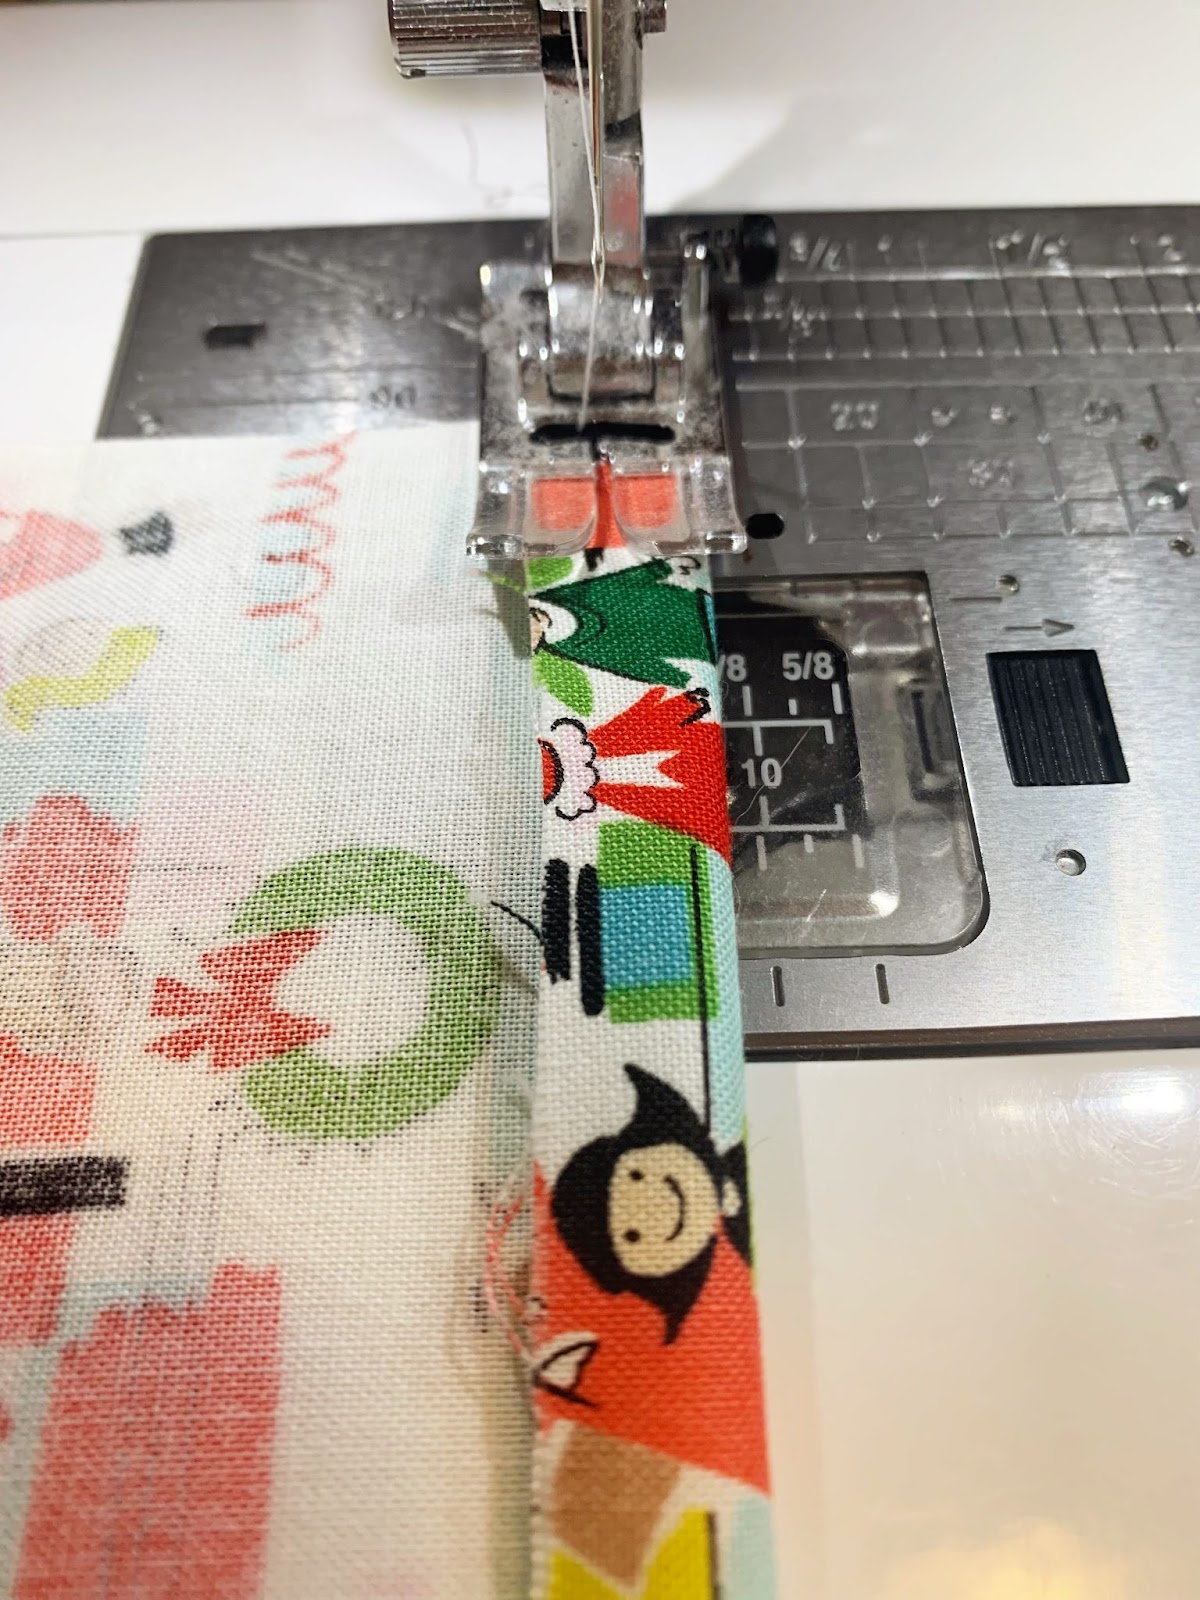

To make the back of the pillow, fold one edge over by a half inch and sew ¼ inch to make a finished edge, repeat with the other back panel. If your fabric is directional make sure you sew one edge at the top of the design and another at the bottom. Place your fabric panels facing right sides down on the right side of your pillow front.

Use Wonder Clips around the edges to hold fabrics in place. Sew around the whole pillow with a ¼ seam and go back over the parts where the back panels overlap to give them more stability. Turn right side out.

All done and ready to gift or keep for snuggling yourself!

This style of quilting will hold up really well with wash and use. I hope you can take an afternoon or evening to find some peaceful sewing time for yourself this week. I will be back next month with a simple tote bag and hopefully some thoughts on organization and things we all like to pretend we will finally get good at in the new year. Until then you can find me over at @faithessenburg
Stay connected with Clover on Facebook | Twitter | Instagram | Pinterest | YouTube | Ravelry