


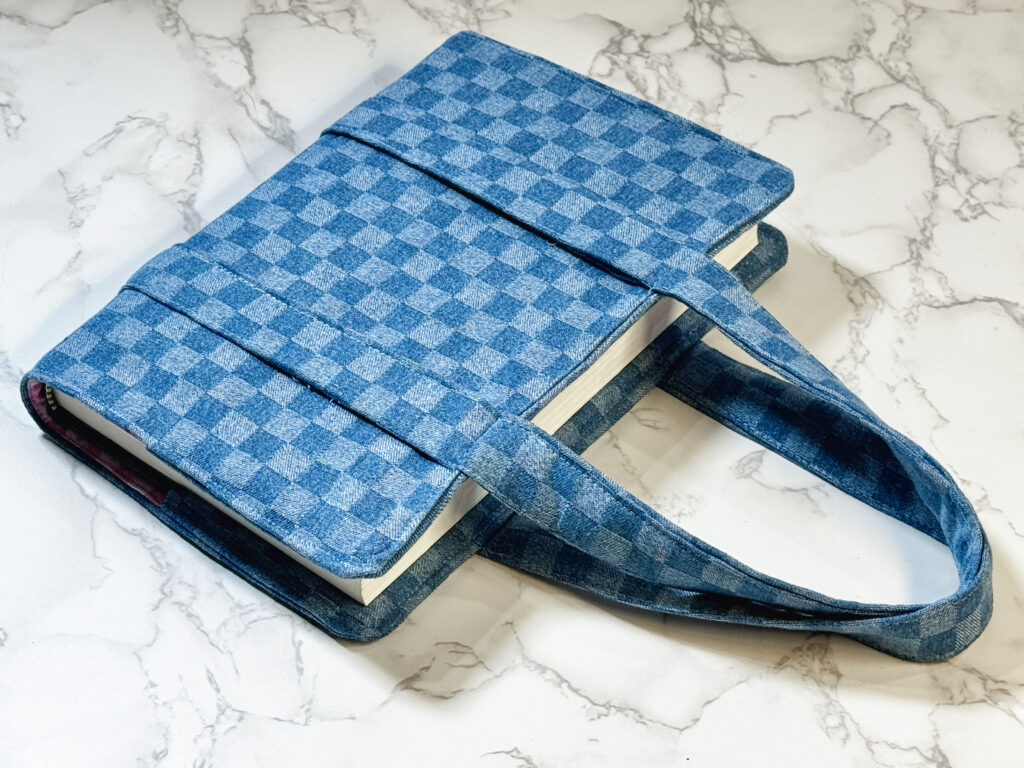
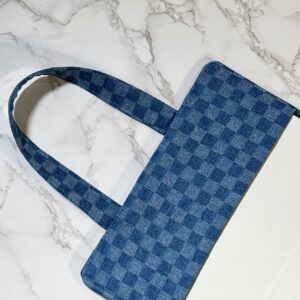
Hello, everyone! Fall is here, and cooler weather always makes me want to slow down, grab a good book, and get cozy. So, this Fabric Book Cover Bag feels like the perfect project for the season! It’s a cute and practical way to carry and protect your favorite book, sketchbook, journal, or notebook. It’s also a great stash buster! You don’t need a ton of fabric for this project, so it’s the perfect excuse to pull out some of those fabric scraps or leftover pieces you’ve been saving and put them to good use. This would also make such a fun handmade gift! You can choose fabric that fits their personality to make it feel even more personal. Whether you’re making one for yourself or getting a head start on handmade gifts for the holidays, grab your favorite fabric and let’s get sewing!
MATERIALS:
- Clover Craft Storage Wrap
- Clover Rotary Cutter (60 mm)
- Clover Flower Head Pins
- Clover Wonder Clips
- Clover Magnet Pin Caddy
- Clover Triangle Tailor’s Chalk (Red)
- Clover Patchwork Scissors
- Clover Curve Ruler (with Mini Ruler)
- 1 yard main fabric
- 1/2 yard lining fabric
- measuring tape

FABRIC BOOK COVER BAG TUTORIAL:
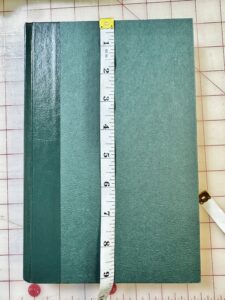
With the book closed, use a measuring tape to measure around the total outside width of the book, then measure the height of the book cover. Round up the measurements slightly to make the calculations easier and to ensure the fabric cover does not end up too snug. Determine how far the inside flaps should extend onto the book. For this example, the finished width of each inside flap is 3.5″. Add 1″ to both the width and height measurements of the book to account for a 1/2″ seam allowance on each side. For example, if the book measures 13.75″ X 9.5″, the final cutting measurement will be 14.75″ X 10.5″.

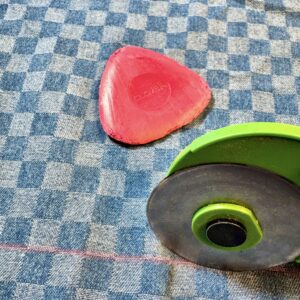
Cut two panels using this measurement: one for the outer cover and one for the lining. For each inside flap, double the desired finished width because the fabric will be folded in half. For a finished flap width of 3.5″, double the measurement to get 7″, then add 1″ for the seam allowance to get 8″. Use the same height measurement as the outer cover, including the seam allowance. For this example, cut two inside flap panels at 10.5″ x 8″.
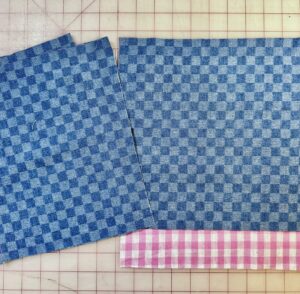
Fold each inside flap panel in half with wrong sides together and press.
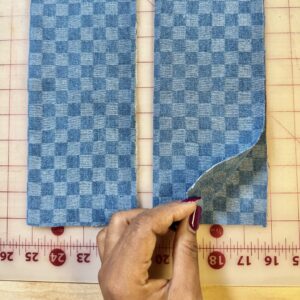
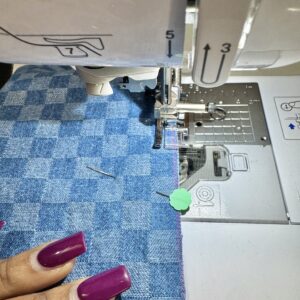
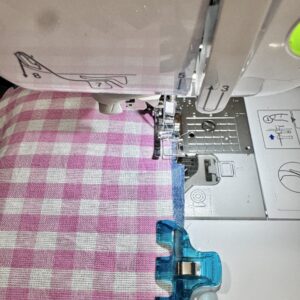
Place the inside flaps onto the outer cover panel with right sides together and the folded edges facing toward the center of the cover. Pin in place. Place the lining panel right sides together with the outer cover panel, sandwiching the inside flaps between the two layers. Pin around the edges, leaving an opening along one of the long edges for turning. Sew around the outside edges using a 1/4″ seam allowance, backstitching at the beginning and end of the opening. Trim the corners to reduce bulk, being careful not to cut through the stitching.
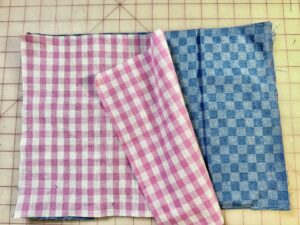
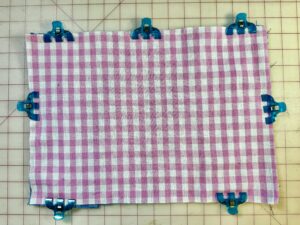
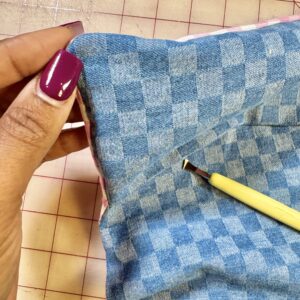
Turn the cover right side out through the opening. Use a point turner to gently push out the corners. Press the cover well, making sure the seam allowance at the opening is folded toward the inside.
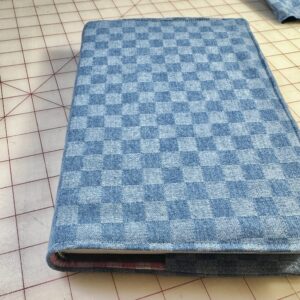
Beginning at the opening, topstitch around the entire edge using a 1/8″ seam allowance. The topstitching will close the opening at the same time. If skipping the topstitching, close the opening with an edgestitch or hand sew the opening closed using a slip stitch. Place the book inside the flaps and adjust the cover as needed for a smooth fit. Open your book and slide the front and back covers into the book flaps. If you want to add a pocket, this is the best time.
To create the handles, cut one strap 4″ wide. To determine the length, wrap a measuring tape around the book in one continuous oval, allowing enough length at the top of both sides to form the handles. Add 1″ to the total measurement for joining the ends. Fold the strap in half lengthwise with wrong sides together and press to create a center crease. Open the strap, then fold both long raw edges toward the center crease and press. Fold the strap in half again along the original center crease, enclosing the raw edges, and press. The finished strap should measure 1″ wide. Bring the short ends of the strap together, overlap them by 1″, and stitch securely to create one continuous loop.
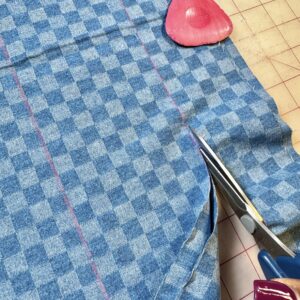
With the outer cover right side facing up, position the strap in a continuous oval around the cover, making sure it is not twisted. Adjust the strap so the handles extend evenly from the top of the cover and both sides are straight and evenly positioned. Pin or clip in place. Starting near the top edge of the cover, topstitch close to one edge of the strap, stitching through both the strap and outer cover. Continue around the cover, stopping at the opposite top edge so the handle remains free. Repeat along the other edge of the strap. Repeat on the opposite side of the outer cover, topstitching along both edges of the strap and leaving the handle and the flap portion free.
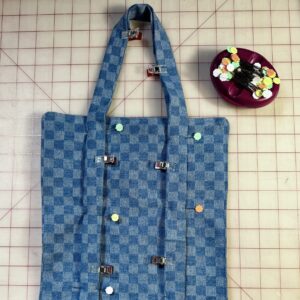
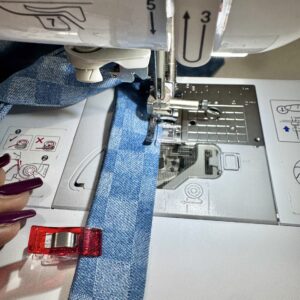
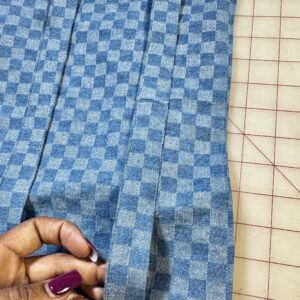
That’s it! Your Fabric Book Cover Bag is ready to fill with your favorite book, sketchbook, or journal and all the little supplies you need. I love how simple this project is and how easy it is to customize with different fabrics.
If you want to keep up with me, Duana, on social media, follow me on social media: Instagram
If you want to keep up with all things Clover, follow us on: Facebook | Twitter | Instagram | Pinterest | YouTube | Ravelry