

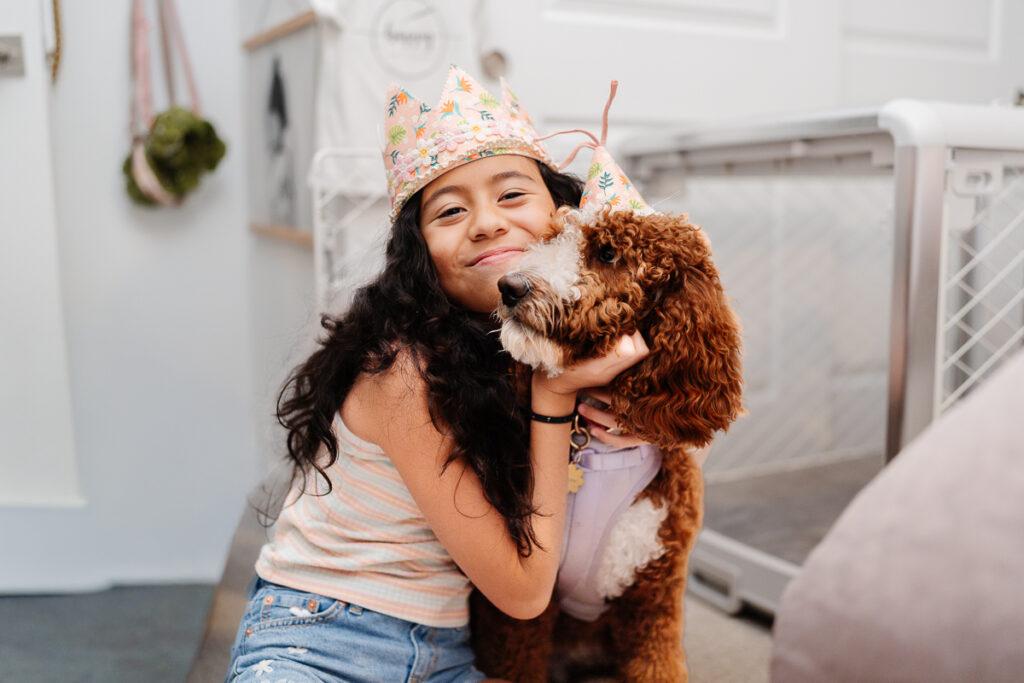
Hi everyone, it’s Cataleya! I am so excited to show you my newest project because it is literally the cutest thing I’ve ever made. My dog Flora and I actually share the exact same birthday! How cool is that?! Since we are birthday twins, I decided we absolutely needed to match for our big day! This year, I made a super pretty fabric birthday crown for me, and a matching little cone party hat for Flora!
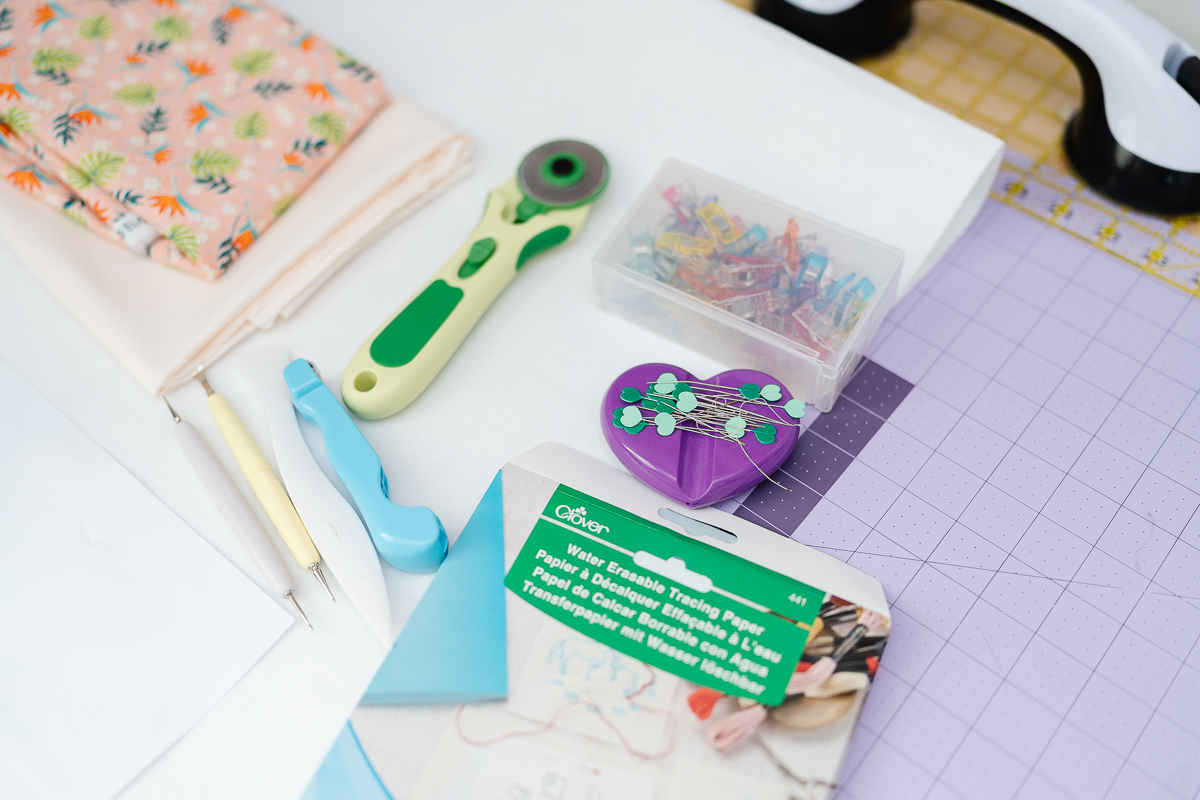
MATERIALS:
- 45mm Rotary Cutter
- Water Erasable Tracing Paper
- Double Tracing Tool
- Metal Hera with Stylus
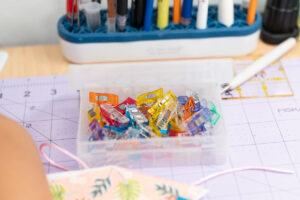
- Wonder Clips (standard size)
- Point 2 Point Turner
- Seam Ripper
- elastic or ribbon (for dog hat strap)
- trim for decorating
- thread to match
- heat pen
- for my birthday crown:
- cut 1 Outside Cotton Fabric: 22″wide x 5″ height
- cut 1 Inside Cotton Fabric: 22″wide x 5″ height
- cut 1 Heavyweight Double-Sided Fusible Interfacing: 22″wide x 5″ height
- for Flora’s dog hat:
- cut 1 Outside Cotton Fabric Circle: 8″ diameter
- cut 1 Inside Cotton Fabric Circle: 8″ diameter
- cut 1 Heavyweight Double-Sided Fusible Interfacing Circle: 8″ diameter
MATCHING CROWN TUTORIAL:
BIRTHDAY CROWN:
- Measure Your Head & Cut the Base: My head measured 21″ so I added 1″ for a perfect, comfortable fit! Use your 45mm Rotary Cutter to cut out three matching rectangles based on your measurement: one outside fabric, one inside fabric, and one heavy double-sided fusible interfacing.


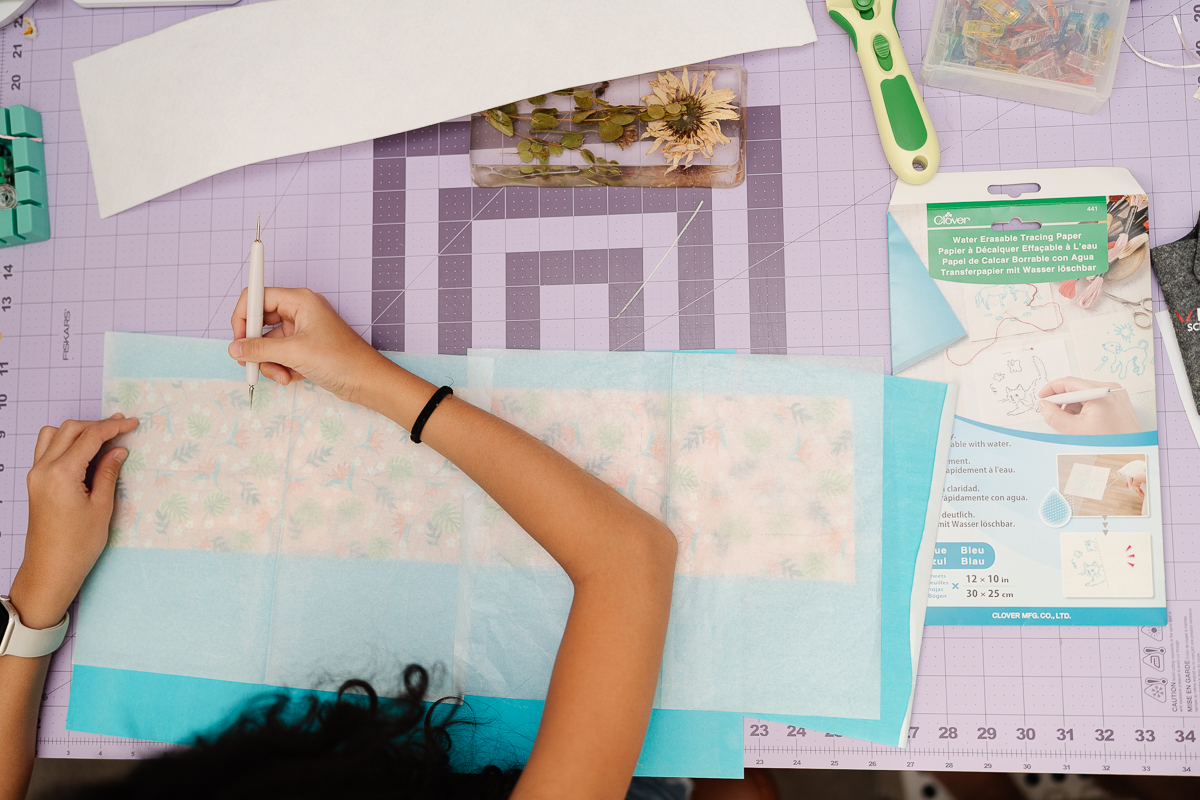
- Draft the Crown Points: Take your fabric and measure down 2″ from the top edge, drawing a straight line all the way across the long side.
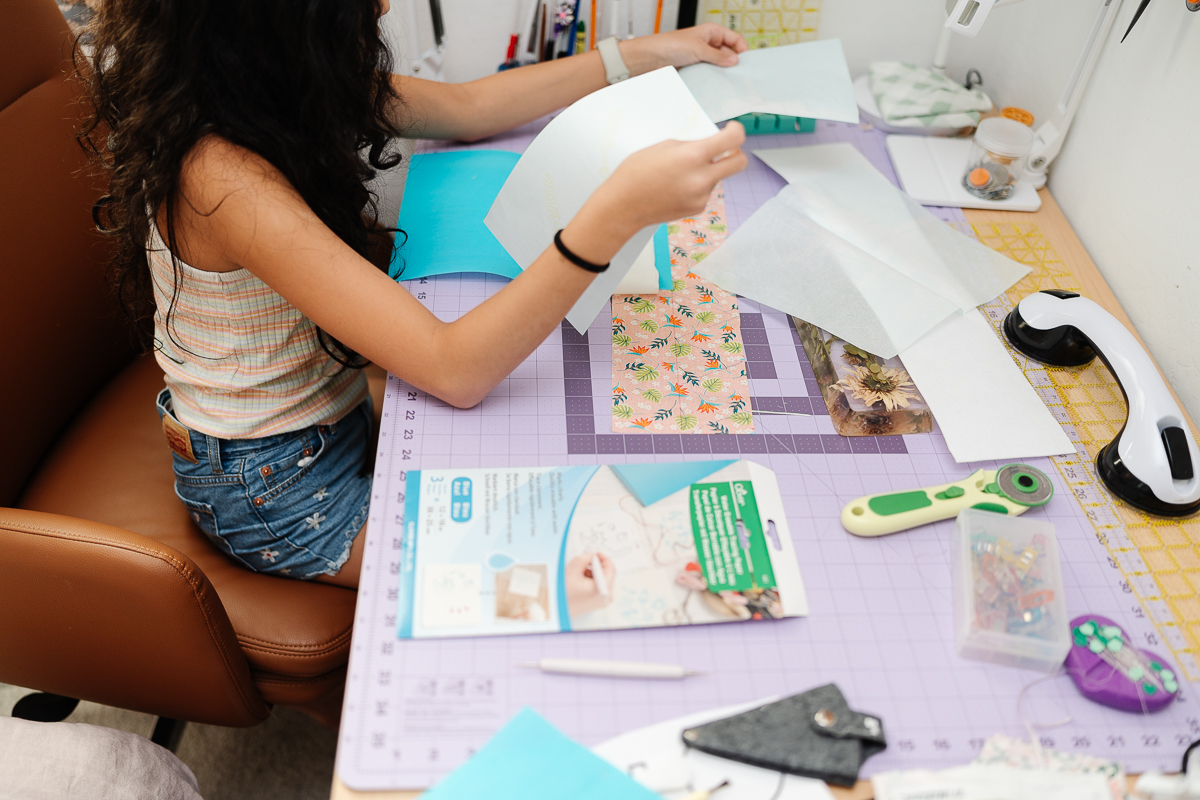
- Draw the Triangles: Use that line as your bottom guide and just randomly draw your triangle shapes all the way across the fabric to make the pointy peaks! Using Water Erasable Tracing Paper and the Double Tracing Tool makes it super easy to trace your favorite freehand shapes onto the other layers.
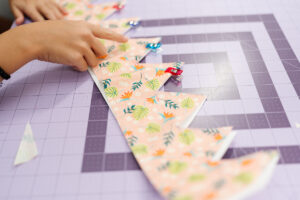
- Cut the Points: Cut out your unique zigzag crown points on your fabric and interfacing pieces before putting them together.
- The Interfacing Sandwich & Ties: Sandwich that heavy double-sided fusible interfacing right in the middle of your outside and inside cotton crown pieces, lining up all your unique triangle points perfectly. Slip your matching fabric strings or ribbons inside the sandwich at both short ends, sew across them to reinforce the hold, then sandwich them completely inside!
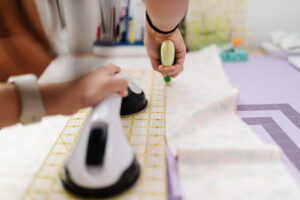
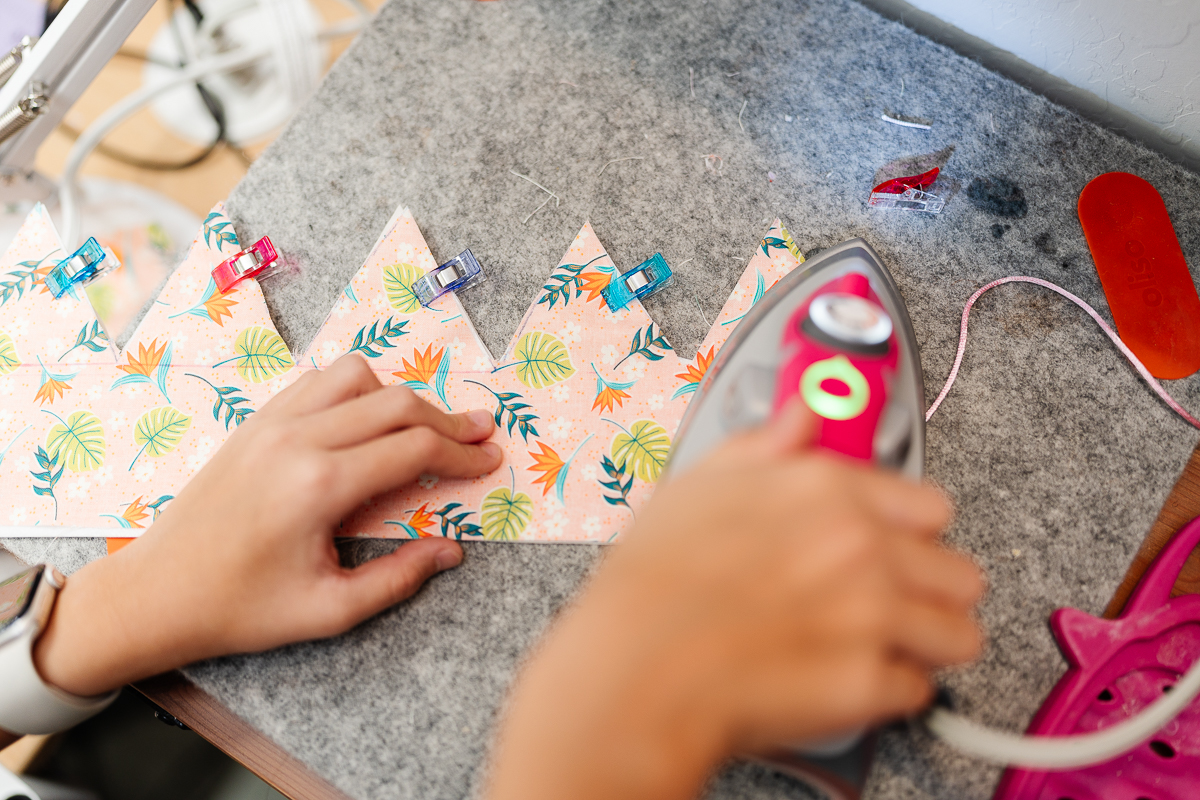
- Fuse It Together: Press firmly with your hot iron to fuse all three layers (and your securely reinforced ties) into one thick, sturdy crown.
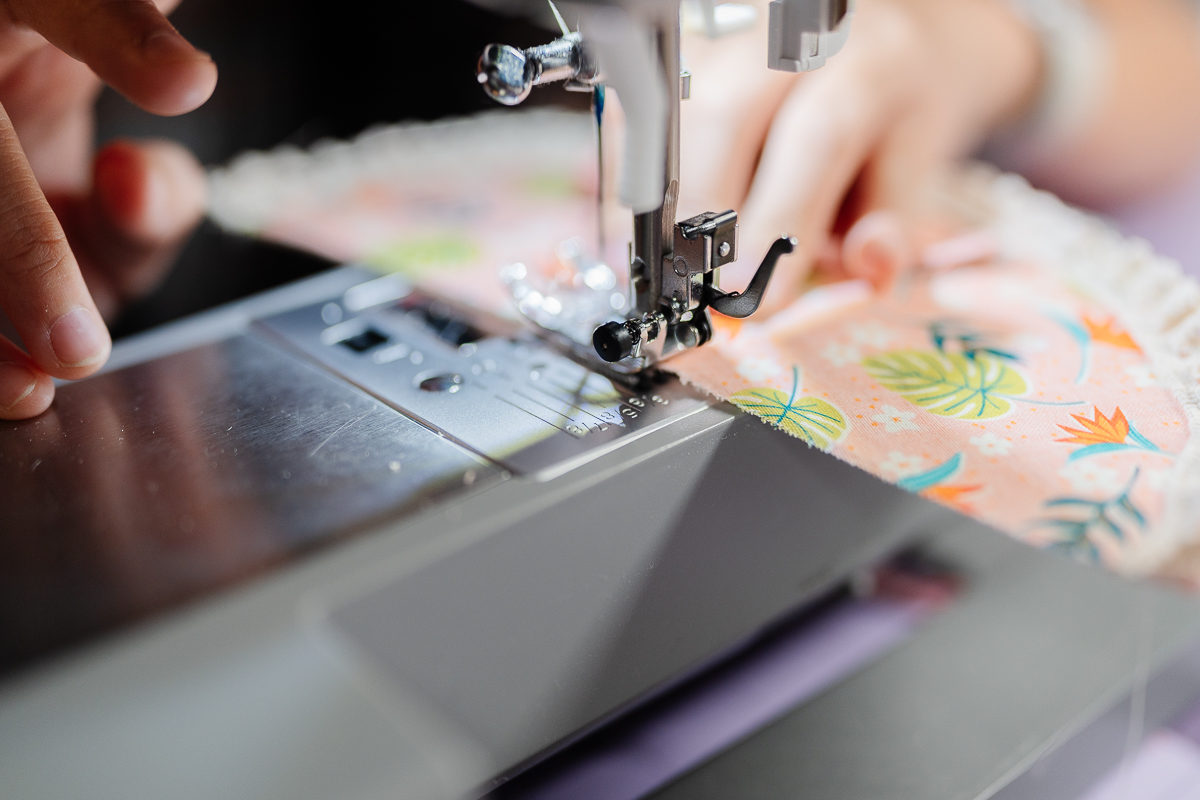
- Sew the Edge Border: Take it to the machine and sew a 1/4″ seam completely around all the sides and zigzag points to lock all the layers together permanently.
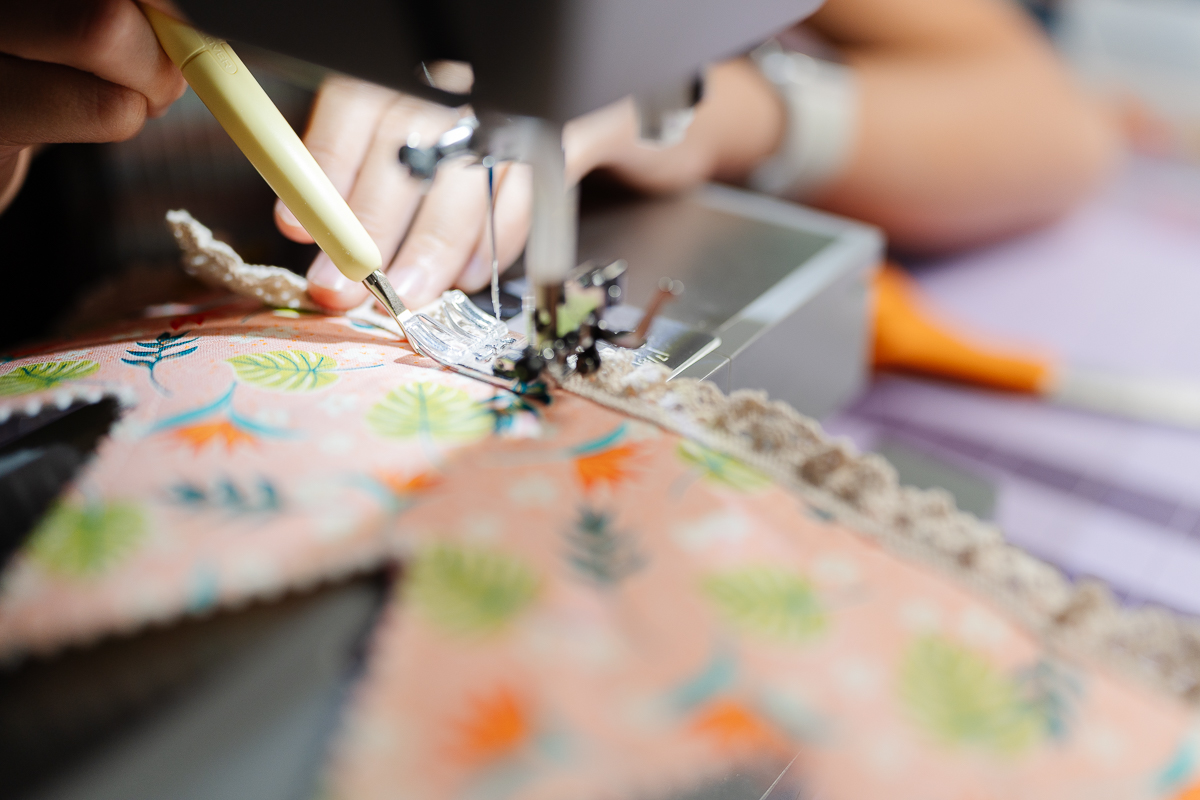
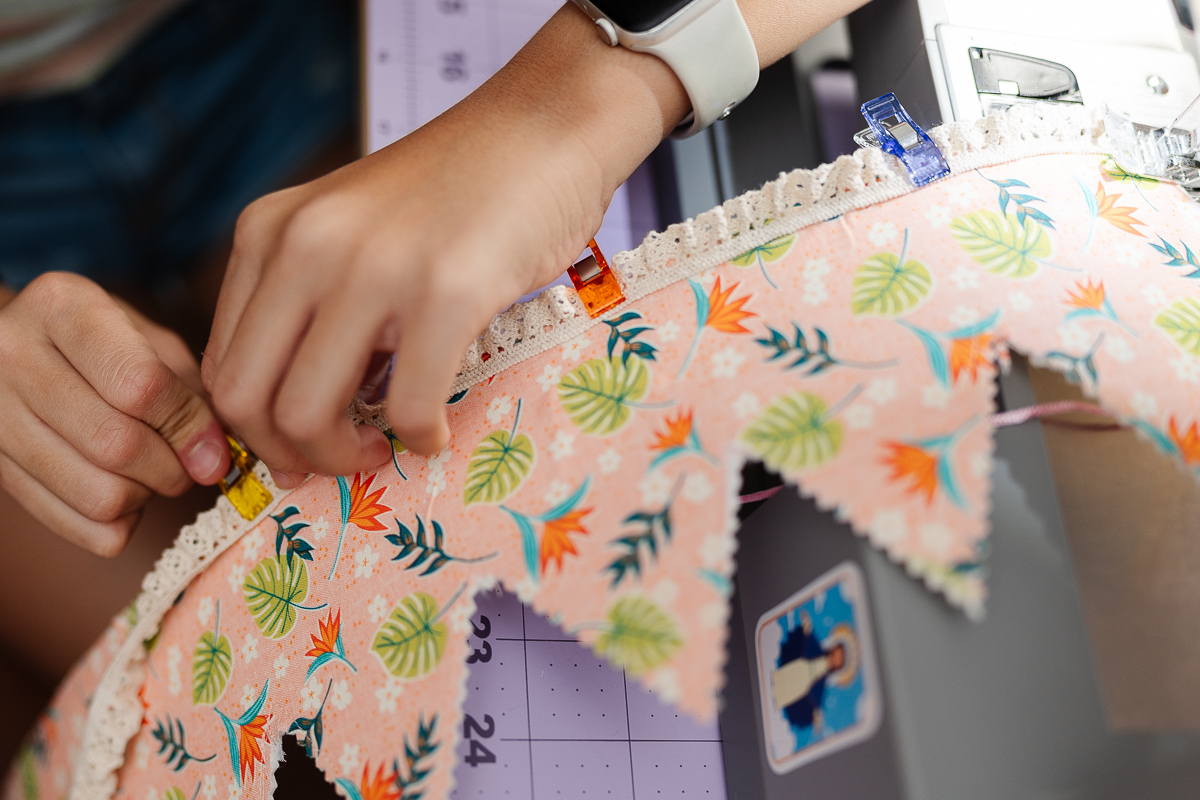
- Add Two Decorative Trims: I layered two beautiful decorative trims across the crown here! Use your Metal Hera with Stylus to safely hold and guide both trims right under the presser foot so they stay perfectly straight as you stitch them down.
- Finish the Edges: Use your pinking shears to do a traditional cut just outside your seam line for a super cute decorative edge that will never fray!
-
Maker Tip: I used traditional pinking shears for my zig-zags, but you could also use scallop shears if you want cute, wavy edges instead!
-
FLORA’S DOG HAT:
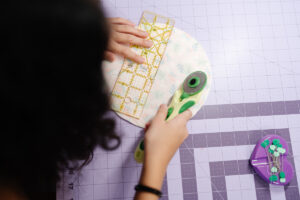
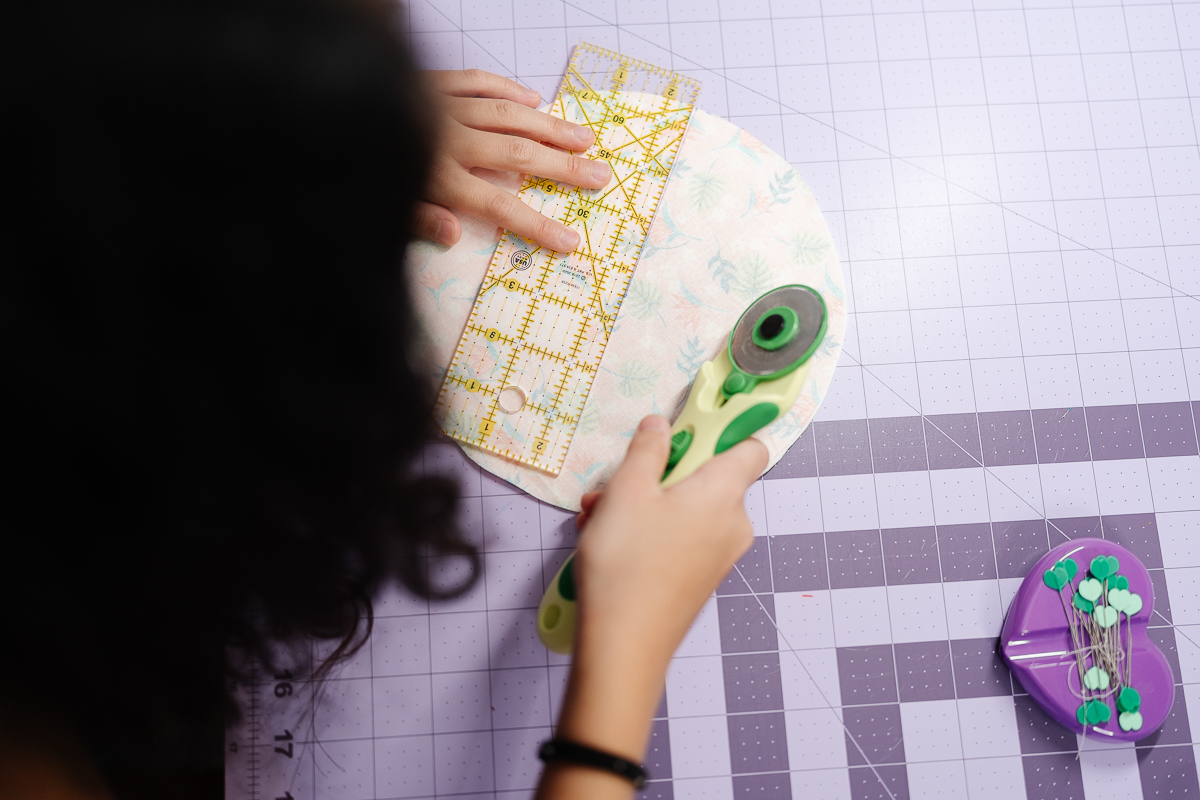
- Cut the Base Circles: Use your 45mm Rotary Cutter to cut out three matching 8″ circles: one outside fabric, one inside fabric, and one piece of heavy double-sided fusible interfacing.
-
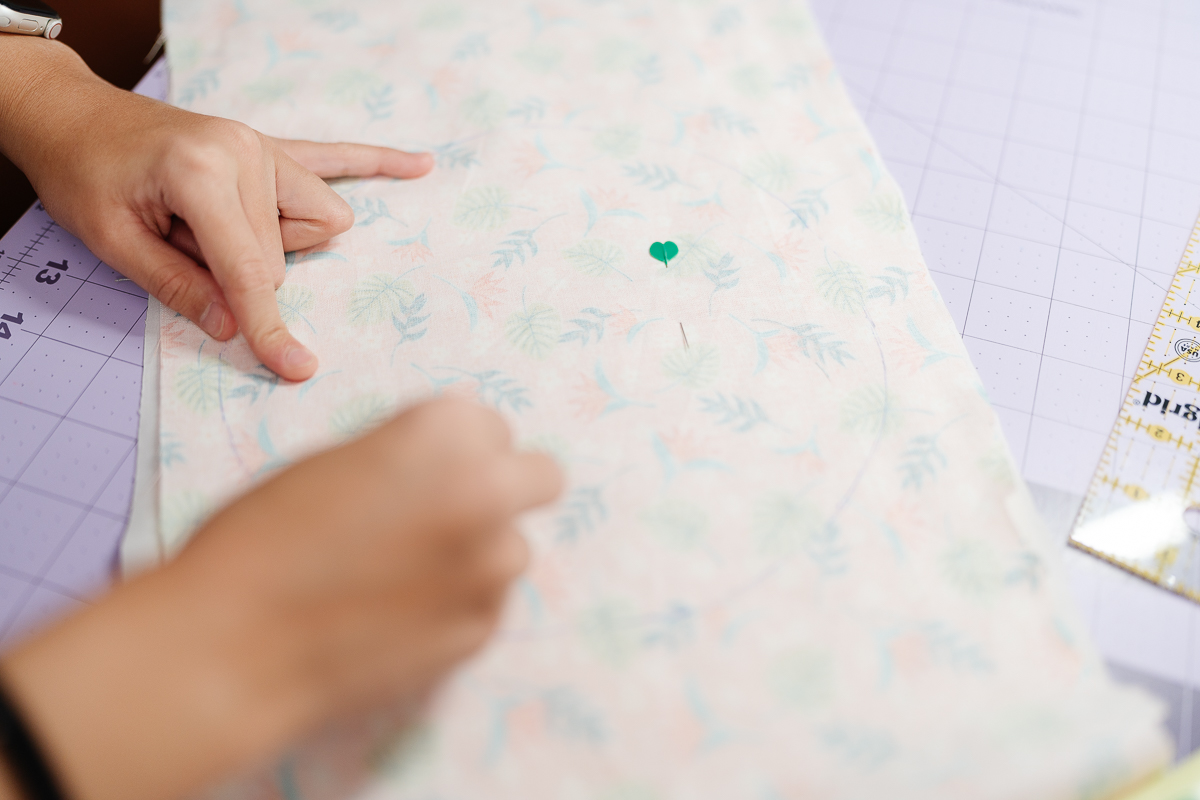
The Interfacing Sandwich: Sandwich that heavy double-sided fusible interfacing right in the middle of your outside and inside cotton circles, lining up all the rounded edges perfectly.
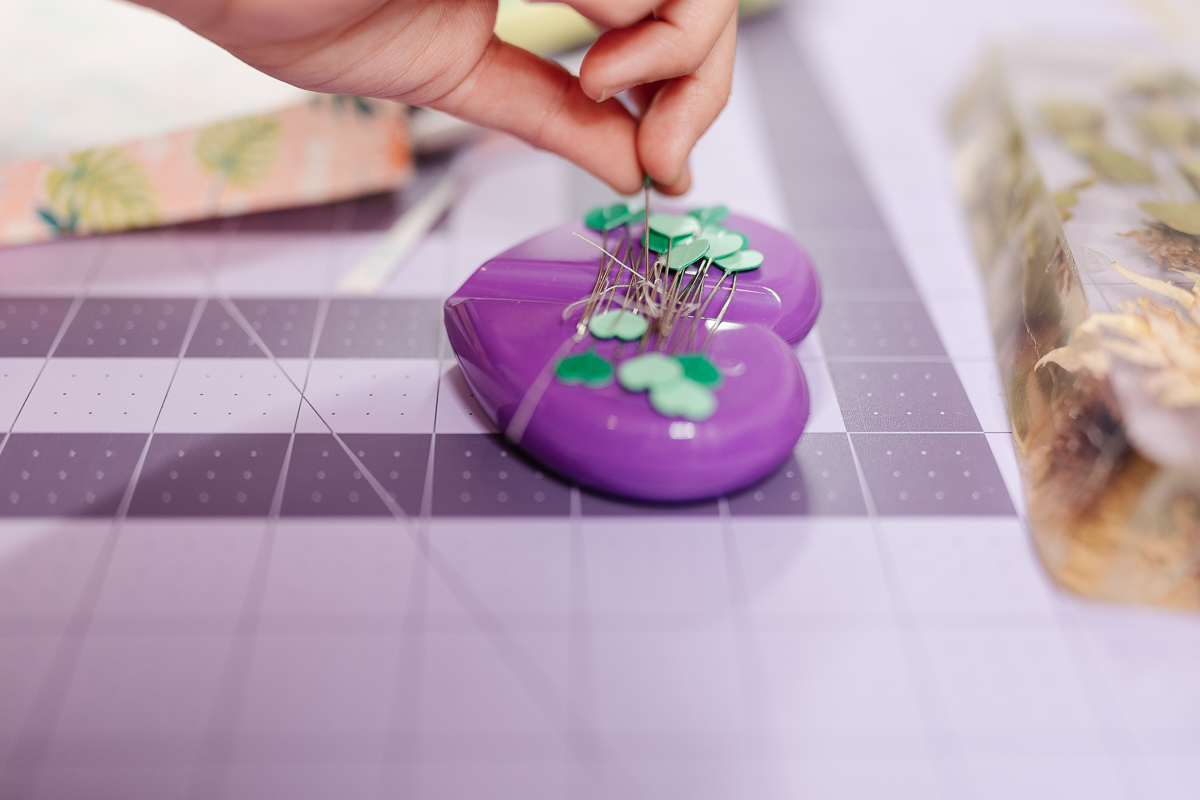
- Fuse It Together: Press firmly with your hot iron to fuse all three layers into one thick, sturdy fabric circle. I use my heart pins to hold everything togeather and magnet caddy to keep my pins organized.
-
Cut in Half: Slice your fused circle right down the center so you have two half-circles. This is the perfect amount of fabric to curl into a party hat cone!
-
Sew the Edge Border: Take one half-circle to the machine and sew a 1/4″ seam allowance around all the raw edges to lock everything together.
- Add the Decorative Trim: Want it to match the crown? Grab your Metal Hera with Stylus to safely hold and guide your decorative trim right along the edges as you stitch it down.
- Add the Top Dangly Strings: Turn the piece inside out so the pretty fabric sides are facing each other. Before you sew it closed, slide your fun, dangly topper strings right inside the cone at the very top point.
- Curl and Stitch (inside out): Curl it into a cone with the straight short edges aligned, keeping the dangly trim trapped at the top point. Clip it with your Wonder Clips and sew down that straight seam, catching the dangly string securely in your stitches.
- Flip and Pop the Tip: Turn the cone right-side out so your pretty fabric and trim are now on the outside! Use your Point 2 Point Turner to gently push the tip out so it looks perfectly sharp.
- Add the Quick Elastic: Measure a piece of comfortable elastic to fit under your pet’s chin. Stitch the ends securely to the inside edges of the hat—it makes it so much faster and easier to slip right onto her head than fussy strings!

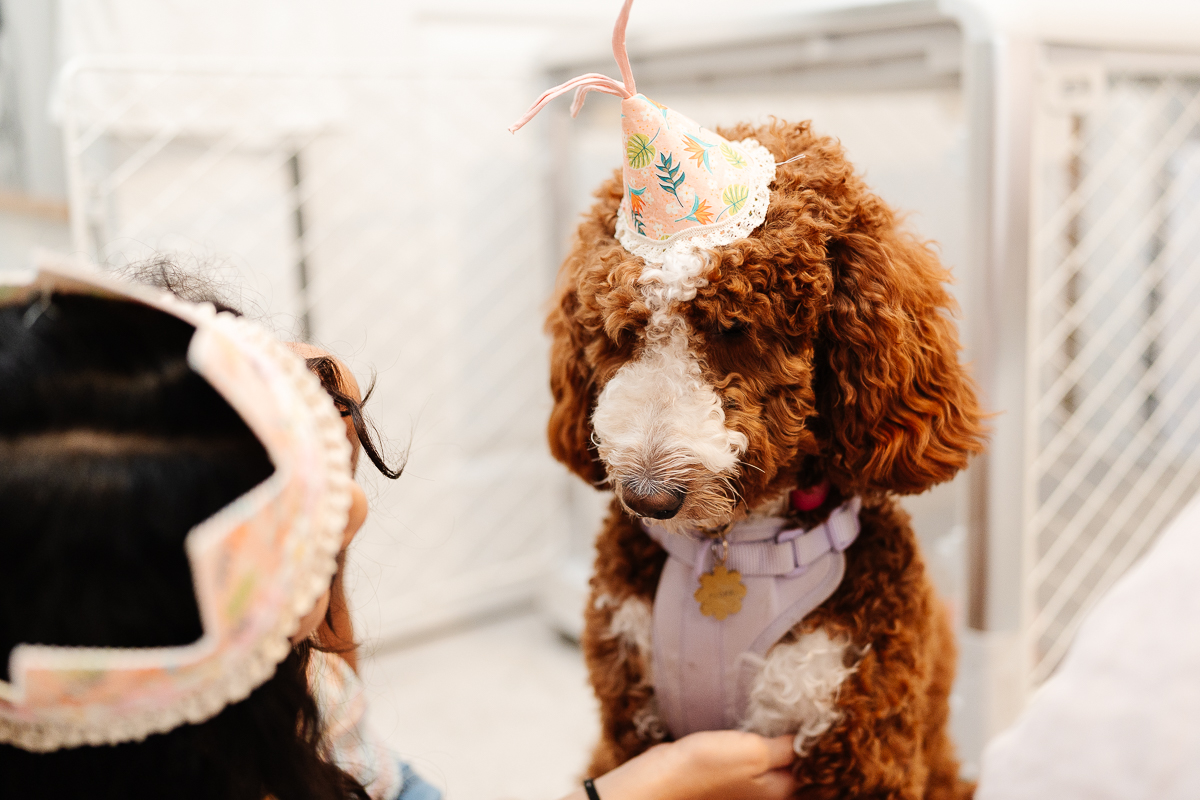
We are totally ready for our birthday party now! I can’t wait to take a million pictures of our matching crowns. Flora looks so stinkin’ cute! If you make a matching birthday set for you and your pet, please show me! Tag @cloverusa so I can see what fabrics you picked. Happy Sewing!
If you want to keep up with me, Cataleya, on social media, follow me on social media: Instagram
If you want to keep up with all things Clover, follow us on: Facebook | Twitter | Instagram | Pinterest | YouTube | Ravelry