Circular Jewelry Pouch
Hi everyone, it’s Cataleya (@happystitches_us on IG)! I’ve been working really hard on a special project that I’m so excited to finally share with you!
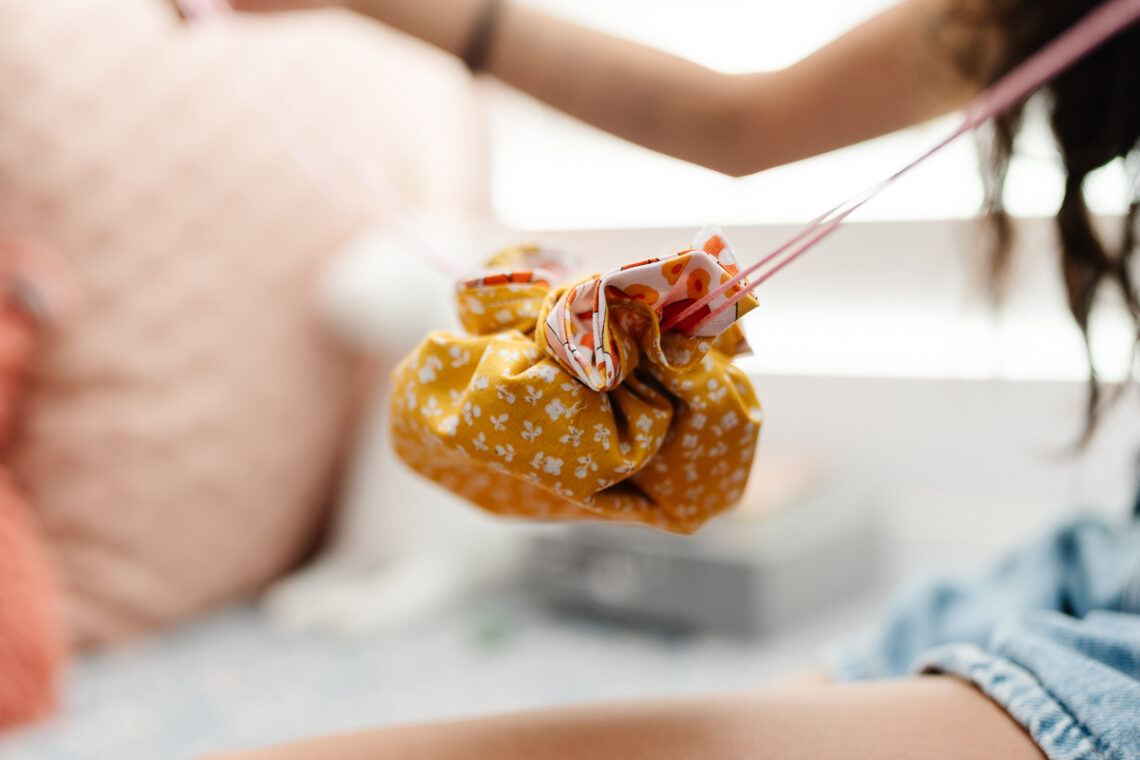
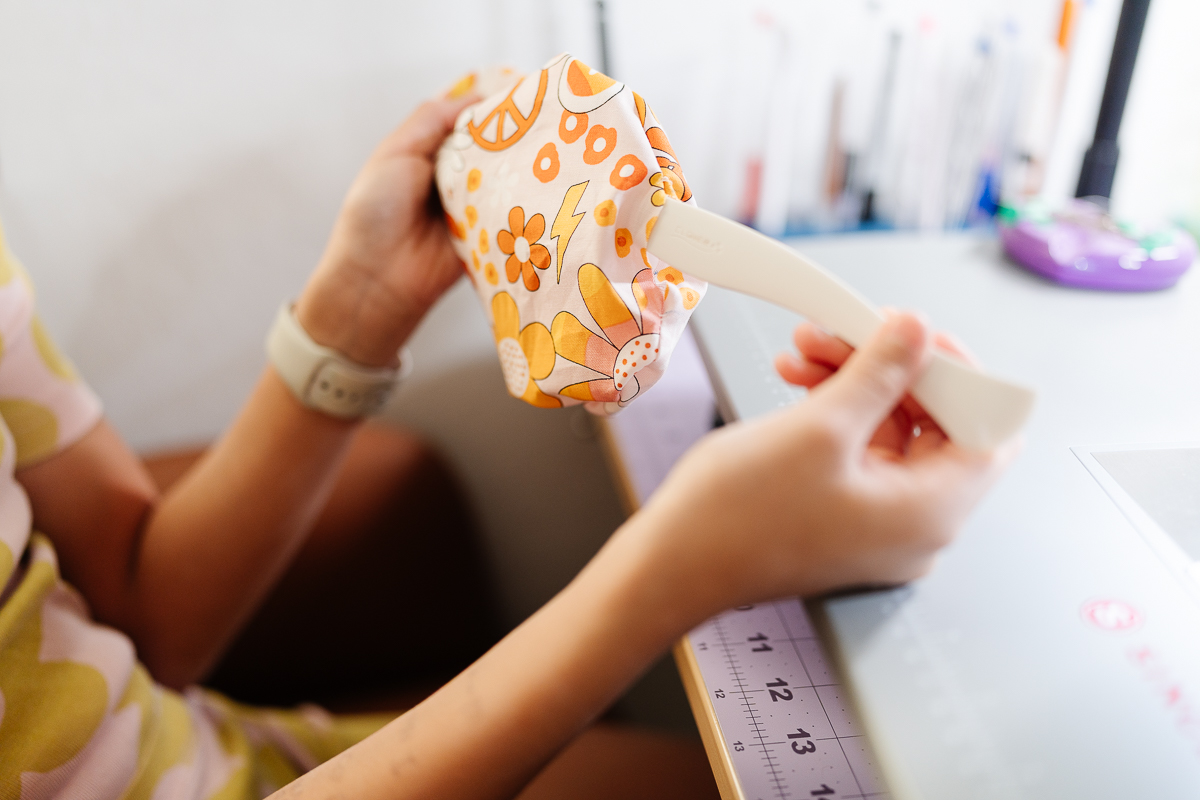
Summer is almost here, and my family is actually headed to California next month! I love traveling, but I usually leave my jewelry at home because it always ends up in one giant, messy knot at the bottom of my bag. To fix that, I’ve been making this Jewelry Pouch. It lays flat like a pretty mat, but when you pull the drawstrings, it cinches up into a little “nest” to keep your necklaces, anklets, and bracelets safe.
MATERIALS:
- 45mm Rotary Cutter
- Water Erasable Tracing Paper
- Metal Hera with Stylus
- Double Tracing Tool
- Metal Hera with Stylus
- Wonder Clips (standard size)
- Point 2 Point Turner
- Seam Ripper
- Clip ‘n Glide Bodkin
- if you don’t have this, you can use a safety pin but it will take longer!
- Cotton Fabric
- 2 circles (13.5″) of my big retro floral print (outside and bottom lining)
- 1 circle (13.5″) of my yellow flower print (the middle pocket layer)
- 1 circle (8″) of my yellow flower print (the tiny top pockets)
- 2 pieces of string/ribbon, each cut to 36″ long
- thread to match
- heat pen
- ruler
TUTORIAL:
Step 1: Drawing the Circles (The Compass Hack!)
-
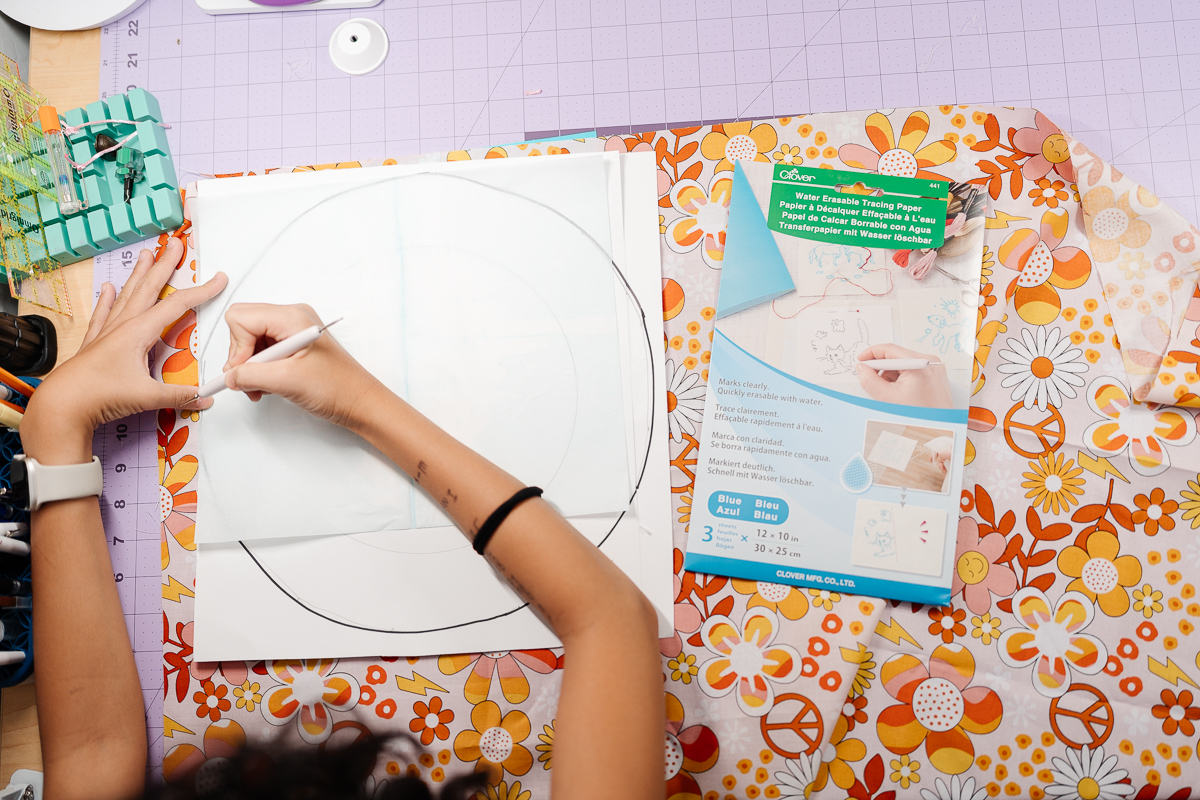
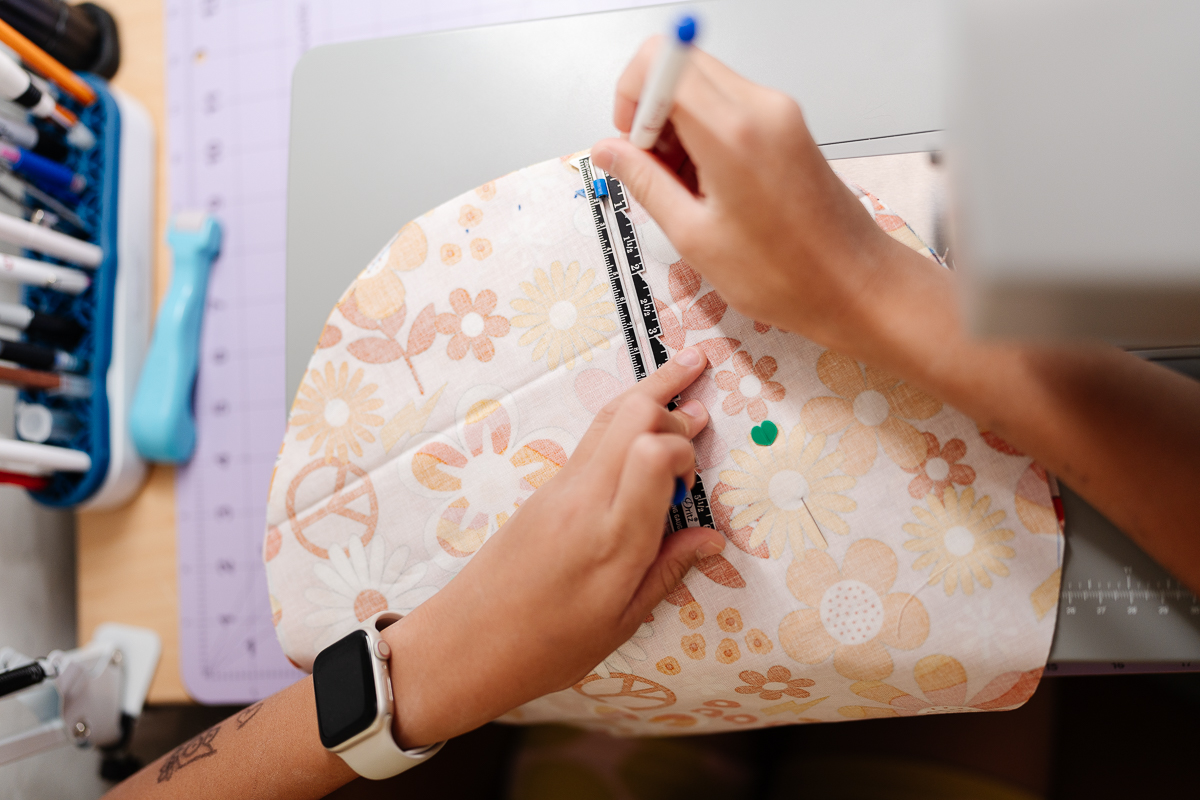
Since I didn’t have a paper pattern, I used a string and a black marker to create a compass. To get the size right, you have to measure your string to half of the circle size you want.

For my big 13.5″ circles, I measured my string to 6.75″. I held one end of the string in the center and moved the marker around to create my paper template. Then, I did the exact same thing for my 8″ circle, but I shortened my string to 4″ first.
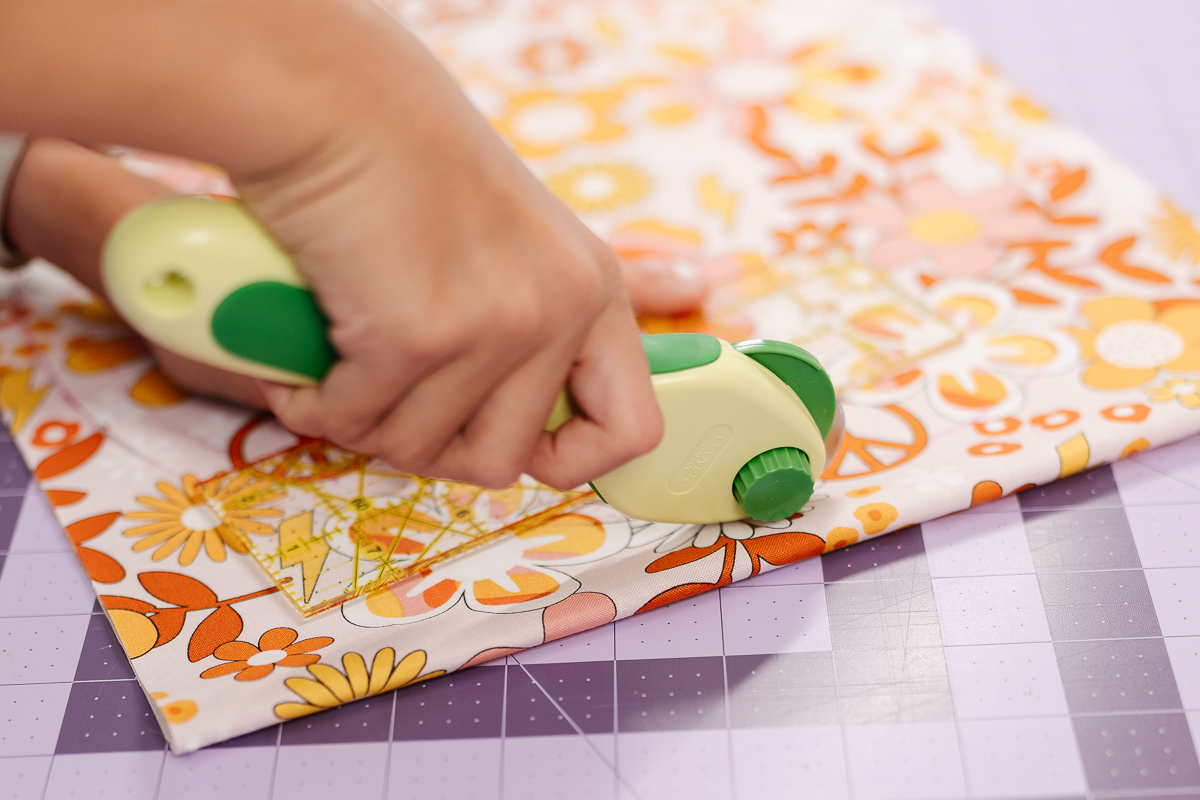
To get the lines onto my fabric, I used a special “sandwich” trick! I placed the blue tracing paper sheet face up, put my fabric right side up on top of it, and then laid my paper template on the very top. I used my Double Tracing Tool to trace the circle, and it left a perfect blue line on the back of my fabric. It worked like a charm, and the lines were so easy to see when I used my 45mm Rotary Cutter!
Step 2: Prepping the Layers
-
I took my two big retro floral 13.5″ circles and put them wrong sides together (so the pretty patterns were facing out on both sides!). I used my heart-shaped pins to hold the fabric perfectly in place. Then, I marked a 1/2″ seam allowance all the way around the circle and sewed it down, making sure to leave a 2″ gap.

- Then, I turned the retro floral right side out and used my Point 2 Point Turner to push the edges out so they were perfectly curvy.
-
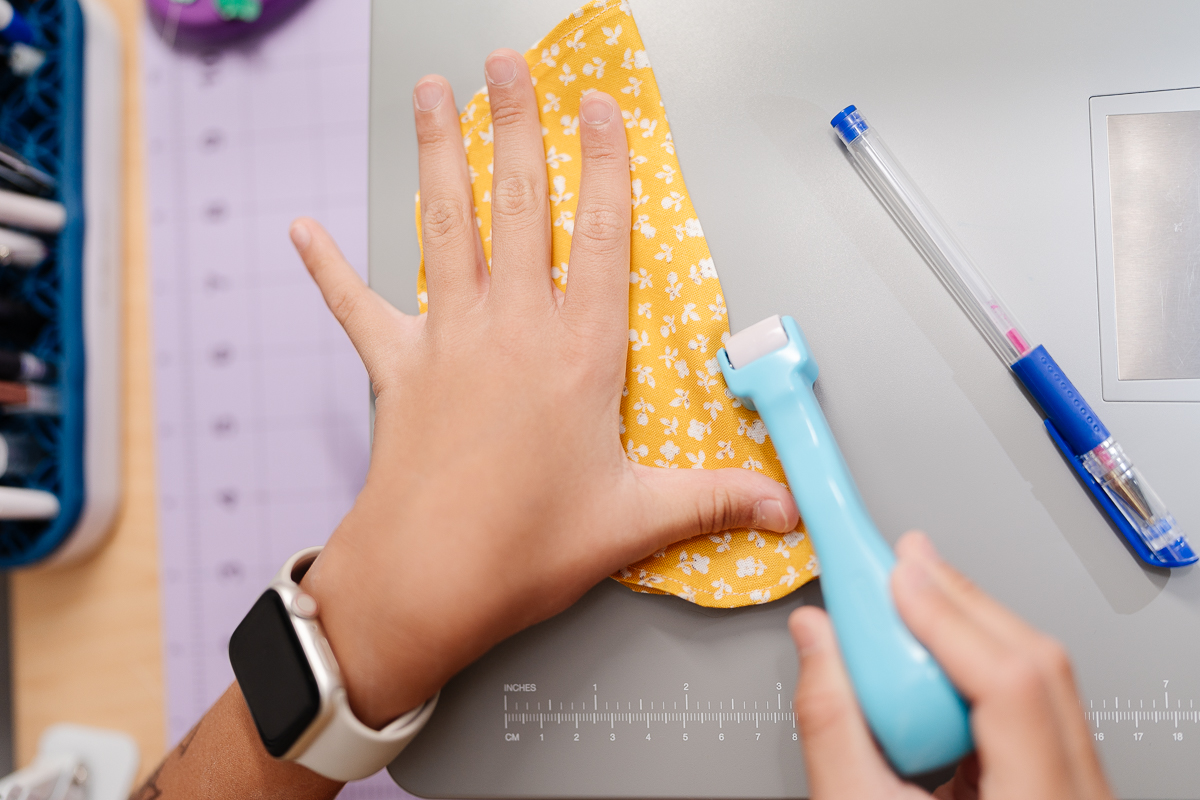
I took my 13.5″ yellow circle and my 8″ yellow circle. For both of these, I just folded the edges over 1/8″ two times all the way around and sewed a 1/8″ seam to give them a nice, finished edge.
Step 3: Building the Pockets
- I stacked them up! I put the finished 8″ yellow circle on top of my big retro floral base.
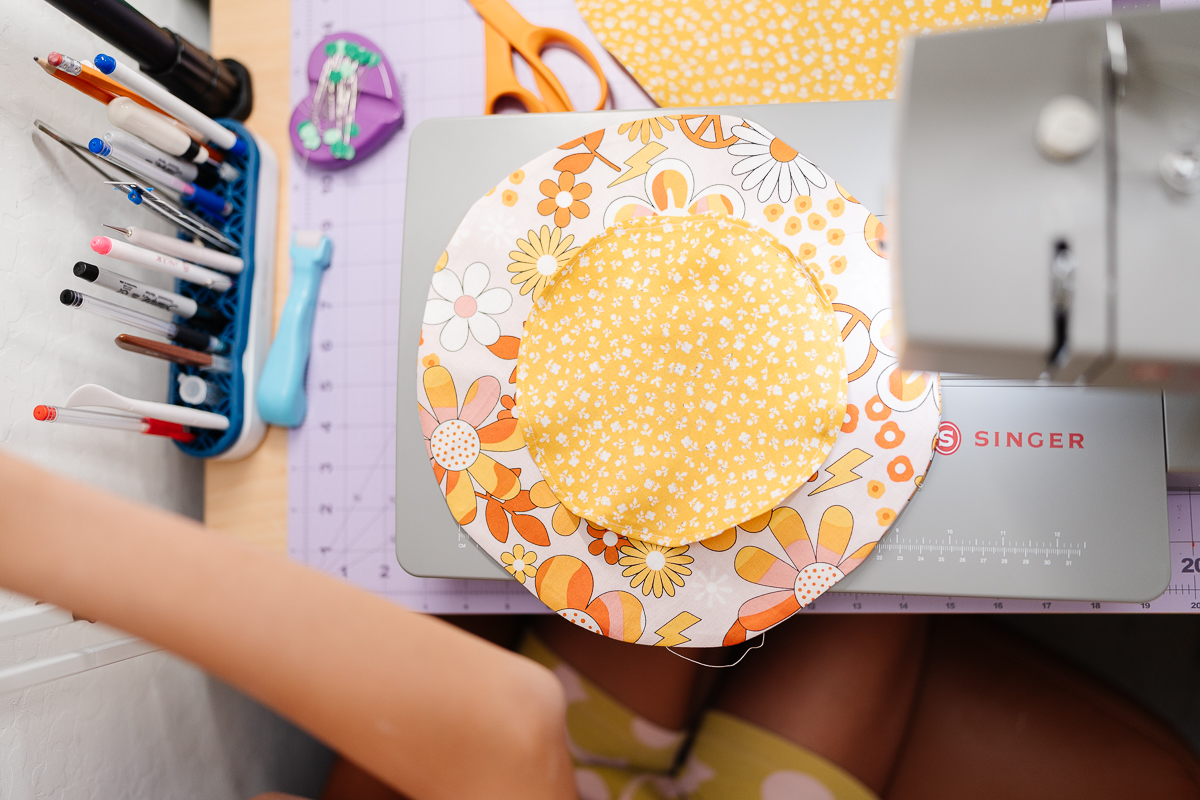
- I used my Metal Hera with Stylus to mark 8 “pizza slices” on the 8″ circle and sewed right over the creases through the layers. Now I have the perfect little pockets!
Step 4: Creating the Drawstring Channel
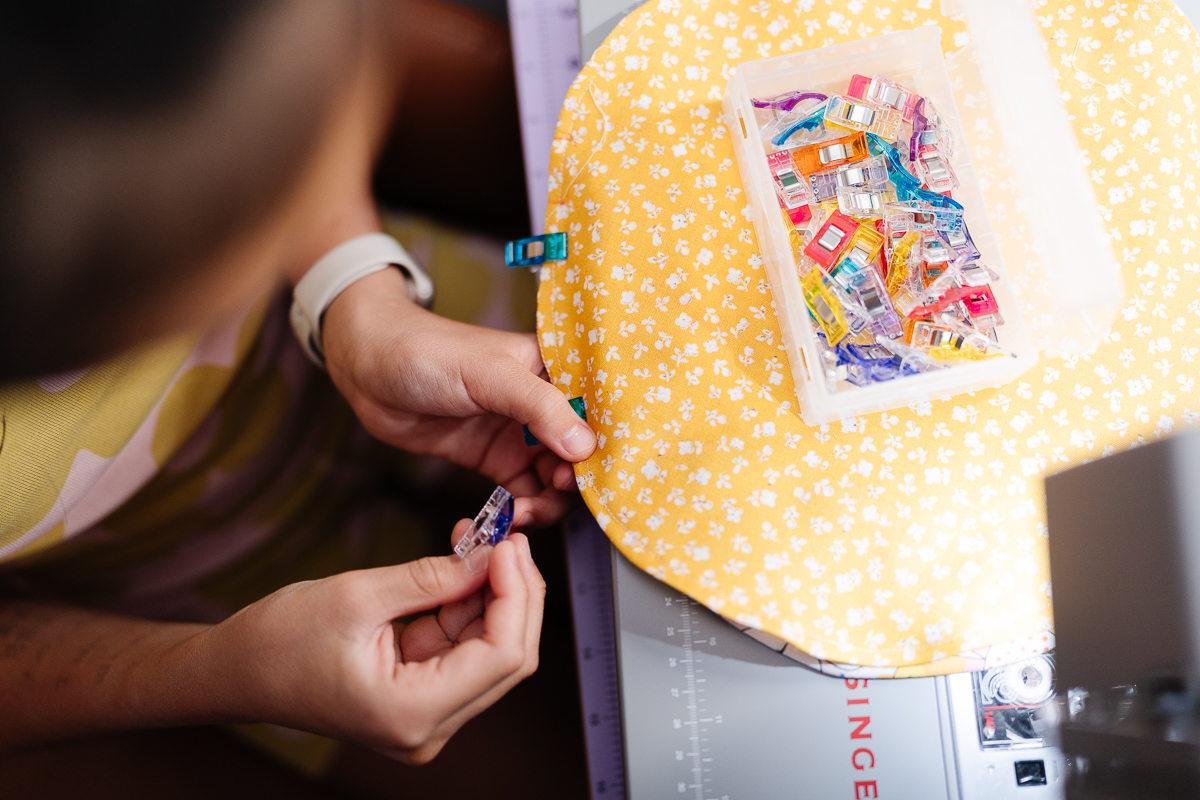
Next, I turned the whole project around and placed my x1 13.5″ yellow flower fabric on the other side. To keep it from shifting, I used my Wonder Clips to hold the circles together all the way around the edge.
To make the “tunnel” for my ribbon, I followed these steps:
-
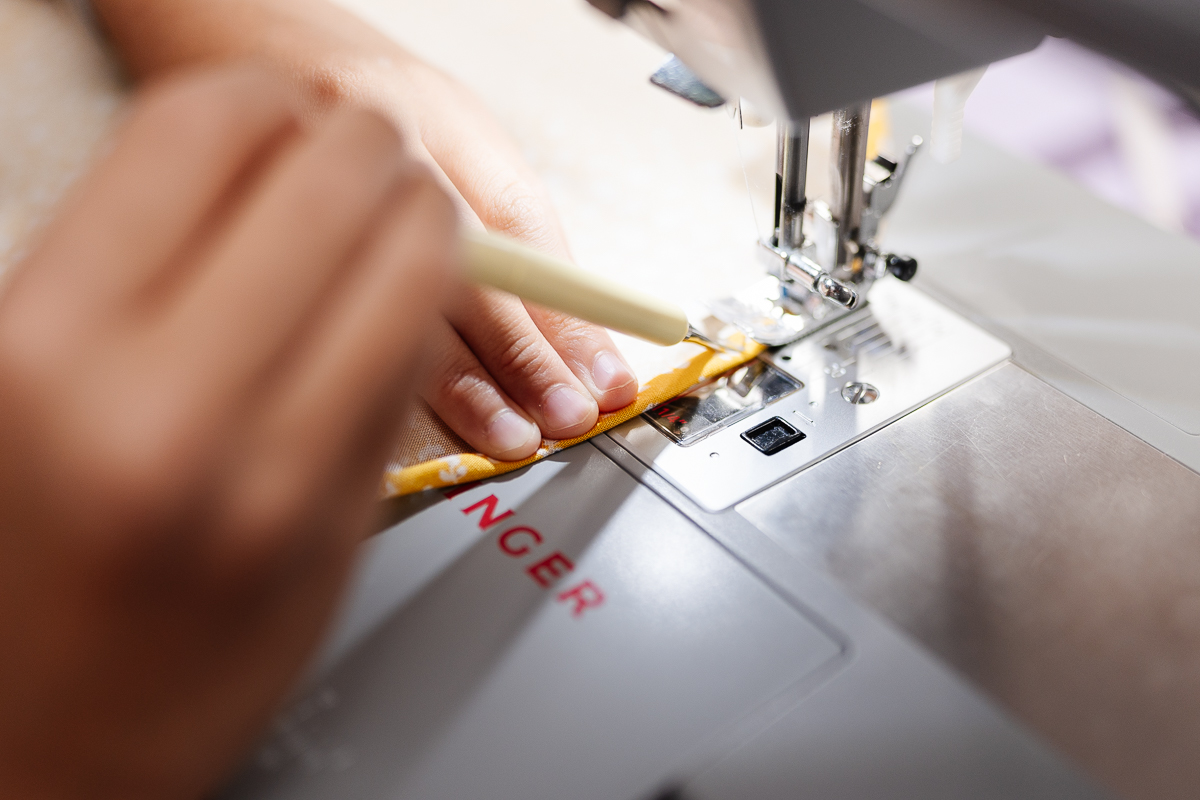
The Top Line: I sewed a line 1″ down from the edge of the yellow flower fabric, going all the way around the circle.
-
The Bottom Line: Then, I sewed another line just 1/8″ from the edge of that same fabric.
This creates a perfect channel for the drawstring!
Important Note: When sewing that 1/8″ line, make sure to leave a 1″ gap on each end. These gaps are the “doors” where the strings will go through so you can cinch the pouch shut!
Step 5: The Finishing Touch
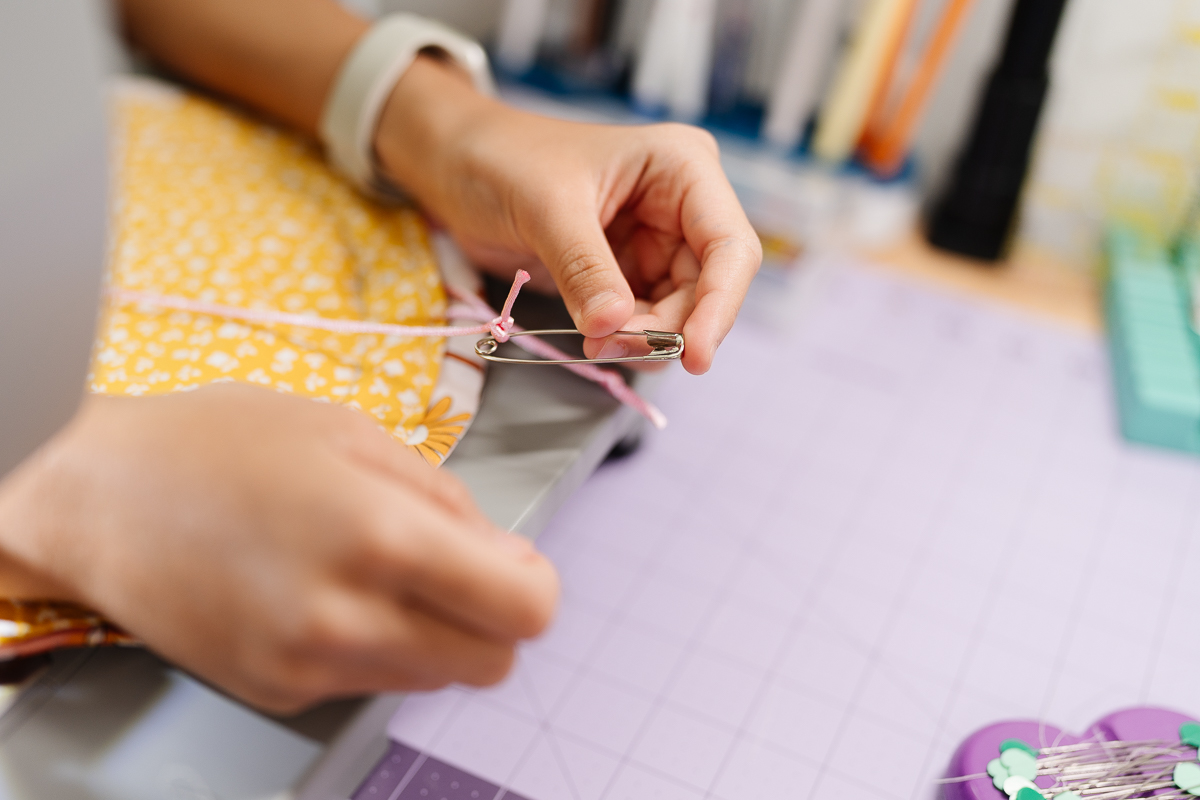
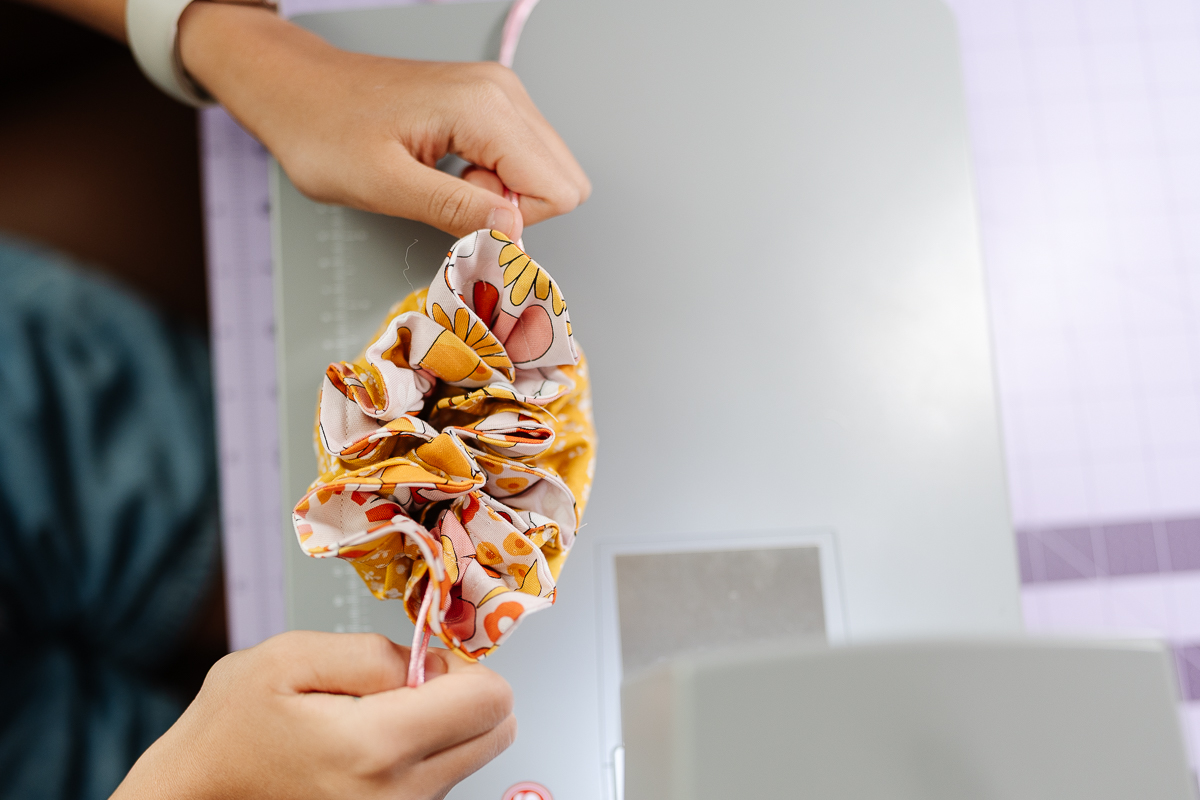
- I pinned a safety pin to the end of my 36″ strings to help them glide through the channel. I threaded them through the gaps I left, tied the ends, and I was done!
I am so ready for my trip now. California, here I come! My necklaces and bracelets are going to stay perfectly straight, and my anklets won’t get lost in my suitcase.
If you make one of these, please show me! Tag @cloverusa so I can see what fabrics you picked.
Happy Sewing! — Cataleya
If you want to keep up with me, Cataleya, on social media, follow her on social media: Instagram
If you want to keep up with all things Clover, follow us on: Facebook | Twitter | Instagram | Pinterest | YouTube | Ravelry