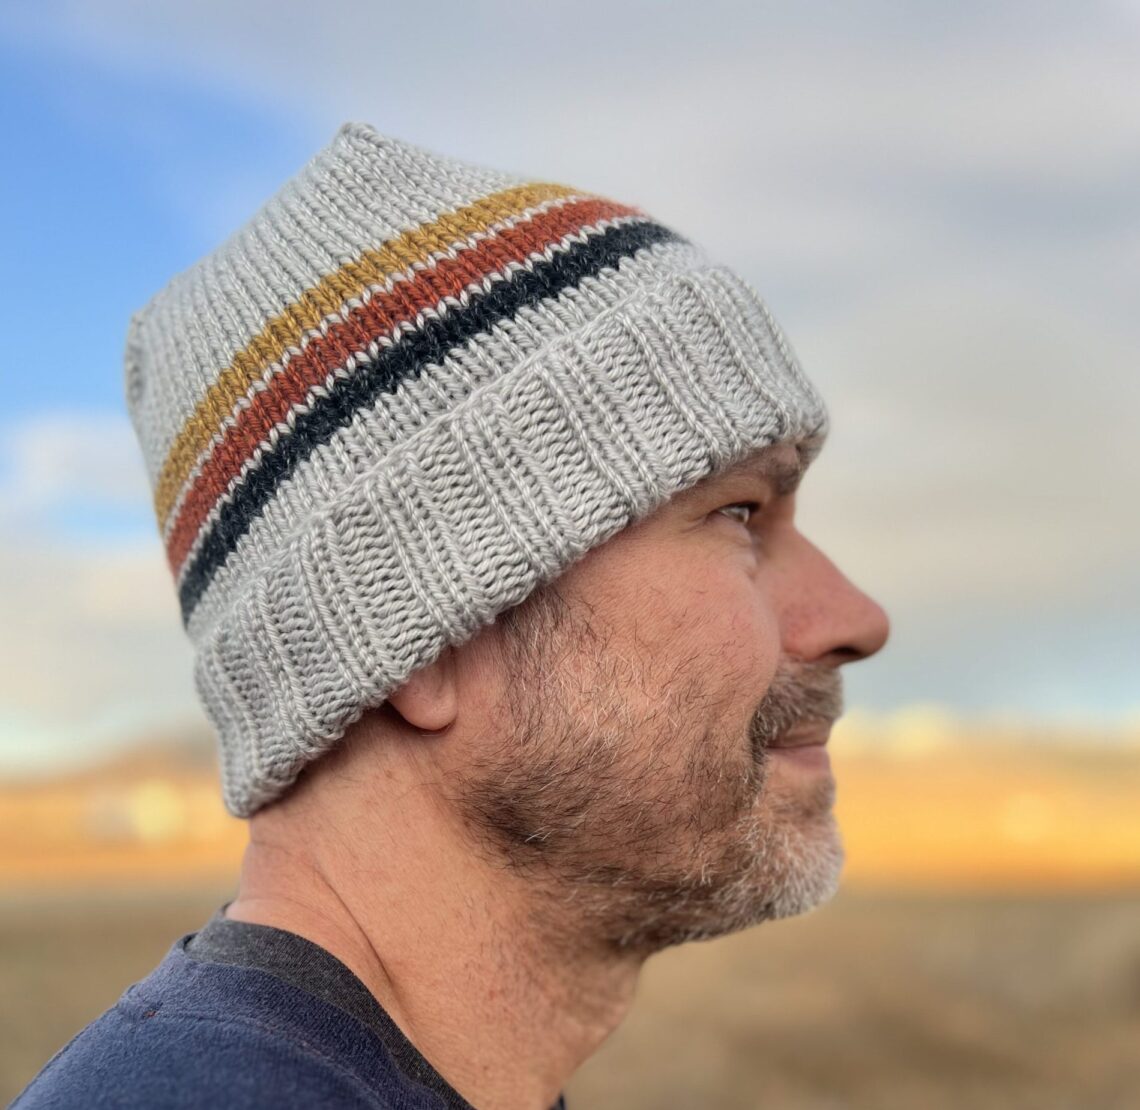
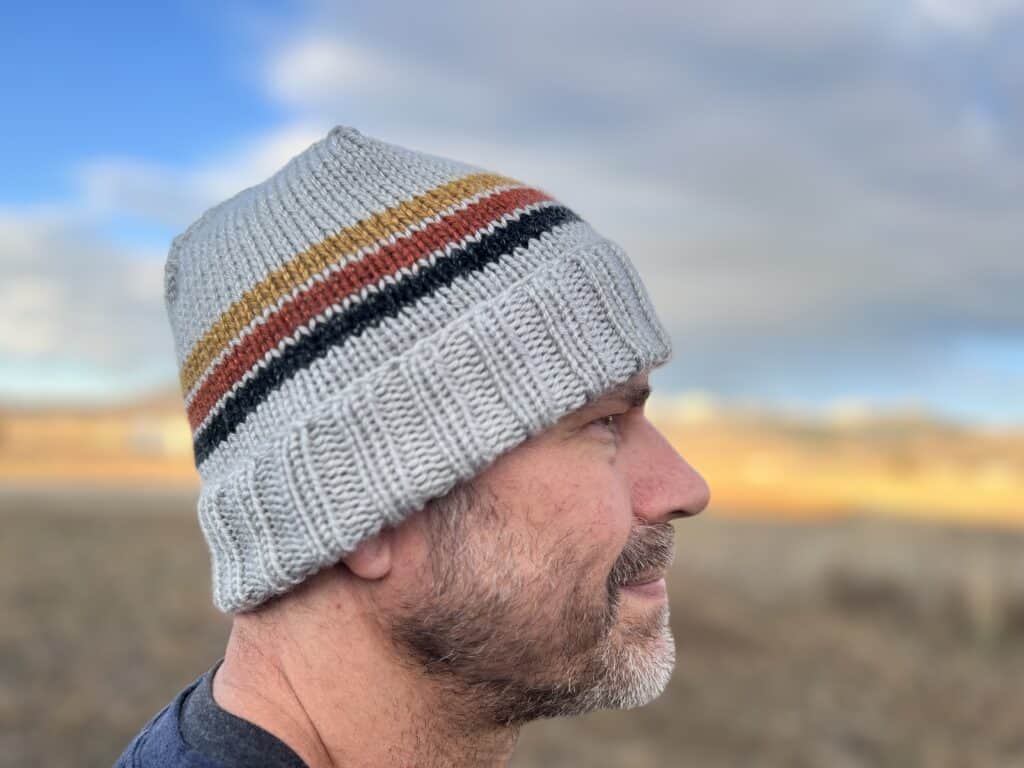
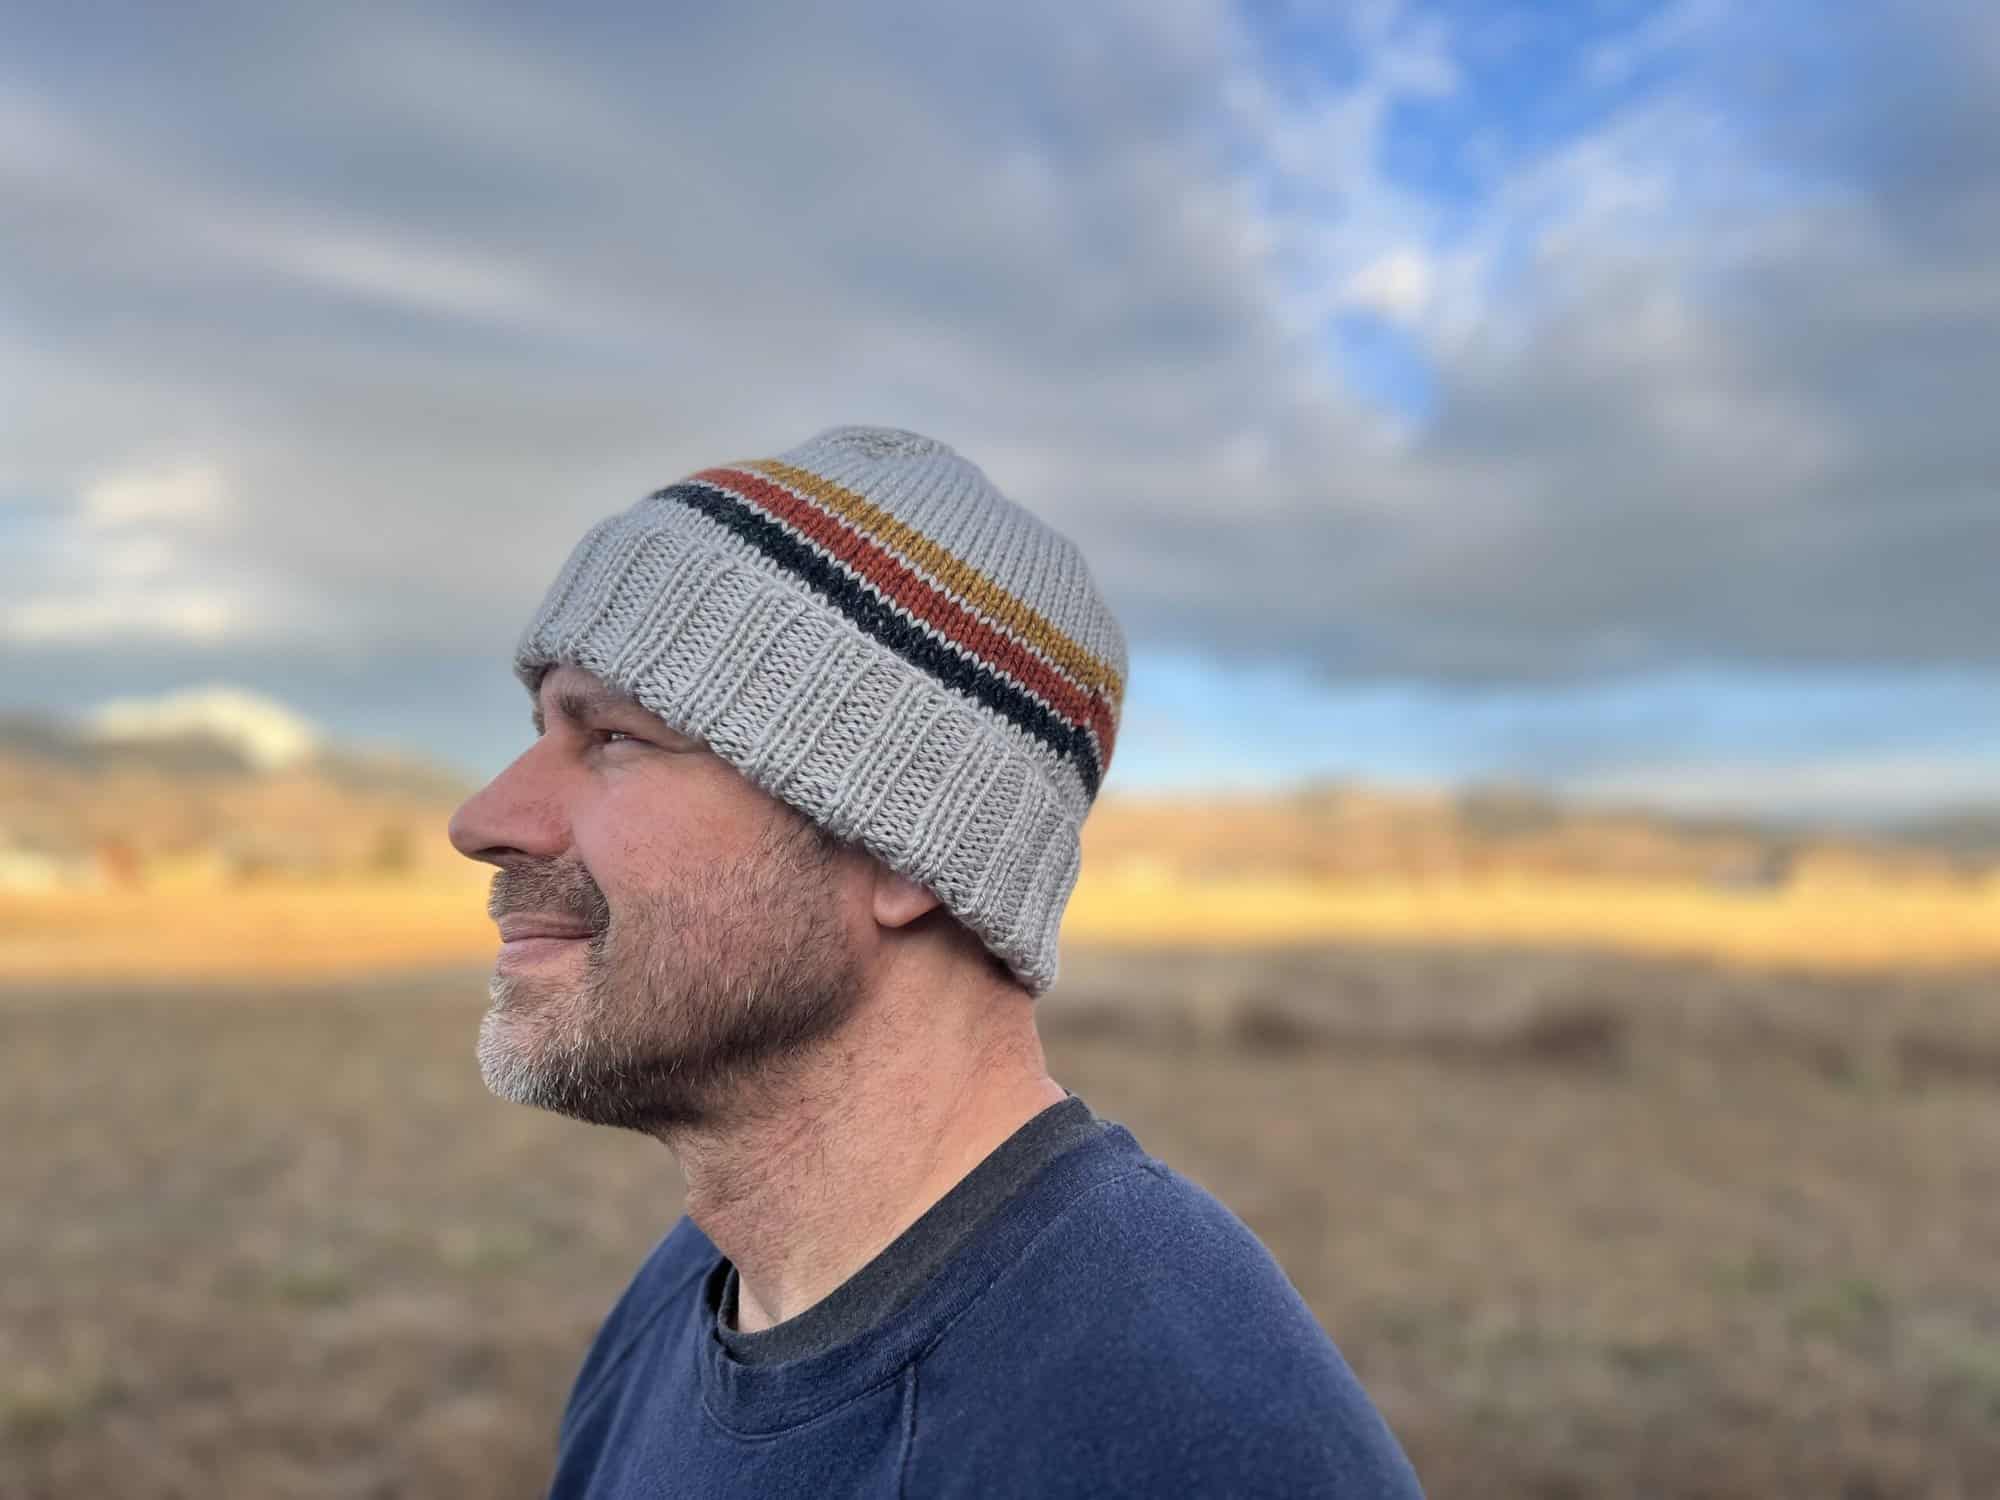
The Tobacco Root Beanie (new knitting pattern for fall!)
Hey knitters, Mark here from @bearsdenessentials with a pattern inspired by my love of the outdoors and the beauty of our small corner of heaven here in Montana! I just love the simplicity of clothing where “less is more” when it comes to design. My wife and I live in the Ruby Valley where the Tobacco Root Mountains border us to the north. It’s such a beautiful but rugged terrain of rocks sprouting over 10,000 feet. I’m excited to let you know that this is the first in the line of hats from Bears Den Essentials inspired by the terrain that surrounds us in Southwest Montana.
NOTES:
- gauge:
- about 20 sts X 25 rows = 4” x 4” using 4.5mm/US 7 needles in stockinette st
- difficulty:
- advanced beginner
- skills required/techniques used:
- knit & purl
- casting on
- working in the round
- finished measurements:
- the Tobacco Root beanie is designed to be slouchy and sized to fit an average adult’s head (22”-24”)
- model has 23” circumference head
- finished circumference: 14” (35.5 cm) around brim, 17” (43.0 cm) around body of hat
- folded brim length: 2.5 (6.5 cm)”
- finished hat length 8.5” (21.59 cm) – brim folded in half
MATERIALS:
- PRO “Takumi” Circular Knitting Needle 16in. No.6 (4.0mm)
- PRO “Takumi” Circular Knitting Needle 16in. No.7 (4.5mm)
- Takumi Bamboo Knitting Needles Double Pointed (7″) No. 7
- Jumbo Darning Needle
- Clover Yarn Cutter Pendant
- Clover Knitting Needle Point Protectors
- yarn:
- Lion Brand Heartland Worsted Weight #4 Yarn (251 Yards, 5 oz)
- main color (MC) – 200 Yards
- 3 different contrast colors
- contrast color #1 (CC1) – 20 Yards
- contrast color #2 (CC2) – 20 Yards
- contrast color #3 (CC3) – 20 Yards
- main color (MC) – 200 Yards
- Lion Brand Heartland Worsted Weight #4 Yarn (251 Yards, 5 oz)
-
- the colors I recommend:
- White Sands for the main color
- Black Canyon for contrast color #1
- Yosemite for contrast color #2
- Canyonlands for contrast color #3
- the colors I recommend:
ABBREVIATIONS:
- co: cast on
-
- note: the beginning of the beanie is cast on using the “Chinese Waitress CO method” (or any preferred method)
-
- dpn(s): double-pointed needles
- k: Knit
- k2tog: knit two stitches together (a right-slanting decrease stitch)
- p: purl
- rem: remain
- rnd(s): round(s)
- pm: place marker (place down one stitch marker)
- m(s): stitch marker(s)
- ssk: slip slip knit (a left-slanting decrease stitch)
- sm: slip the stitch marker over
- stockinette: stitch created by knitting each stitch of every round
- st(s): stitch(es)
- ws/ rs: wrong side of the work / right side of the work
- ” / cm(s): inch(es) / centimeter(s)
- 2×2 rib(bing): knit 2, purl 2
PATTERN:
This beanie is worked in the round from the bottom up, starting with a 2×2 ribbing to create a folded-over brim. The body of hat entails colorwork to create a handsome striping design. Crown is a 4-corner decrease knit in stockinette stitch. The hat is worn slightly slouchy with room at the top. I recommend blocking it before wearing, and then moving forward hand wash it gently with your preferred wool wash.
BRIM:
With size US 6 (4.0 mm) circular needles, CO 88 sts using the double chain (Chinese Waitress) Cast On. Place stitch marker, then join in the round. Be careful not to twist the yarn.
Round 1: K2, p2 around to end-of-round marker, sm.
Continue working in ribbing (k2, p2) until work measures 5” (13 cm) from CO edge.
BODY:
Round 1: K2tog, K 20 sts, K2tog, K 20 sts, K2tog, K 20 sts, K2tog, K 20 sts (84 sts left in row)
Round 2-6: K to end of row.
Change to CC1
Round 7-9: K to end of row.
Change to MC
Round 10: K to end of row.
Change to CC2
Round 11-13: K to end of row.
Change to MC
Round 14: K to end of row.
Change to CC3
Round 15-17: K to end of row.
Change to MC
Round 18: K to end of row.
Repeat round 18 to continue in the stockinette st pattern until piece measures 4.5” (11.5 cm) from ribbing edge.
-
-
- note: for troubleshooting common challenges, such as dropped stitches, knitting too tightly, or too loosely, check out this video on how to knit and troubleshoot!
-
CROWN:
- 4-corner decrease
- change to PRO “Takumi” Knitting Needle size US 7 (4.5 mm) double-pointed needles when needed!
Round 1: *K2tog, k17, ssk, sm, repeat from * around to end-of-round marker, sm. (76 sts rem)
Round 2 (and all other even-numbered rounds): Knit around to end-of-round marker, sm.
Round 3: *K2tog, k15, ssk, sm, repeat from * around to end-of-round marker, sm. (68 sts rem)
Round 5: *K2tog, k13, ssk, sm, repeat from * around to end-of-round marker, sm. (60 sts rem)
Round 7: *K2tog, k11, ssk, sm, repeat from * around to end-of-round marker, sm. (52 sts rem)
Round 9: *K2tog, k9, ssk, sm, repeat from * around to end-of-round marker, sm. (44 sts rem)
Round 11: *K2tog, k7, ssk, sm, repeat from * around to end-of-round marker, sm. (36 sts rem)
Round 13: *K2tog, k5, ssk, sm, repeat from * around to end-of-round marker, sm. (28 sts rem)
Round 15: *K2tog, k3, ssk, sm, repeat from * around to end-of-round marker, sm. (20 sts rem)
Round 16: Knit around to end-of-round marker, sm.
Cut yarn leaving roughly 12” (30 cm), thread yarn through remaining sts, pull tightly, thread through rem sts, and secure on WS.
Finish my blocking and weaving in ends.

Follow our blog (bearsdenessentials.com) to stay up-to-date. For beginners, be sure to head to our YouTube Page (@bearsdenessentials) to get the full series of knitting tutorials we offer! For questions about this pattern and extra tips, email us at bearsdenessentials@gmail.com.
If you want to keep up with me, Mark, on social media for other fun projects, follow me on social media: Blog | Instagram | Pinterest | Etsy | Ravelry | Facebook | Youtube
If you want to keep up with all things Clover, follow us on socials: Facebook | Twitter | Instagram | Pinterest | YouTube | Ravelry